0%
0%
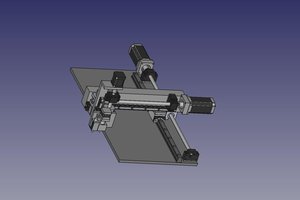
CNC 1419 Upgrade
Useful upgrades for the cheap Chinese CNC 1419
 Martino Ferrari
Become a Hackaday.io member
Already have an account? Log in.
Just one more thing
To make the experience fit your profile, pick a username and tell us what interests you.
Pick an awesome username
hackaday.io/
Your profile's URL: hackaday.io/username. Max 25 alphanumeric characters.
Pick a few interests
Projects that share your interests
People that share your interests


 ZeptoBit
 Thomas Bladykas
 Bharbour
 Rocketburns
Hello Martino,
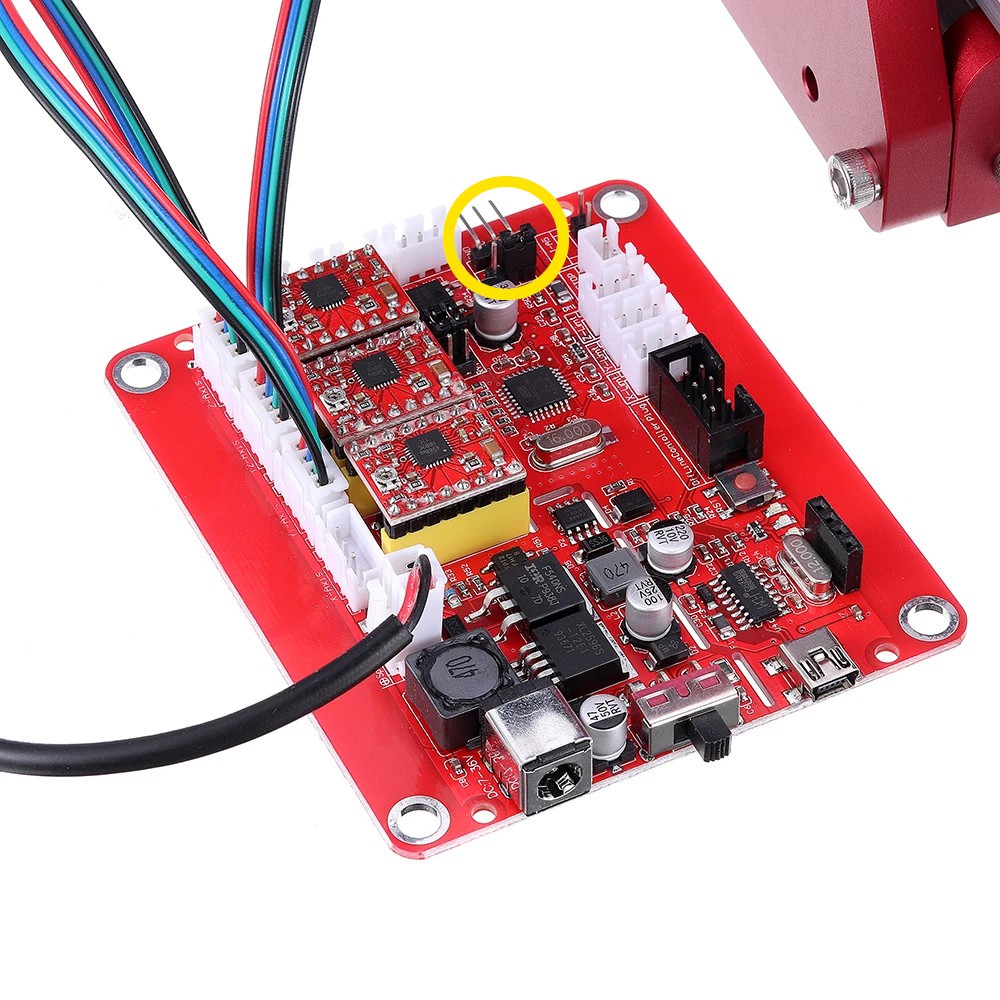
I was wondering how you connected your Rpi 4 to the mini-usb GRBL controller.
You just used the USB ?
Thanks for this article in all cases :)