 Sylwester
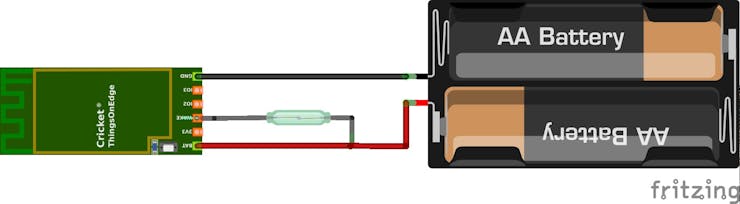
In principle it works like that. When the magnet part is near to the reed sensor part (door closed) it disconnects IO1 from BATT, if the magnet move apart from reed sensor (door opened) it connects BATT voltage to IO1_Wakeup signal and wakes the board up.
We configure Cricket to send HTTP POST requests to the IFFTT where it is converted to push notifications, which are sent to a phone. Additionally all notifications include information about a battery level and an ambient temperature from the Cricket's built-in temperature sensor.
The instructions comprise with the following steps:
- Explaining project using schematics
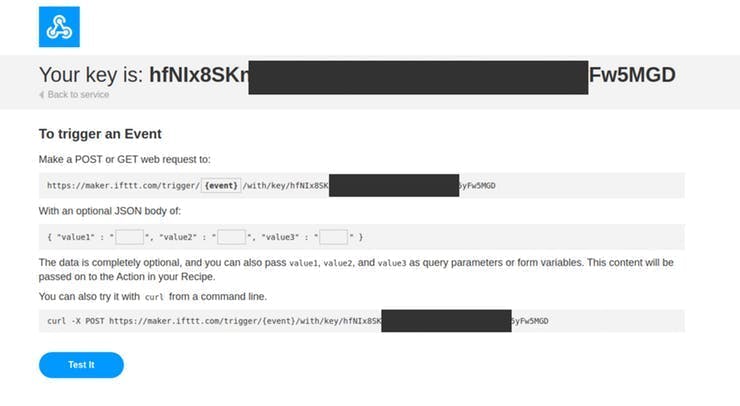
- IFTTT setup with Pushbullet service
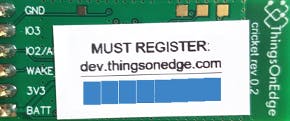
- Configuring IOT Cricket module
- Connecting IOT Cricket to the internet over Wi-Fi
Before you start, please make sure you have the following components:
- Cricket Wi-Fi module (https://www.thingsonedge.com/)
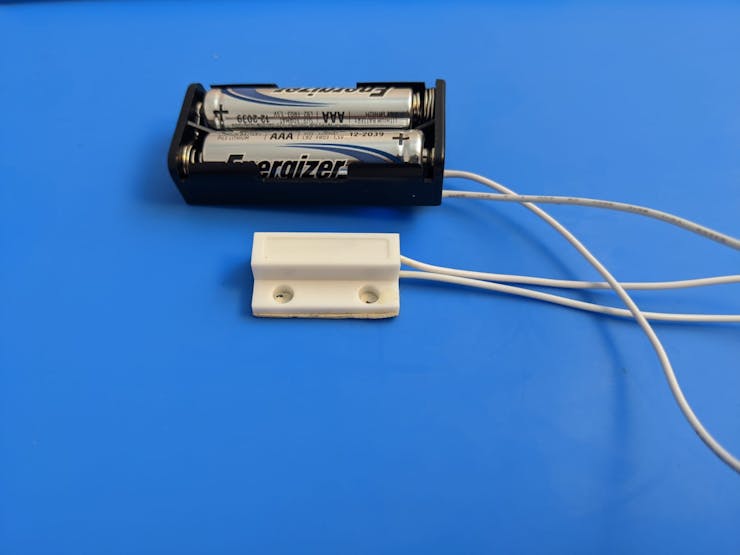
- Door Window Magnetic Switch
- Battery Holder
- 2xAAA batteries
If you are ready let's get started!


 Faire-soi-meme
 Guy Cole
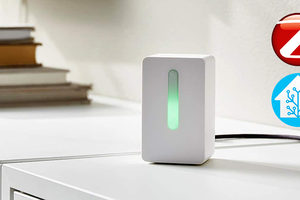
 Andrew Lamchenko
 Rex Garland
It is also possible to integrate this project with Home Assistant without using IFTTT. If you are interested please follow this: https://www.thingsonedge.com/post/bringing-cricket-iot-into-home-assistant