 Leonardo Leoni
I started soldering little electronics kits and not without some difficulties. When I thought to be ready to level up, I found out it was too complicated for me to solder and get working a complete computer kit I can buy on a website like Tindie. There were a lot of projects out there, ok, but I needed a kit ready to mount, without having to look for components around the world.
At that stage the learning curve was too steep, I needed a loophole. So came the idea for my project, creating something that I can also provide to other hobbyists as a simple kit with instruction.
What was the best way? The idea was to start with most familiar electronic components for my objective.
I tried not to modify the software I used and to mantain it original, but I had to make several changes to make all parts work together. Credits go to all developers of Tiny Basic, of Arduino libraries, of Tiny Lisp Computer, of Keymap library, SPI and SH1106 drivers, etc. Thanks to all.
I learned a lot making this project, and I think many newbies as me would enjoy soldering a kit like this and learn something new.


 Matthew Begg
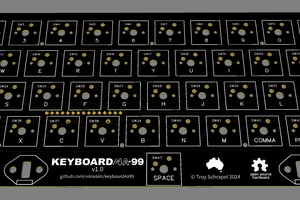
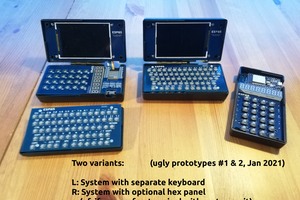
 Troy Schrapel
 Kn/vD
Kn/vD
how long this device work? a month?
meybe is possible upgrade procesor for fuzux os?