Close
0%
0%

Hive Lamp

3D Printed LED lamp

Similar projects worth following
This is a 3.5 foot tall 3D printed LED lamp.
It built out of 21 parts that took about 90 hours of printing.
The inspiration for this project came to me while I was watching DC Legends of Tomorrow in back 2016. I saw a white glowing hive lamp that looks amazing and I wanted to build one for myself. And this is what I did :)
The project took me a while to complete, since I don't like to leave my 3D printer running without my attention, I had to print those parts when I'm home (6-7 hours of printing for the big parts).

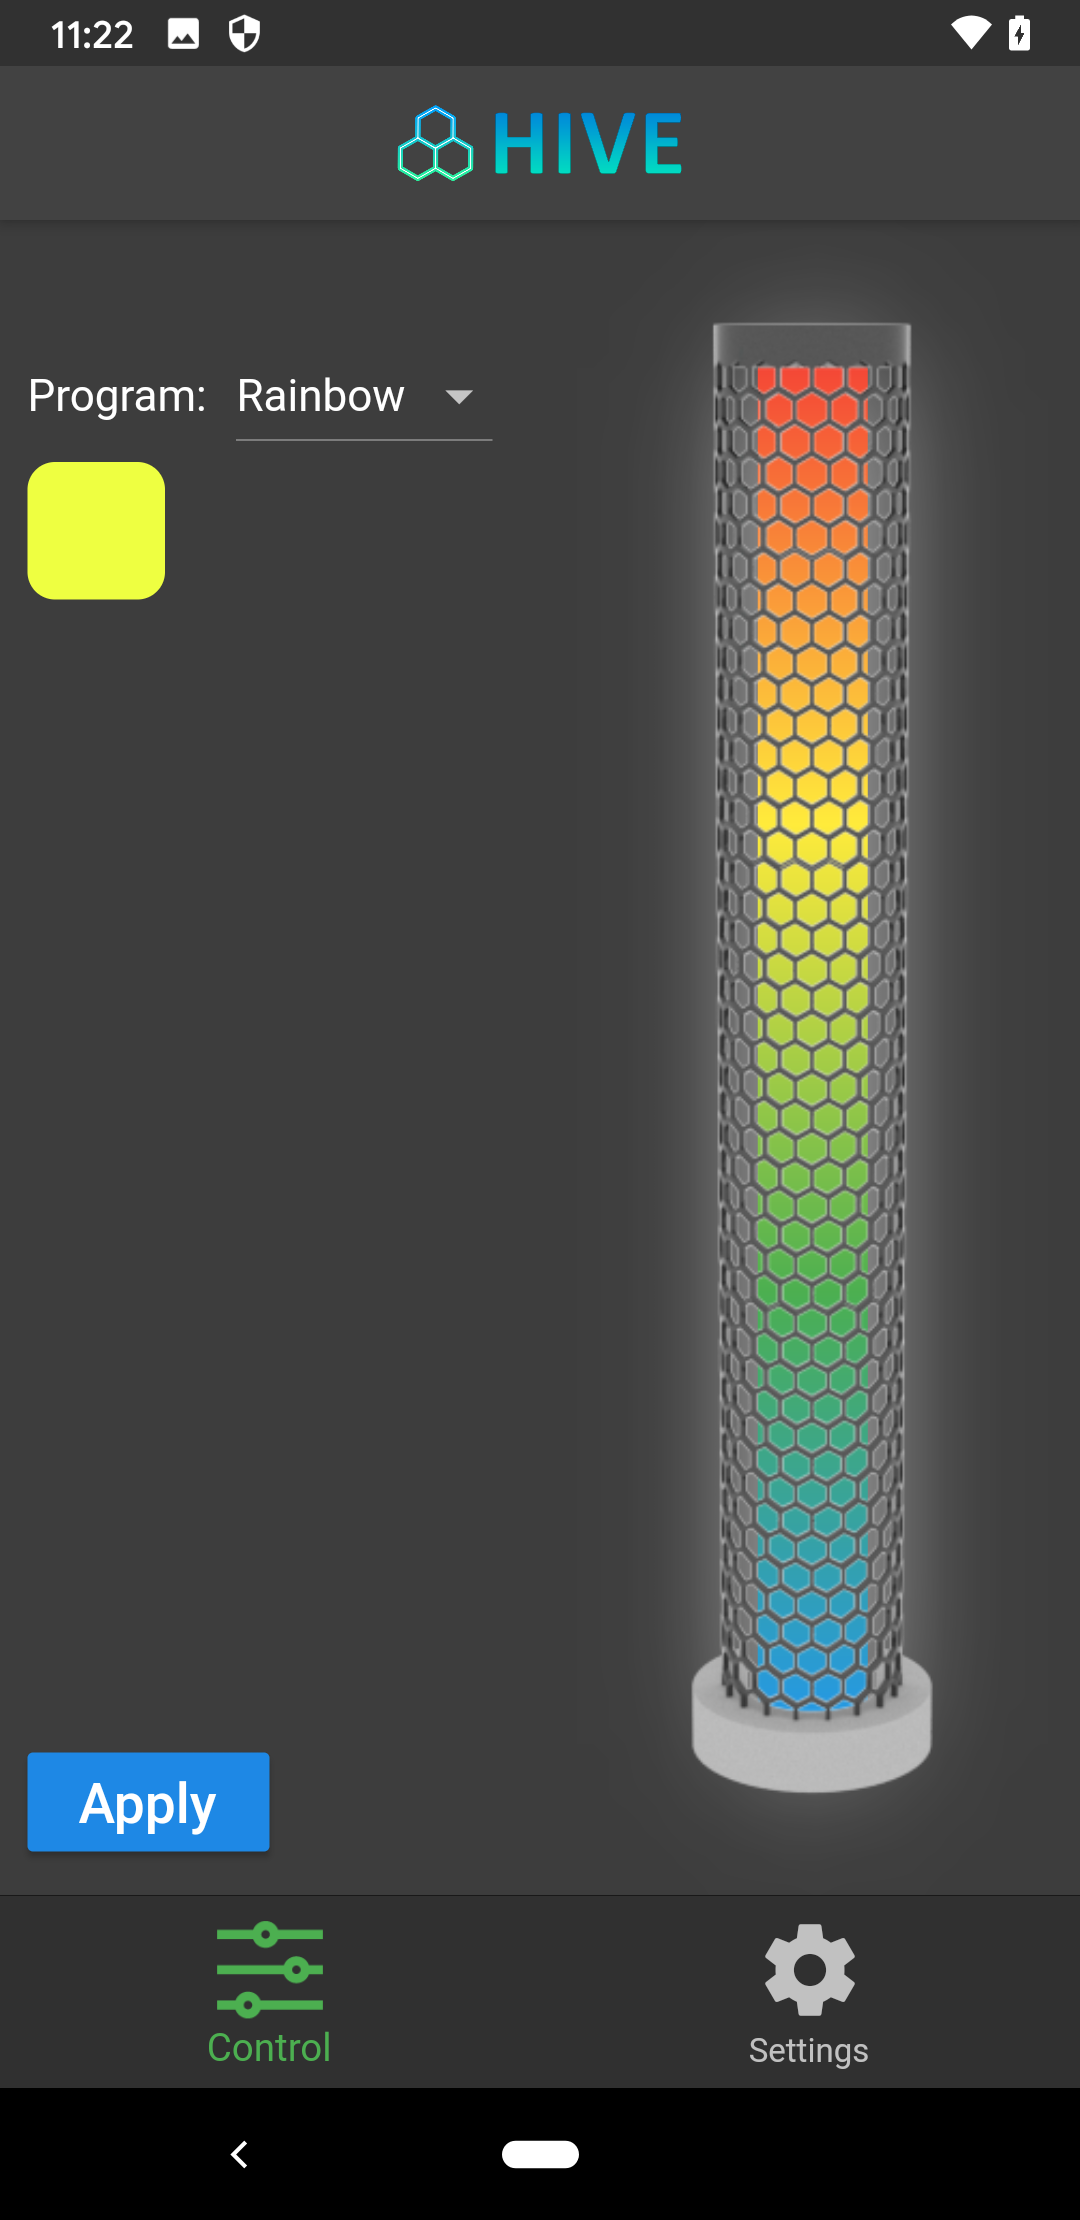
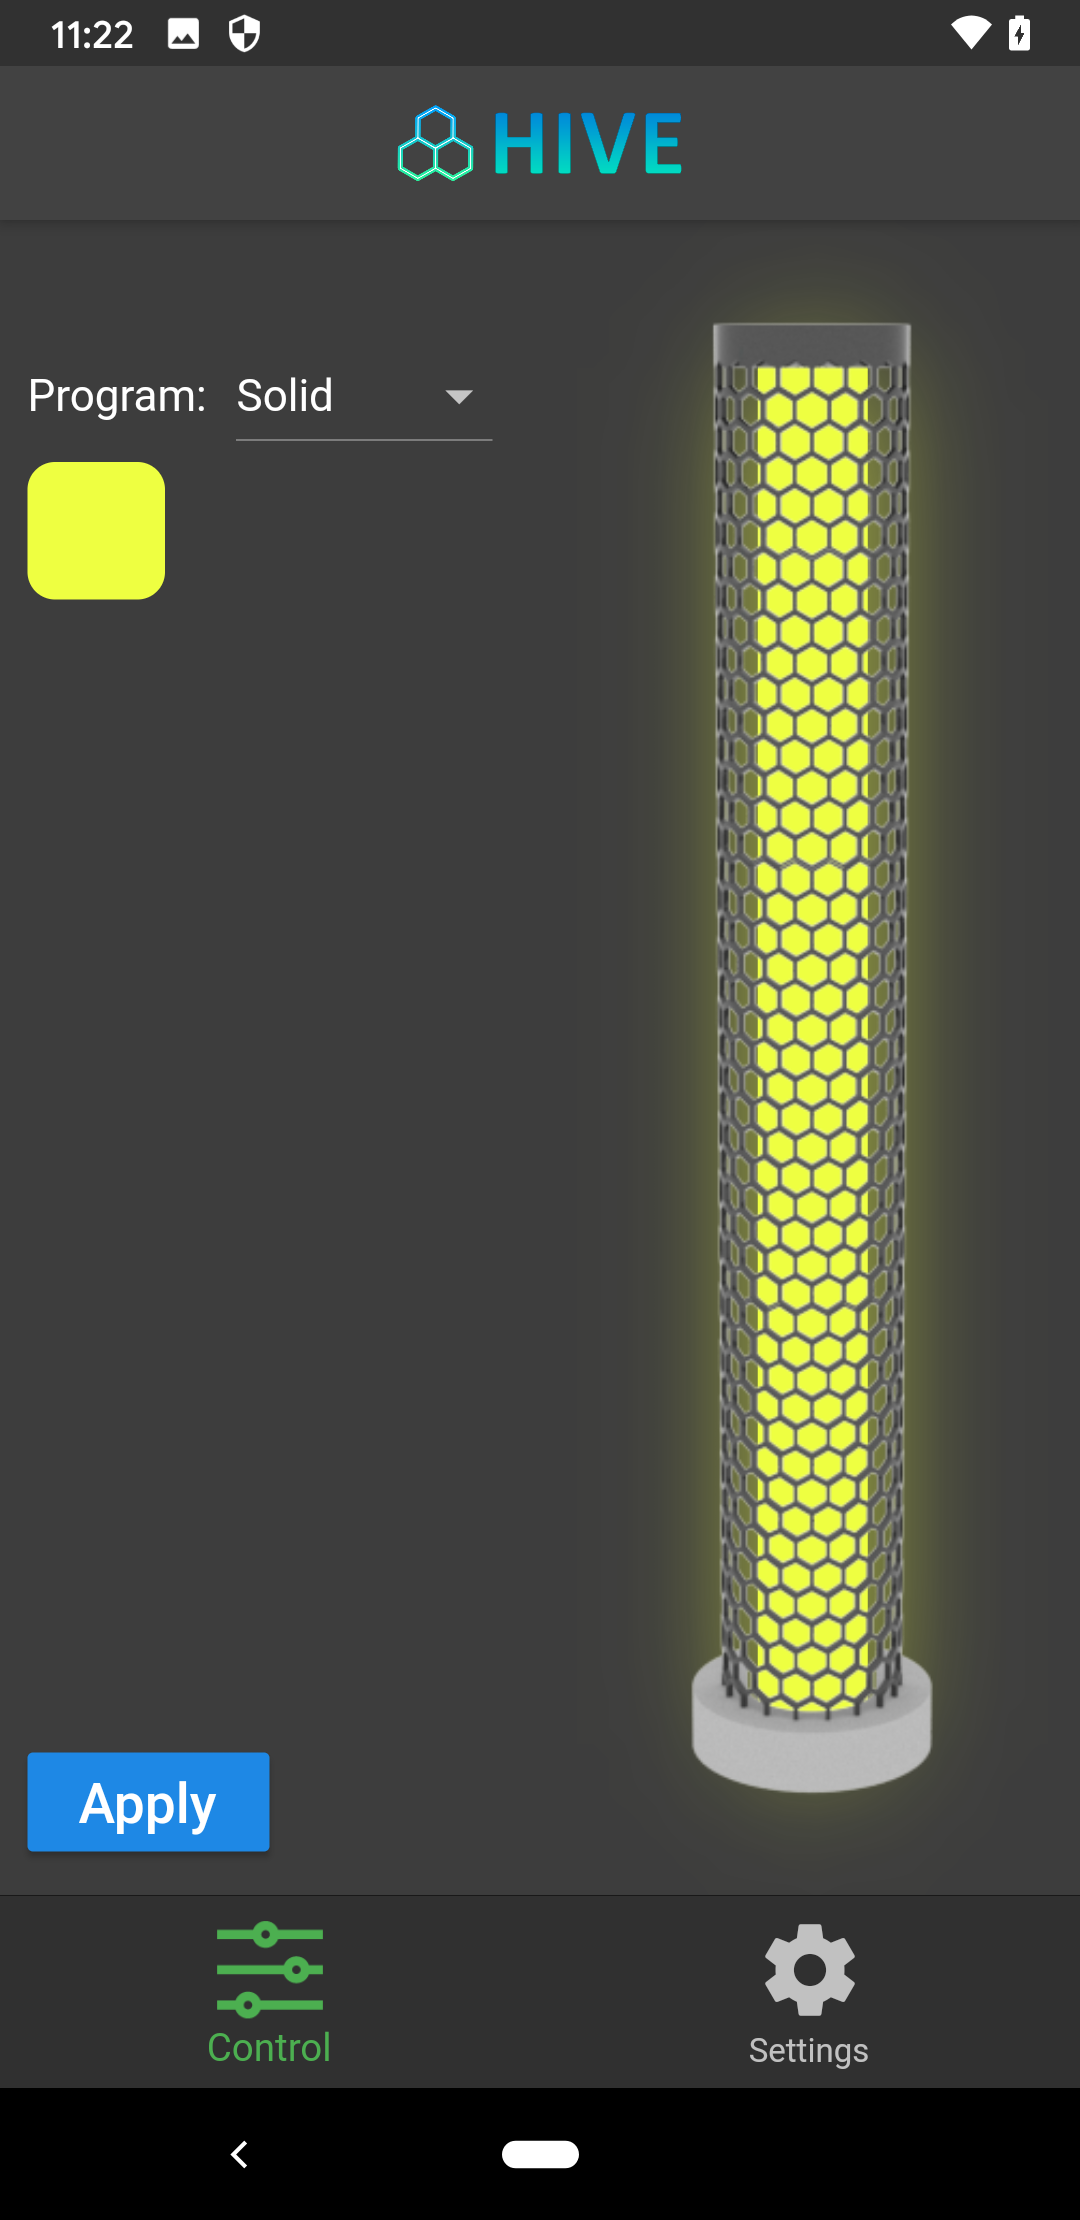
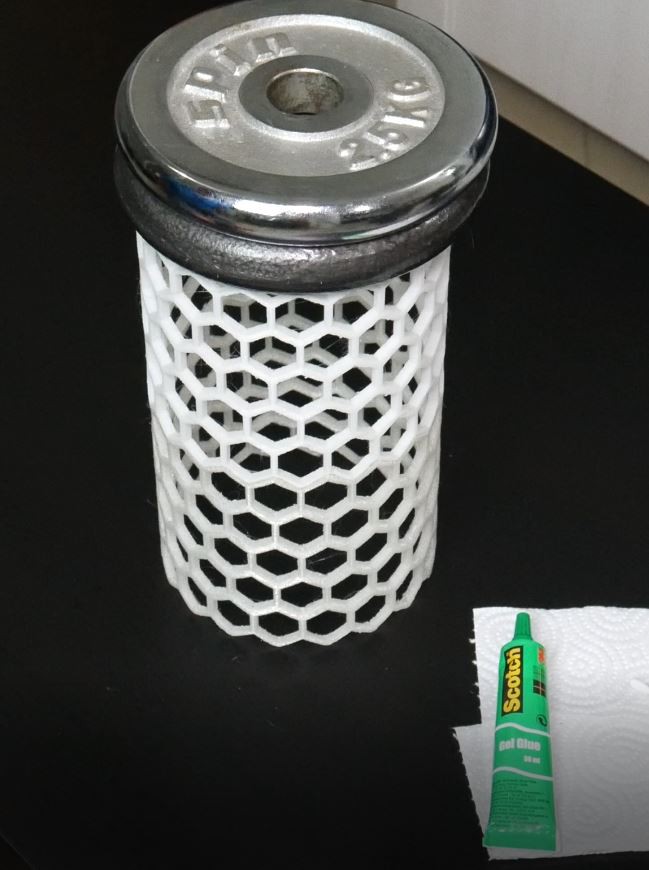
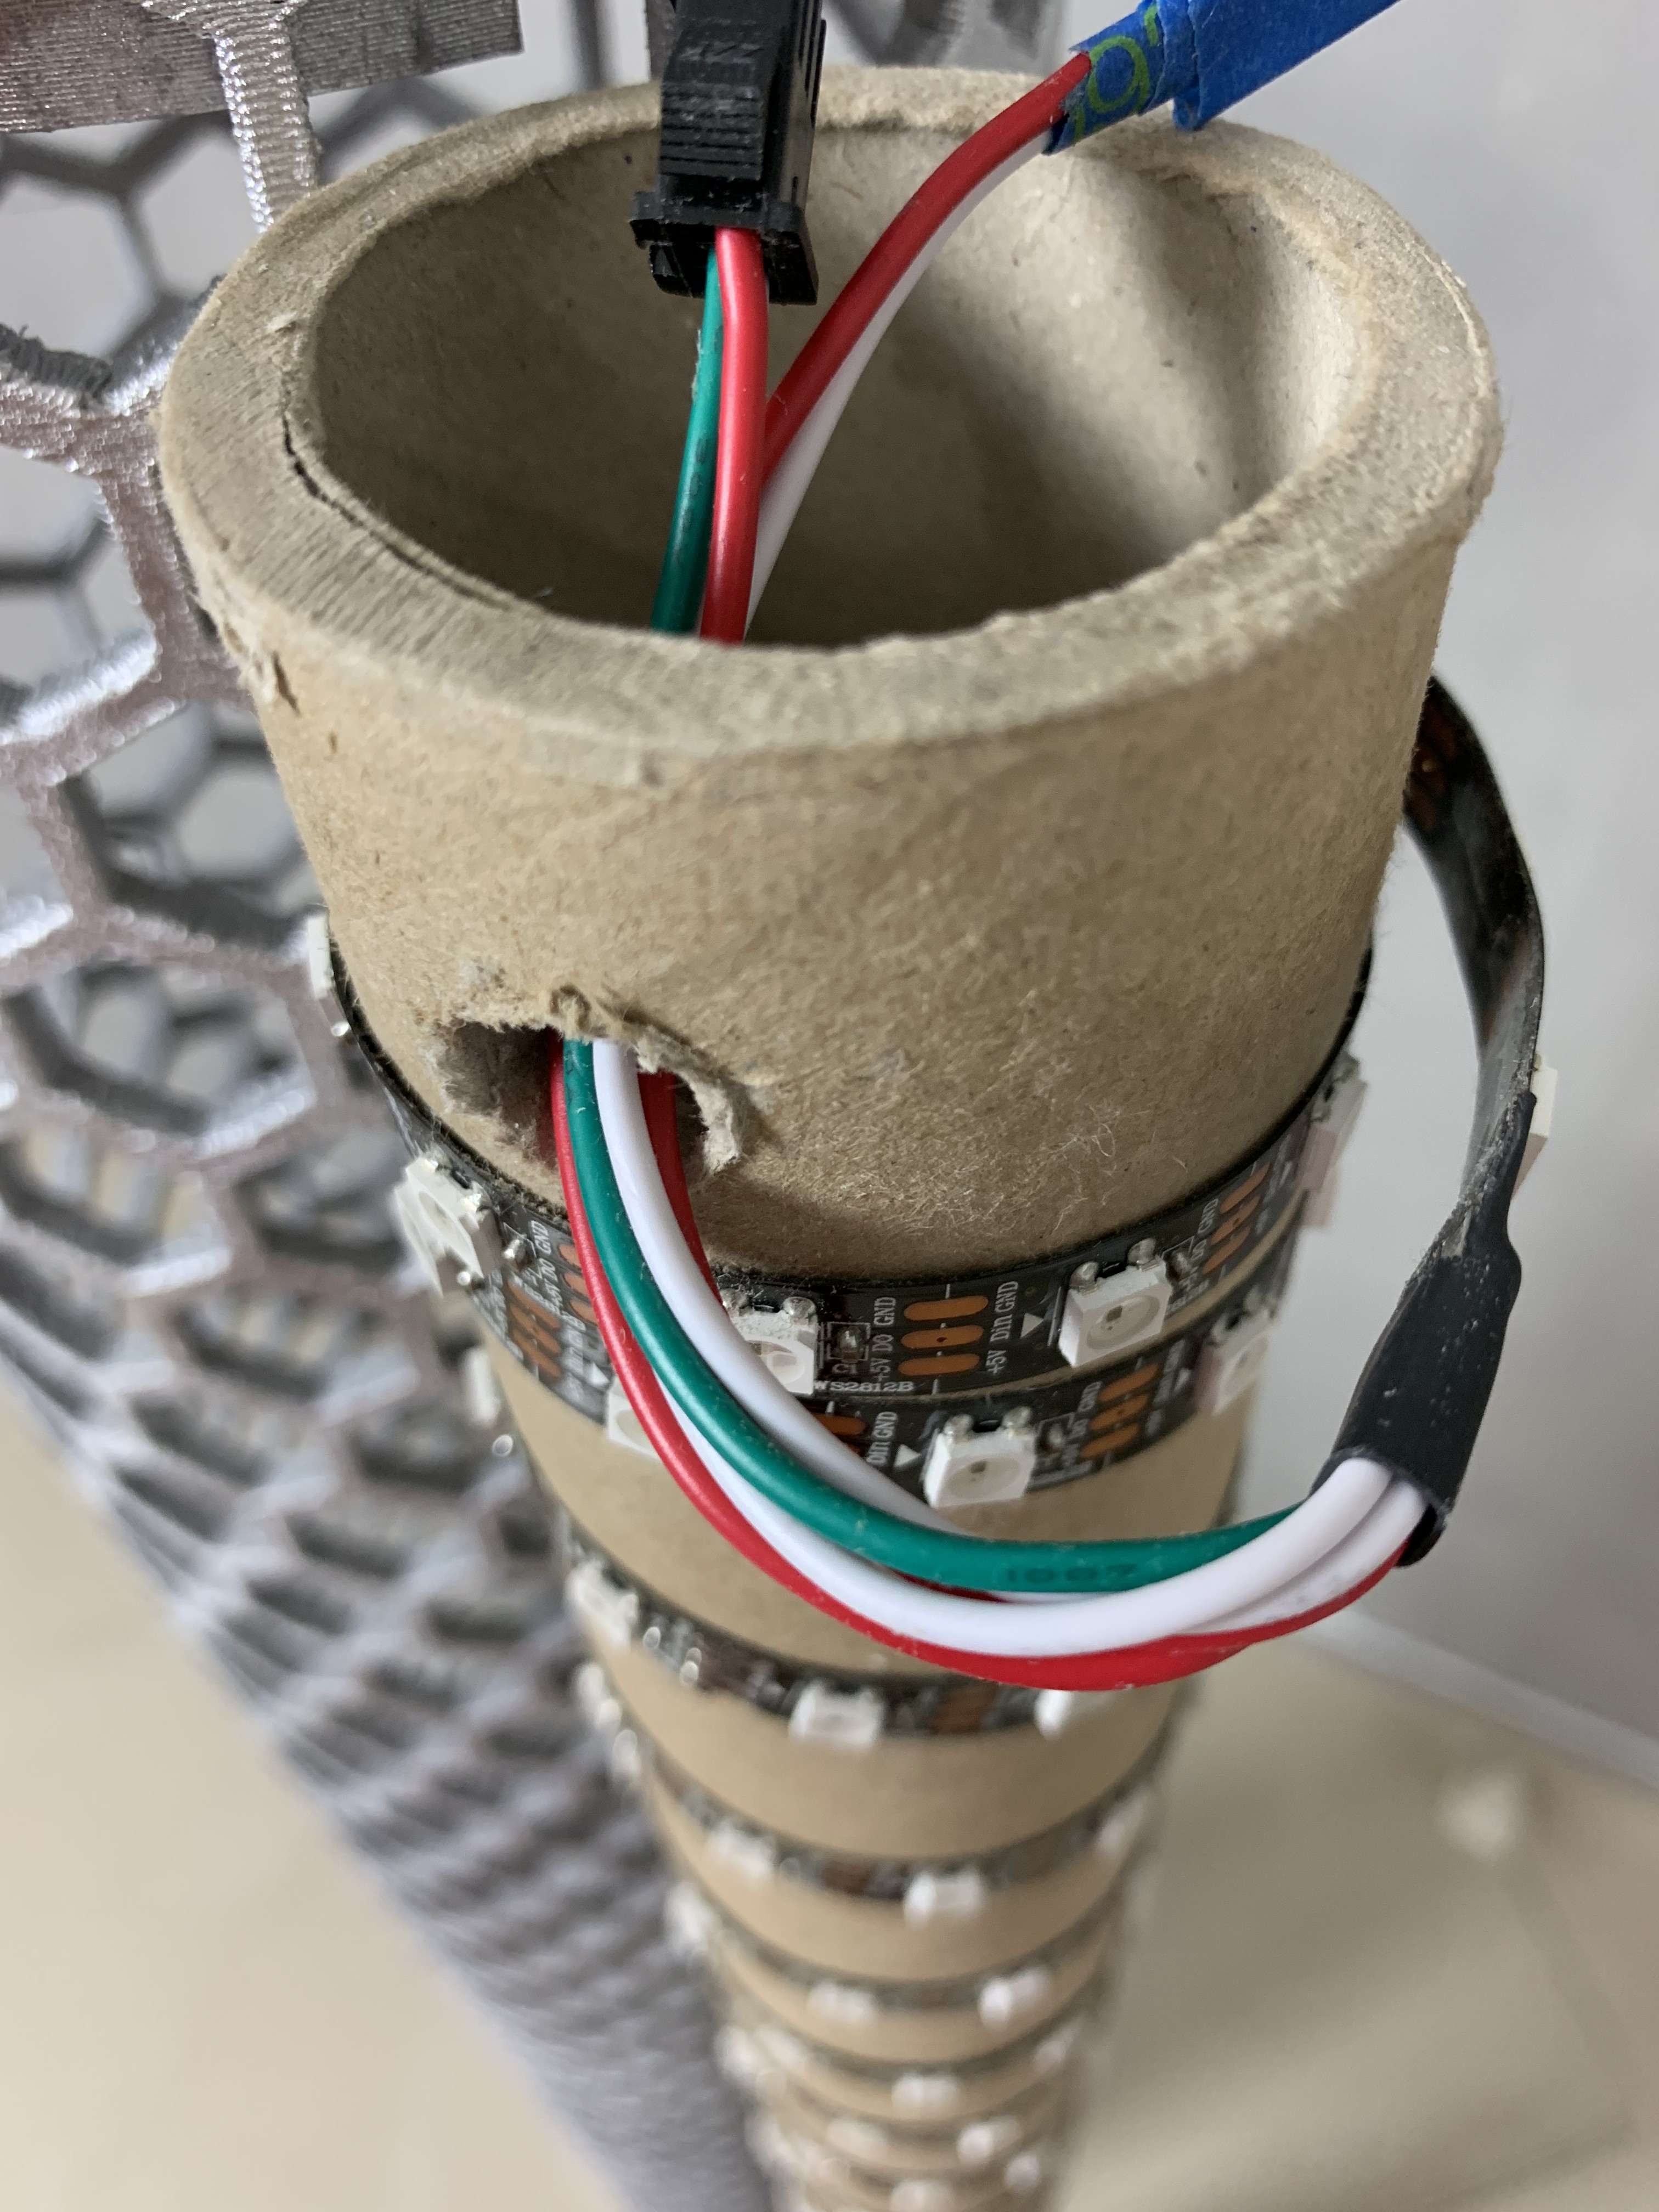
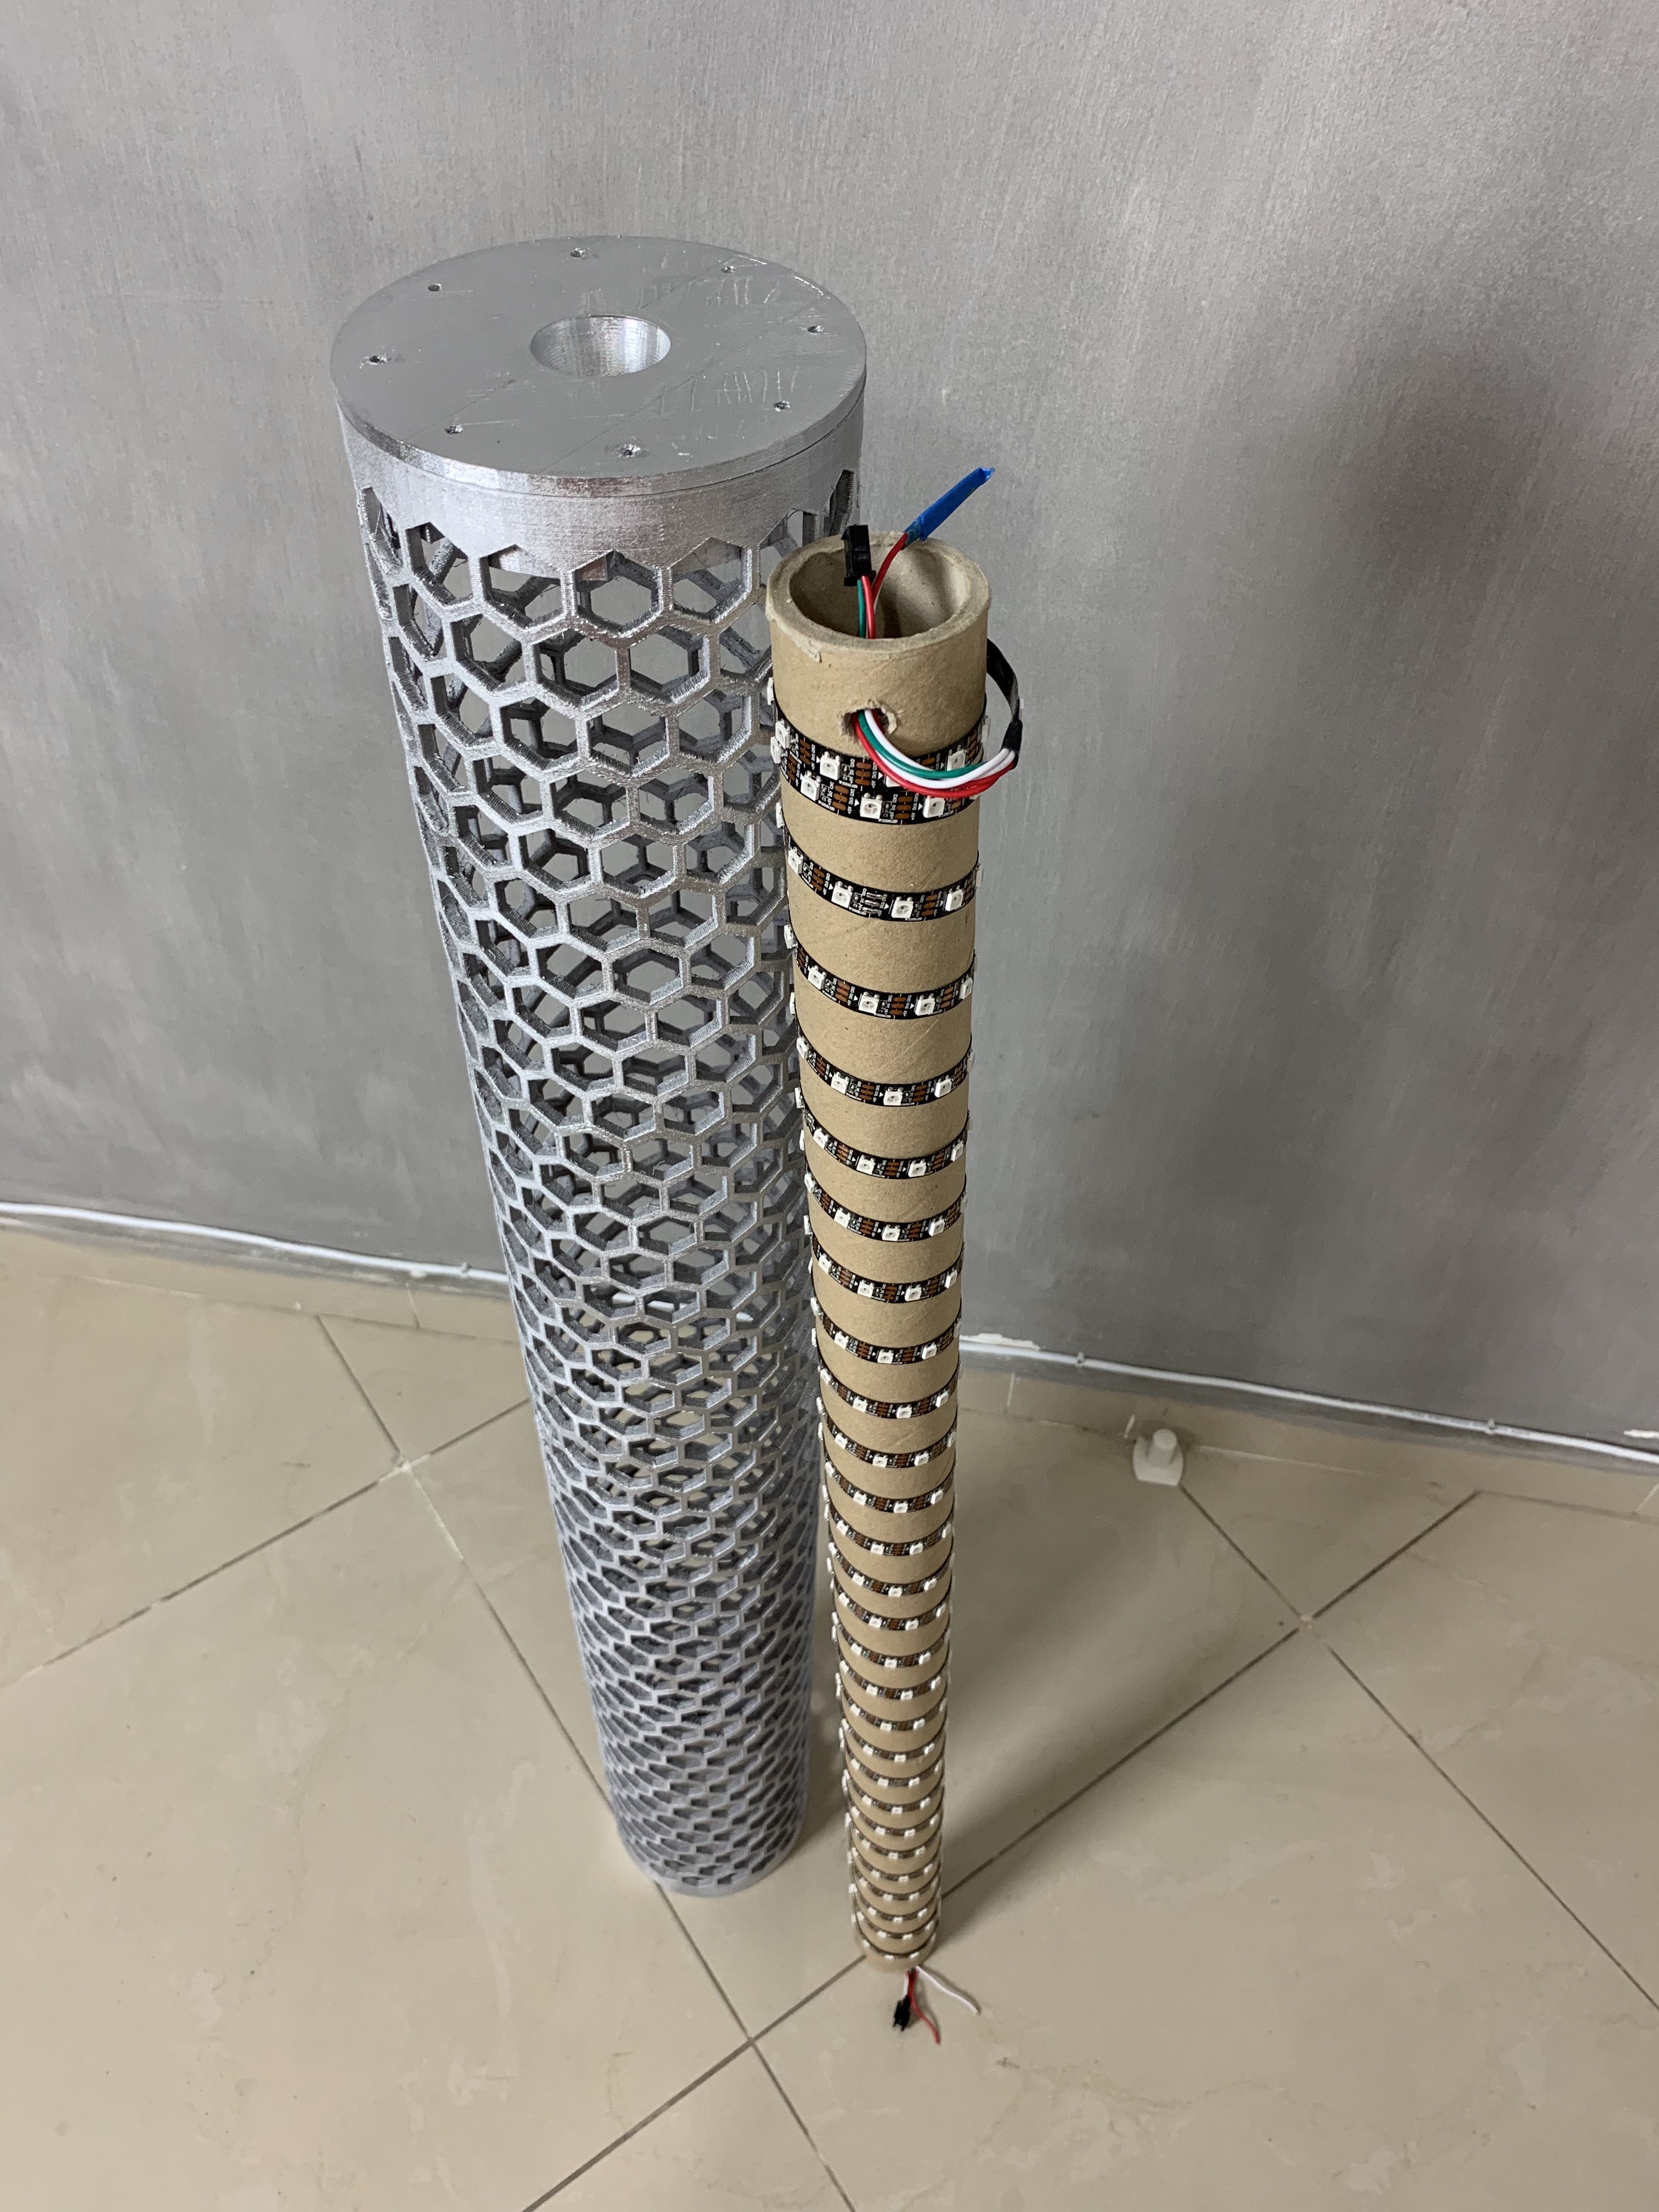
Hive is based on ESP32 for Wi-Fi connectivity and Bluetooth for fast pairing process with mobile device. The ESP controls 5 meter ws2812b LED strip (300 LEDs) so at max power it can draw 5v@18A.
To avoid that power consumption when I what it to glow in white I'm going to replace the LED strip with RGBW strip for pure white color.

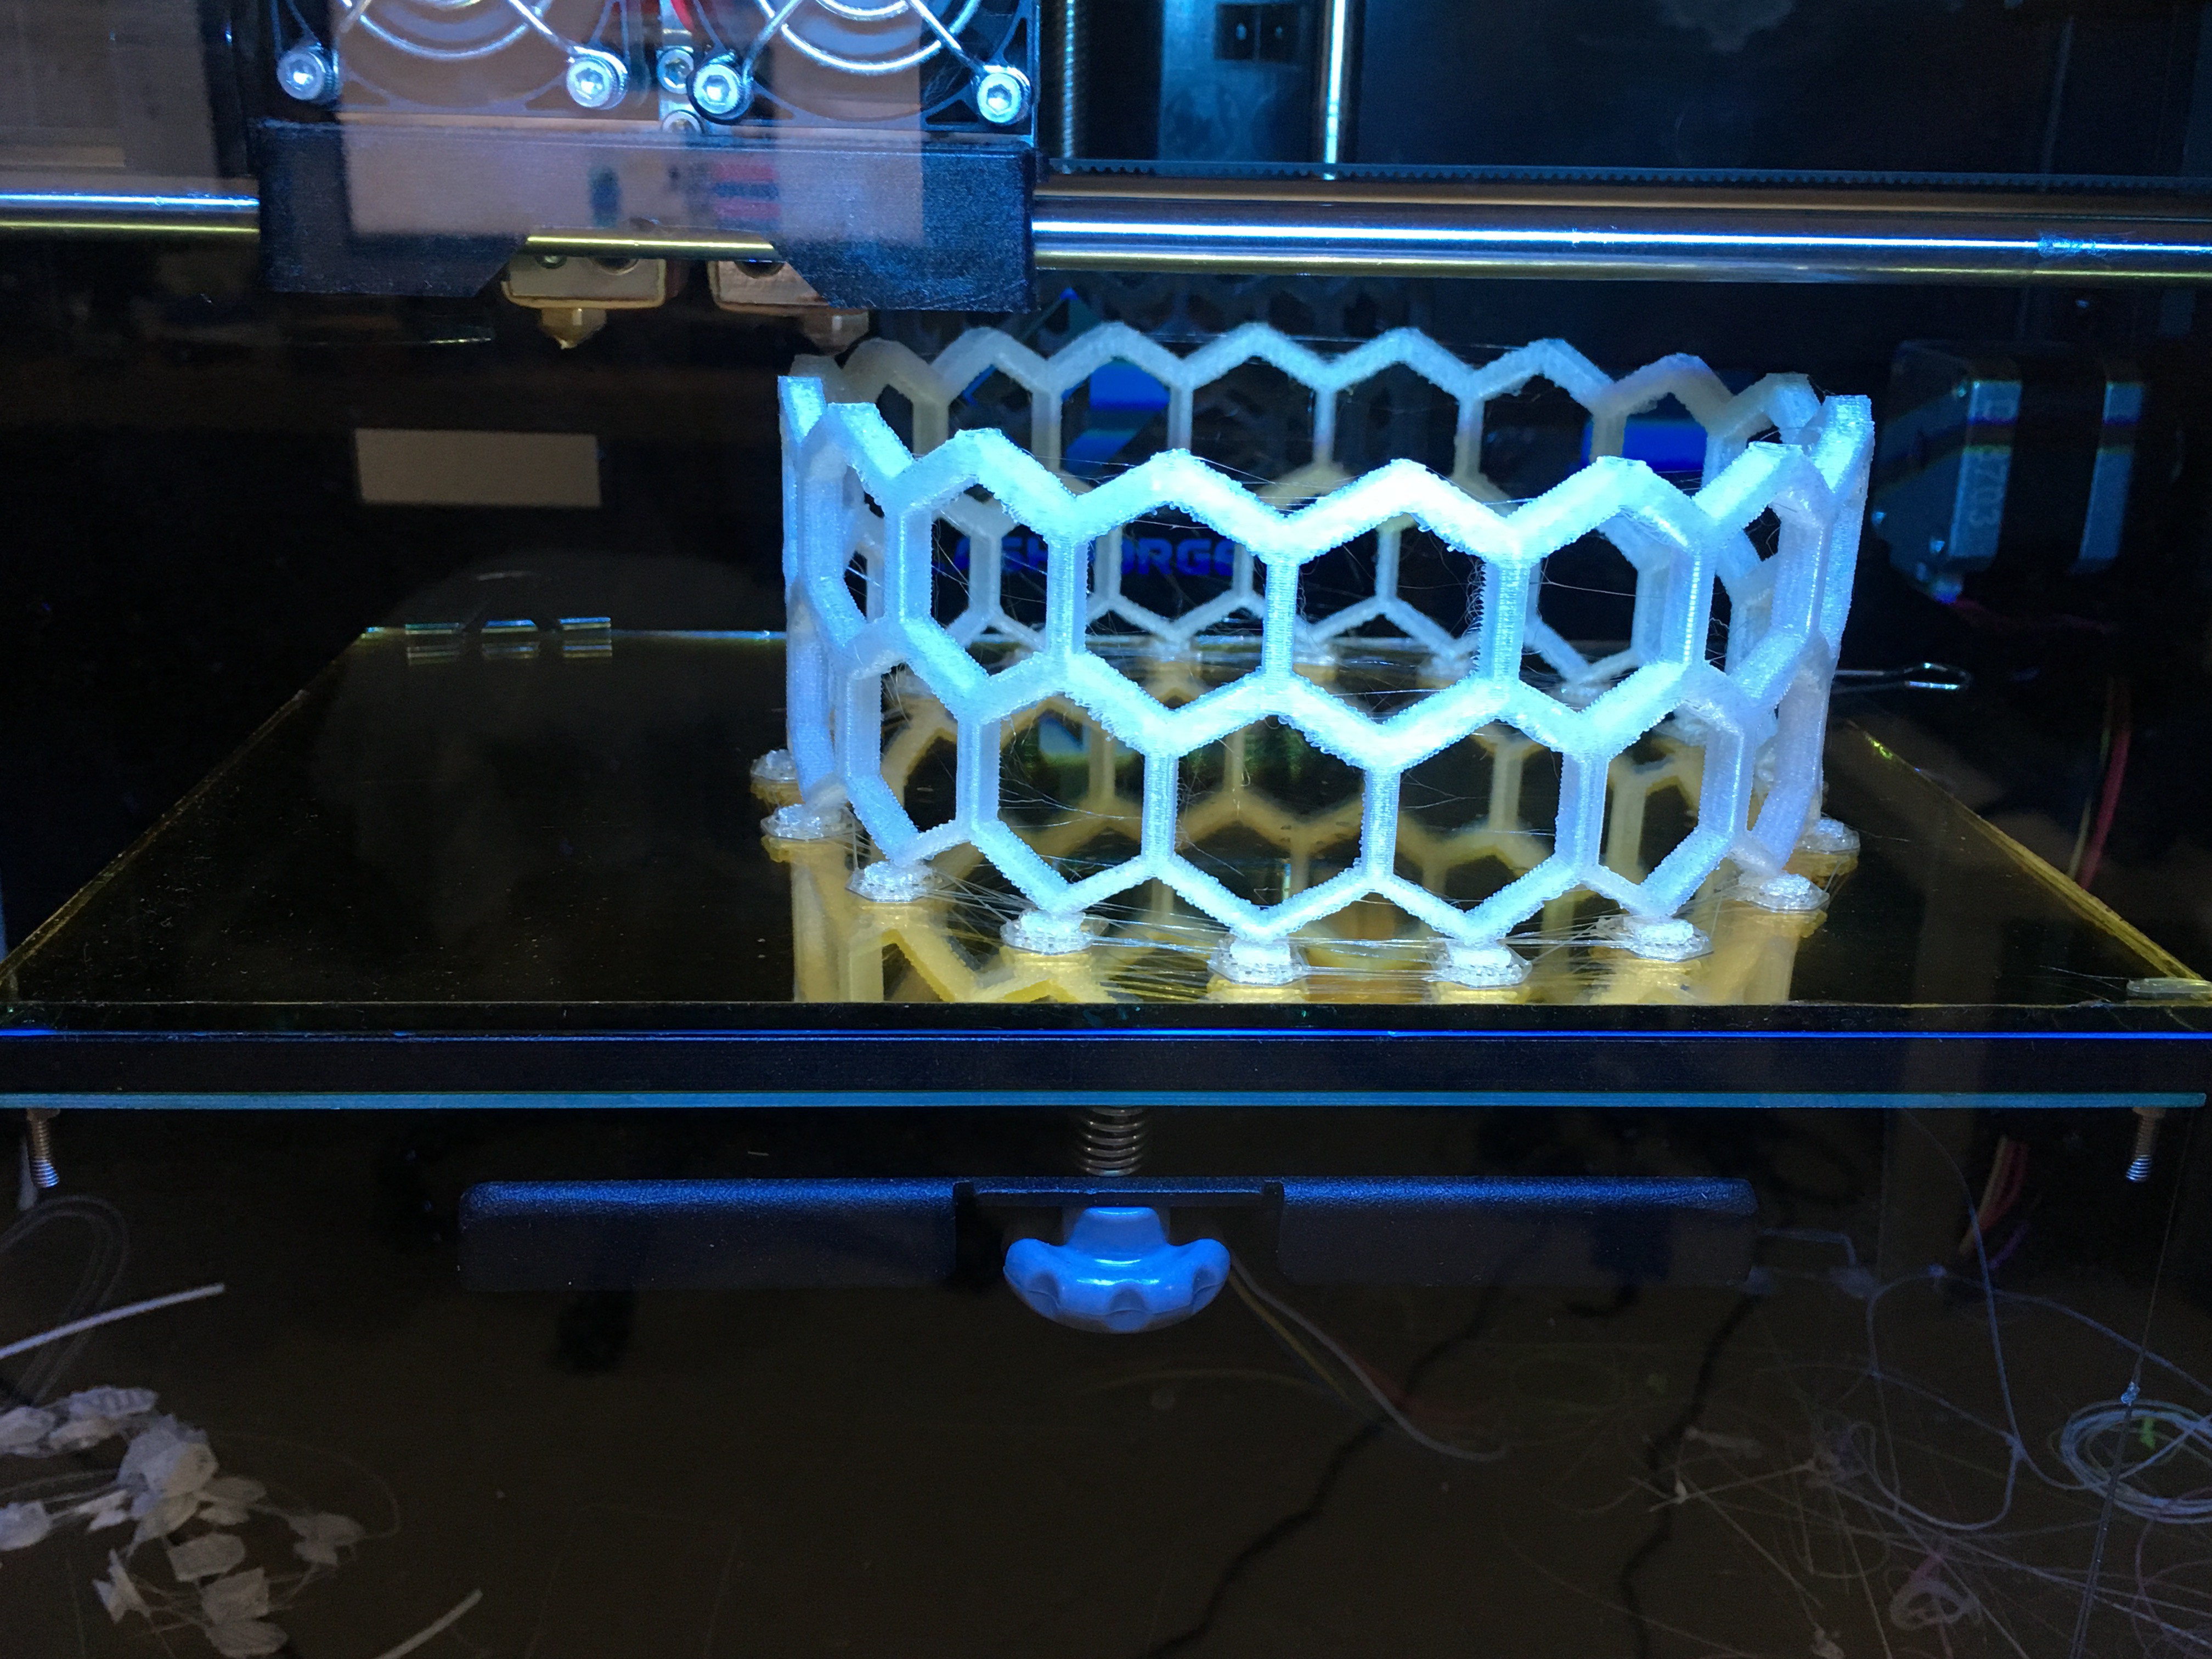
Hive has a concrete base to make it stable.
It took me two tries to make it work. In the first one I was impatient and I've tried to demold it after 2 days and it cracked and broke.
For the second try I've waited week and a half and it came out perfect.

You can find the source code for this project in my GitHub repository that linked to the project.

wiring.jpg

Wiring ESP32 and LED strip

JPEG Image - 558.86 kB - 06/13/2020 at 10:16

Preview
Download

3d-printing-assembly.pdf

Check this document for information about the 3d parts and how many parts you need to print

Adobe Portable Document Format - 275.32 kB - 06/13/2020 at 10:15

Preview
Download

Standard Tesselated Geometry - 262.48 kB - 06/13/2020 at 10:03

Download

Standard Tesselated Geometry - 267.95 kB - 06/13/2020 at 10:03

Download

Standard Tesselated Geometry - 547.93 kB - 06/13/2020 at 10:03

Download

View all 12 files

  • 1 × ESP32 (LOLIN32)
  • 1 × 5M WS2812B LED Strip (60 LEDs per meter)

View project log

  • 1
    3D Printing

    Print all the parts according to 3d-printing-assembly.pdf file.
    The resolution of the print is depends on your available time. The finer you print the better it gets and less sanding at the end.

  • 2
    Gluing, Filling and Sanding

    To glue the main parts I user 3M Scotch Gel Glue (like this)
    I found that its viscosity and cure time was perfect for the job, but if you can find something like this it can work too.
    I've glued 2 parts each time and put dumbbells weights on them until the glue cured.

    After all the parts were glues together the parts had small gaps between them that were need to be filled.
    I've used 3M bondo plastic metal 901 (like this). It has short curing time so I work in small parts quickly.
    When all the gaps were filled I've send it to make it flush with the printed part.

    The third part was to spray paint all the assembled part with filling primer so it can fill all the 3D printed gaps (Rust-Oleum, Gray, GrayRust-Oleum)
    Now the main sanding work starts, the entire surface of the lamp was needed to be sand with find grade.
    Once the surface is clean and smooth you can paint it. I've used silver color to match the reference I saw but you can choose any color you like.

  • 3
    LED Strip Assembly & Wiring

    I had a carton tube (O.D 54mm, I.D: 44mm, Height: 1m).
    The LED strip was wrapped around the tube and at the two ends I drilled holes so the wires can go through.

    The LED strip is 5v and can draw up to 18A! so you need a powerful power supply.
    To avoid (or at least minimize) the color change across the strip due to voltage drop you need to inject the power in both sides of the strip and it will be useful to do it also in the middle of it. This will keep the color even throughout all the strip length.

    Now it is just simply wire it to the ESP32 and the power source directly like in the picture:

View all 6 instructions

Enjoy this project?

Share

Discussions

Similar Projects

Does this project spark your interest?

Become a member to follow this project and never miss any updates