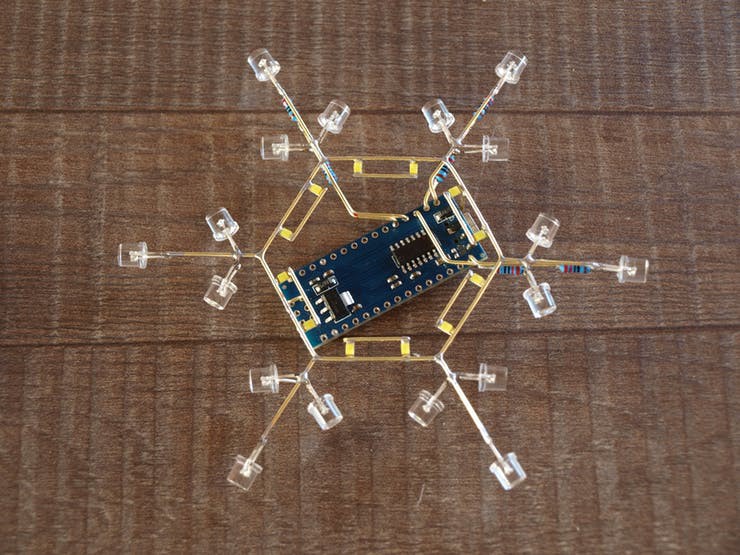
Close
0%
0%

Arduino Amazing Interactive Snowflake

To make an amazing interactive snowflake with Arduino Nano.

Similar projects worth following
This dream snowflake is illuminated by 30 LEDs and is divided into 17 independent parts, controlled by the Arduino Nano. Each group of LEDs can be adjusted with PWM, so that you can create a dreamy visual effect.

Before you start, print a beautiful and simple snowflake, remember to make it fit the Arduino Nano.

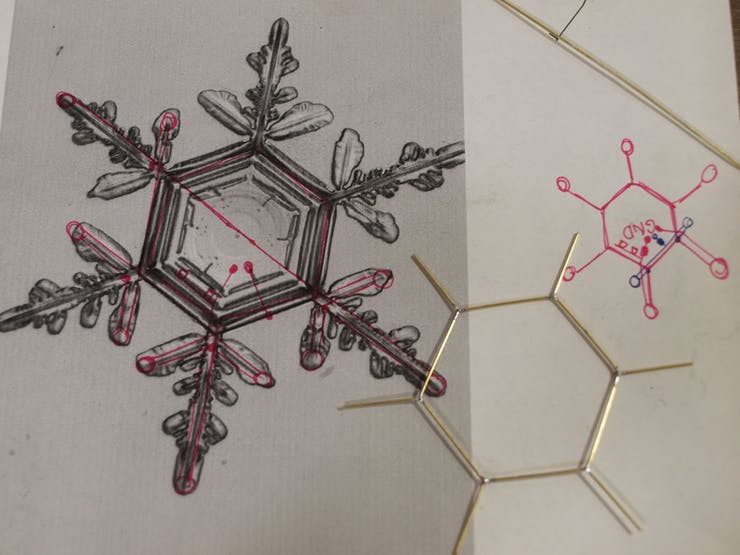
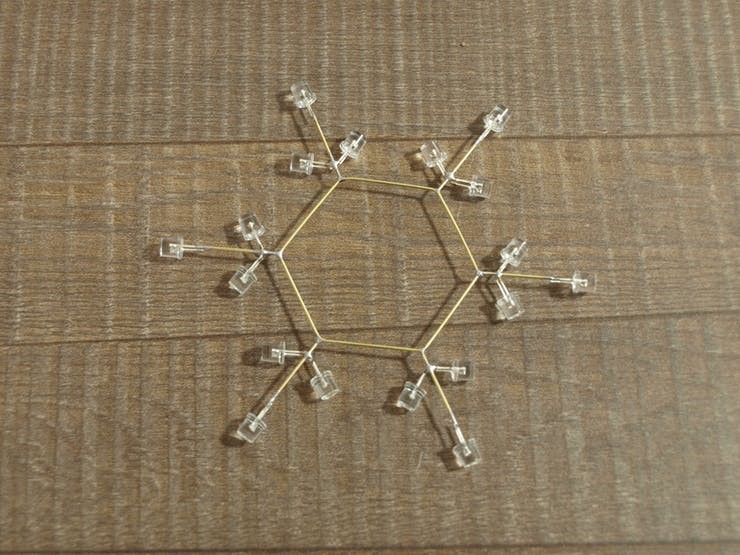
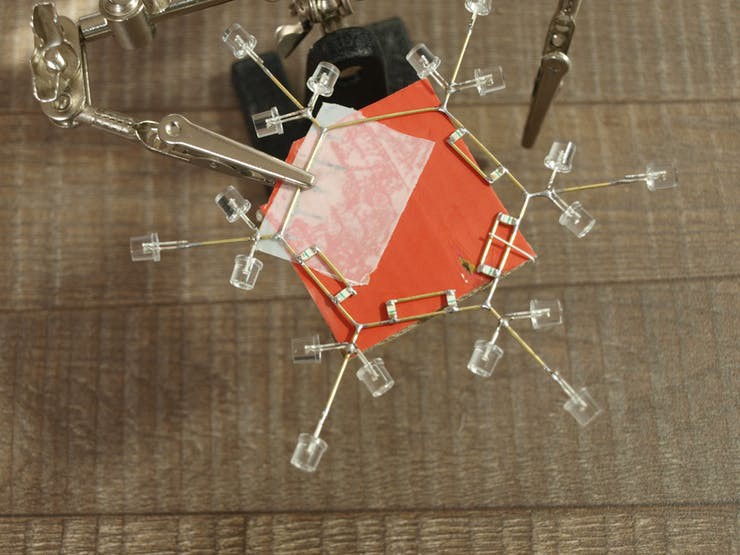
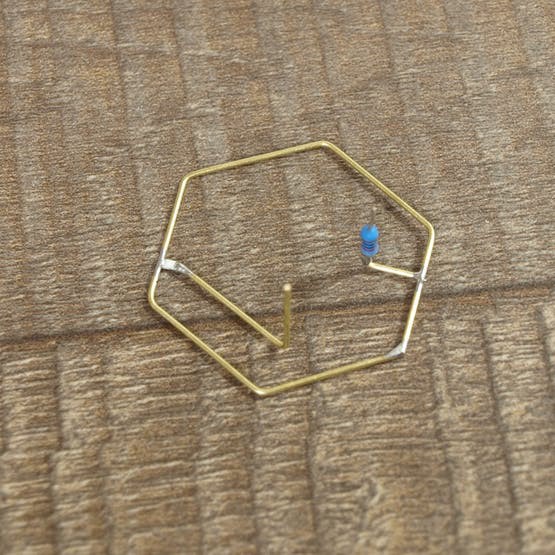
The support structure is also used for wiring, and is formed by welding 0.8mm brass rods with tin. I used a total of 2 meters of brass rods. This is a test of your patience and skill.

Schematic.png

Schematic Diagram

Portable Network Graphics (PNG) - 75.39 kB - 06/15/2020 at 08:29

Preview
Download

  • 1 × Arduino Nano
  • 30 × LEDs Electronic Components / Misc. Electronic Components
  • 1 × PWM Power Management ICs / Switching Regulators and Controllers
  • 1 × 0.8mm brass rods
  • 1 × tin Discrete Semiconductors / Thyristors (DIACs, SIDACs, TRIACs, SCRs)

View all 6 components

  • 1
    Construct a Core Hexagon

    First, I constructed a core hexagon by bending a brass rod and welding the ends together. By adding another 6 brass rods protruding from the top of the hexagon, the ground wire is completed, and now it is necessary to solder all the cathode leads of the LED to it to create a snowflake pattern. The tricky part is to add SMD LEDs, we might as well use fixtures made of cardboard and double-sided tape.

  • 2
    Add the Arduino Nano under the Core Structure

    Next is to add the Arduino Nano under the core structure, leaving enough space in between to satisfy the 3-layer brass rod wiring, which will connect the microcontroller pins to all LED anode leads. This also requires great patience. Not only do you need to avoid short circuits between wires, but also add current limiting resistors and make them look good.

    The blade LEDs are connected to the nearest Arduino output pins, respectively. The branch LEDs are grouped in two and connected to the PWM pins. The core LEDs are also grouped in two and connected to the remaining pins. The Arduino NANO only has 18 output pins. I need one pin for the touch sensor, which leaves only 17 pins, so the two pairs of core LEDs are connected together to form a group of 4. I use a 220Ω resistor to limit the current flowing through each pin to about 8mA. This means a total of 240mA, which is a bit high for the ATmega328 chip, but it works. The safe maximum is said to be 200mA.

  • 3
    Add Another Brass Rod

    To be able to interact with snowflakes, I added another brass rod to make a capacitive touch sensor.

View all 5 instructions

Enjoy this project?

Share

Discussions

Similar Projects

Does this project spark your interest?

Become a member to follow this project and never miss any updates