 Jan
JanOh boy, how often have I tried to get my analog media into the 21st century.
- Flatbed scanners: Horrible! Out of focus, terribly slow and garbage colors
- Dedicated scanners: The same! (With a little better focus.)
- Scan services (I tried): 8Bit jpeg! White balance in the nirvana. No way!
There are better ways. Finally!
Big inspirations came from here:
http://natephotographic.com/dslr-film-scanning-perfect-color-negatives/
The idea is simple: Take a photo with a good SLR/DSLR of the analog material. As always the devil is in the details. Many solutions relied on getting a tripod and placing the film an a frame, light source or something else. For me being lazy and not too accurate with my clumsy fingers there was no hope to achieve quick digitalizing of hundreds or thousand of pictures.
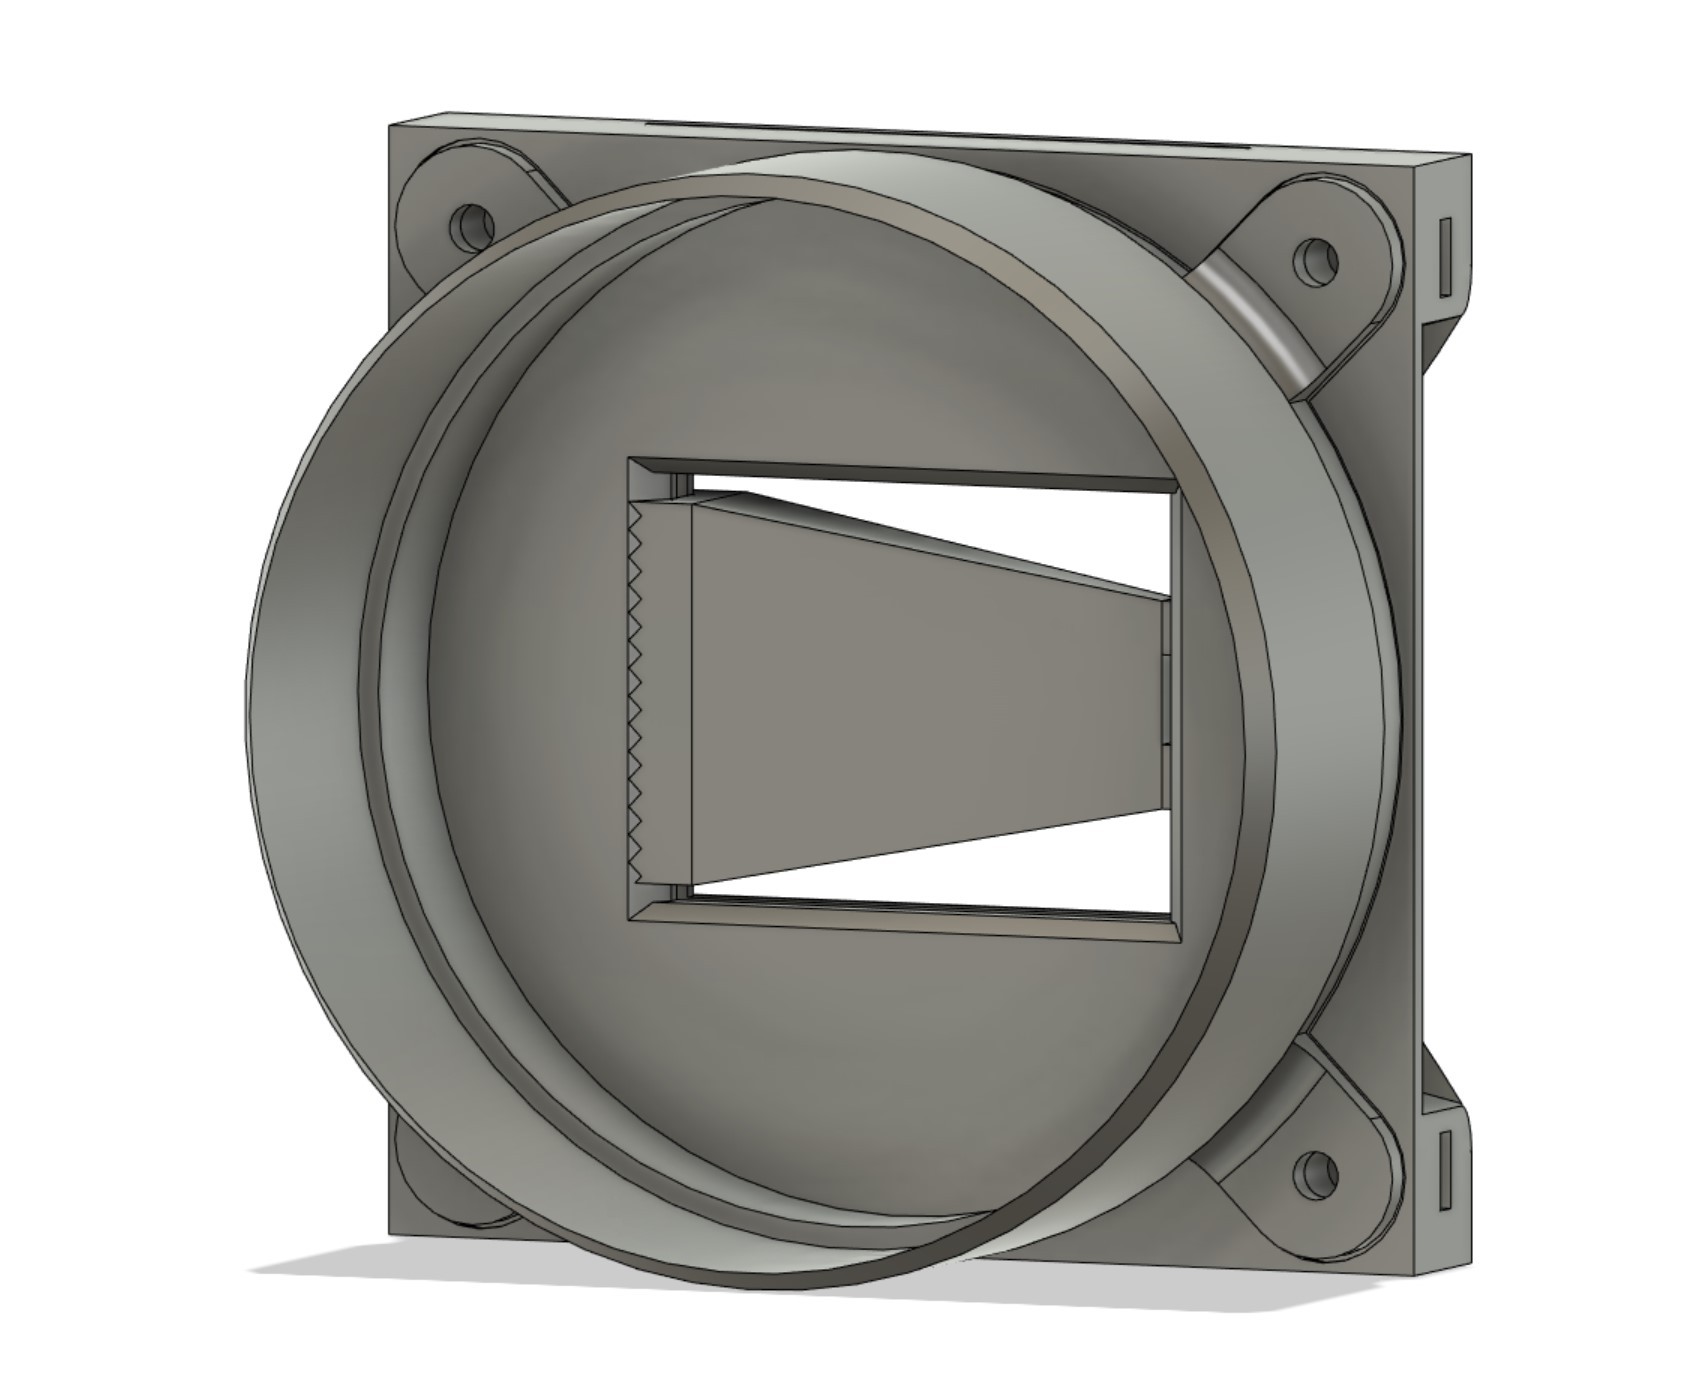
To fix that I started to construct a printable frame to insert positive slide or negative film. The first part was to have it attached as a lens hood to camera. I did not want it do move in front of the lens more than necessary. This was the fully customizable lens hood designer was born:
https://www.prusaprinters.org/prints/34664-lenshood-generator-sony
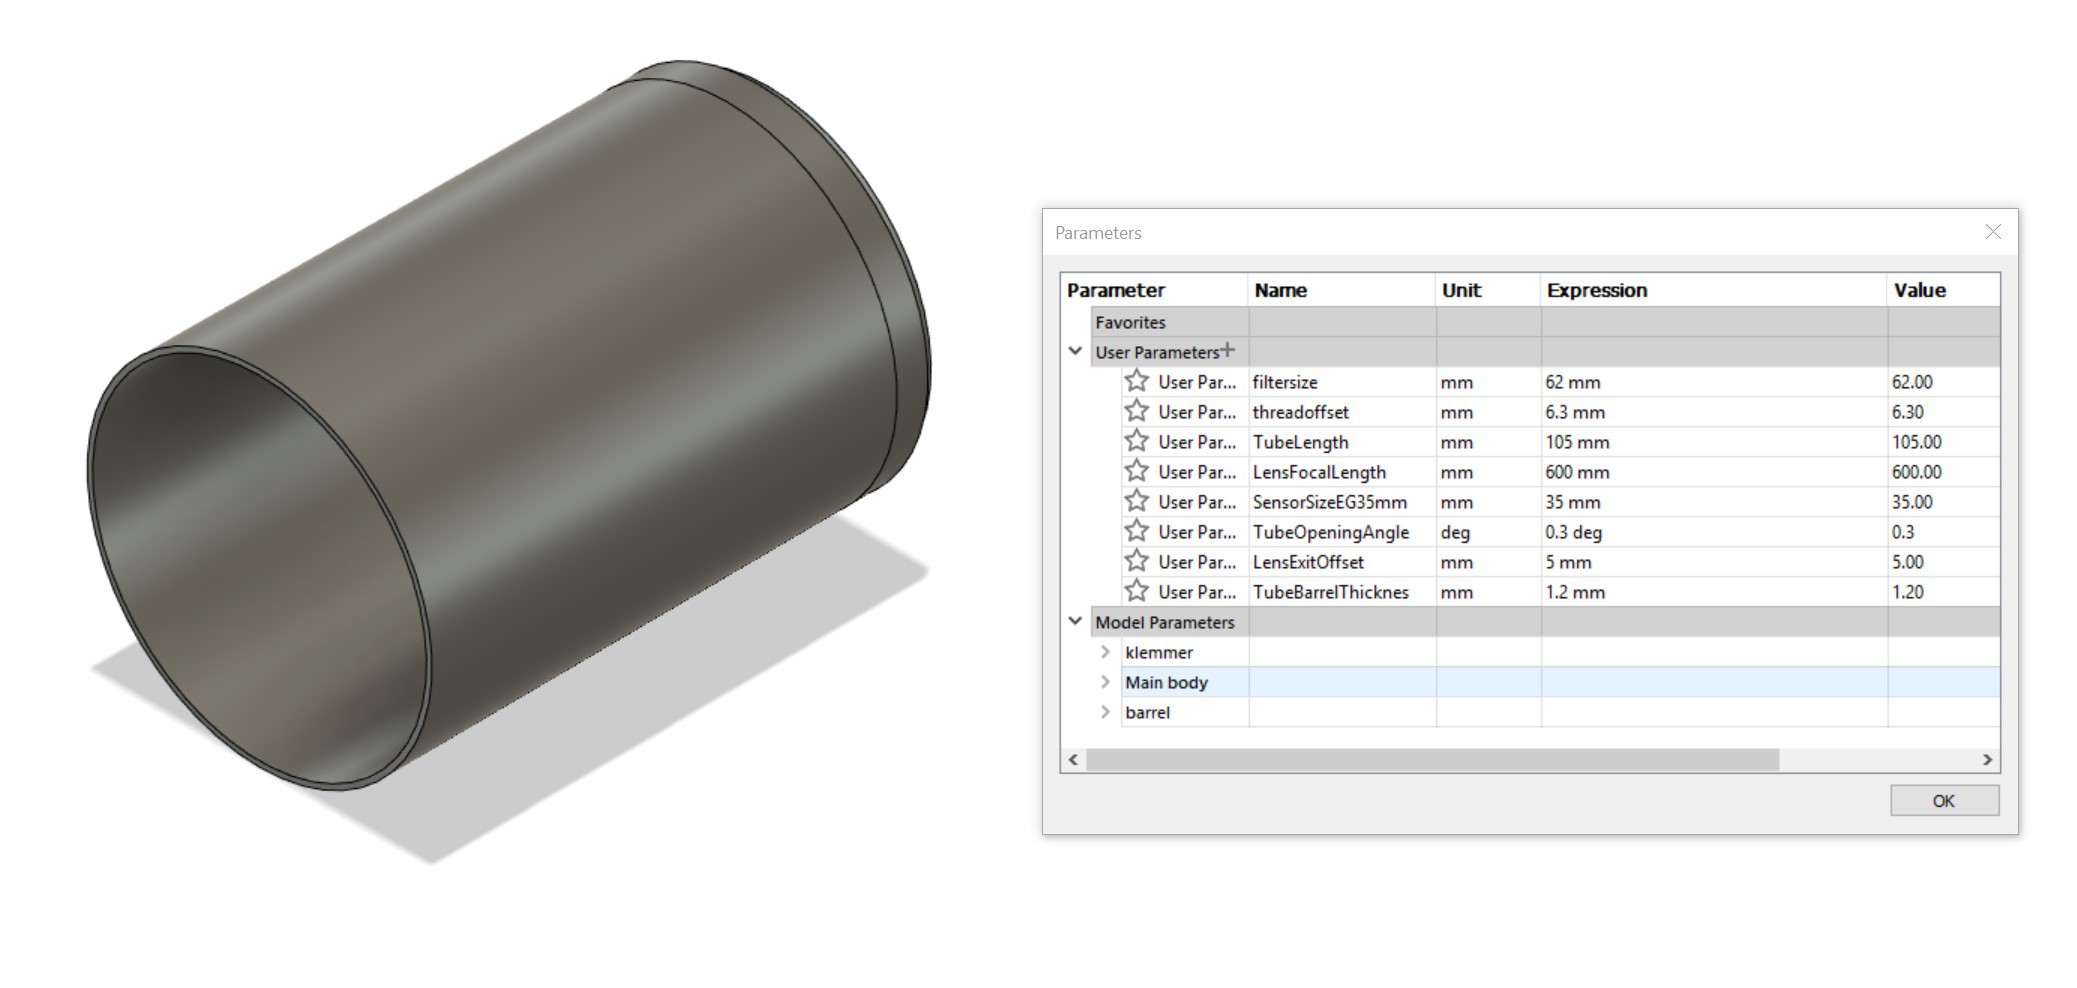
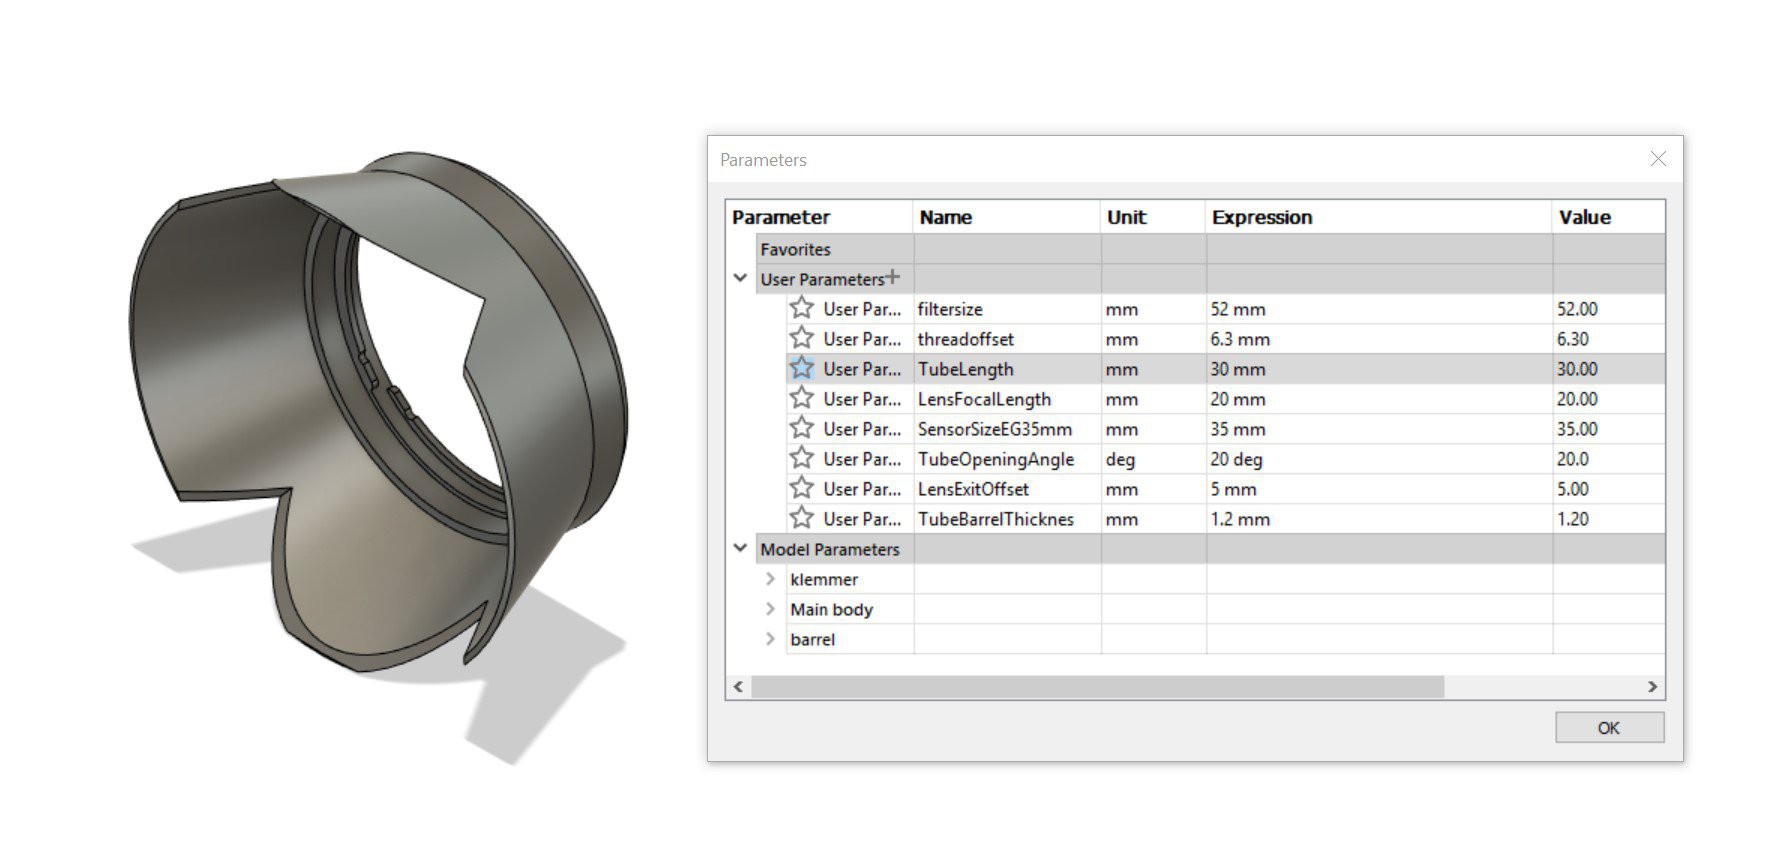
A parametric lens hood generator for Alpha lenses. Enter desired parameters like sensor size, focal length, desired length of hood and opening angle and you have shiny new lens hood ready to print.
The next thing was a constructing a frame to take hold of Agfa slides for the CS and standard system. These were common in Europe and on my list for conversion.
The slide should go in and hit a resistance when perfectly centered. This way no optical alignment of each picture would be needed.
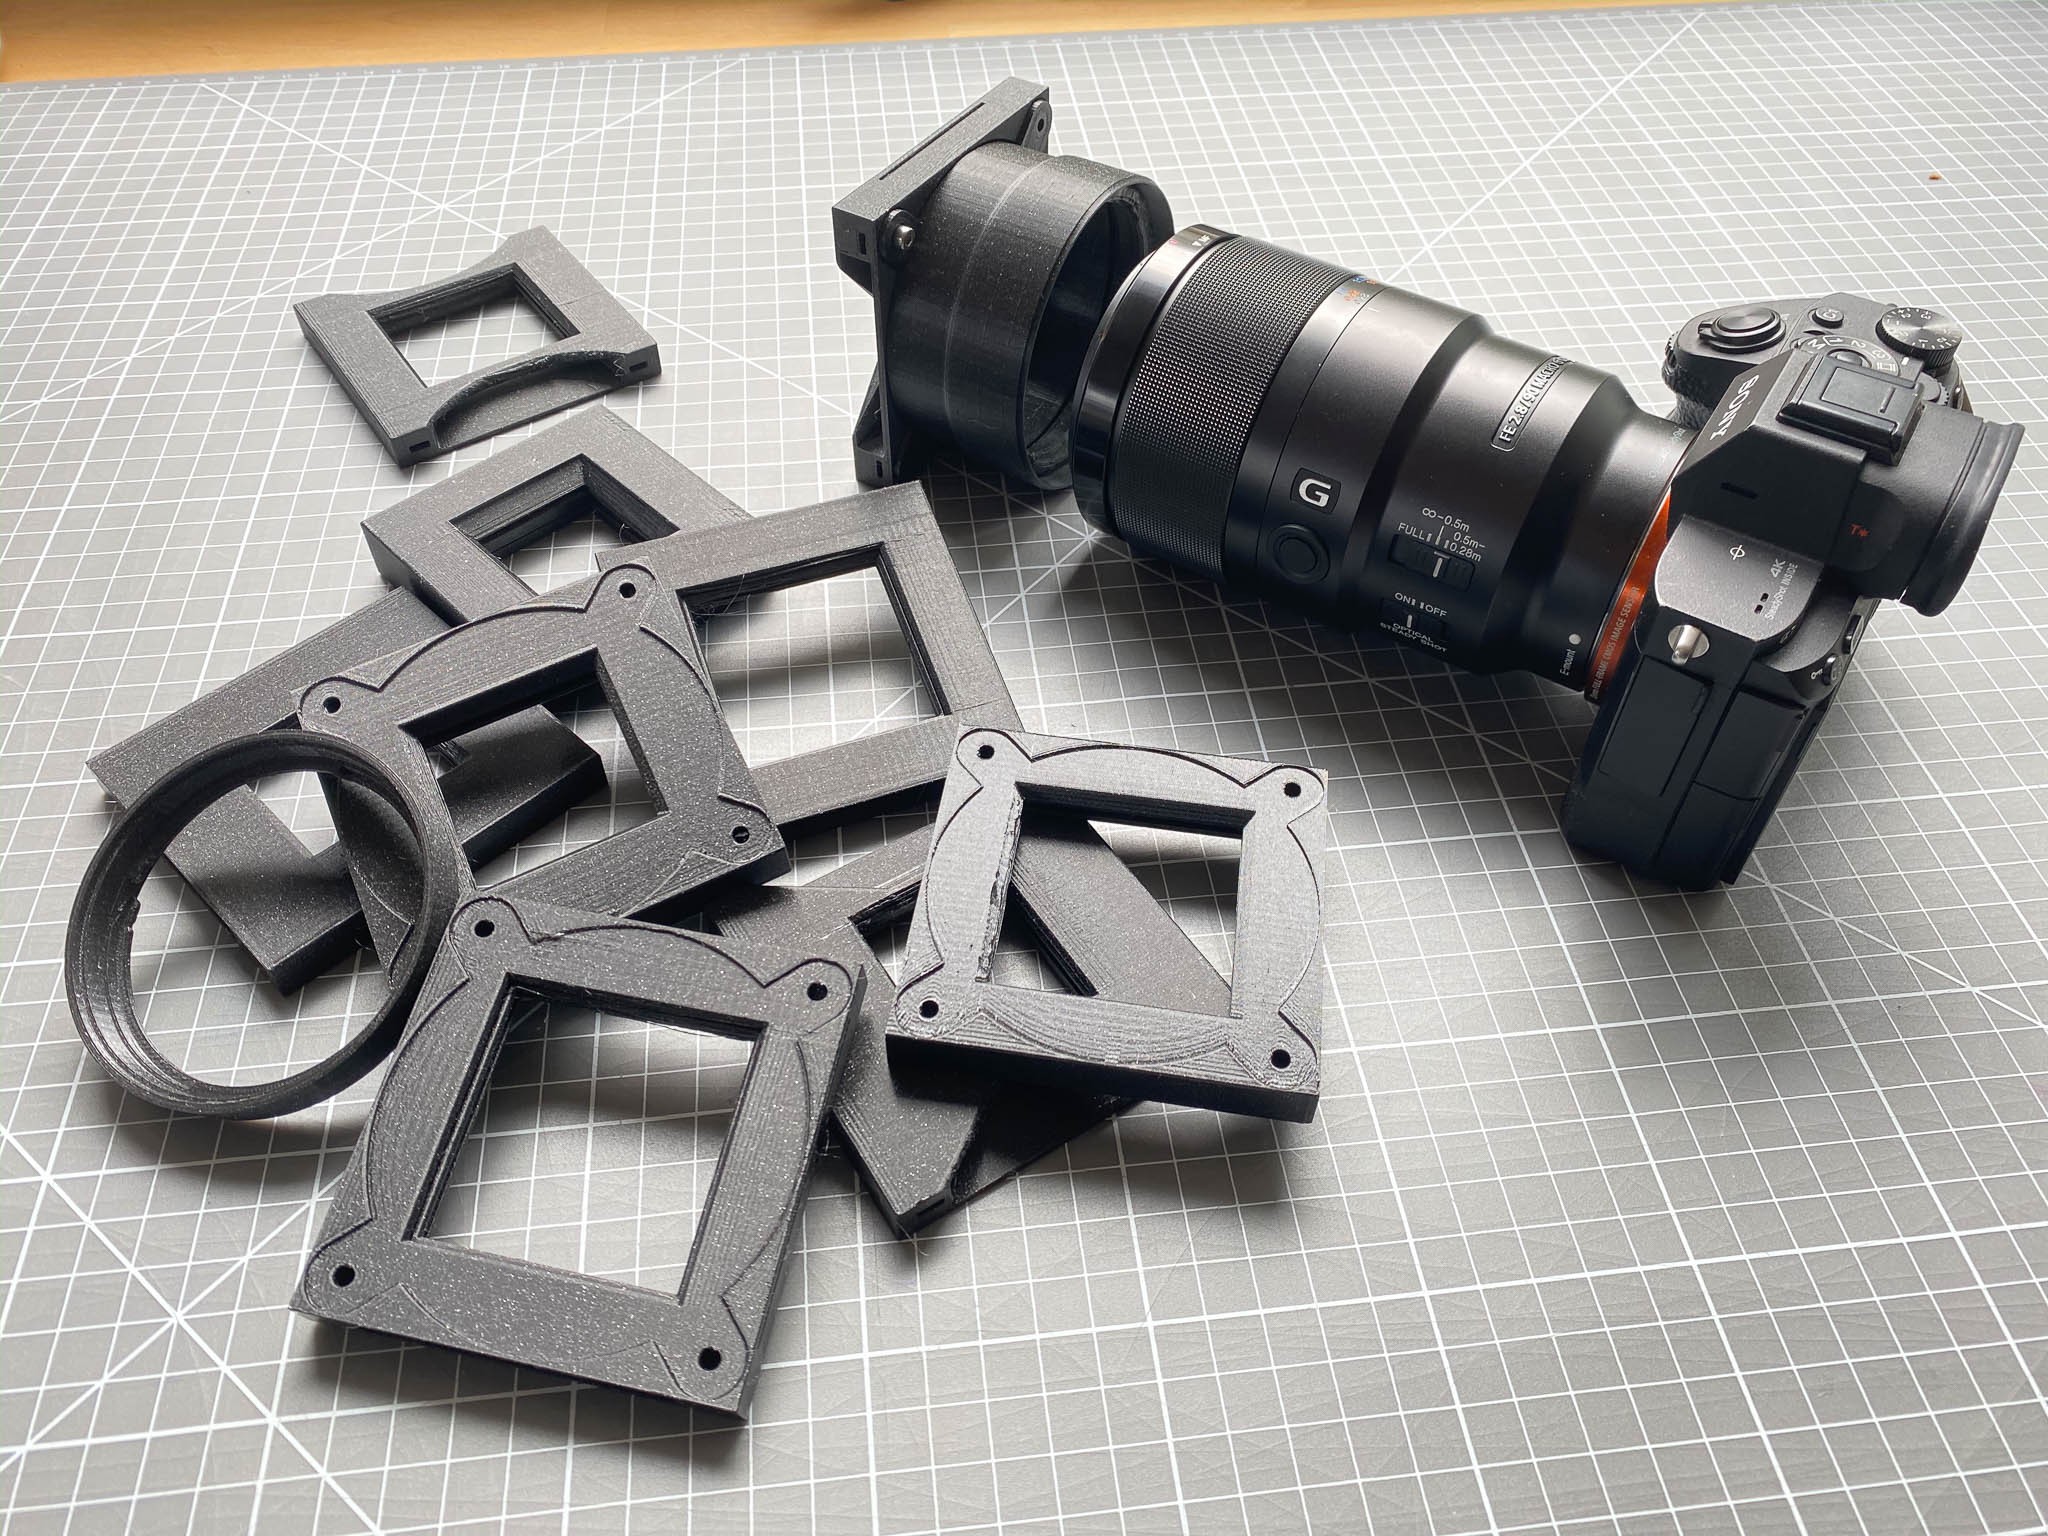
Printing and testing got me wasting a kg of PETG, as tolerances were really tricky. The other thing was to print a part with cavities from all directions. I use a Prusa FDM printer and the auto generated supports are not always helpful. This design finally prints well, with the support constructed within which is easy to break out.
With this setup I could digitize about 6-7 frames per minute (FPM). Around 400 slides per hour. It took me some hours to scan. Compared to the days of construction an testing… Blazing fast.
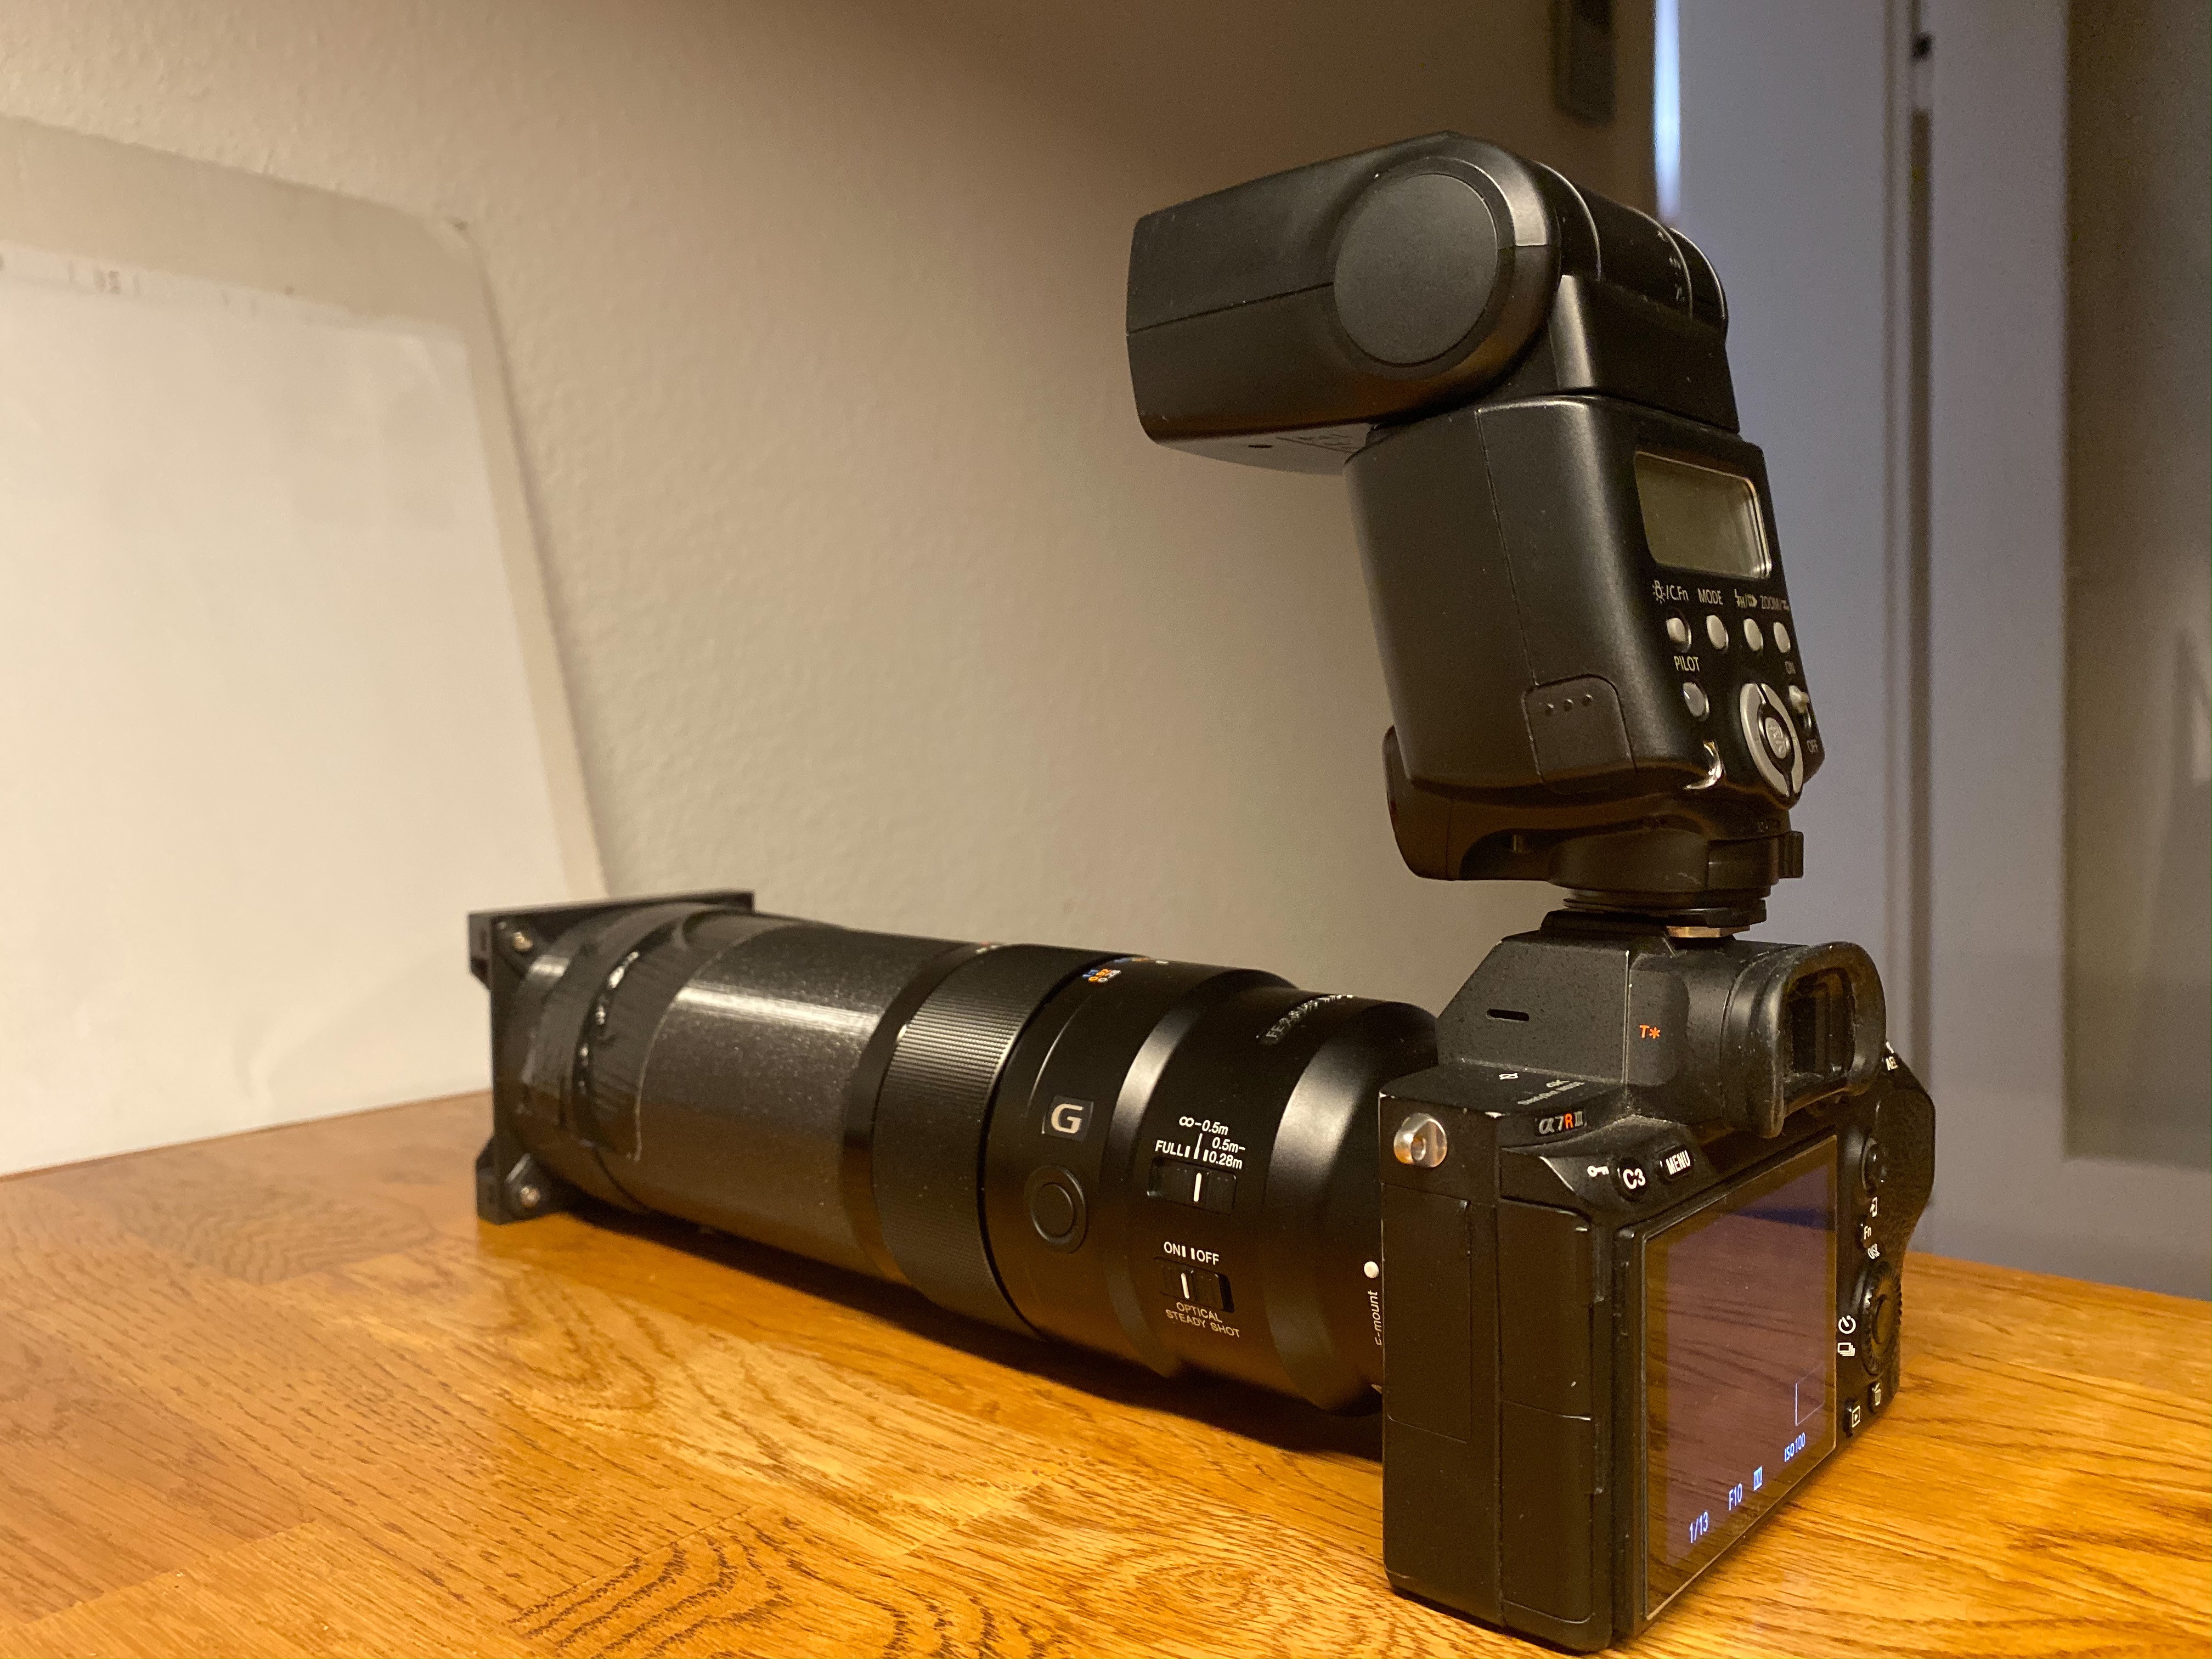
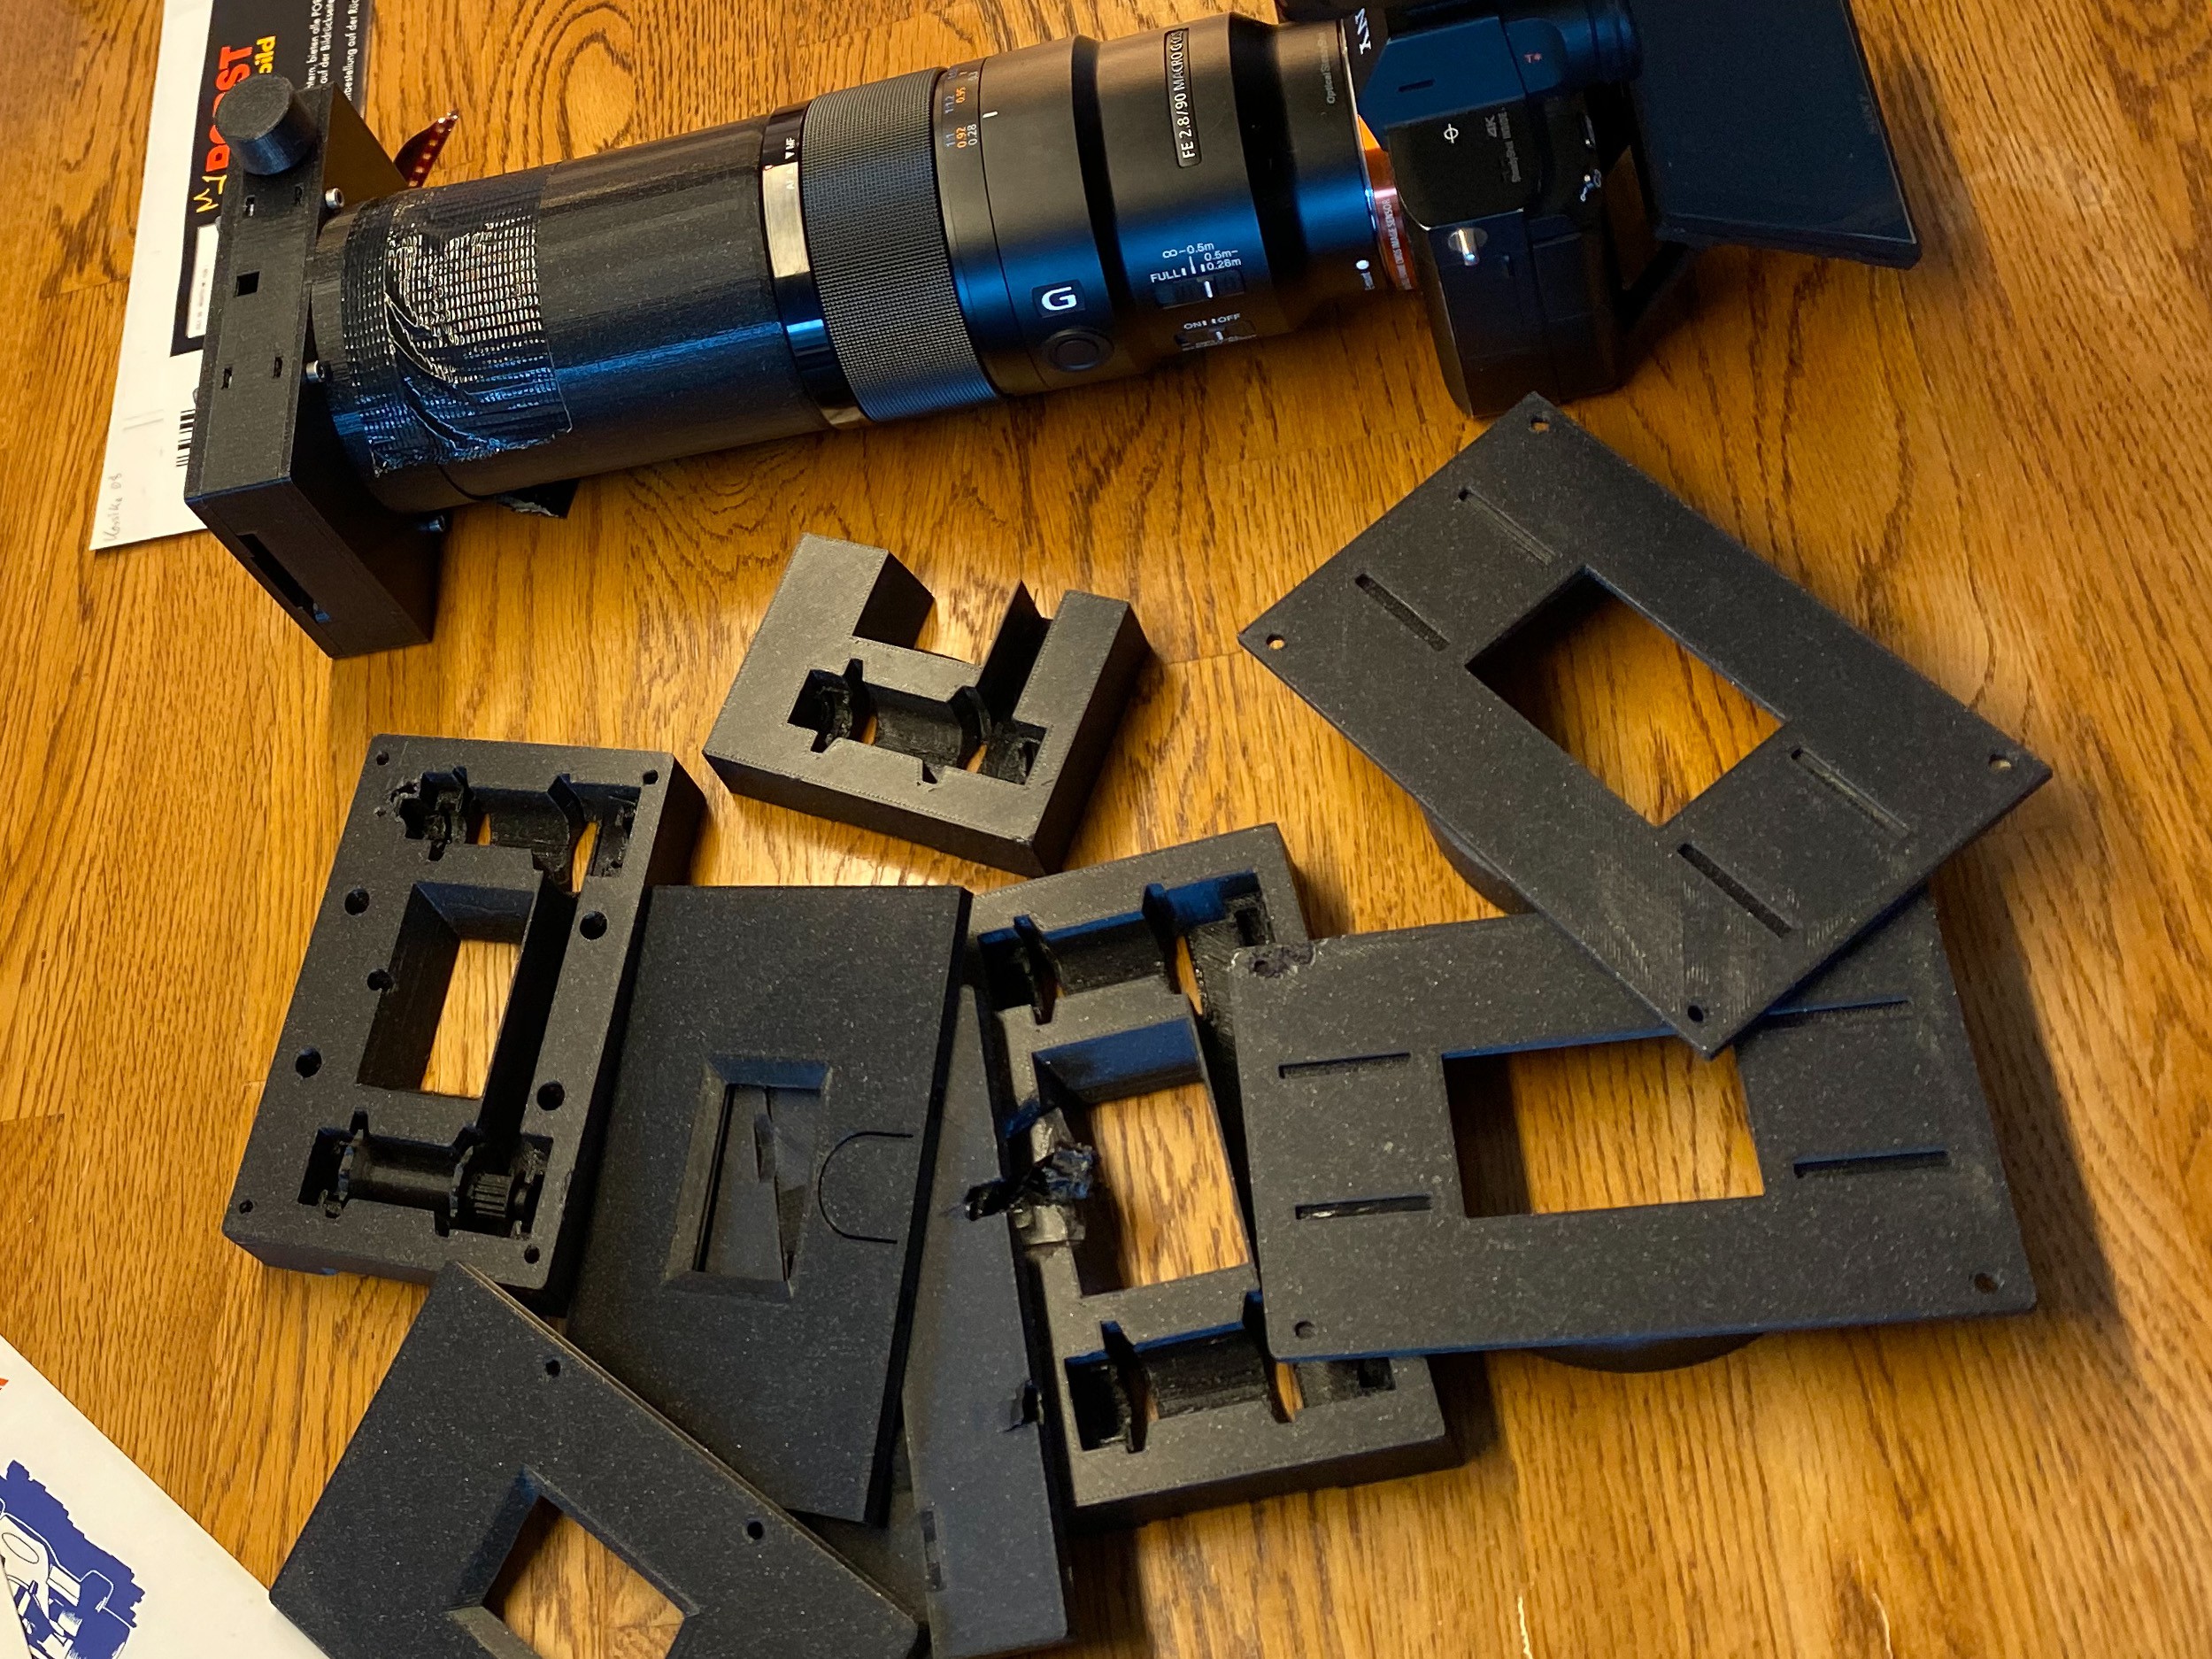
My Setup:
- Sony A7r set to 1/5 seconds. The light comes from the flash, the long time is just for preview brightness.
- Sony 90mm Macro lens. Set to aperture around 4, to have it a little stepped down
- A Canon EX430 flash as it was unemployed. No ETTL with Sony, however I was shooting all manual anyway setting the flash to around 1/32.
- A light bouncing plate (sheet of paper) to get the flash light reflected behind the film.
- A haze filter on the lens to remove UV light from the flash.
I opted for a flash as a light source, as the spectrum of light is well defined and well known. For LEDs you never know what you get or go really expensive. In the end I had really stunning colors.
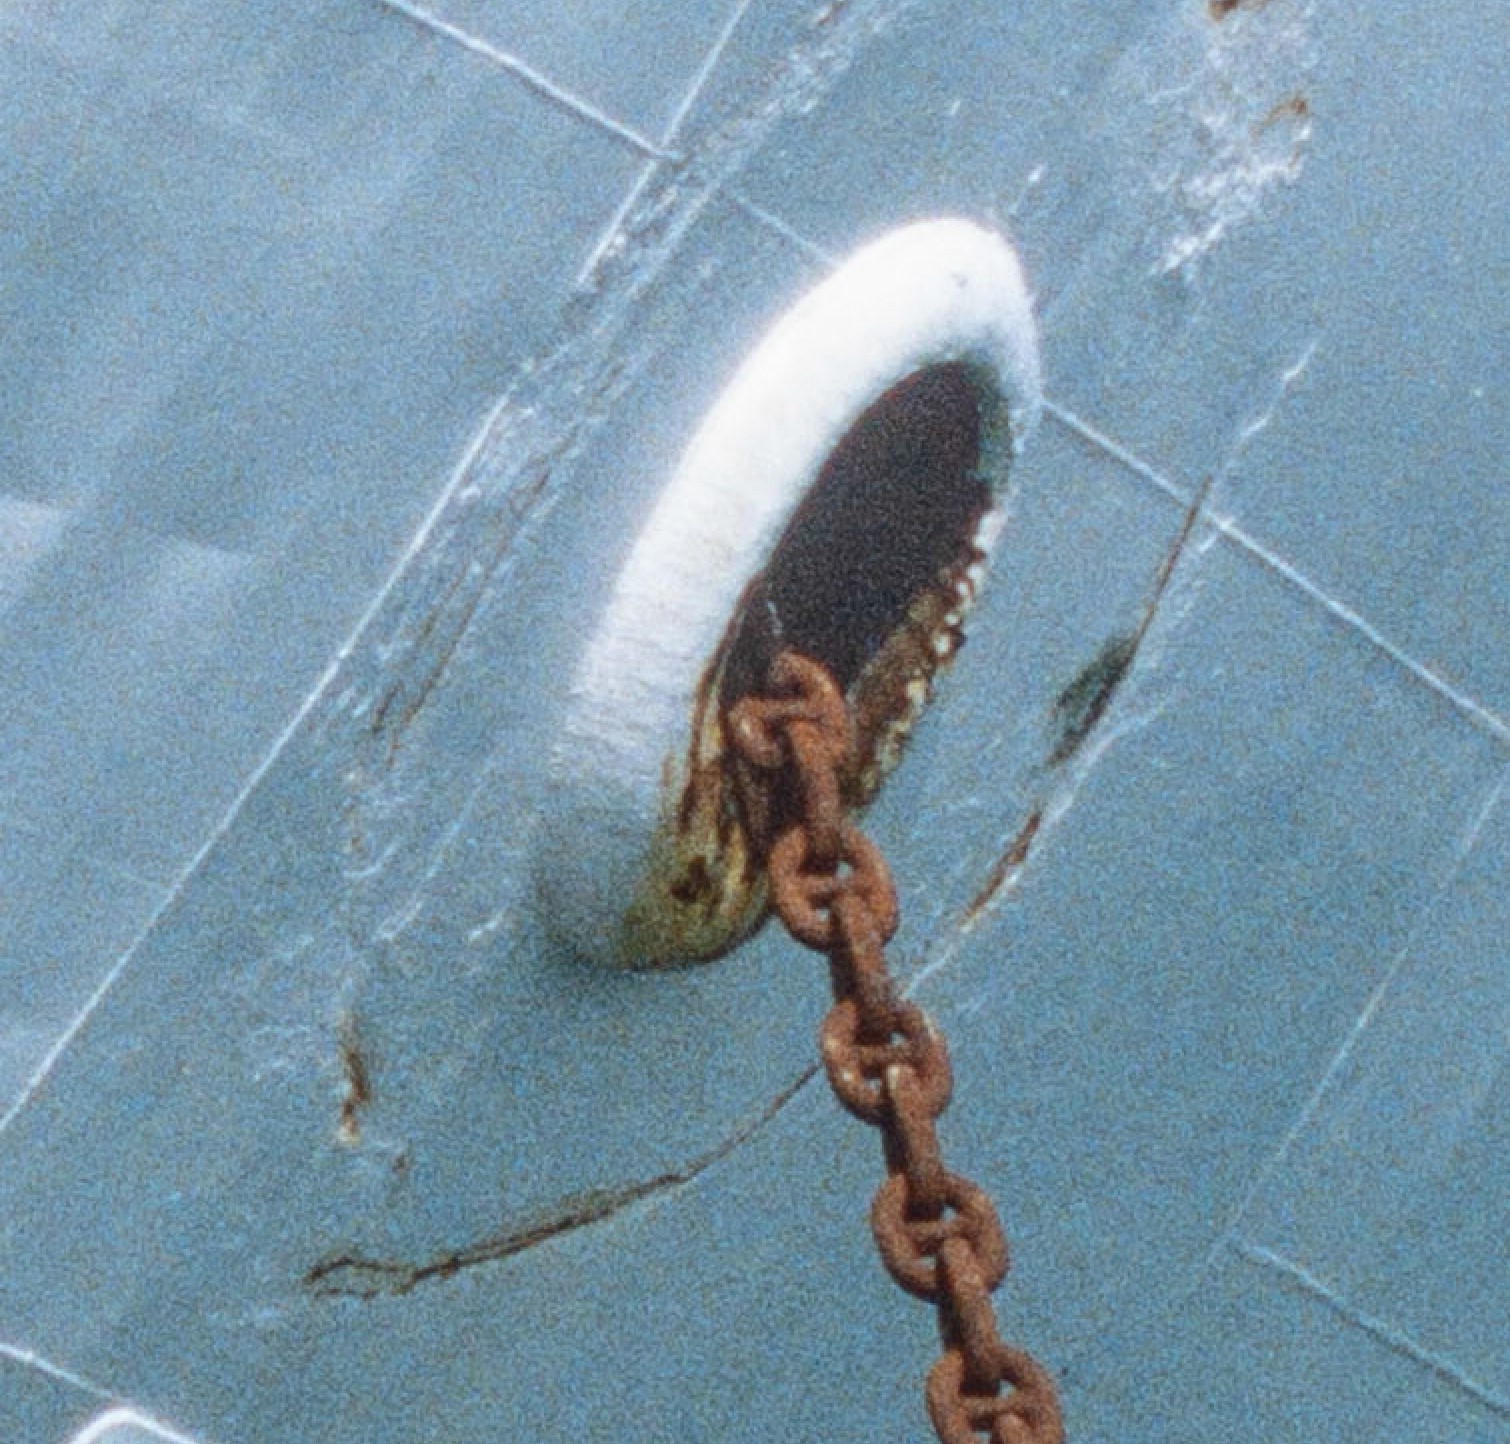
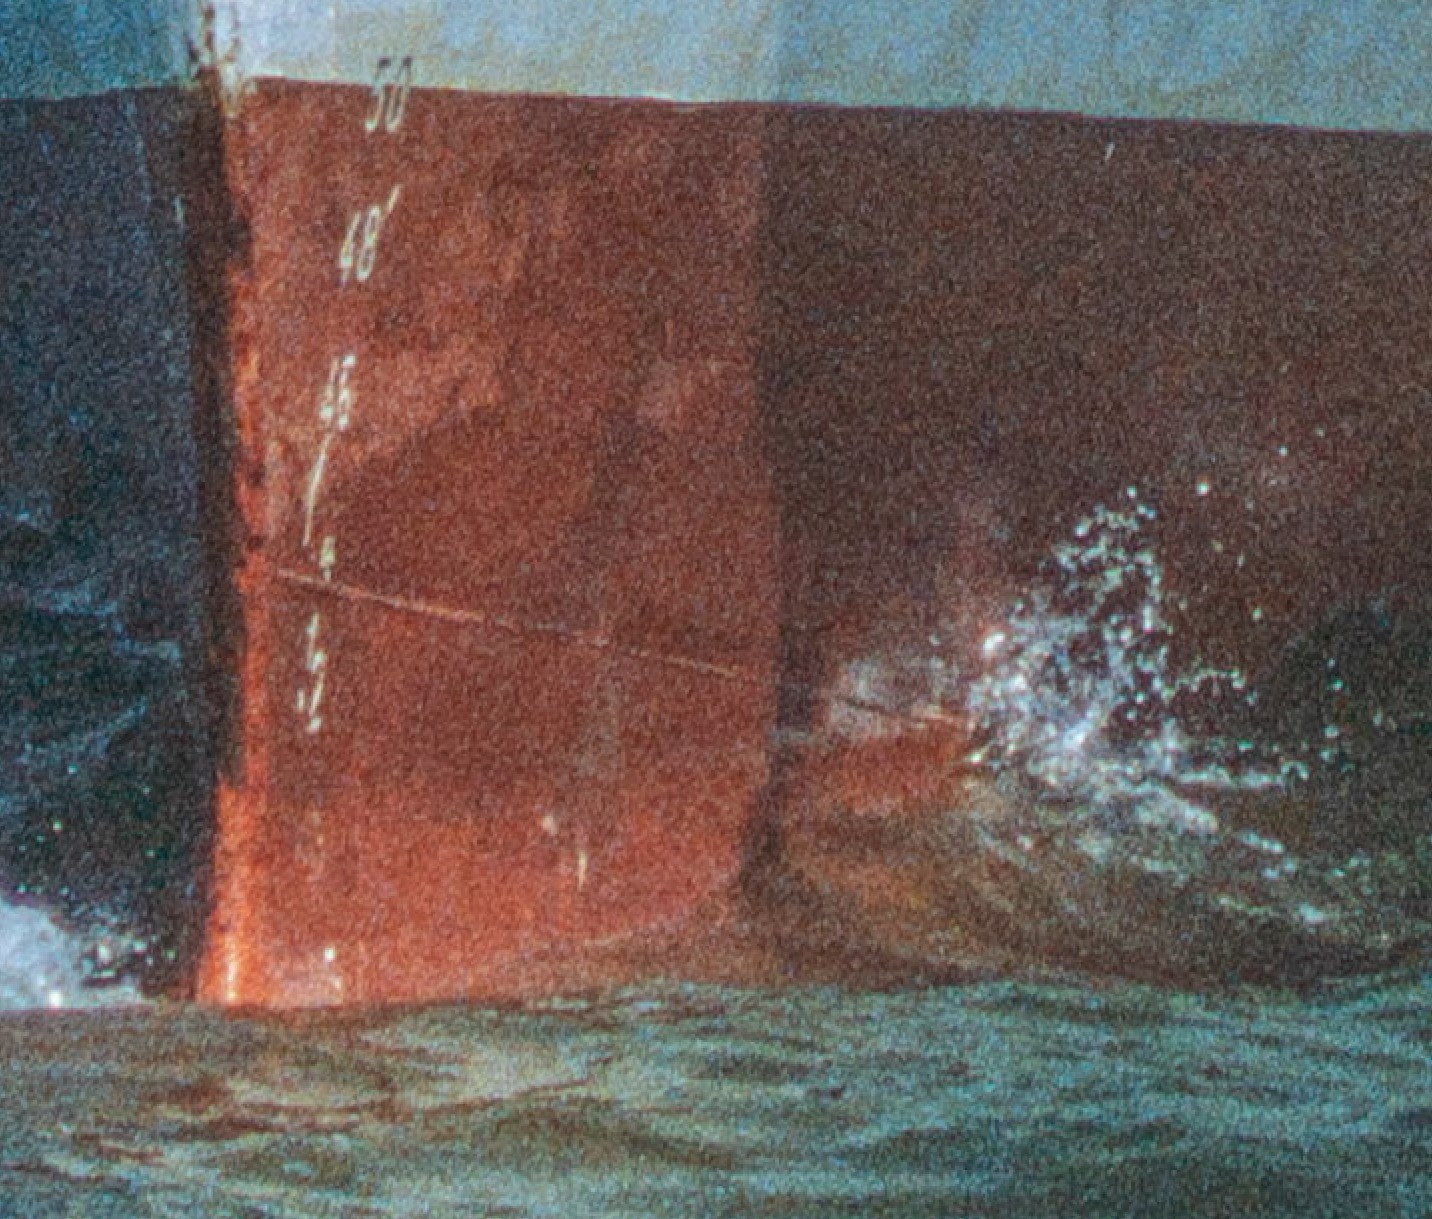
Resolution wise this setup outperforms film resolution. For me this was a must have, as I did not want to feel a need to digitize again if better technology becomes available. Looking at the negatives, each grain of film can be see. I think that counts as good enough.
Positives done, negatives next.
Negatives have same nasty features: they are usually not flat, prone to scratches and like to collect dust.
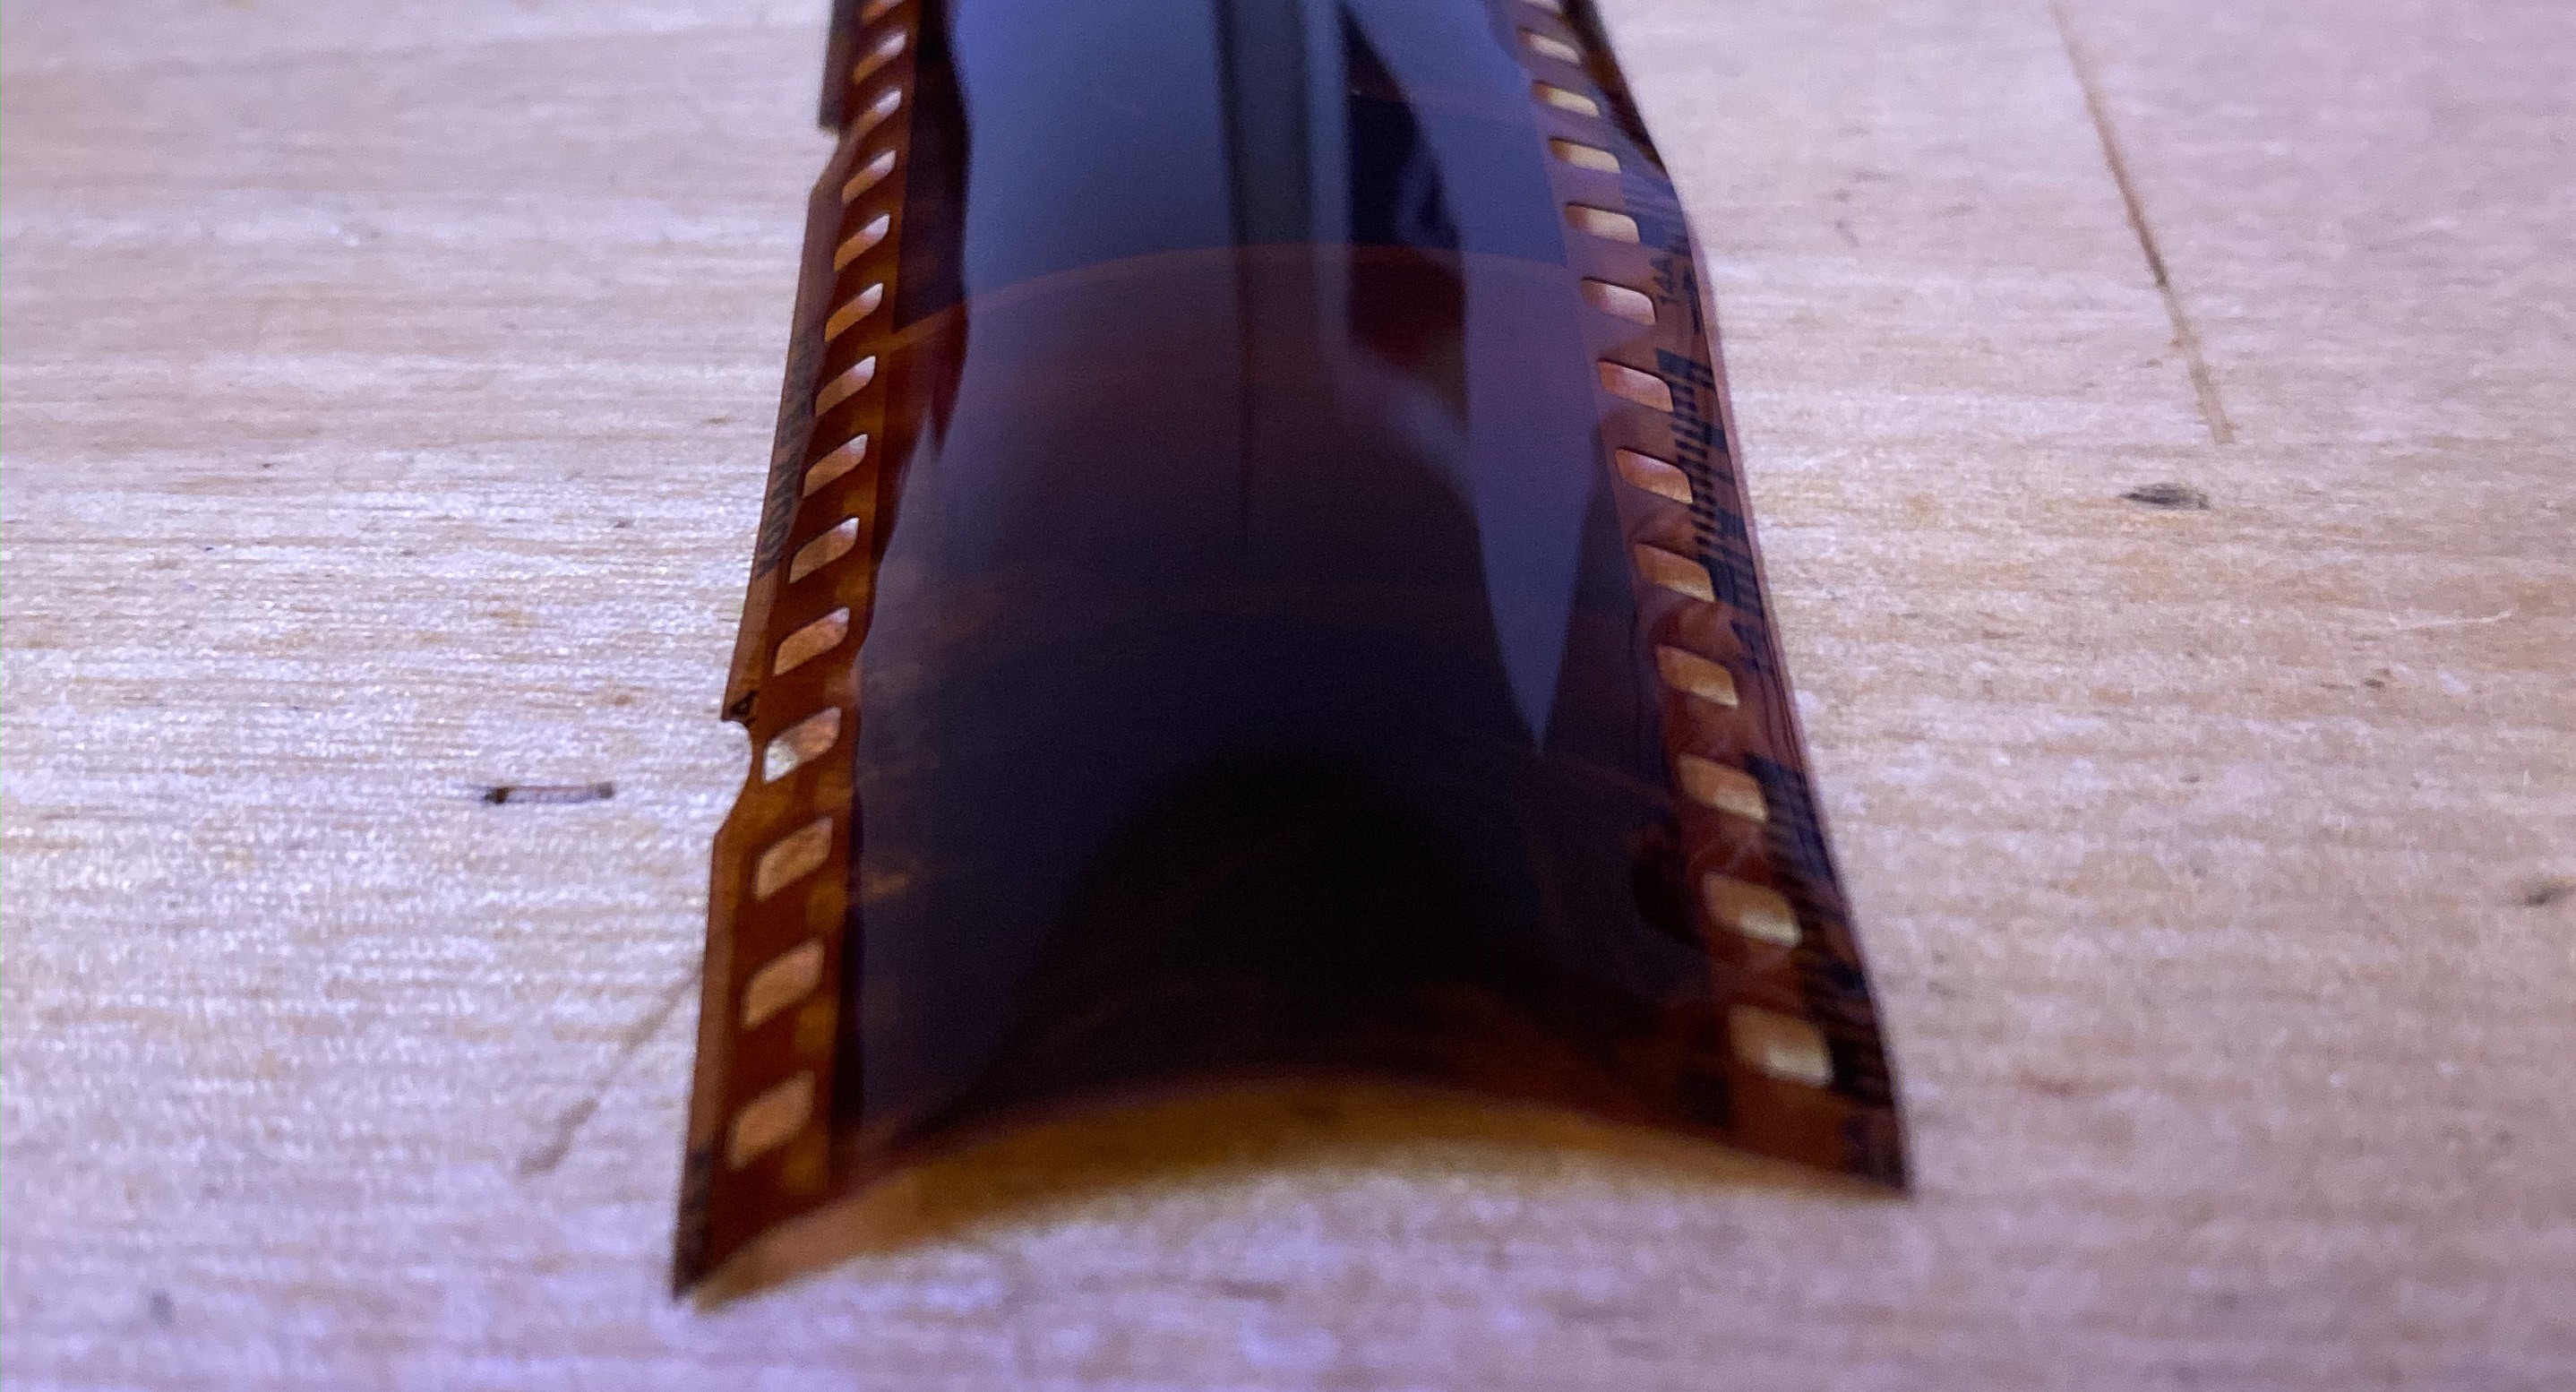
For my clumsy hands some kind of feeder was needed. Straighten the film while not touching the area of the picture and maybe removing dust at the same time would be nice.
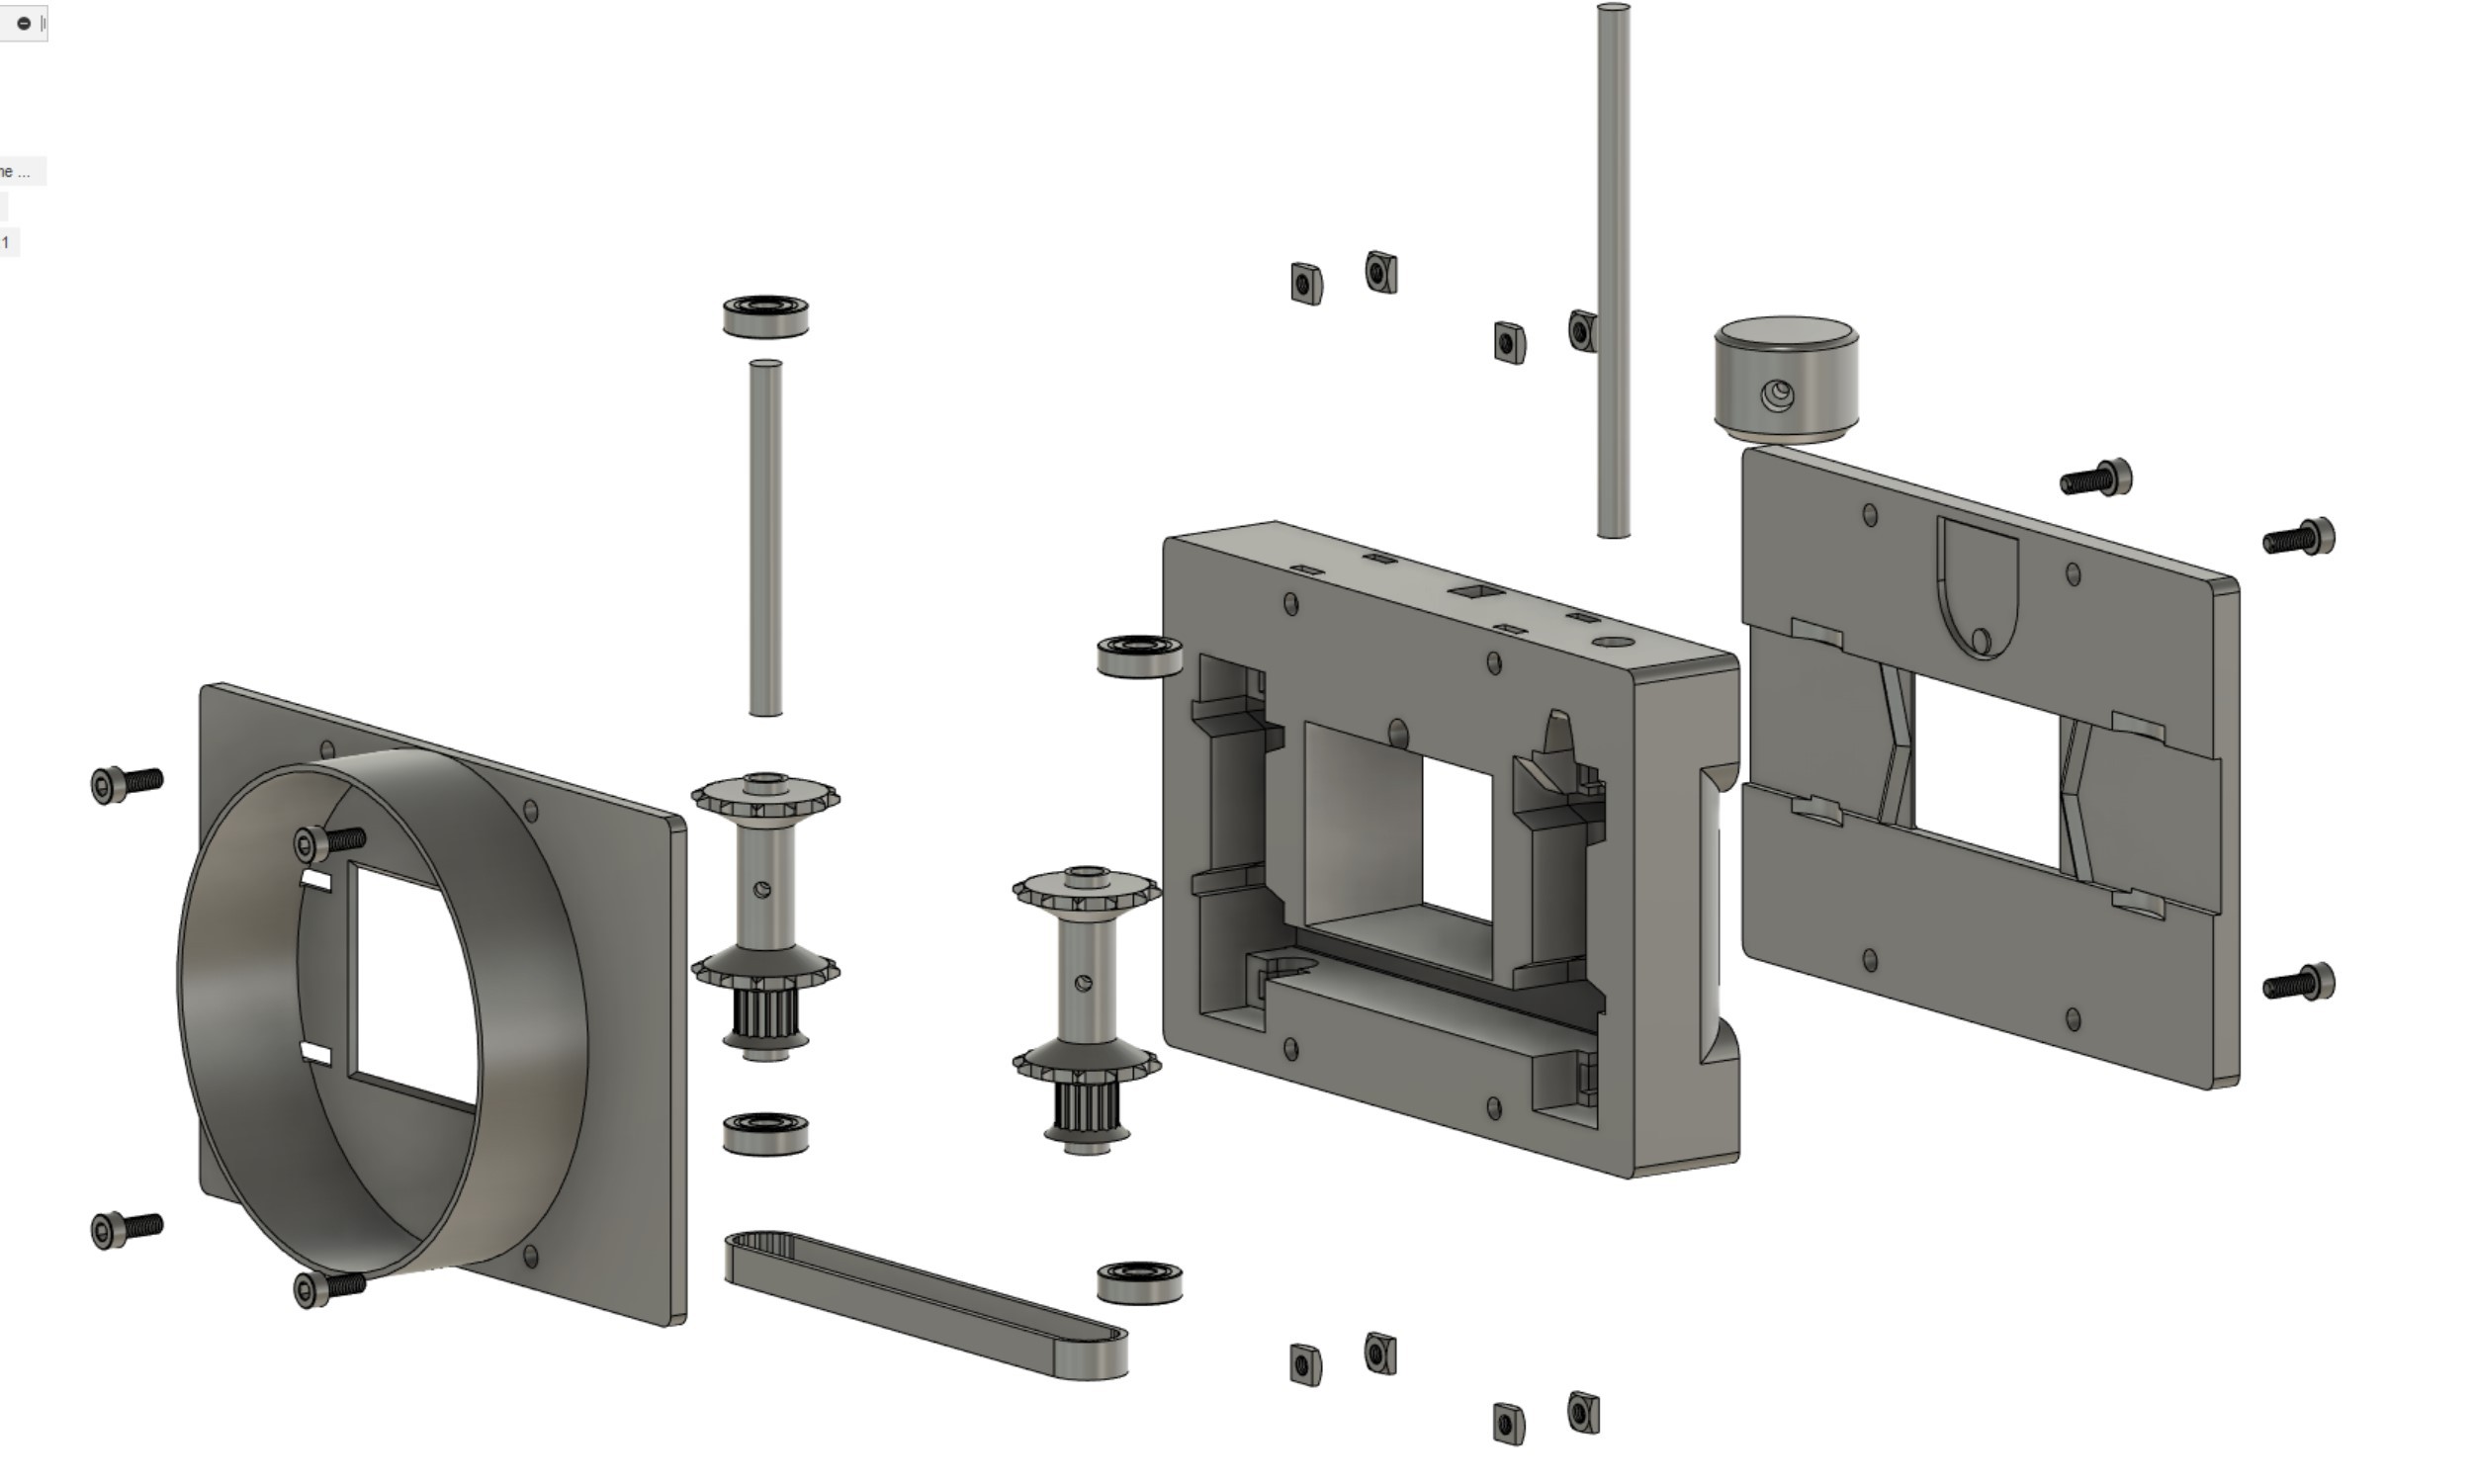
Nights were spend and the printer running 24/7. The feeder system had to be two axes synchronised to pull in the film and push it out. To design a gear for film transport appeared more tricky than intended. Securely grapping the film while not bending it with rough printed surfaces caused me some headaches.
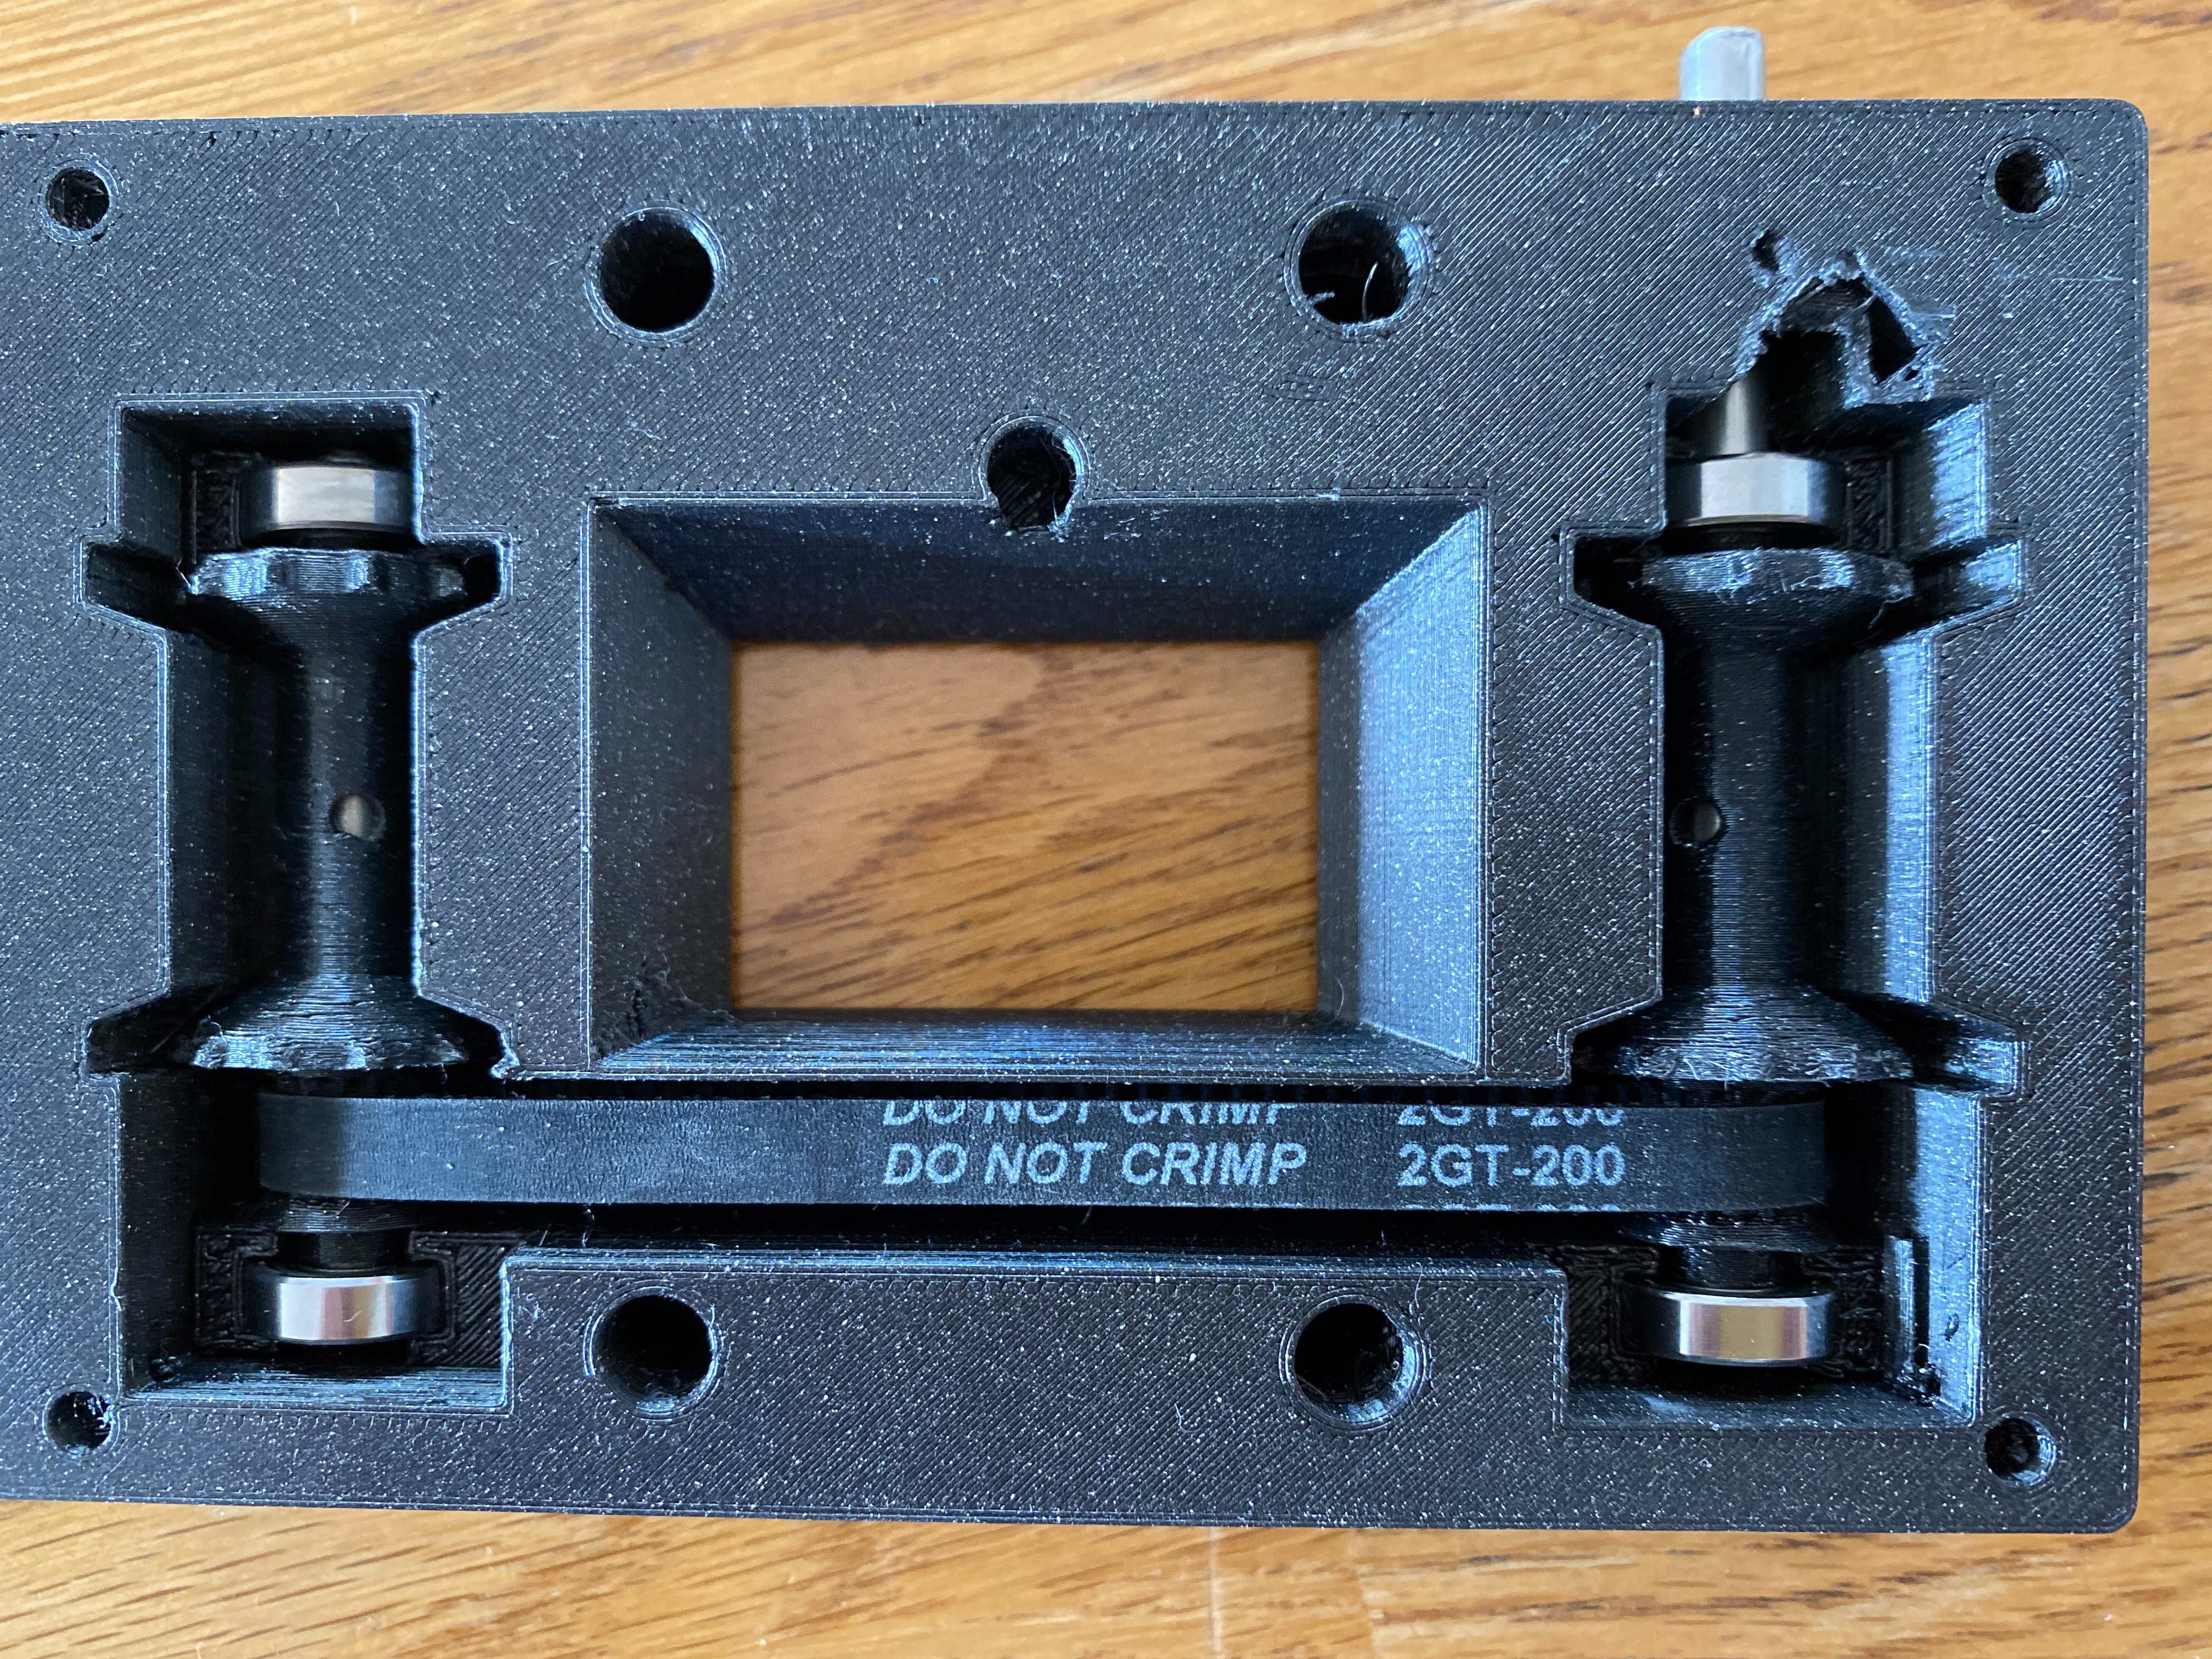
A timing belt synchronizes the gears with the pully printed. That was easy!
Not so easy: The back plate. The film needs to move, unbend while inserting an most important of all: Not get stuck. My first film victim received some dents.
As rough surfaces are not acceptable near the film a two part system was designed.
FPM is about 5-8 depending on how much preparation of the film is needed and the number of pictures per strip.
To remove dust I applied fleece tape (Coroplast from automotive guys) to the frame. It does the job really well, although some more time to trimming around the corners could have helped:
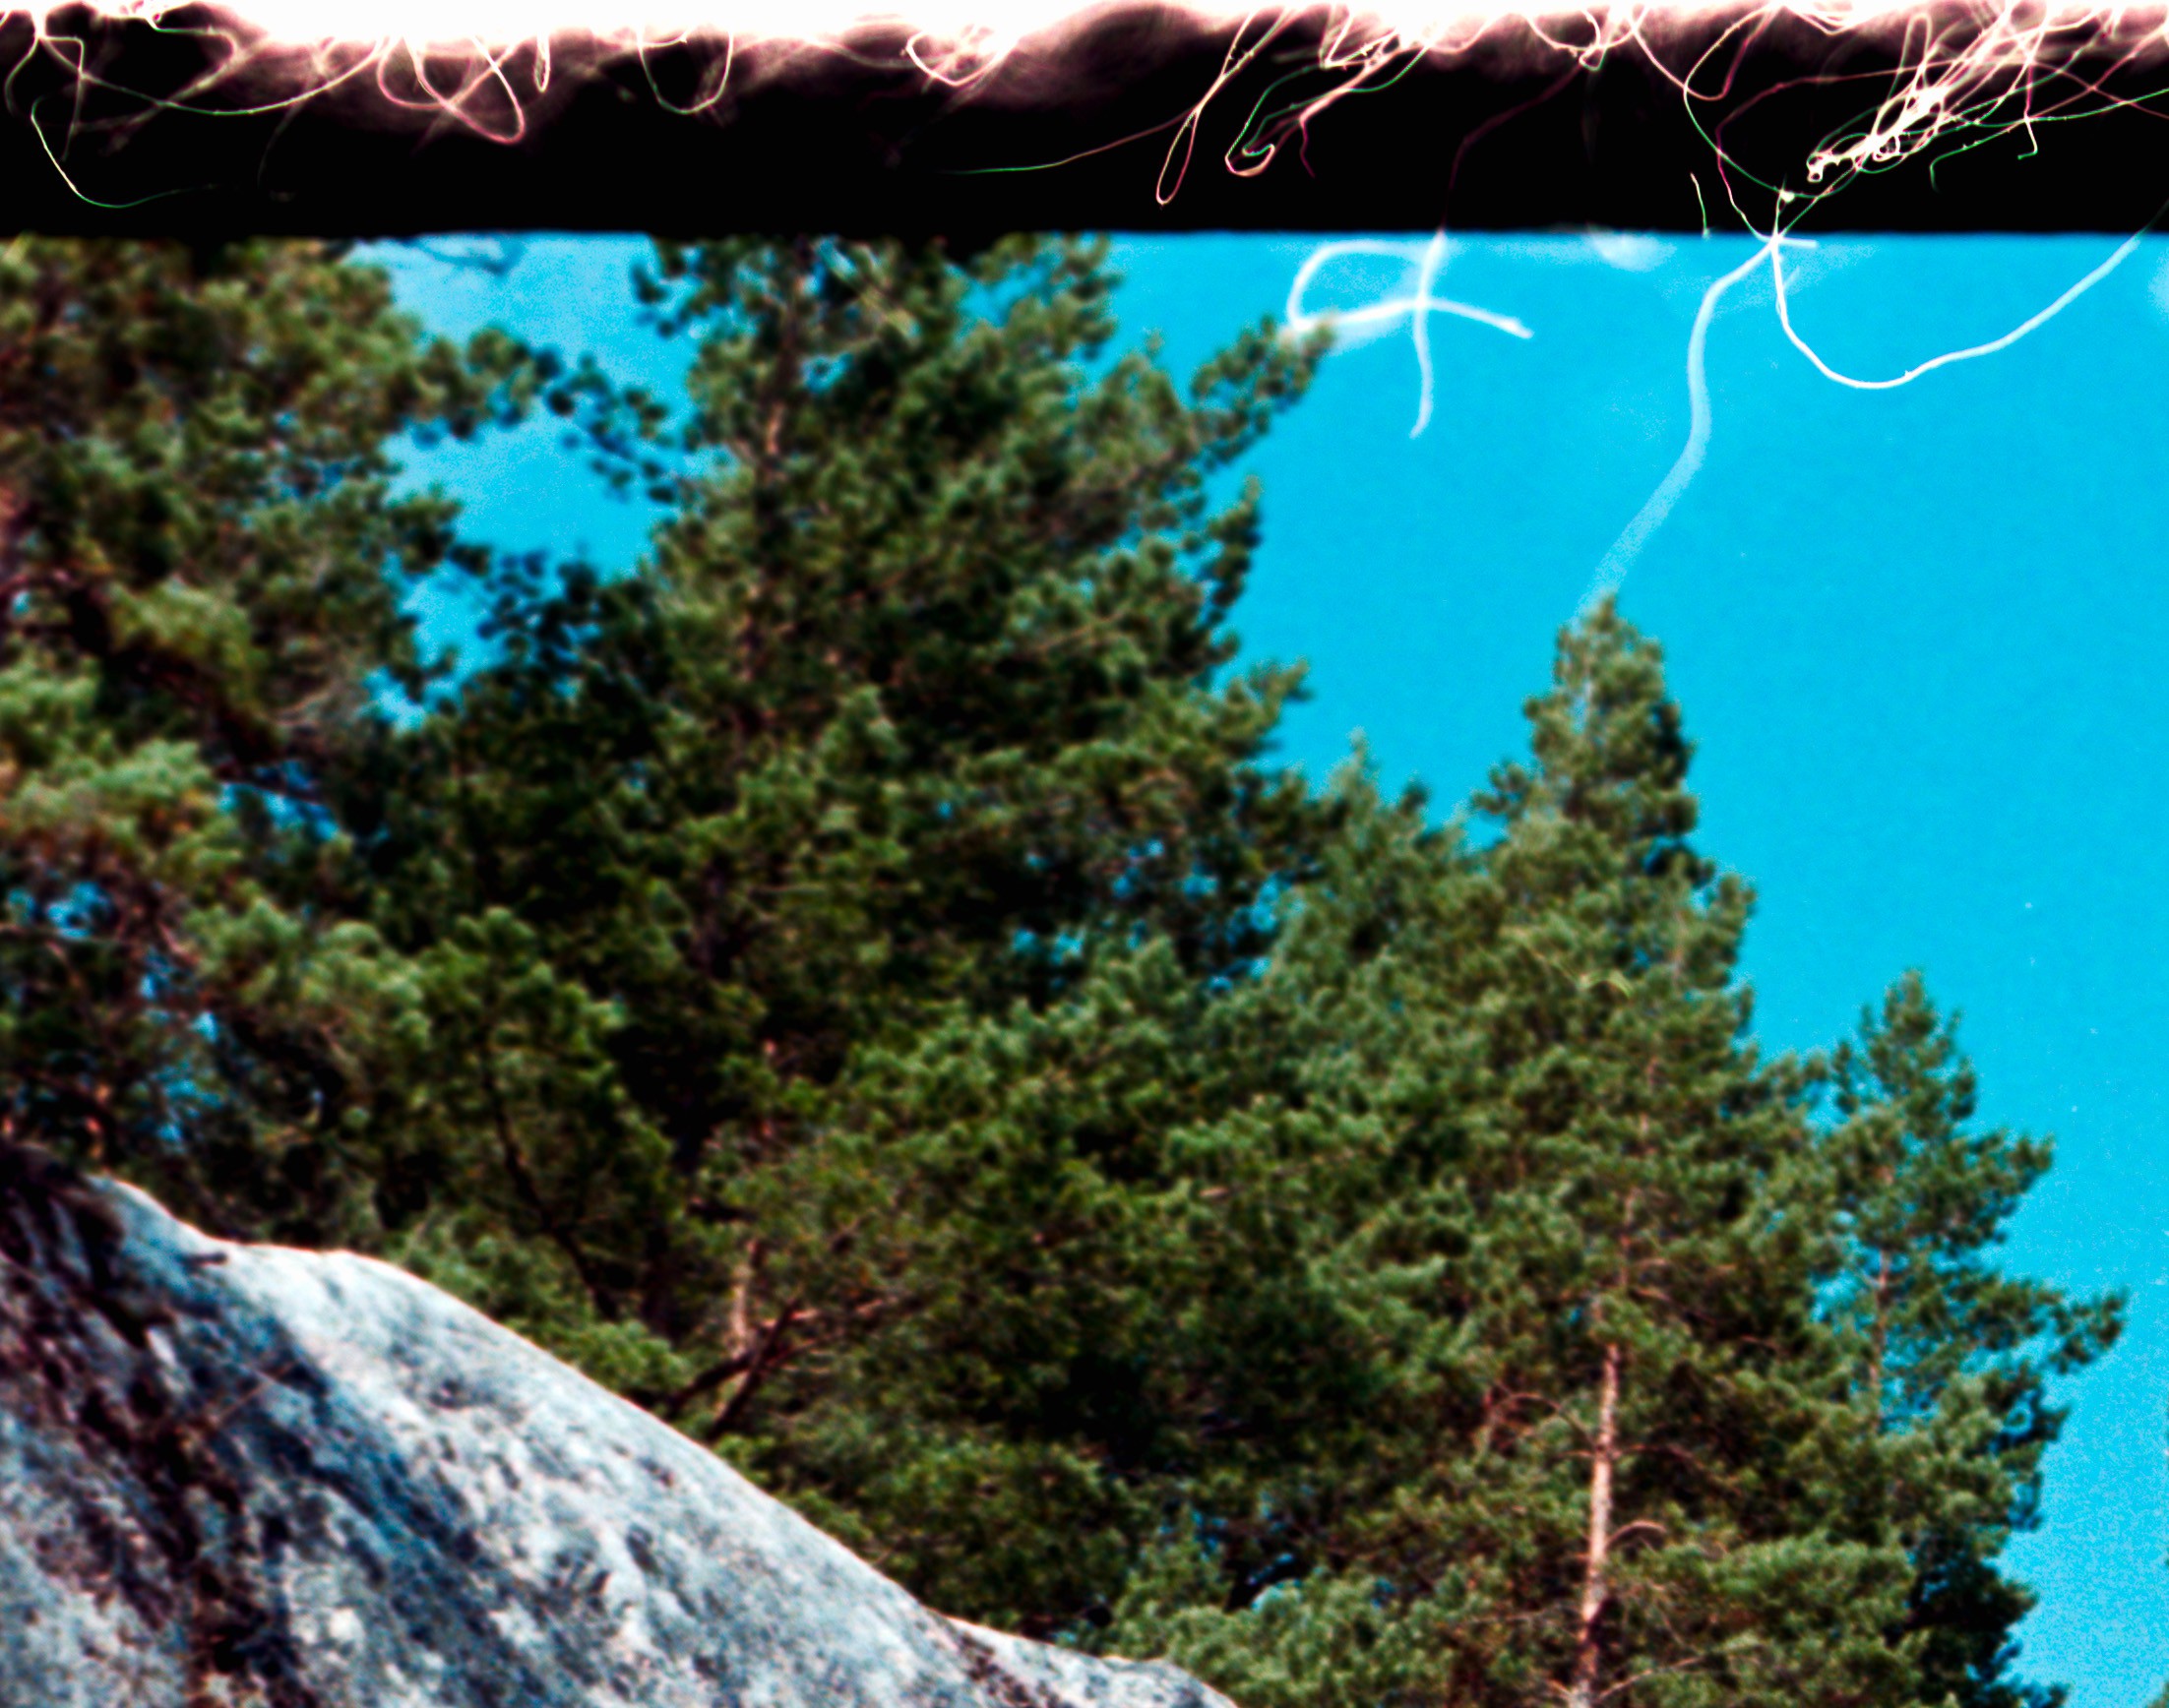
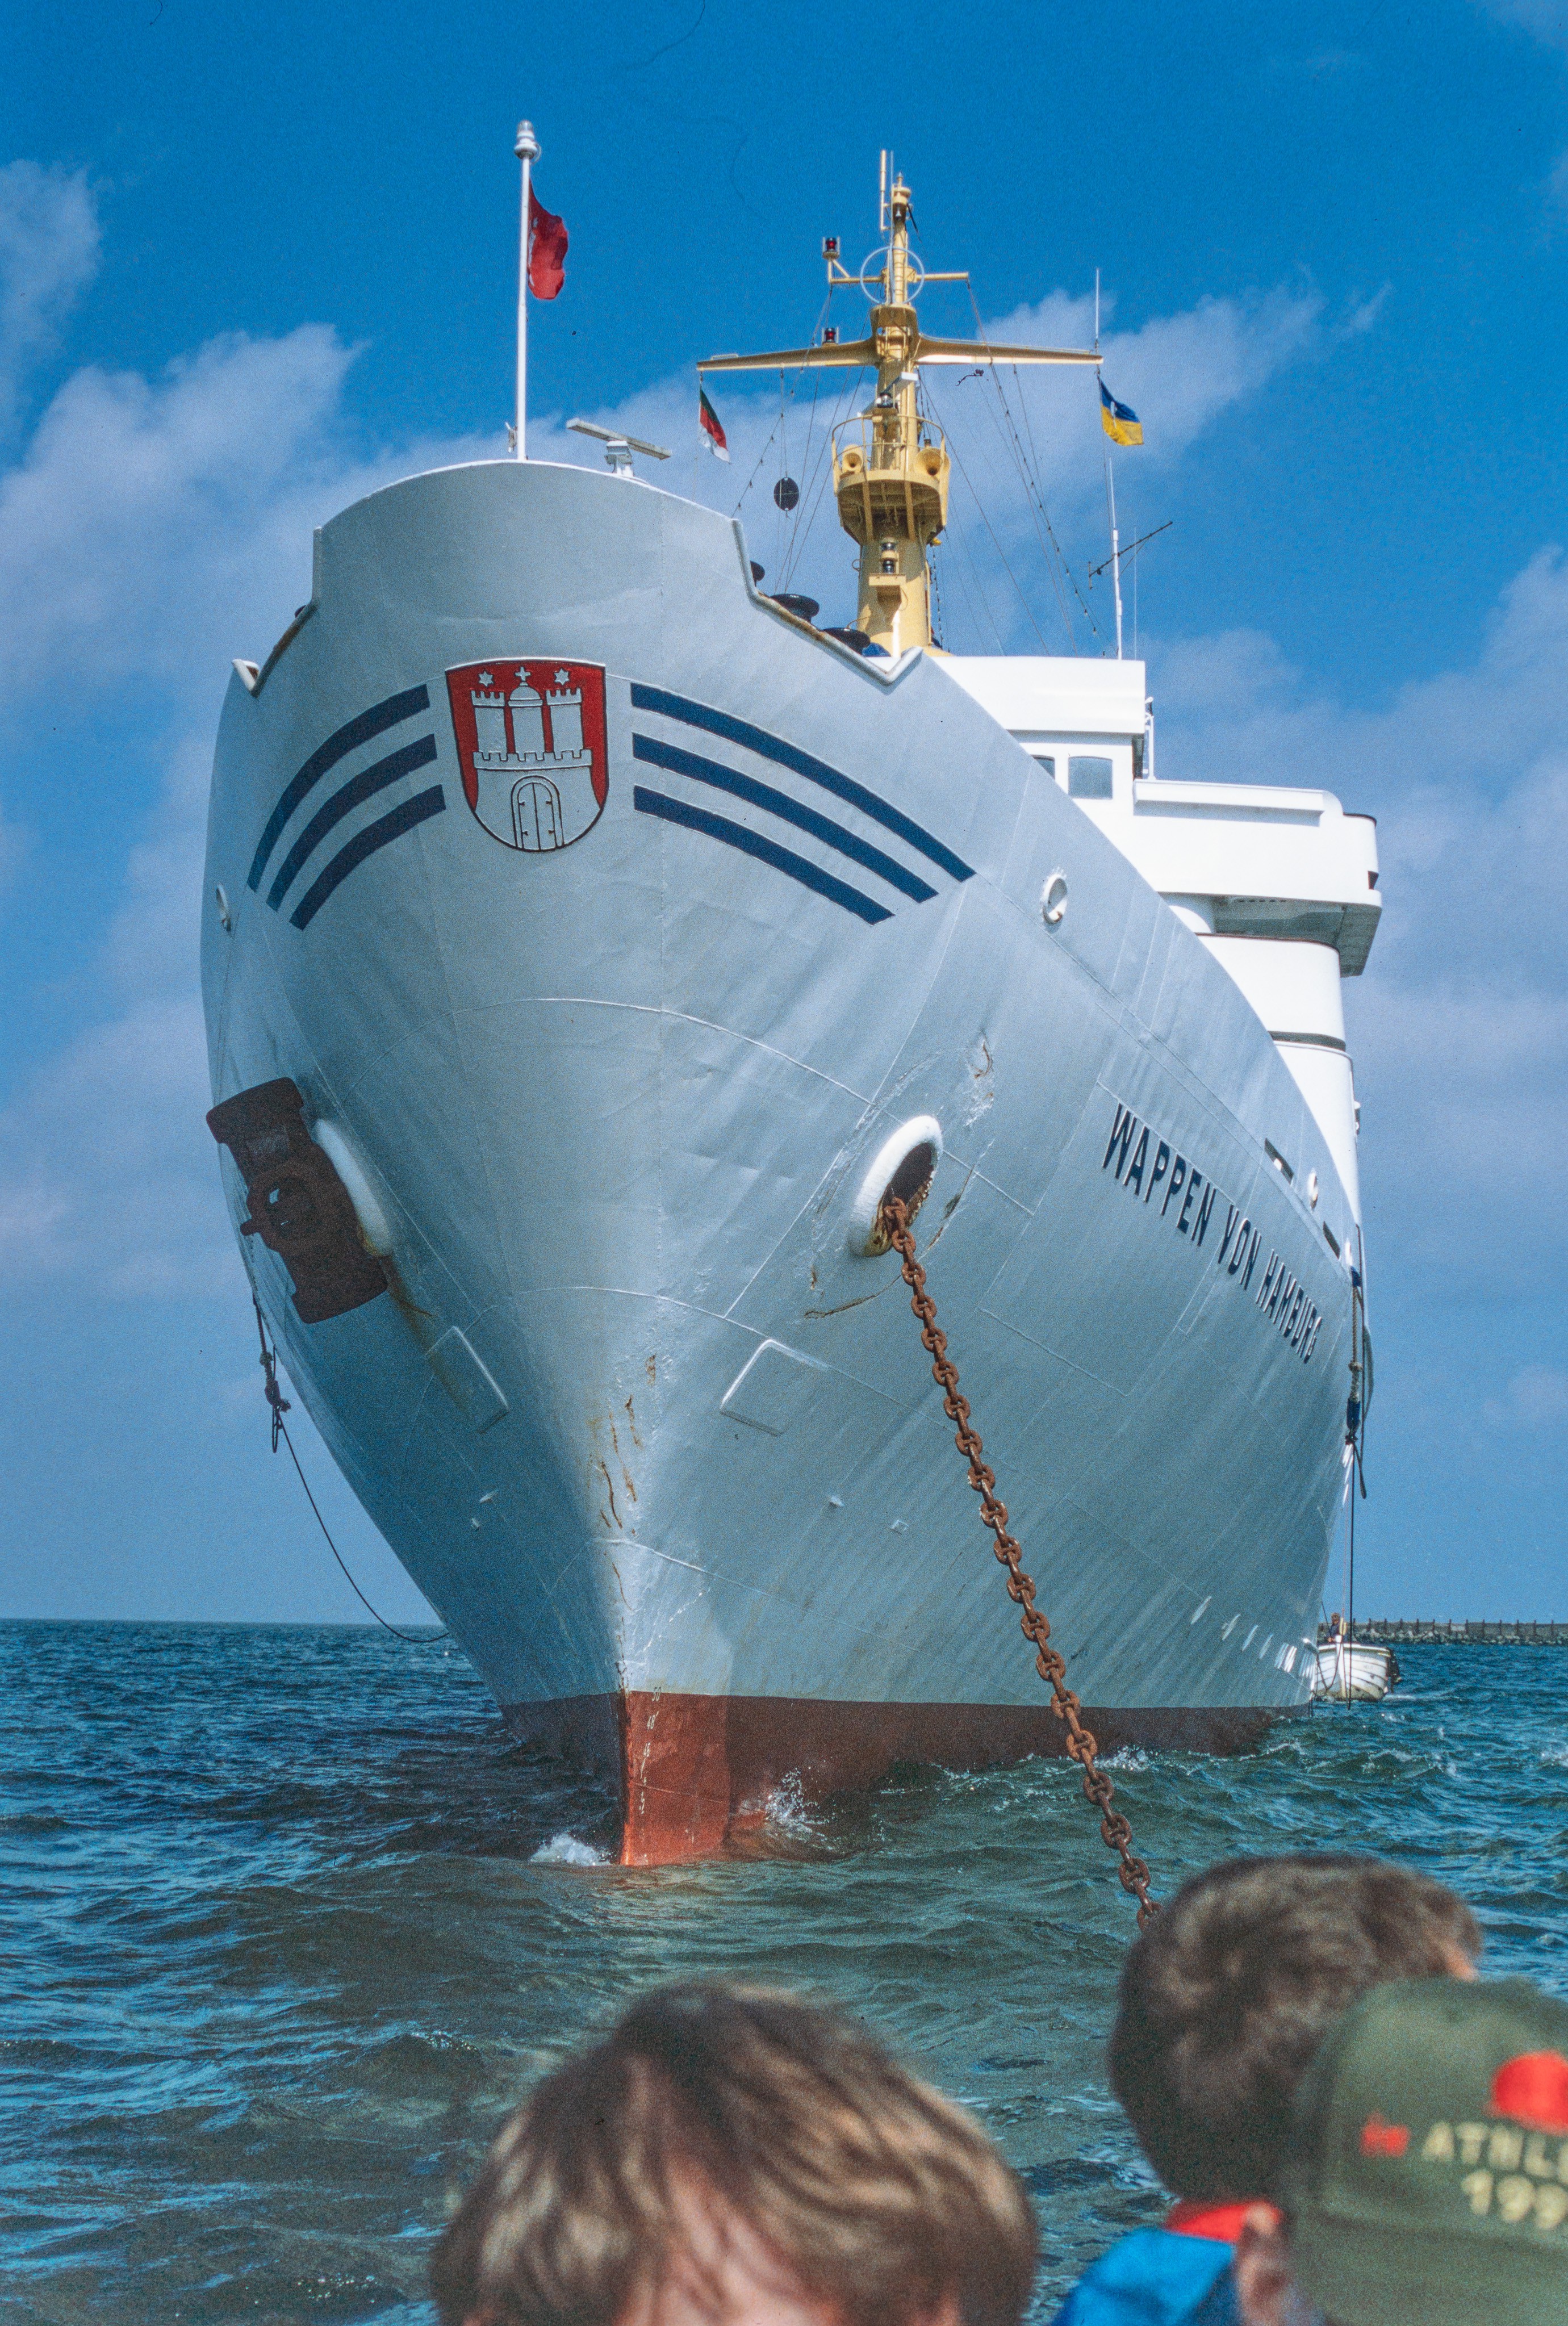
It is a joy to revive the old photos. Beautiful colors, lots of data to recreate
what was once seen. Time to dump physical film. Finally.
Operation and assembly:
You can download all files at Prusa: https://www.prusaprinters.org/prints/34678-analog-film-scan-device-for-dslr