Recently I have received the new batch of PCBs for my URU Card device. Since I do not have a 3D printer and appropriate skills I am going to construct a hard shell using the stack of PCBs. This time I have chosen black colour for the boards as it comes in a nice matt finish.
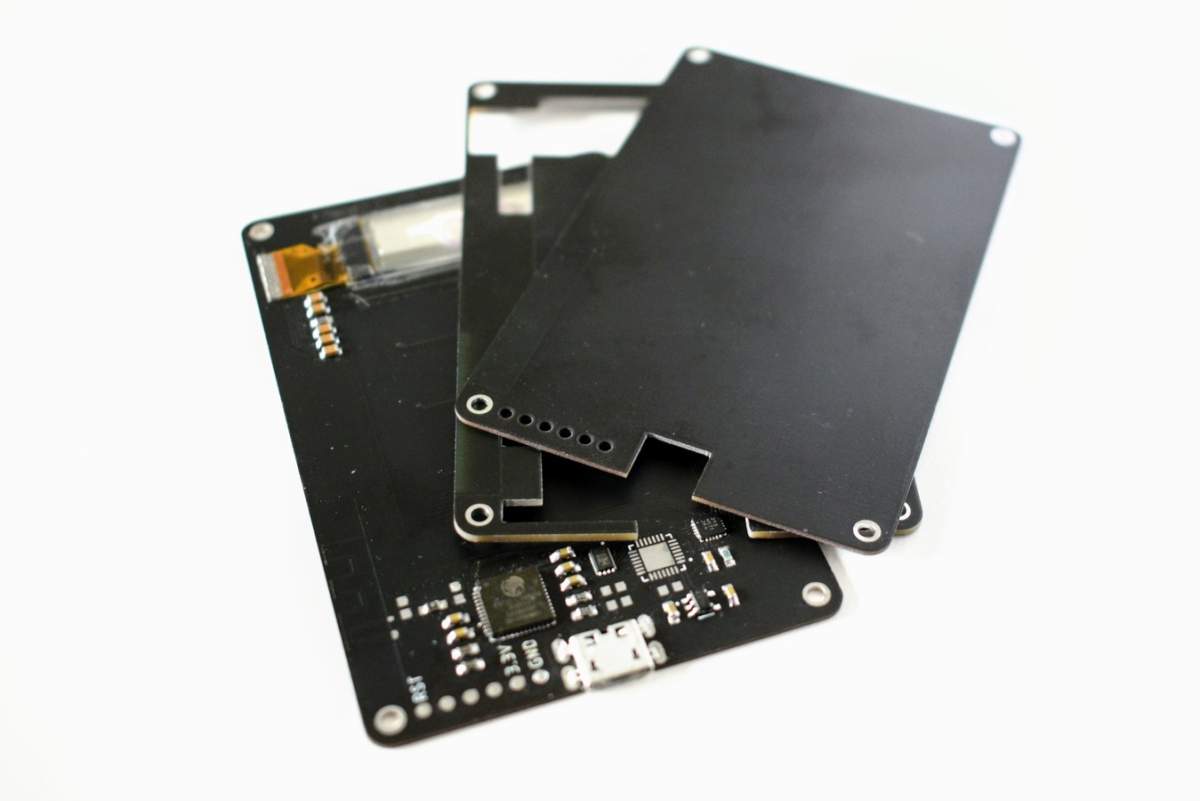
In addition to the mainboard, I have simply designed two more PCBs. One with fancy cut-outs for the components and one to use as a cover. These boards will be glued together as a sandwich to create a simple hard shell for the device.
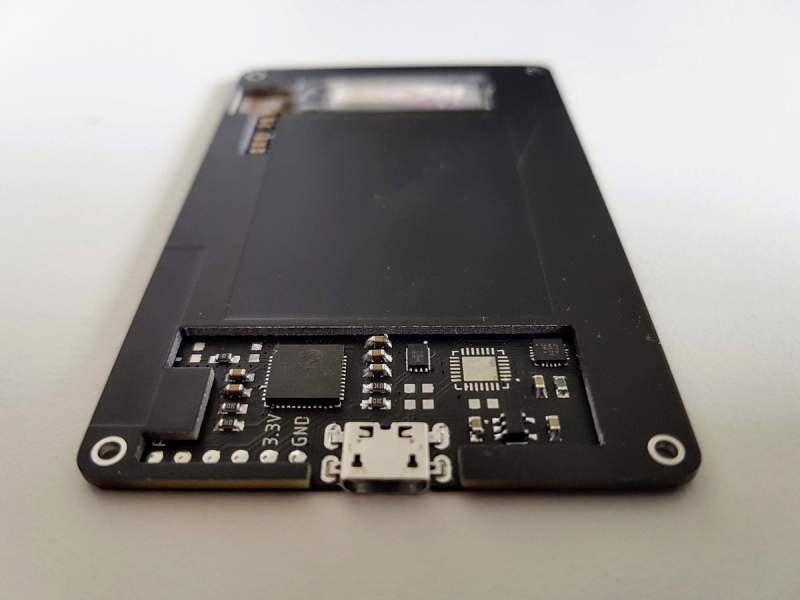
To further simplify the device I have replaced ceramic antenna with PCB one following the popular design from Texas Instruments. It takes slightly more space on the board but comes with zero cost and during the test of the device I did not notice any performance penalty.
The unpopulated place on the board is reserved for the FT260 chip. This IC is a USB HID device and can be used in future to implement USB transport supported by FIDO2 protocol.
The cut out for the display is much smaller now and opens visible part of the display only.
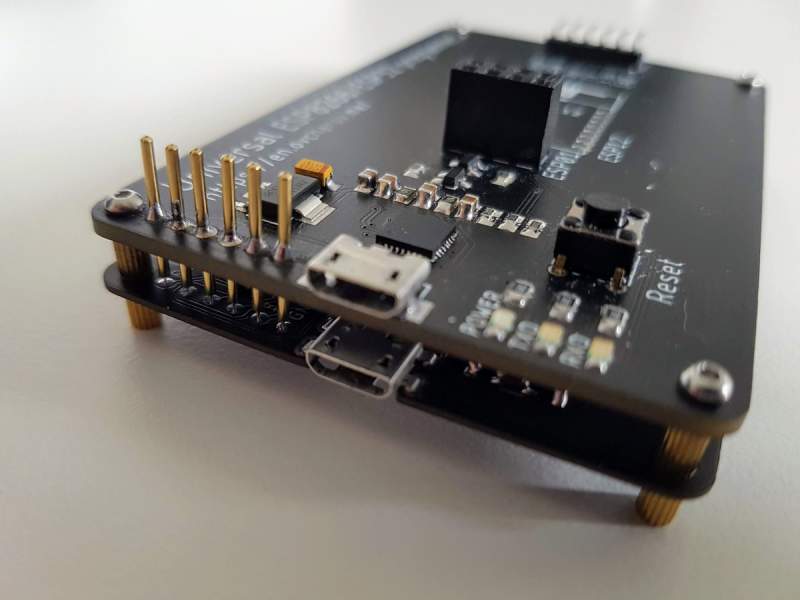
Holes in the corners of the boards are used to align the URU Card in the programmer for ESP32/ESP8266 devices I have designed before. As well they are used to align all three boards during glueing together. The spring-loaded pins provide reliable connection during programming and require almost zero space on the device.
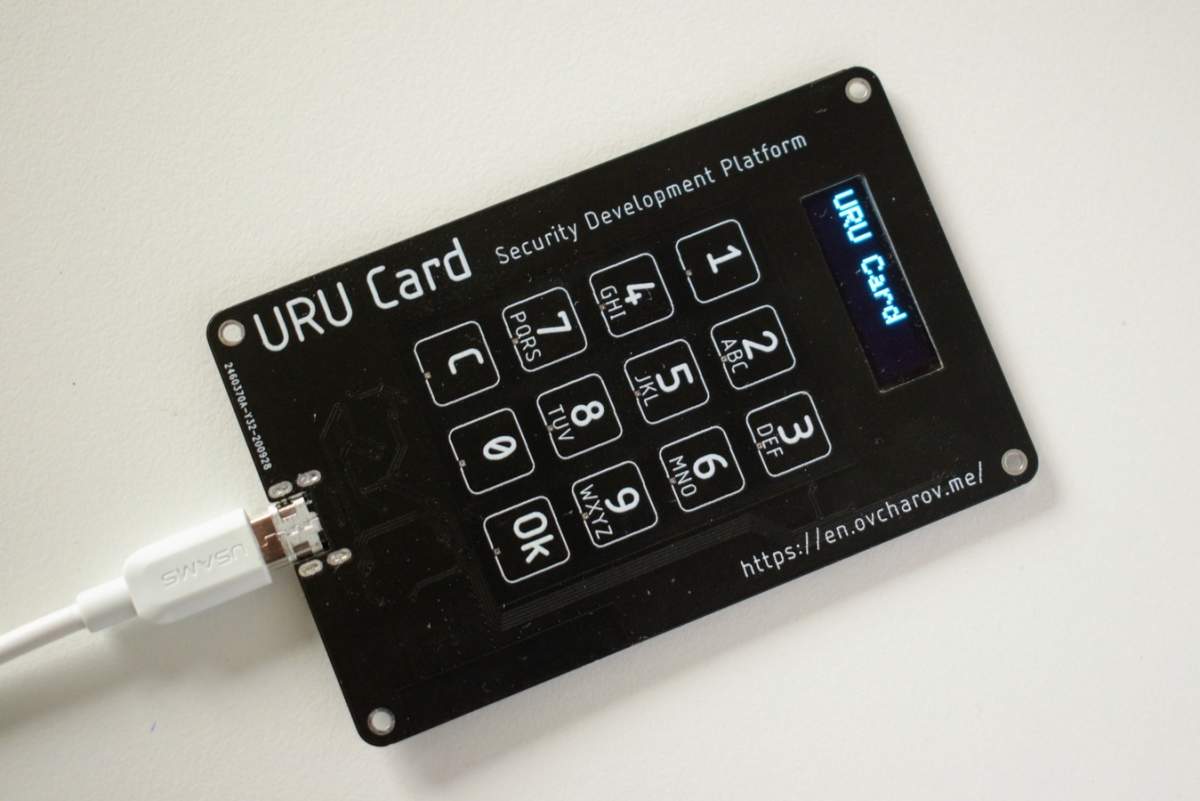
The assembled device works exactly as before. The display is clearly visible through the cut out hole. One nice addition - the backboard completely prevents from accidental touch detection from the backside of the device while front touch keyboard works without any problems.
The size of the device remains the same and despite the thickness of around 3 millimetres, it fits my wallet exactly like any other credit or discount card.
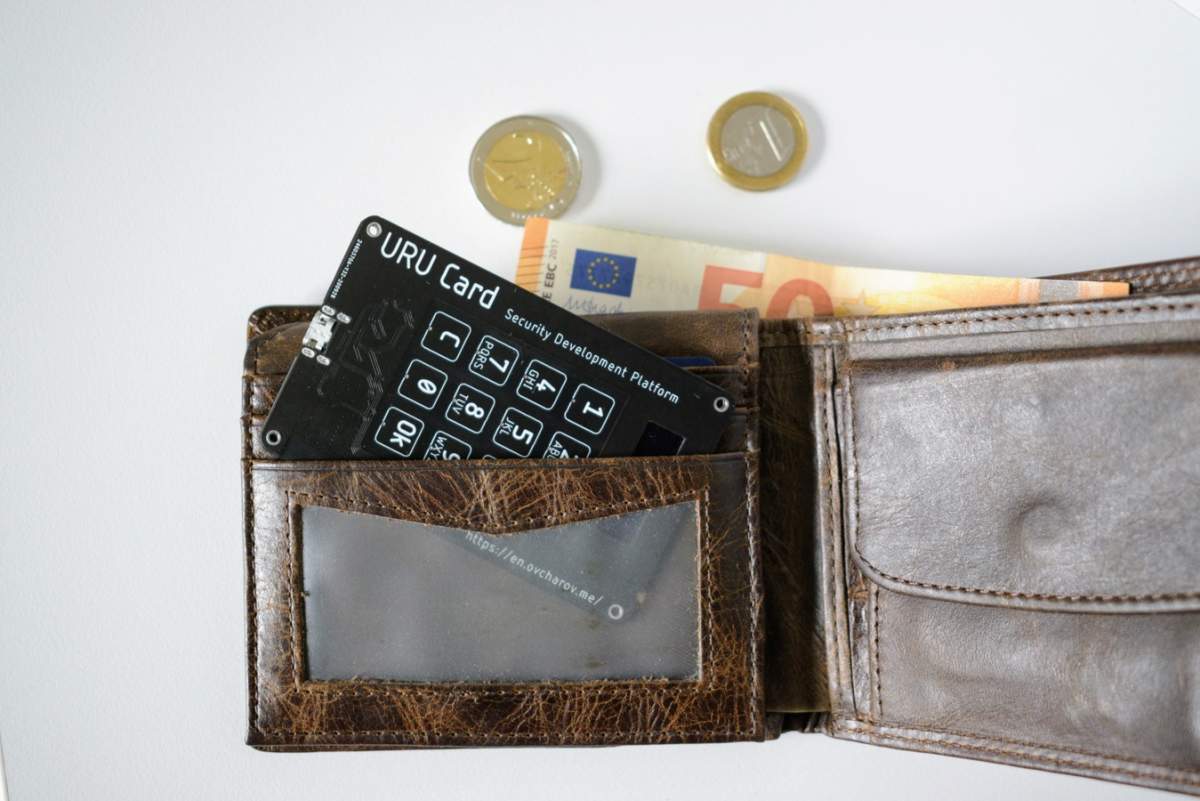
I think this time I have achieved one important milestone in the development of the device. Now it has a very simple and affordable case without losing any functionality or size requirements. As well the design was simplified with the replacement of the ceramic antenna with PCB one.
For those who want to reproduce the device, the dedicated GitHub repository contains the design files for Eagle CAD and set of Gerber files to order the board from the manufacturing services.
 Andrey Ovcharov
Discussions
Become a Hackaday.io Member
Create an account to leave a comment. Already have an account? Log In.