 EK
EK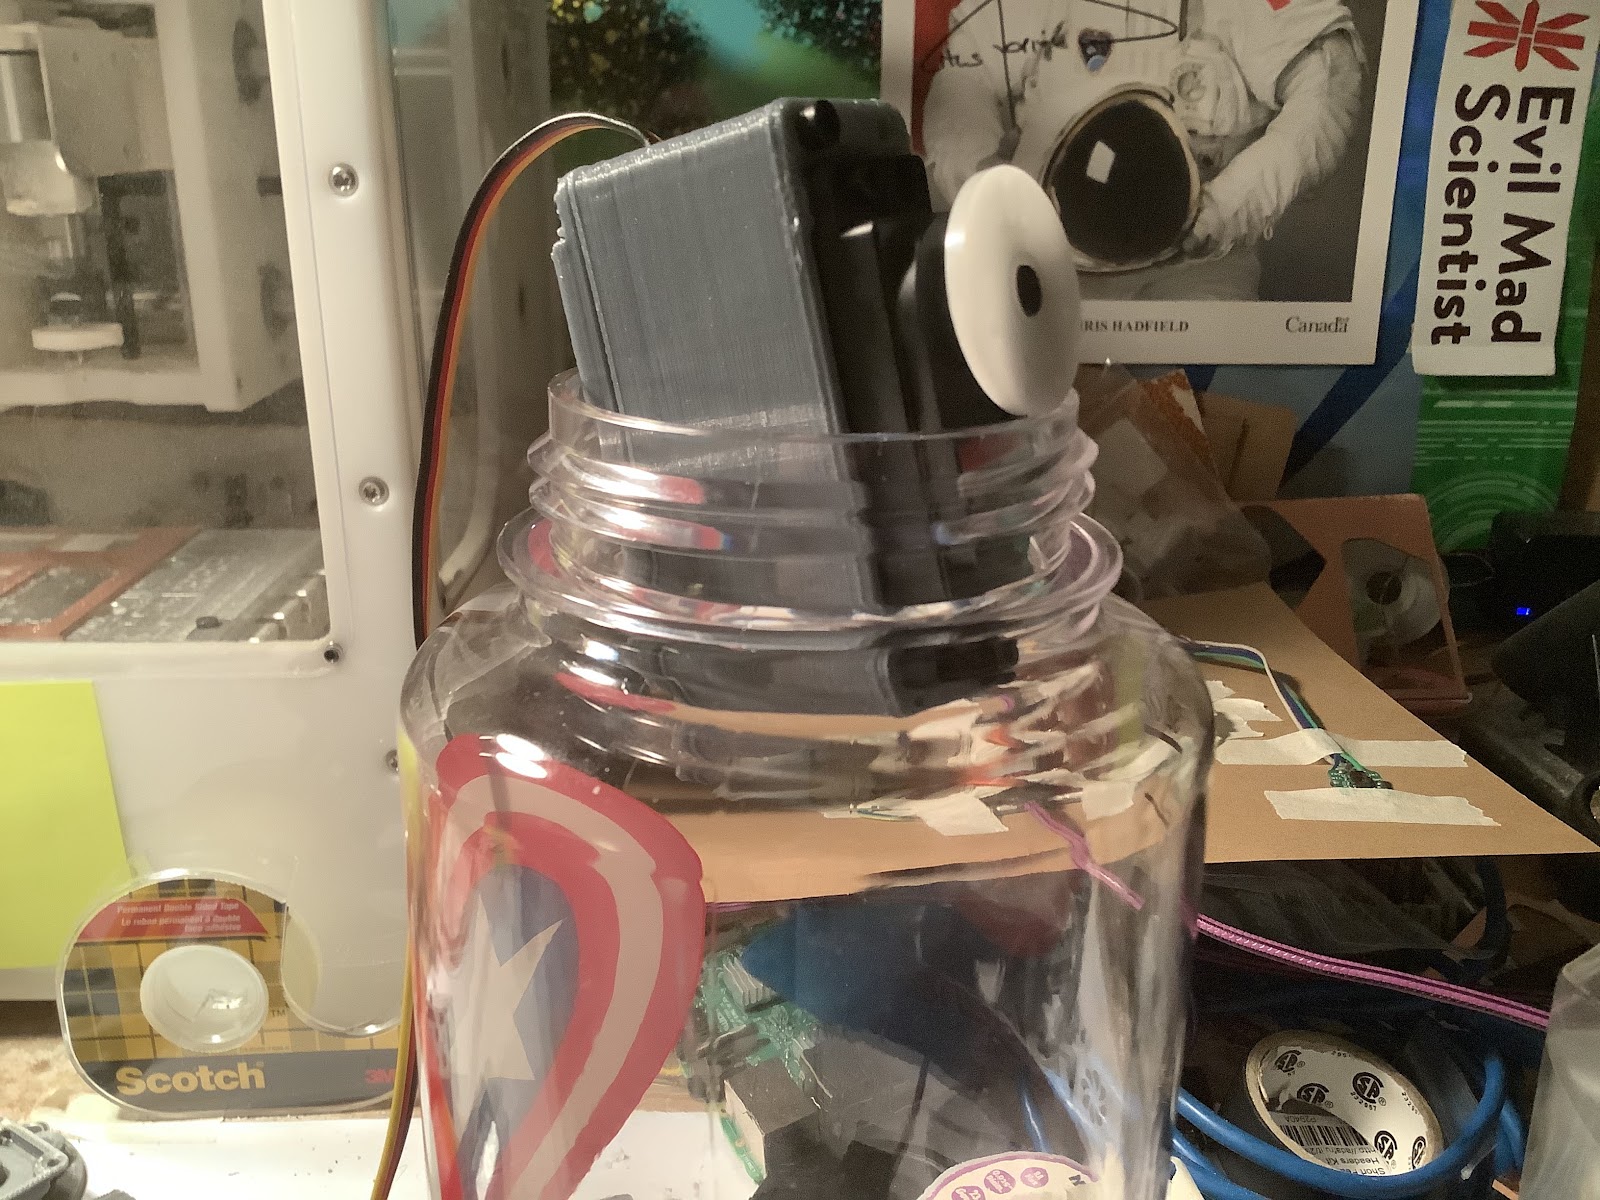
Decreasing the size of the servo block assembly was iterated on 3 times since the last update.
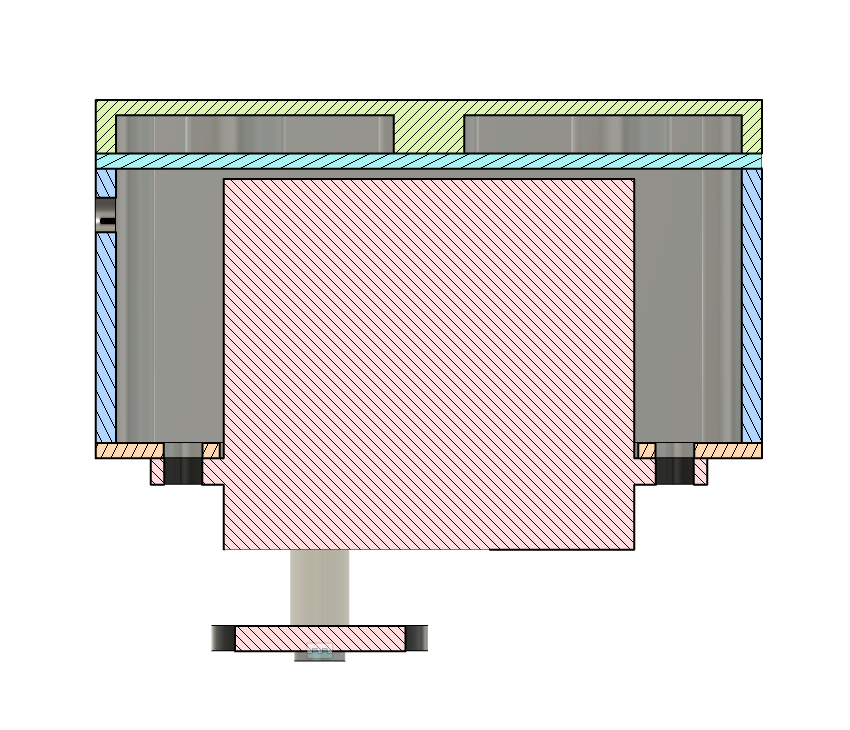
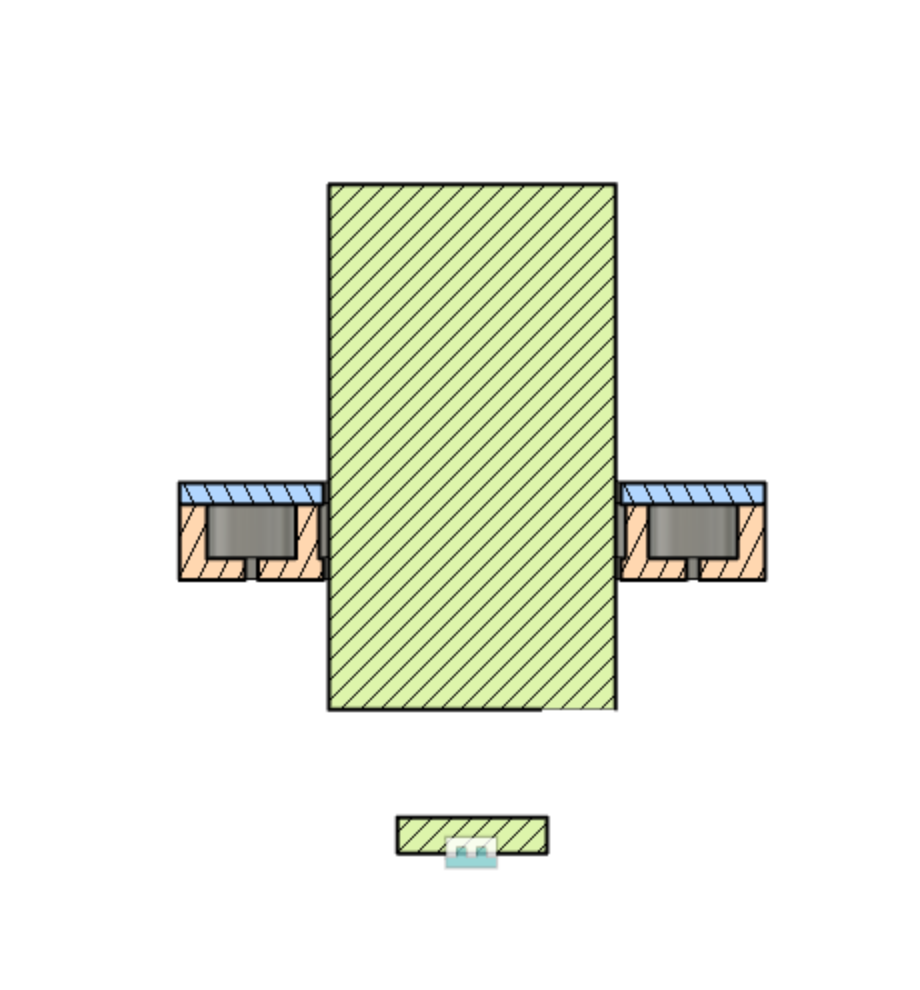
Read more for CAD screenshots and photos of the 3D print!
For R2, the width was decreased, and in general the construction of the magnet plates was better.

R2 did not work - too wide for the enclosure. Next try was R3. Removed the 4 magnets and only had 2 now. Thinner along the width by reducing all the extra space. Also made the magnets closer to the motor (which could have problems, but first trying to design).
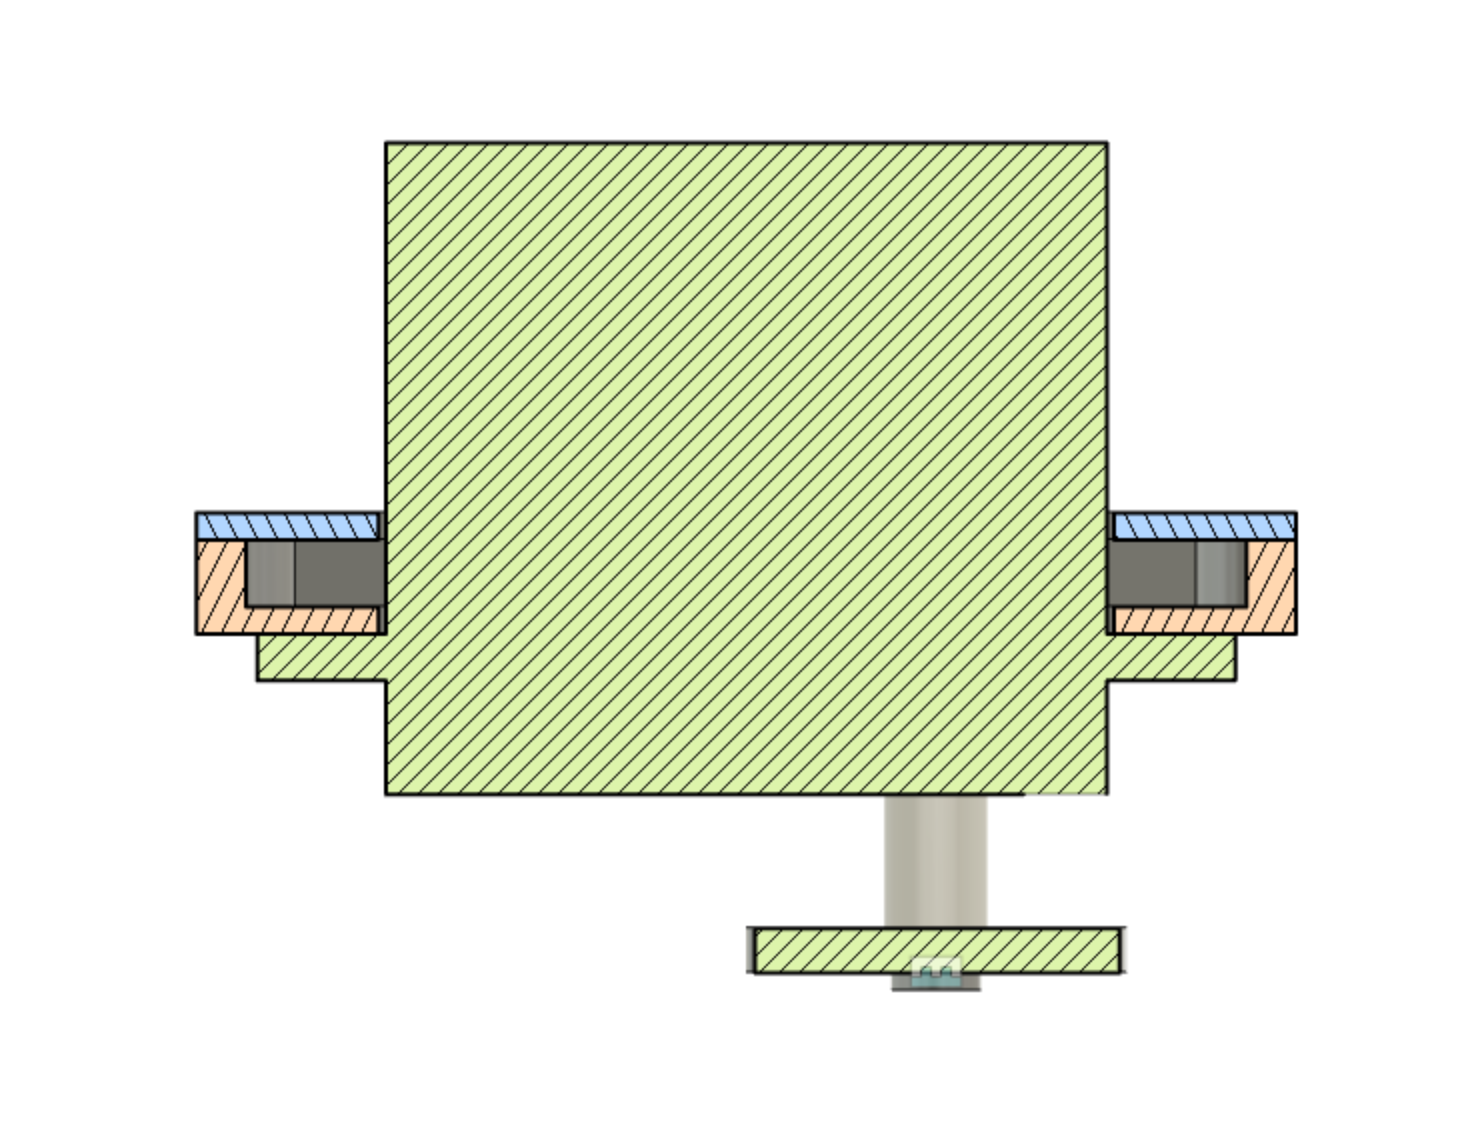
Here’s how it looks printed and assembled:
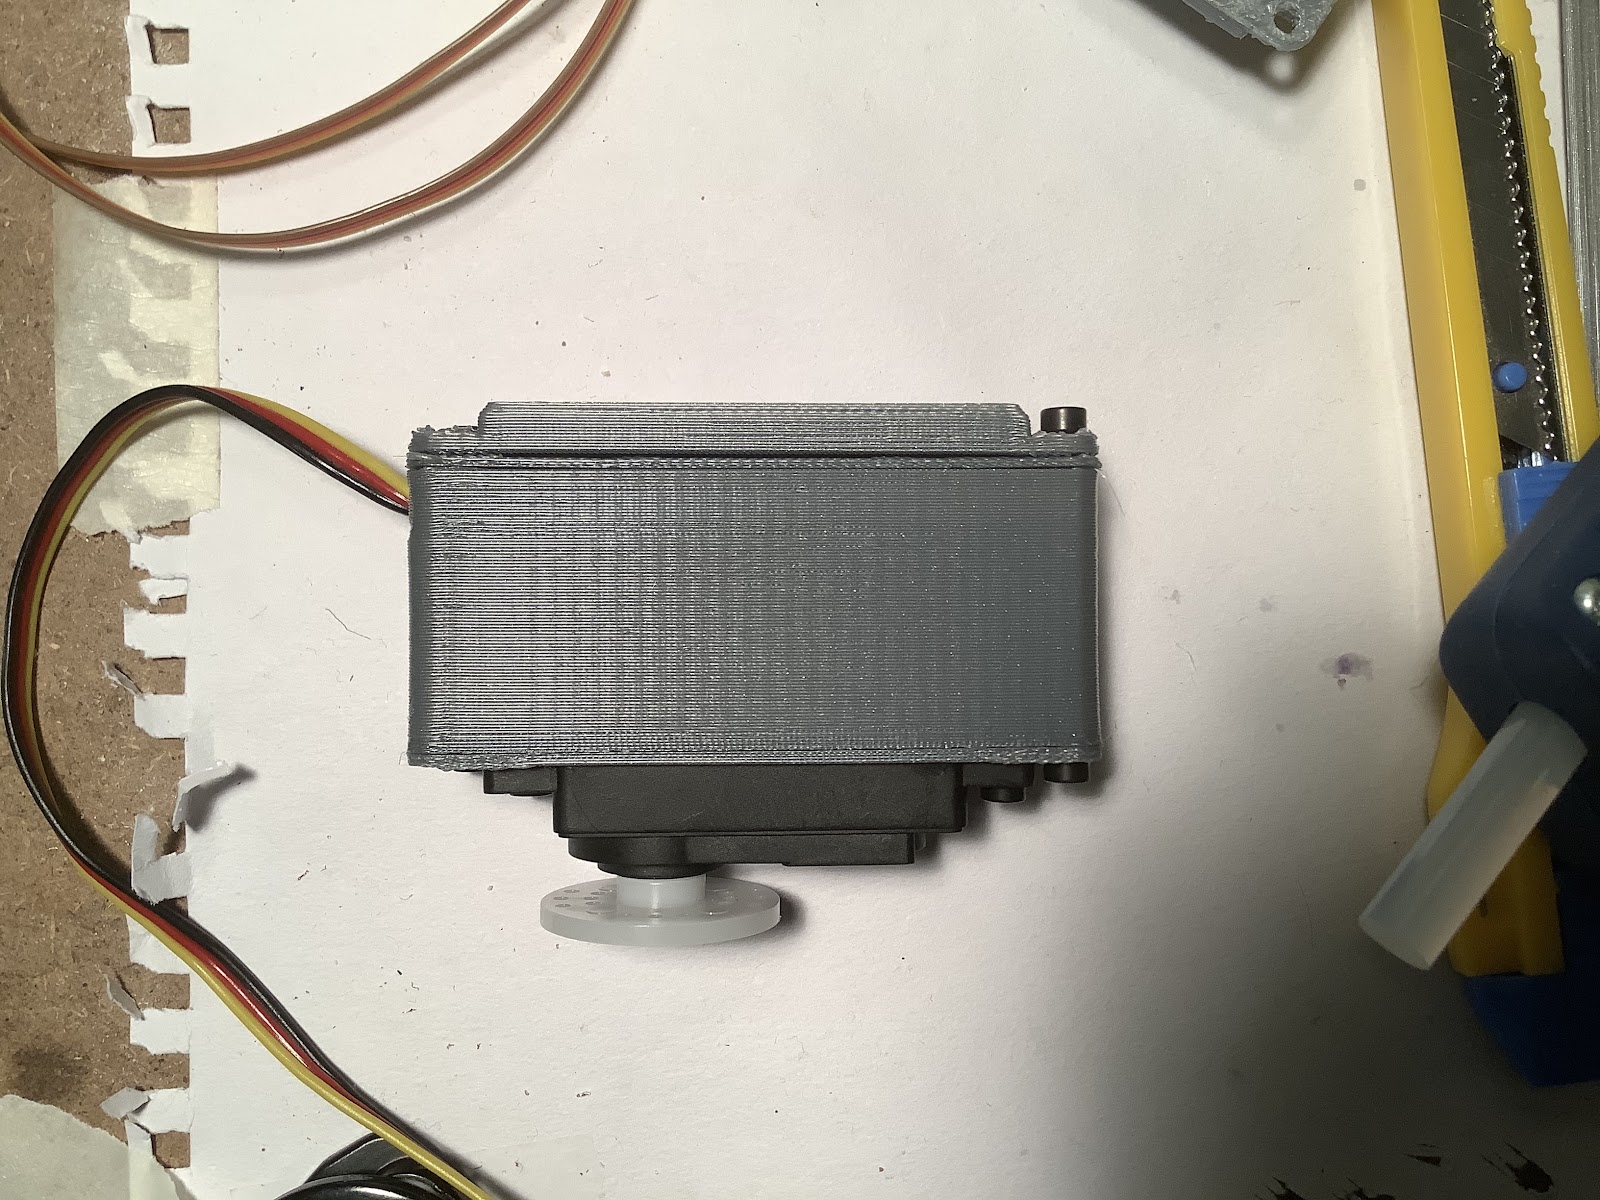
Did it work? Nope!
For a sanity check, I disassembled it and made sure that a servo can still fit in the enclosure.
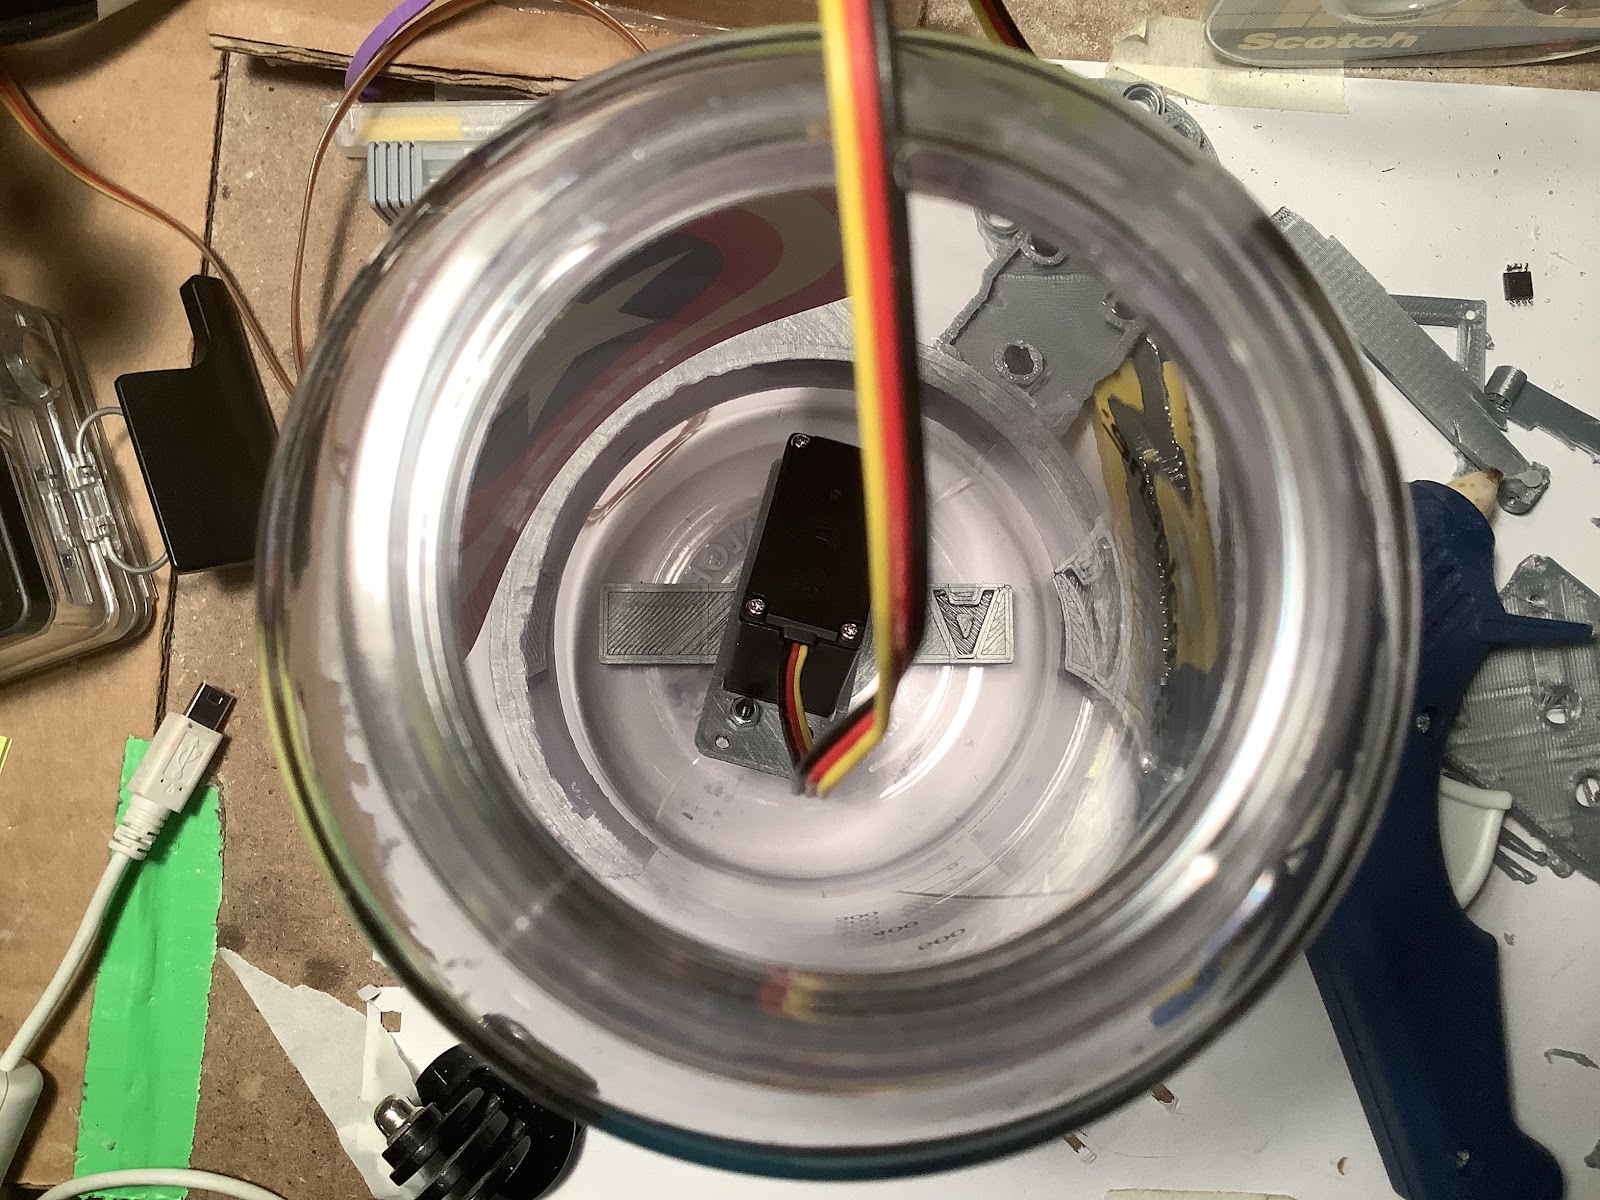
This spurred a thought - what if attach the magnets to the main bracket? Could that work? This is what R4 is about. R4 is a different approach. Two magnets on the side of the servo.
While writing this, the pieces for R4 are printing. If R4 doesn’t work, maybe making the magnets flush with the side of the servo could help reduce even more space.
Also, might be thinking about the design problem from an obscured angle. Maybe a very thin magnet (think ‘tape’ style) could be used for rudimentary alignment, then keying with 3D printed pieces could be used for stability.
Alright, the pieces for R4 finished printing and now assembled …….. the result: it fits!
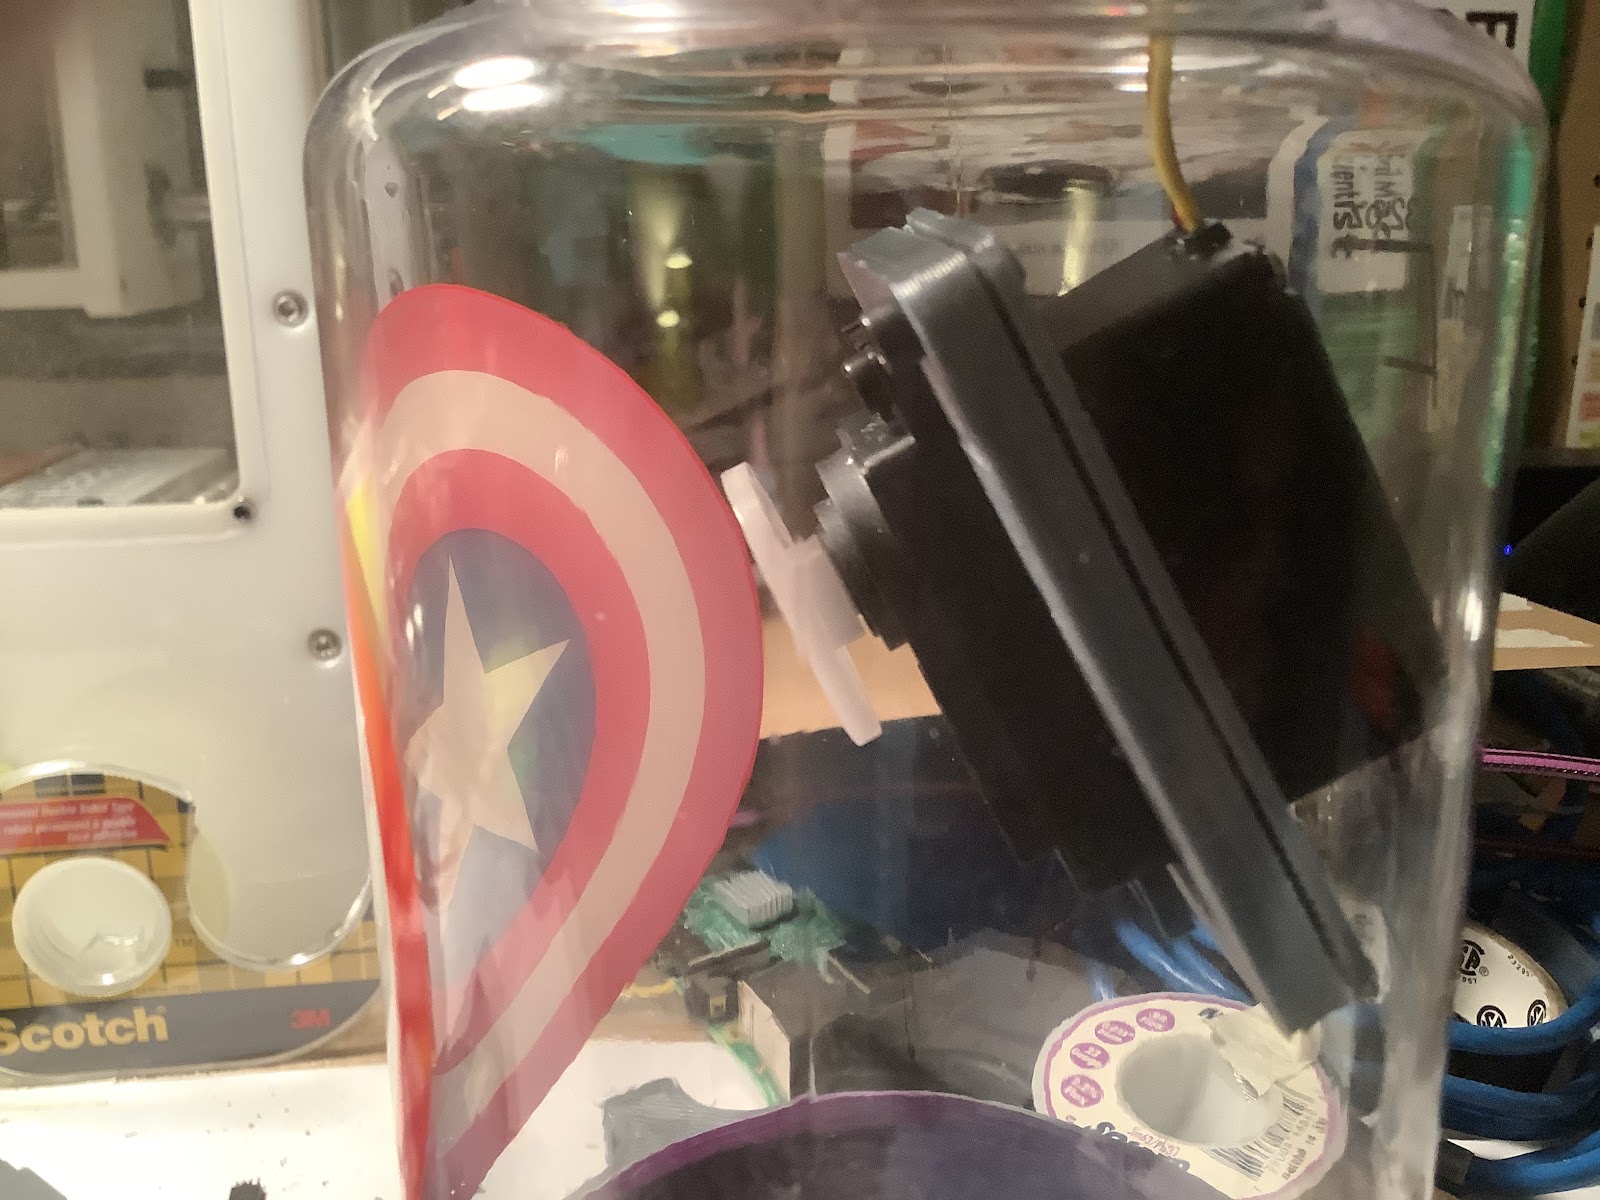
2:30am here but it’s a relief to know this fits now. Next steps are to proceed with the servo horn design, then electronics for the test, then testing it.
Discussions
Become a Hackaday.io Member
Create an account to leave a comment. Already have an account? Log In.