Close
0%
0%

Urban Sci Fi Trainset

Why aren't train sets sci fi

Similar projects worth following
Why aren't train sets sci fi? It seems like such an obvious question, but no one can tell me, not even wikipedia.

I once visited the bananas Miniatur Wunderland in Hamburg and was blown away. The amount of ingenious tech in that place is incredible and there's something pure about the fact that it serves no purpose other than to bring joy and money. But it wasn't sci fi.

The goal is not to build something realistic, but to make it as fun and high tech and sci fi as possible with full automation, and an urban setting. I don't have much space, so I'll get creative with the space I have. Off-the-shelf computerised model train stuff is too expensive, so I'll use open source solutions and retro fit locos.

Why am I writing this

Not sure

Goals

I'm going for something approaching cyberpunk, but with less Mohicans and leather. Neon signs are fine.

I want it to be fully autonomous and I'm not bothered if does that differently than how real trains work, in fact it would be cool to invent my own system.

1st goal: create simple layout where two trains can park and drive autonomously without colliding.

2nd goal: scenery and backdrop, preferably involving mini neon lights, blade runner style billboards driven by raspberry pis or something.

4th goal: more elaborate layout.

5h goal: see how far I can push the tech in the little trains, possibly include microcontrollers and rf24 modules to decentralize the automation. Improve the location tracking system to be a lot more precise, possibly using RFID. Maybe I could do away with DCC altogether.

6th goal: use my left over pen plotter parts to build a GRBL based automated parking system for the trains, where a section of track is lifted vertically and horizontally with a train on it, allowing it to dock with and drive into one of a vertical stack of little storage sheds.
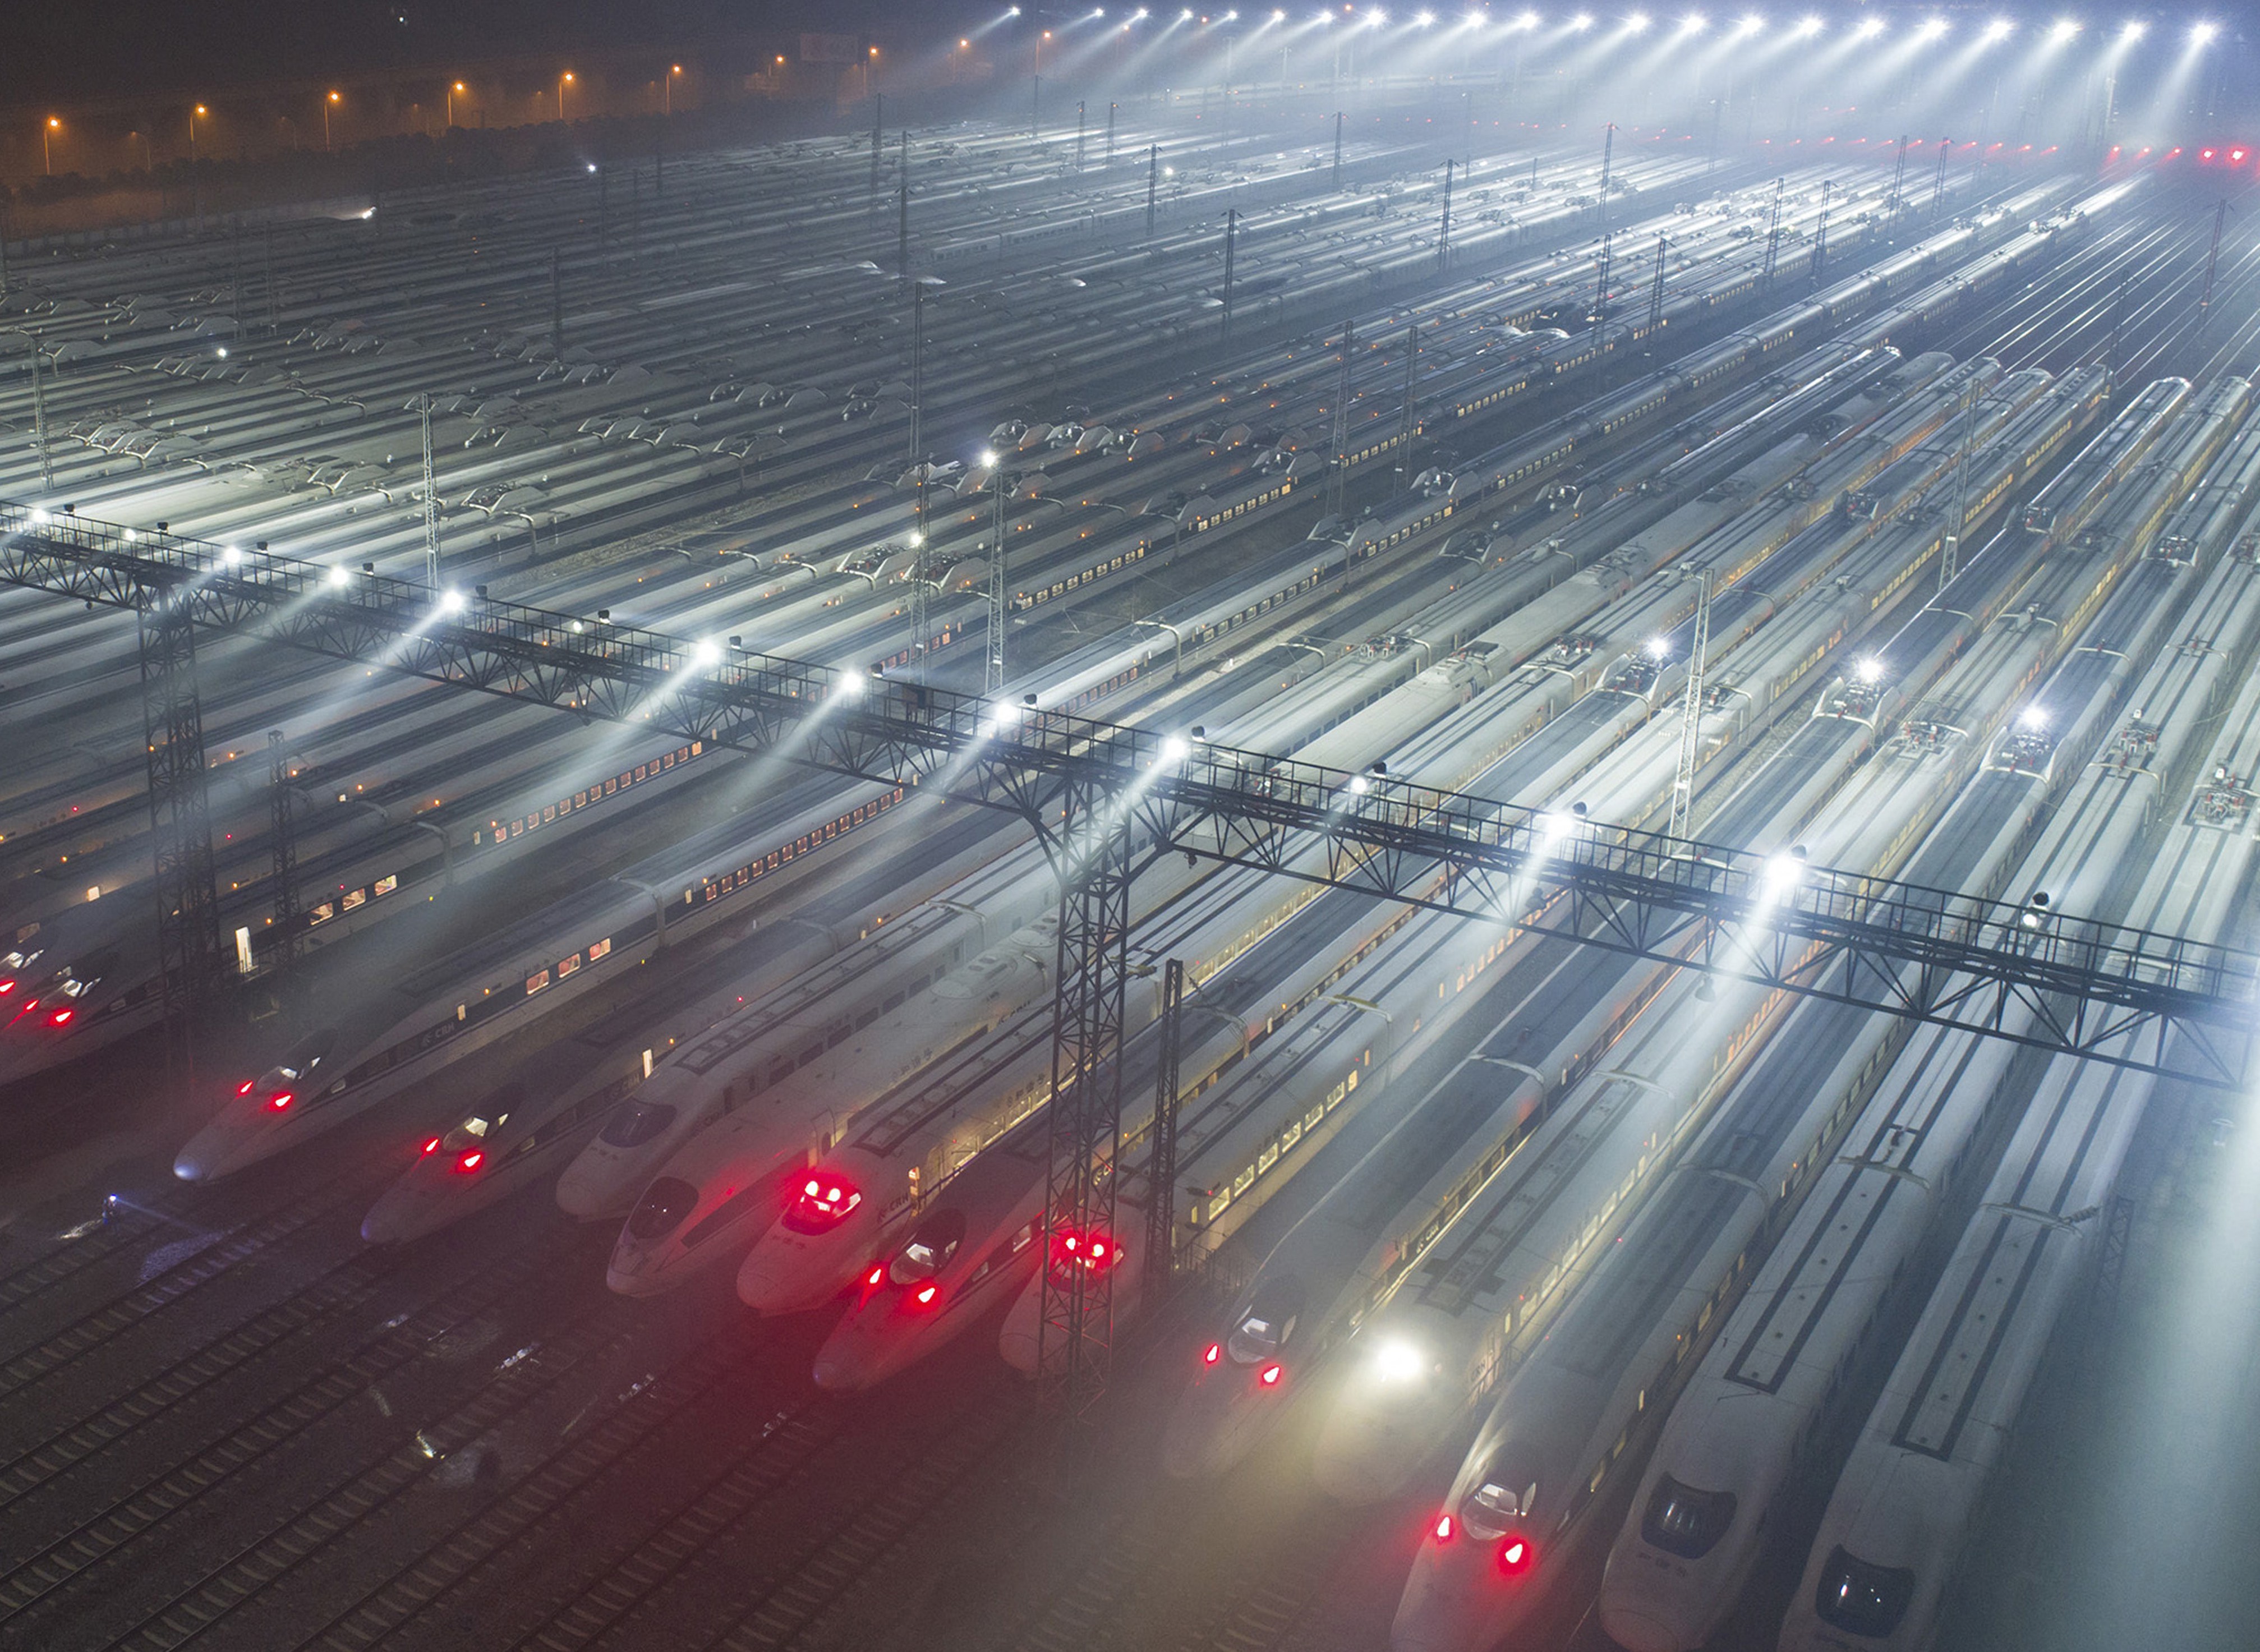
I stole this image

Kato

The most cyber model trains I can find are subway trains. I'm going for small, so will use N scale trains. It turns out Kato, a Japanese brand makes all this stuff. In Japan, train set fans are way more into this urban style and the smaller scale, than anywhere else, and they're generally pretty cyber. Perfect! Except those trains cost like $700! This is a midlife crisis hobby. I'm only two fifths through my life. But their snap together track is perfect for a beginner like me.
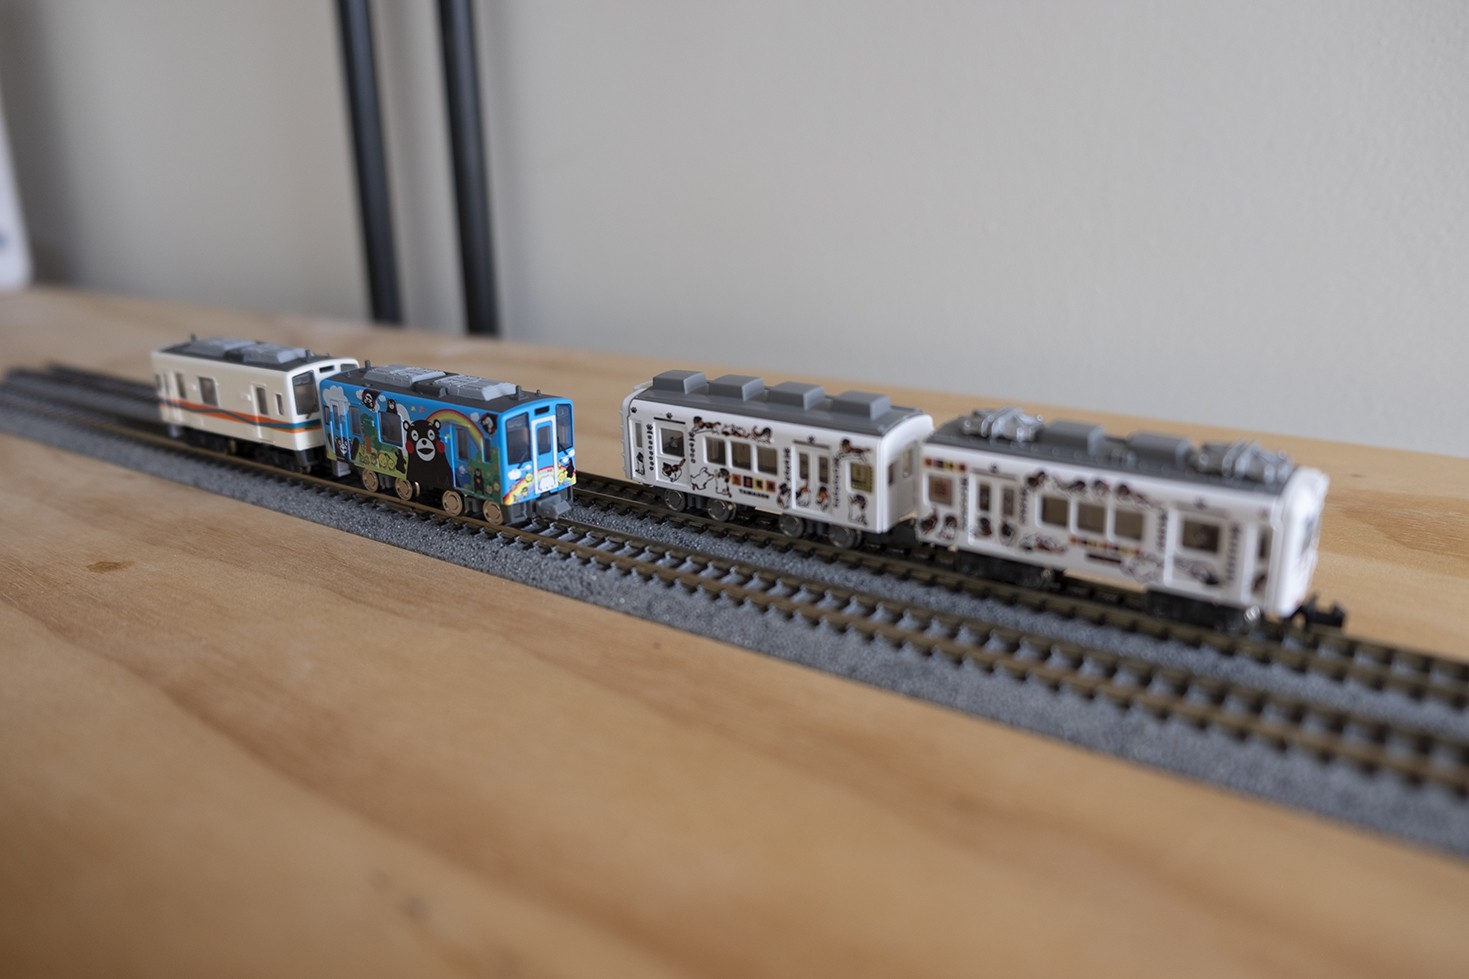
Bandai Shorty

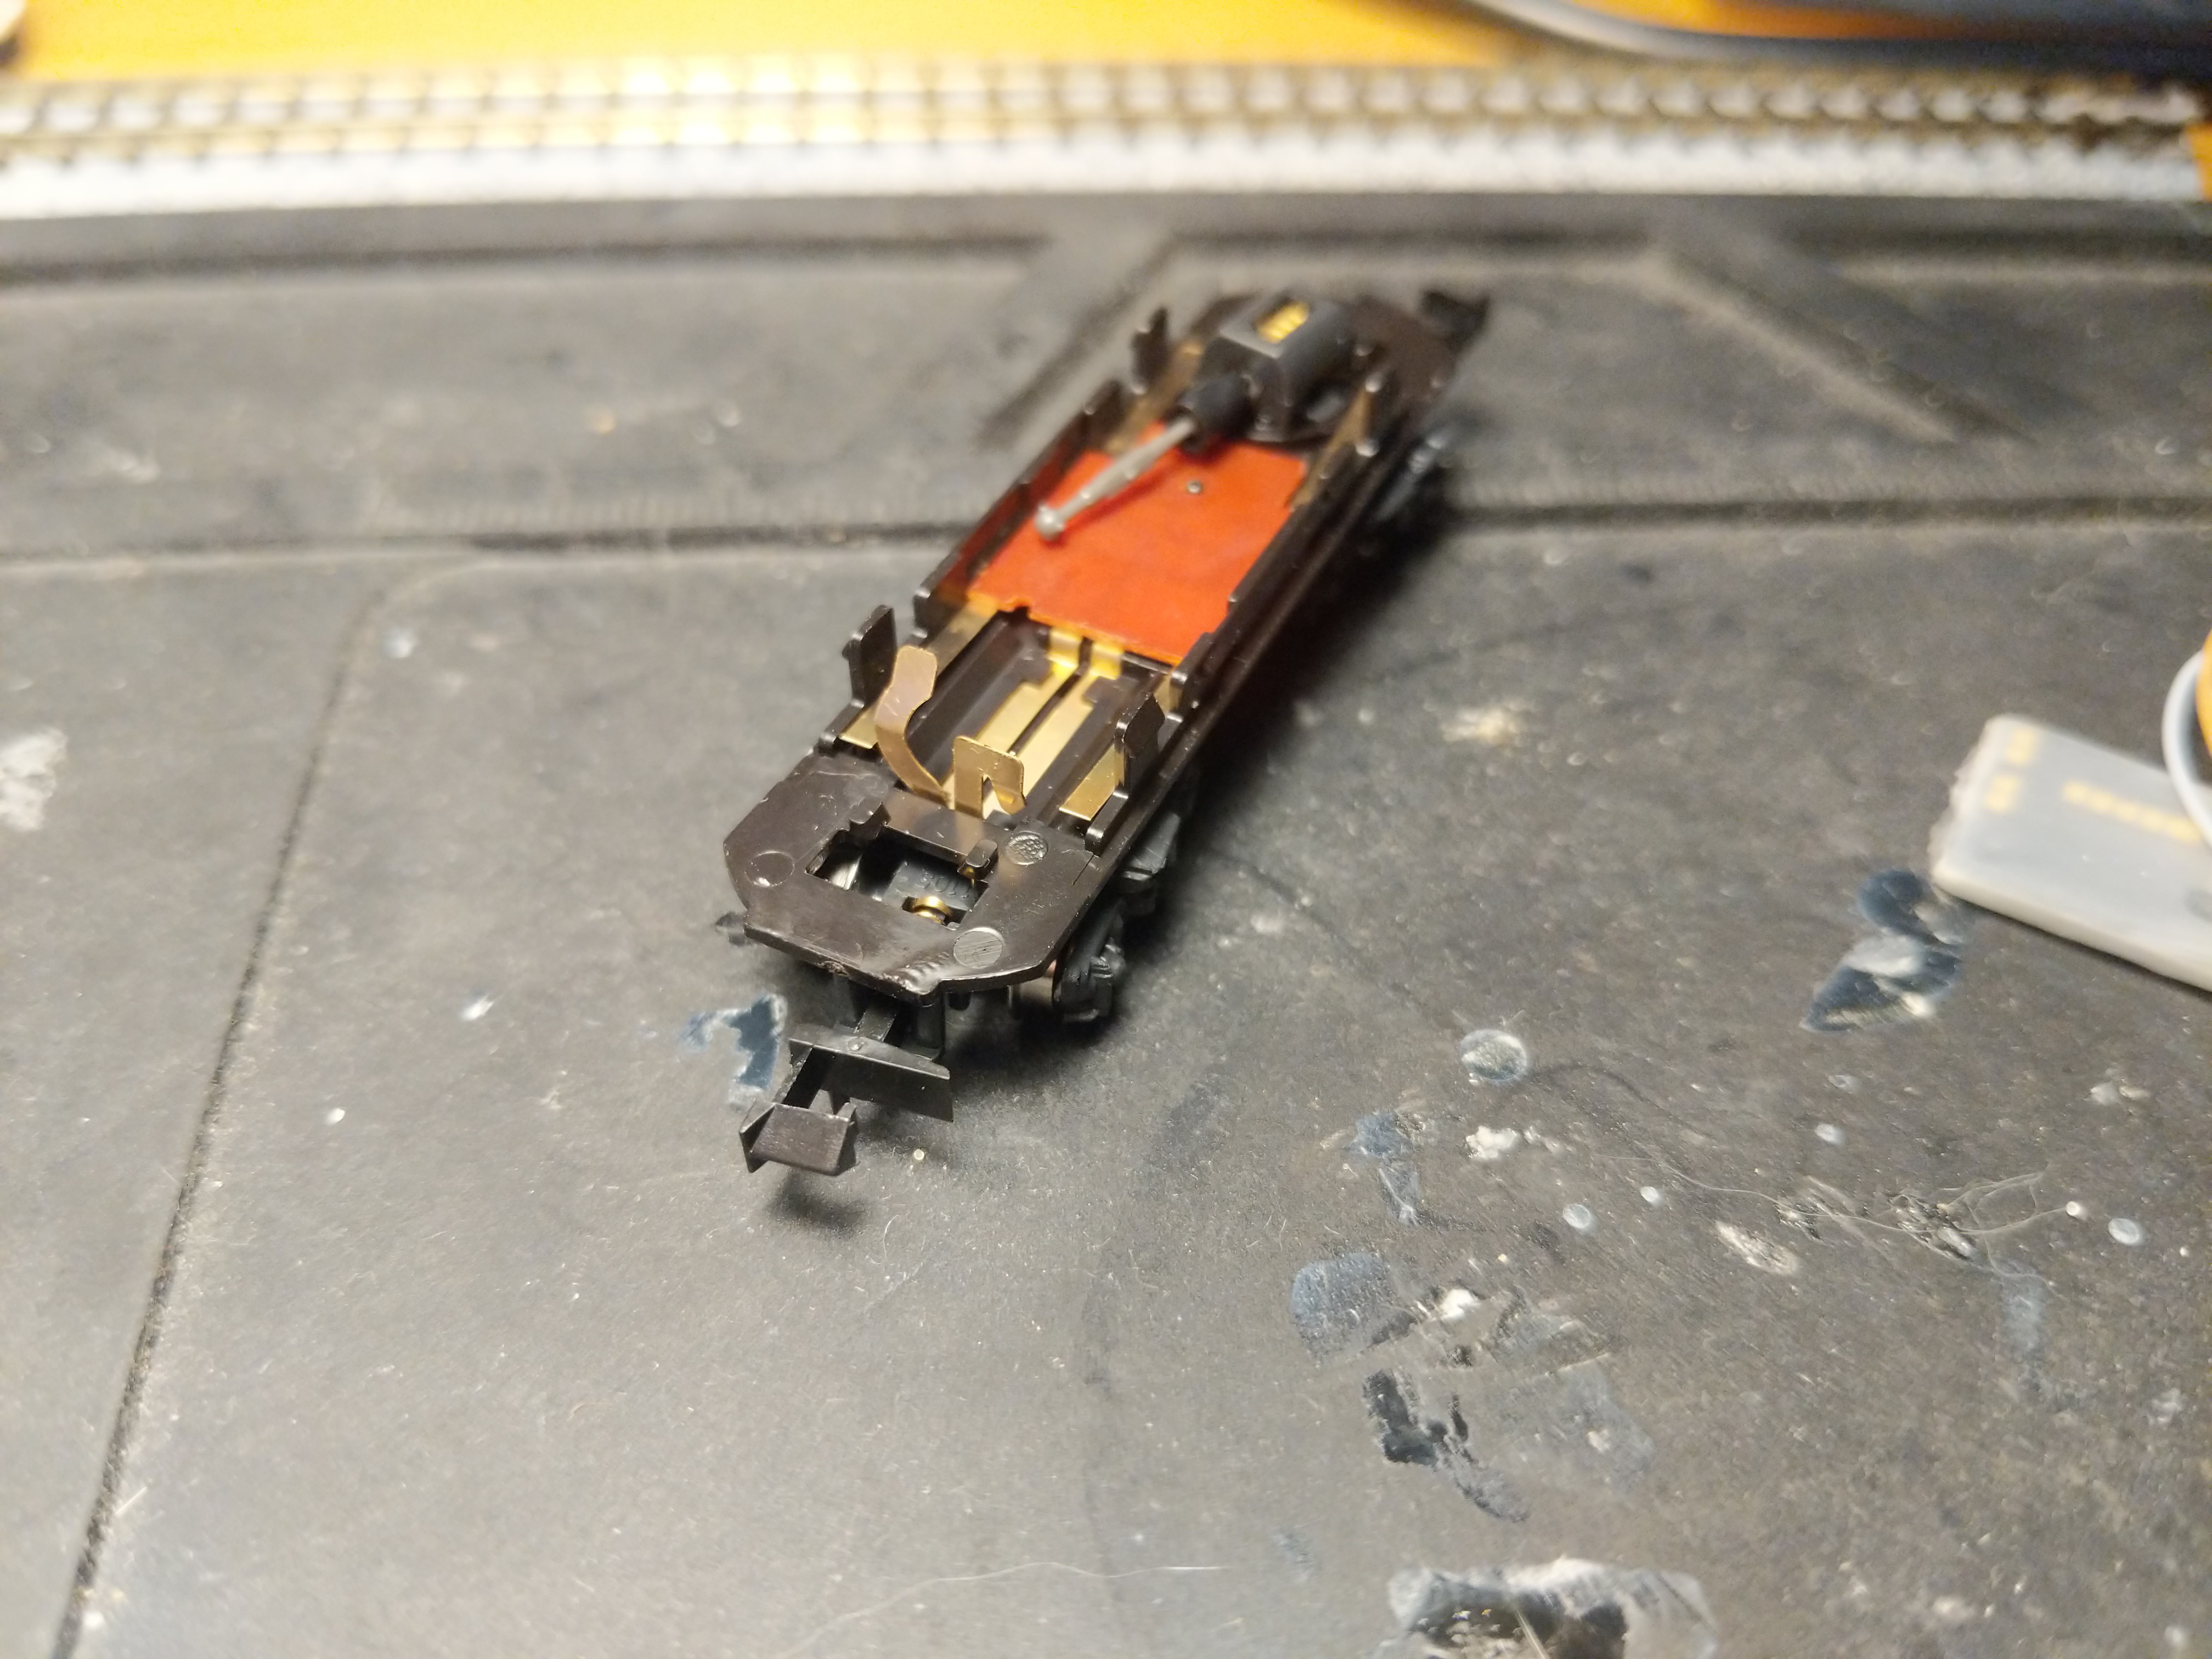
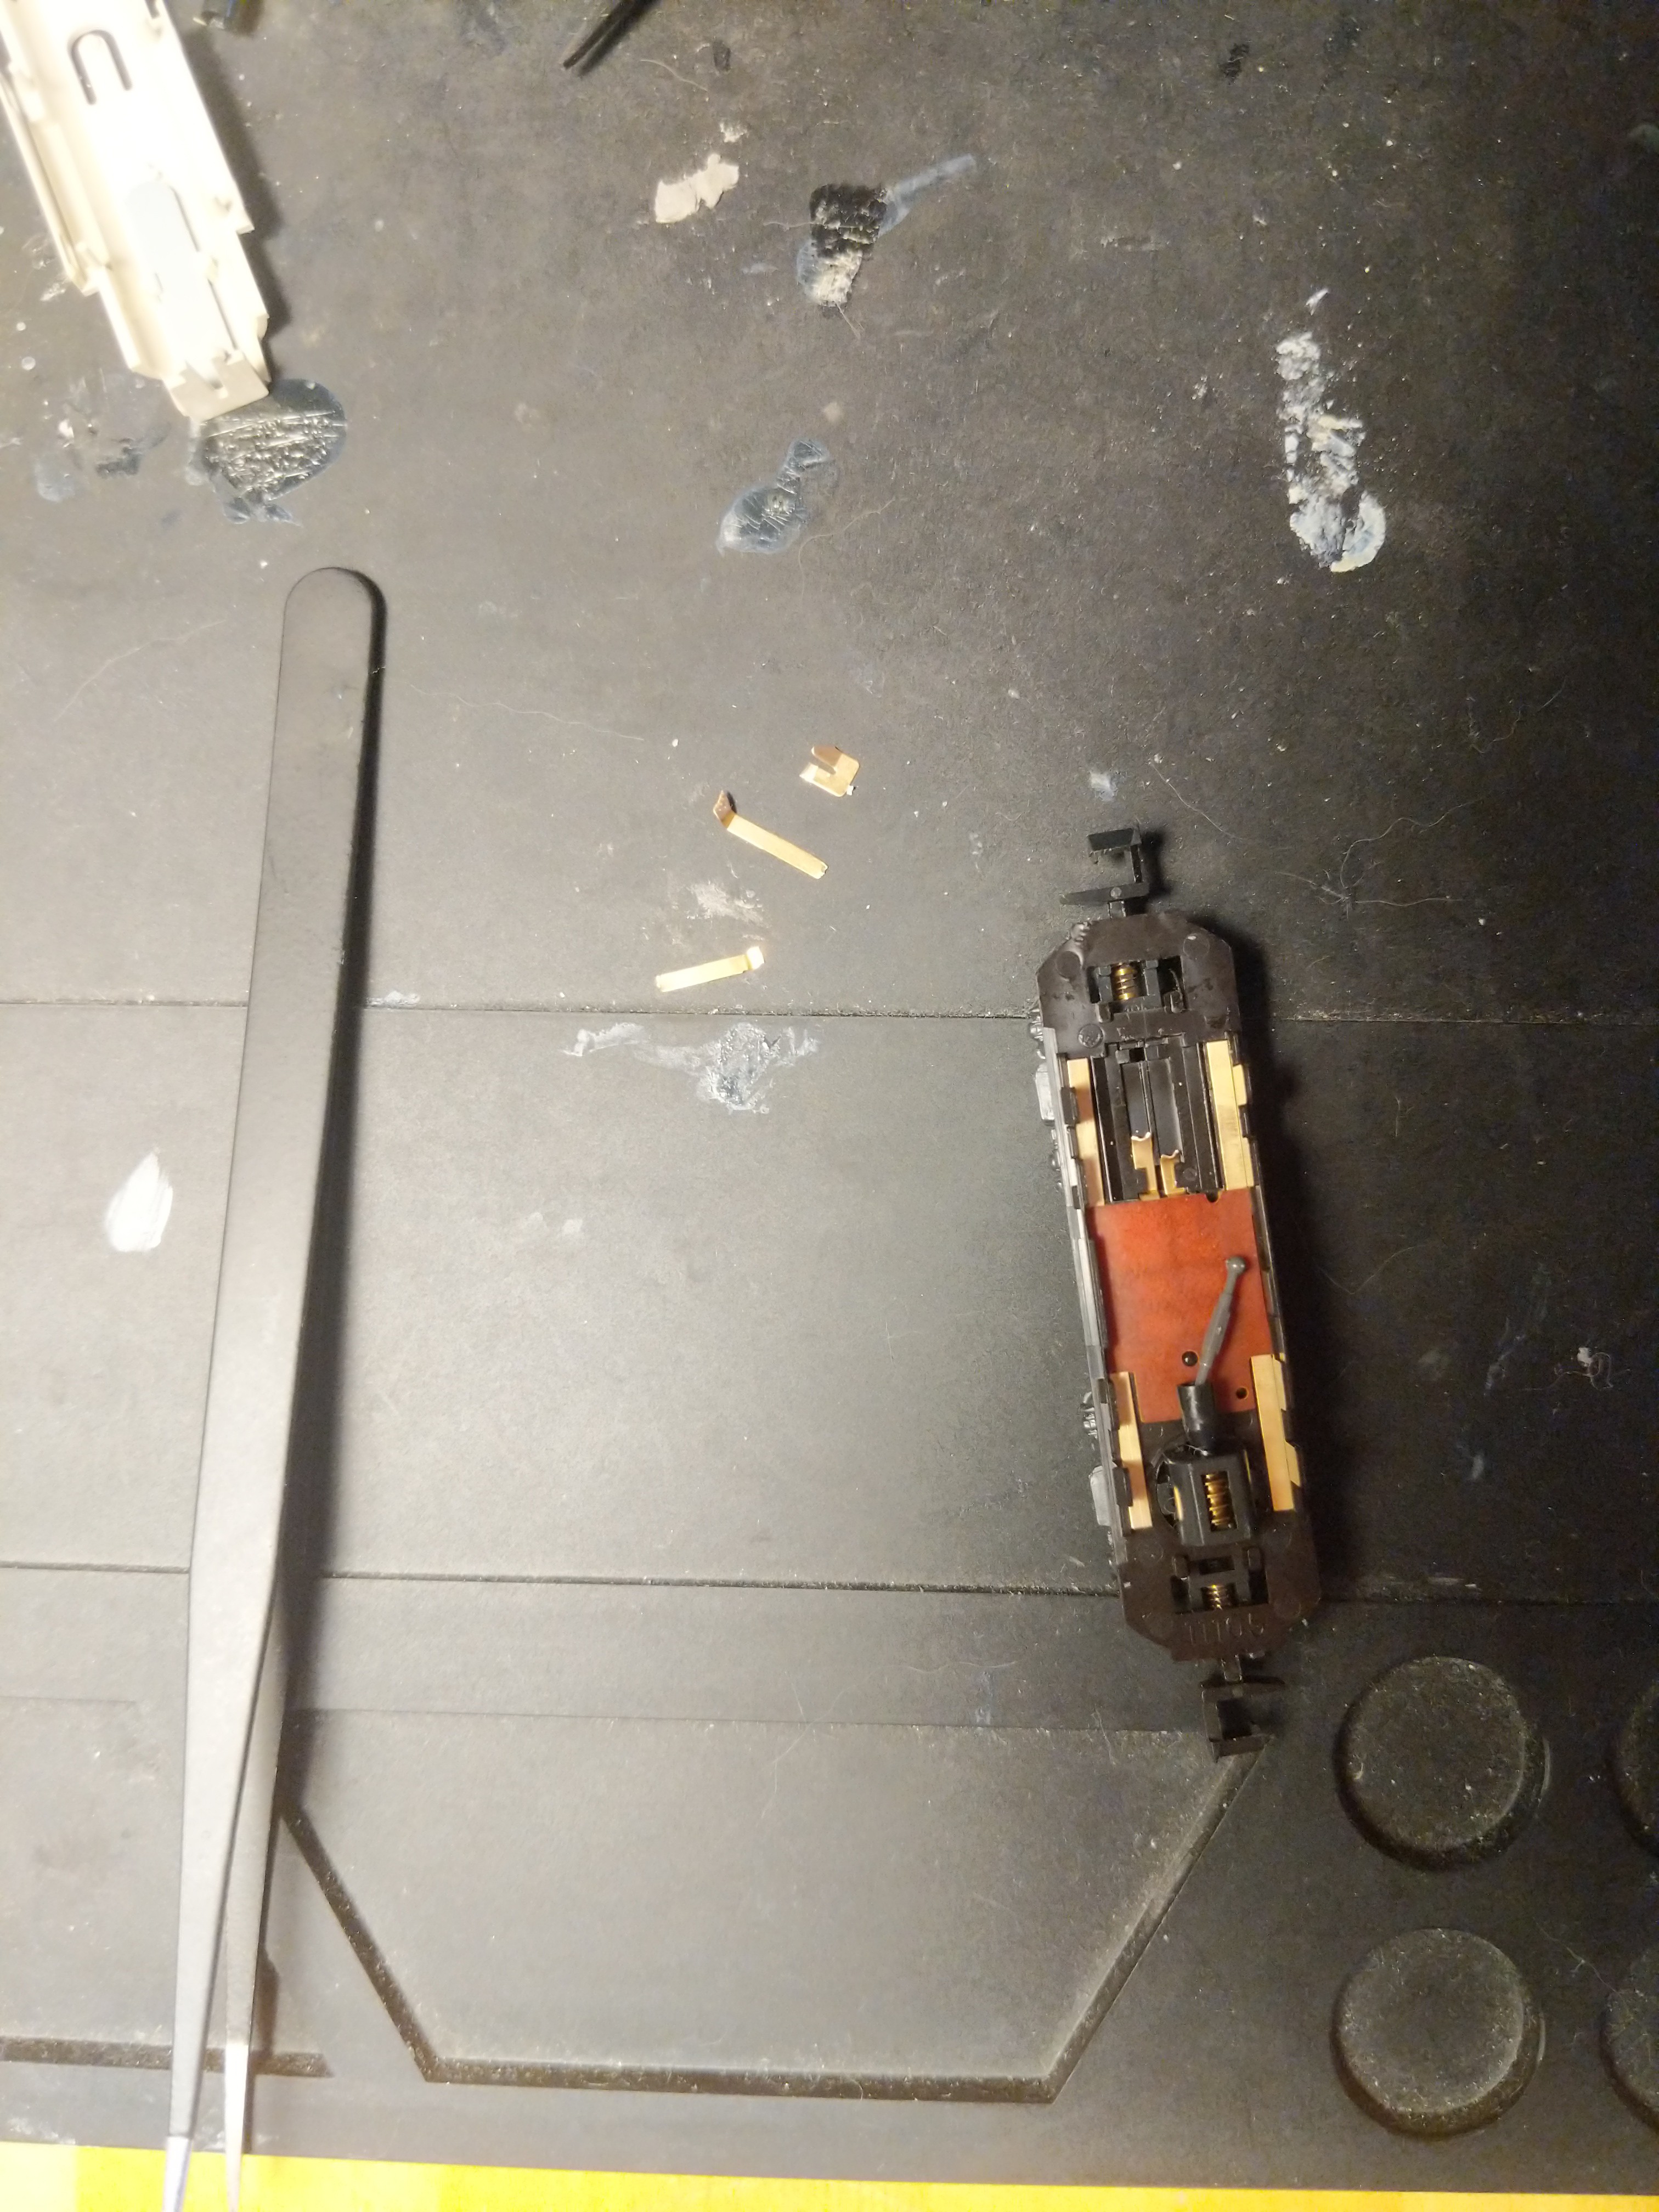
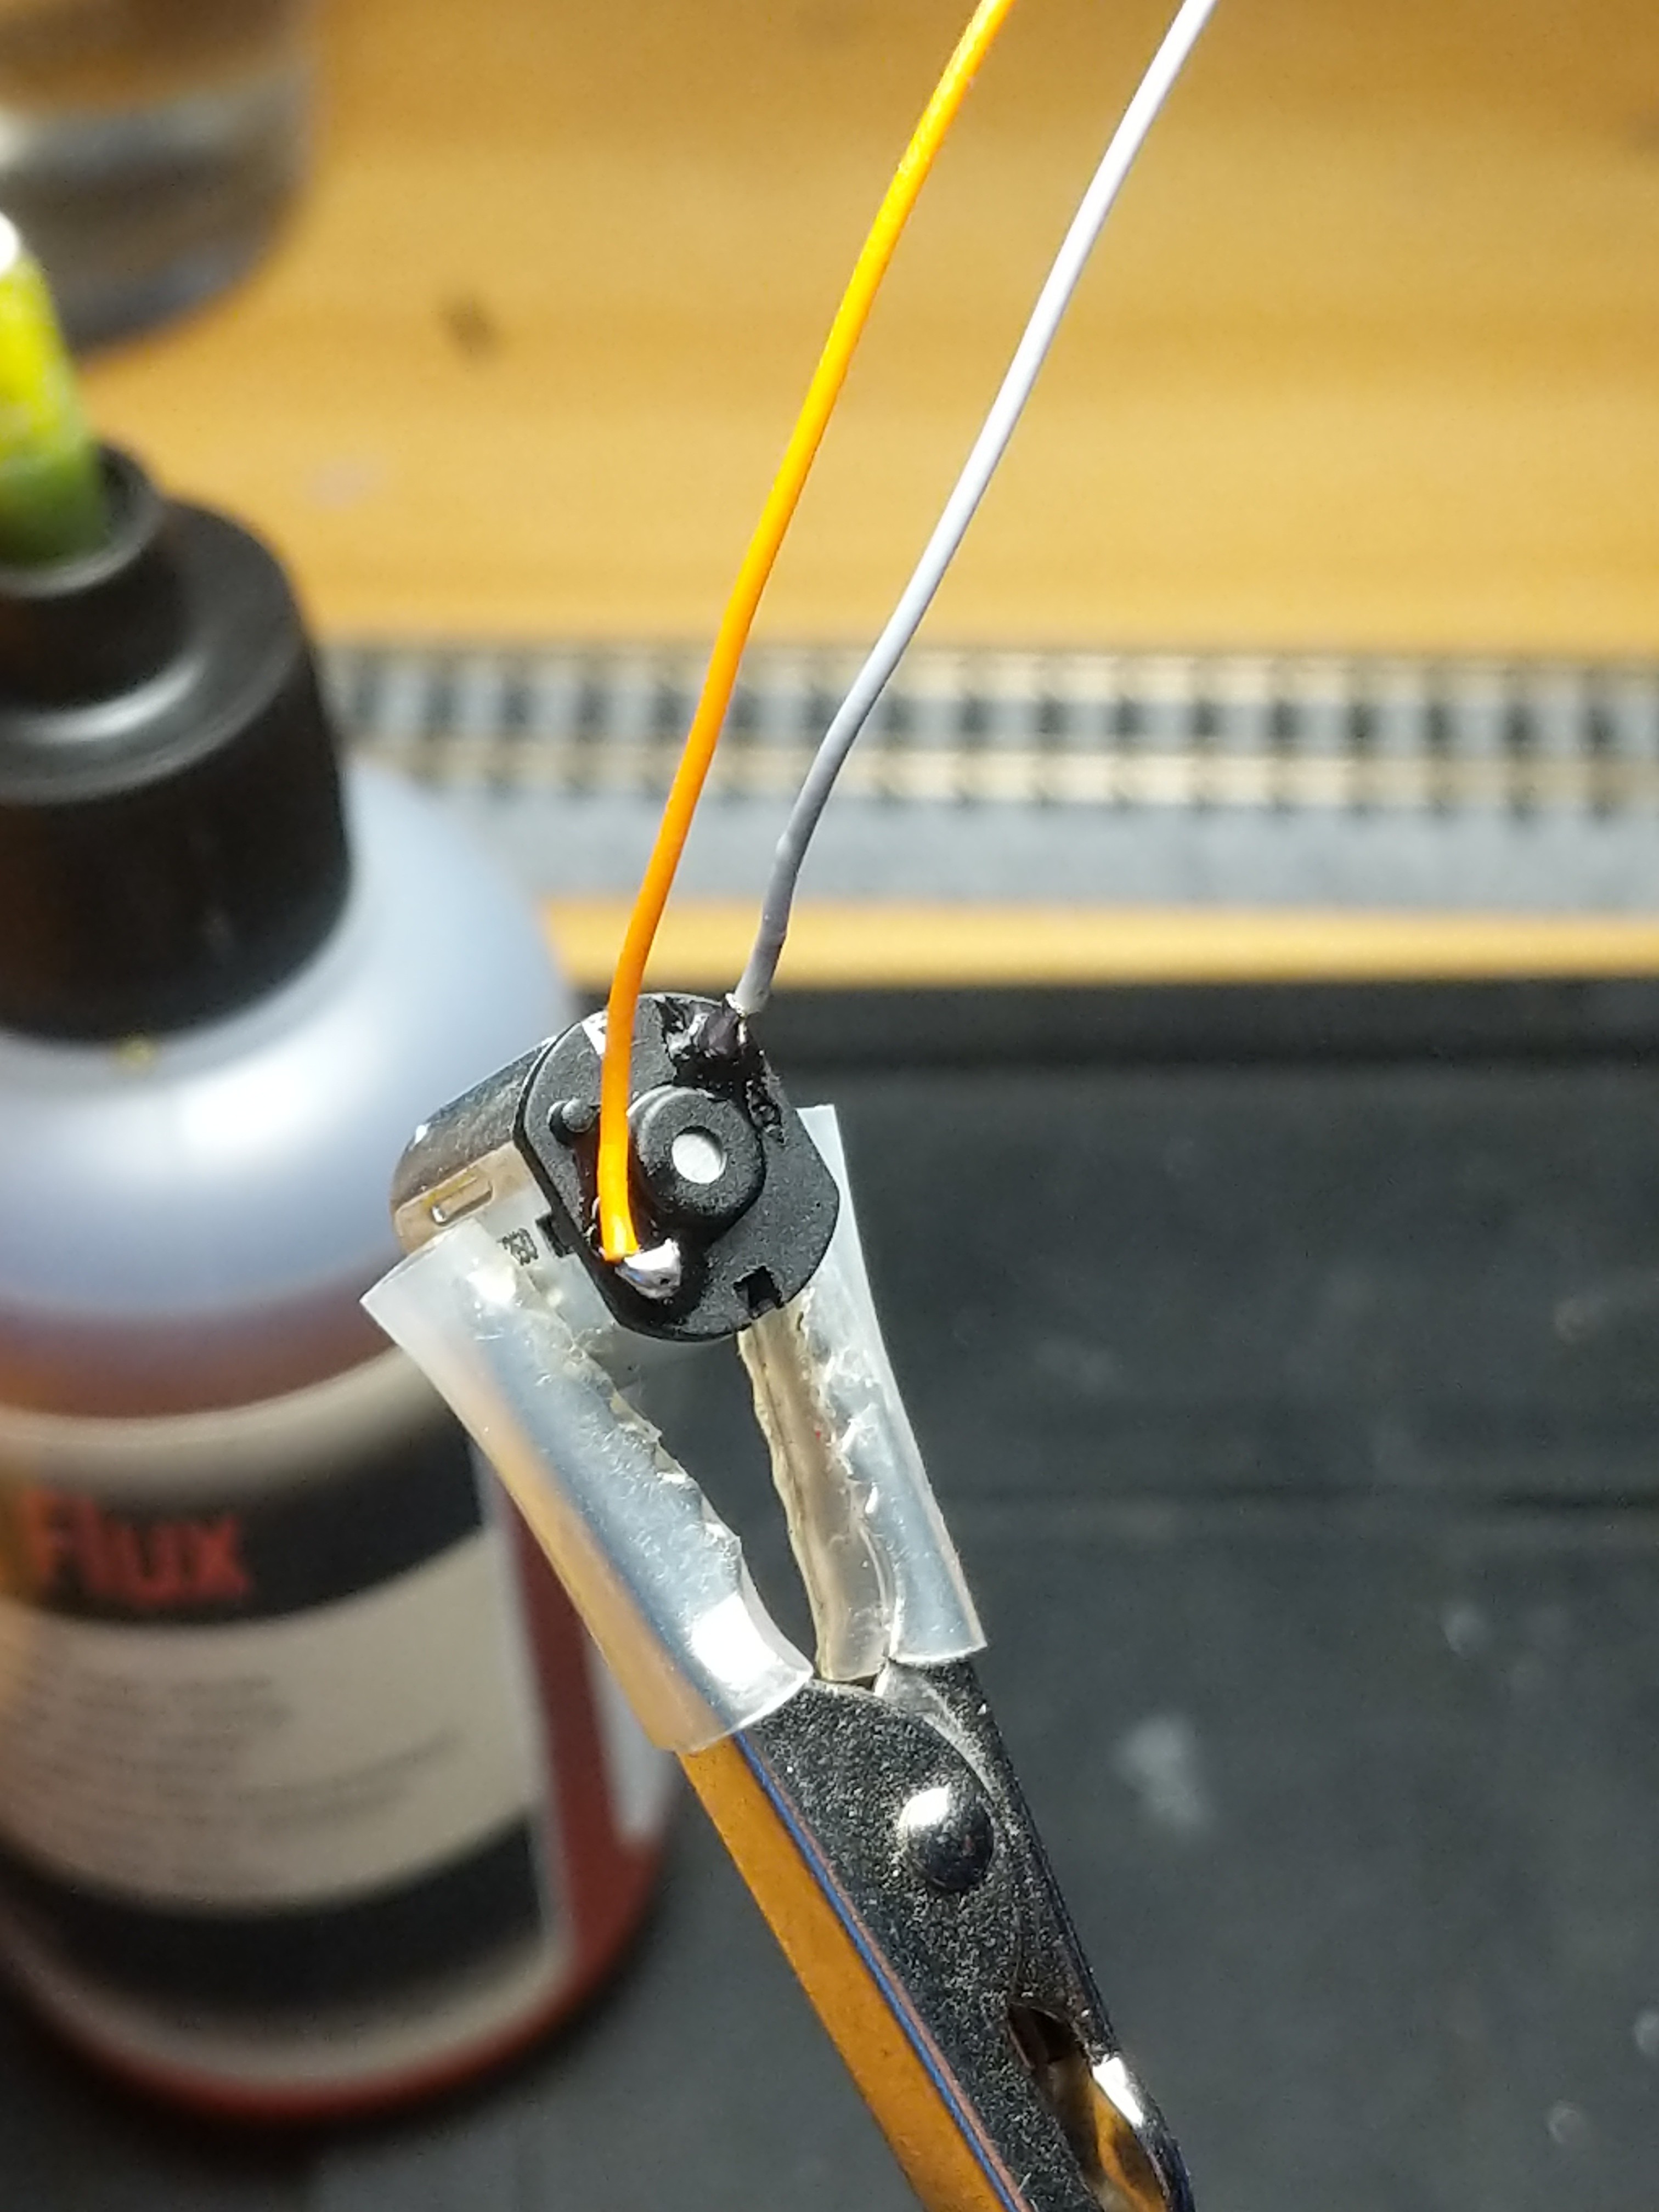
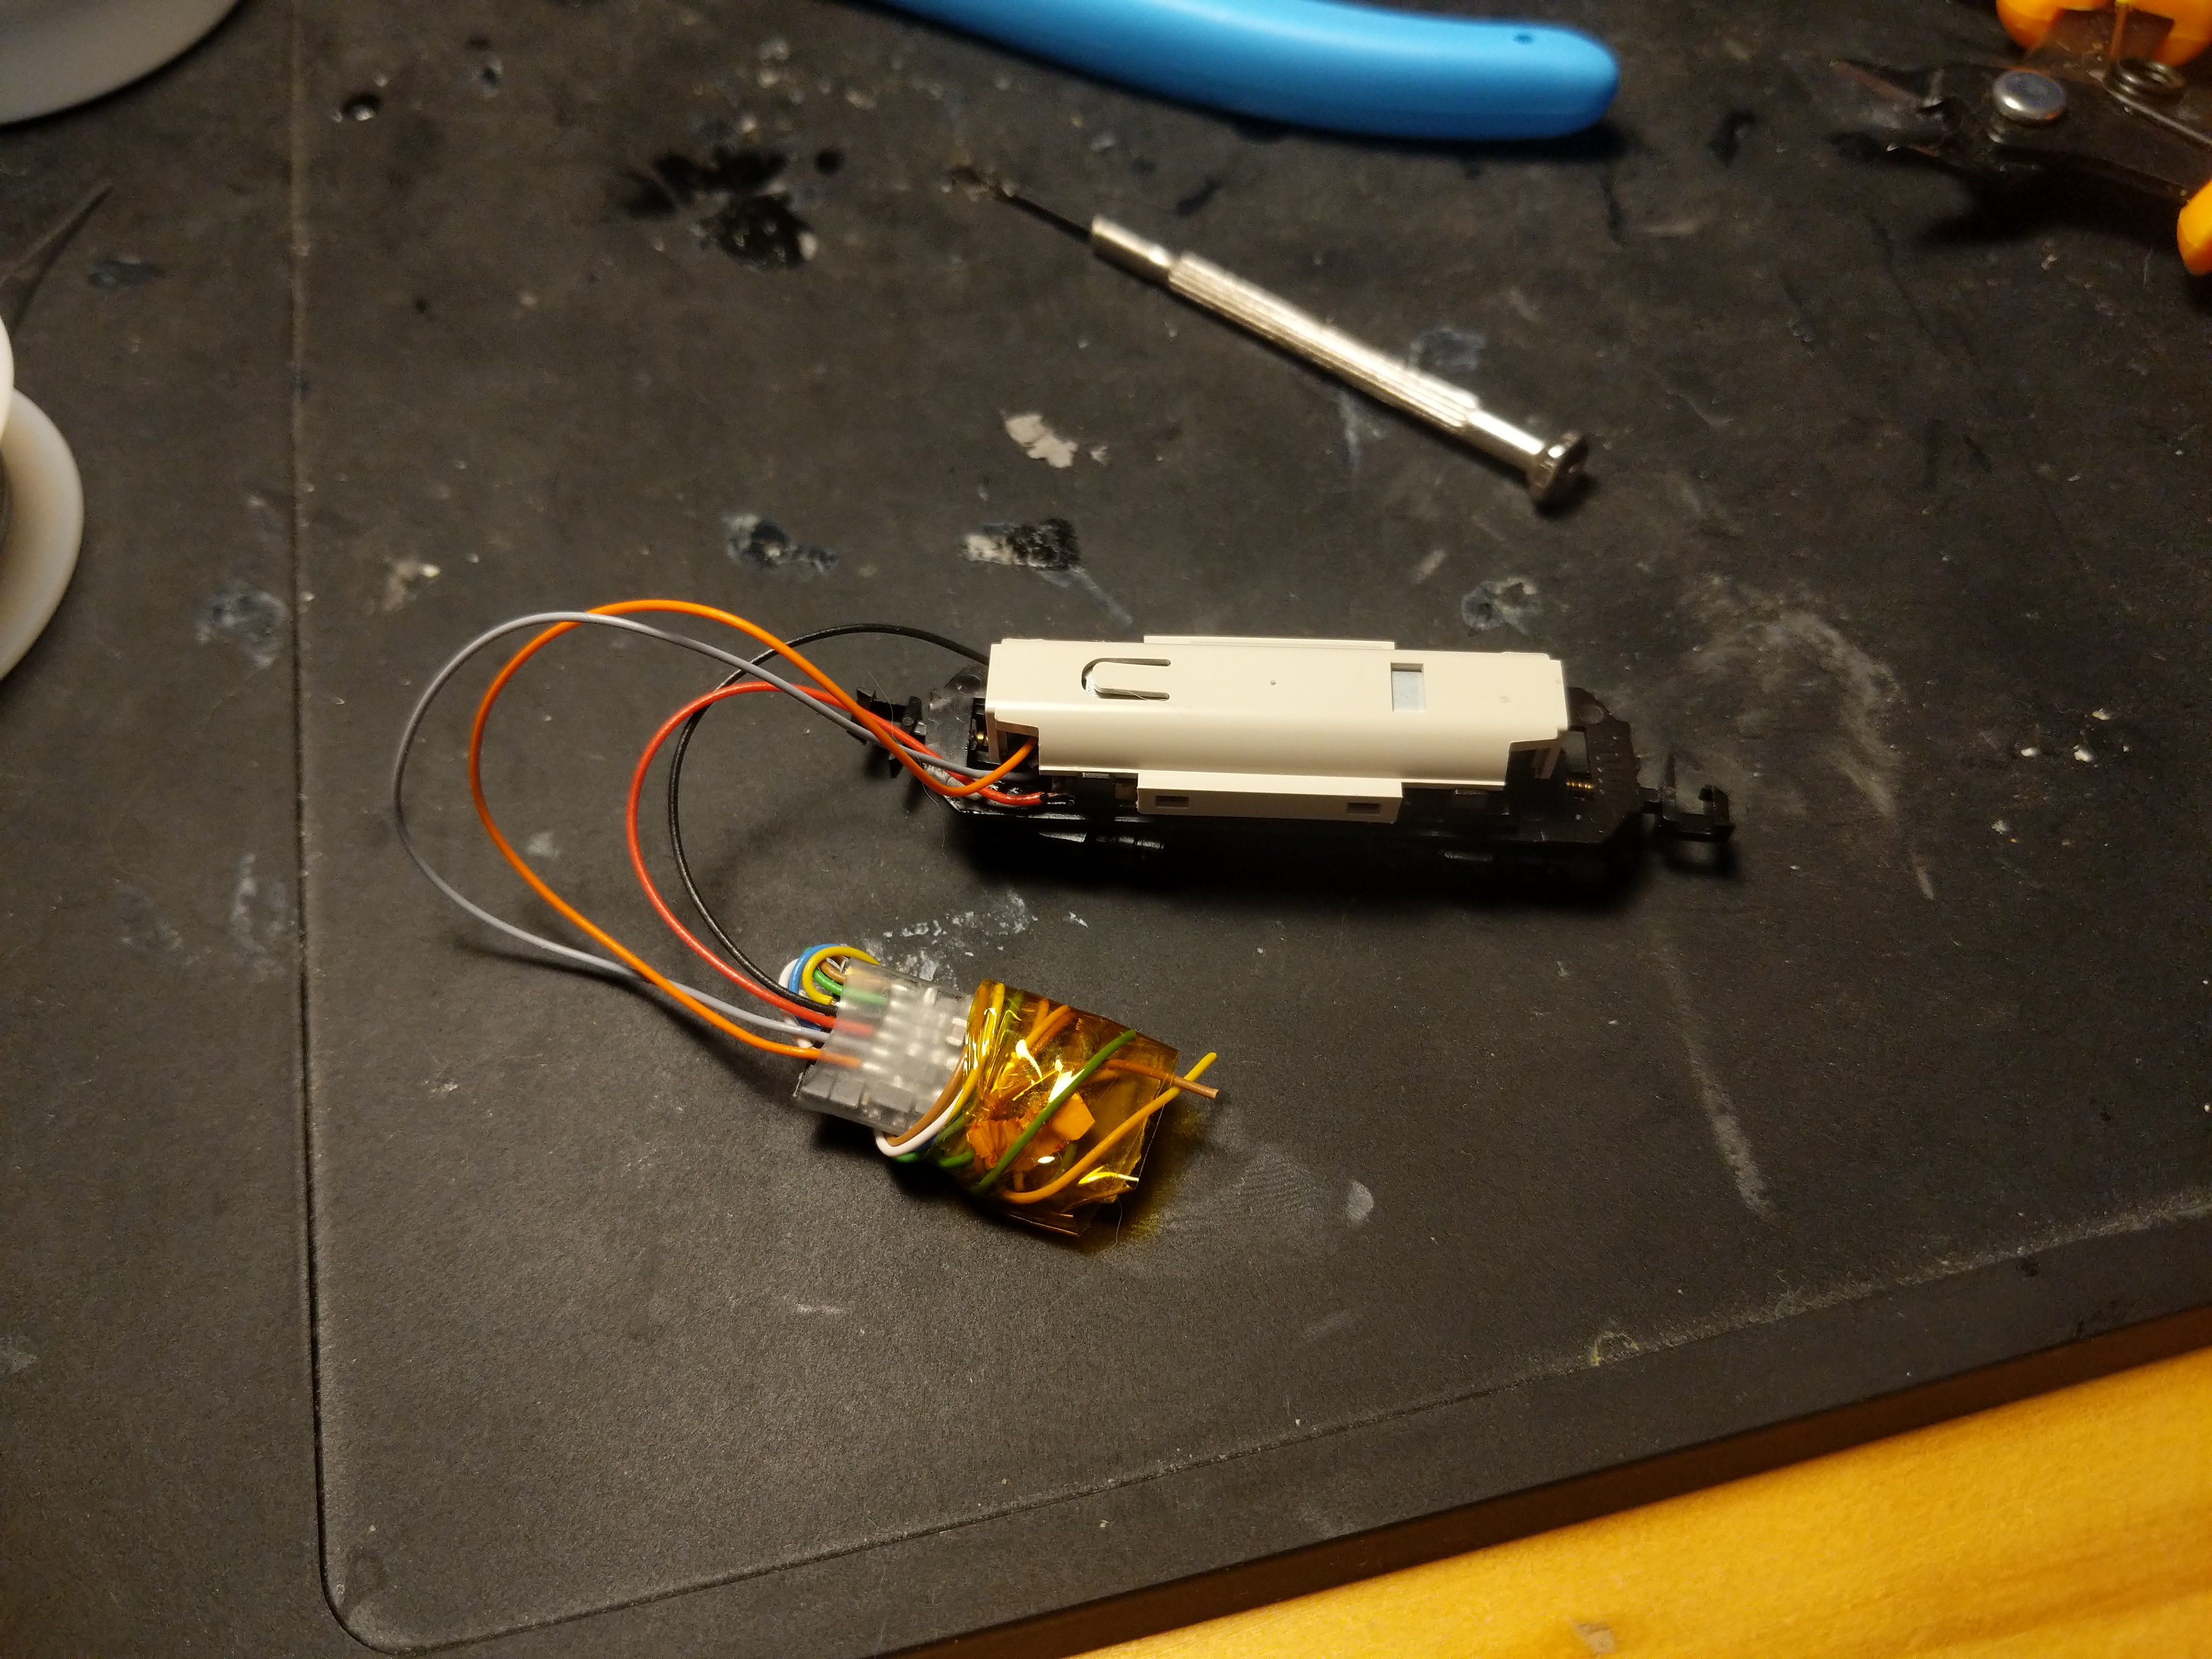
Then I discovered Bandai Shorty toy trains. They're cheap(er) and can be modified with Kato parts to run like "proper" model trains. Also, they're more playful aesthetically and are short, which means I can fit more stations and much tighter corners into my layout which is great, and they're quite cyber. The Kato engine units themselves will need to be modified with DCC decoders. Someone made this lovely set with Bandai Shorties:


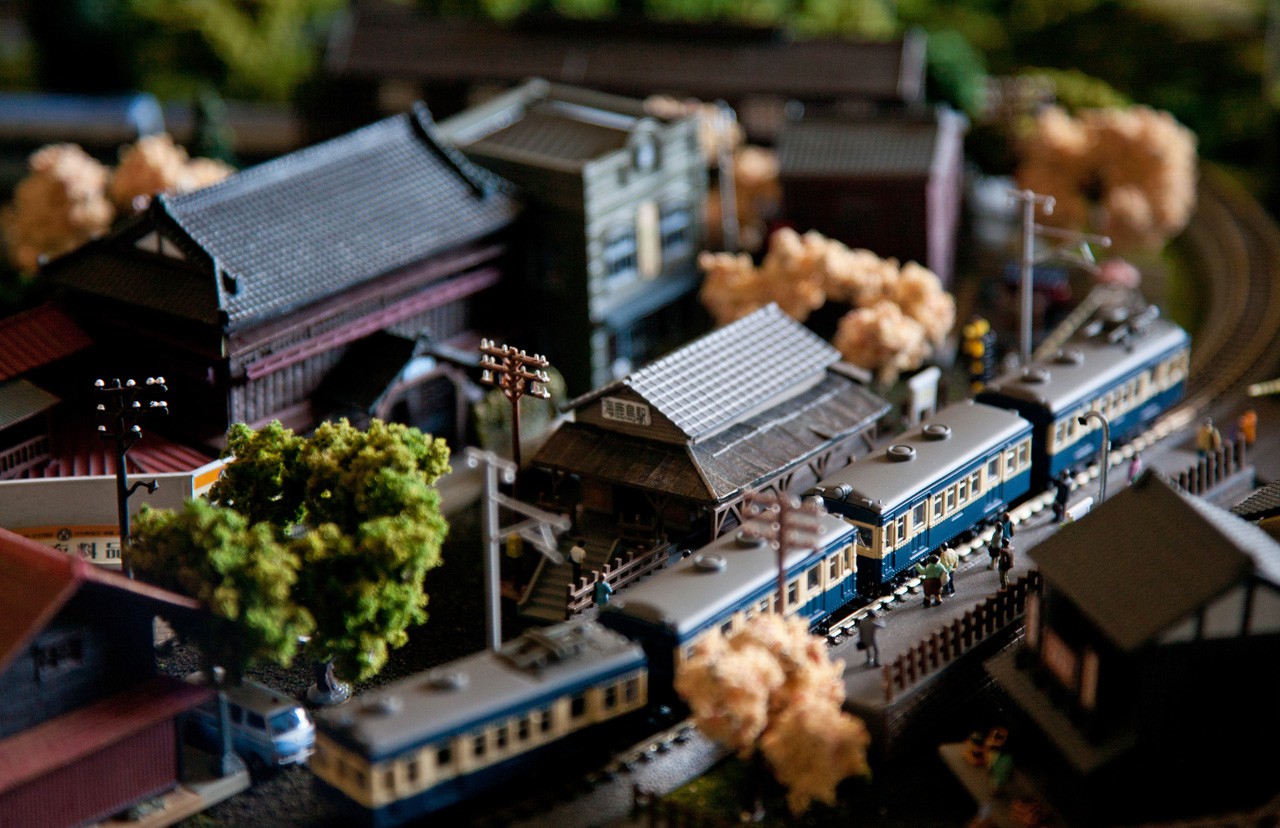
Mine will be more cyber.

Layout

Track is expensive, and the space I have designated for this is a shelf. It's a fairly large shelf. But I didn't want it to be all track in a way that sort of destroys the illusion. So I plan to build it like a subway where the trains go back and forth without needing to loop around, with the ability to switch tracks and a small depot for them to autonomously park at when their little day is over.

DCC++

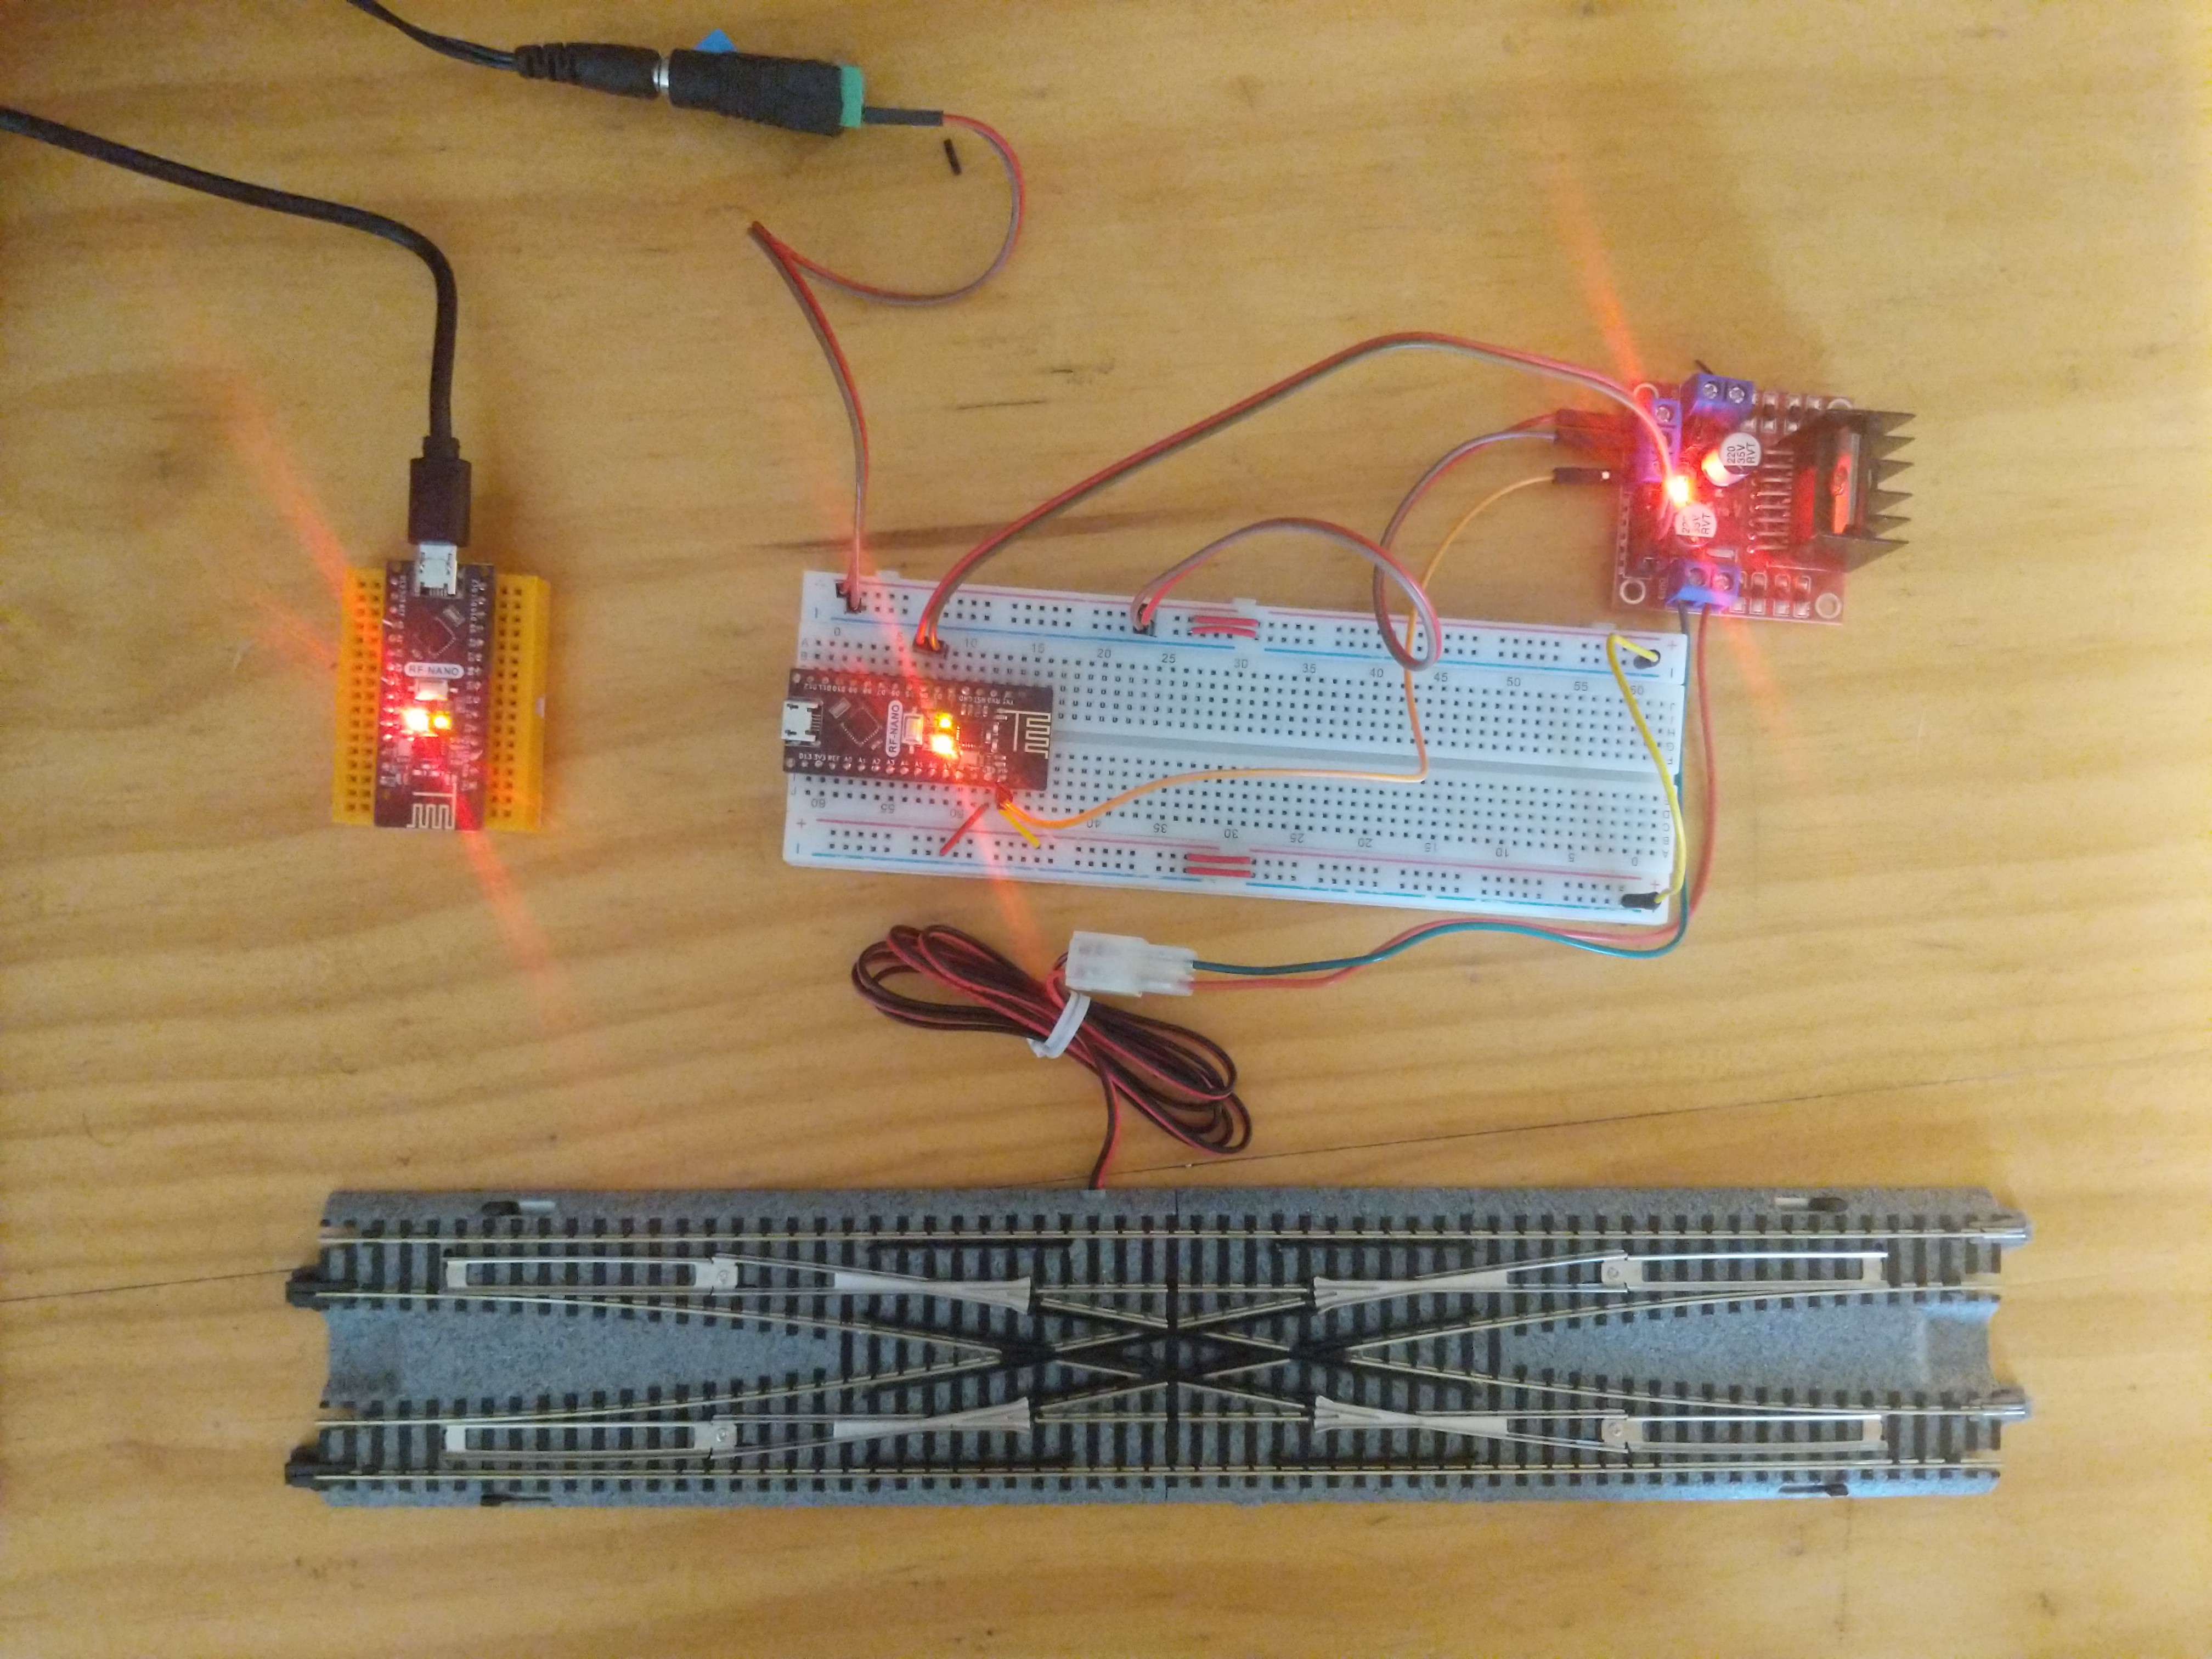
The control units that send a DCC signal (modulated AC that both powers the trains and sends them commands) down the track are expensive and full of vendor lock in. Luckily some genius wrote an open source, Arduino based alternative called DCC++ that can be put together for cheap especially if, as you should, you have a box of Arduino Uno's some of which still mostly work.

JMRI

The paid for control software is expensive. There's several open source options but for now I'm going with JMRI, because while it seems harder to get going than some others, it has a fully scriptable environment, supports DCC++, can interface with Arduinos and so on.

C/MRI over arduino

I was surprised to learn that the various available systems for controlling ancillary components such as automated points, block detection and so on are expensive. Luckily, a clever chap wrote an Arduino based emulator for one such system called C/MRI that can interface with JMRI. I will have one master Arduino hard wired to the JMRI computer, and have it distribute commands to nodes around the track using RF24 Network.
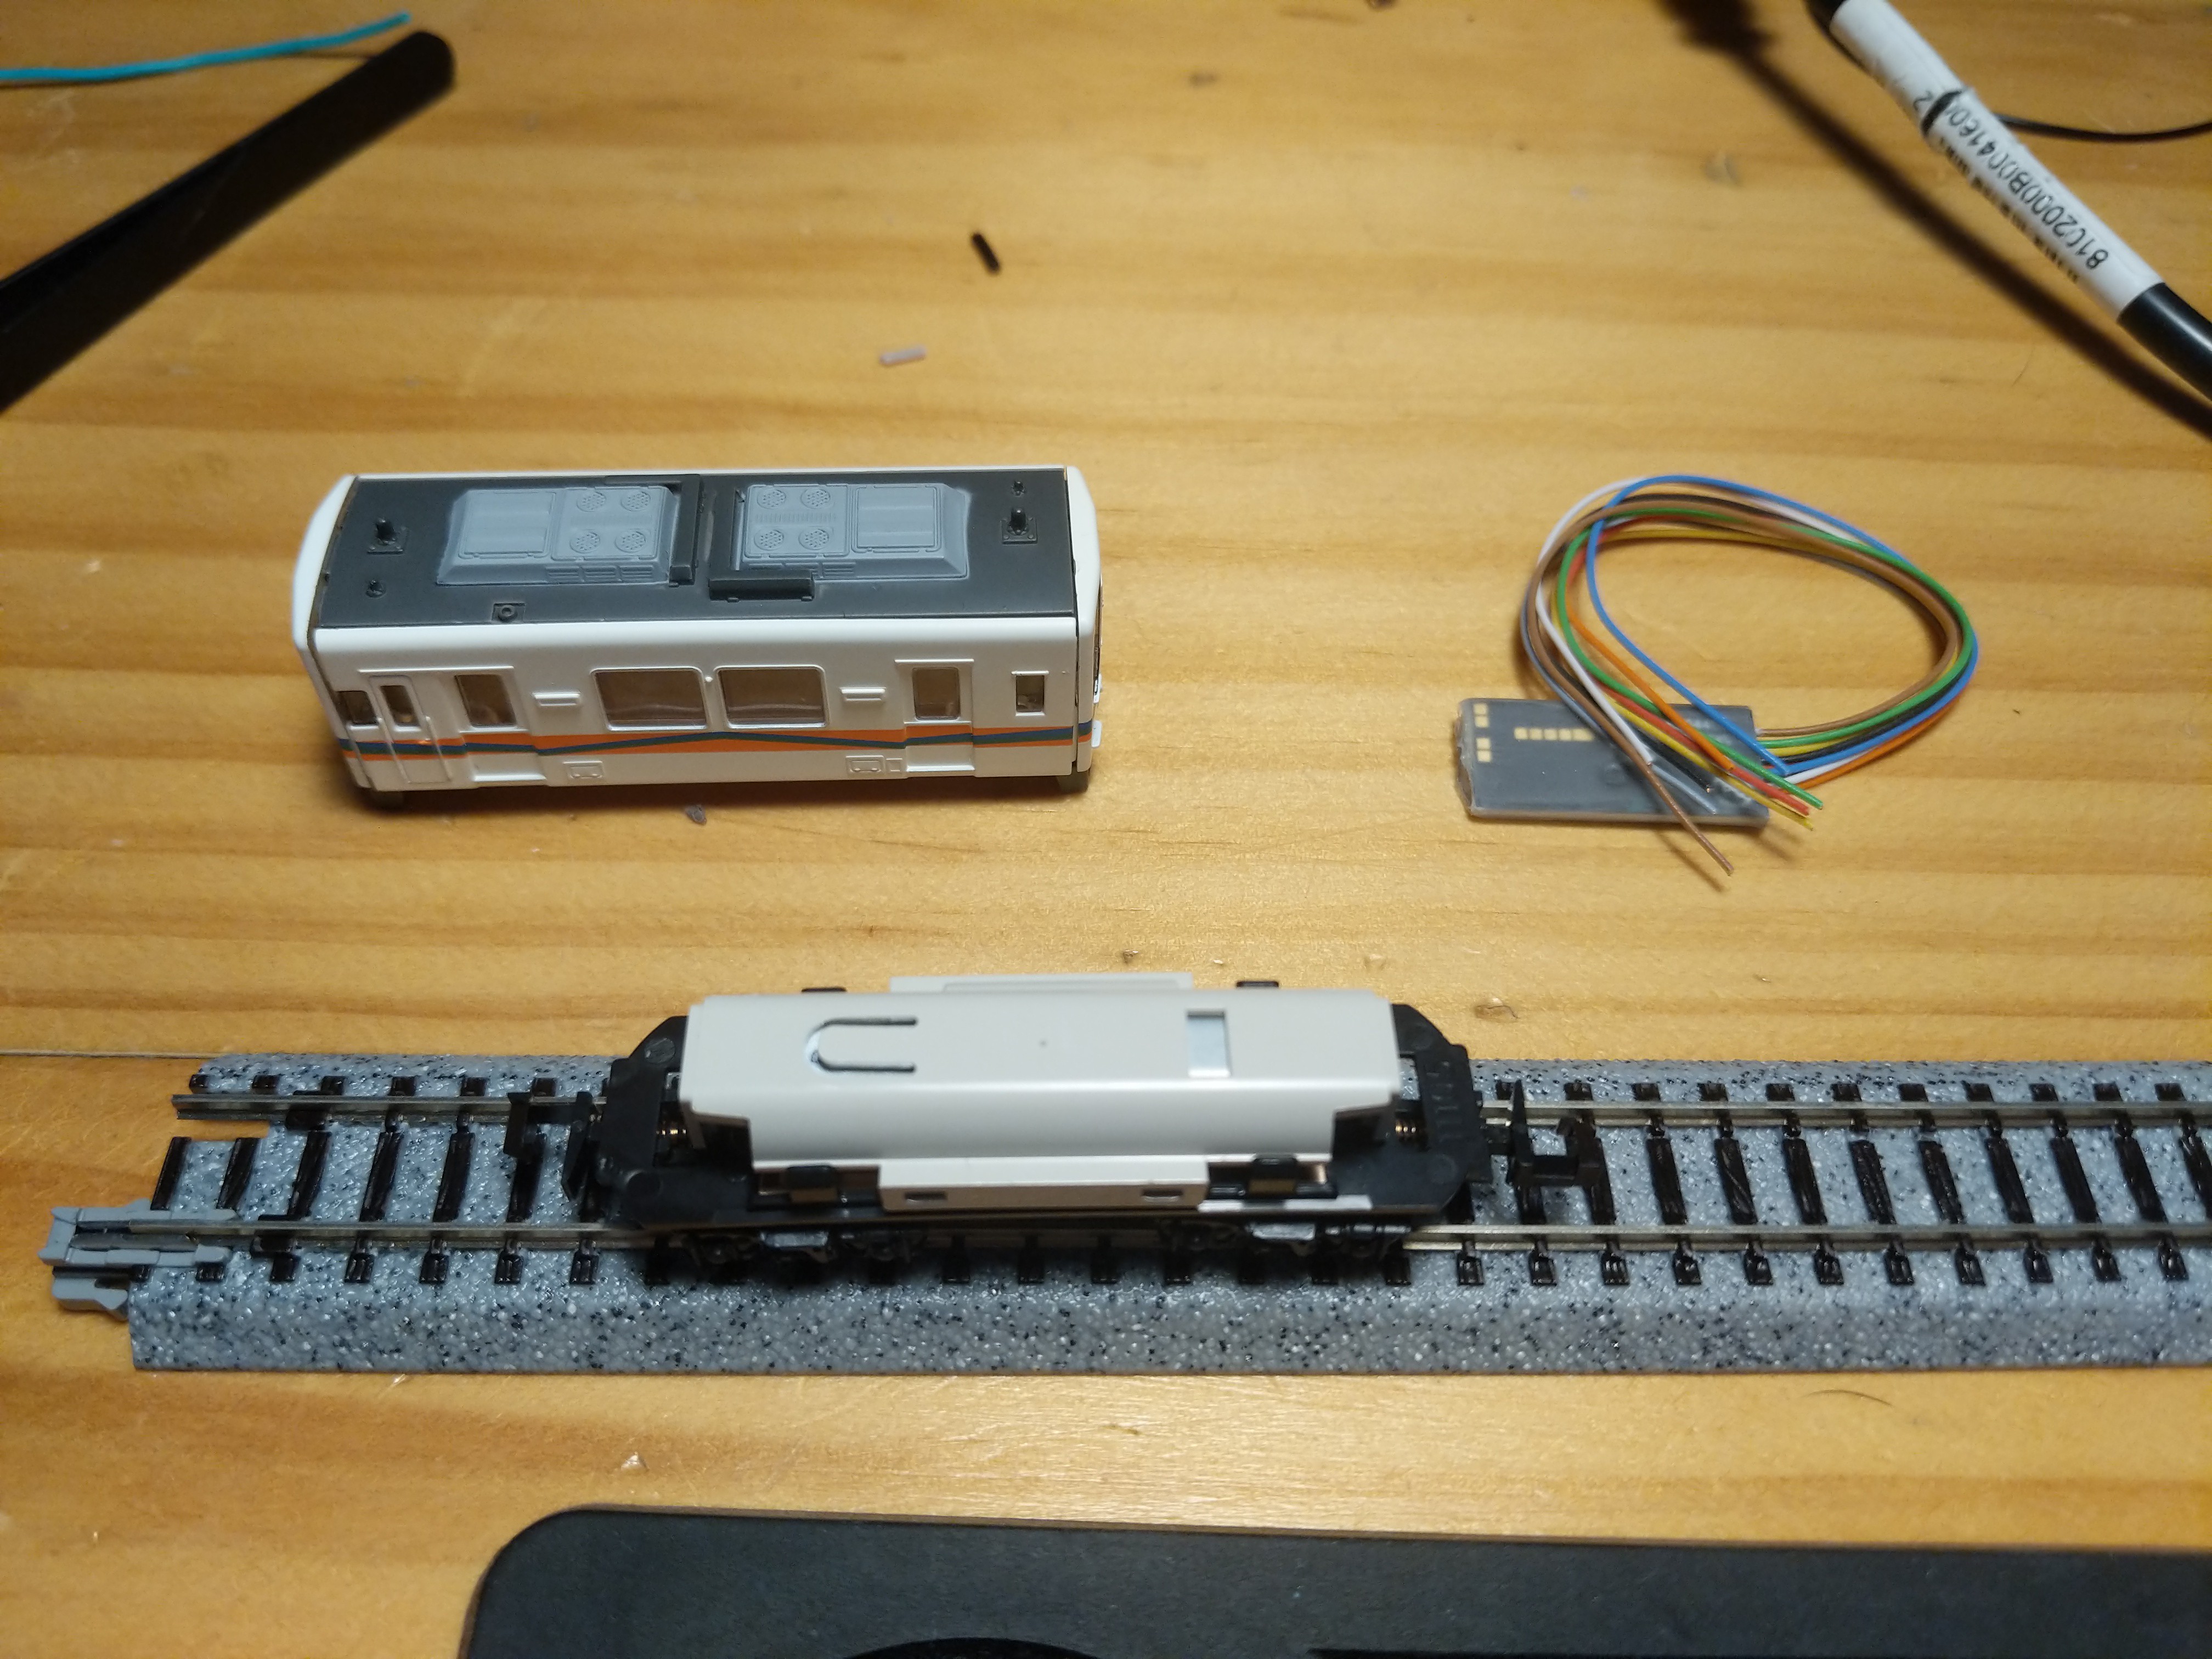
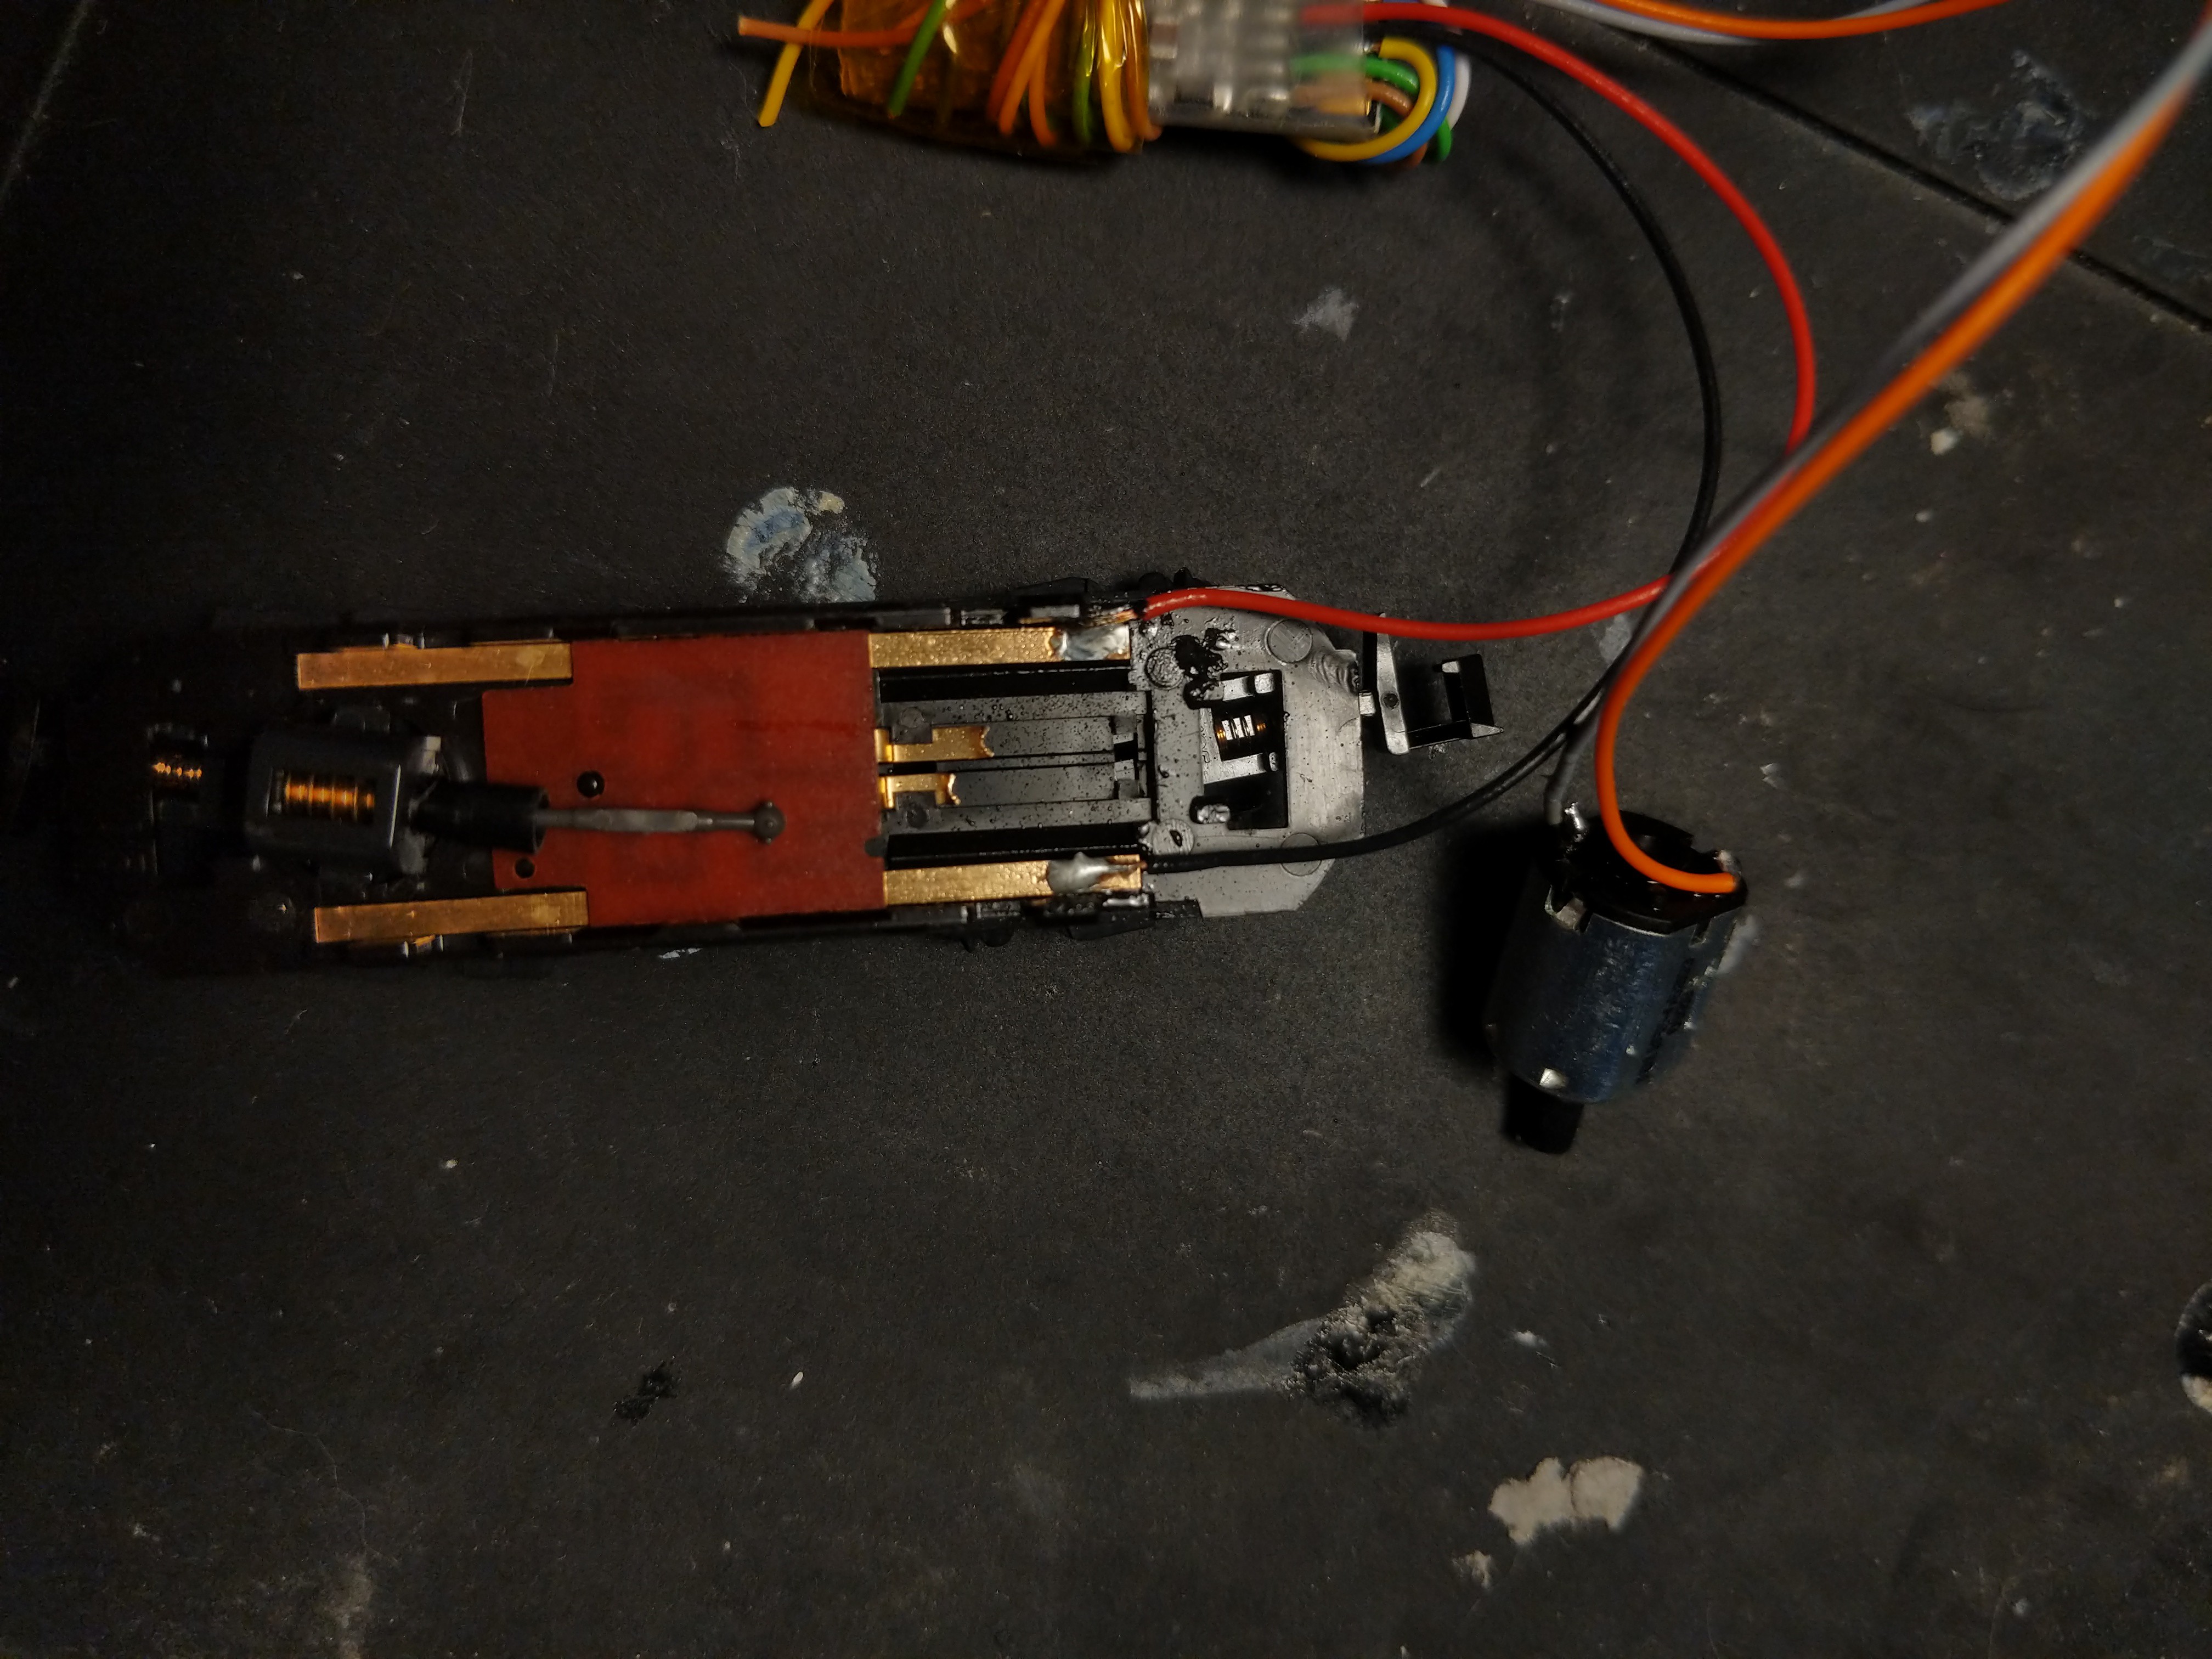
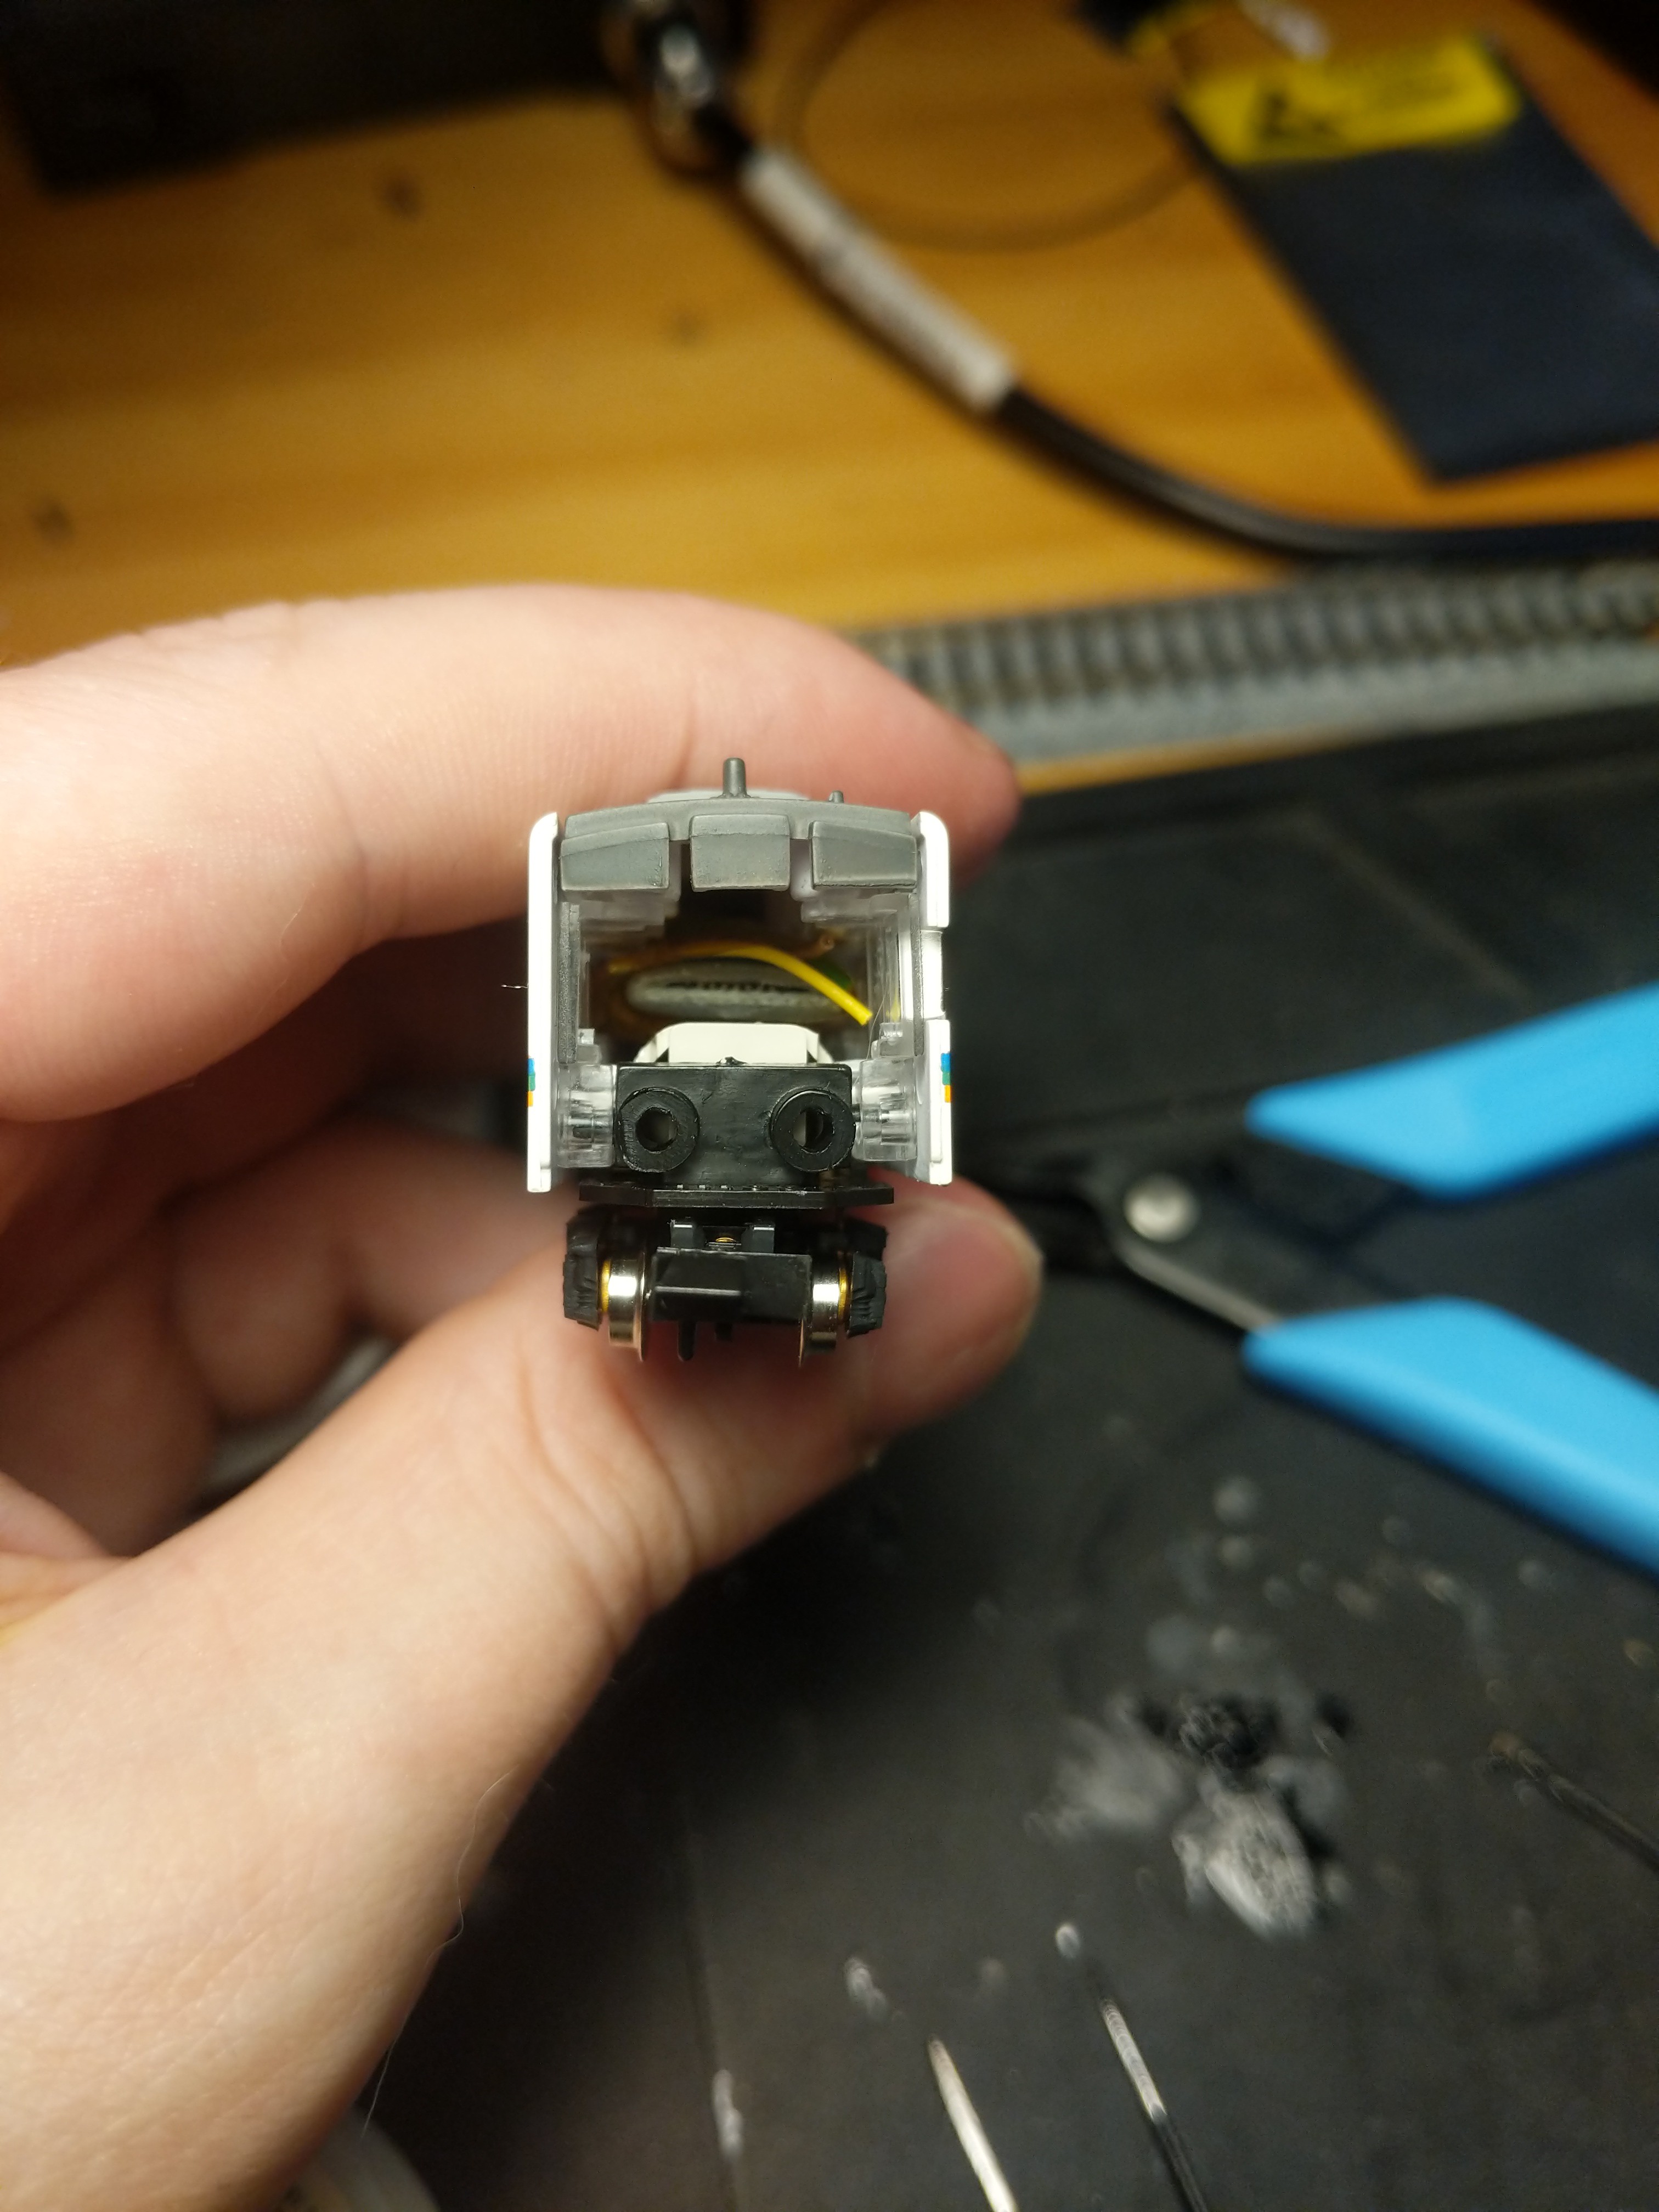
Locos

To start, I'll be using these two little chaps. I just accidentally ordered another kit off ebay.

  • Radio CMRI

    arcade perfect07/11/2020 at 23:24 0 comments

    Got radio working. JMRI on laptop connects to RF-Nano (Arduino nano clones with integrated rf24 radios) via serial using CMRI protocol. Nano then transmits data to the other RF-Nano using the RF24 Network library. From there it actuates the turnout with a regular motor driver.

    The idea being that I can distribute these around willynilly and only need to power them, no data wiring required. Next I'll have the same unit transmit sensor data in the opposite direction.

  • Double crossover x Arduino

    arcade perfect07/09/2020 at 16:12 0 comments

    There are nifty little DCC decoder chips that are so small they can be installed fully within turnouts and make them addressable from the computer, drawing power from the track. But they're expensive and you need 1 per solenoid otherwise they would draw too much current, and this thing has 4 solenoids and I want several double crossovers. So had to find a cheaper way.

    All you need to do is pulse the solenoids briefly which is easy with a motor driver and this one can supply enough current.

    Handily, this chap wrote a mini library to handle the timed pulse in a non blocking manner which will be useful because the arduino will also be running the RF24 Network library to communicate with the computer.

    Easy peasy.

    However I seem to have broken my radio module so no radio stuff.

  • Banai Shorty + Kato power unit + Zimo decoder

    arcade perfect07/08/2020 at 02:45 0 comments

    First things first need a train. I already did something similar installing a decoder in a nanoblock train before I decided to switch to these Bandai Shorties.

    I have one "toy" train and one conversion kit to make it into a "proper" train (for enthusiasts). But it isn't that enthusiastic because it's simple DC, not the DCC system which allows data and power to be transmitted over two lines by modulating the pulses of AC current. These are German and Japanese products which makes sense because those two nations are mental about trains.

    I decided to put the motor in the more boring of the two carriages I got with the Bandai kit, so the more interesting one with bear decals could be combined with a different train if I decide want that.

    The plastic casing snaps off to reveal a tiny motor with contacts that rest in place, which makes things a bit easier. I will have to remove those wings on the contacts that touch the motor. The axle on the motor pops off and on easily, I now know. That's 25 ginger ass minutes I won't get back.

    Sheer nerve wracking nightmare fear. These things are quite hard to get hold of.

    Next the output wires from the decoder must be soldered to the motor. This motor is 1cm at the widest point, and the contacts are less than 1mm in size. Ideally, you would have soldering skills, but in the absence of that you can ¯\_(ツ)_/¯.

    ¯\_(ツ)_/¯

    I now have the DCC power supply wired to the decoder, and the decoder outputs wired to the motor. The other wires are for lights and stuff, which I'd like to add later, so I bundle them up with some Retermit. It's big though. I may have to trim them to get the casing on.

    You can see the casing barely fits. I think I will trim those wires later, but this process has been a lot more frustrating than I'm letting on and I can't be bothered right now.


    It fits though!
    Next I must wire up the track to my DCC++ base station (which is an Arduino with a motor driver) and program the decoder from JMRI over serial. And then we're away! It's hard to see the laptop screen, but there's a virtual throttle on there which I'm controlling via mouse, which is driving the train.

    I ran it on the circular track for half an hour with no issues. Next up, track stuff.

View all 3 project logs

Enjoy this project?

Share

Discussions

ollo01 wrote 10/08/2022 at 12:40 point

To play the Microsoft Flight SimulatorGame of the Year Edition, you first need to purchase it from the Microsoft store utility.

  Are you sure? yes | no

Ma77h3w wrote 11/21/2020 at 16:27 point

I always wanted to make a space railway on Mars

There's this:

https://www.drewexmachina.com/2015/02/09/a-lunar-model-railroad/

  Are you sure? yes | no

arcade perfect wrote 11/26/2020 at 05:26 point

now you're talking my language!

  Are you sure? yes | no

Similar Projects

Does this project spark your interest?

Become a member to follow this project and never miss any updates