Alpenglow Industries
Now on Tindie!
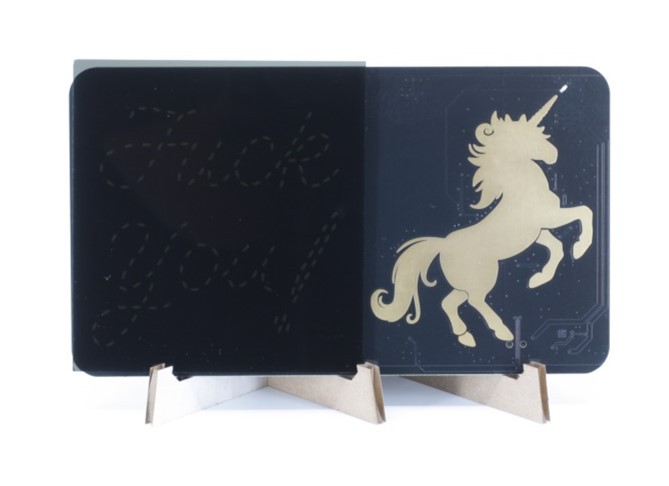
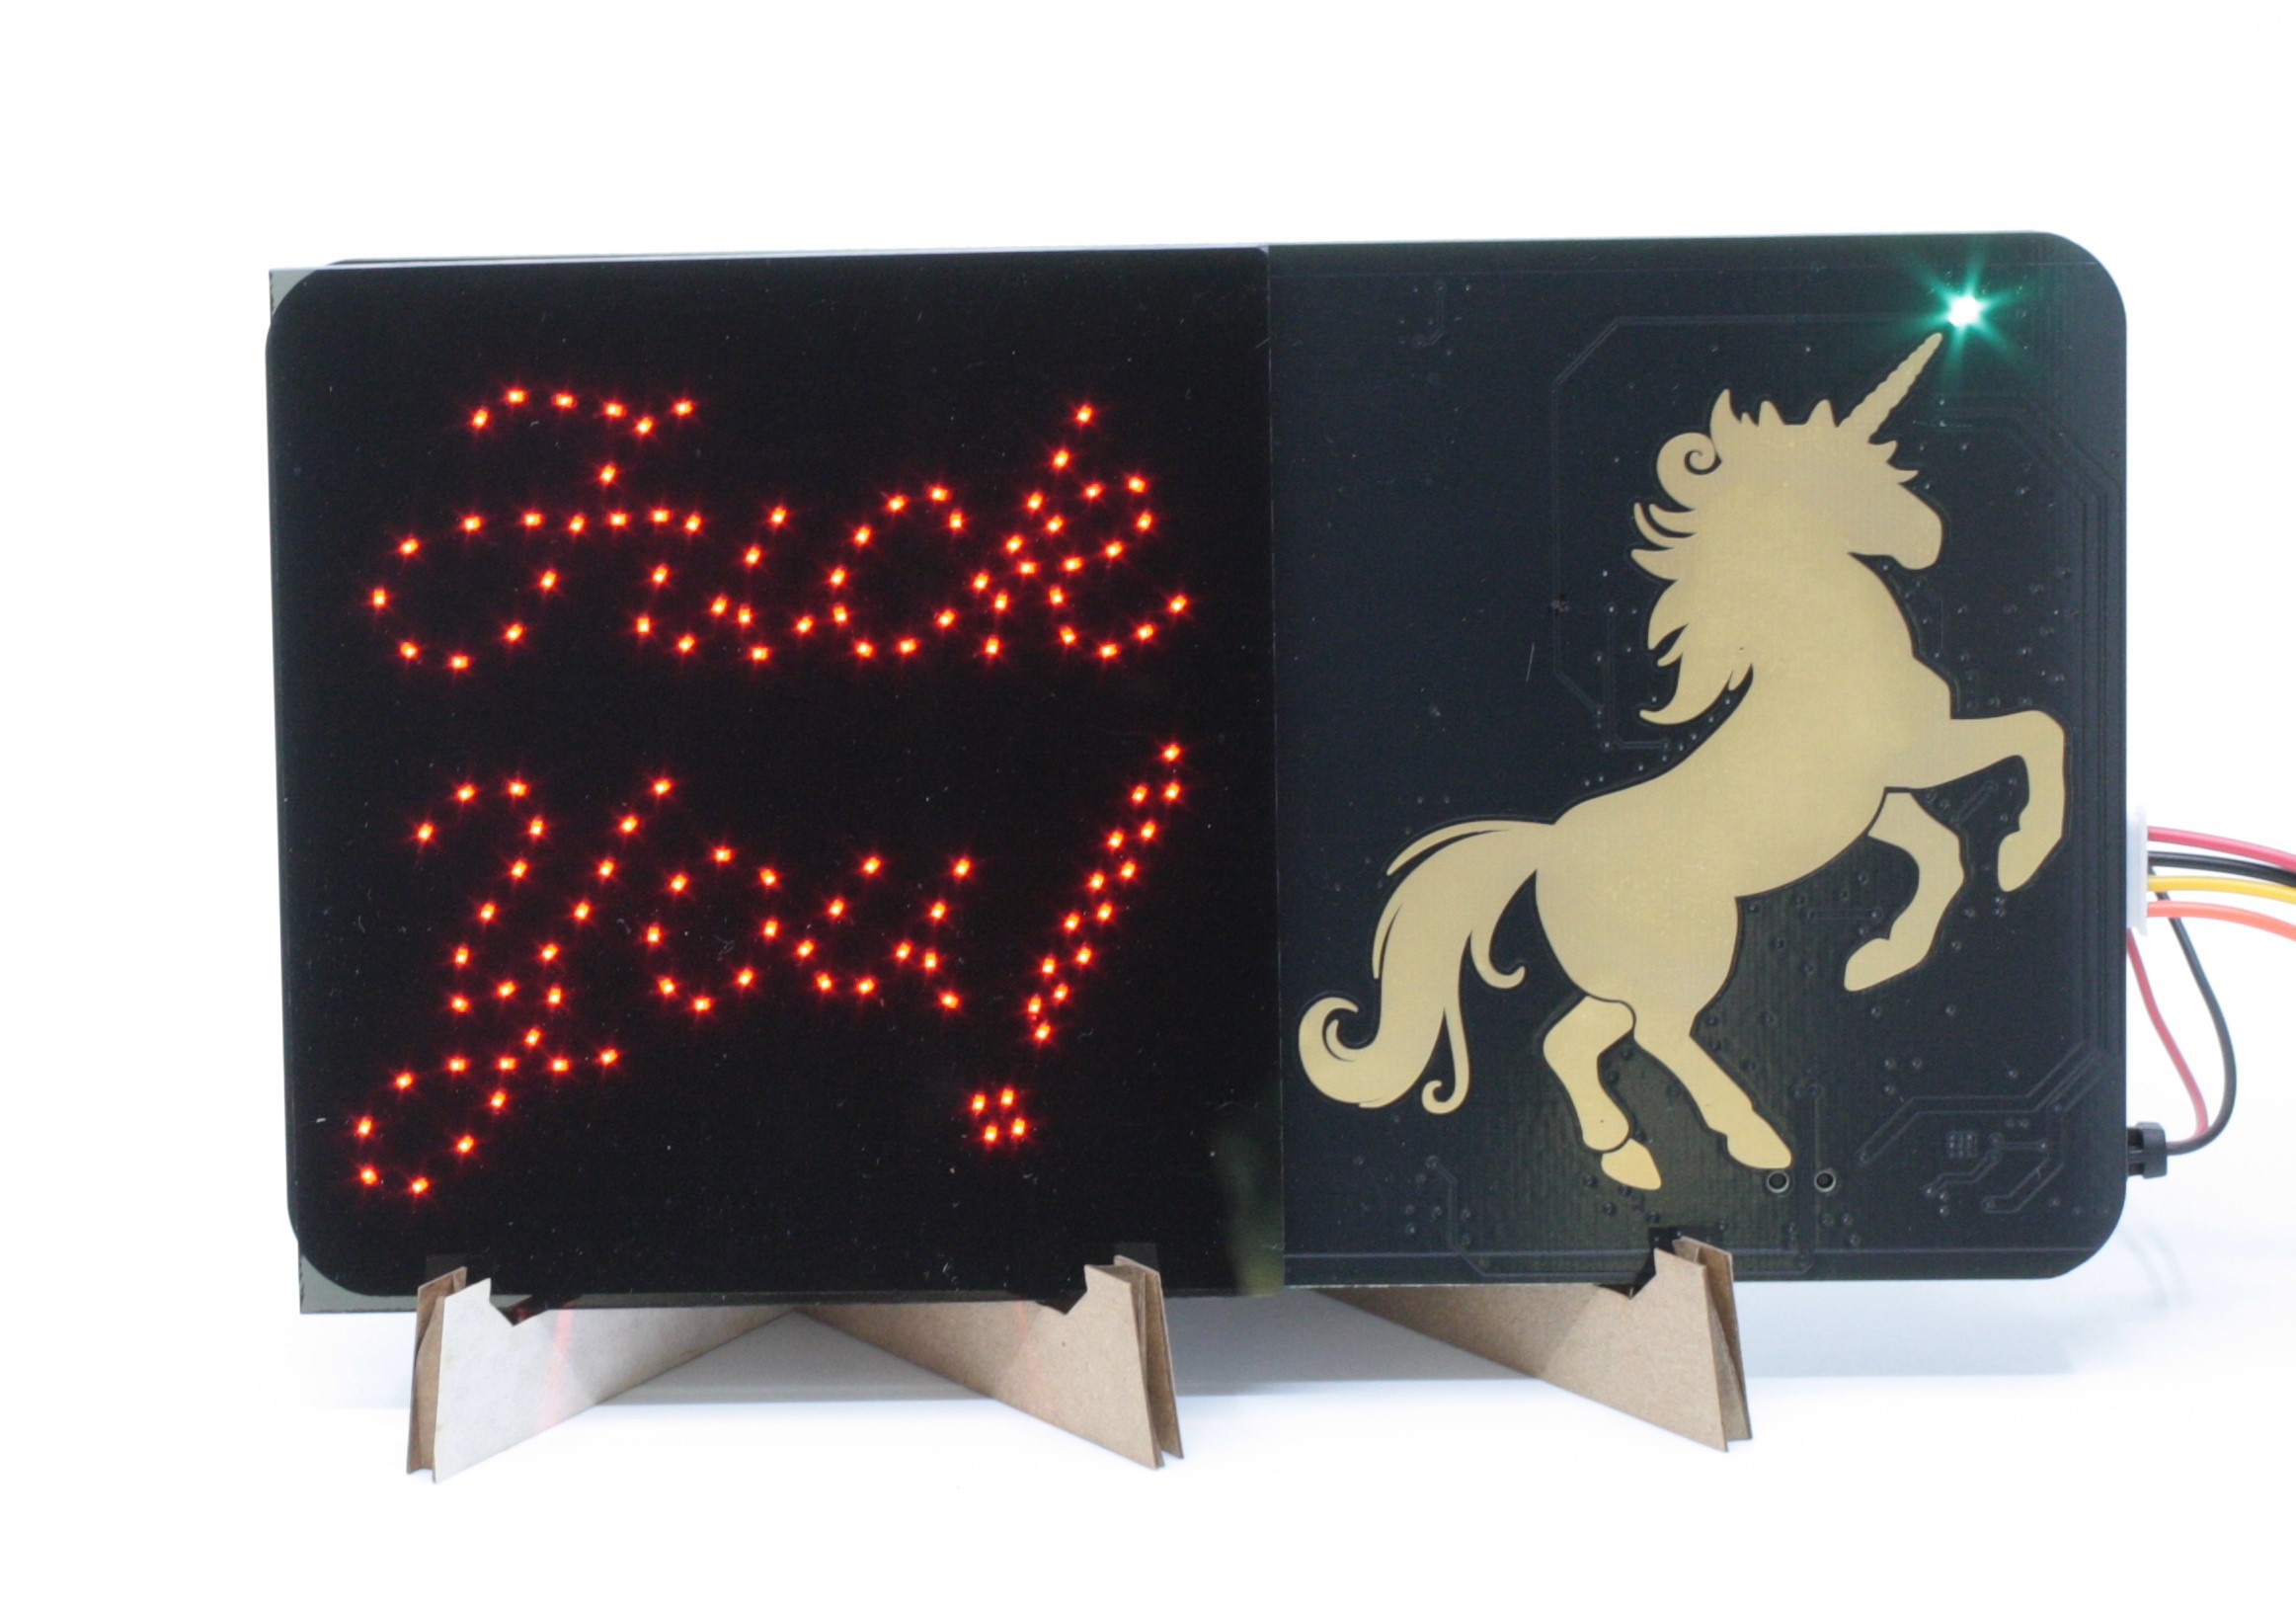
The original prototype was a gag gift for a white elephant gift exchange. We loved it so much that we decided to revise it a few times, make it Arduino-compatible, and release our potty-mouthed unicorns out into the wild.
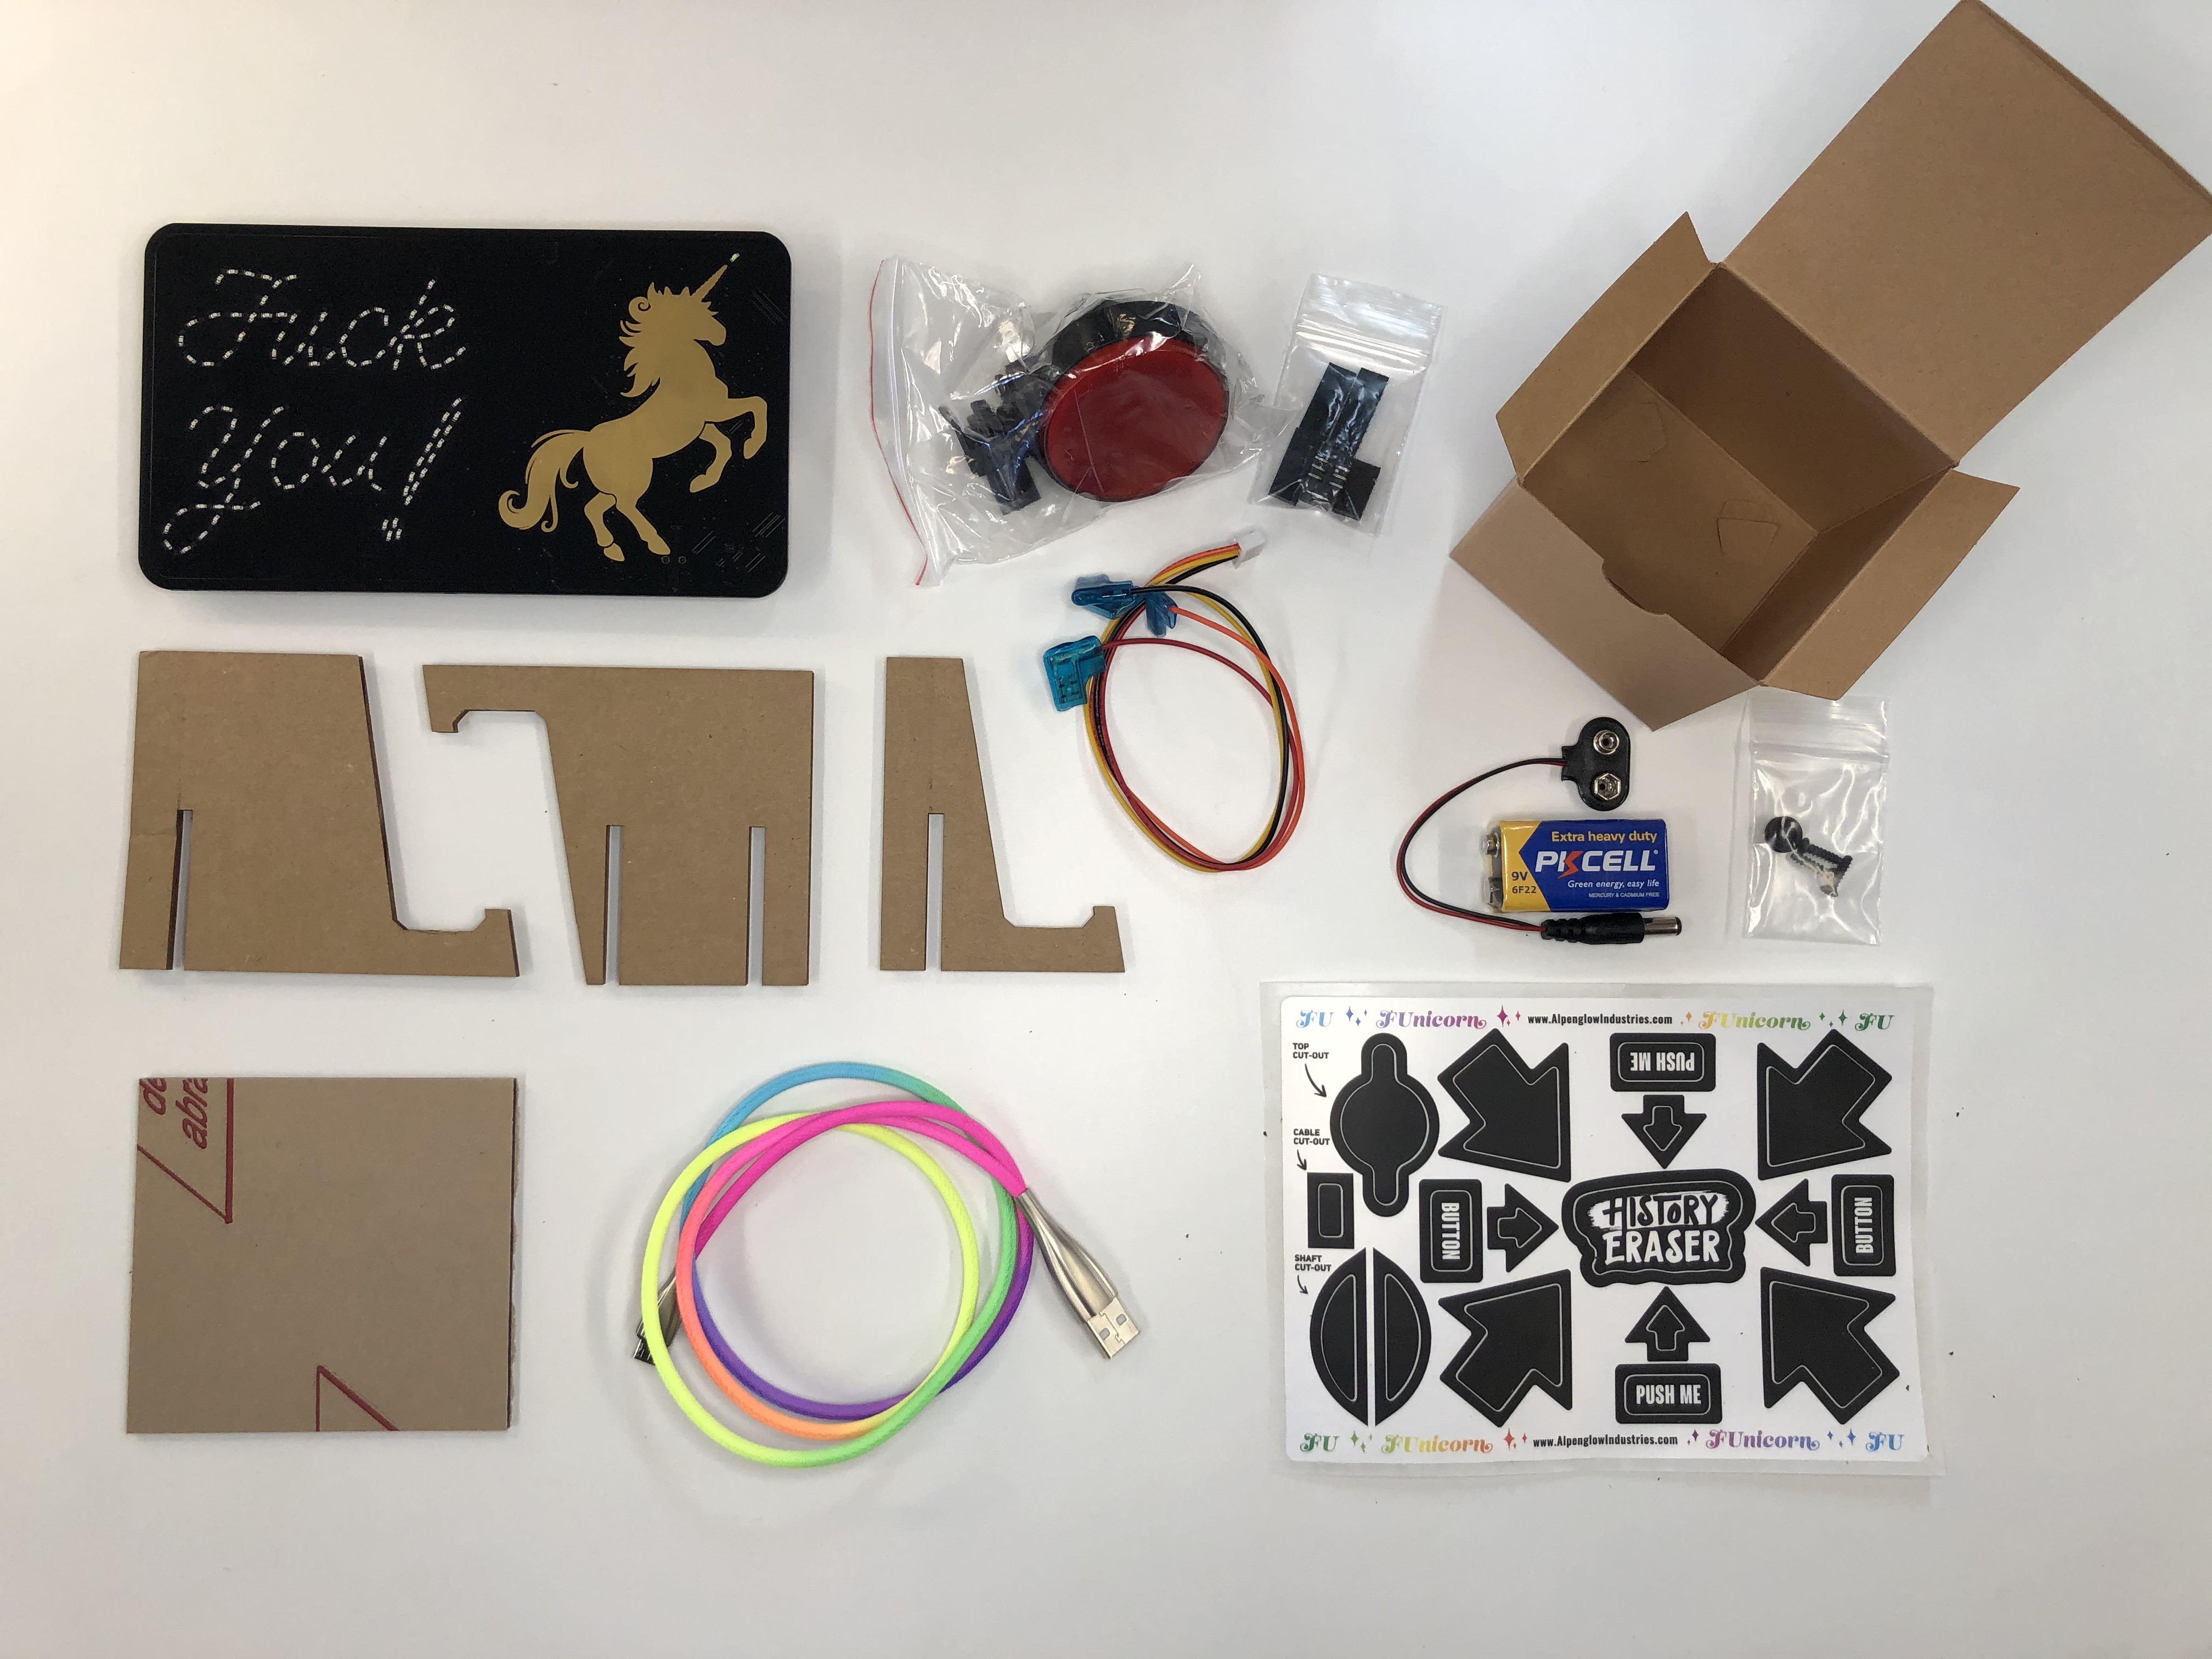
Base Kit:
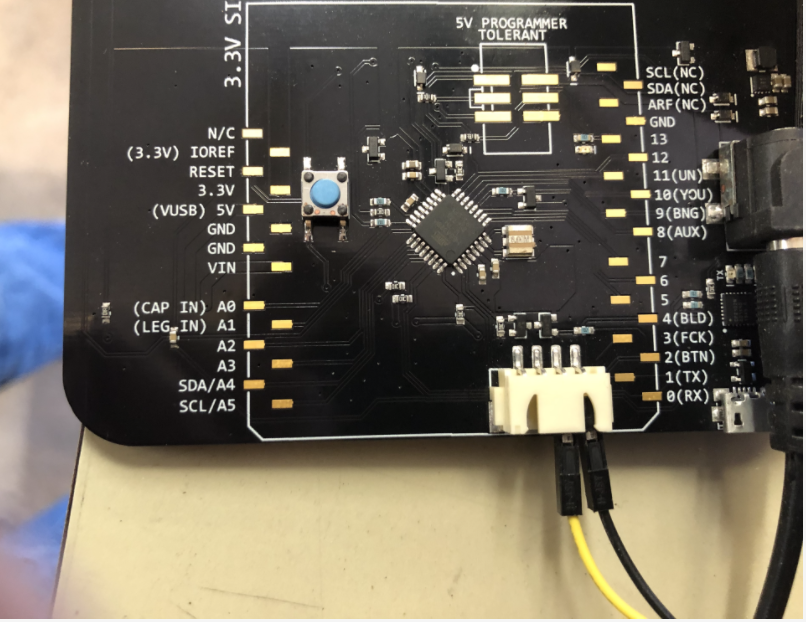
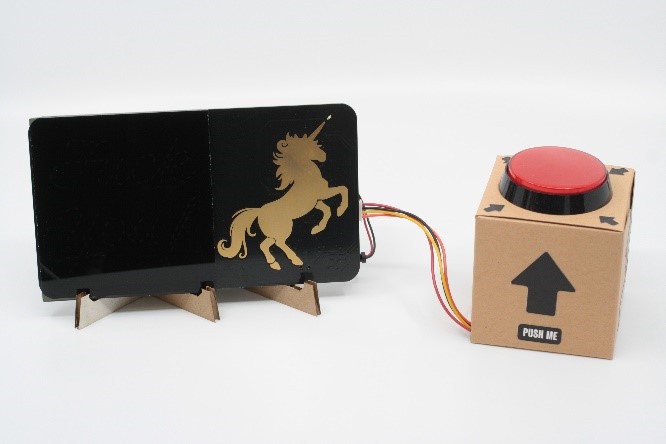
- FUnicorn Board
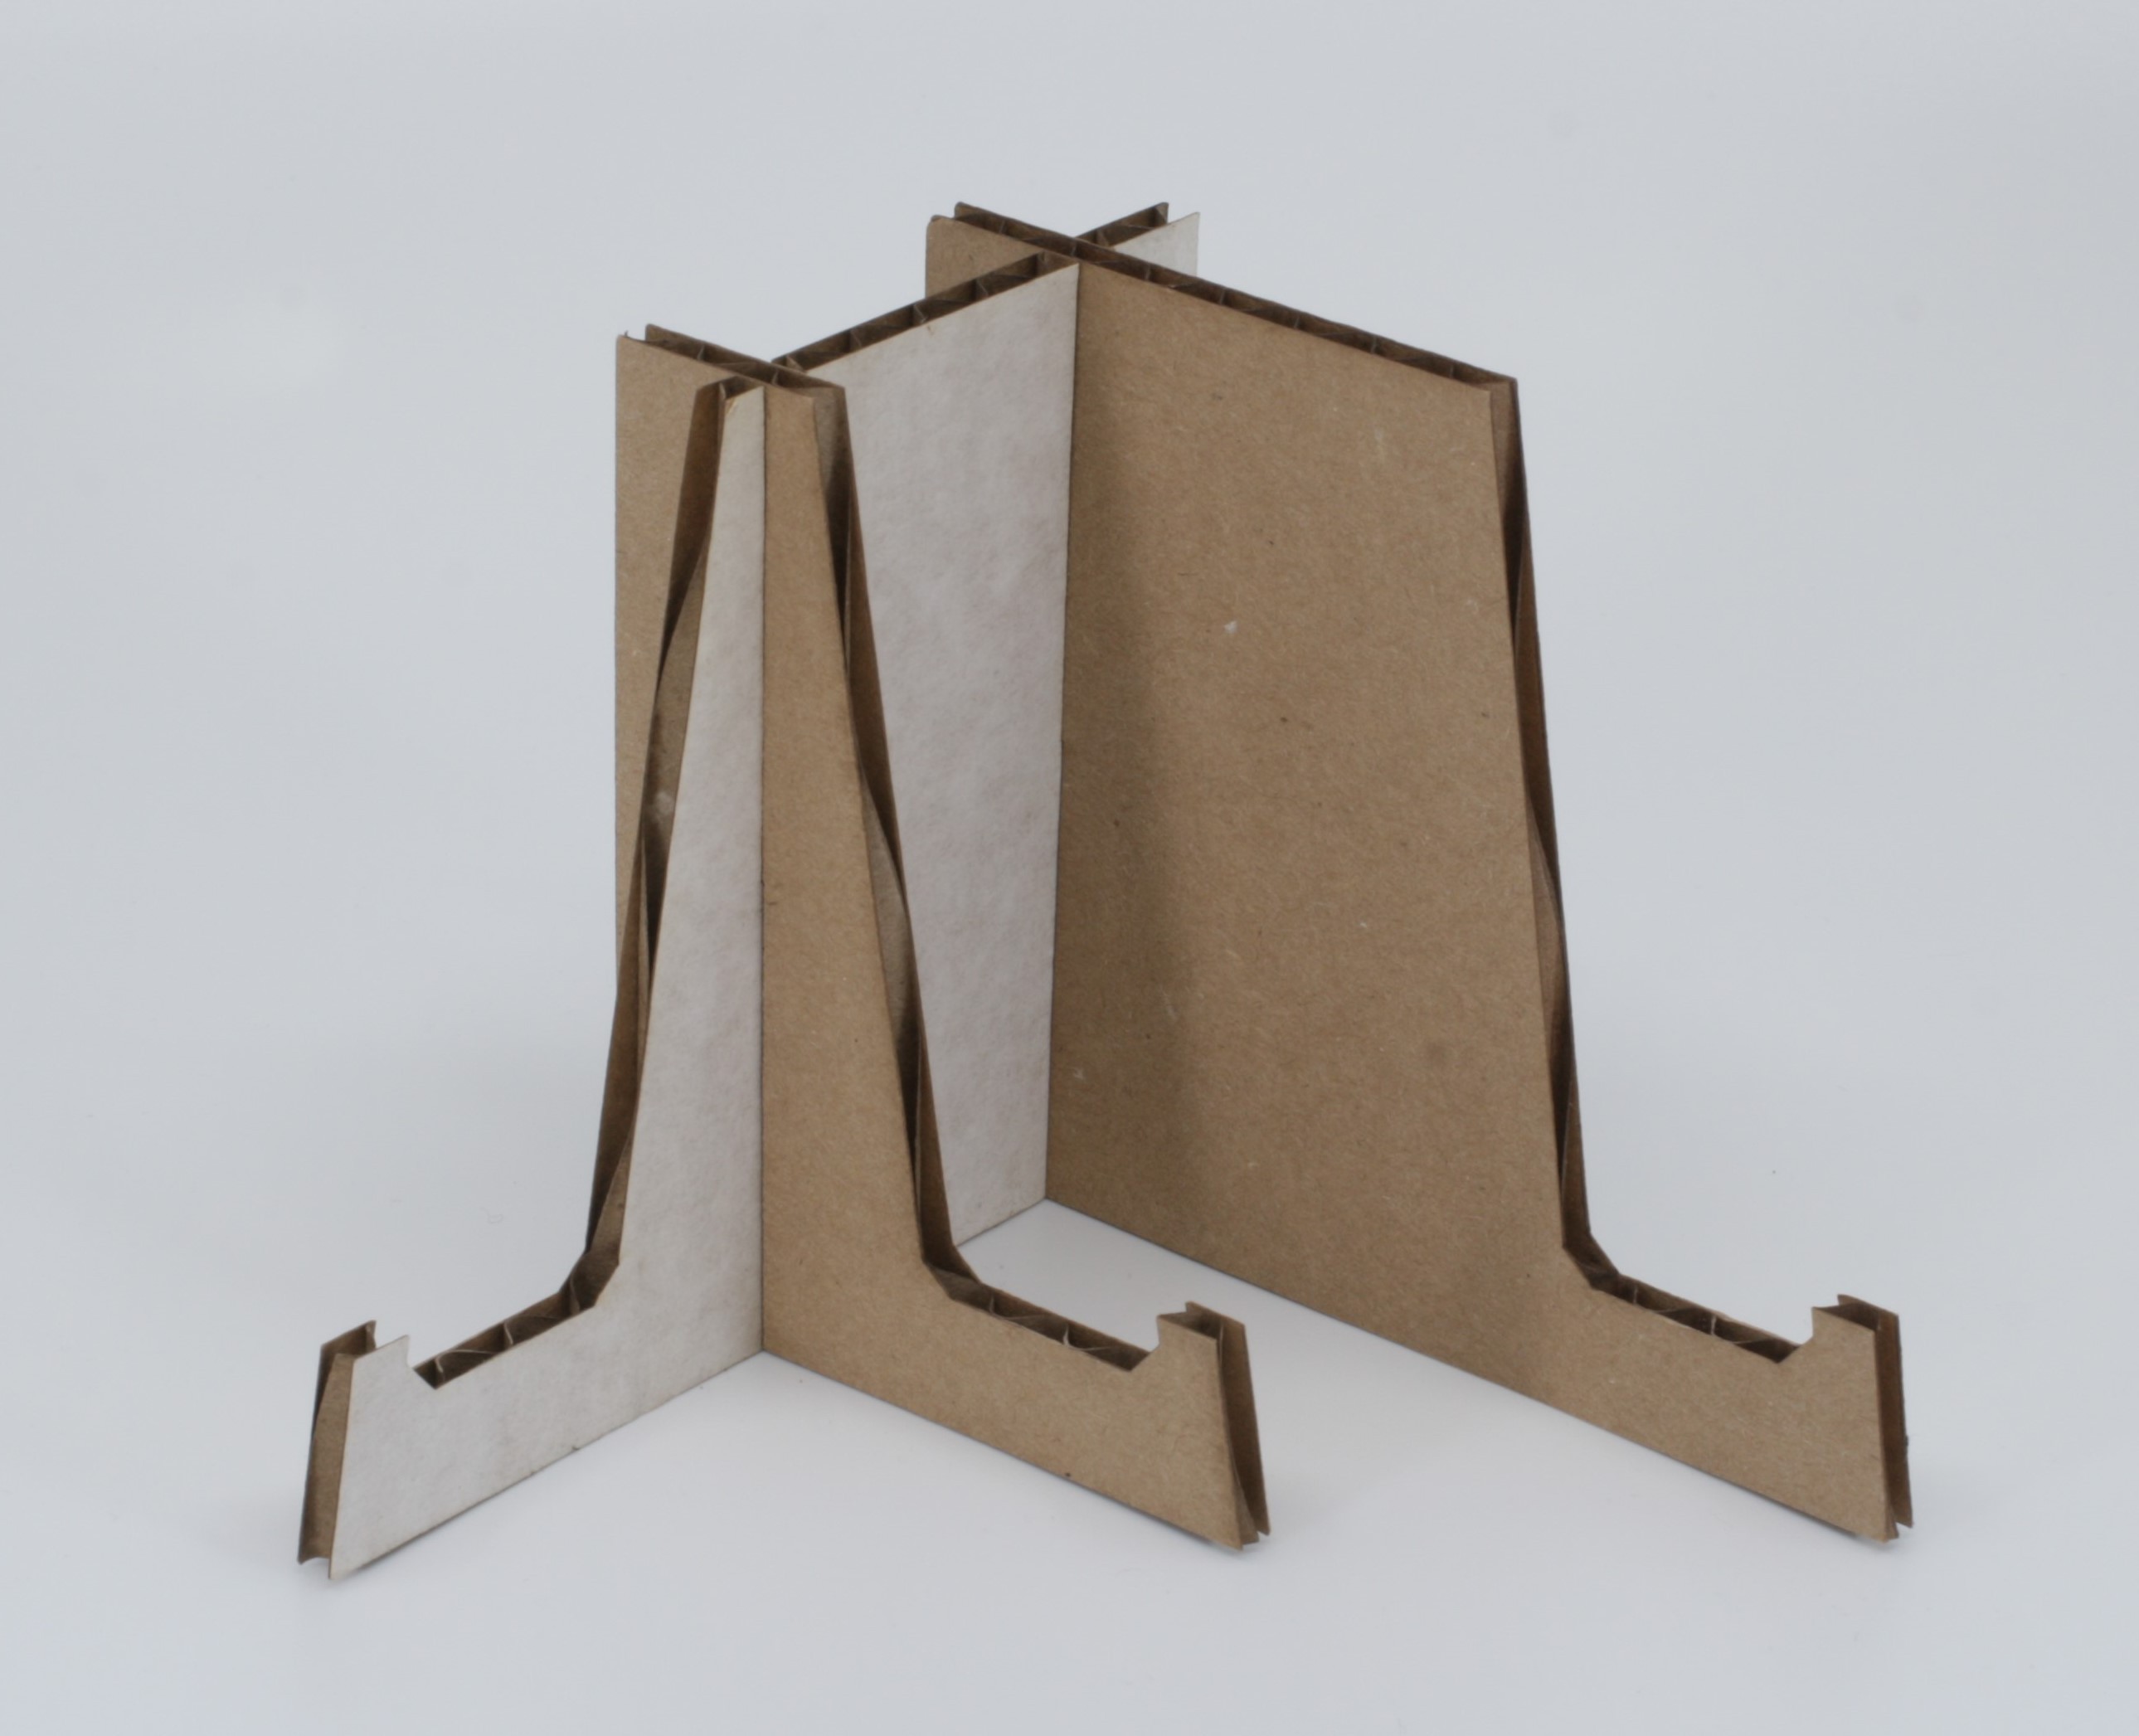
- Cardboard stand
- Smoked acrylic LED shield
- Beautiful rainbow USB cable
- Stickers
Full Kit:
- All of the above
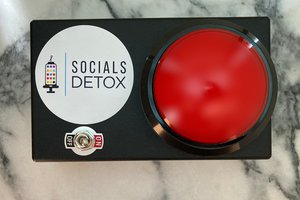
- Big Red Button (60mm arcade)
- Cable for button
- Big Red Button Box
- Sticker sheet with cutout templates and History Eraser decals
- Screws and a grommet in case you want to 3D print our Big Red Button Enclosure
- 9V battery
- 9V battery cable
- Arduino shield and ISP headers
- FUnicorn magnet and more stickers
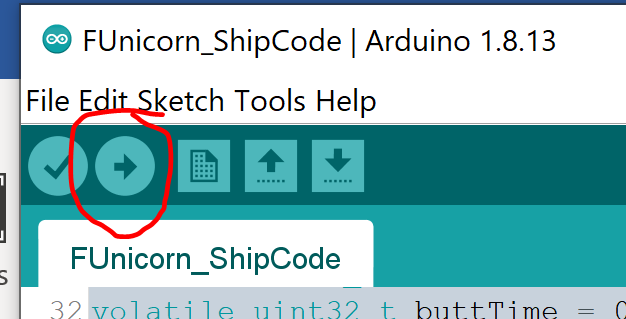
Software:
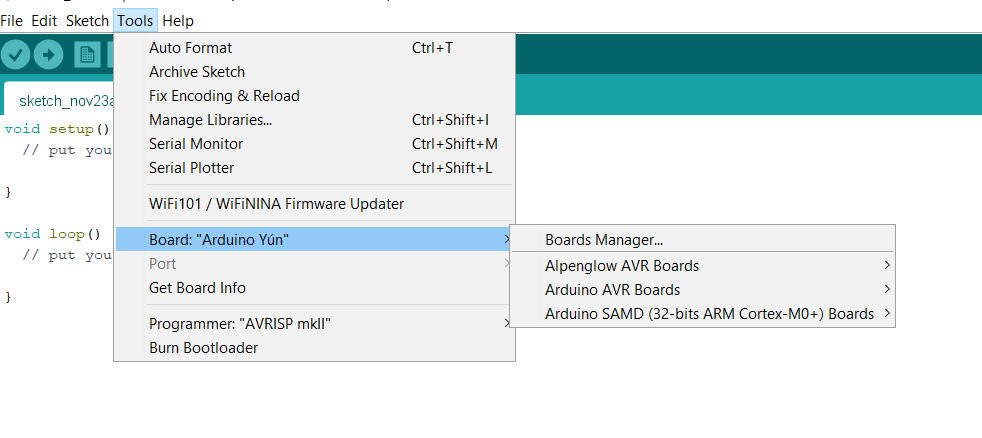
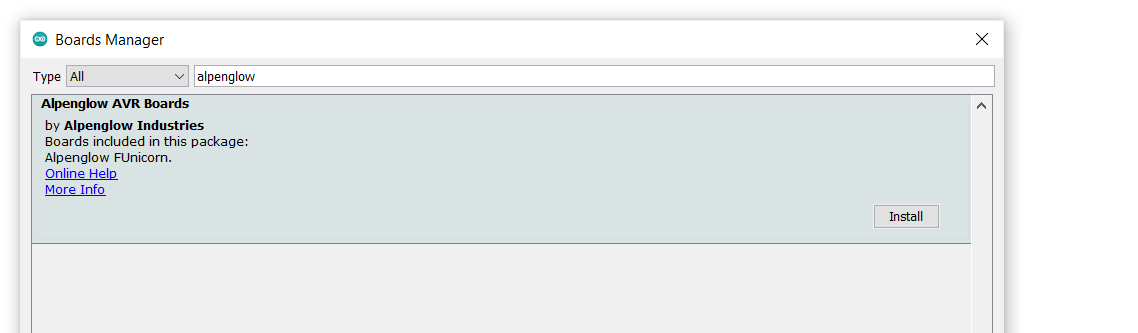
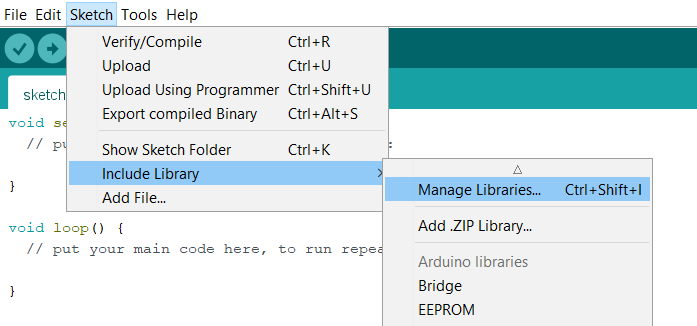
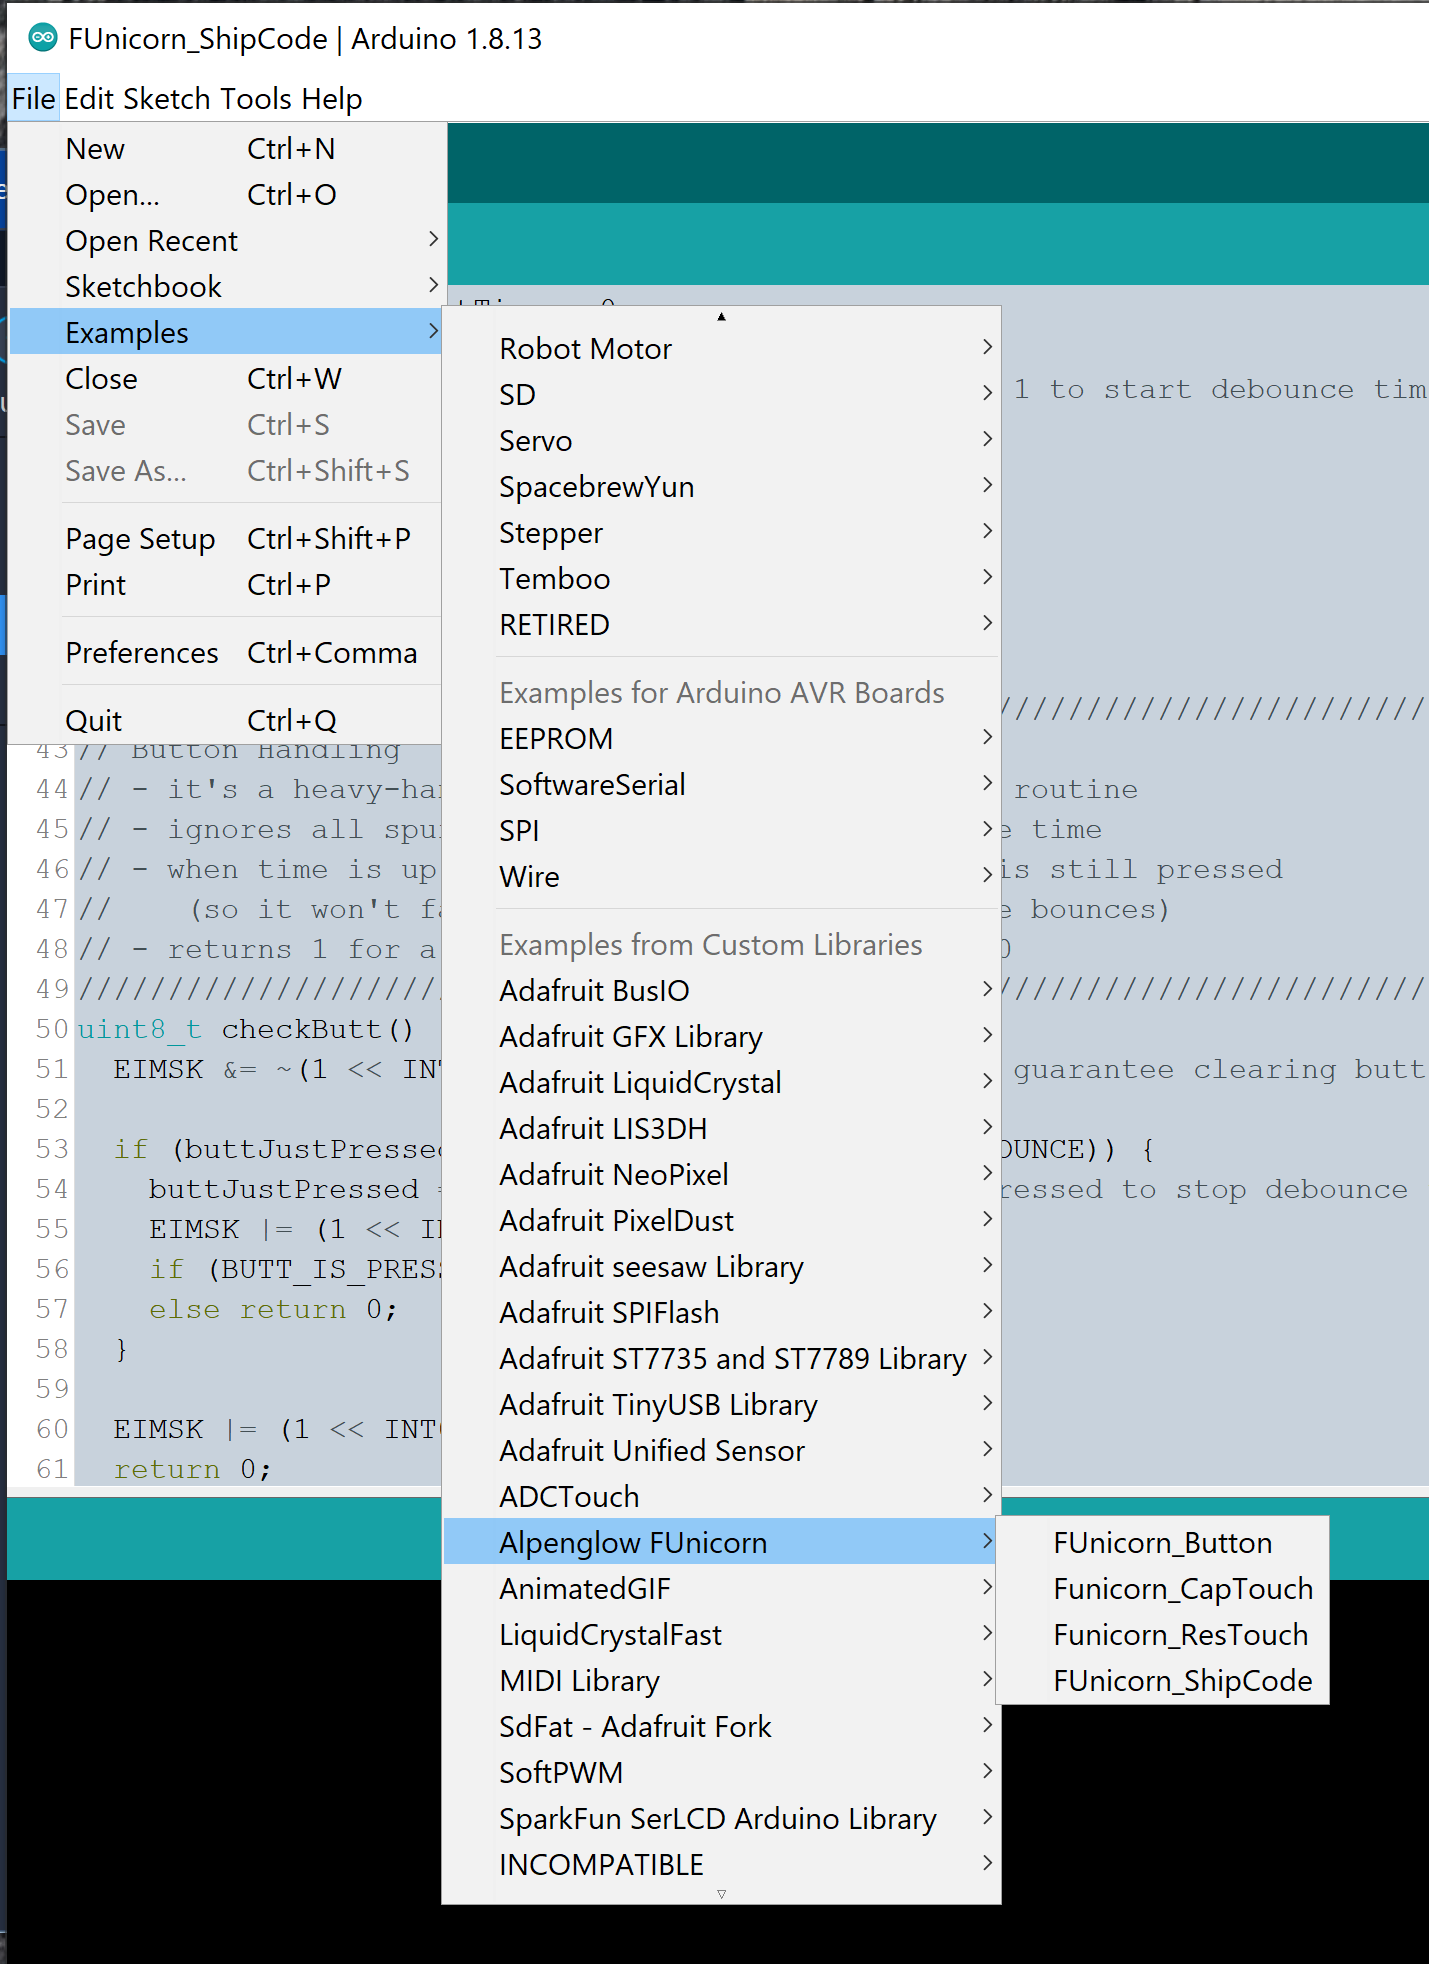
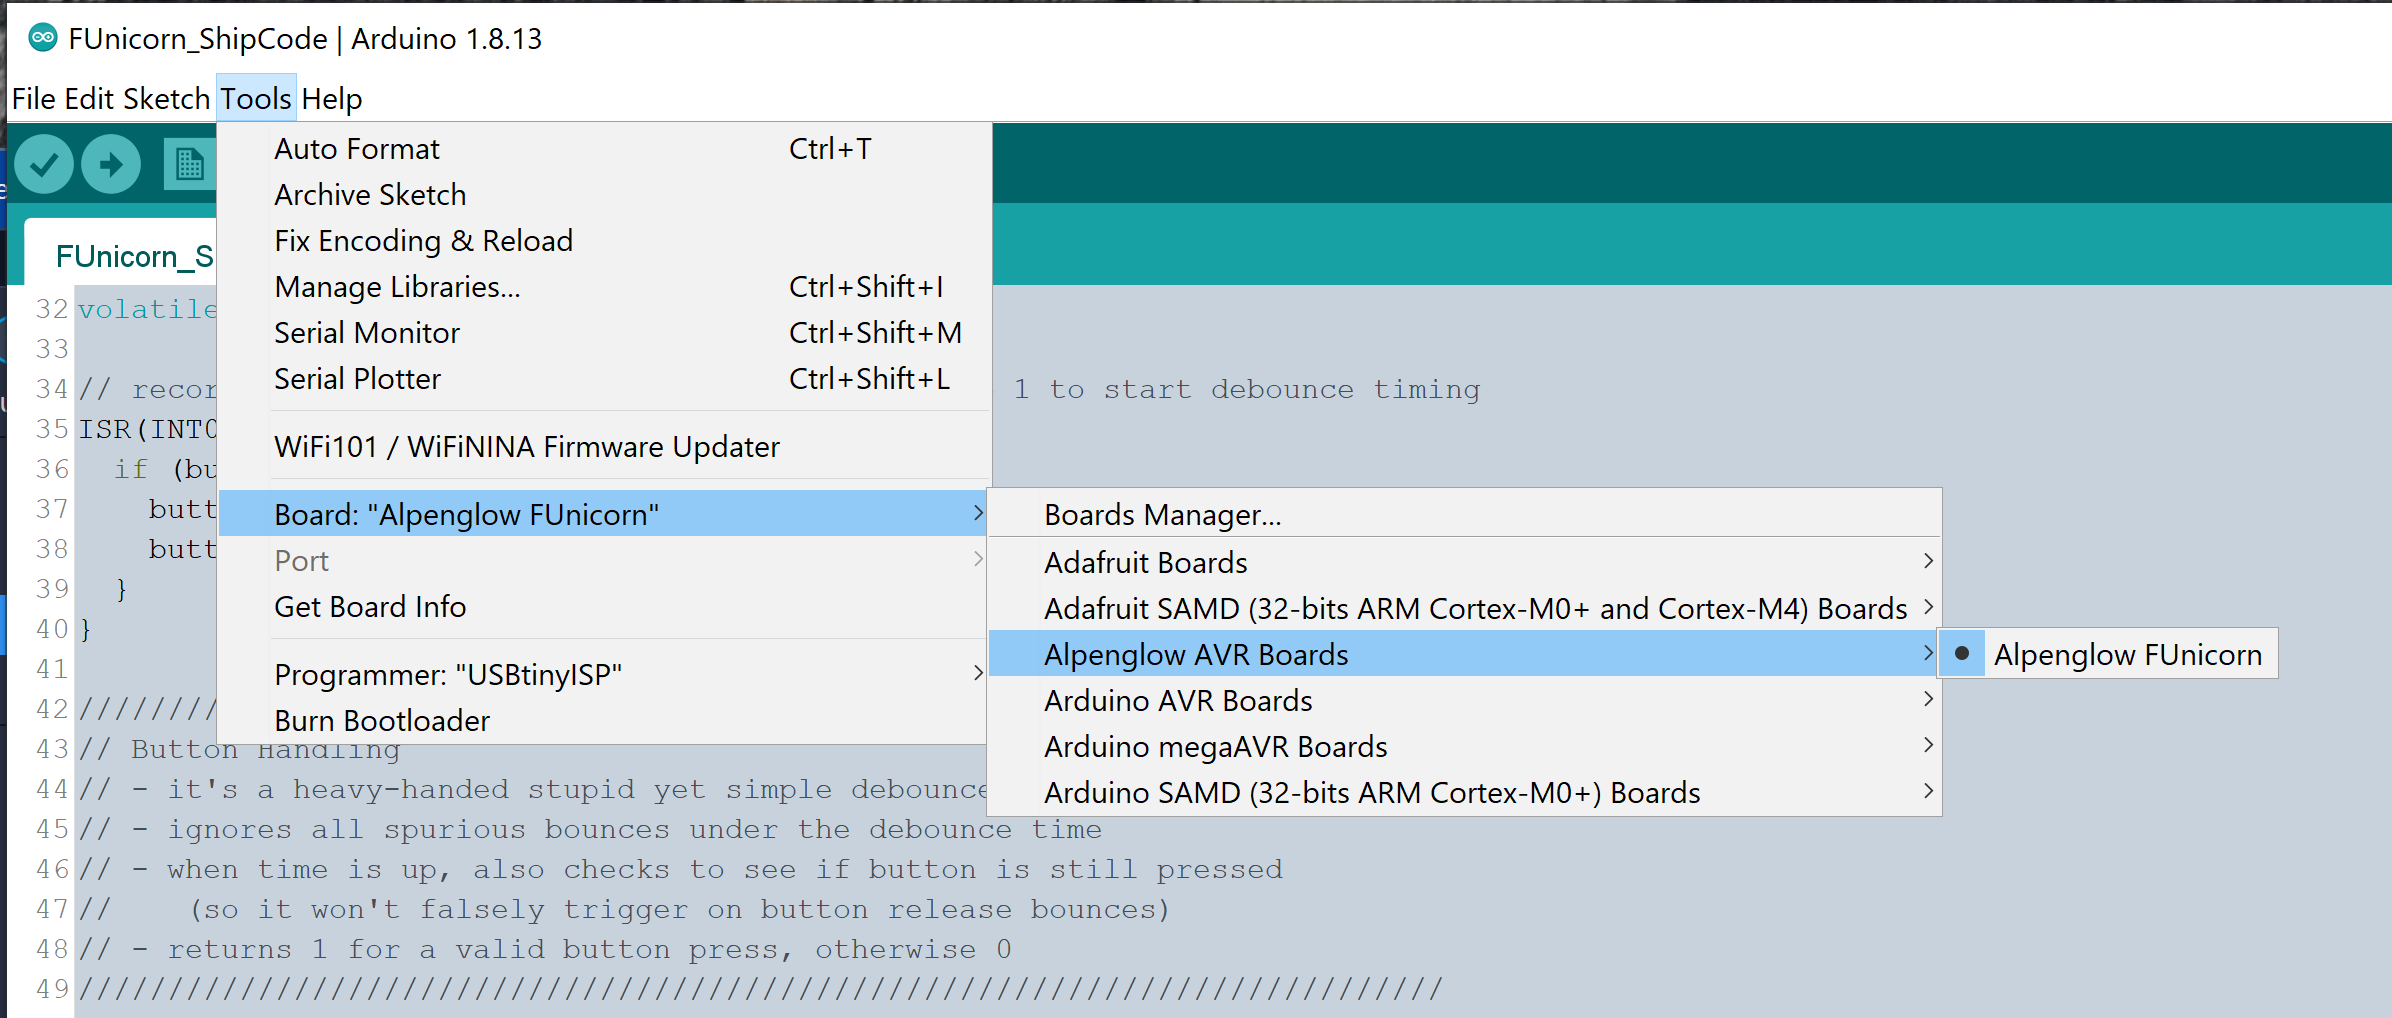
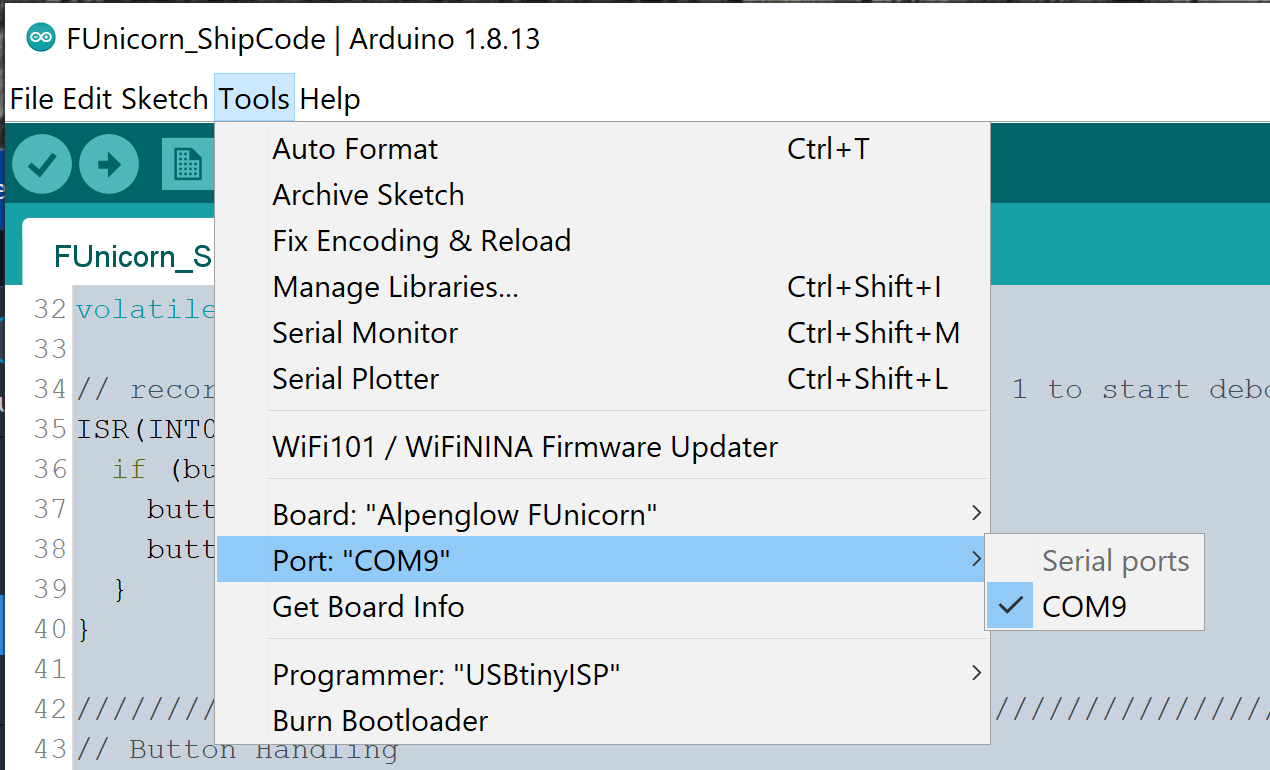
- available through the Arduino IDE
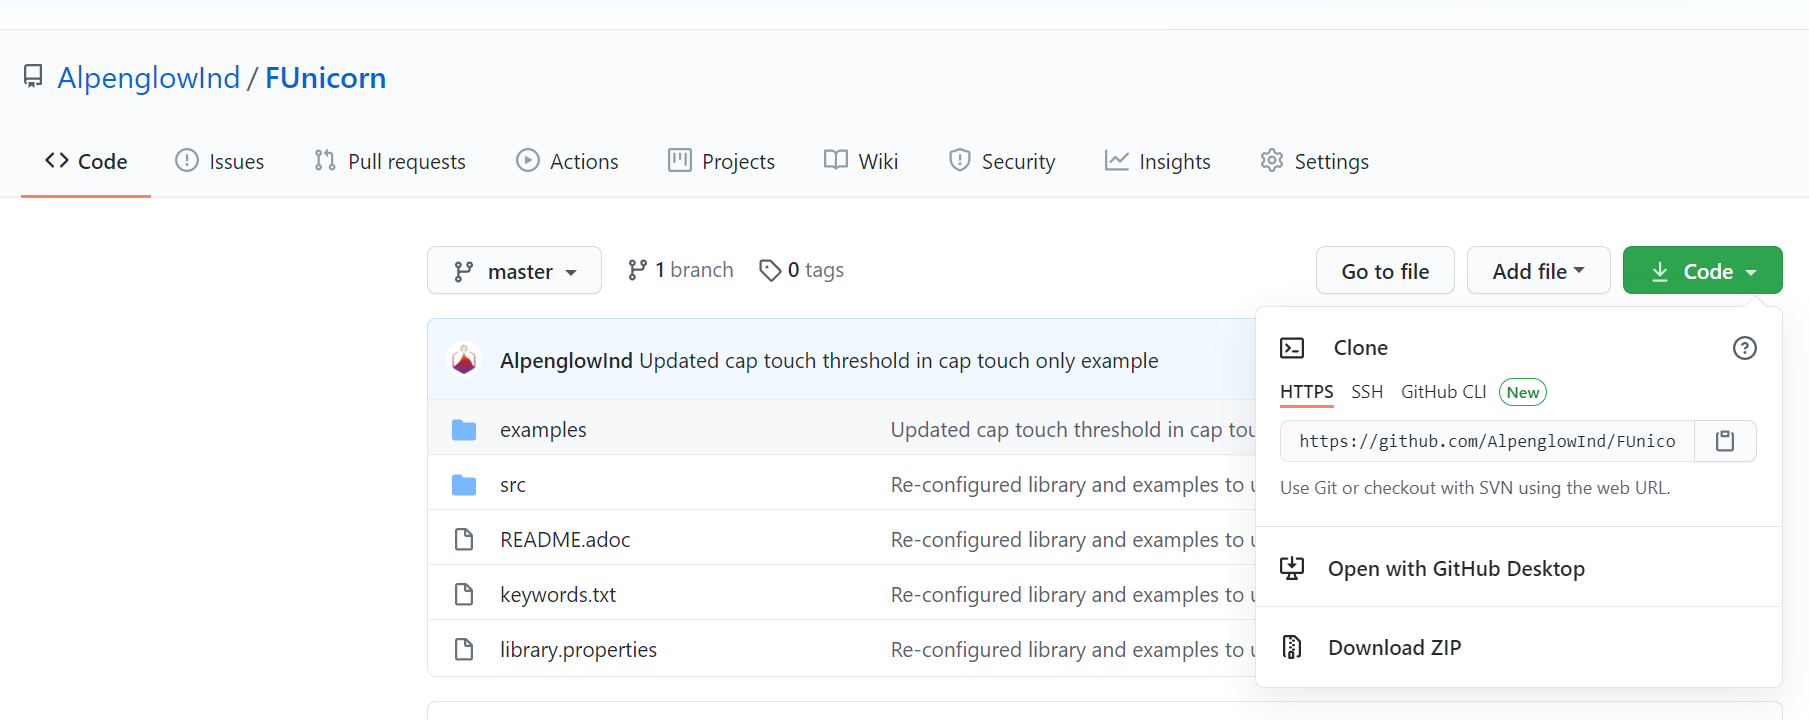
- on GitHub under Alpenglow Industries
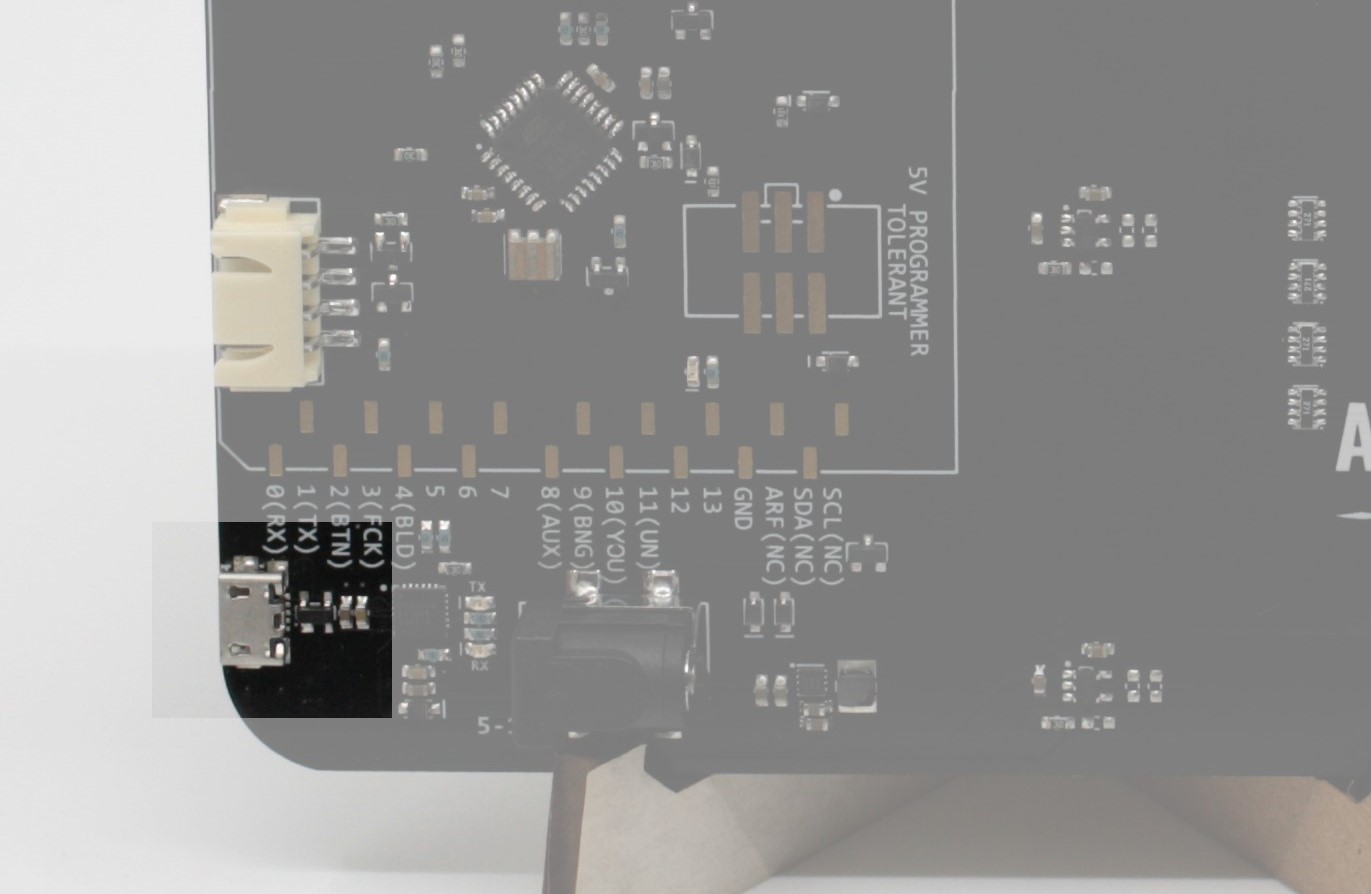
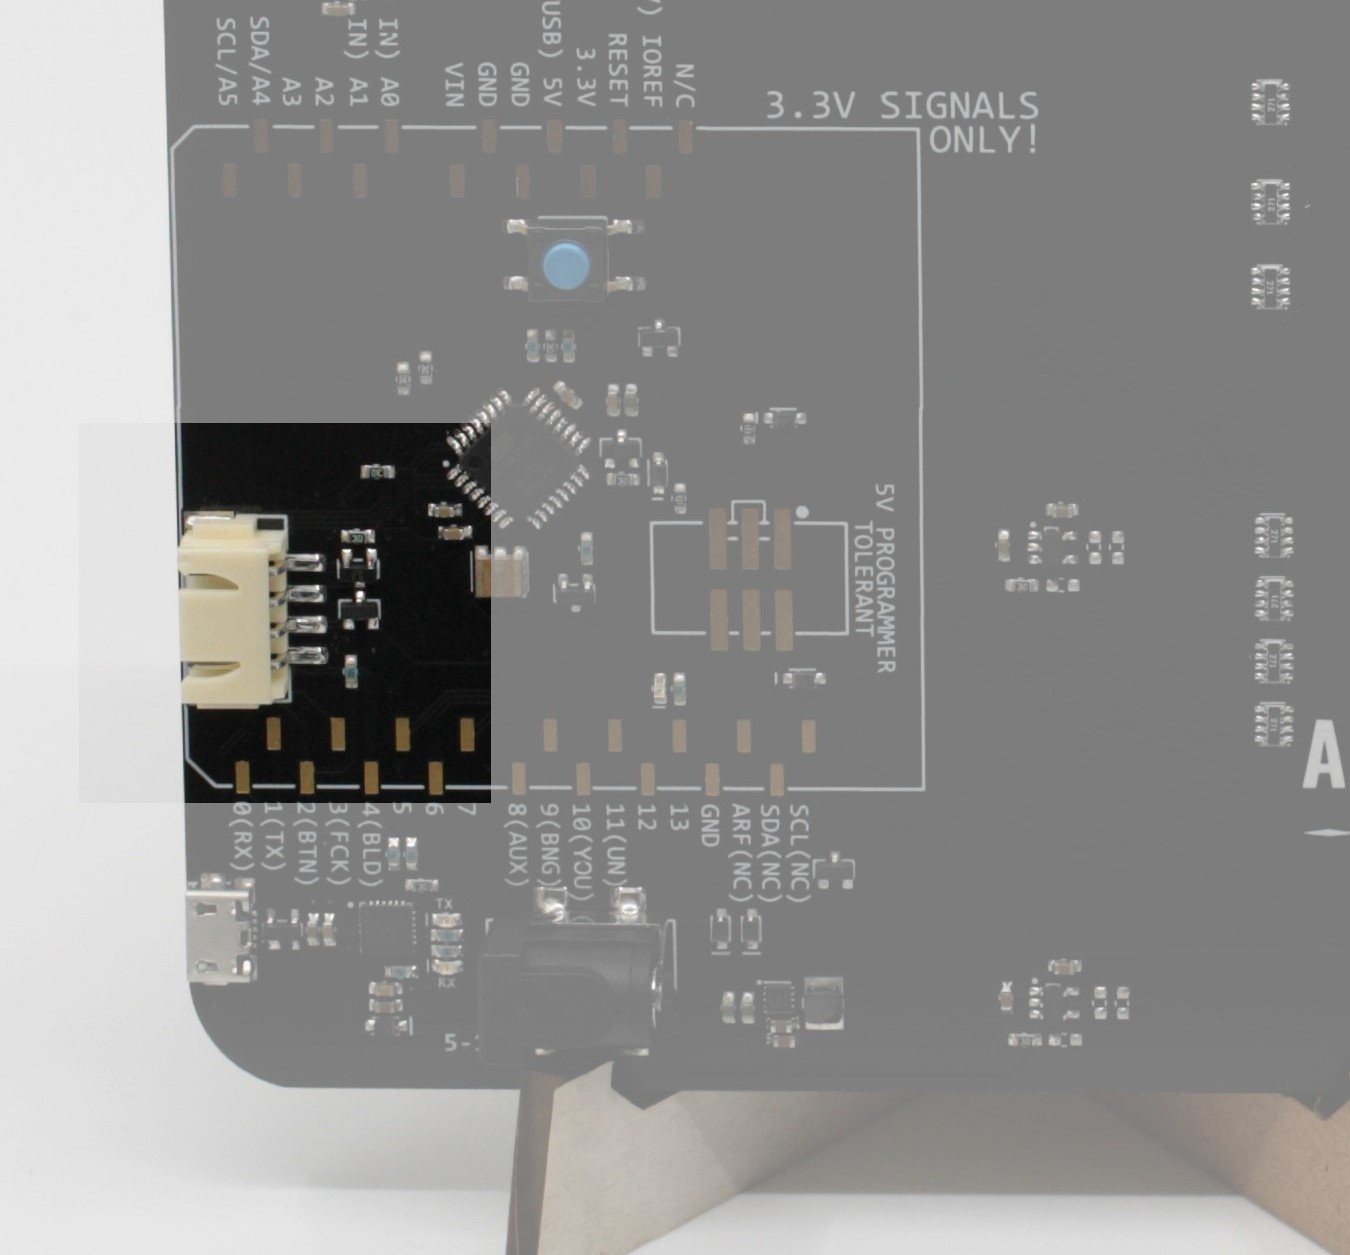
What else can you do with it? Well, you can't change the message, those LEDs are all soldered in place. But you can change the blinking pattern to your heart's content. Make more patterns, make the sequence random, make a pattern trigger off a certain number of button presses or by holding the button down for a certain length of time. There's also a resistive touch "button" option if you short the unicorn's leg to its hoof, check out our GitHub repo for the demo code.
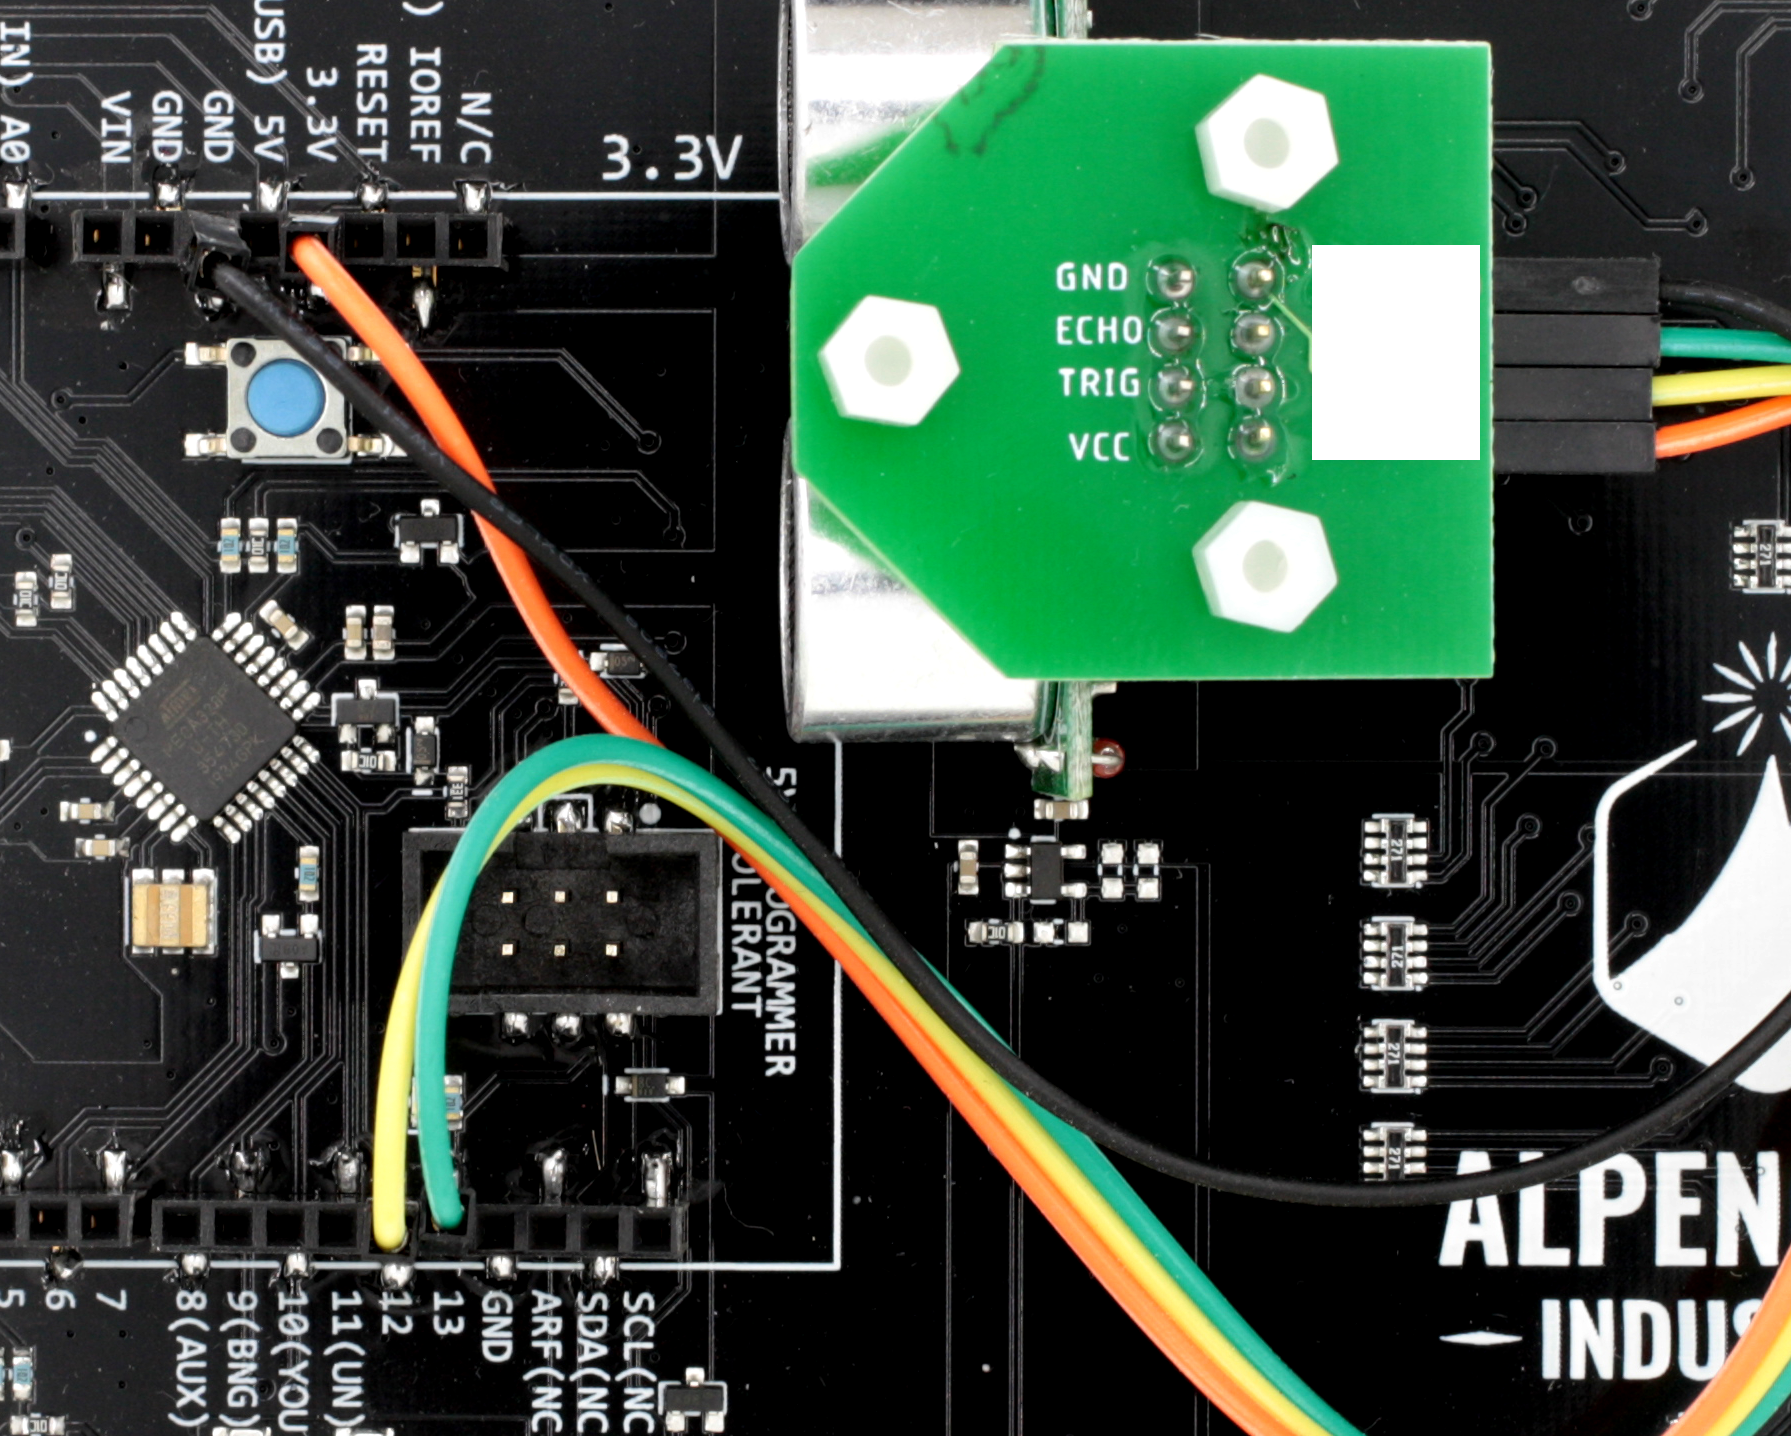
With the Arduino shield pattern on the back, you can also make it trigger off of just about anything imaginable.
- add an ultrasonic distance sensor and make a Social Distance Unicorn that goes off if anything comes within 6 feet
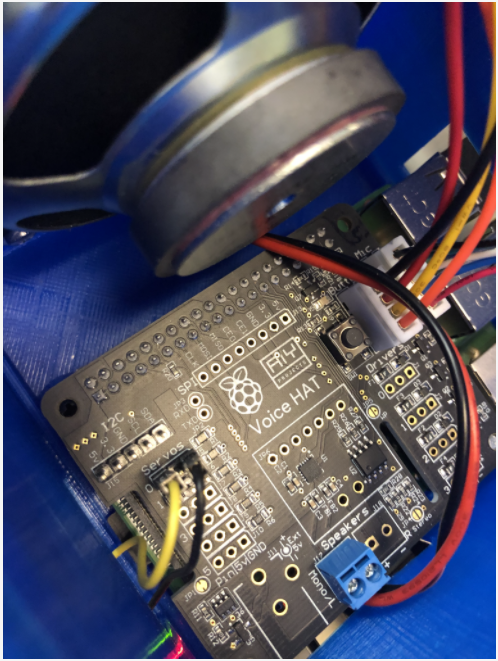
- add a Raspberry Pi and Google AI Voice kit and make it voice-activated. Because nothing is as satisfying as saying "Hey Google, F@#! You!"
- add a microphone input so that ANY noise will set it off
- add a motion sensor and put it in a window near your front door to tell off visitors
- add a thermistor to let people know how much you hate working in an unairconditioned office in the summer
We want to see all of your FUnicorn hacks! Show us on instagram, and tag us @alpenglowind with #funicorn


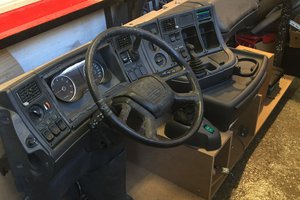
 Jeroen van der Velden