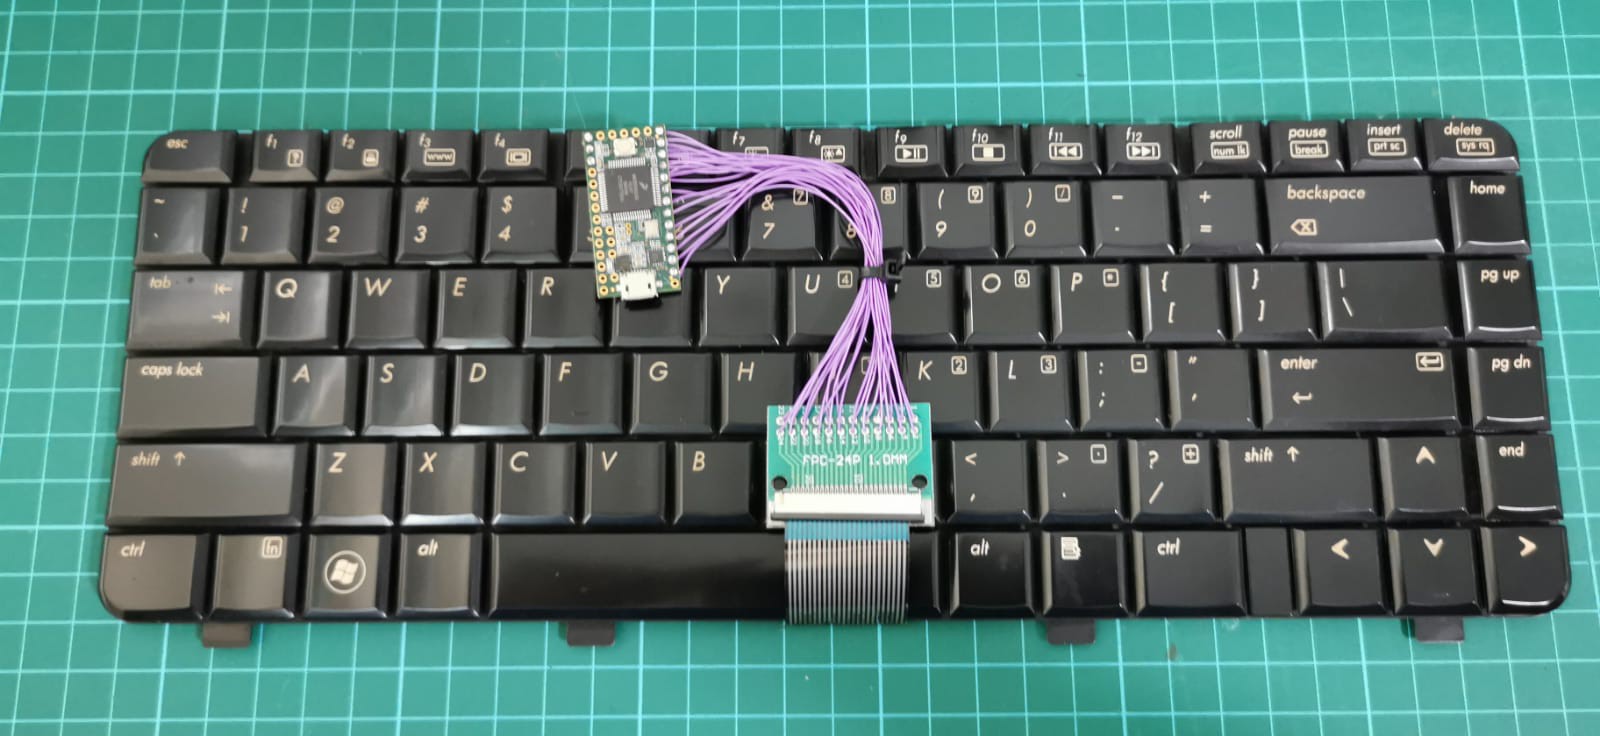
I bought a used Laptop Keyboard, interfaced it with a microcontroller, and programmed it with open source keyboard firmware. the qmk project provides lots of resources with many people leveraging the APIs to develop their own tools.
this project focuses on using a keyboard which you have no information about and making it work as a standalone usb keyboard. you can expand on it further by adding bluetooth capabilities if you want to pursue it.
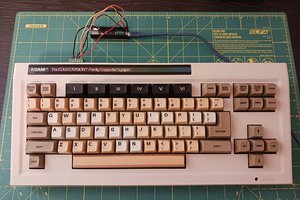
this is not my main keyboard. i keep this in a file, and switch between a SICK68 3d printed mechanical keyboard, also programmed through kbfirmware. https://www.thingiverse.com/thing:3478494


 Nick Bild
 ZitaoTech
 Benchoff
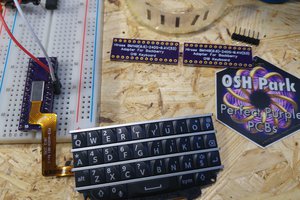
 WooDWorkeR
Awesome build! How feasible do you think it could be to redirect the keyboard output back to the integrated keyboard input/wire it internally to the laptop in some manner?