 Lex Kravitz
I bought a cool 60mm diameter white arcade button that came with a single LED inside to light it up but there were two issues with using the built in LED to light it up:
1) This only allows it to light up in one color (white)
2) The brightness of the LED was underwhelming when I powered it off of 5V from a microcontroller. In an arcade cabinet this would be powered with 12V, but to keep it simple I wanted to power everything directly from the microcontroller.
Enter.... NEOPIXELS! I've used these in several projects and I really like them. They're super simple to control and they're beautiful. I found this Instructable describing how to put a Neopixel ring into a similar button and found it pretty easy. The biggest issue I had was drilling a hole in the back of the button housing to accommodate my output cable. The plastic of the button cracks easily and I didn't have the right size drill bit so the hole I made isn't the prettiest. But it is all covered up when I mounted it in the 3D printed box.
I used a 4 conductor keyed circular connector I found on Amazon, with the following connections from the button to the Feather board:
1) USB (to power the Neopixel at 5V)
2) GND
3) Neopixel data line (this takes a single GPIO)
4) Button input (another GPIO)
This allows the button to display any color combination or animation, while also sending button press responses back to the microcontroller.
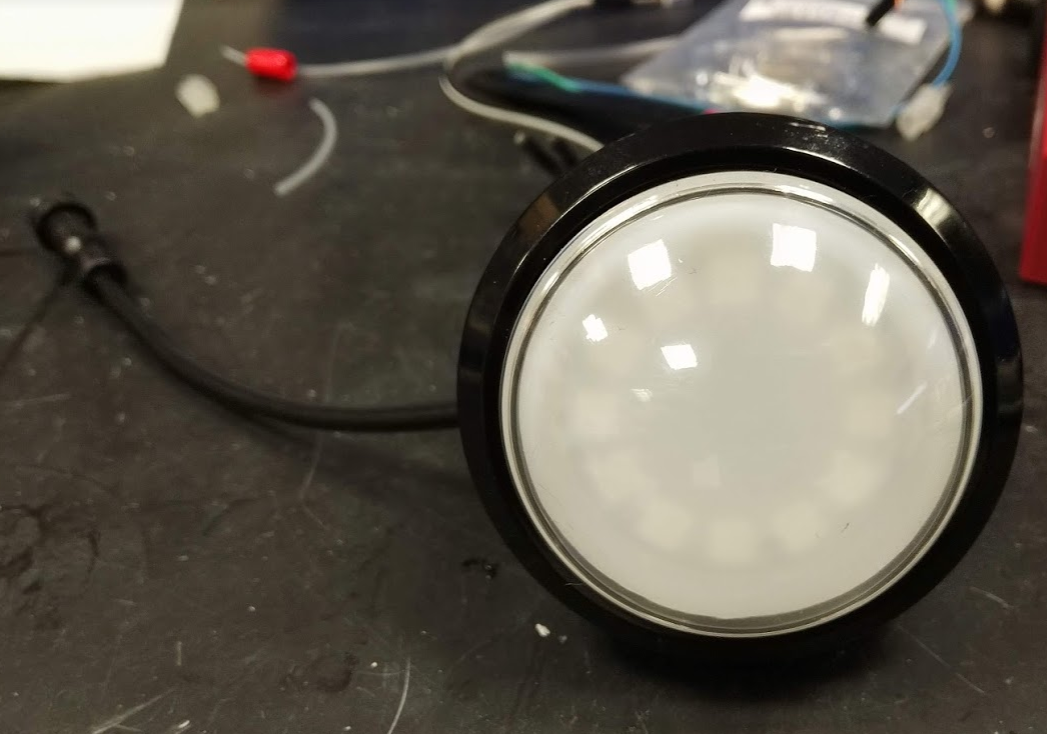
Some photos from my hack-job to get the Neopixel into the button:
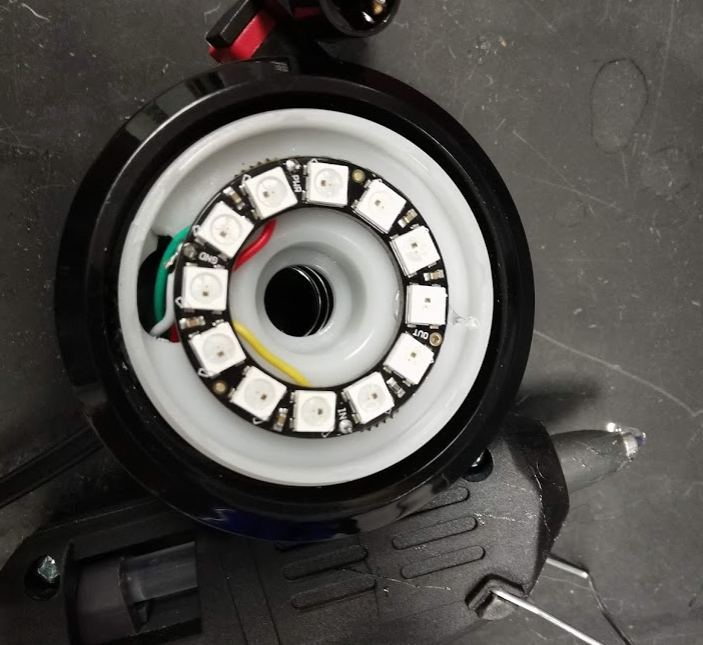
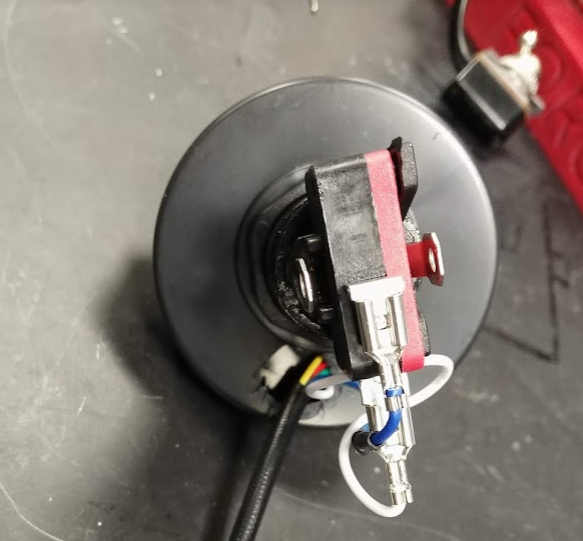
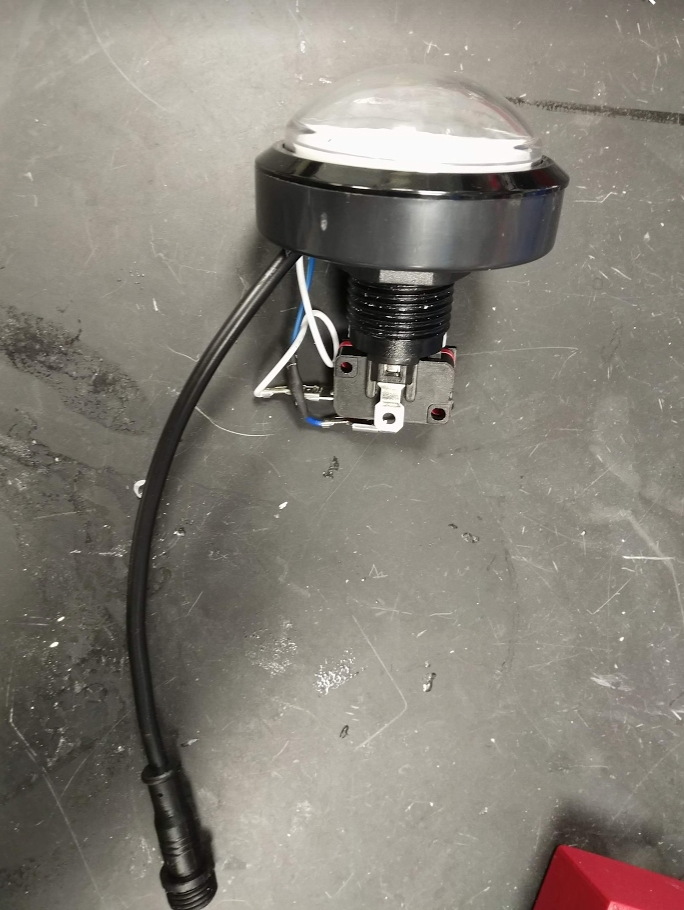
You can see the neopixel in there if you look carefully!
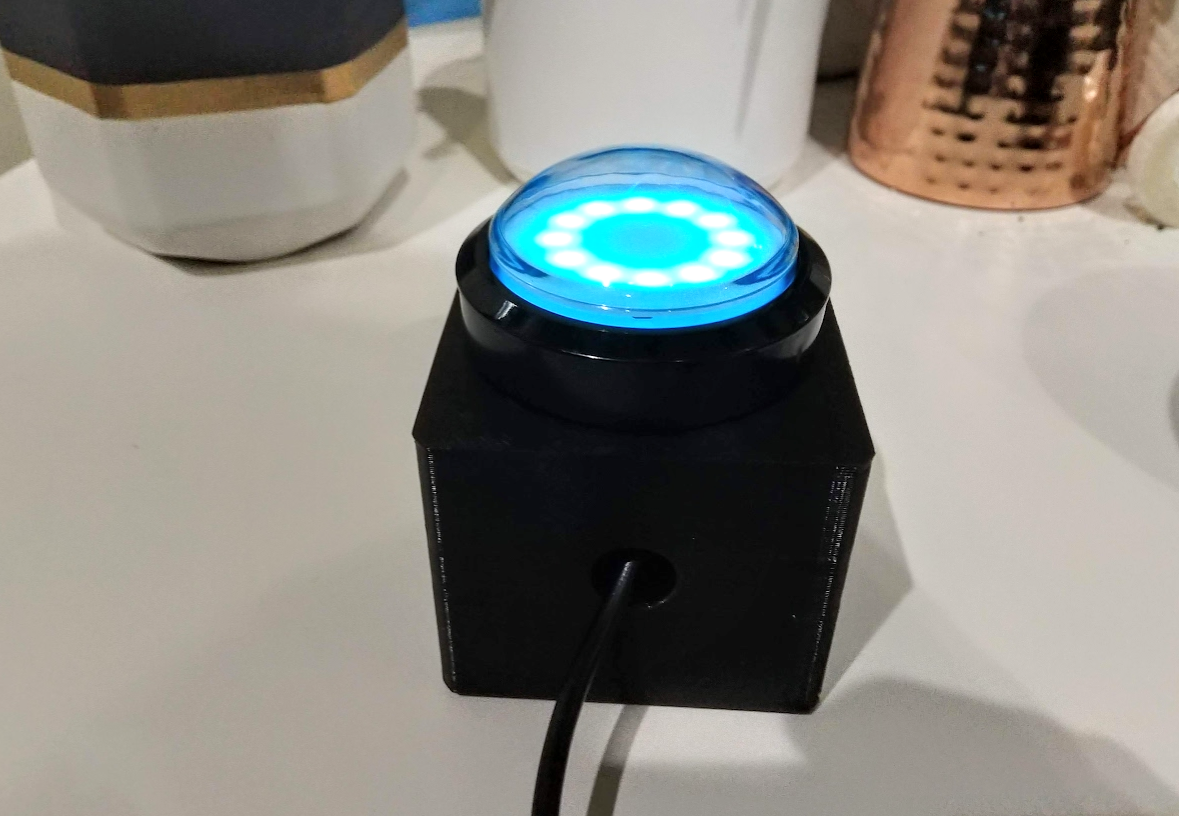
 Final thing!
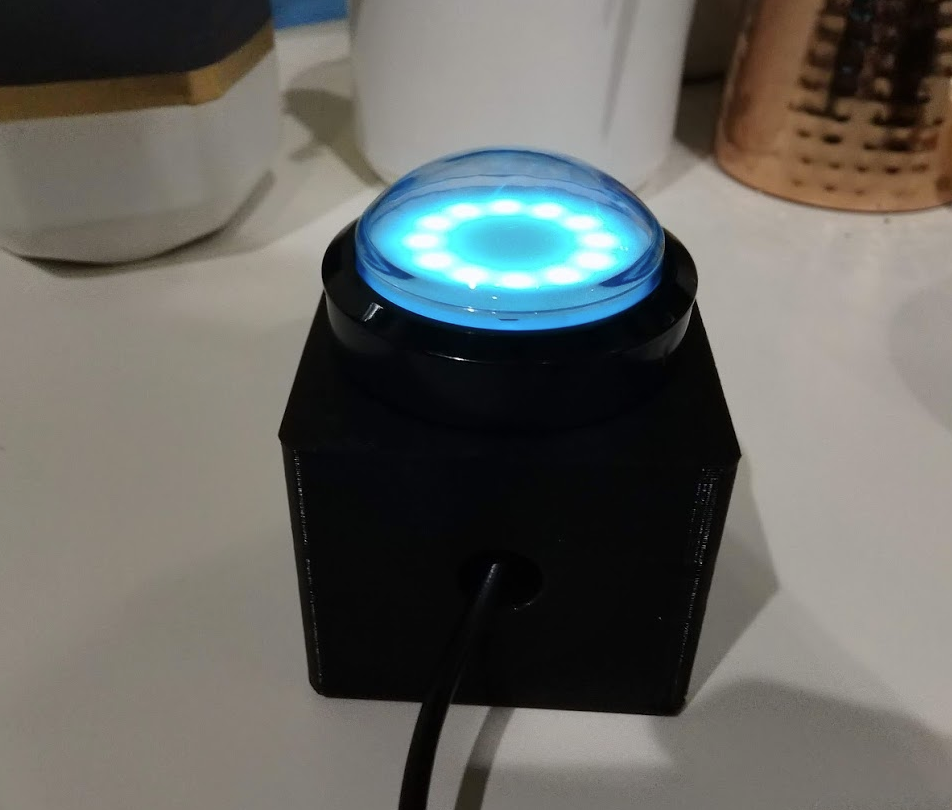
Discussions
Become a Hackaday.io Member
Create an account to leave a comment. Already have an account? Log In.