 mircemk
It can measure capacitance from 10 pF to 10,000 μF. The measurement takes place in automatic mode, it is enough to connect the capacitor to the measuring contacts. The device has two ranges: "nF" and "μF". When measuring a capacitor, the "nF" range is first switched on, if the capacitance is too large, then the transition to the "μF" range occurs.
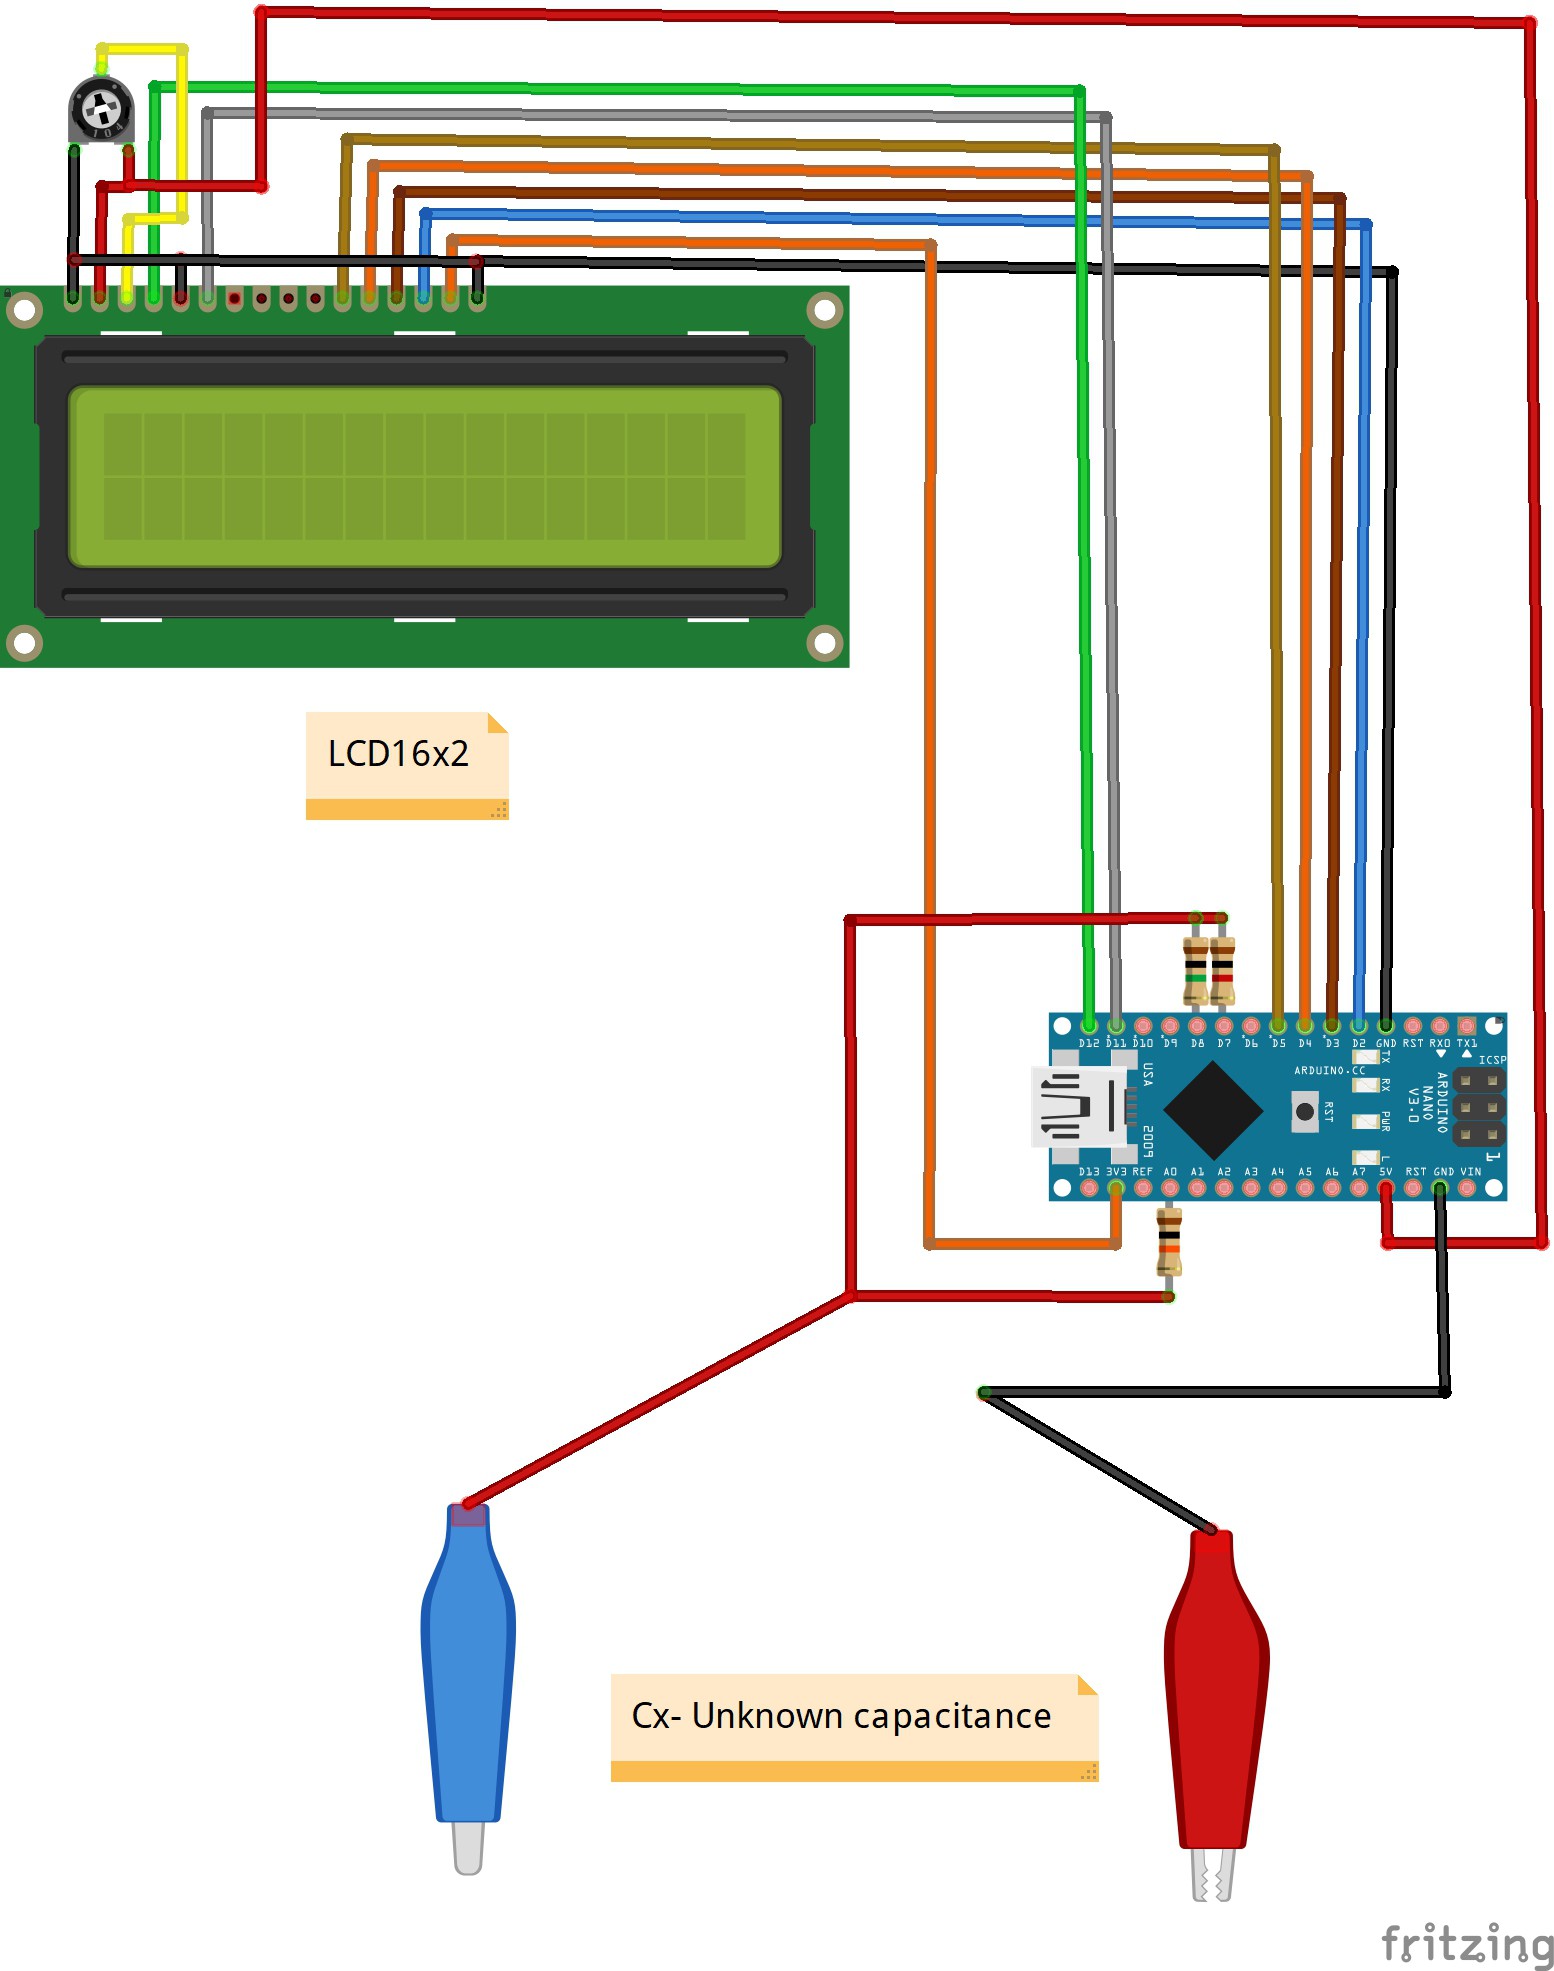
Each capacitance meter has an RC circuit with known resistor values and an unknown capacitor value. The Arduino will measure the voltage at the capacitor and record the time it takes to reach a certain percentage of it’s voltage when fully charged (the time constant). Since the resistance value is already known, we can use the formula in a program that will calculate the unknown capacitance. The capacitor under test is charged using one of the resistors. The Arduino initiates the charging of the capacitor through resistor according to its capacity. In the capacitance meter, a zero calibration is performed every time it is turned on, therefore, at the moment of switching on, a capacitor should not be connected to the measuring contacts. Also, all capacitors must be pre-discharged.
The accuracy is +/- a few percent and depends primarily on the tolerance of the resistors used as well as the stability of the supply voltage.
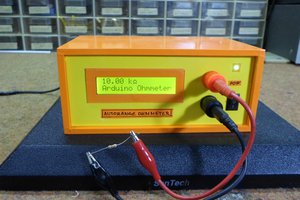
Lastly, the entire device is housed in a suitable box and is another useful tool in your lab.

 Evangelos Petrongonas
 hIOTron
Cool project. I just picked up one of these an amazon for the same purpose: https://www.amazon.com/gp/product/B019SXN2M2/ref=ppx_yo_dt_b_asin_title_o00_s02?ie=UTF8&psc=1