 Mike Rigsby
I tested a slinky on a sloping board to get some idea of the slope and speed required to make this operate.
Here's the video in action:
I confined the sides a bit to prevent "falling" and that seems to help. My confining wall height is arbitrary, so I'll have to work on that and see just how low the wall can be to still constrain wild movement.
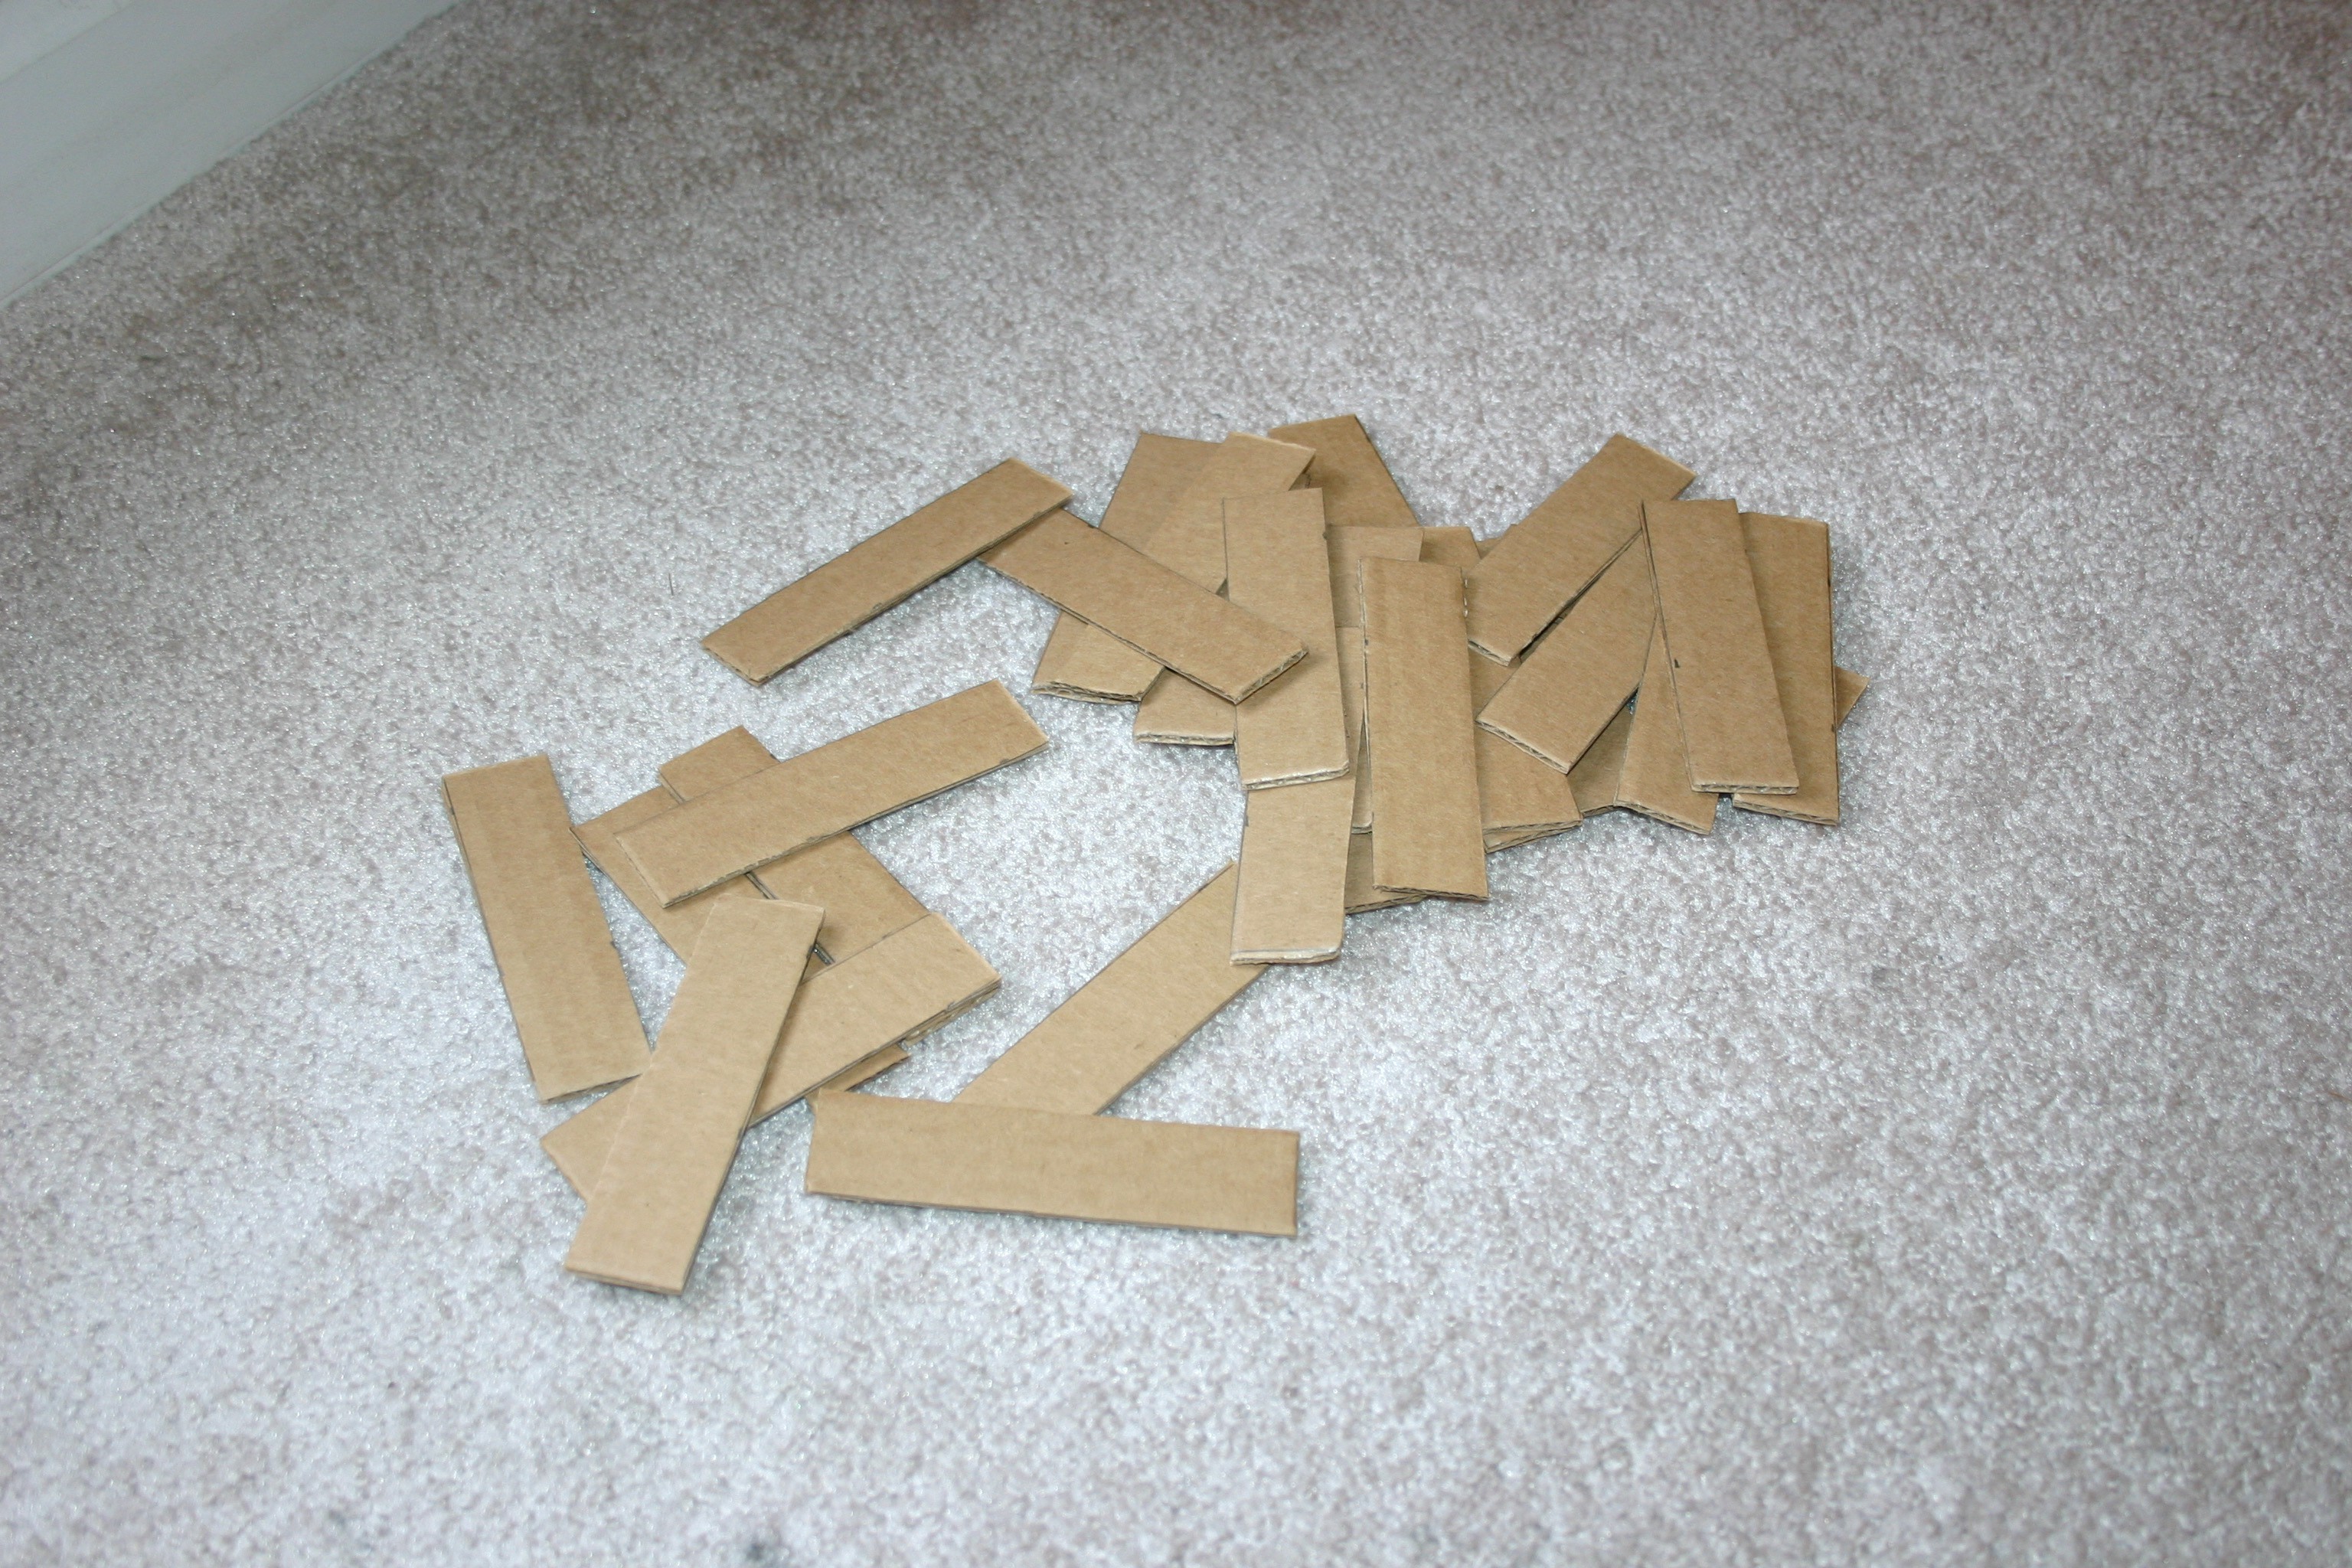
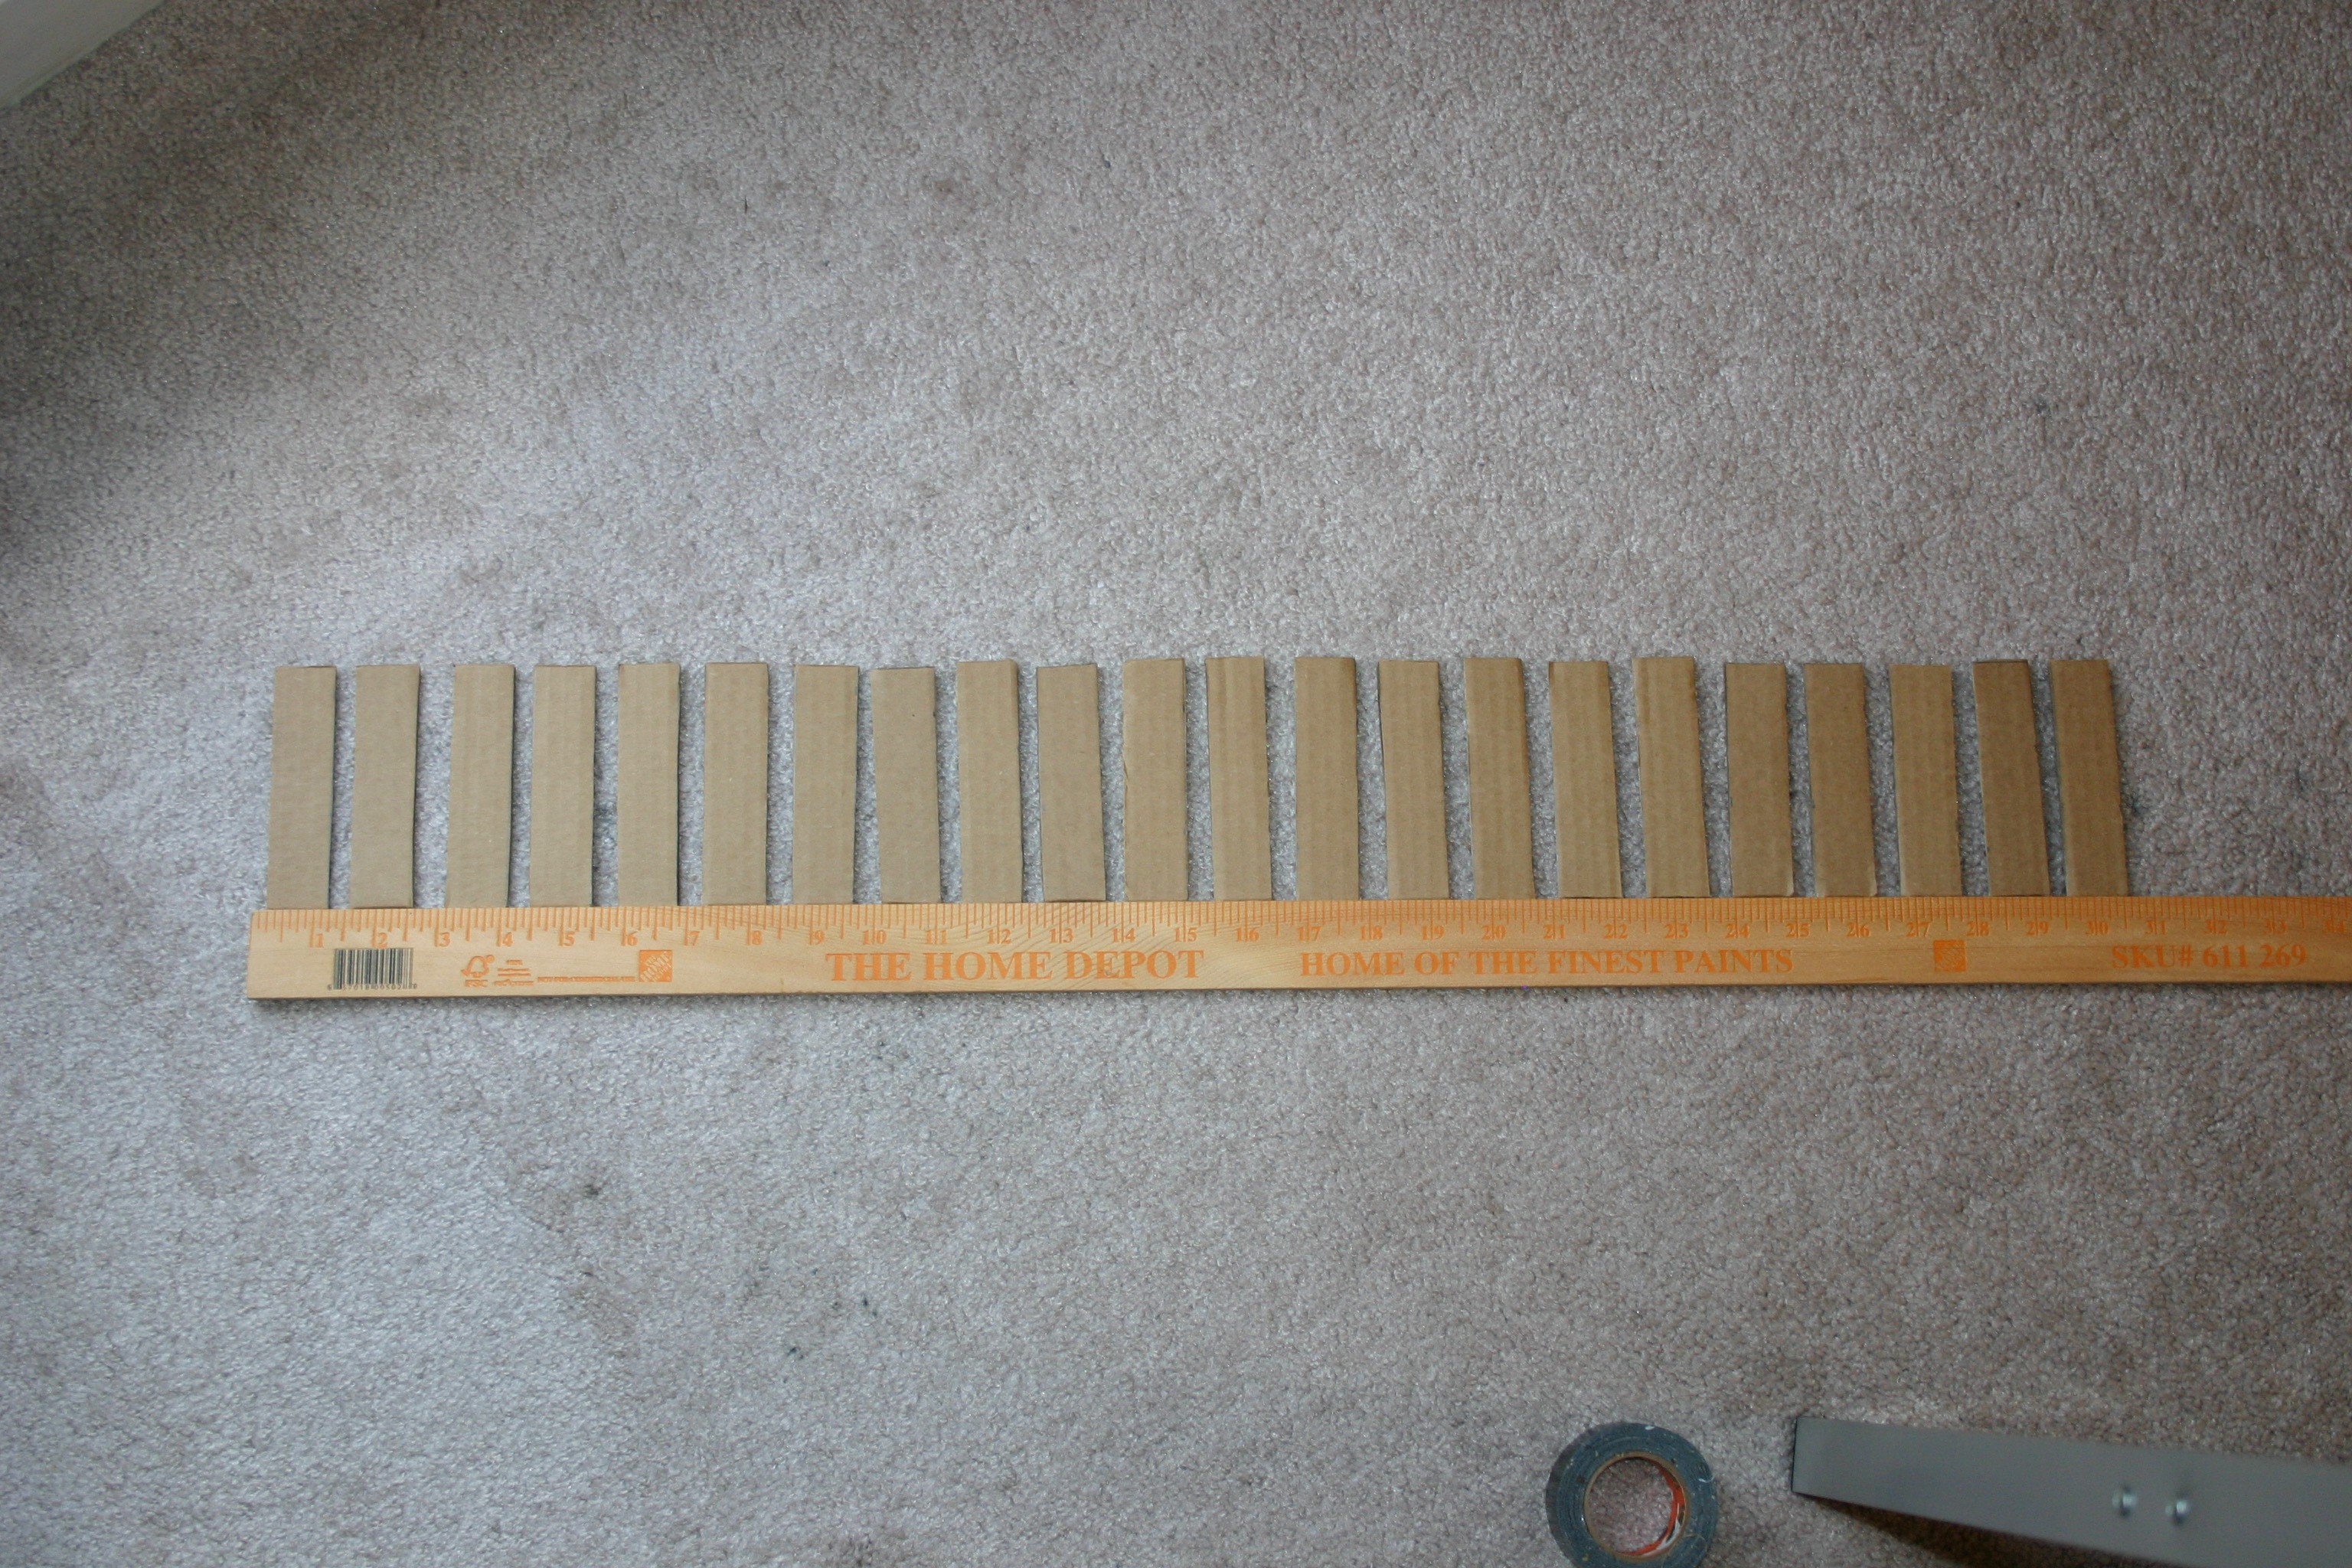
Let's start with the belt. Cut (22) 4" x 1" pieces of cardboard. Place them in a straight line, space between each piece, so that the total equals 30".
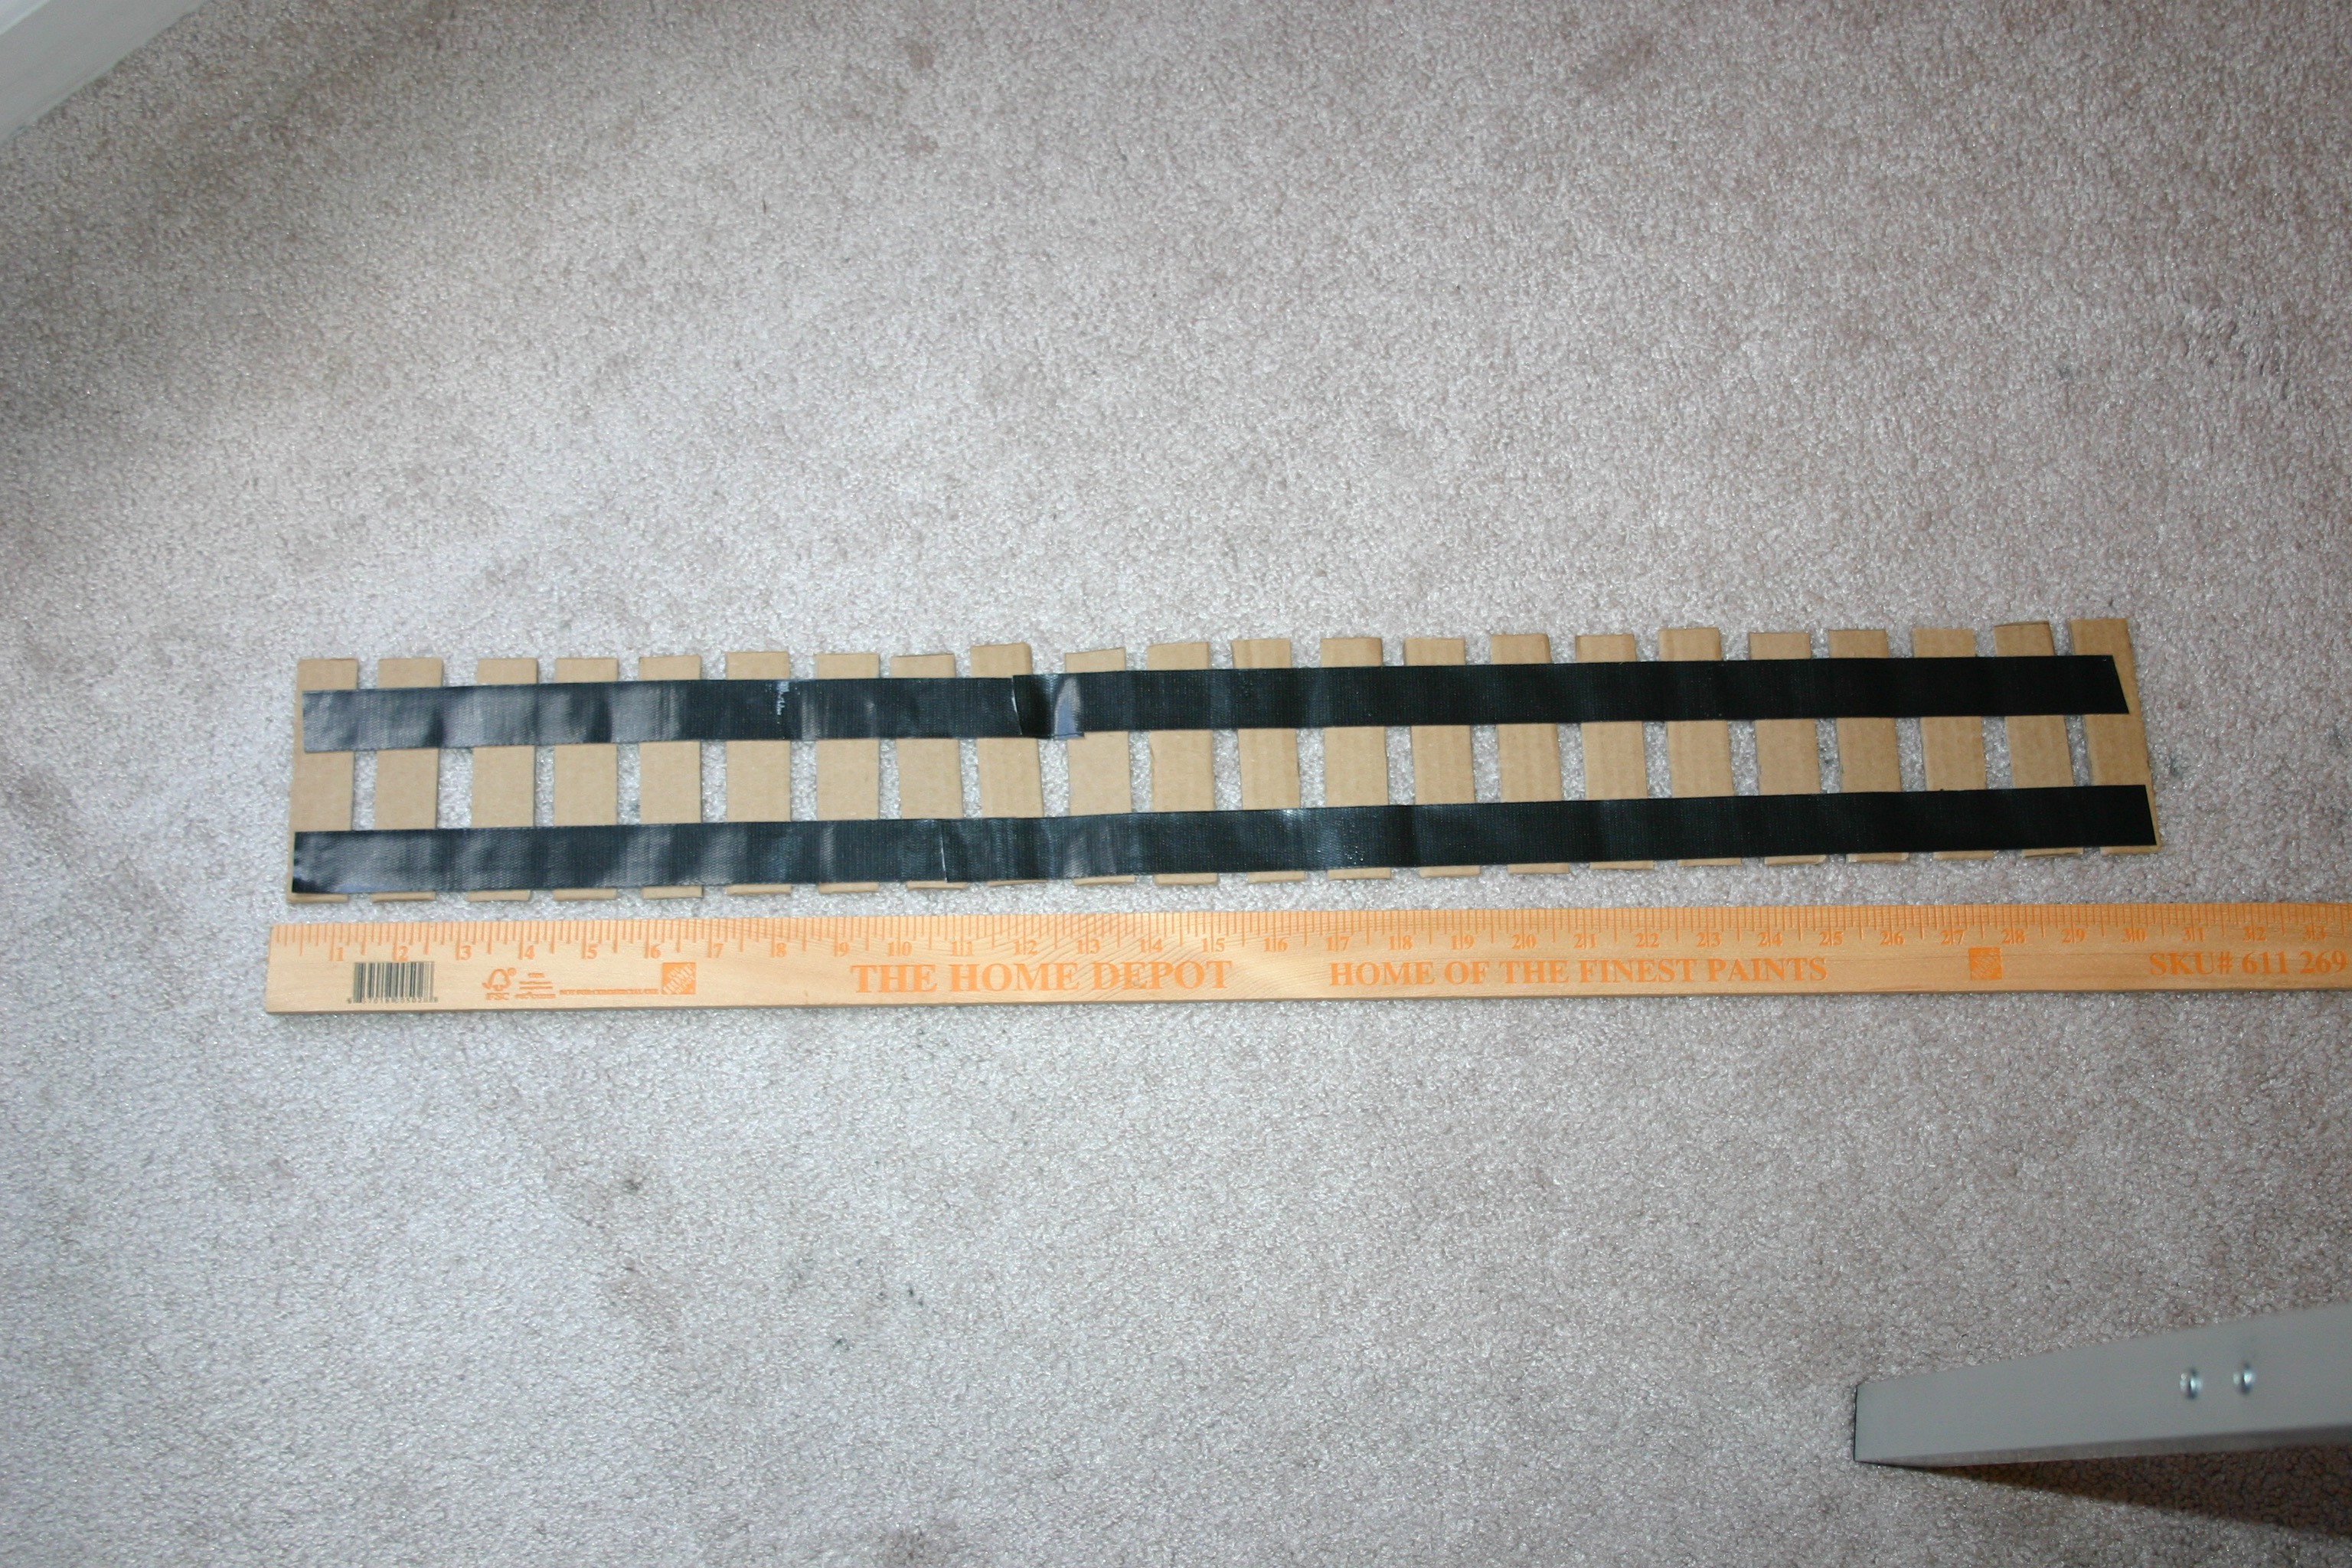
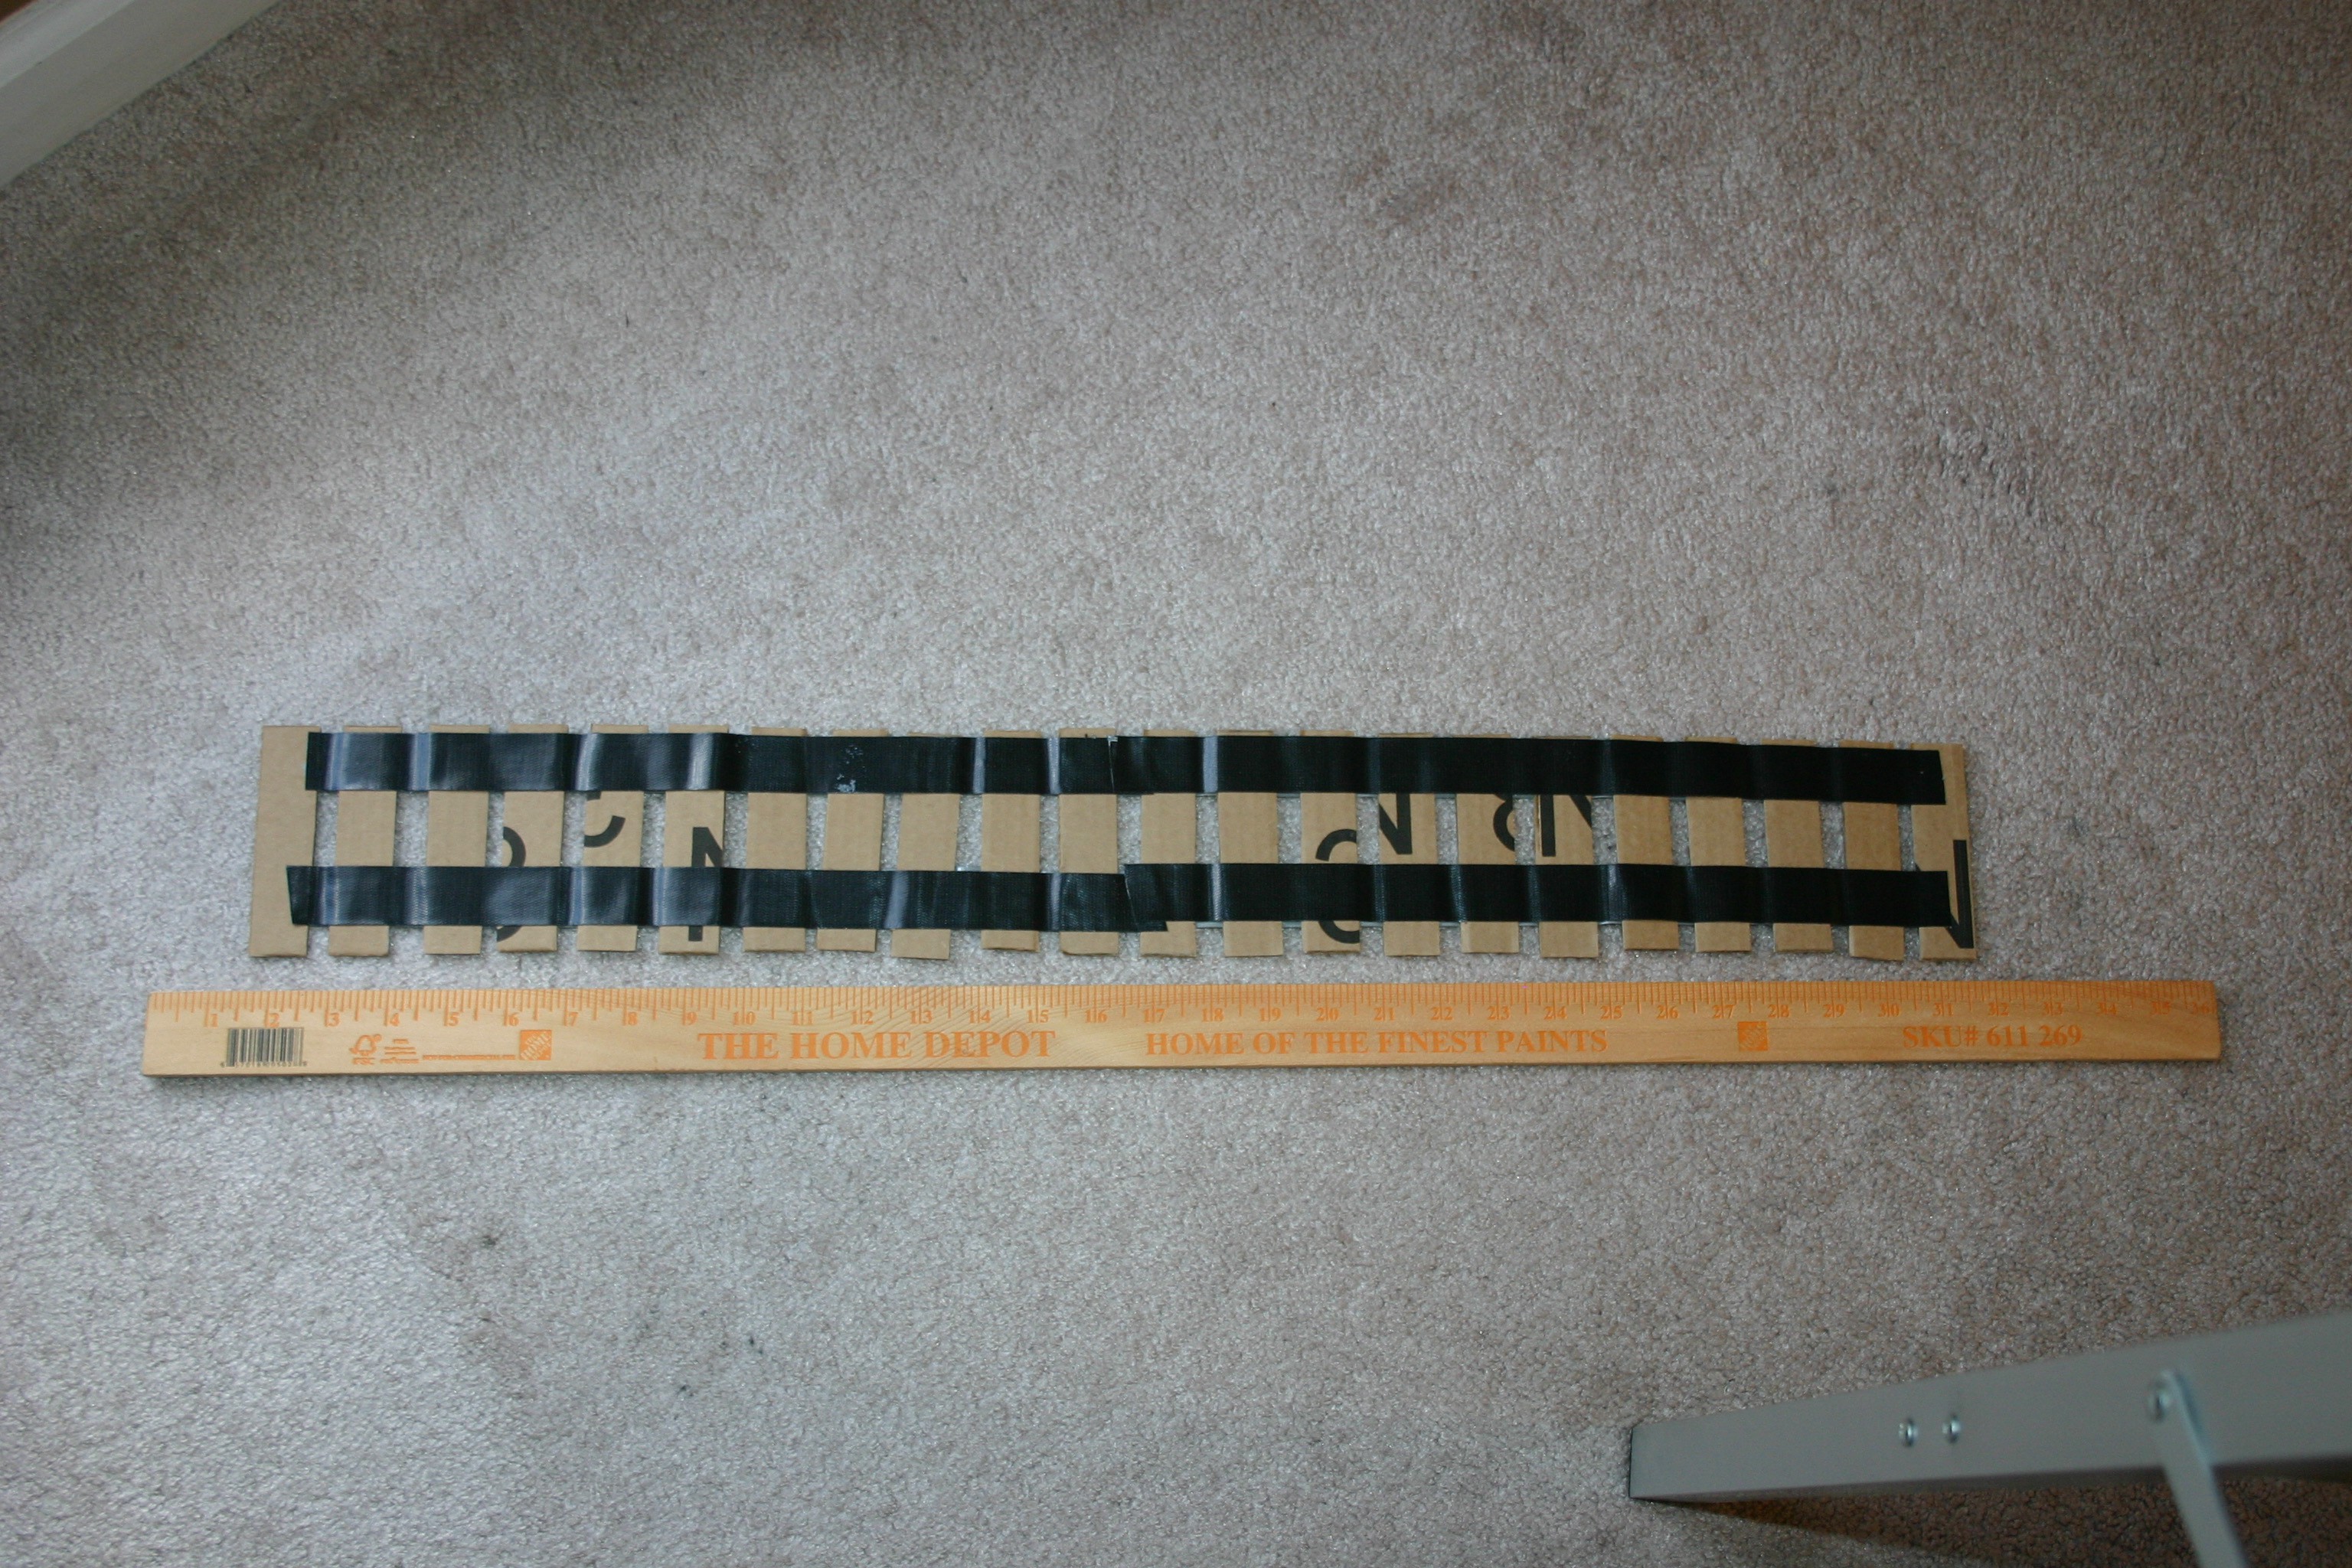
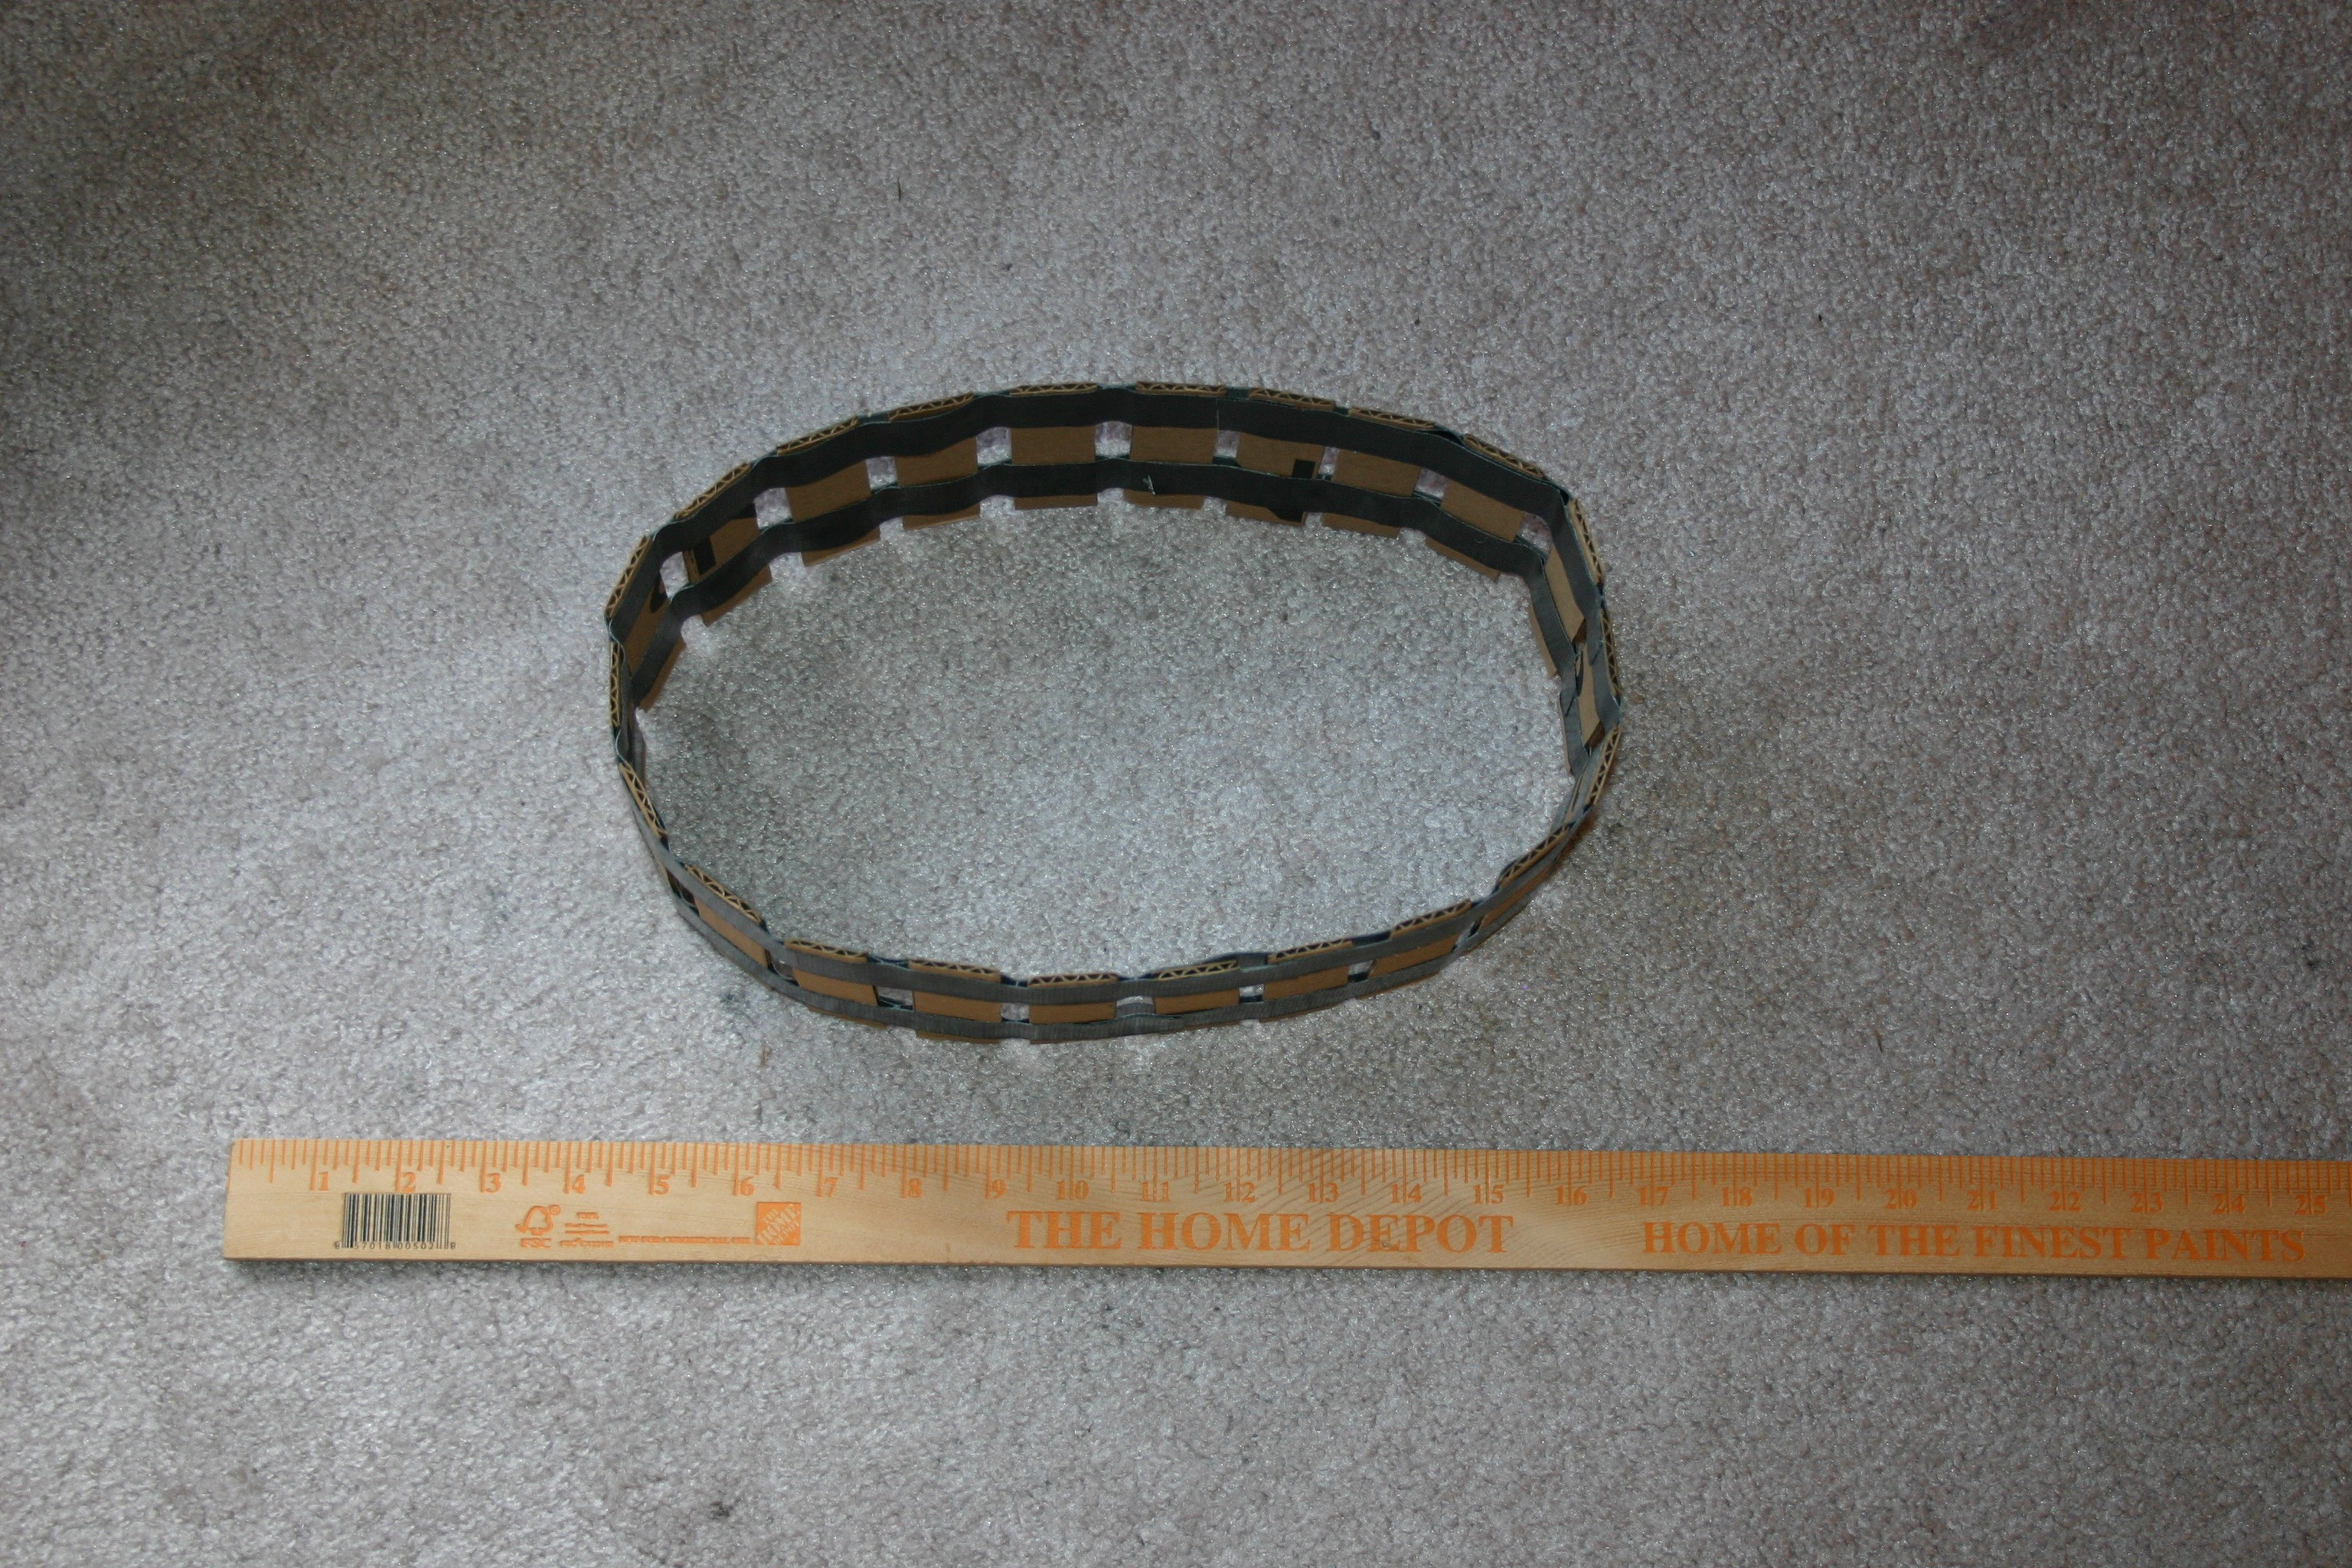
Add tape on one side, then the other. Create a "belt" by taping the inside together, then the outside. I used about 6" of tape to overlap the joined spot.
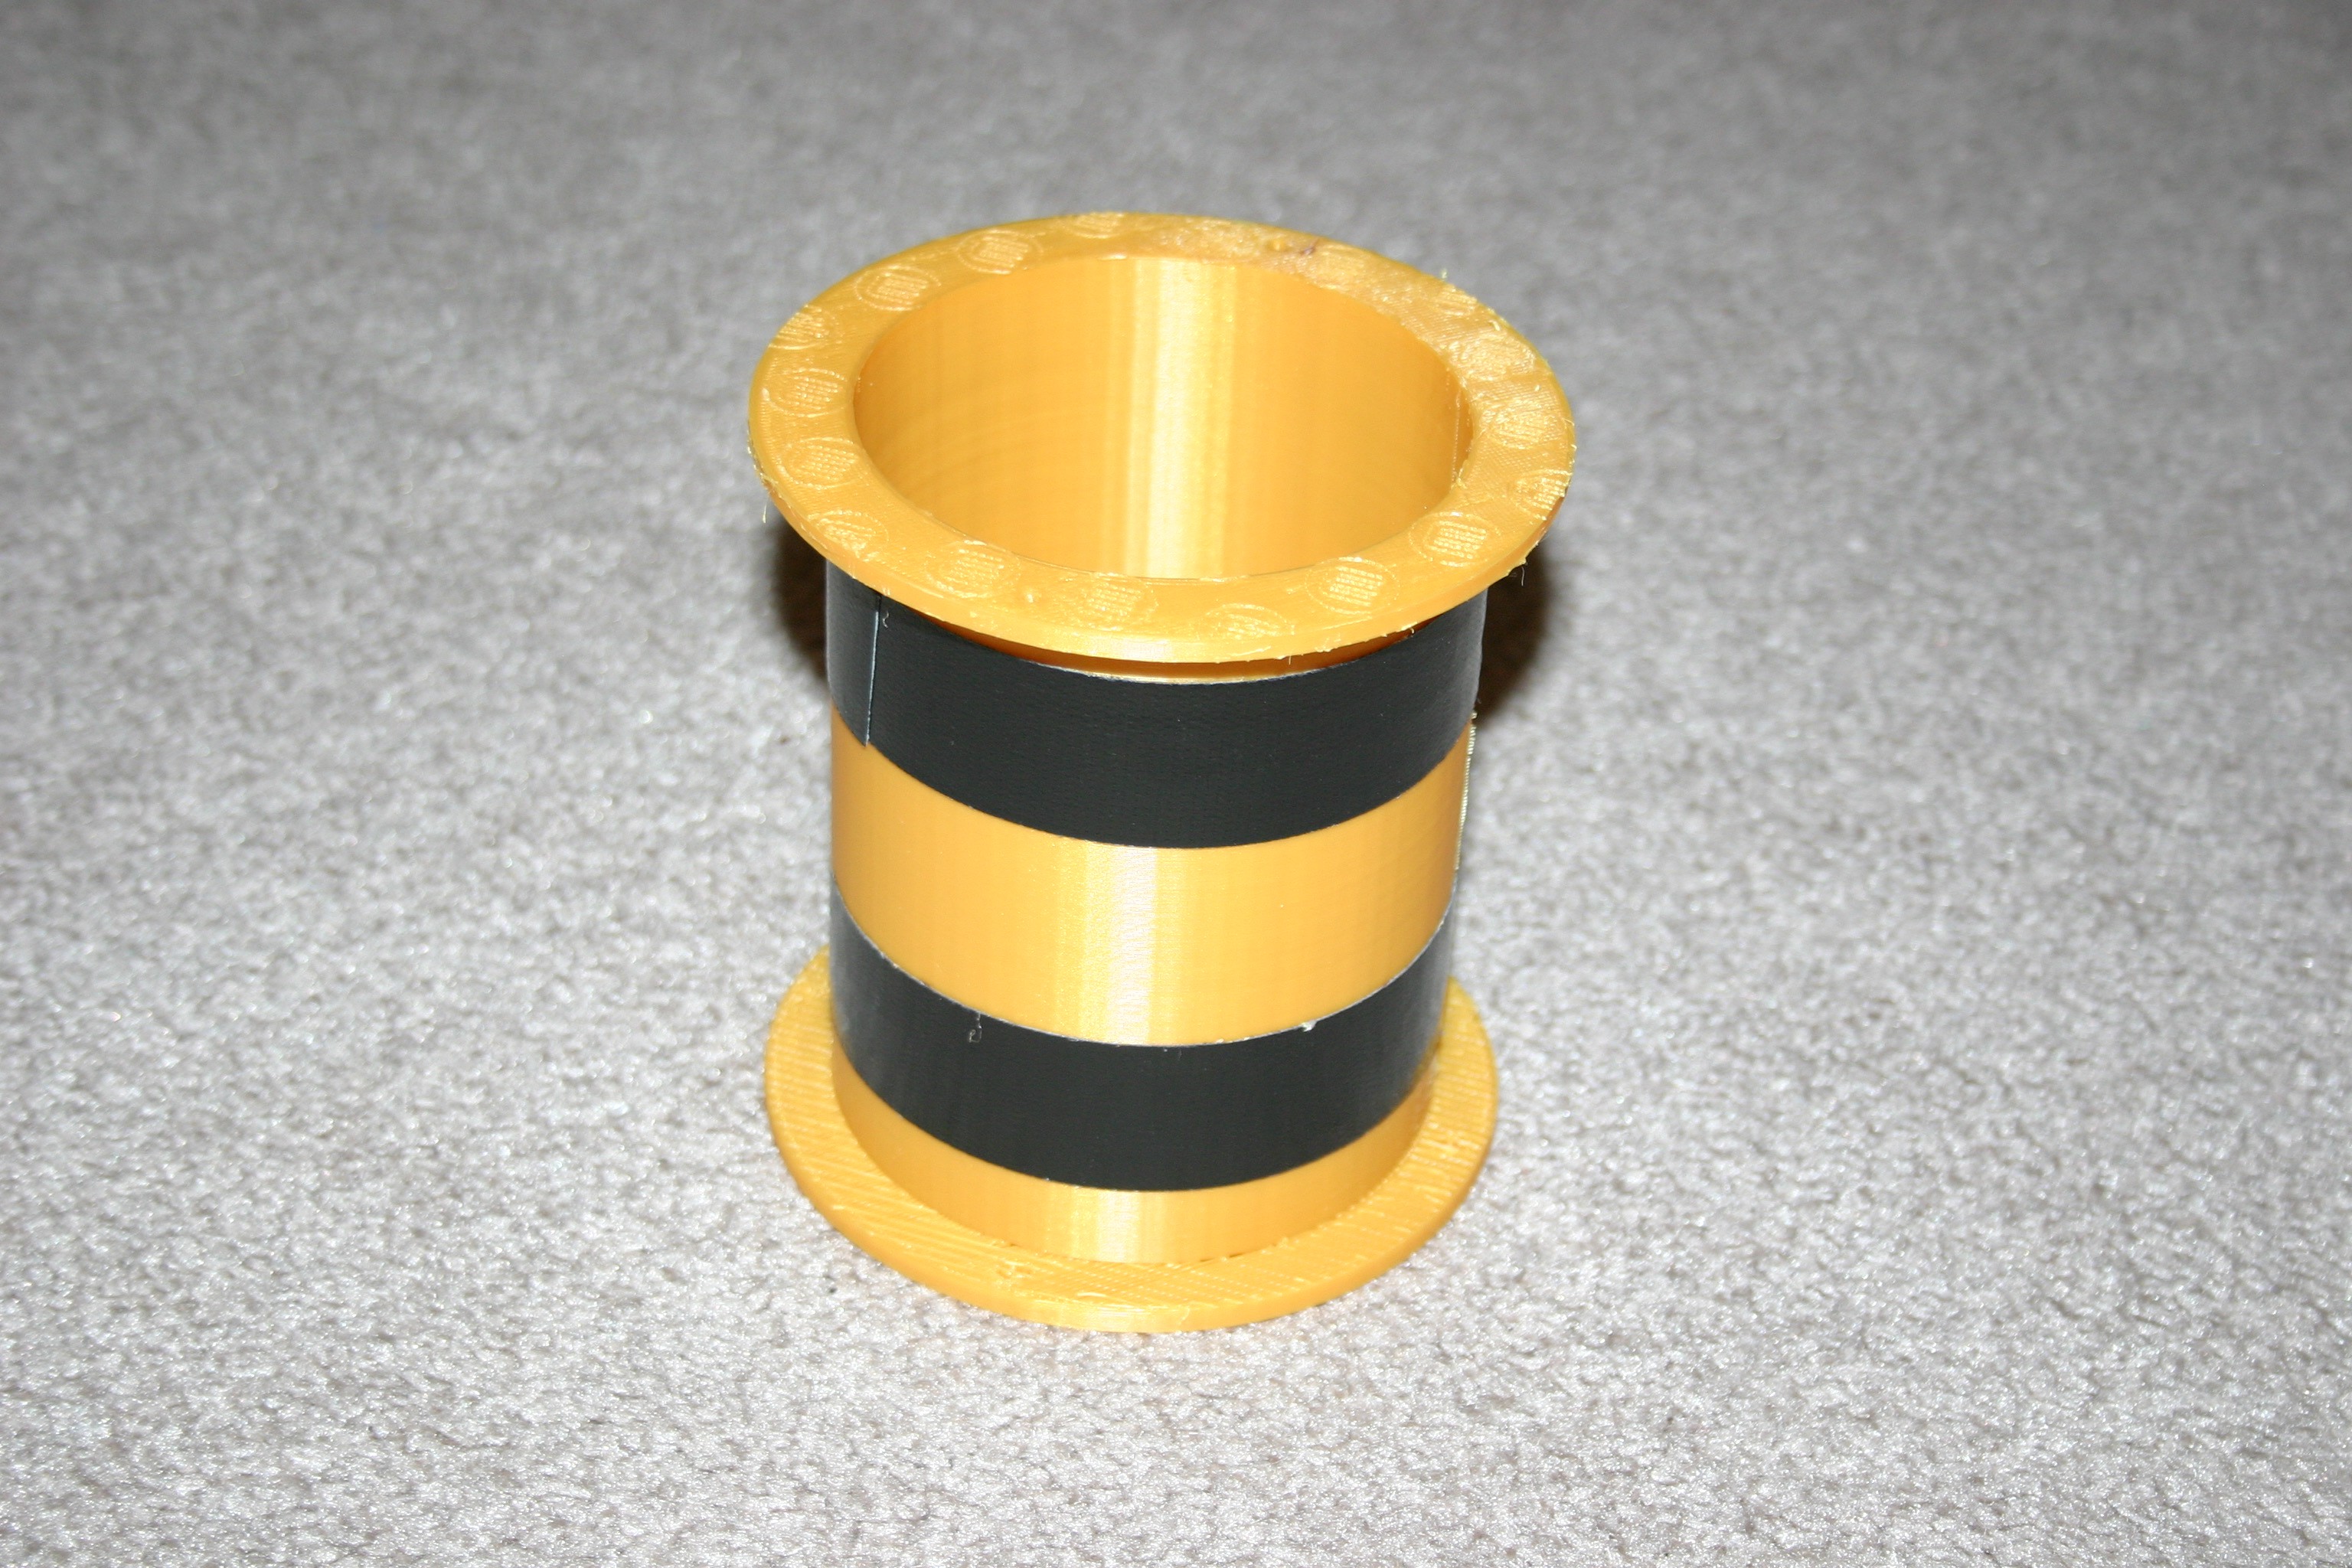
On one of the pulleys, apply tape to match the tape position on the belt you made earlier. This provides a bit more friction for the drive pulley (the 3d printed pulley is somewhat slippery).
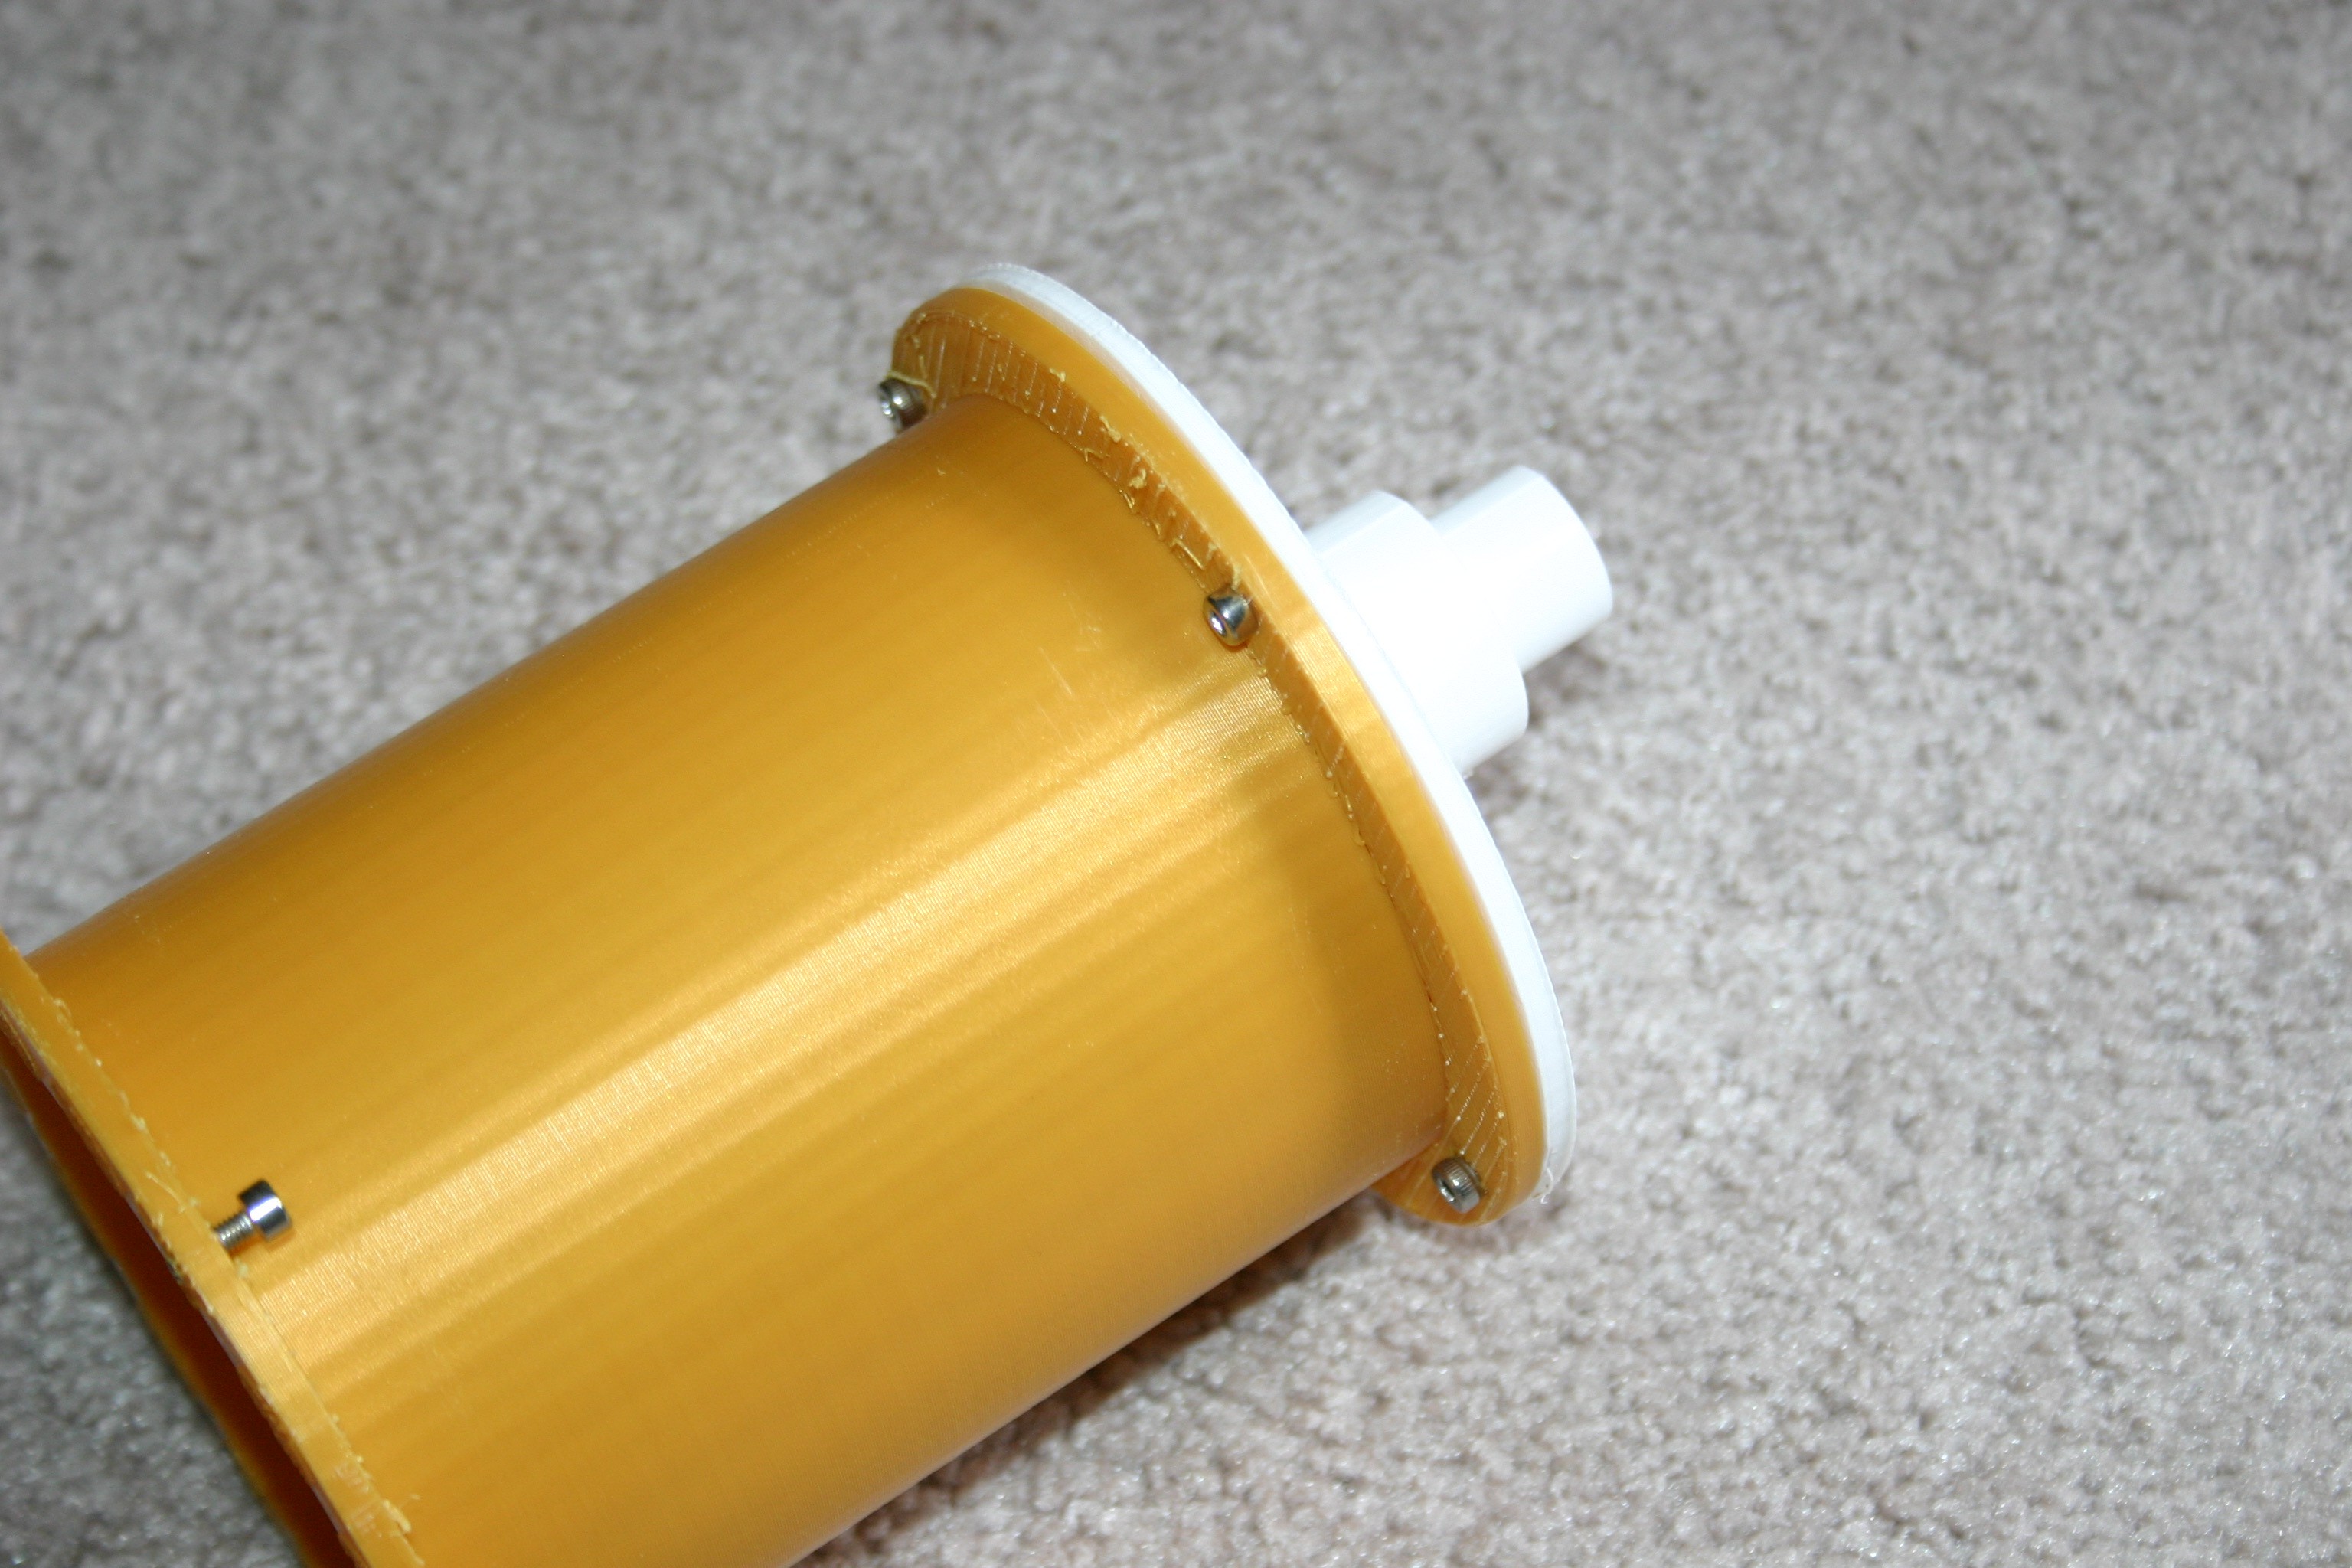
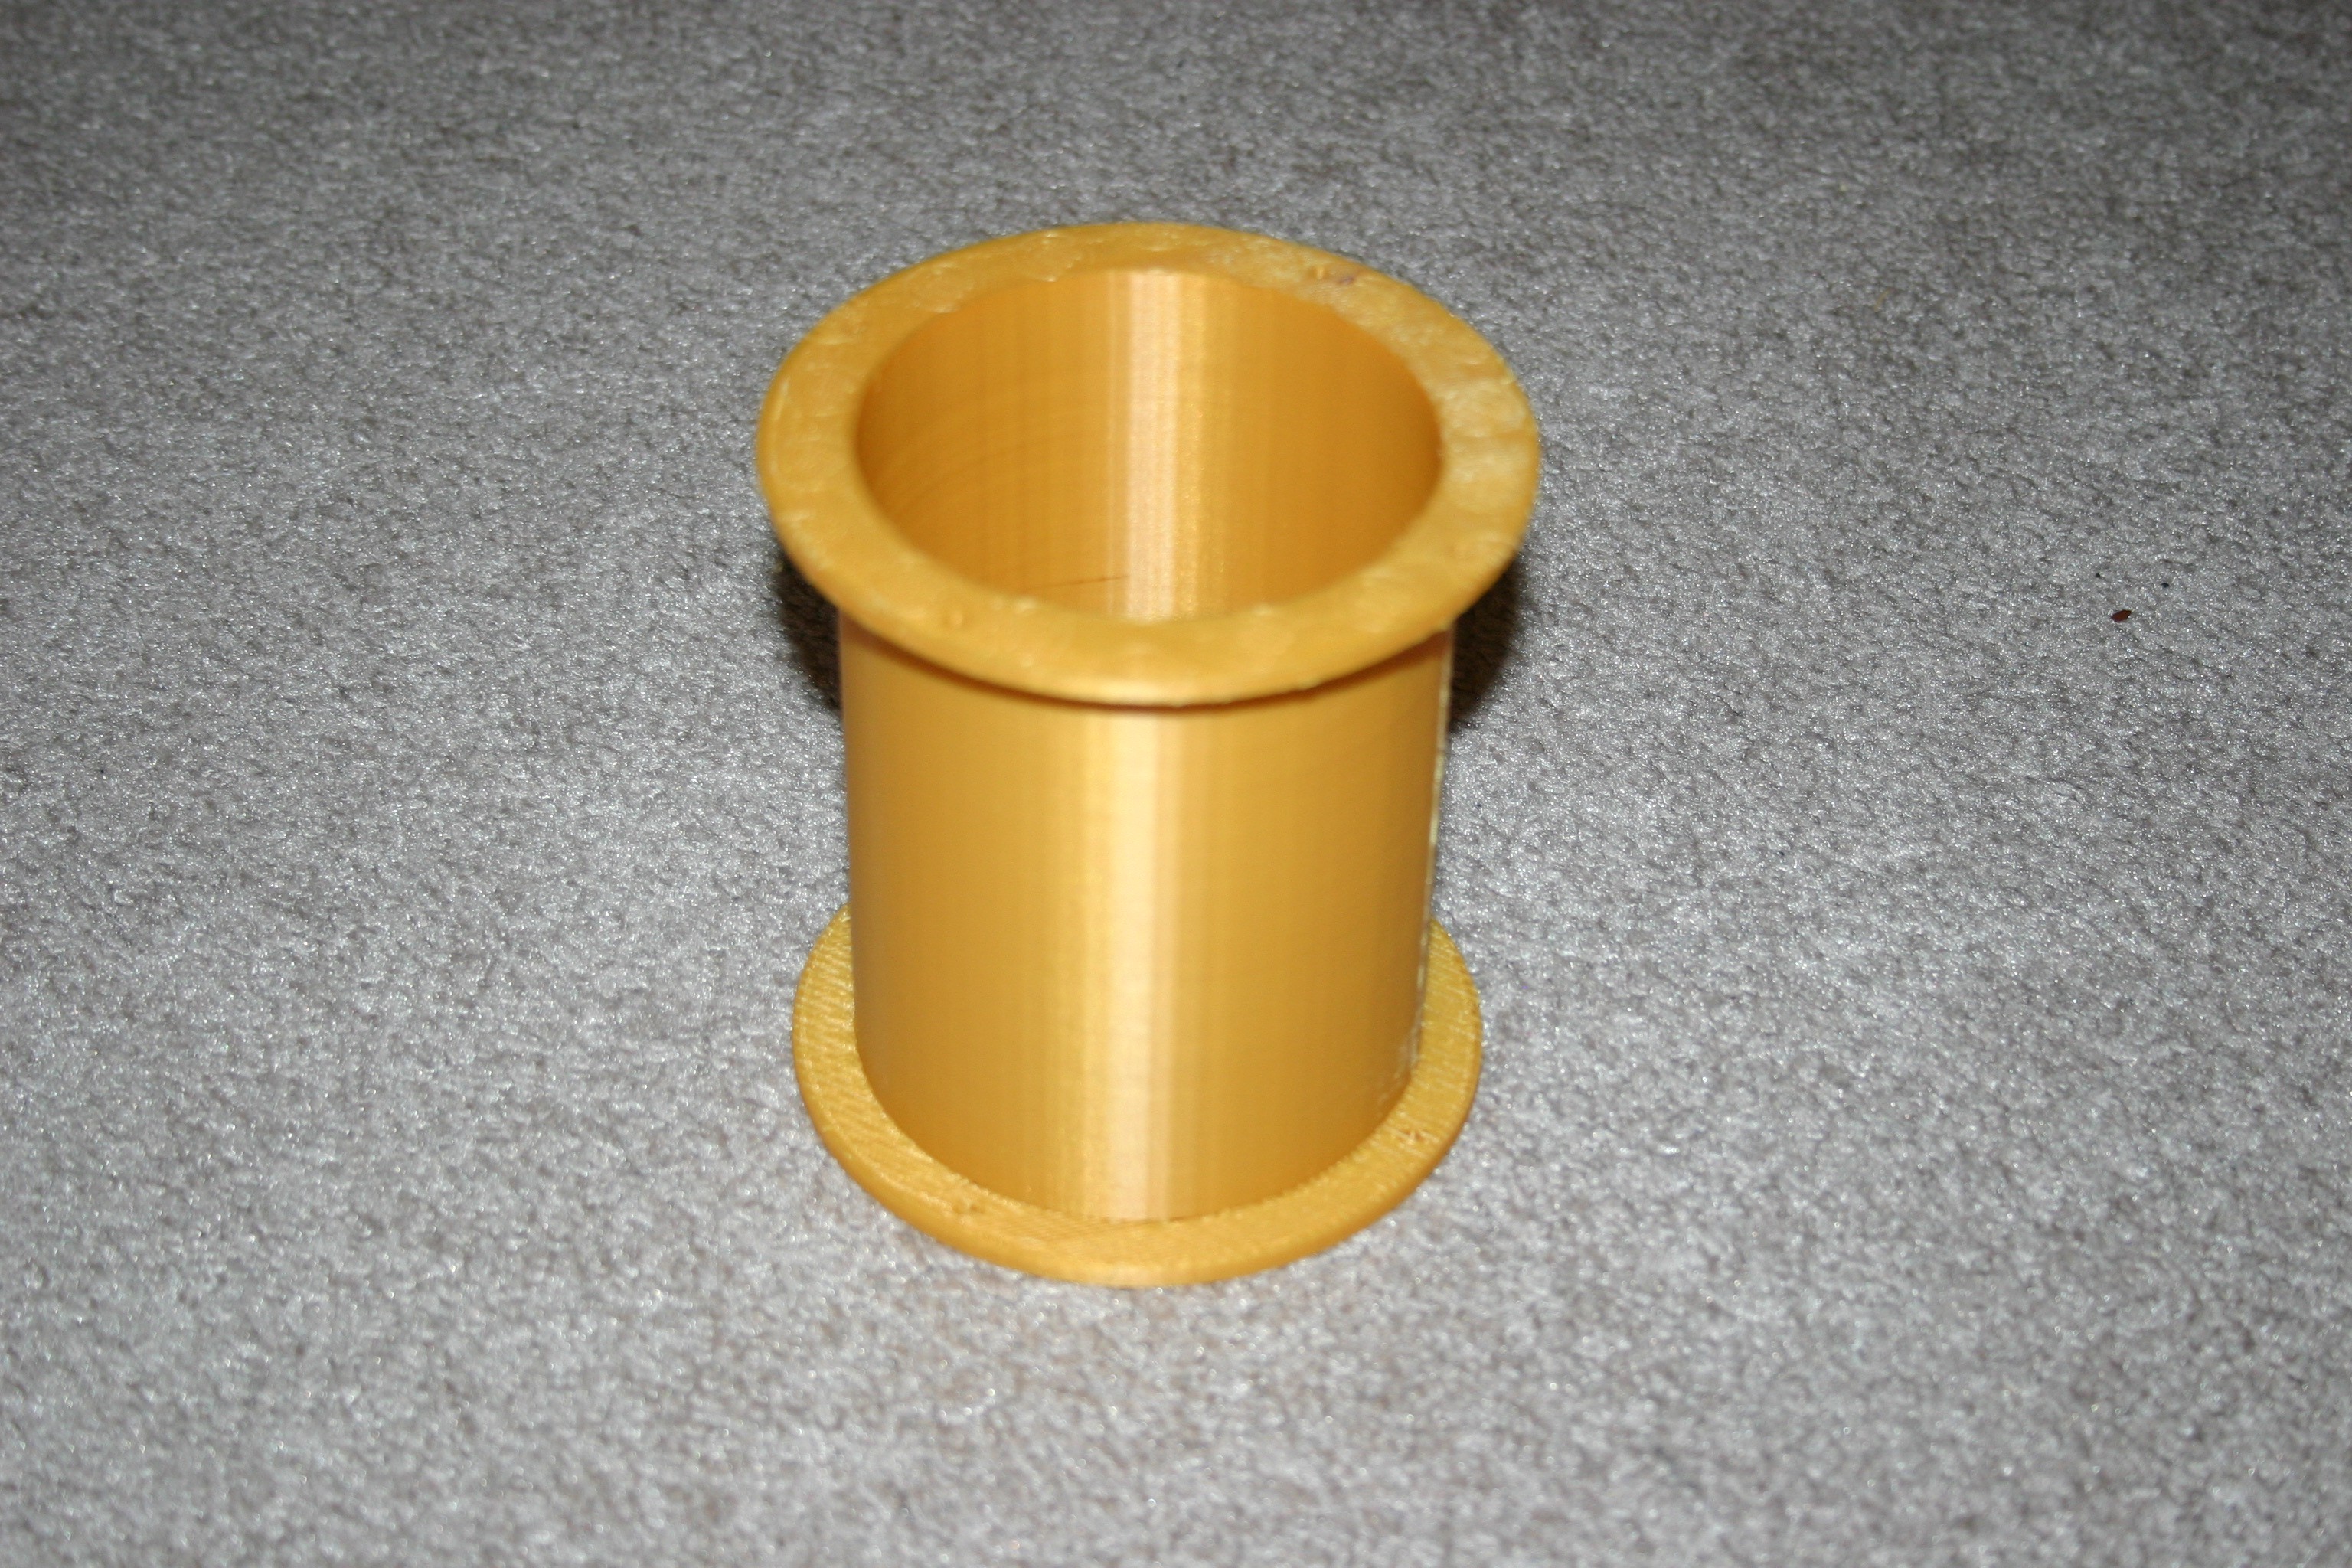
Secure an axle to one end of the driven (no tape) pulley.
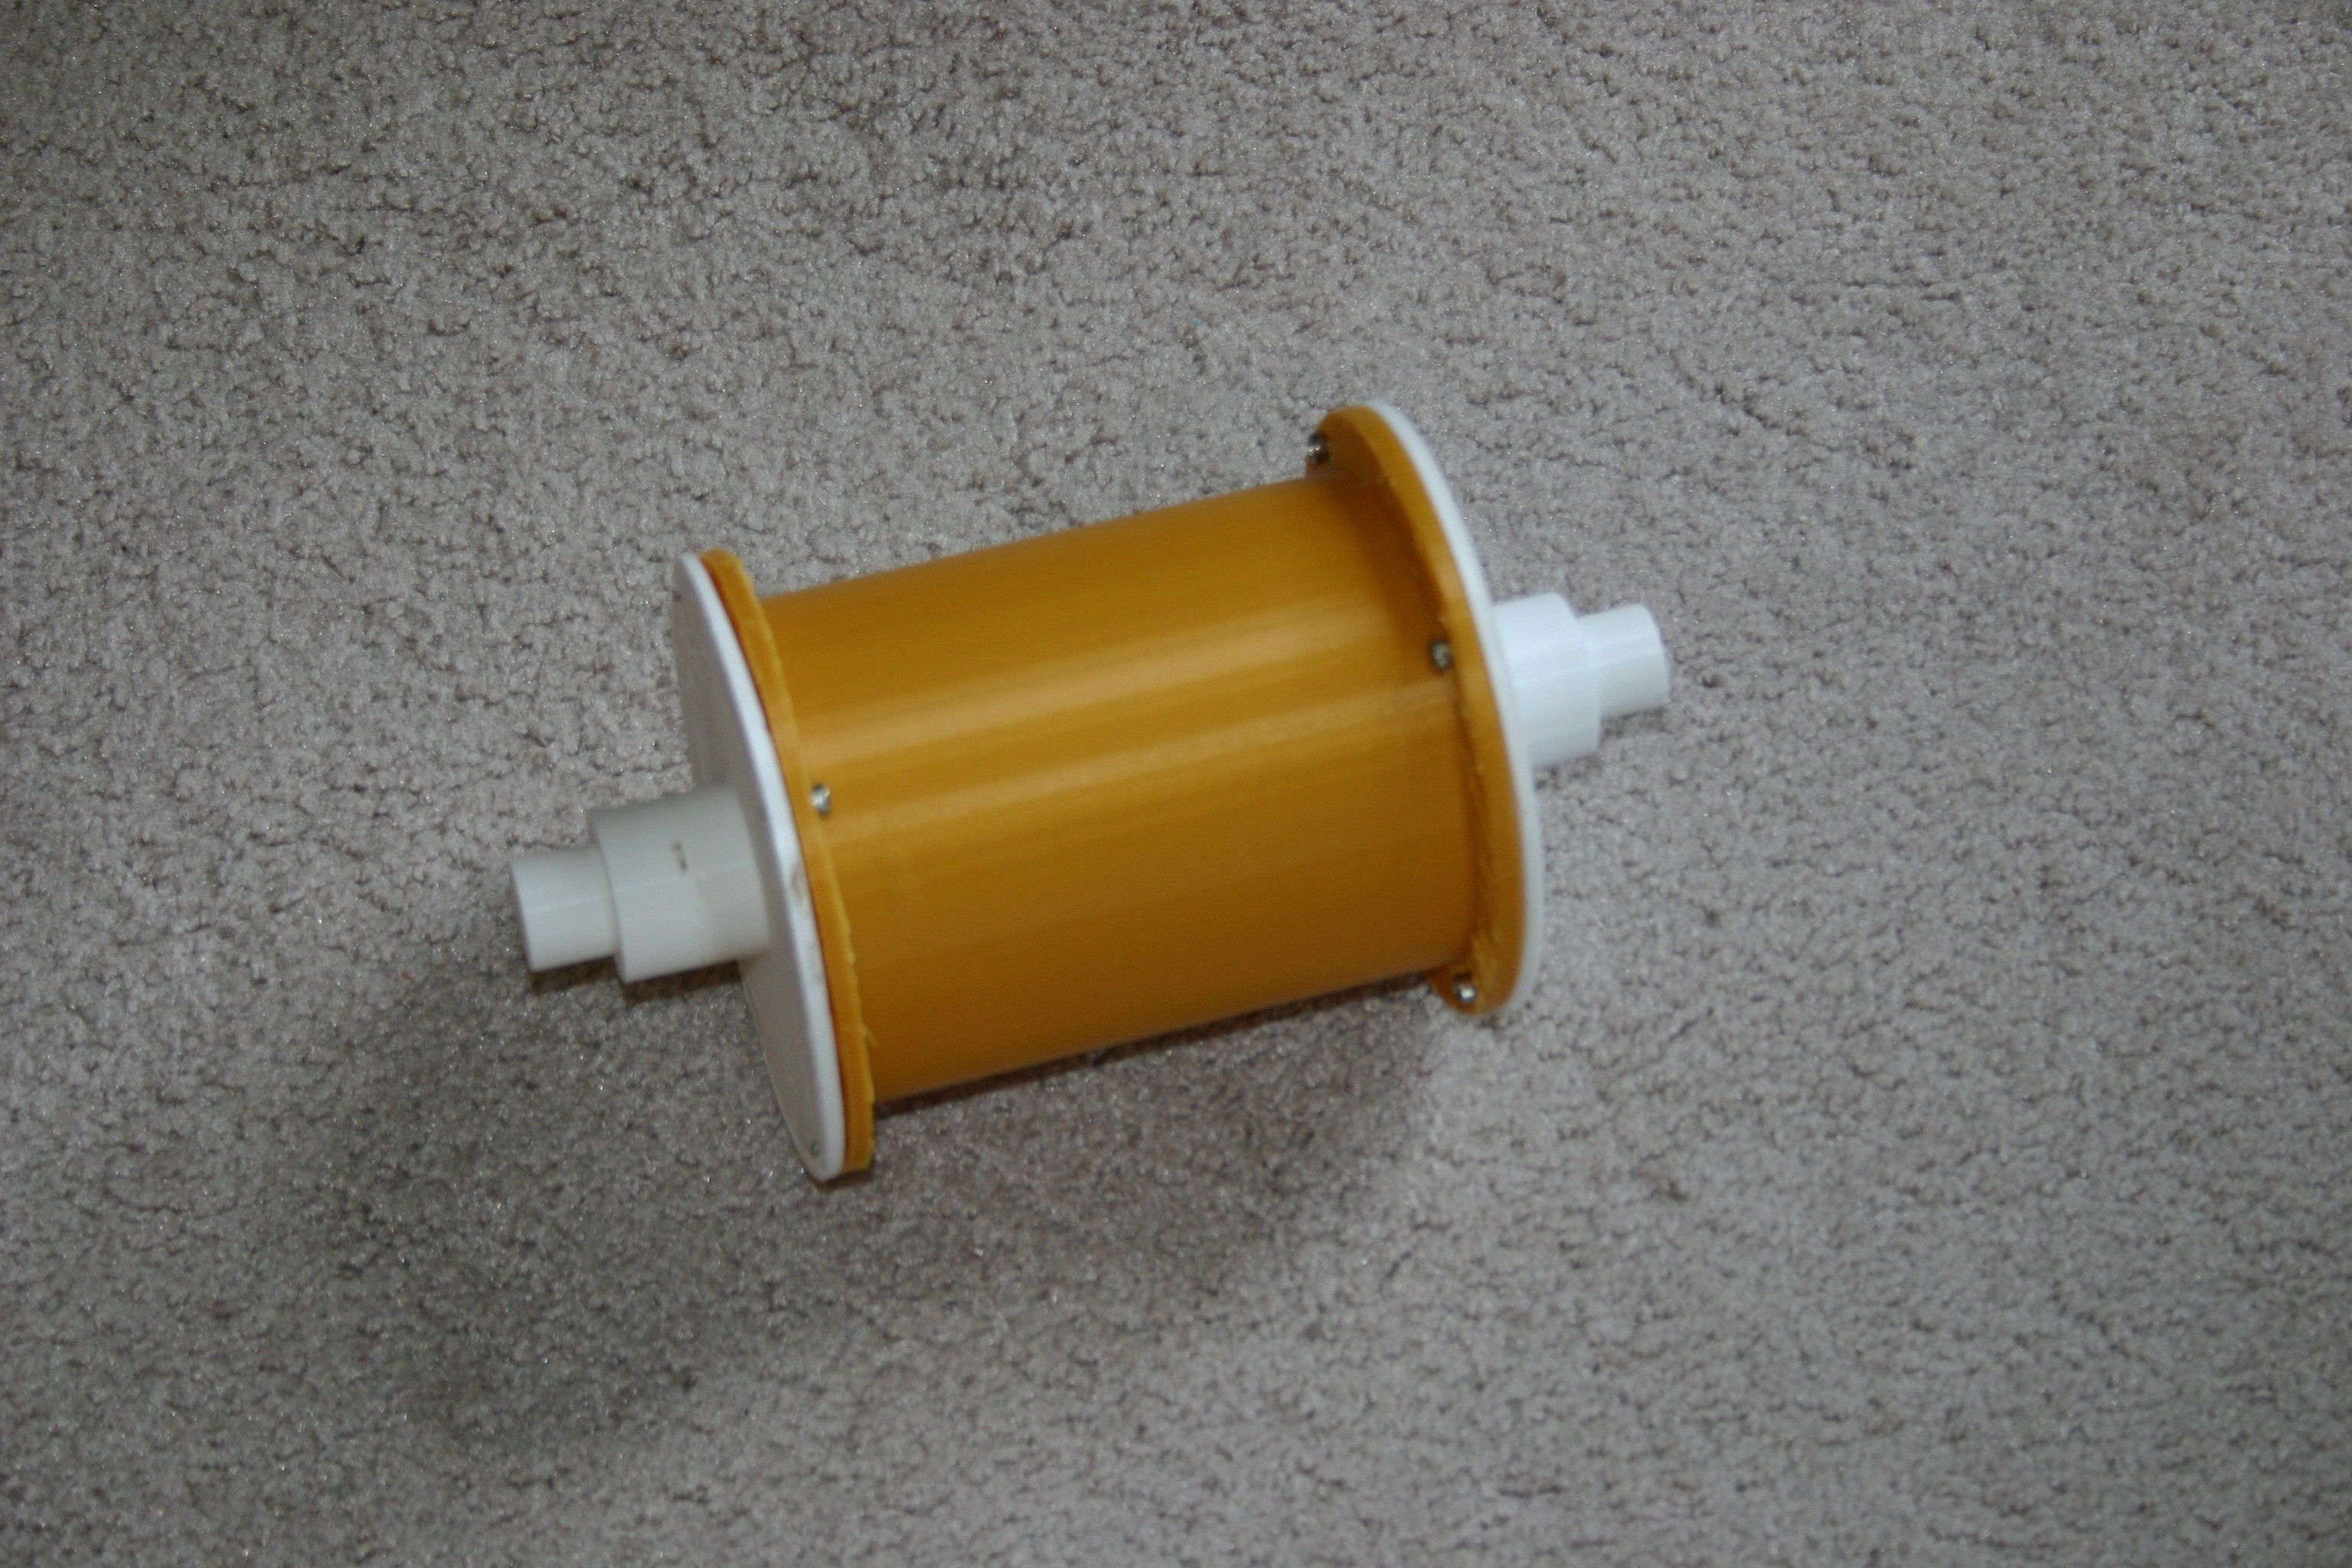
Add the other axle using 3mm screws.
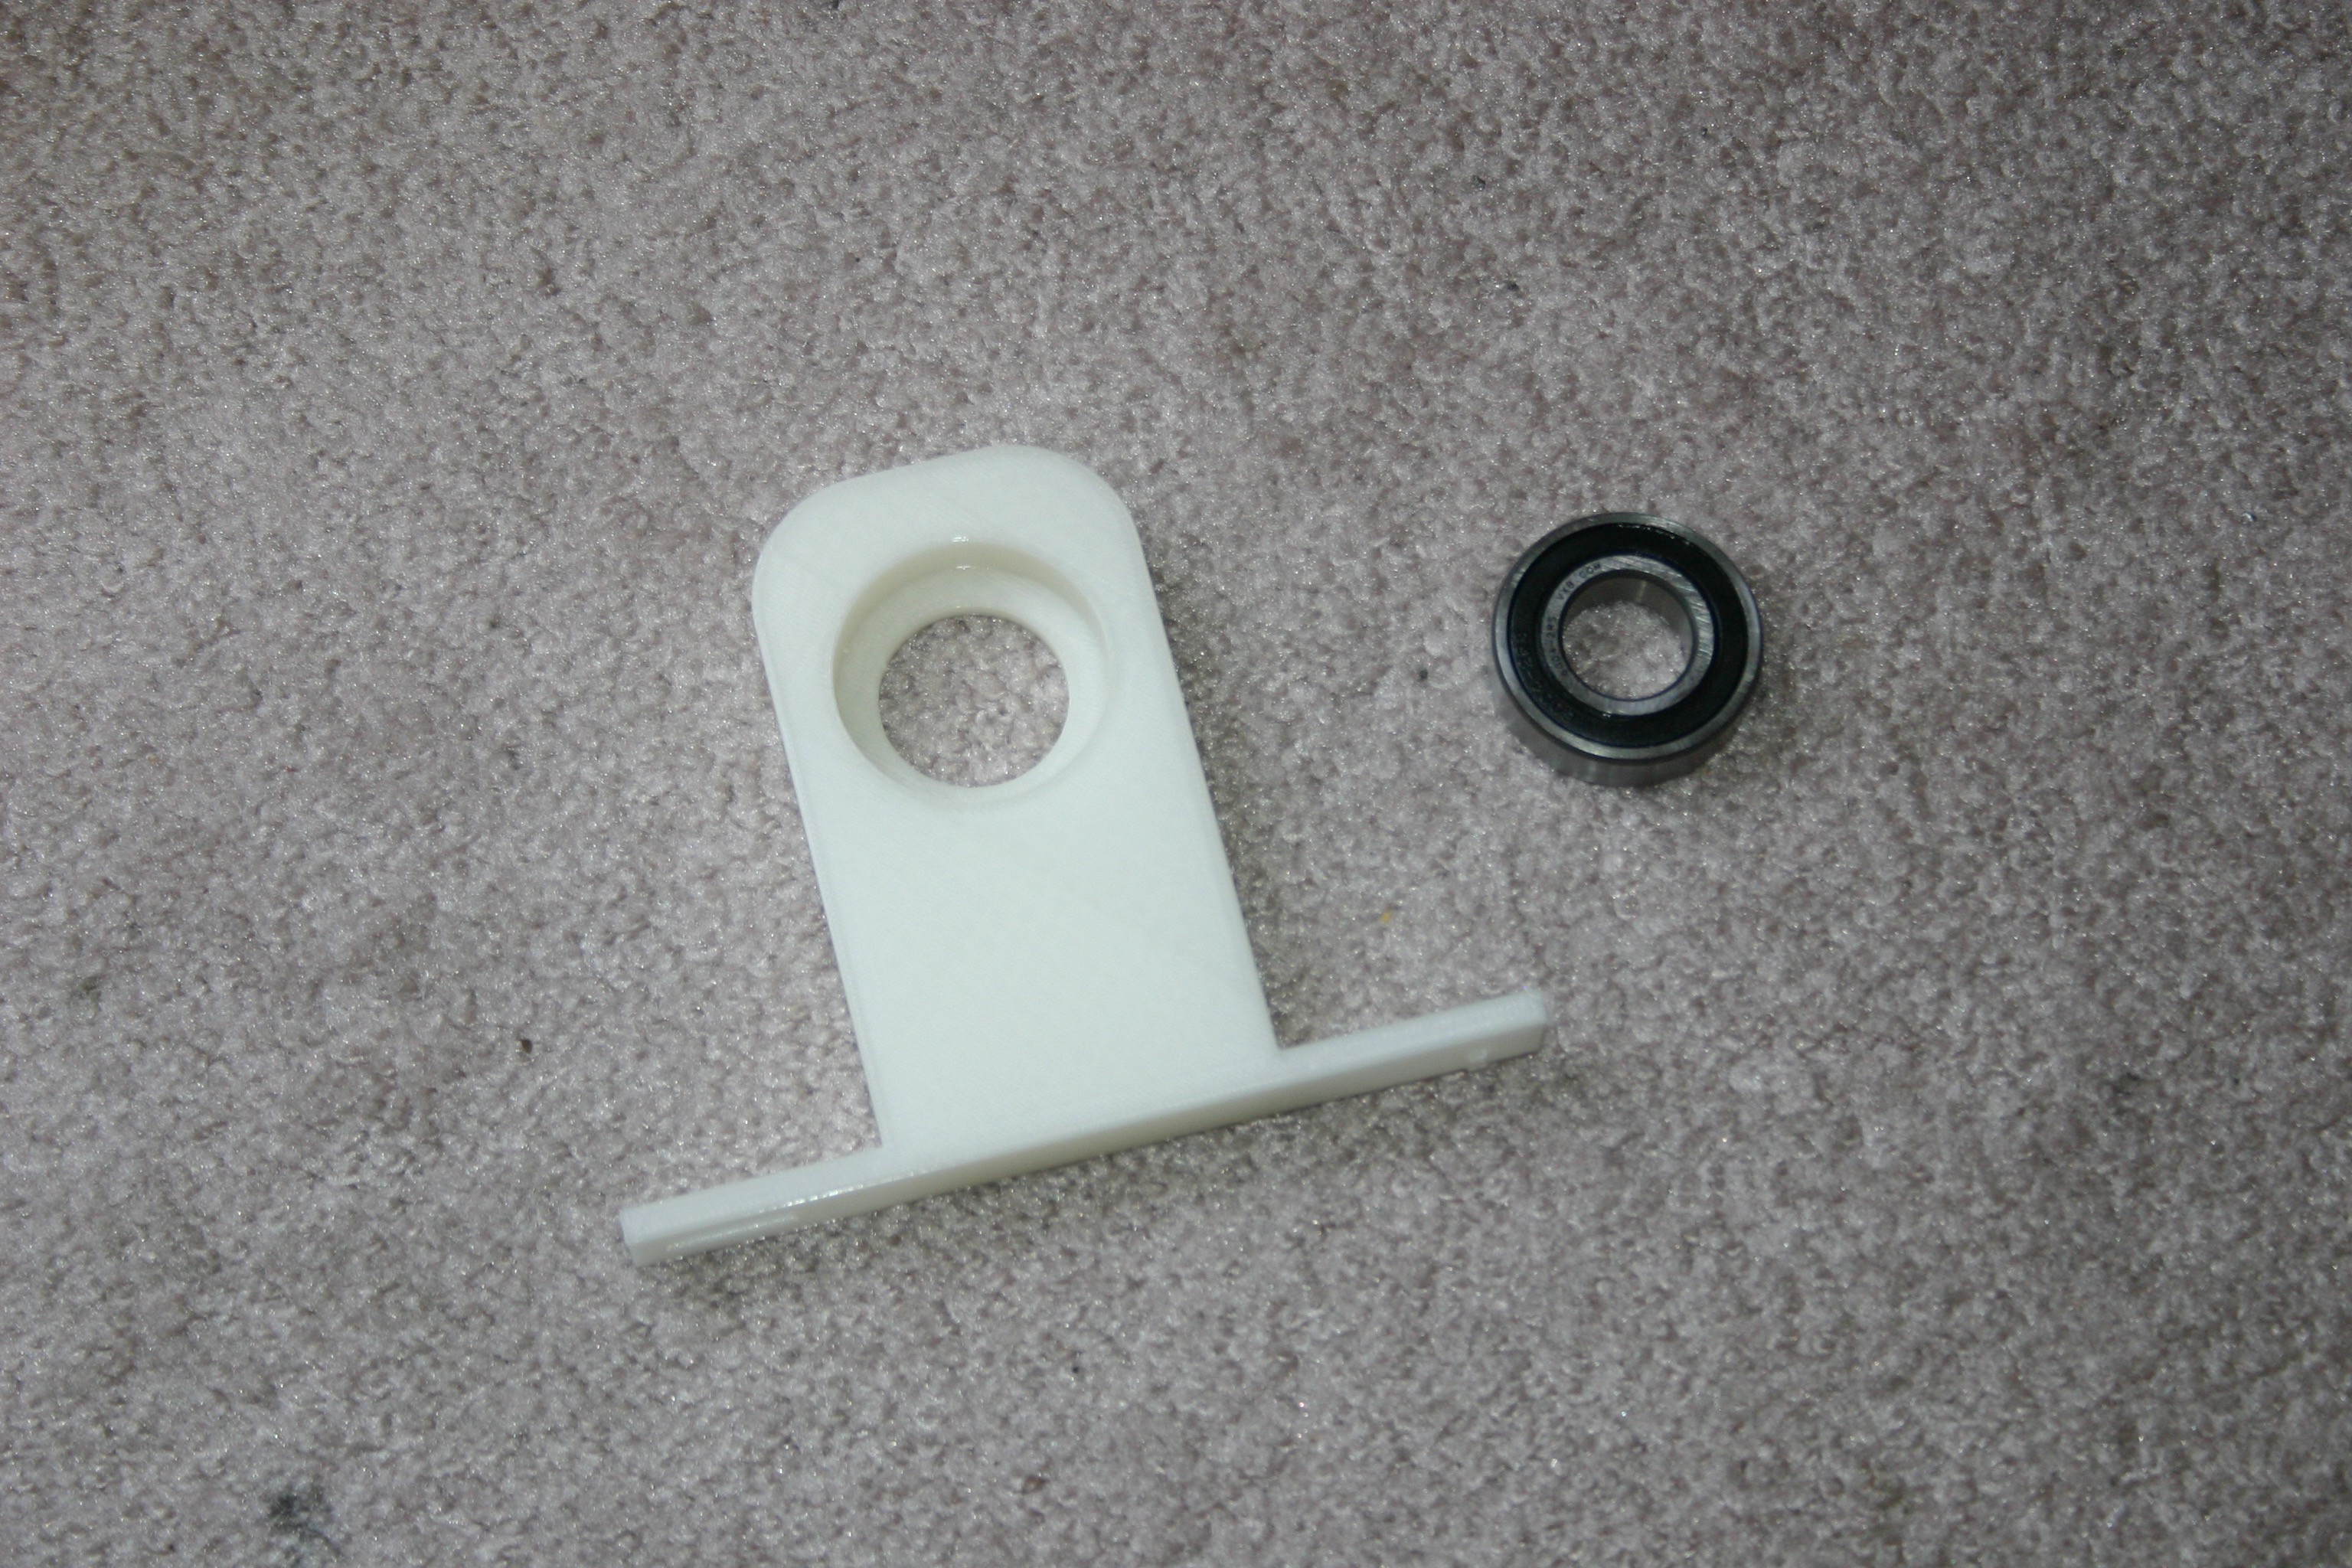
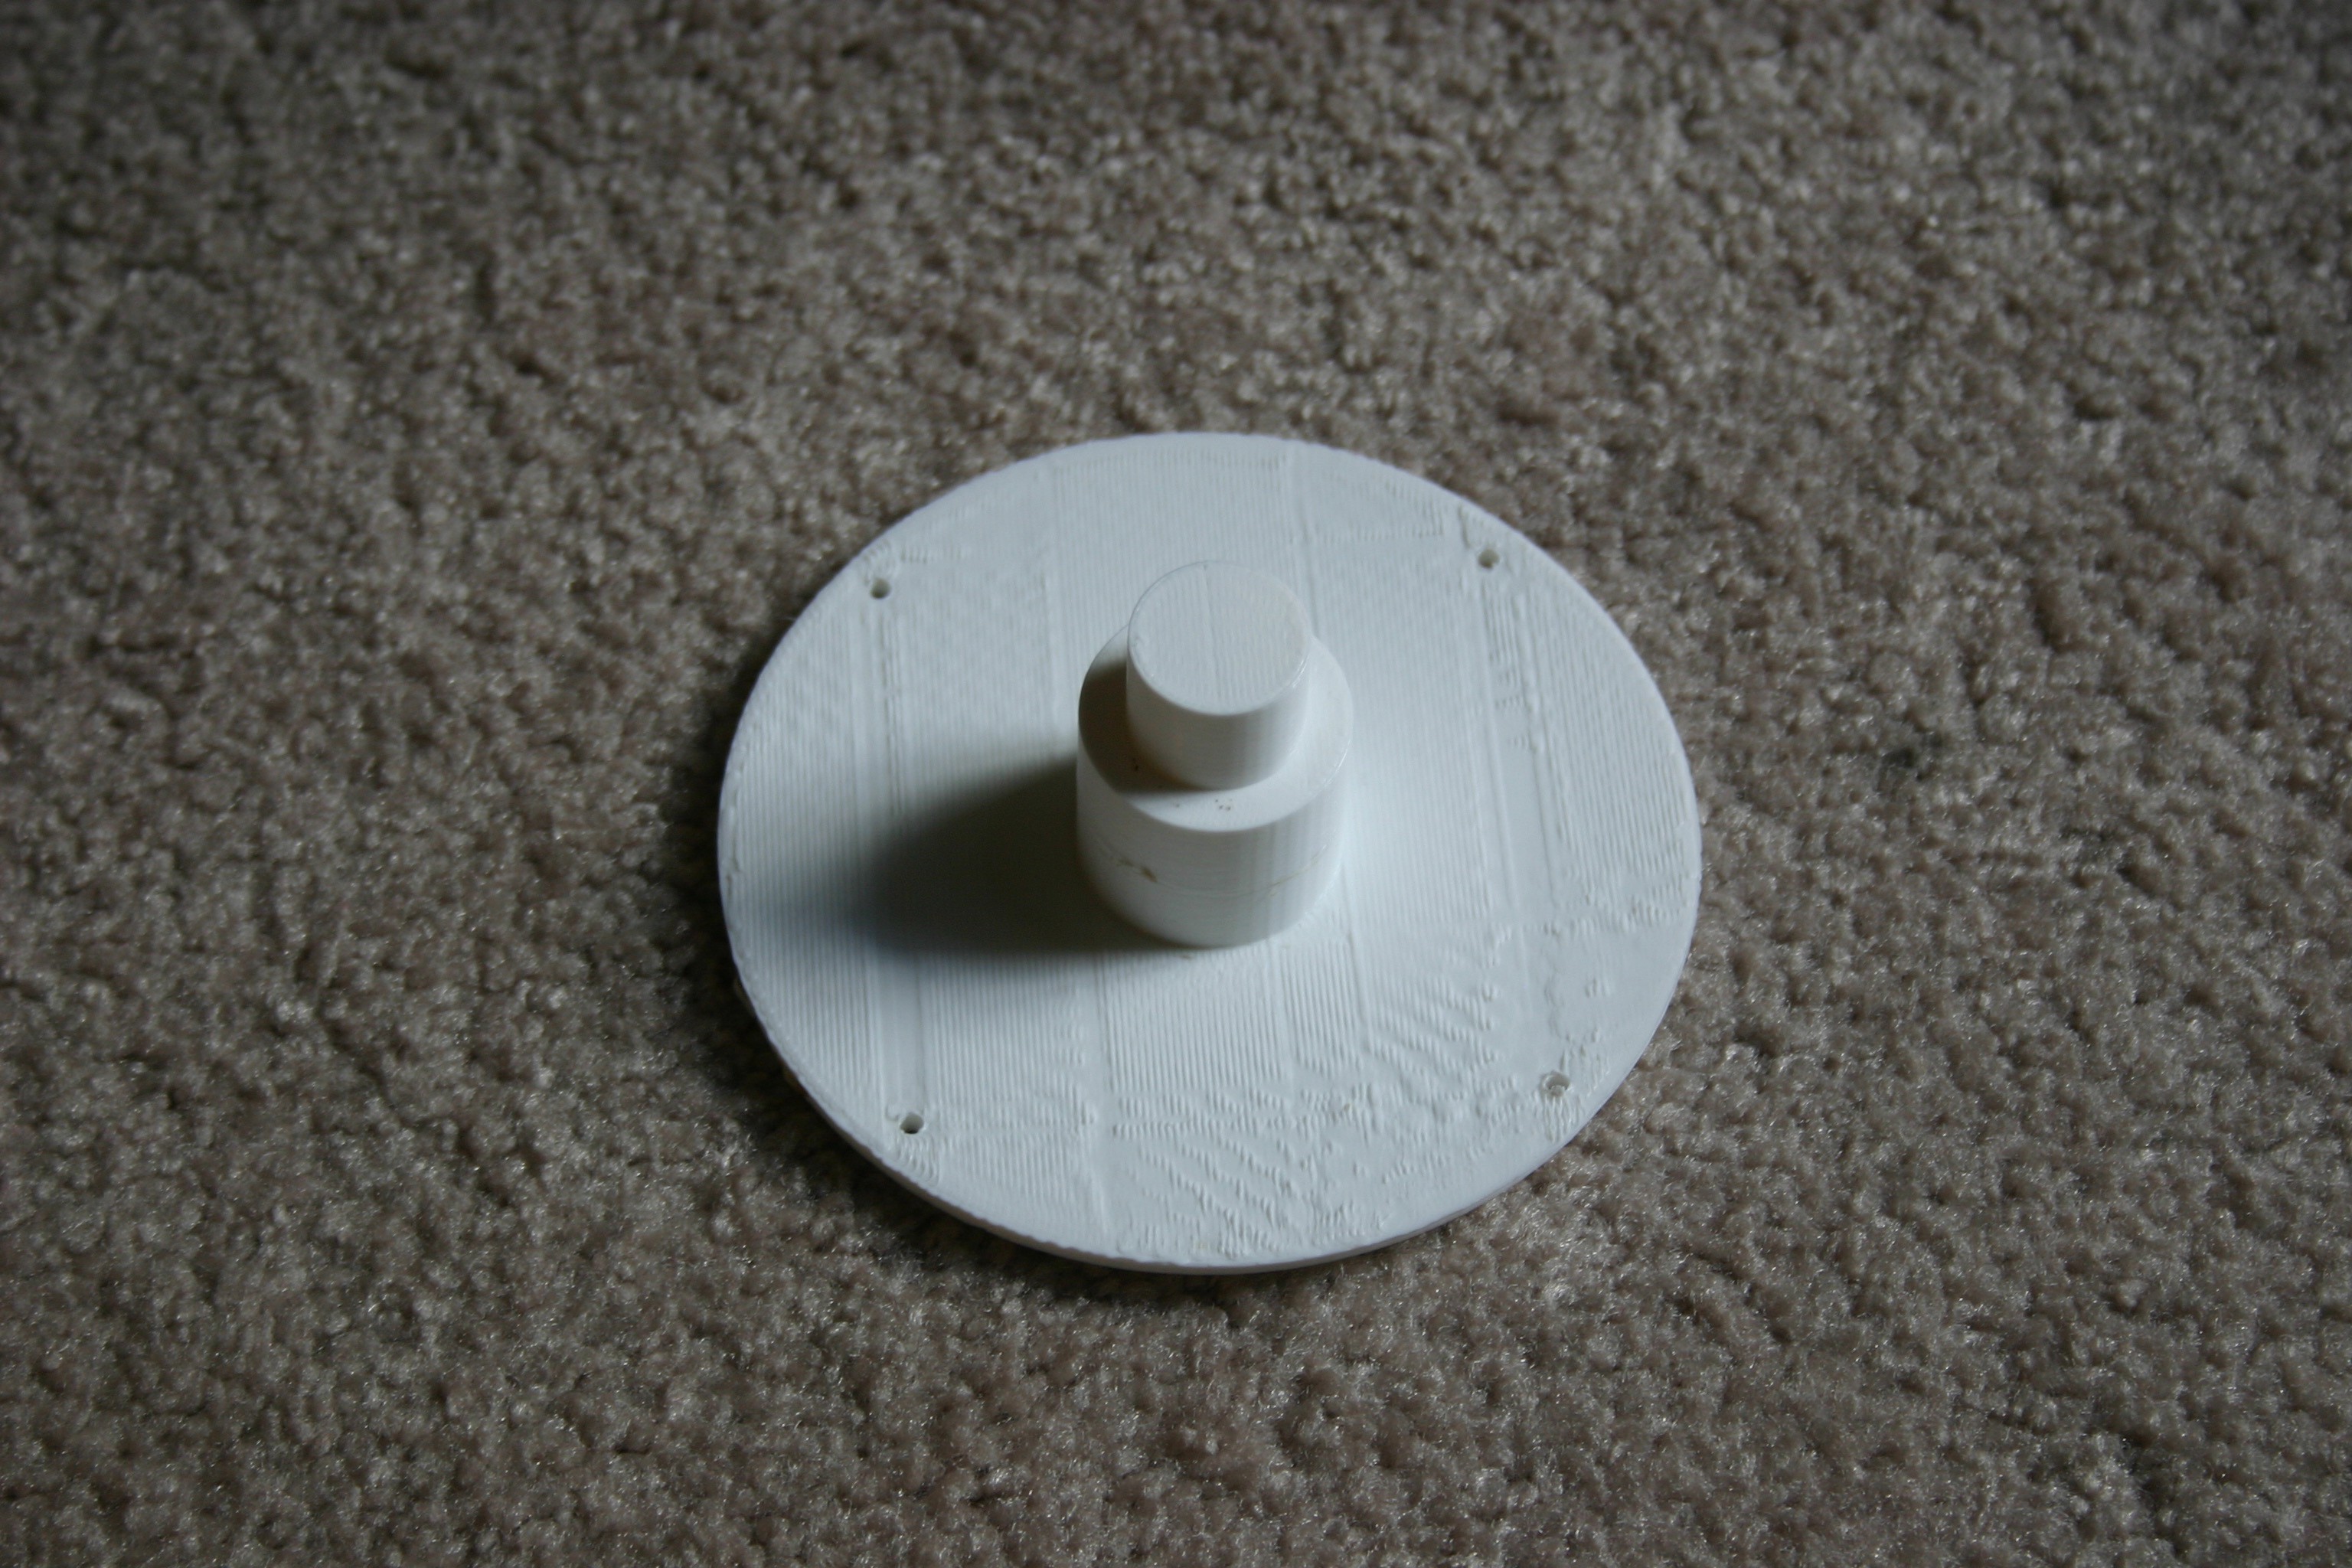
Press snowmobile bearings in the bearing holders.
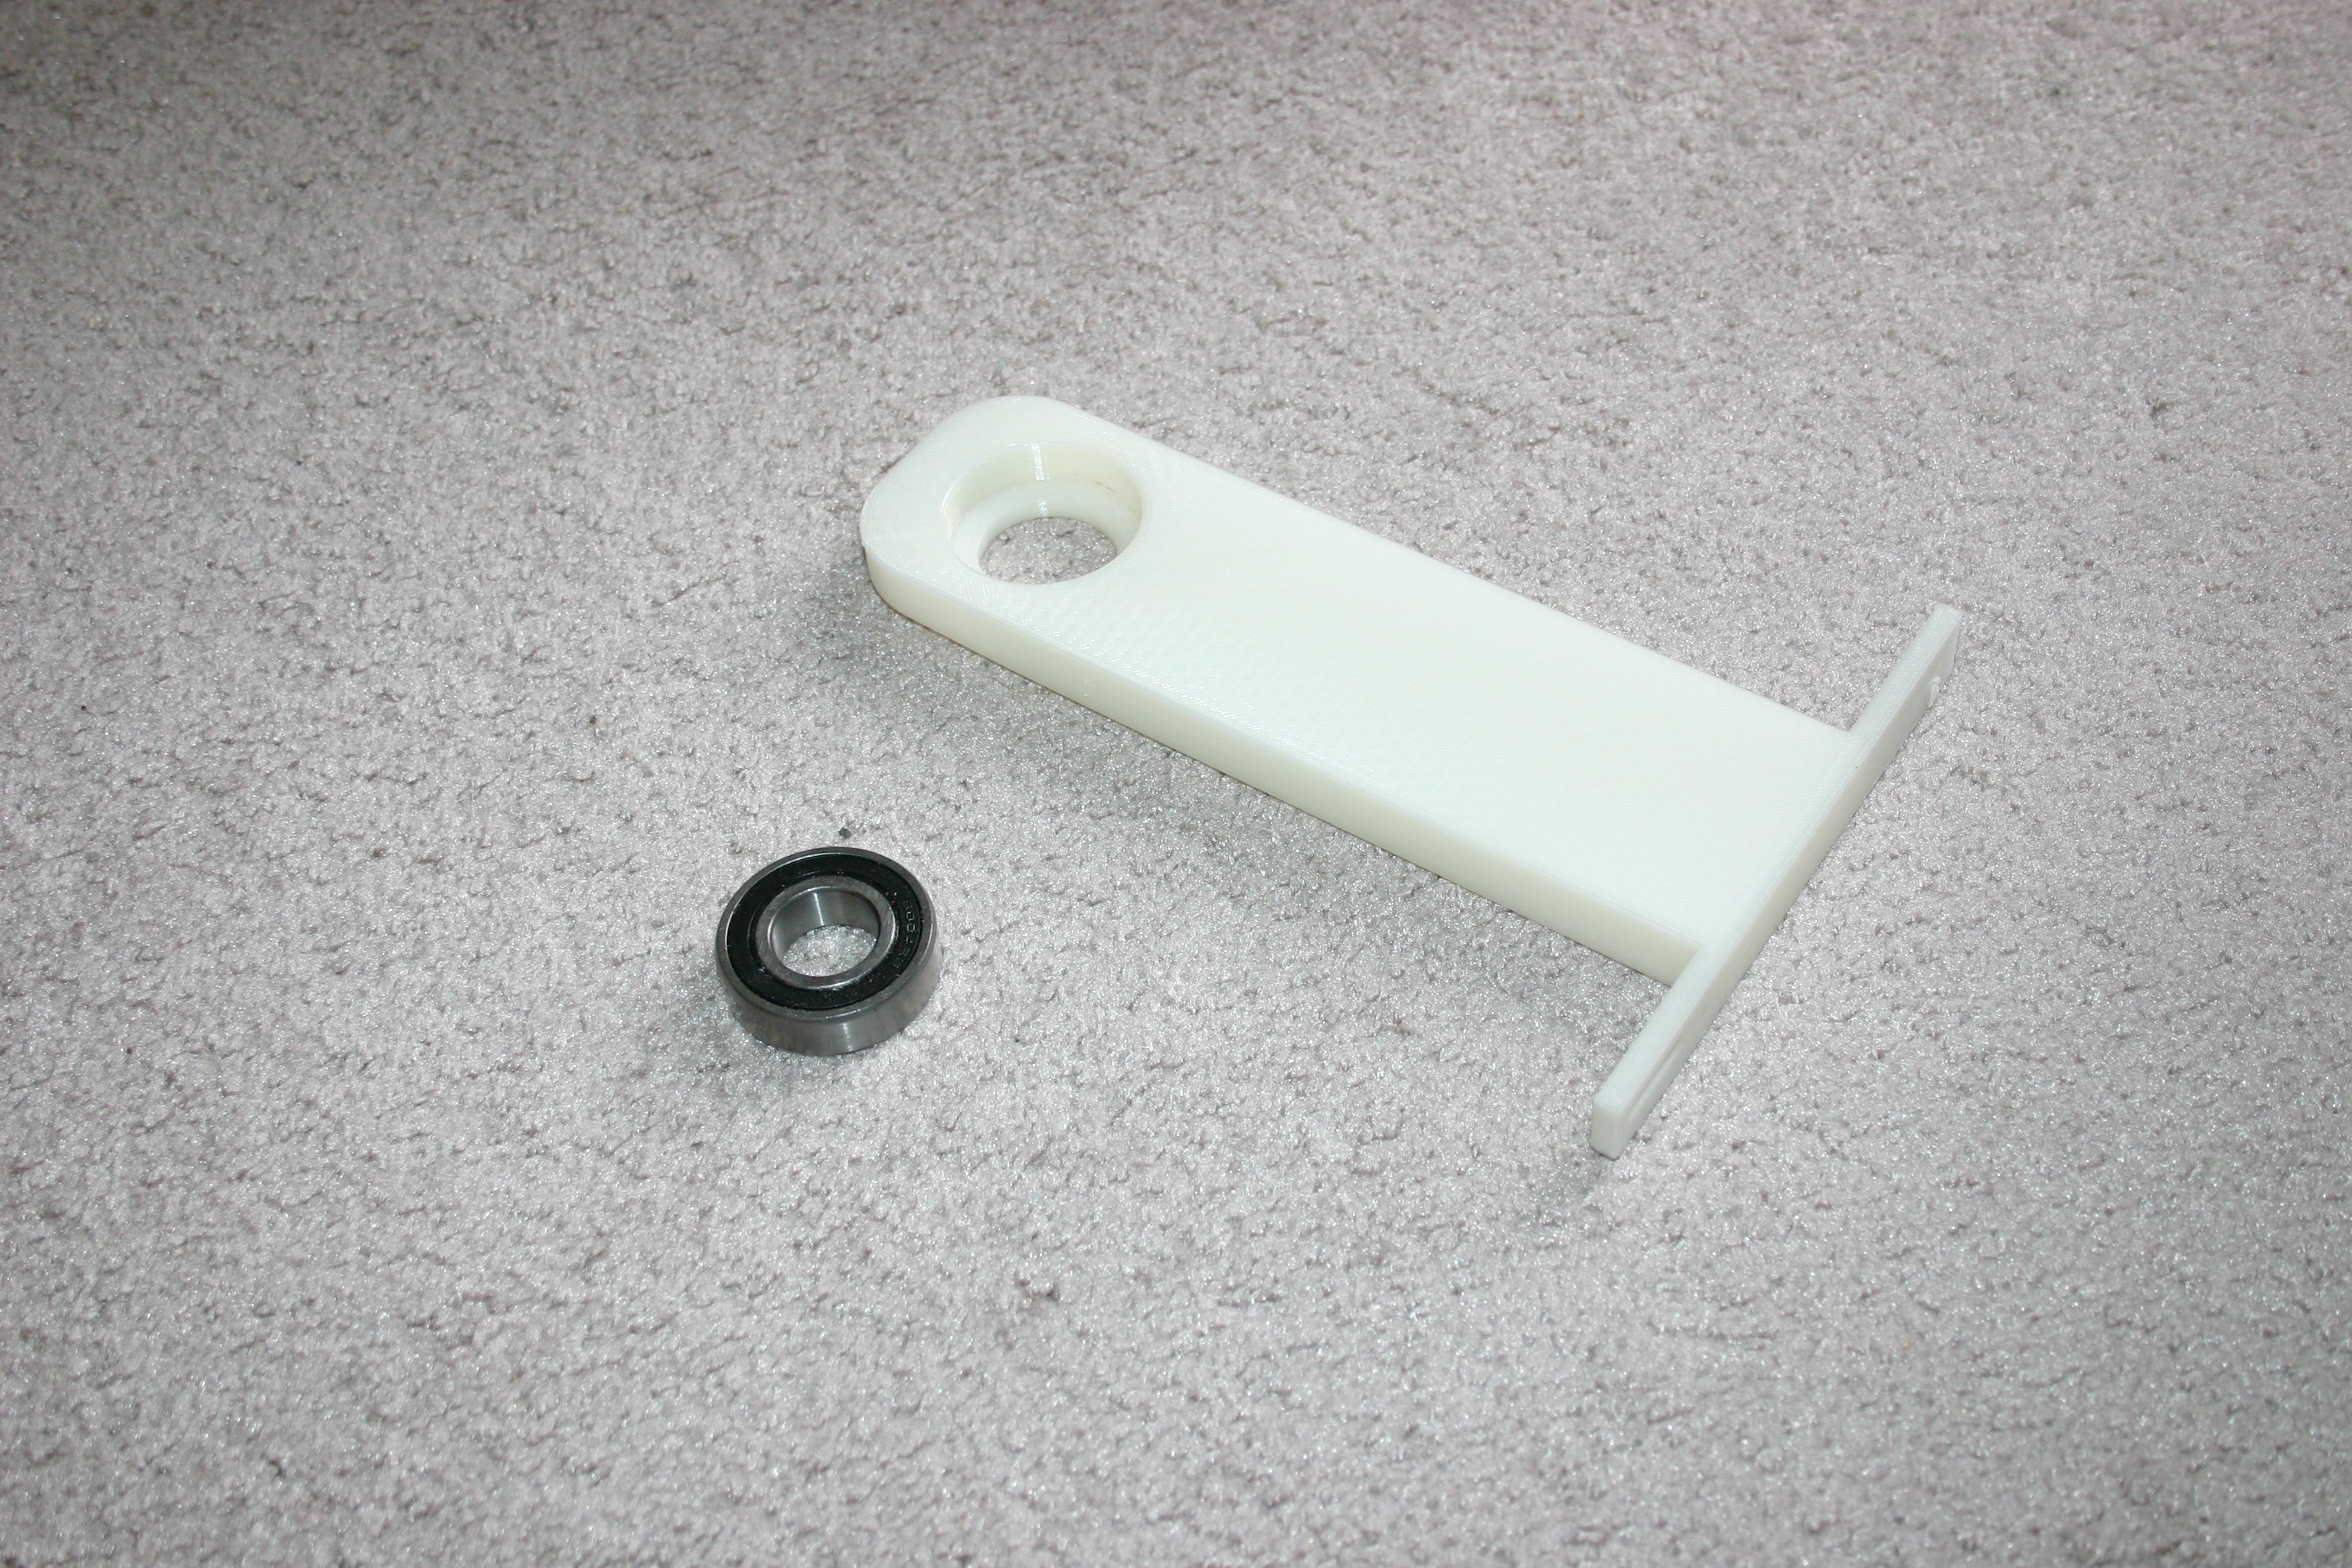

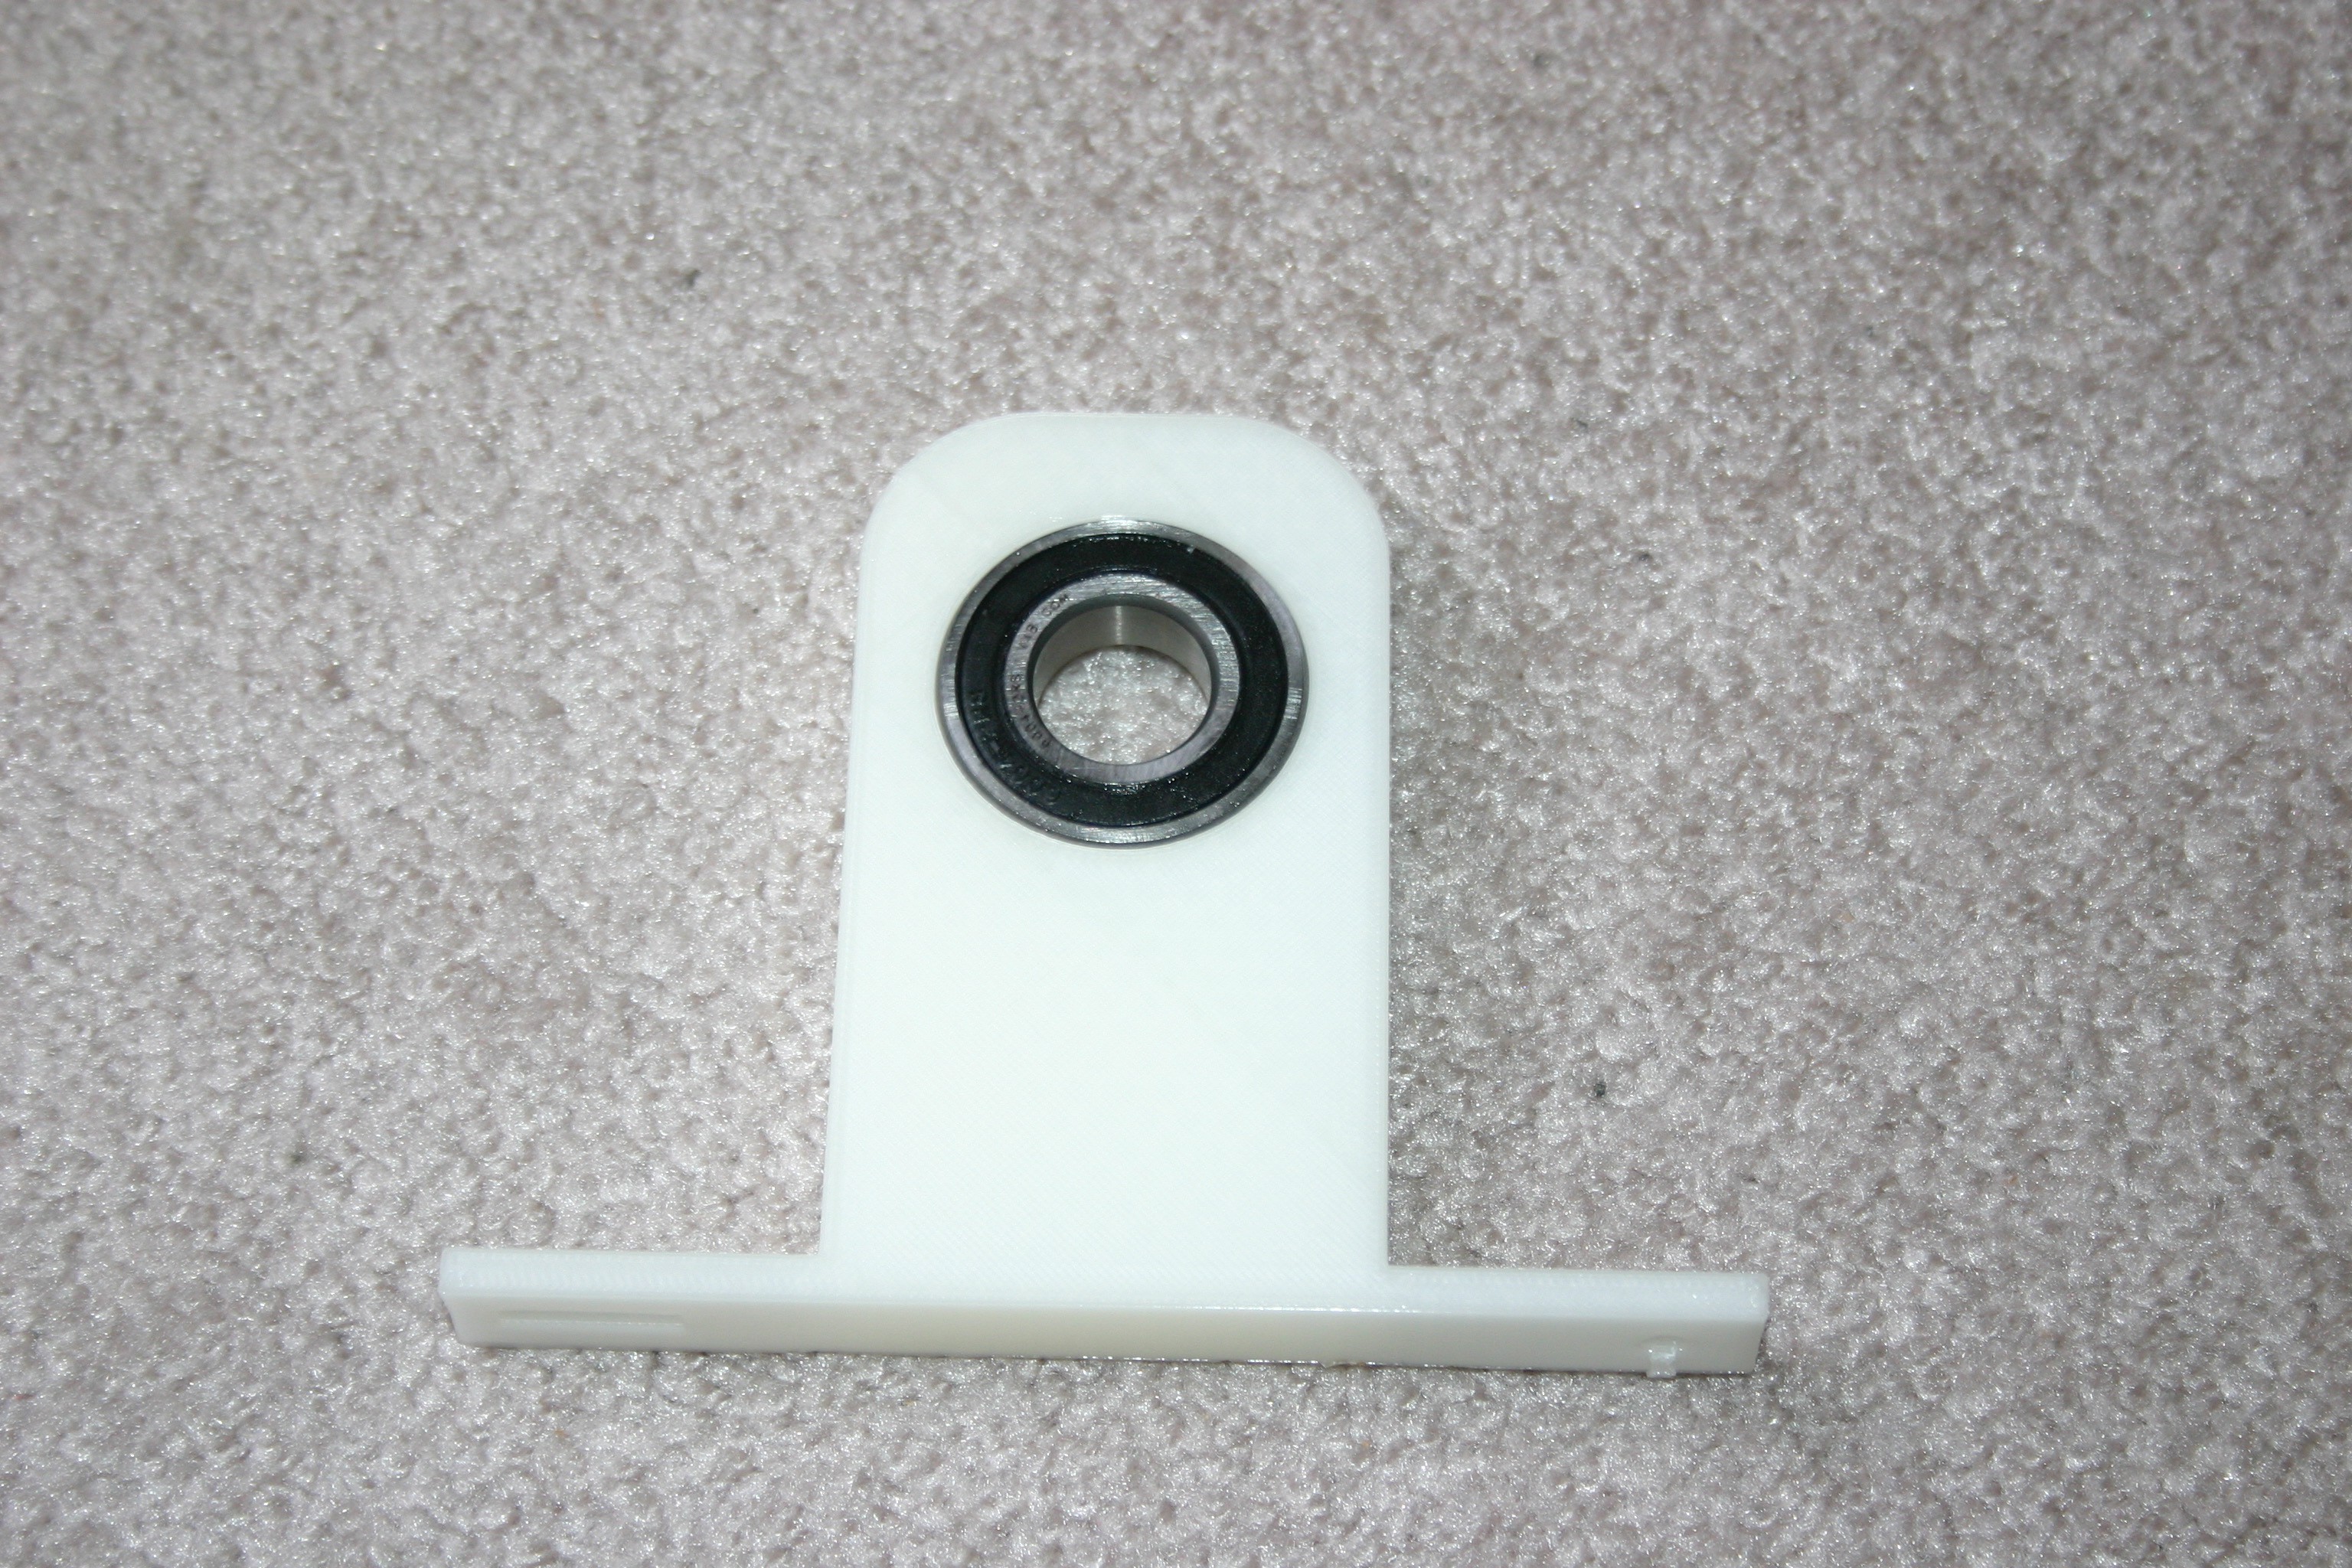
Press a bearing in the tall bearing holder.

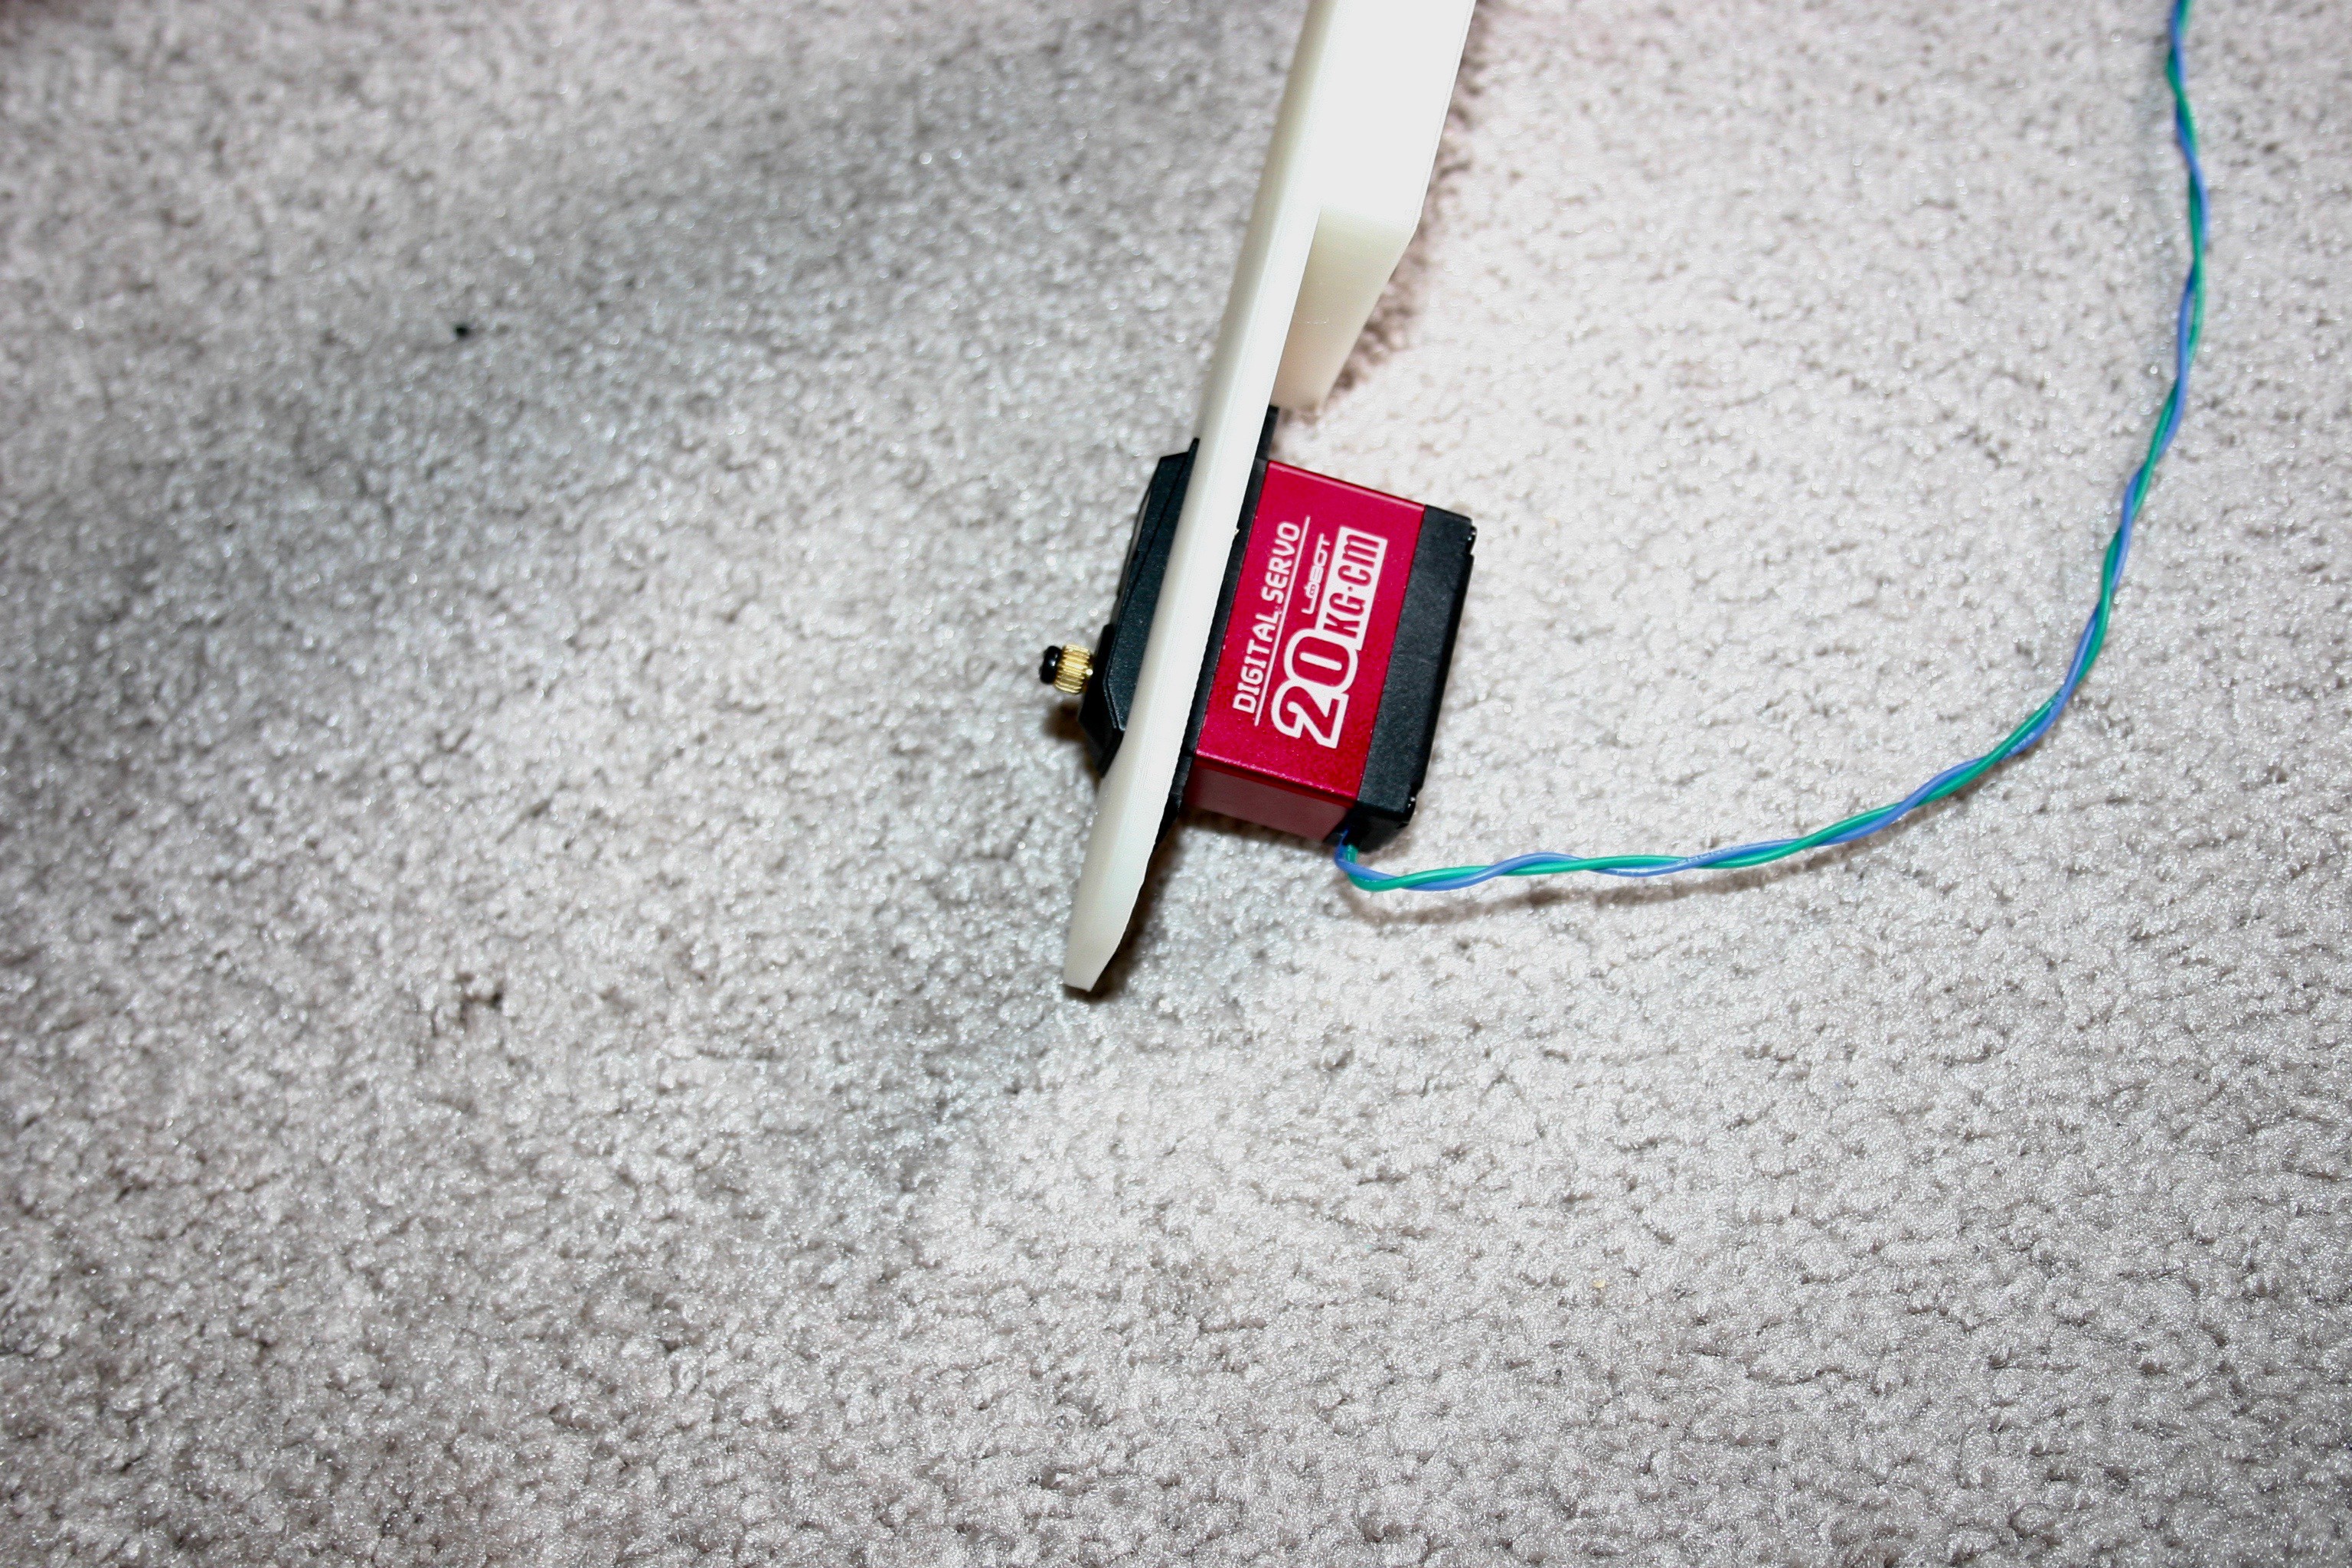
Remove the circuit board inside the motor and solder two wires directly to the motor terminals. This servo motor was chosen because it has no end stops, a metal gear train and pretty good torque. Secure the motor to the motor bracket using 3mm screws.
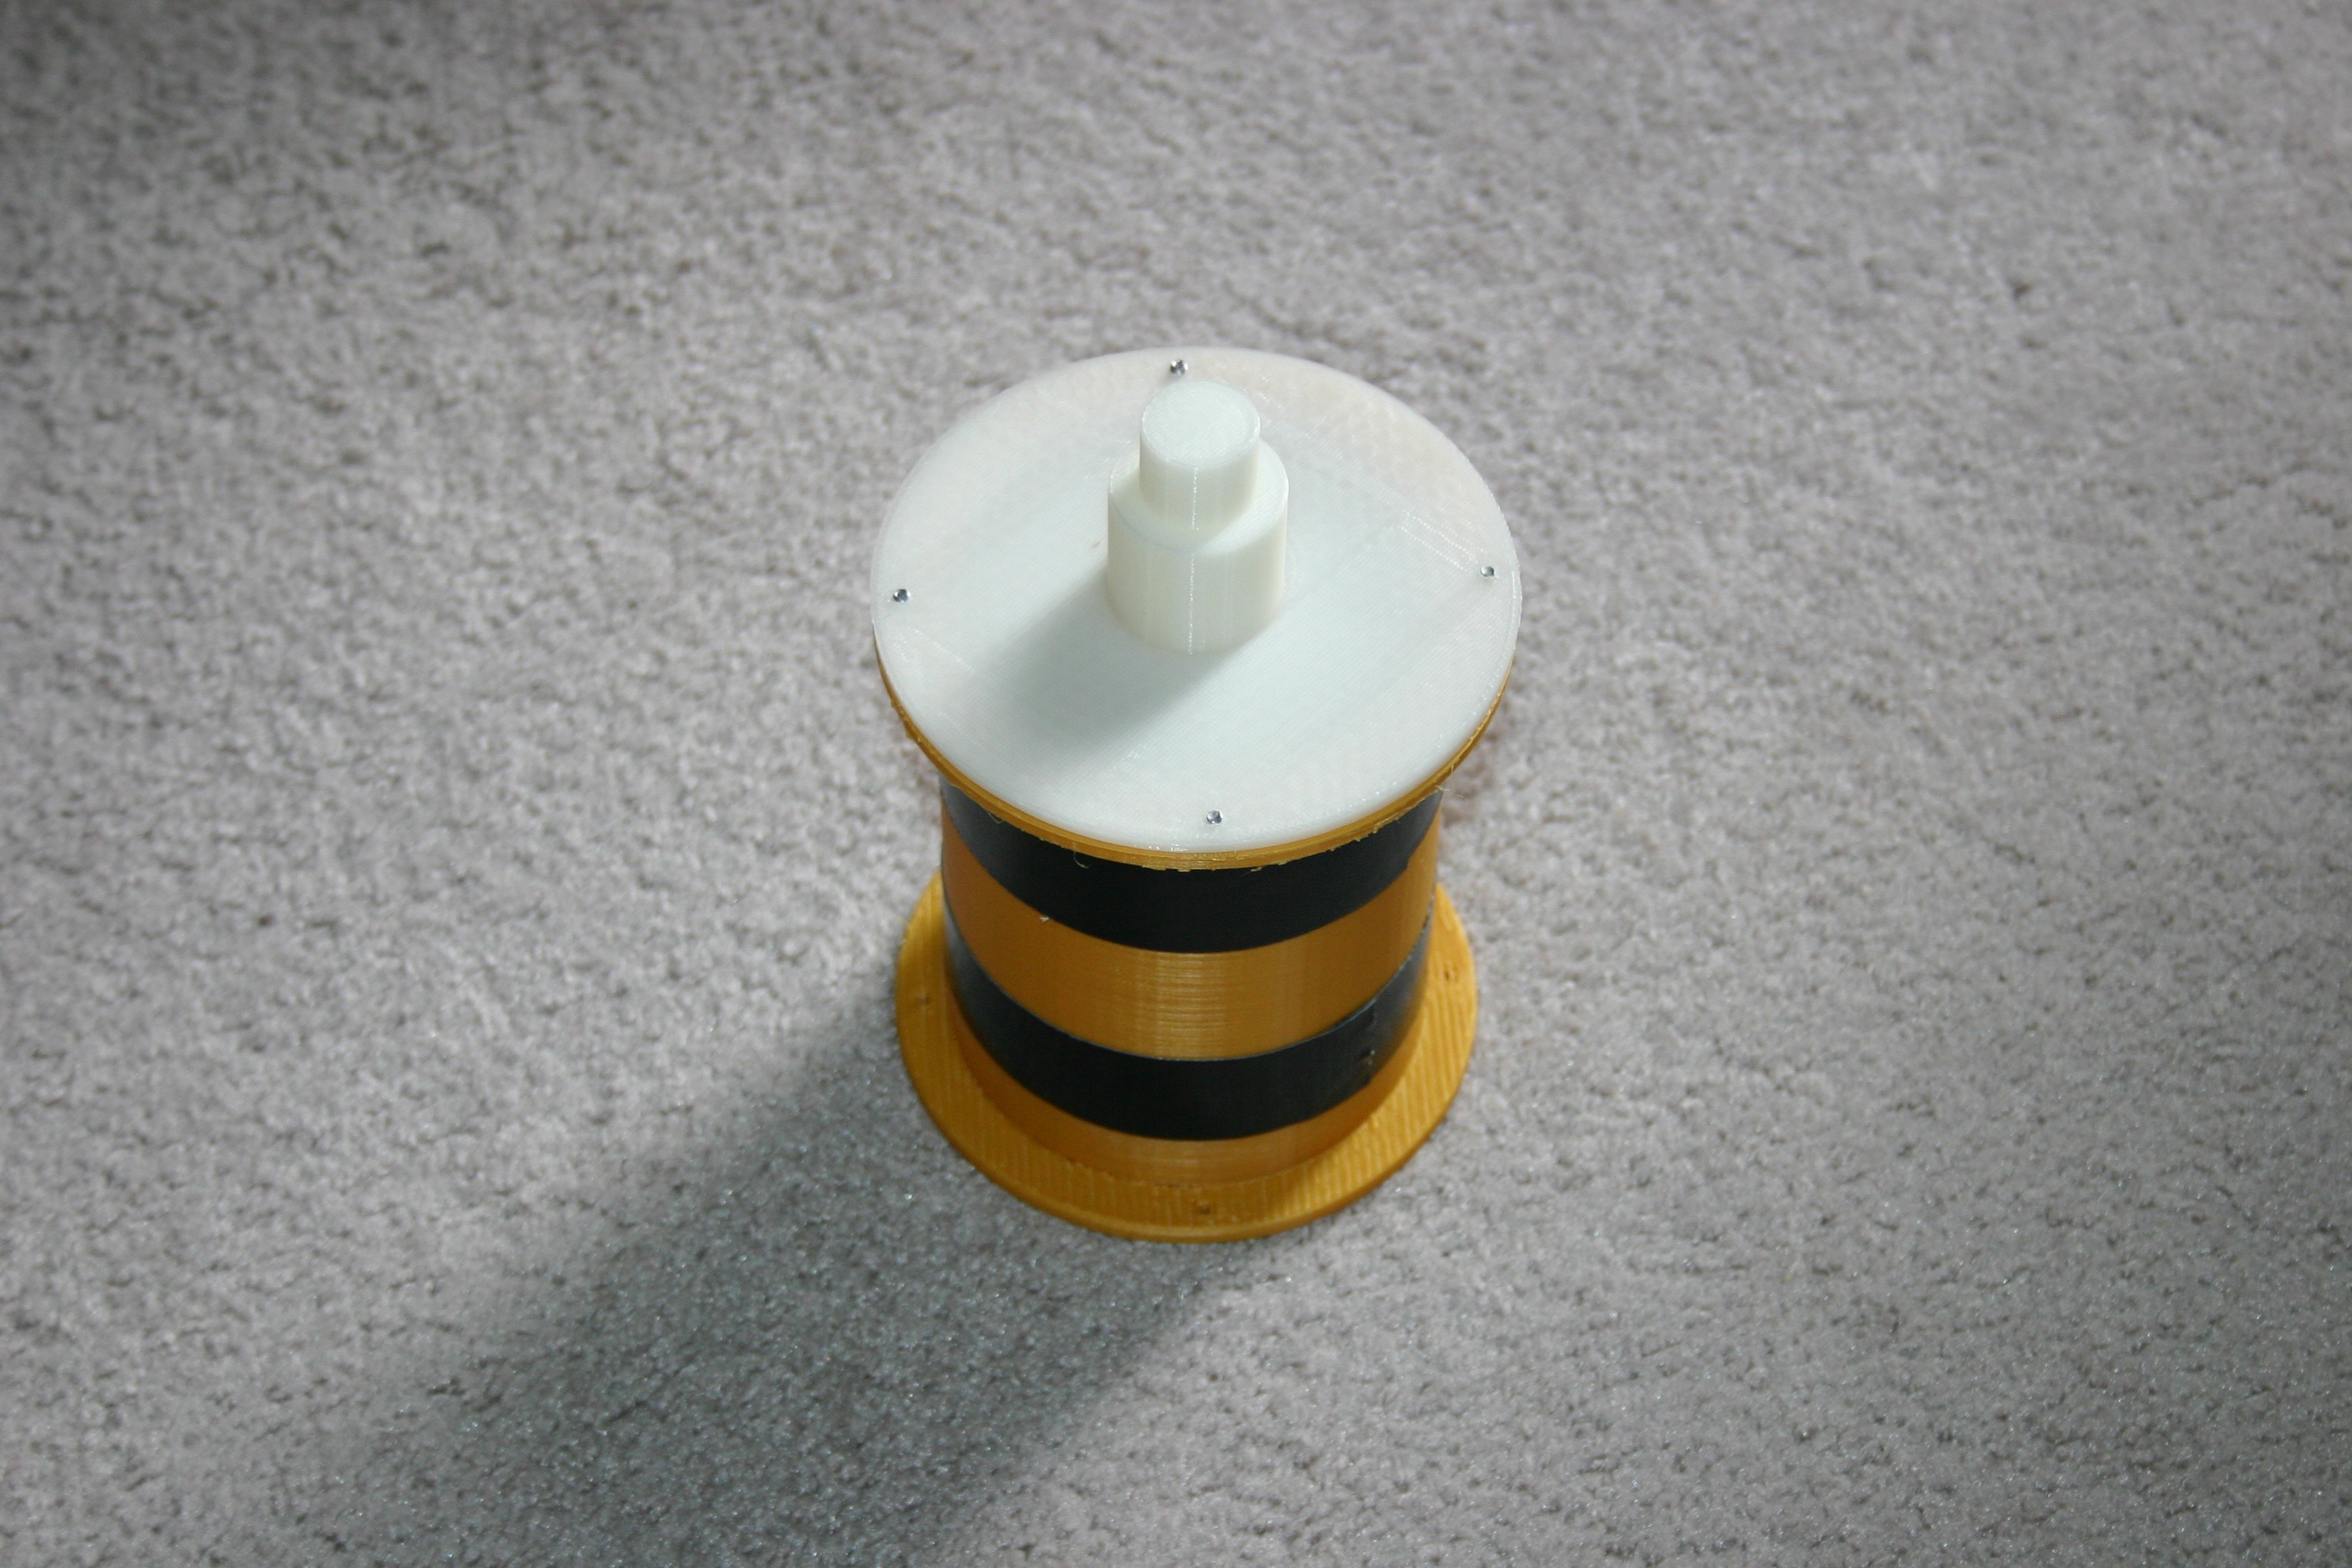
Attach an axle to the drive pulley.
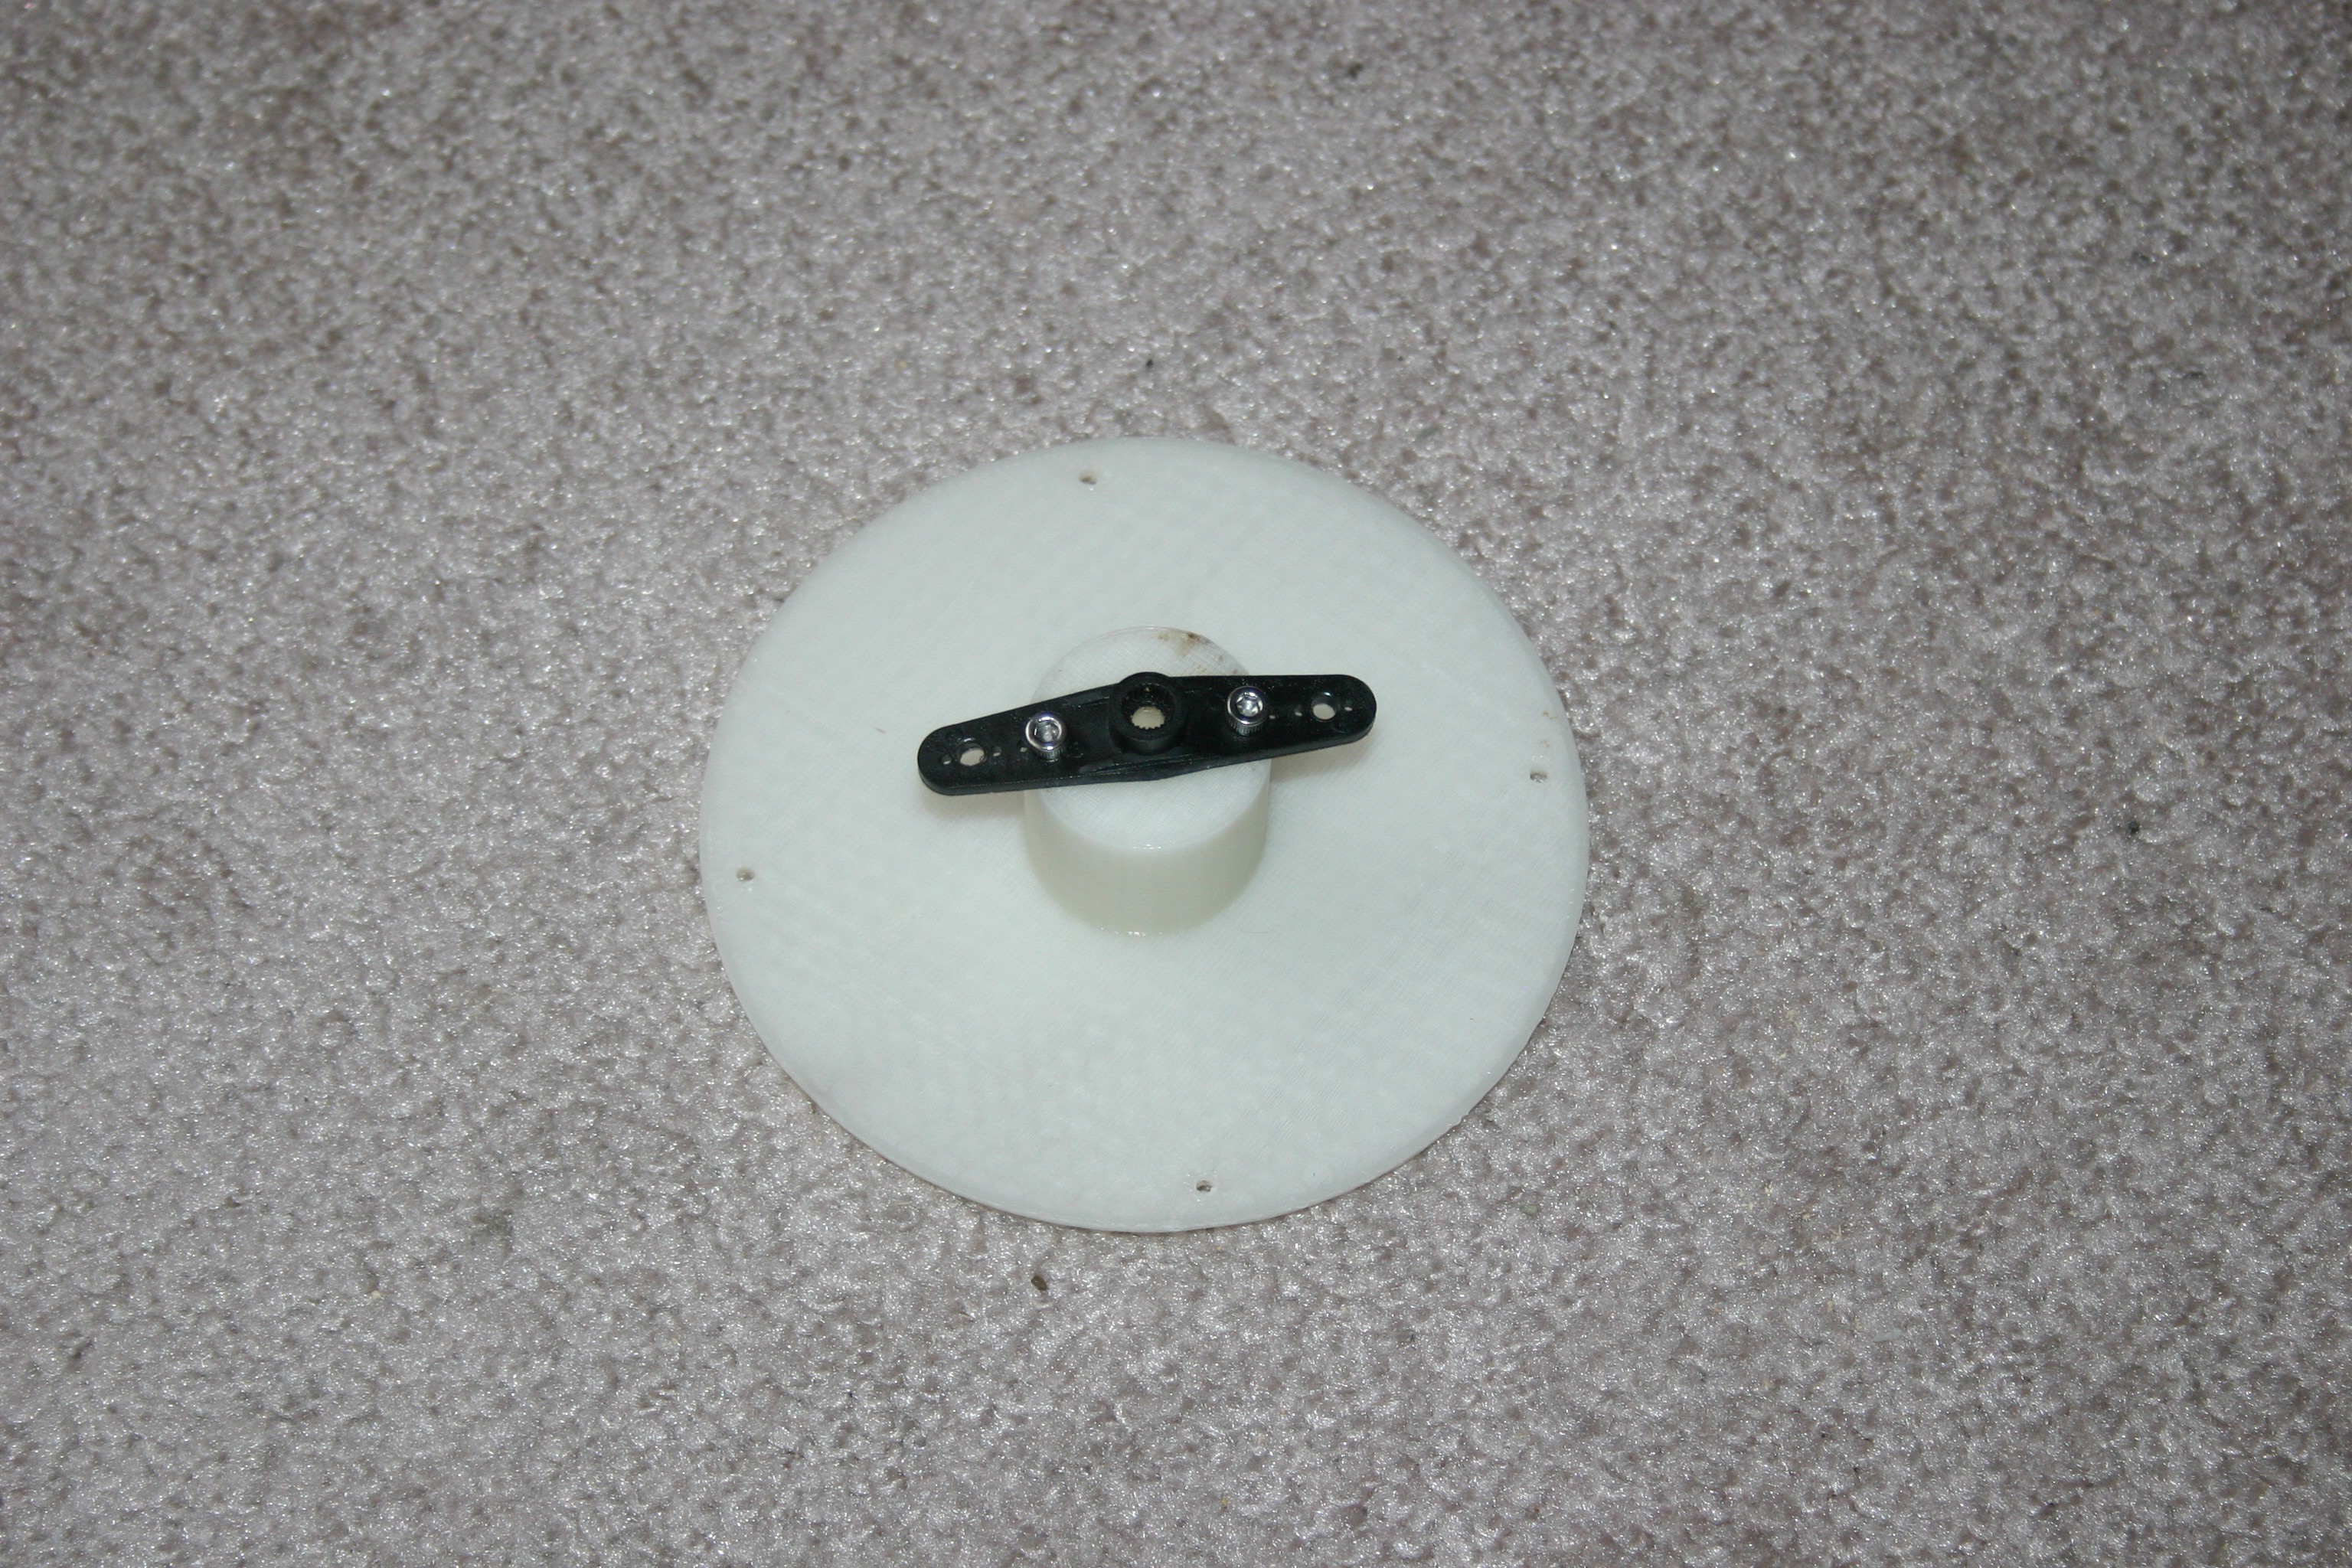
Secure the servo horn to the motor axle using 3mm screws.

Attach the servo motor to the motor axle using the servo screw (there is a hole in the axle so that a screwdriver will fit).
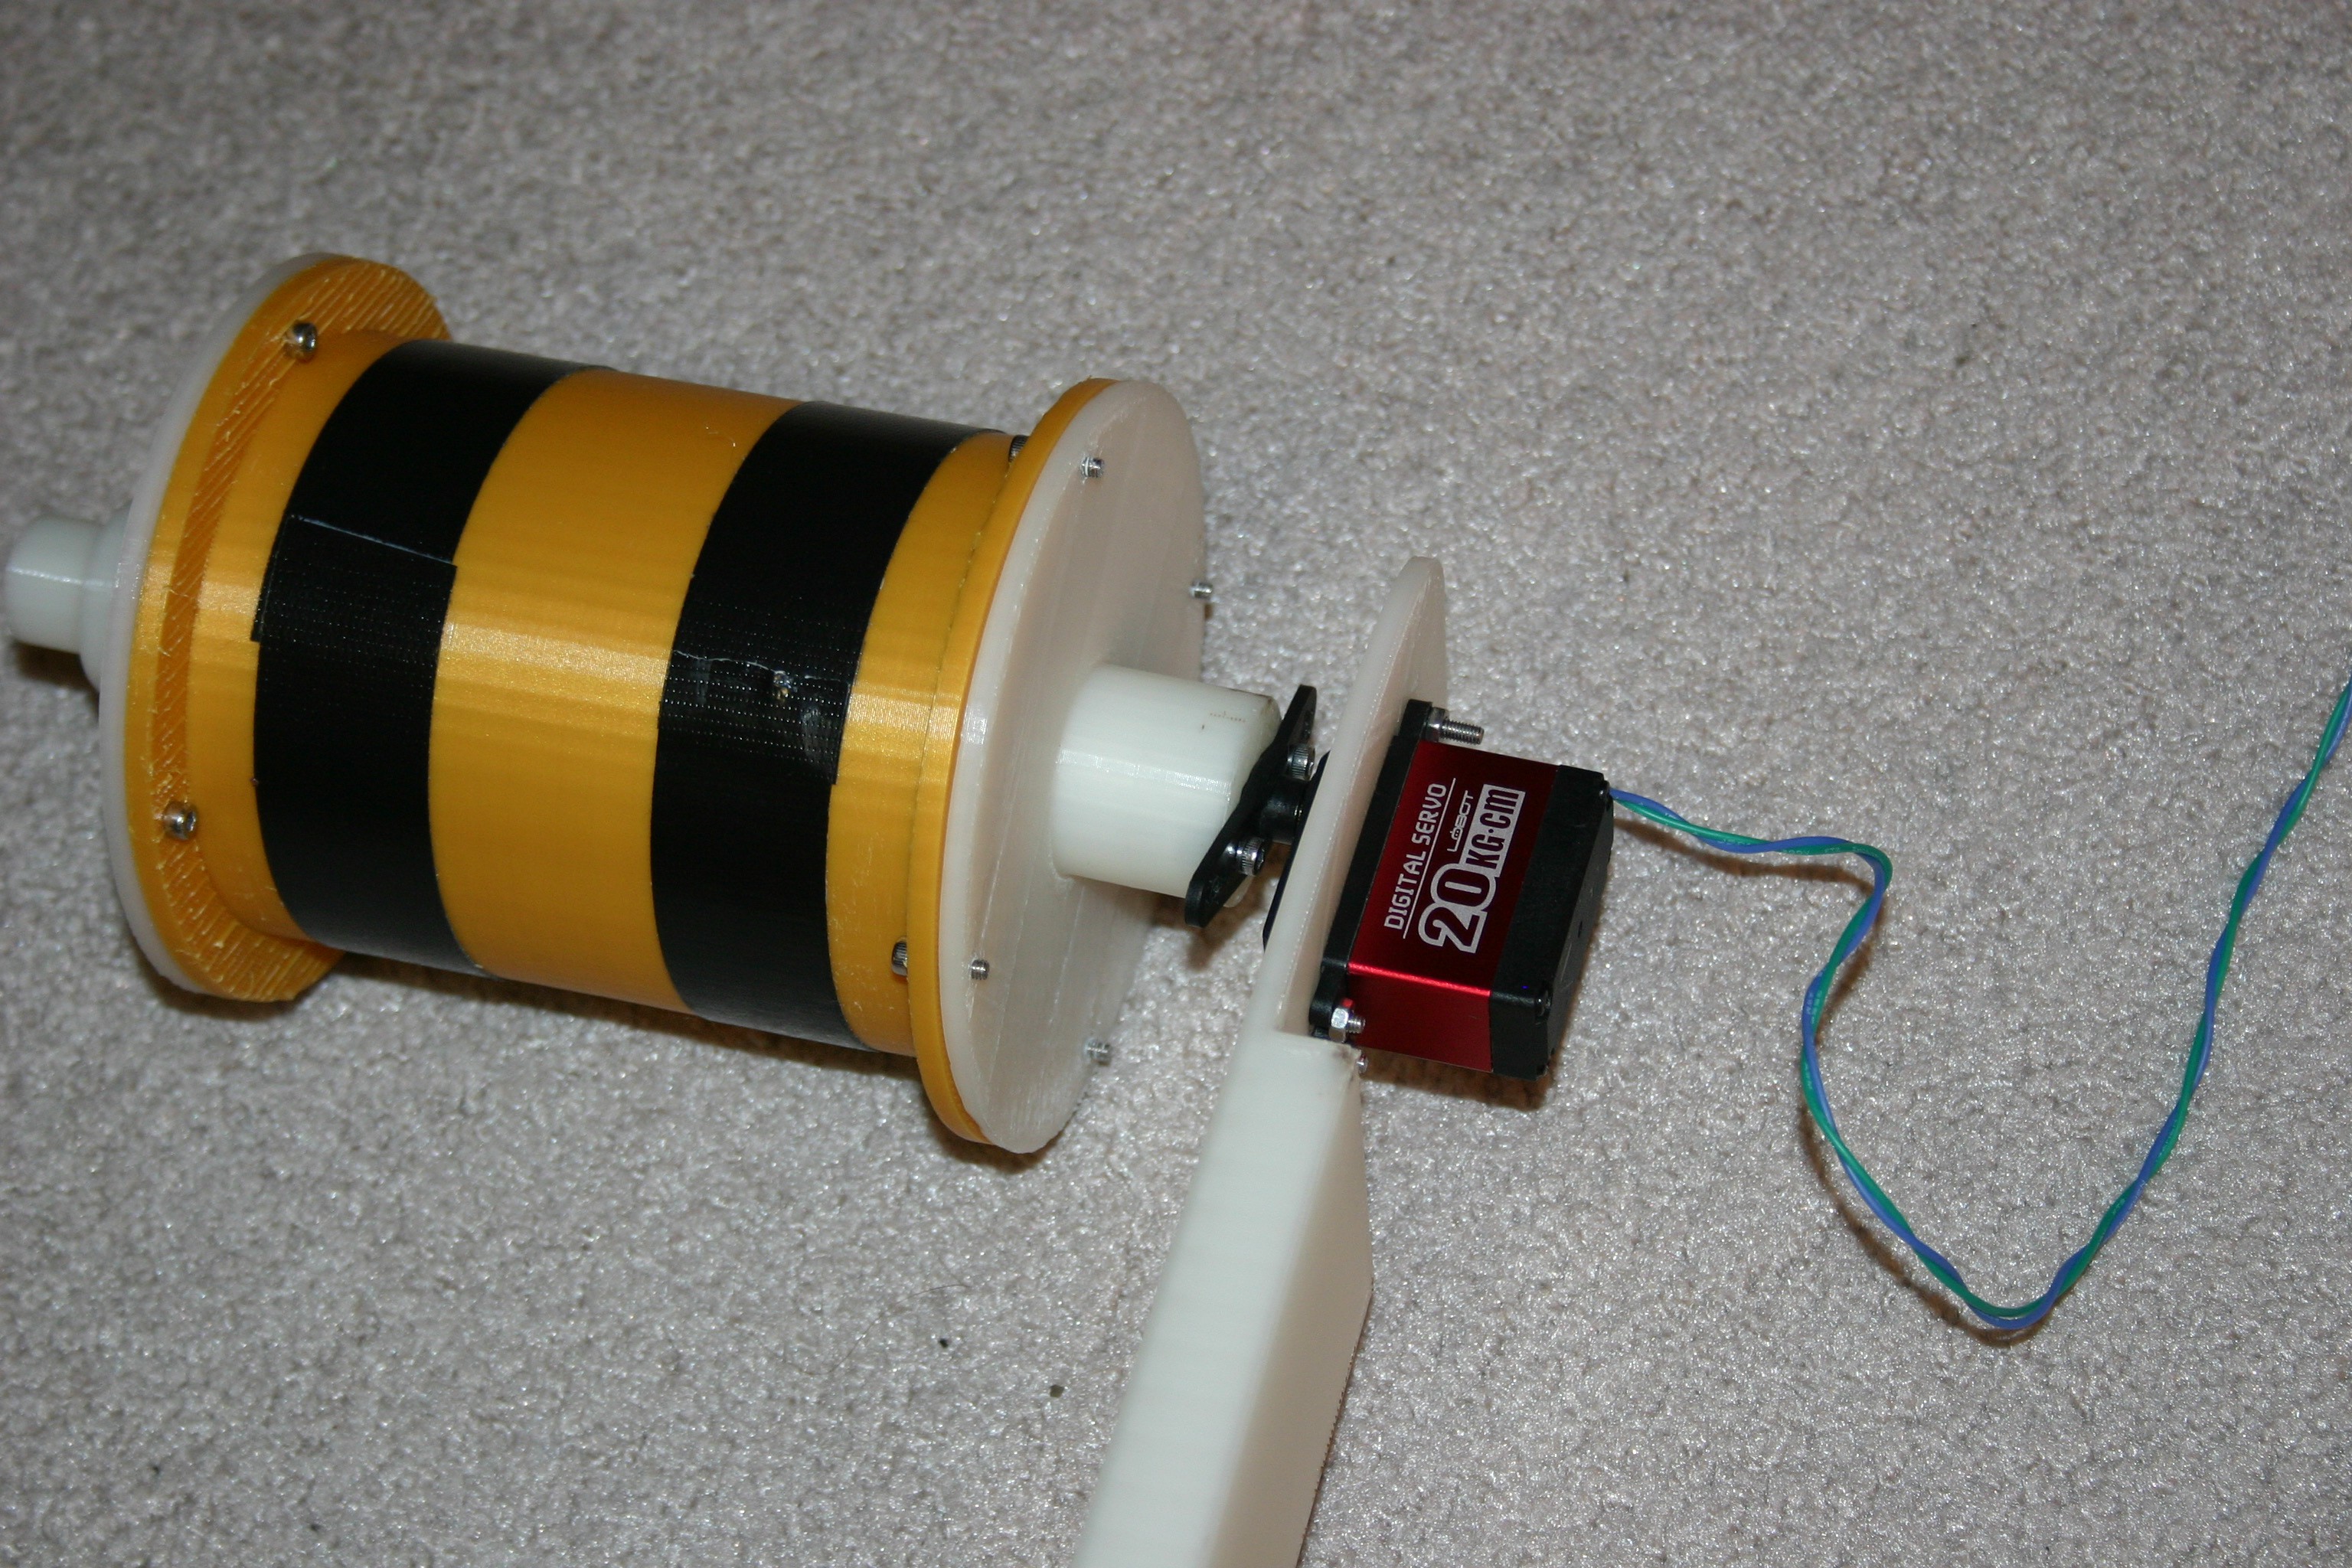
Attach the motor axle to the drive pulley using 3mm screws.
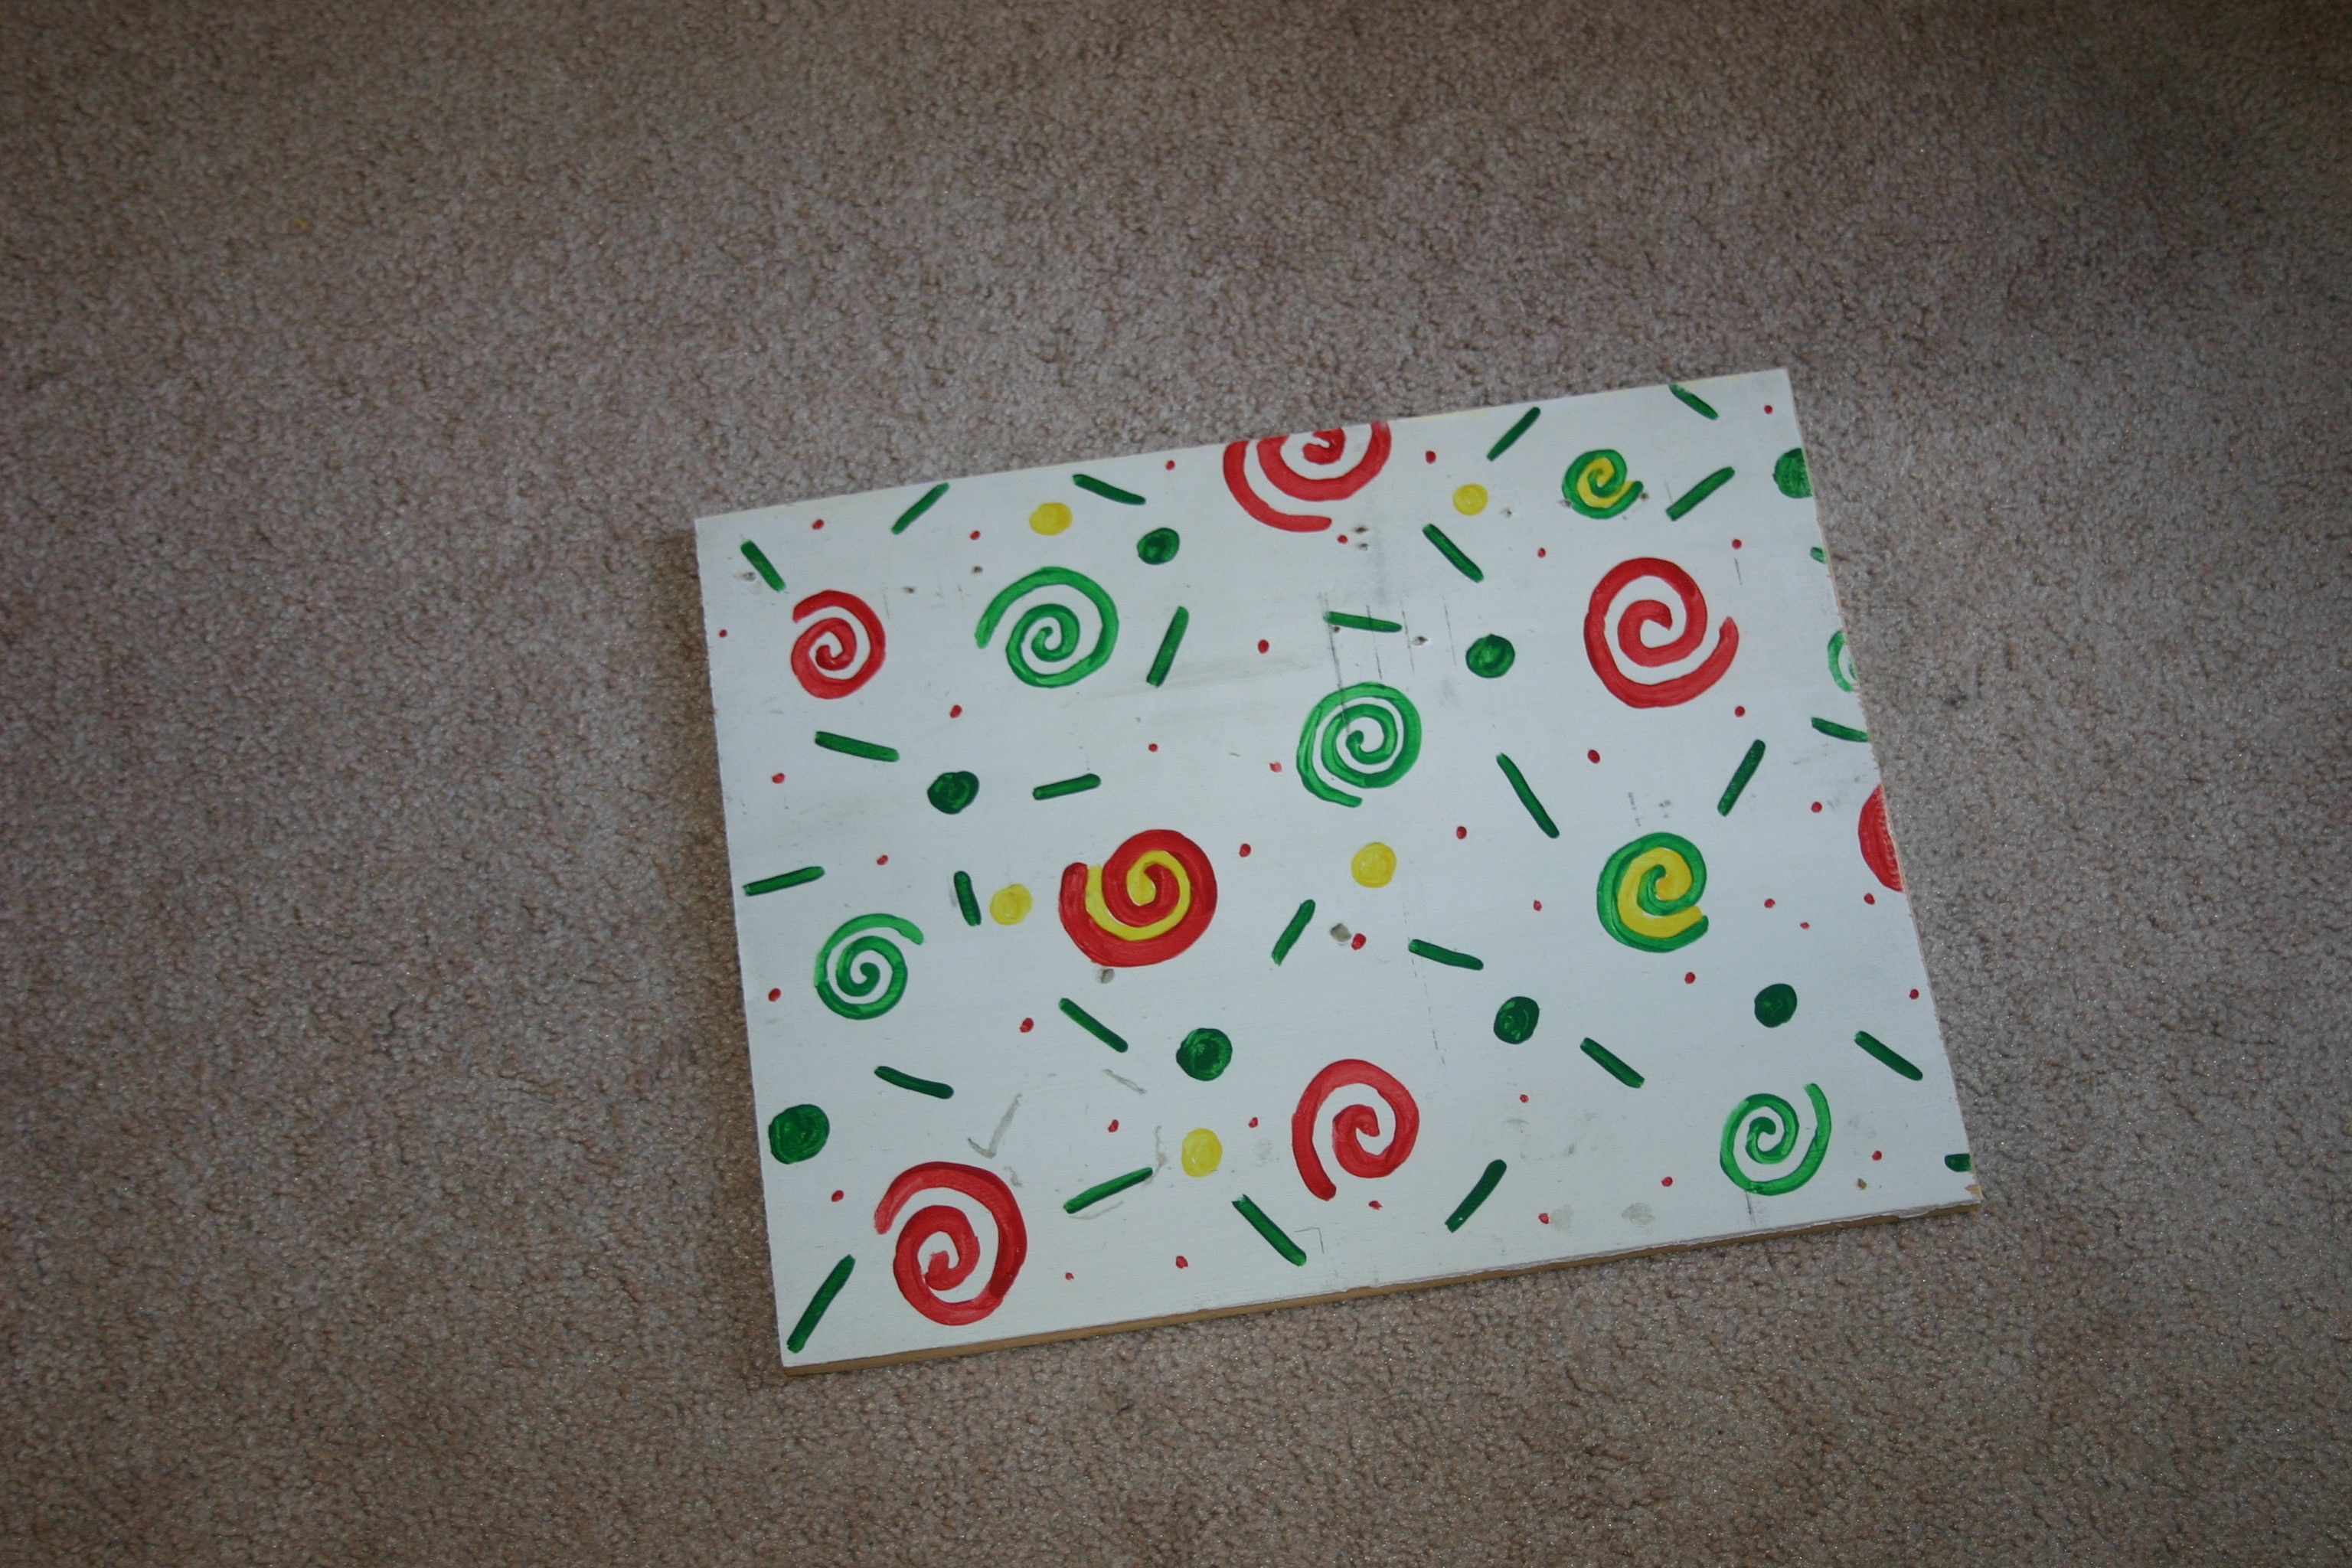
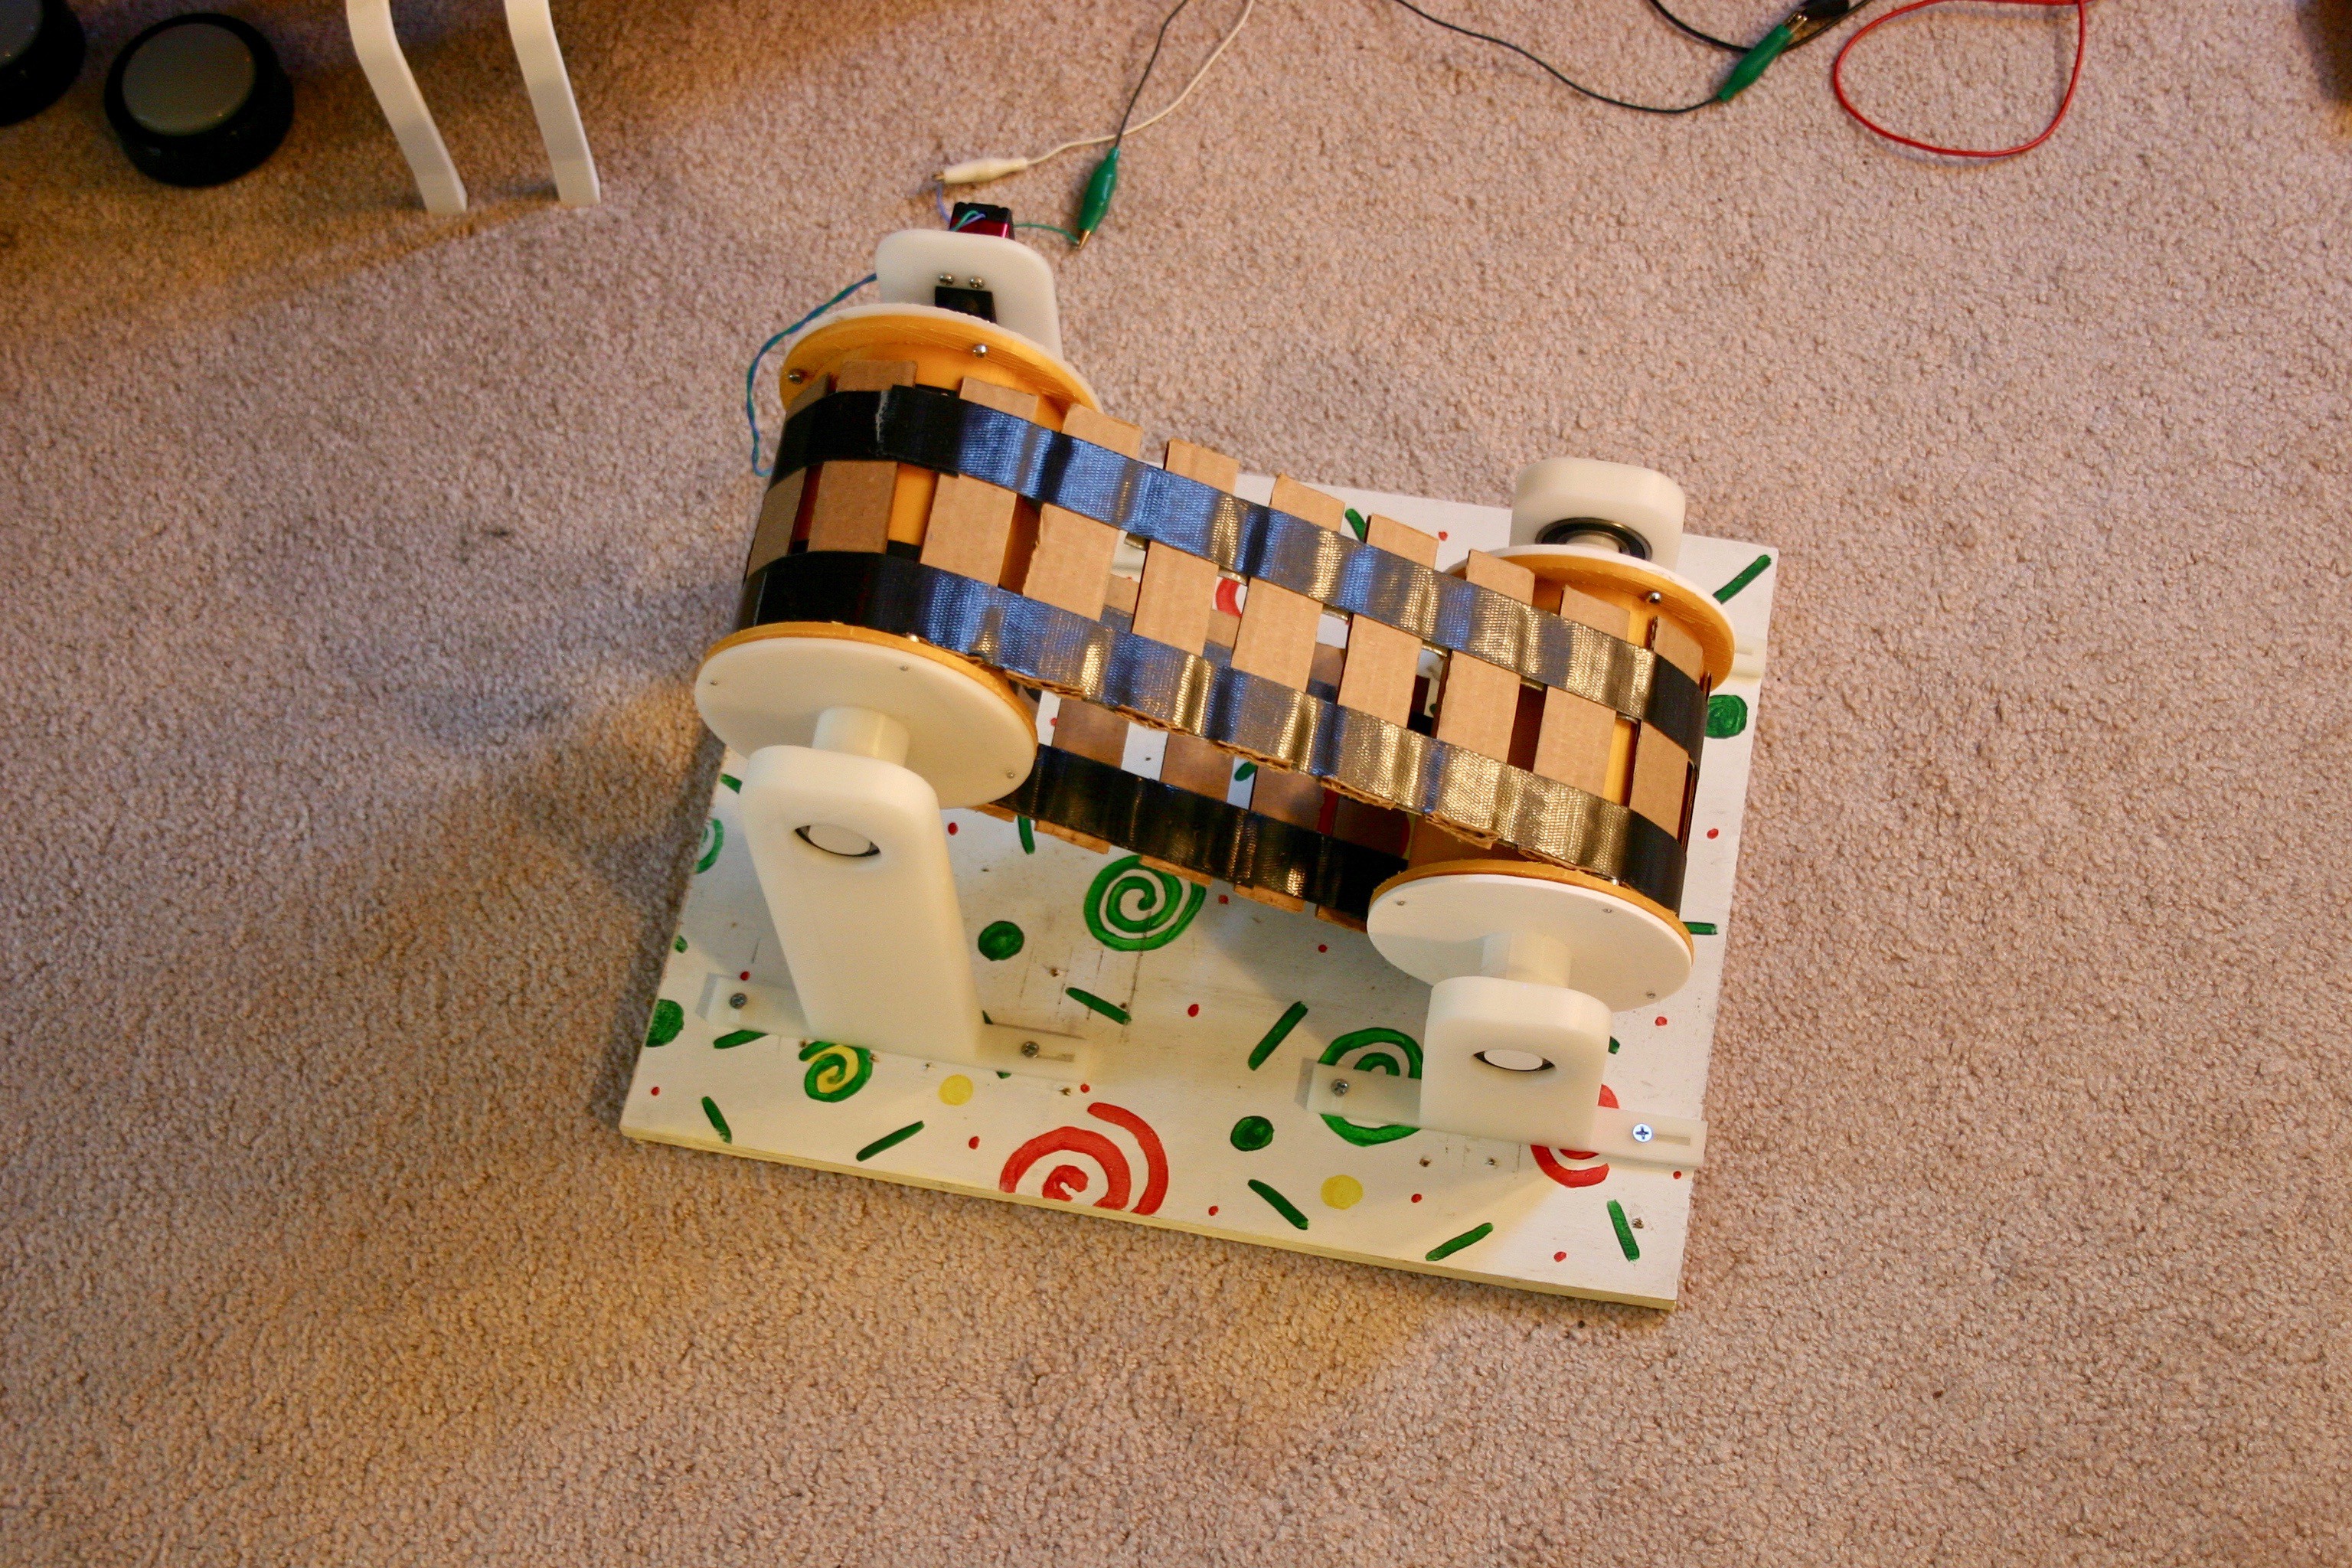
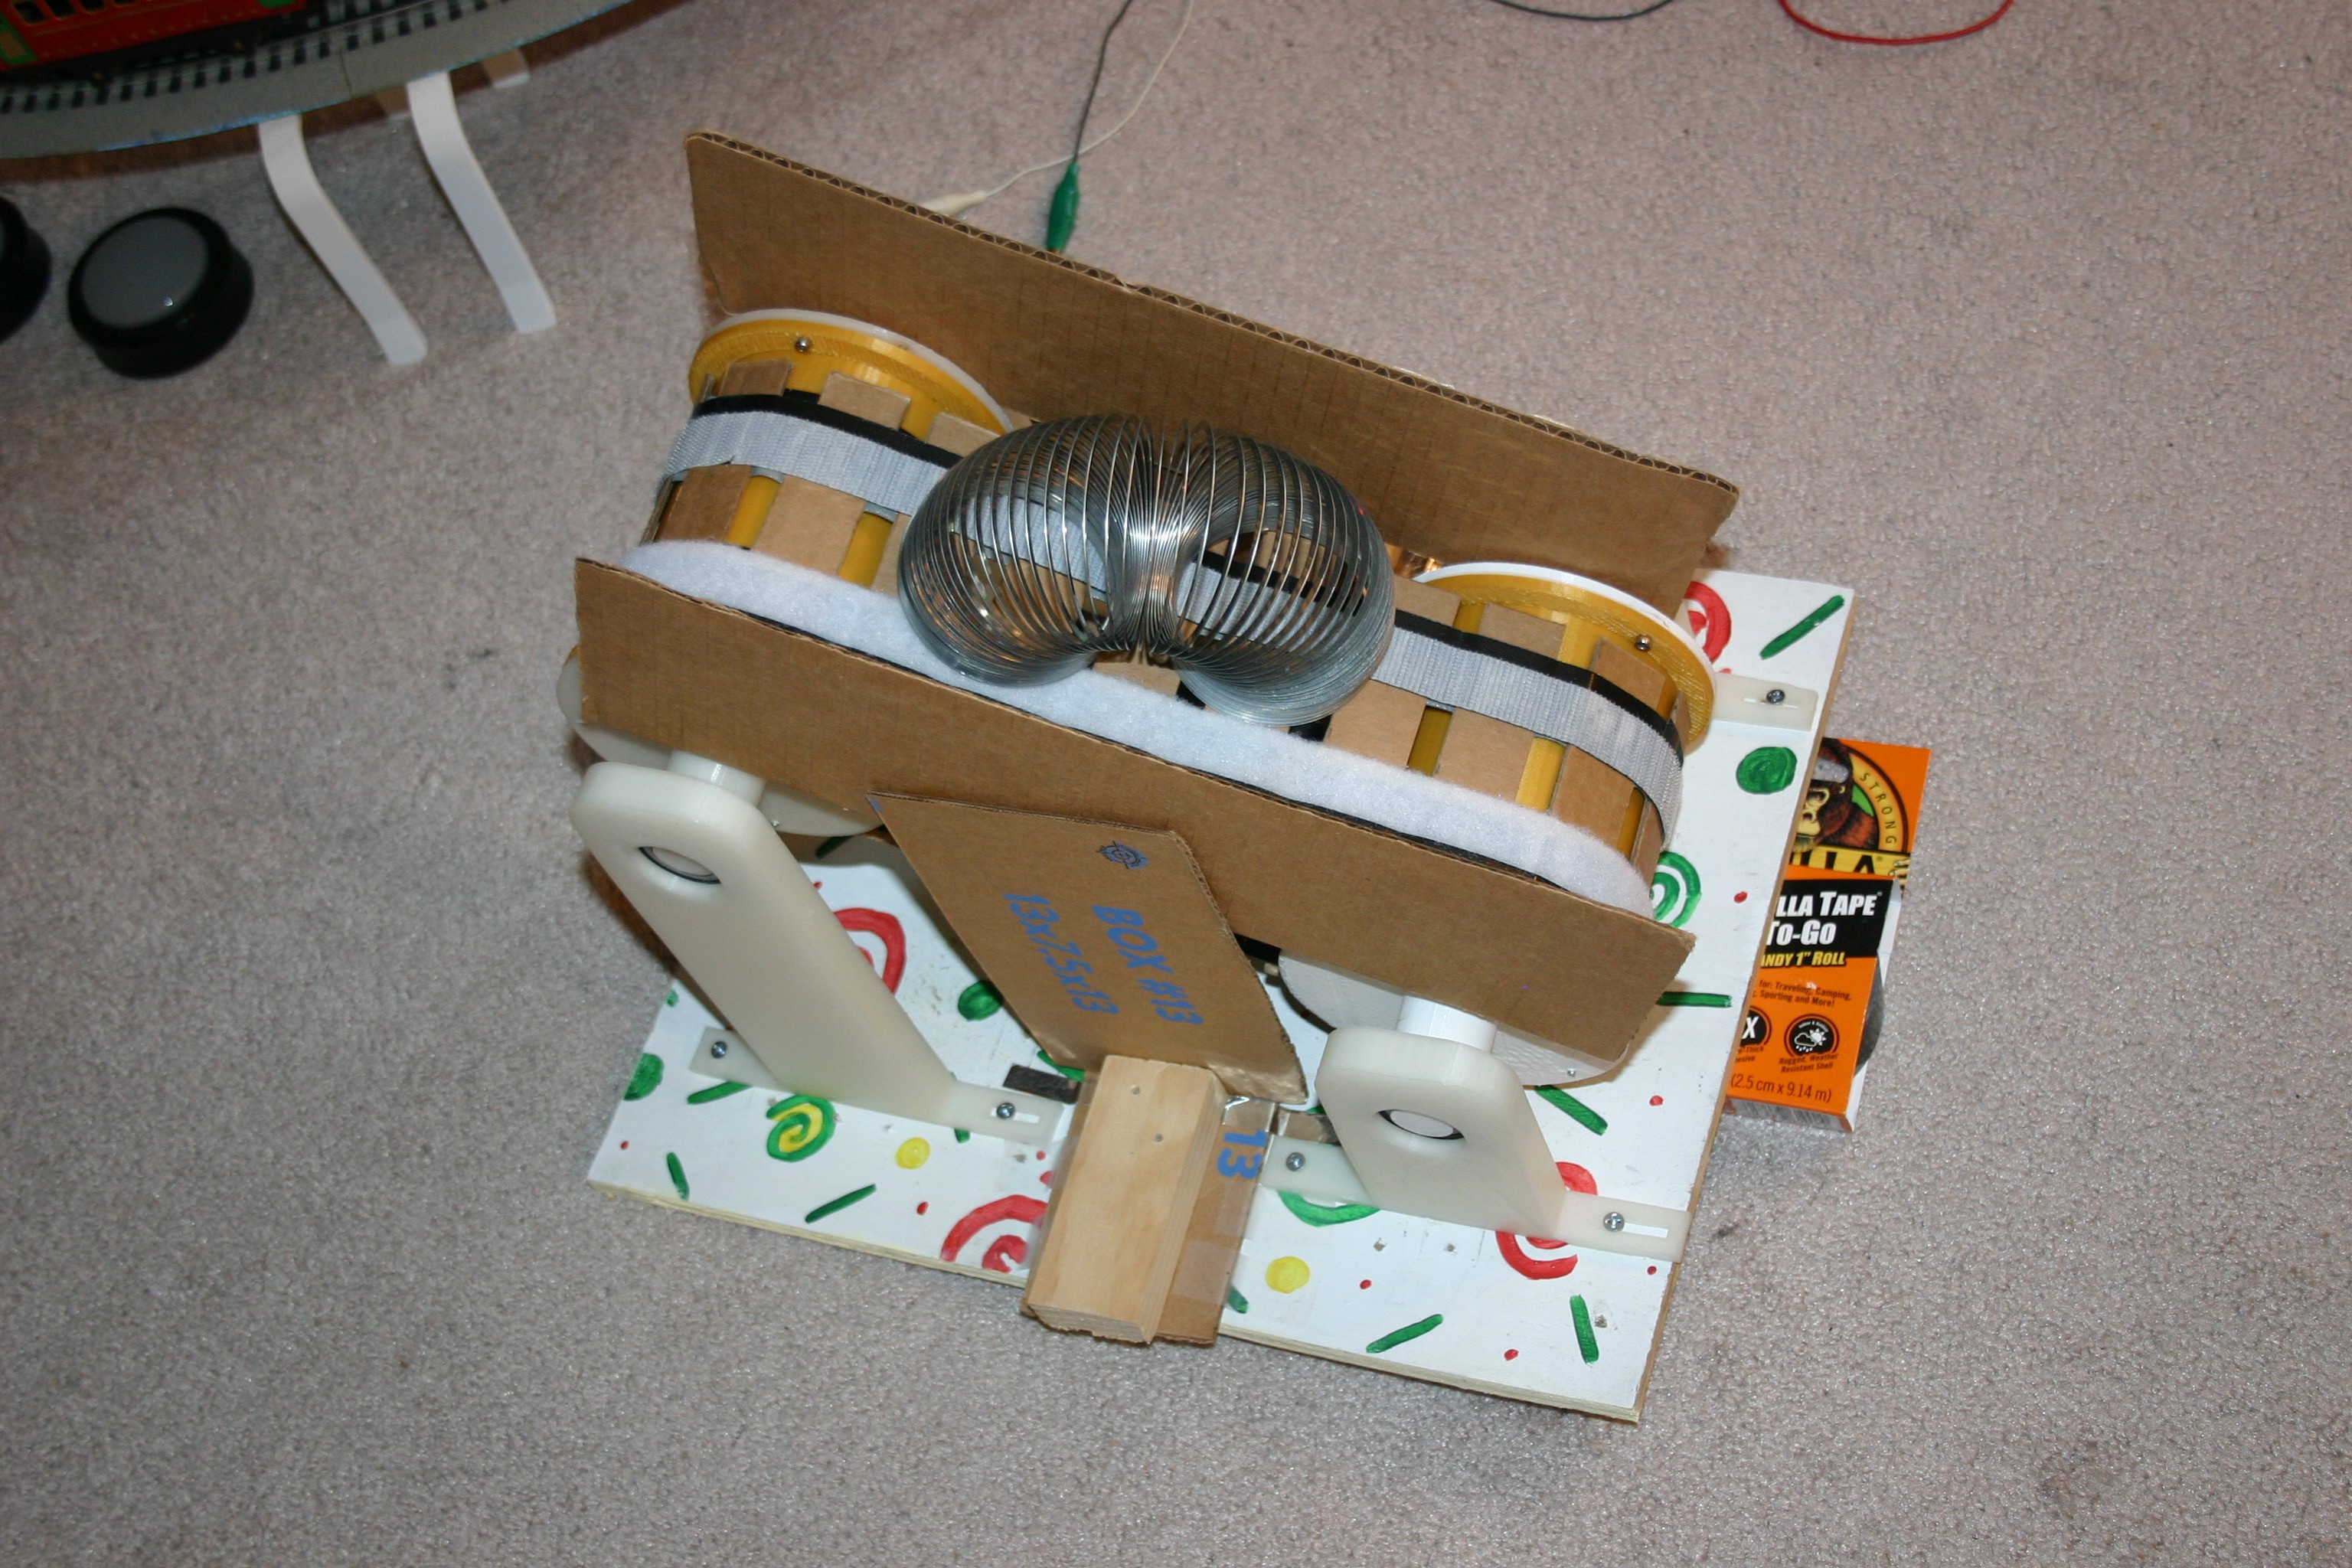
Paint the plywood (if desired) and attach the bearing and motor holders using wood screws. Be certain that the belt is reasonably tight (depress less than 1/2 " midway between pulleys).
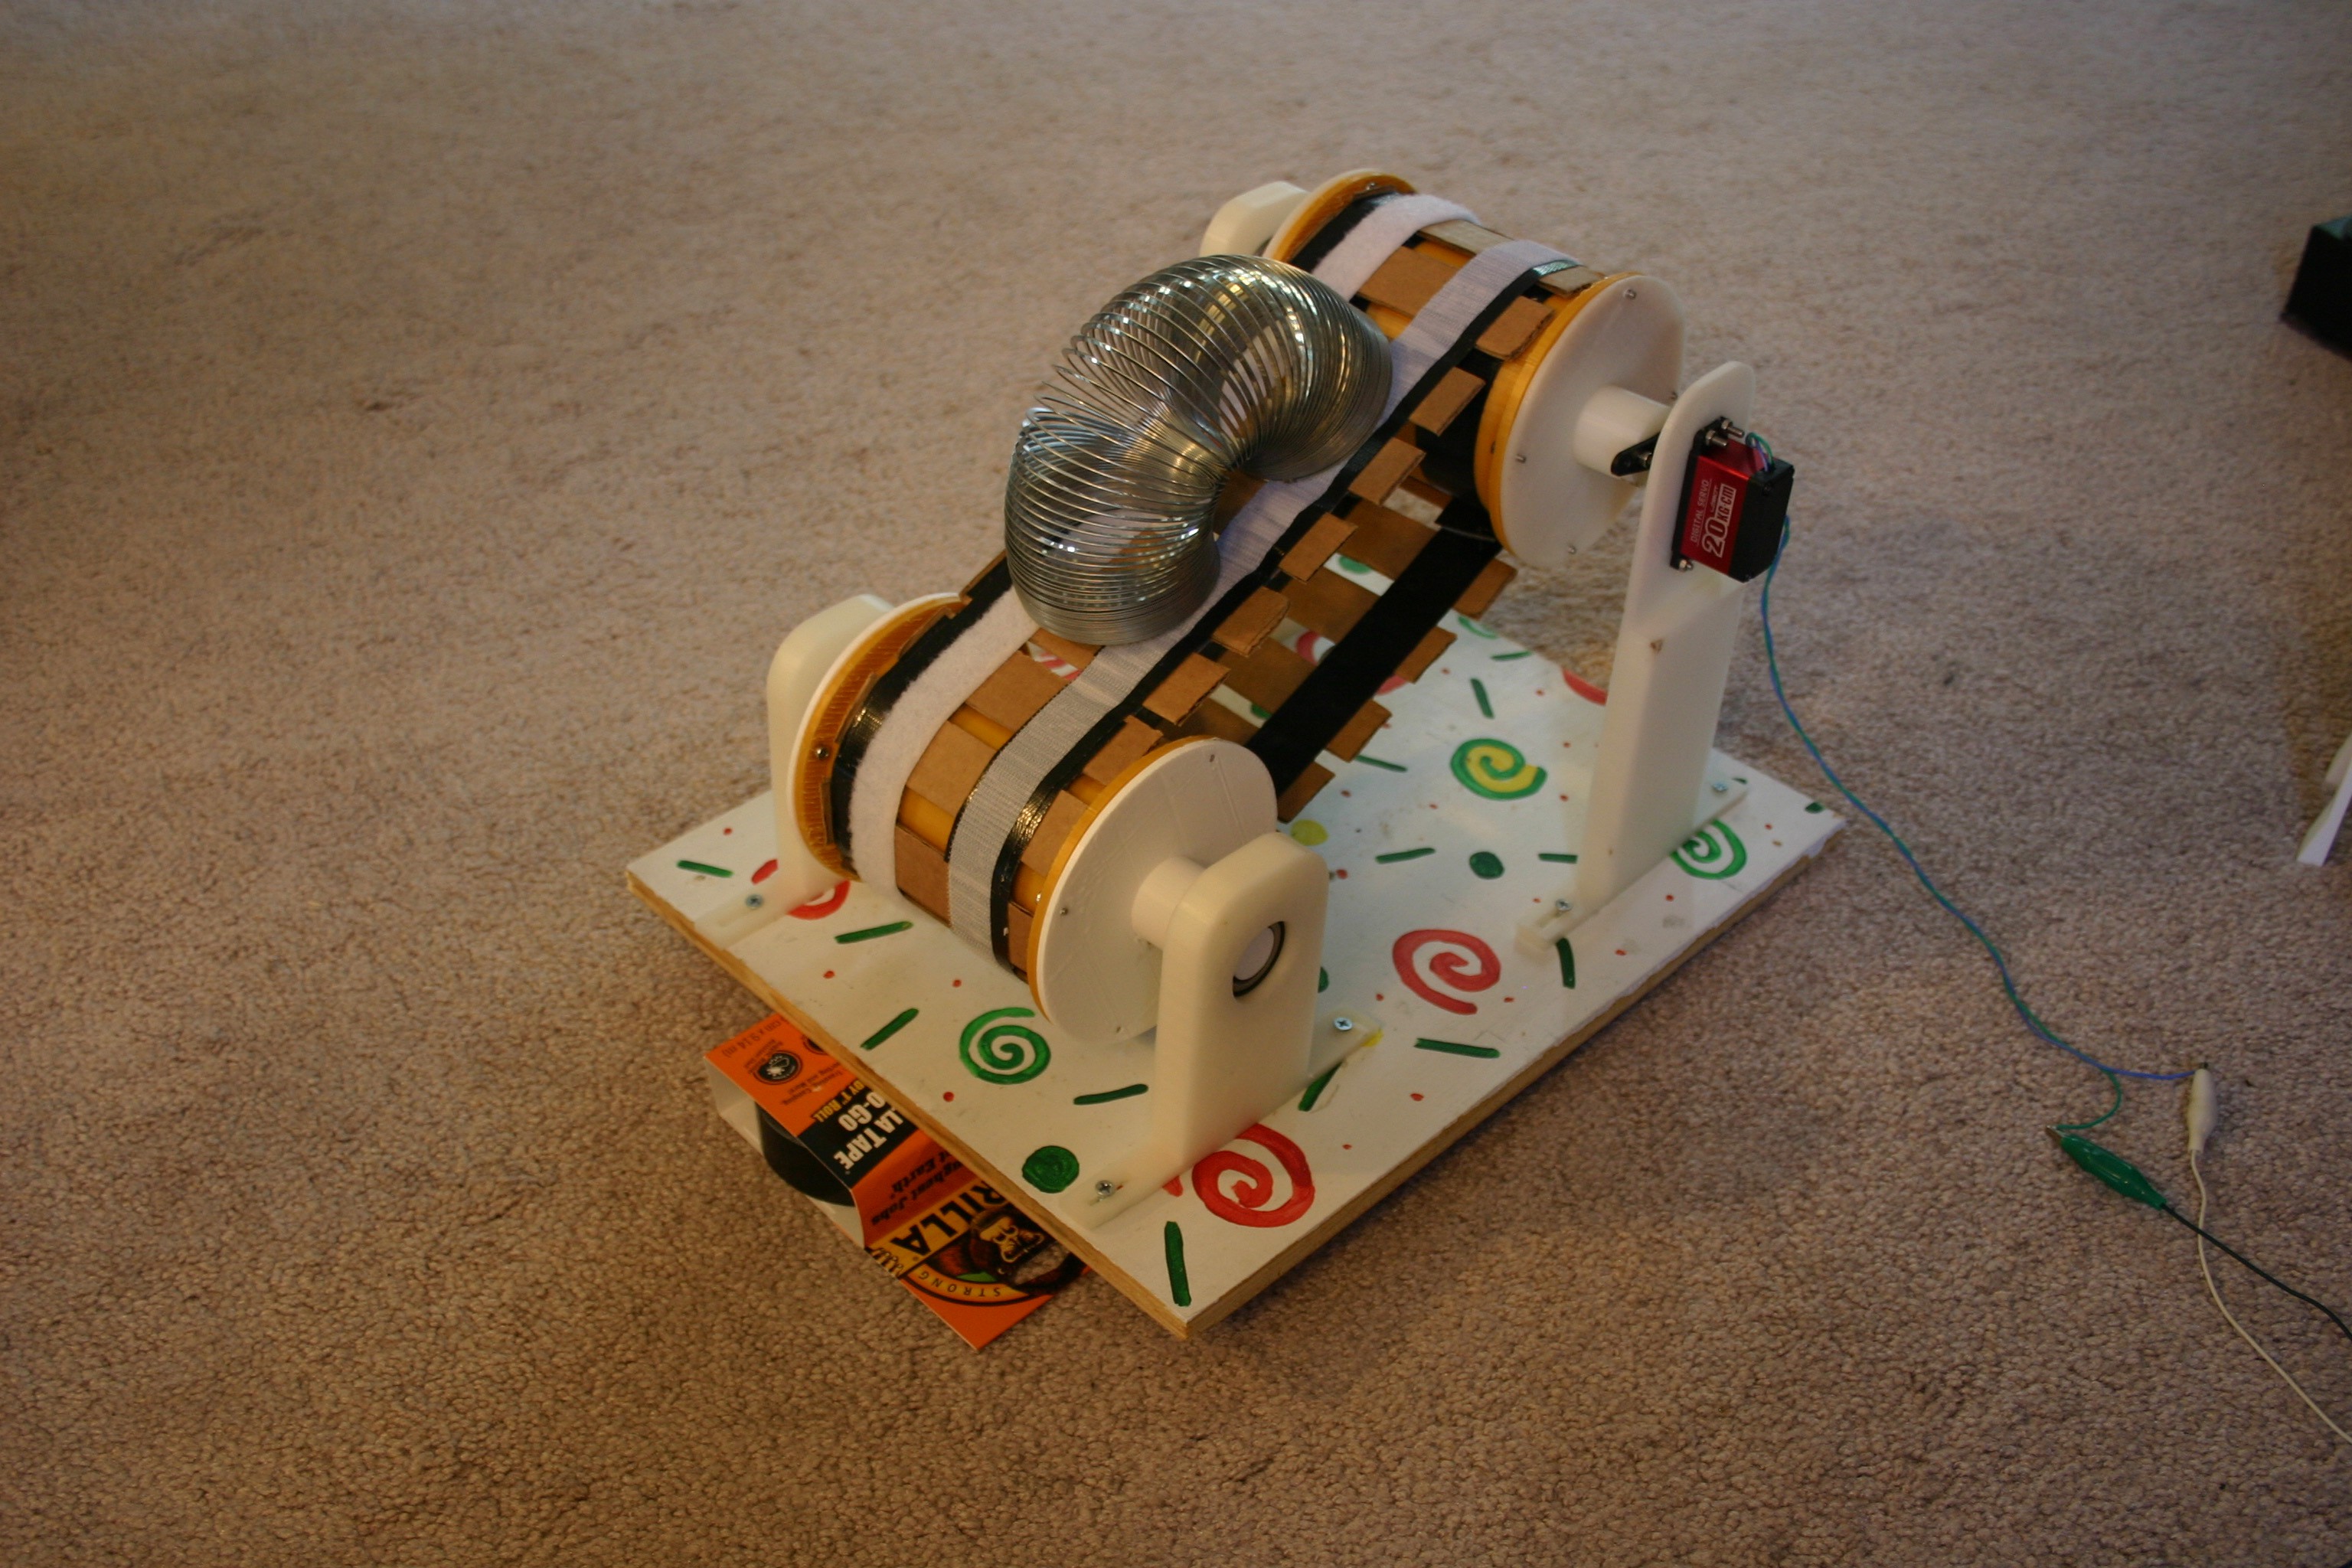
Add velcro to the belt--it's just a bit too slippery for the slinky without the help.
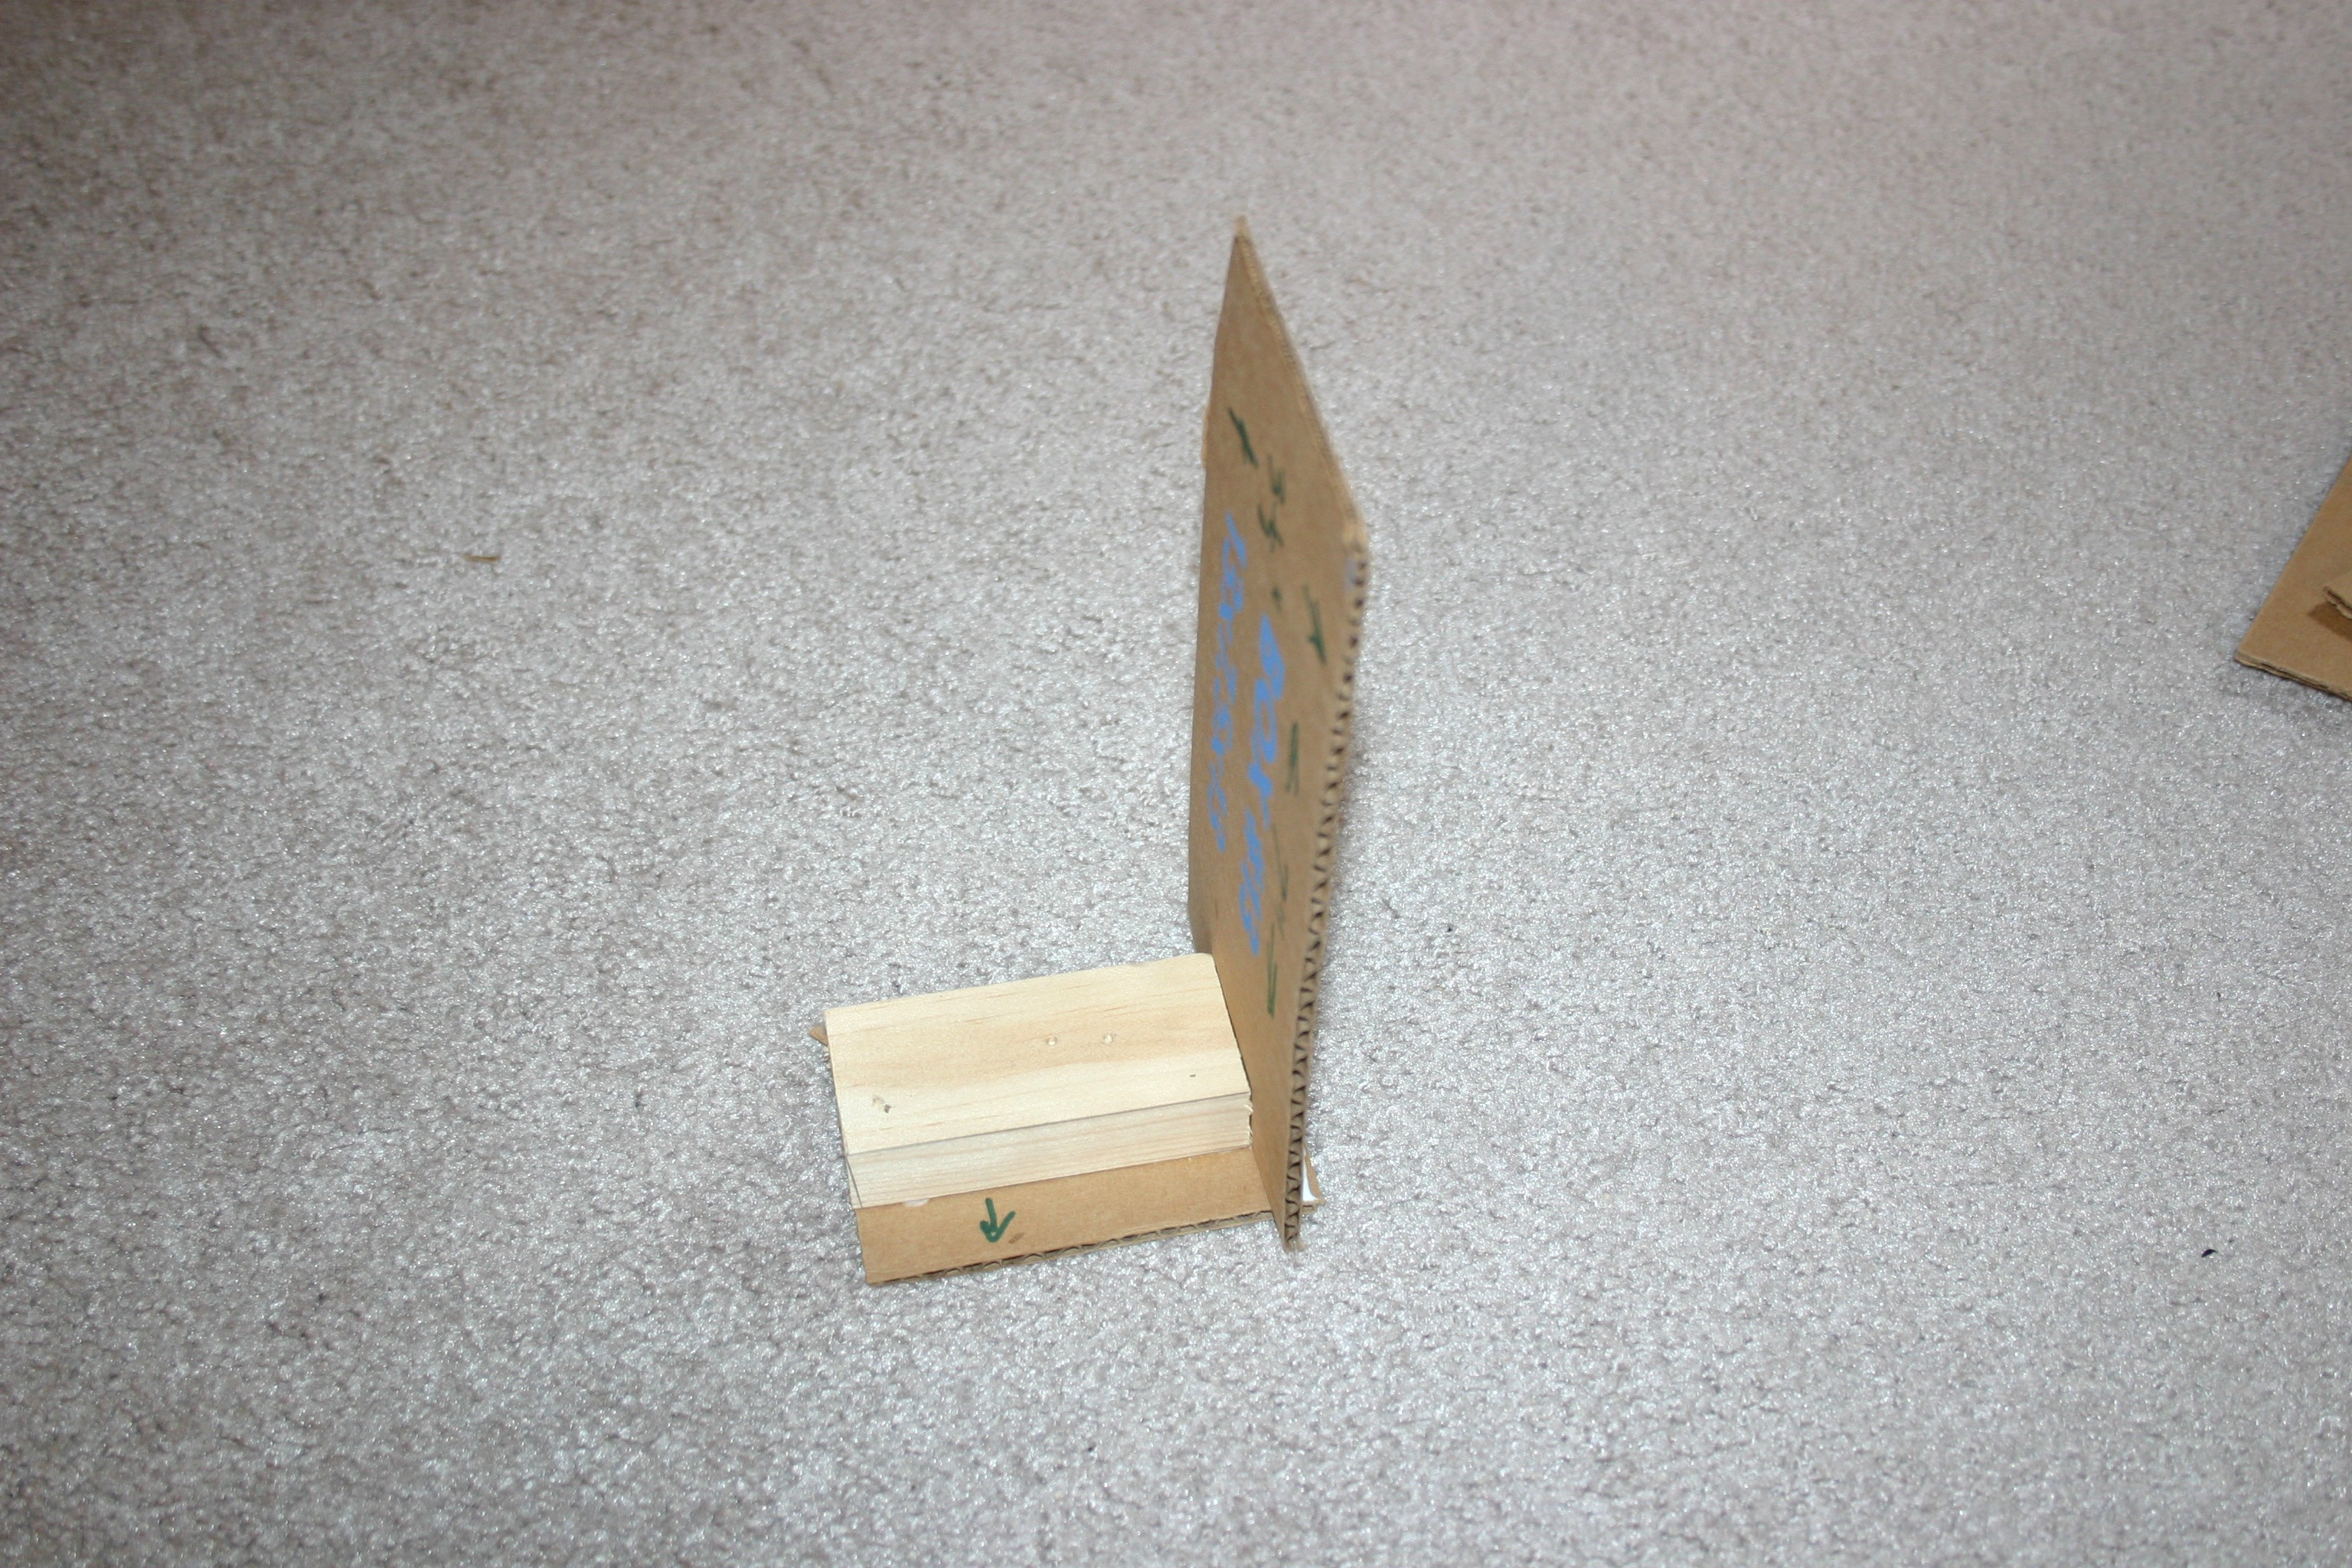
Make two side supports. The lower piece of cardboard is about 2 1/2" x 3 1/2". The upright piece is 3 1/2" x 7". Glue together at a 90 degree angle--I used 1" x 2" wood scraps to firm up the angle.
Glue 4" x 13" cardboard (at an angle) to the upright cardboard supports. These side walls must not touch anything that moves.
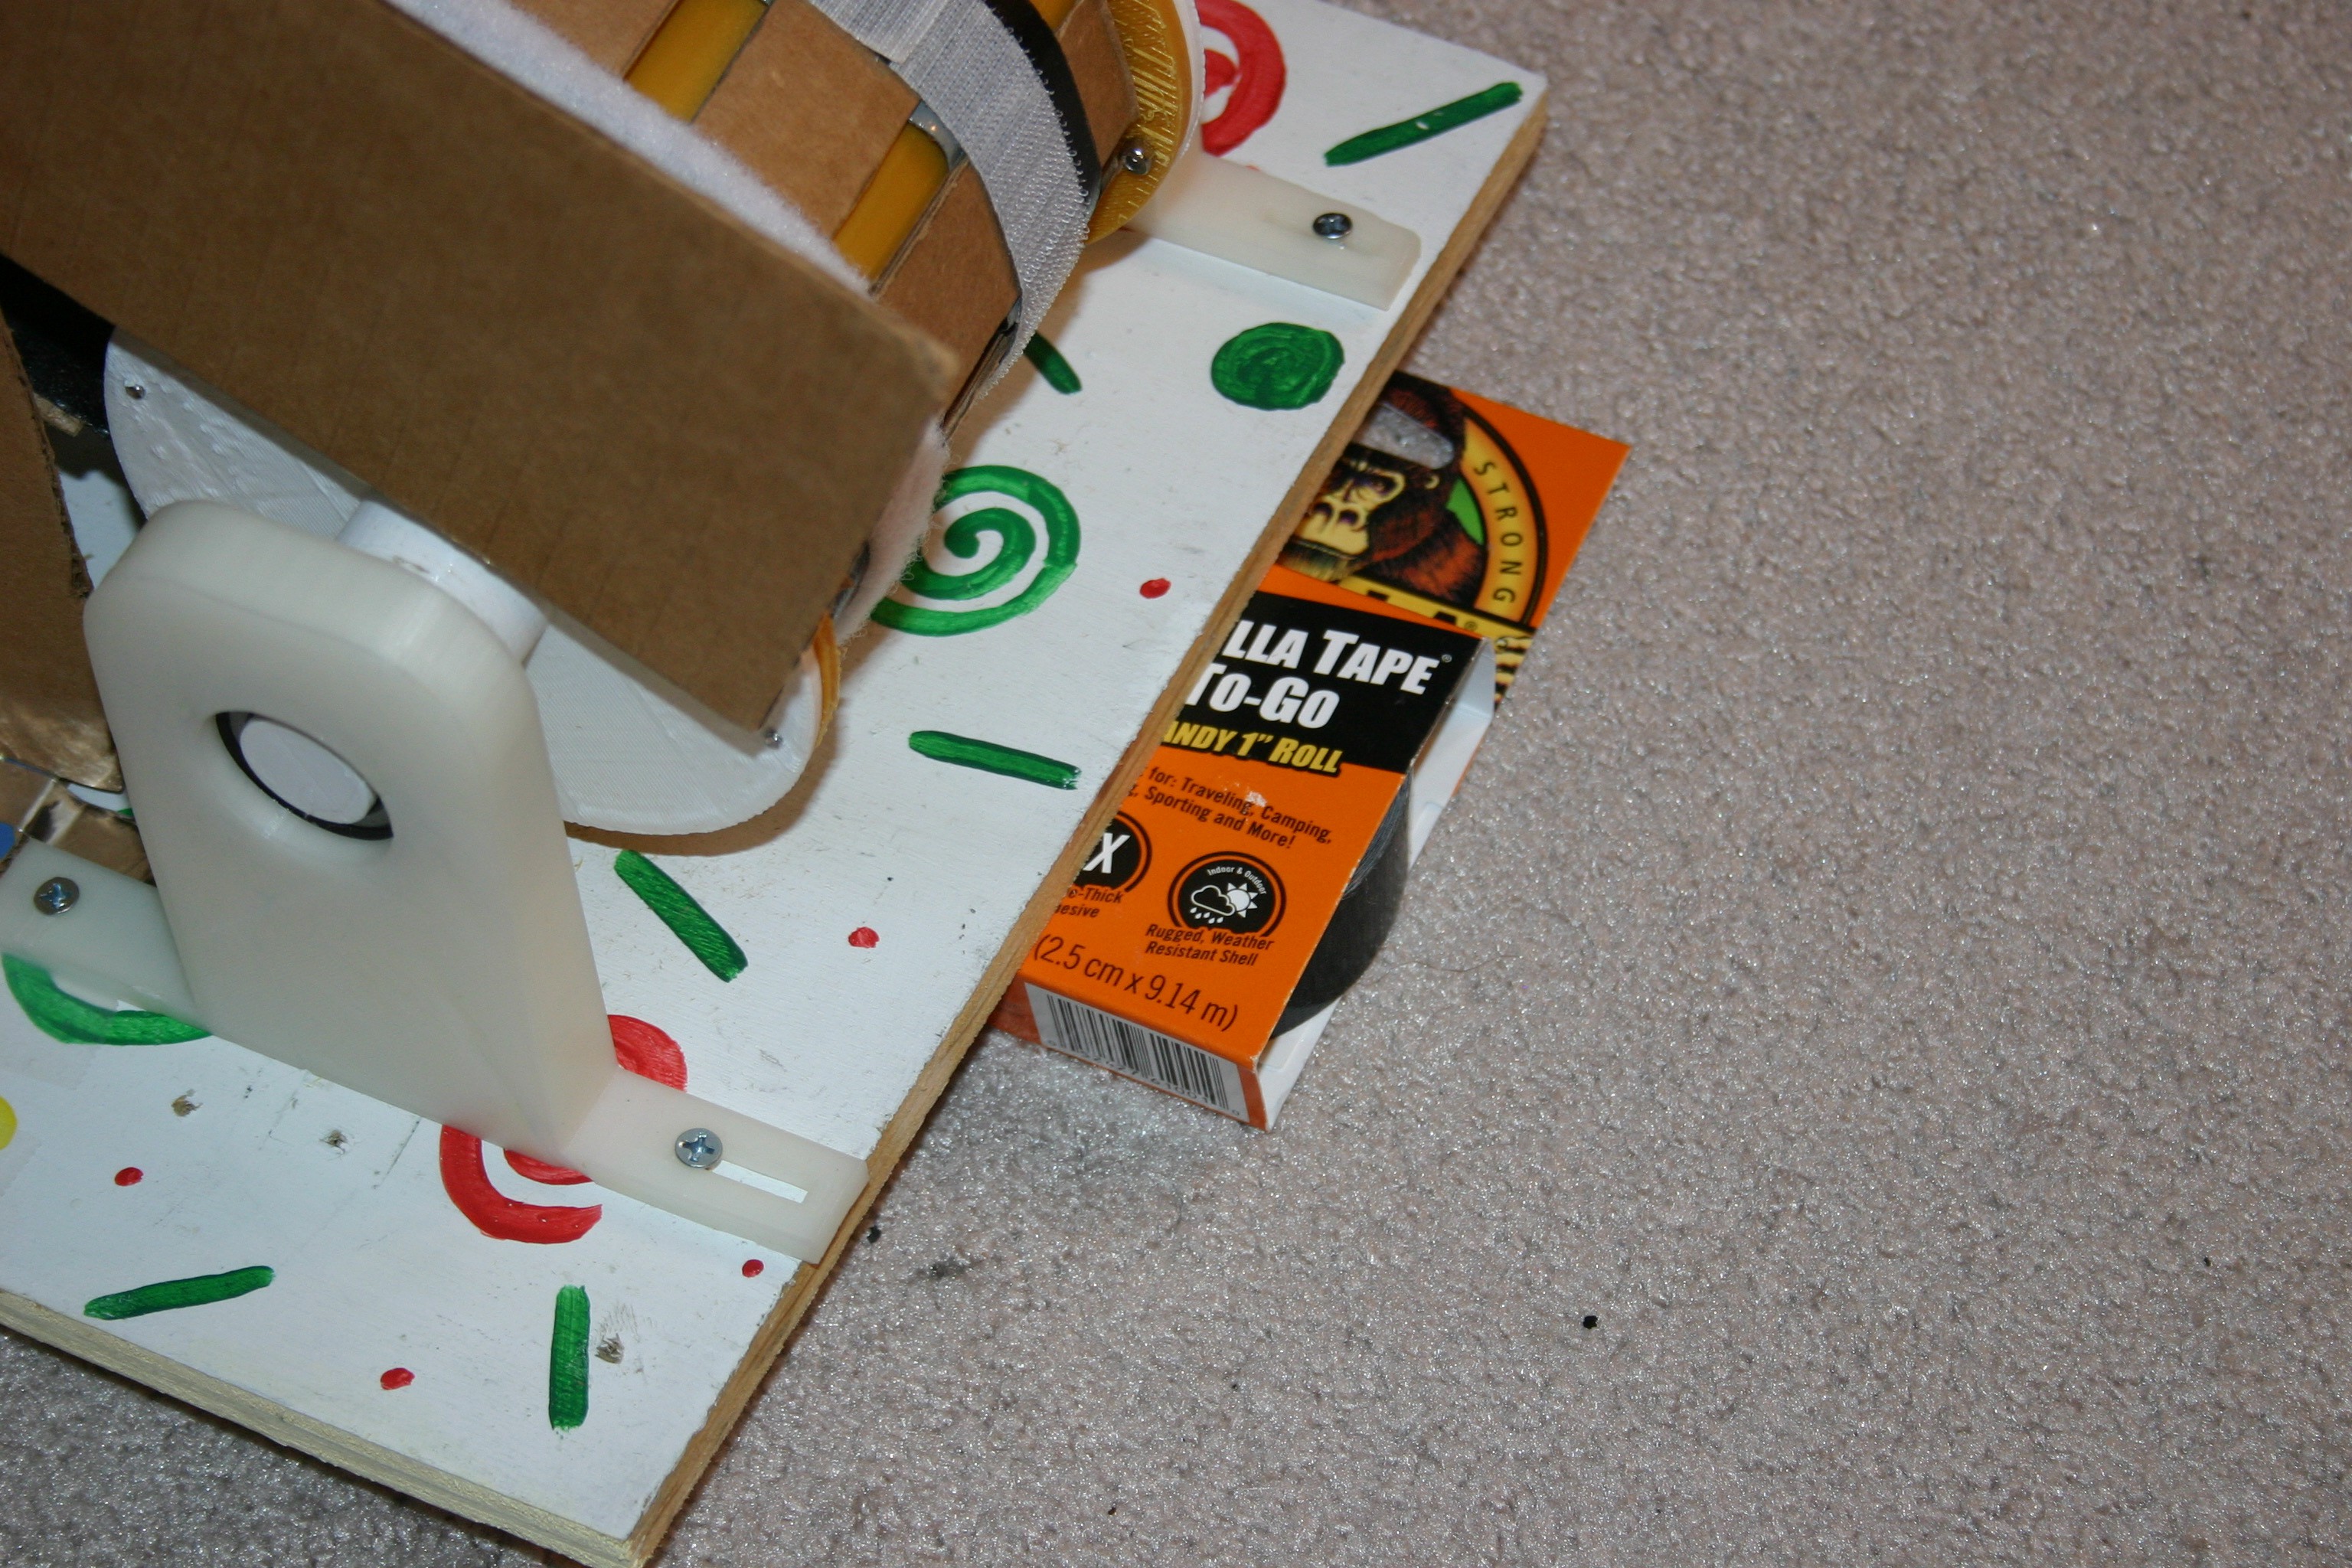
In an ideal world, the pulley will rise 13 units for 33 units of horizontal length. I didn't get this correct, so my 1" Gorilla tape under the foot of the system makes this work.
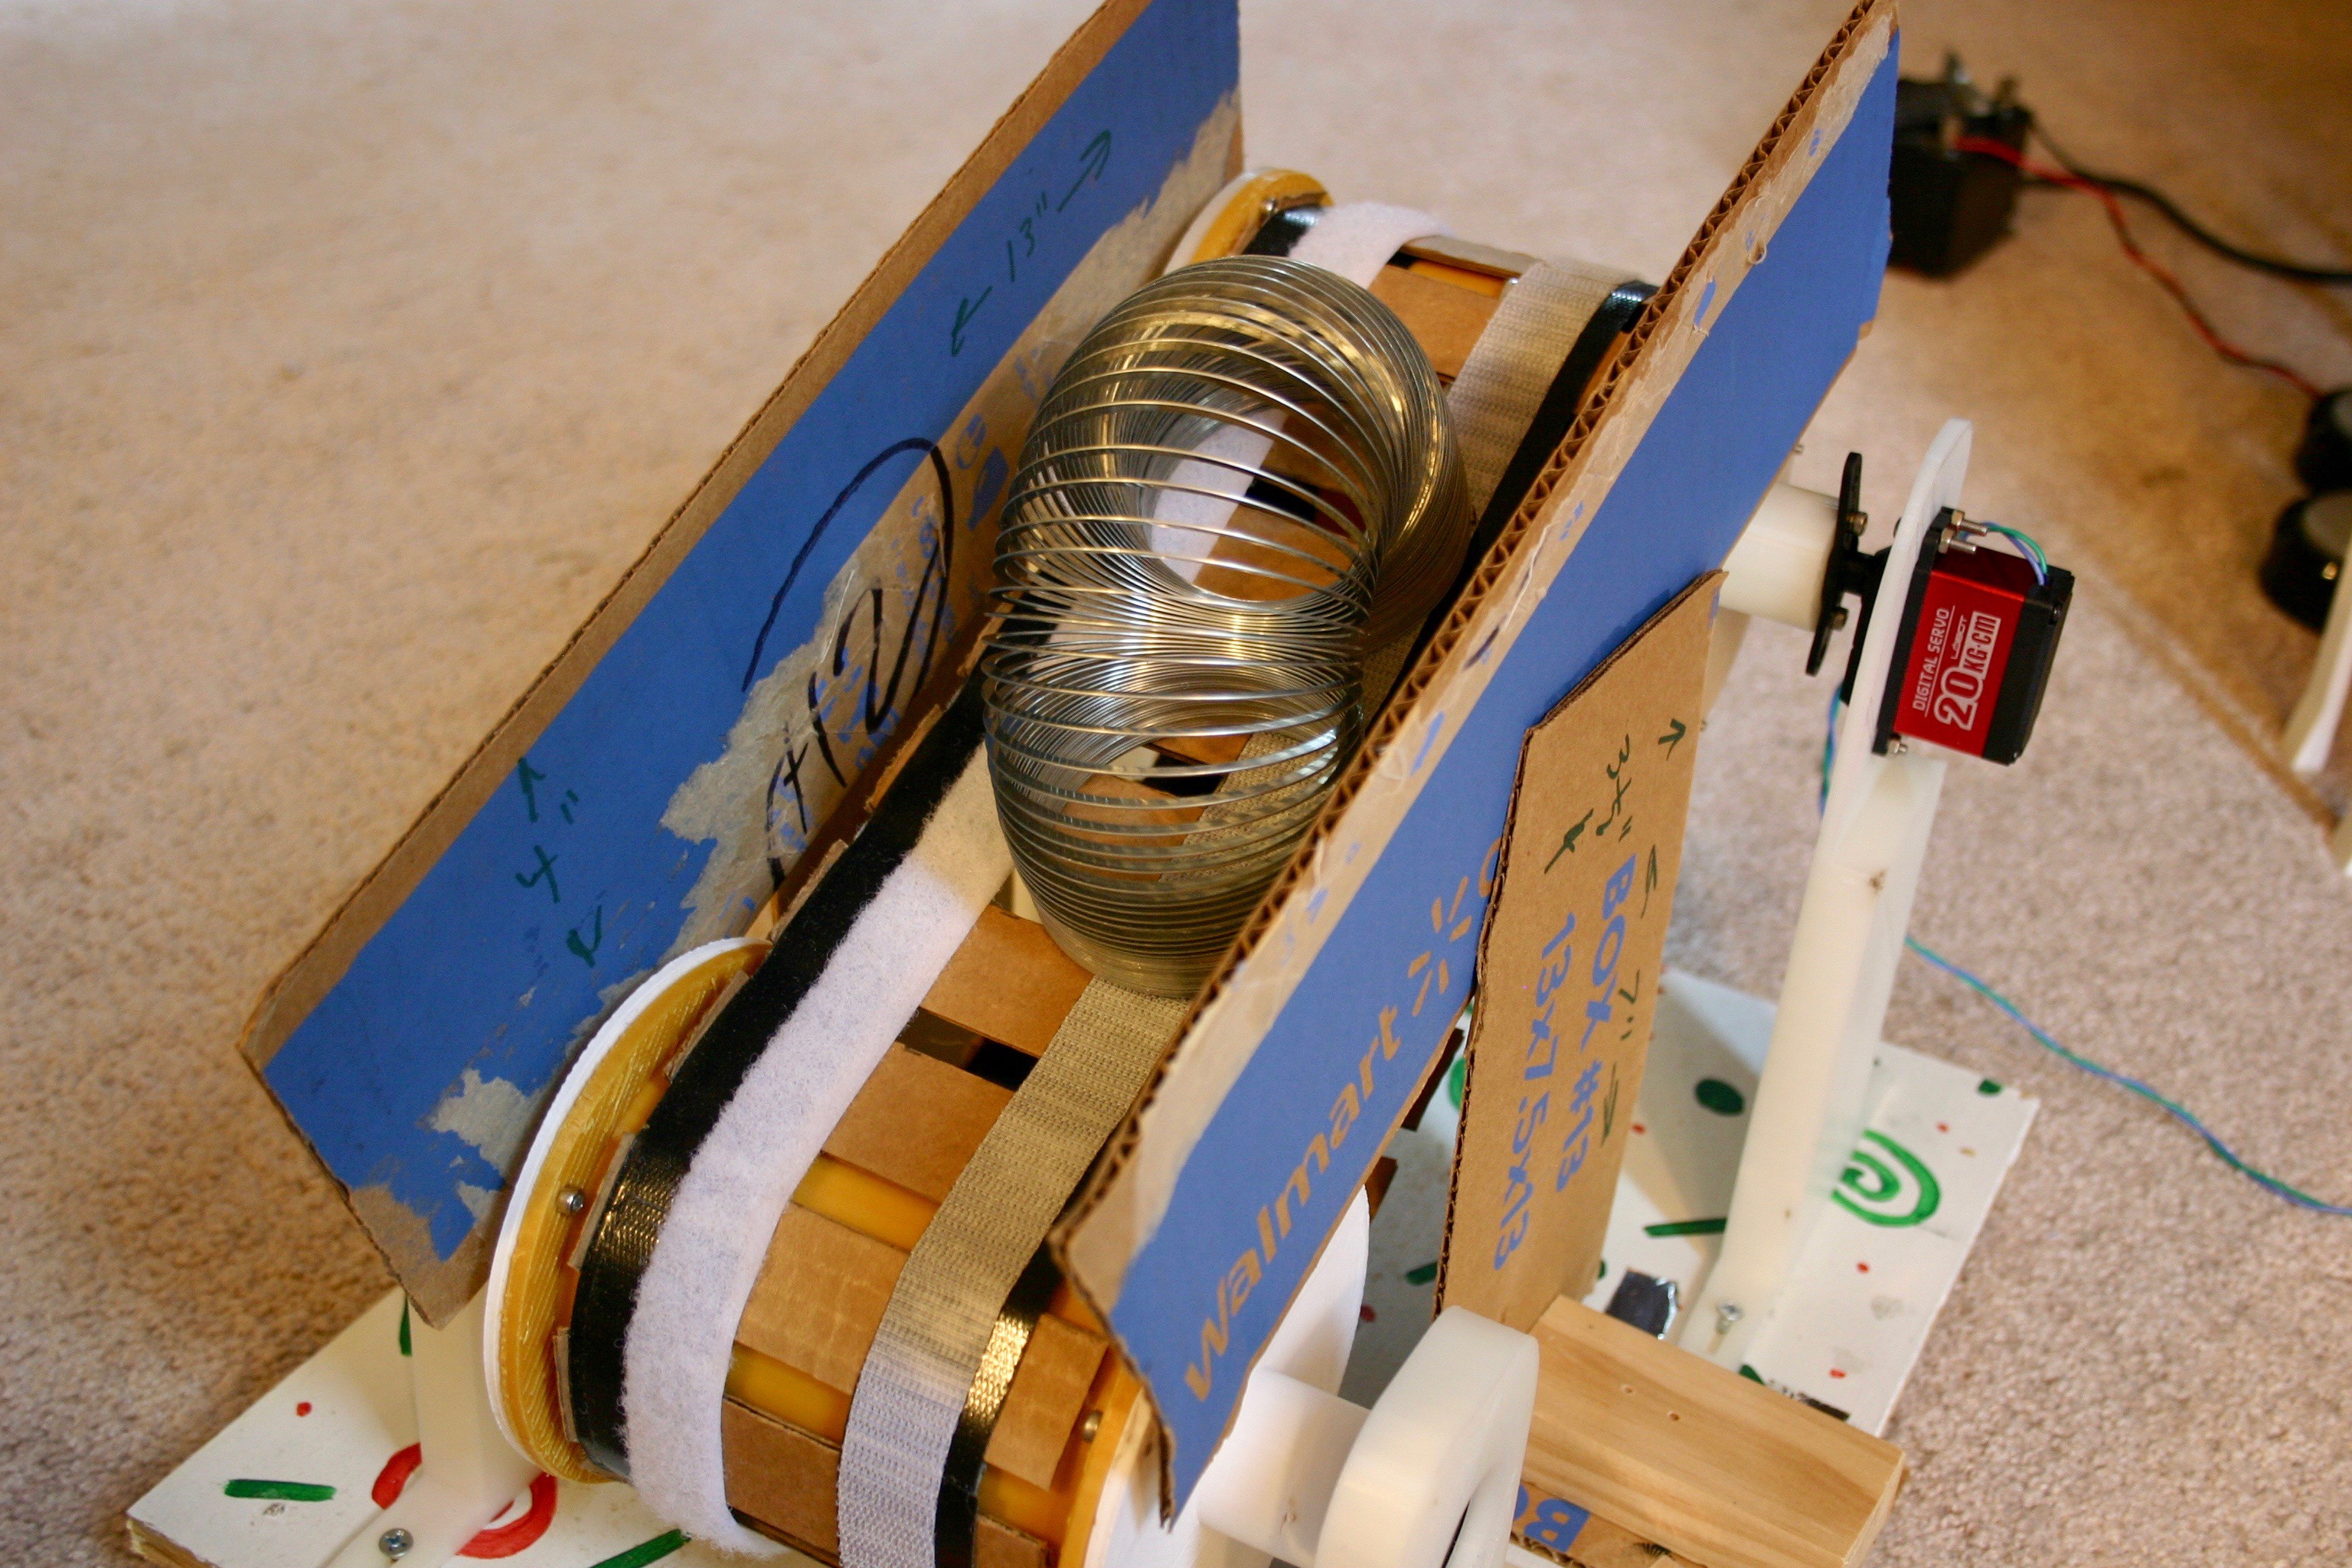
I turn the motor on (about 8 volts in my example--around 200 mA) and set the slinky on the bottom of the belt. As the slinky moves toward the top, I lift the upper part of the slinky and pull it downward. Two or three tries and you'll get the hang of it.
Usually it will run a minute or so until it runs off the bottom or top (feedback and stable acrylic walls might enhance the run time). I have achieved runs of over three minutes.


 polyfractal

 Rory
Rory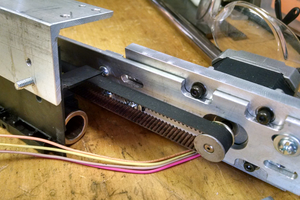
 willbaden
This is sooo cool! Fantastic idea! Please post a video of it in action!