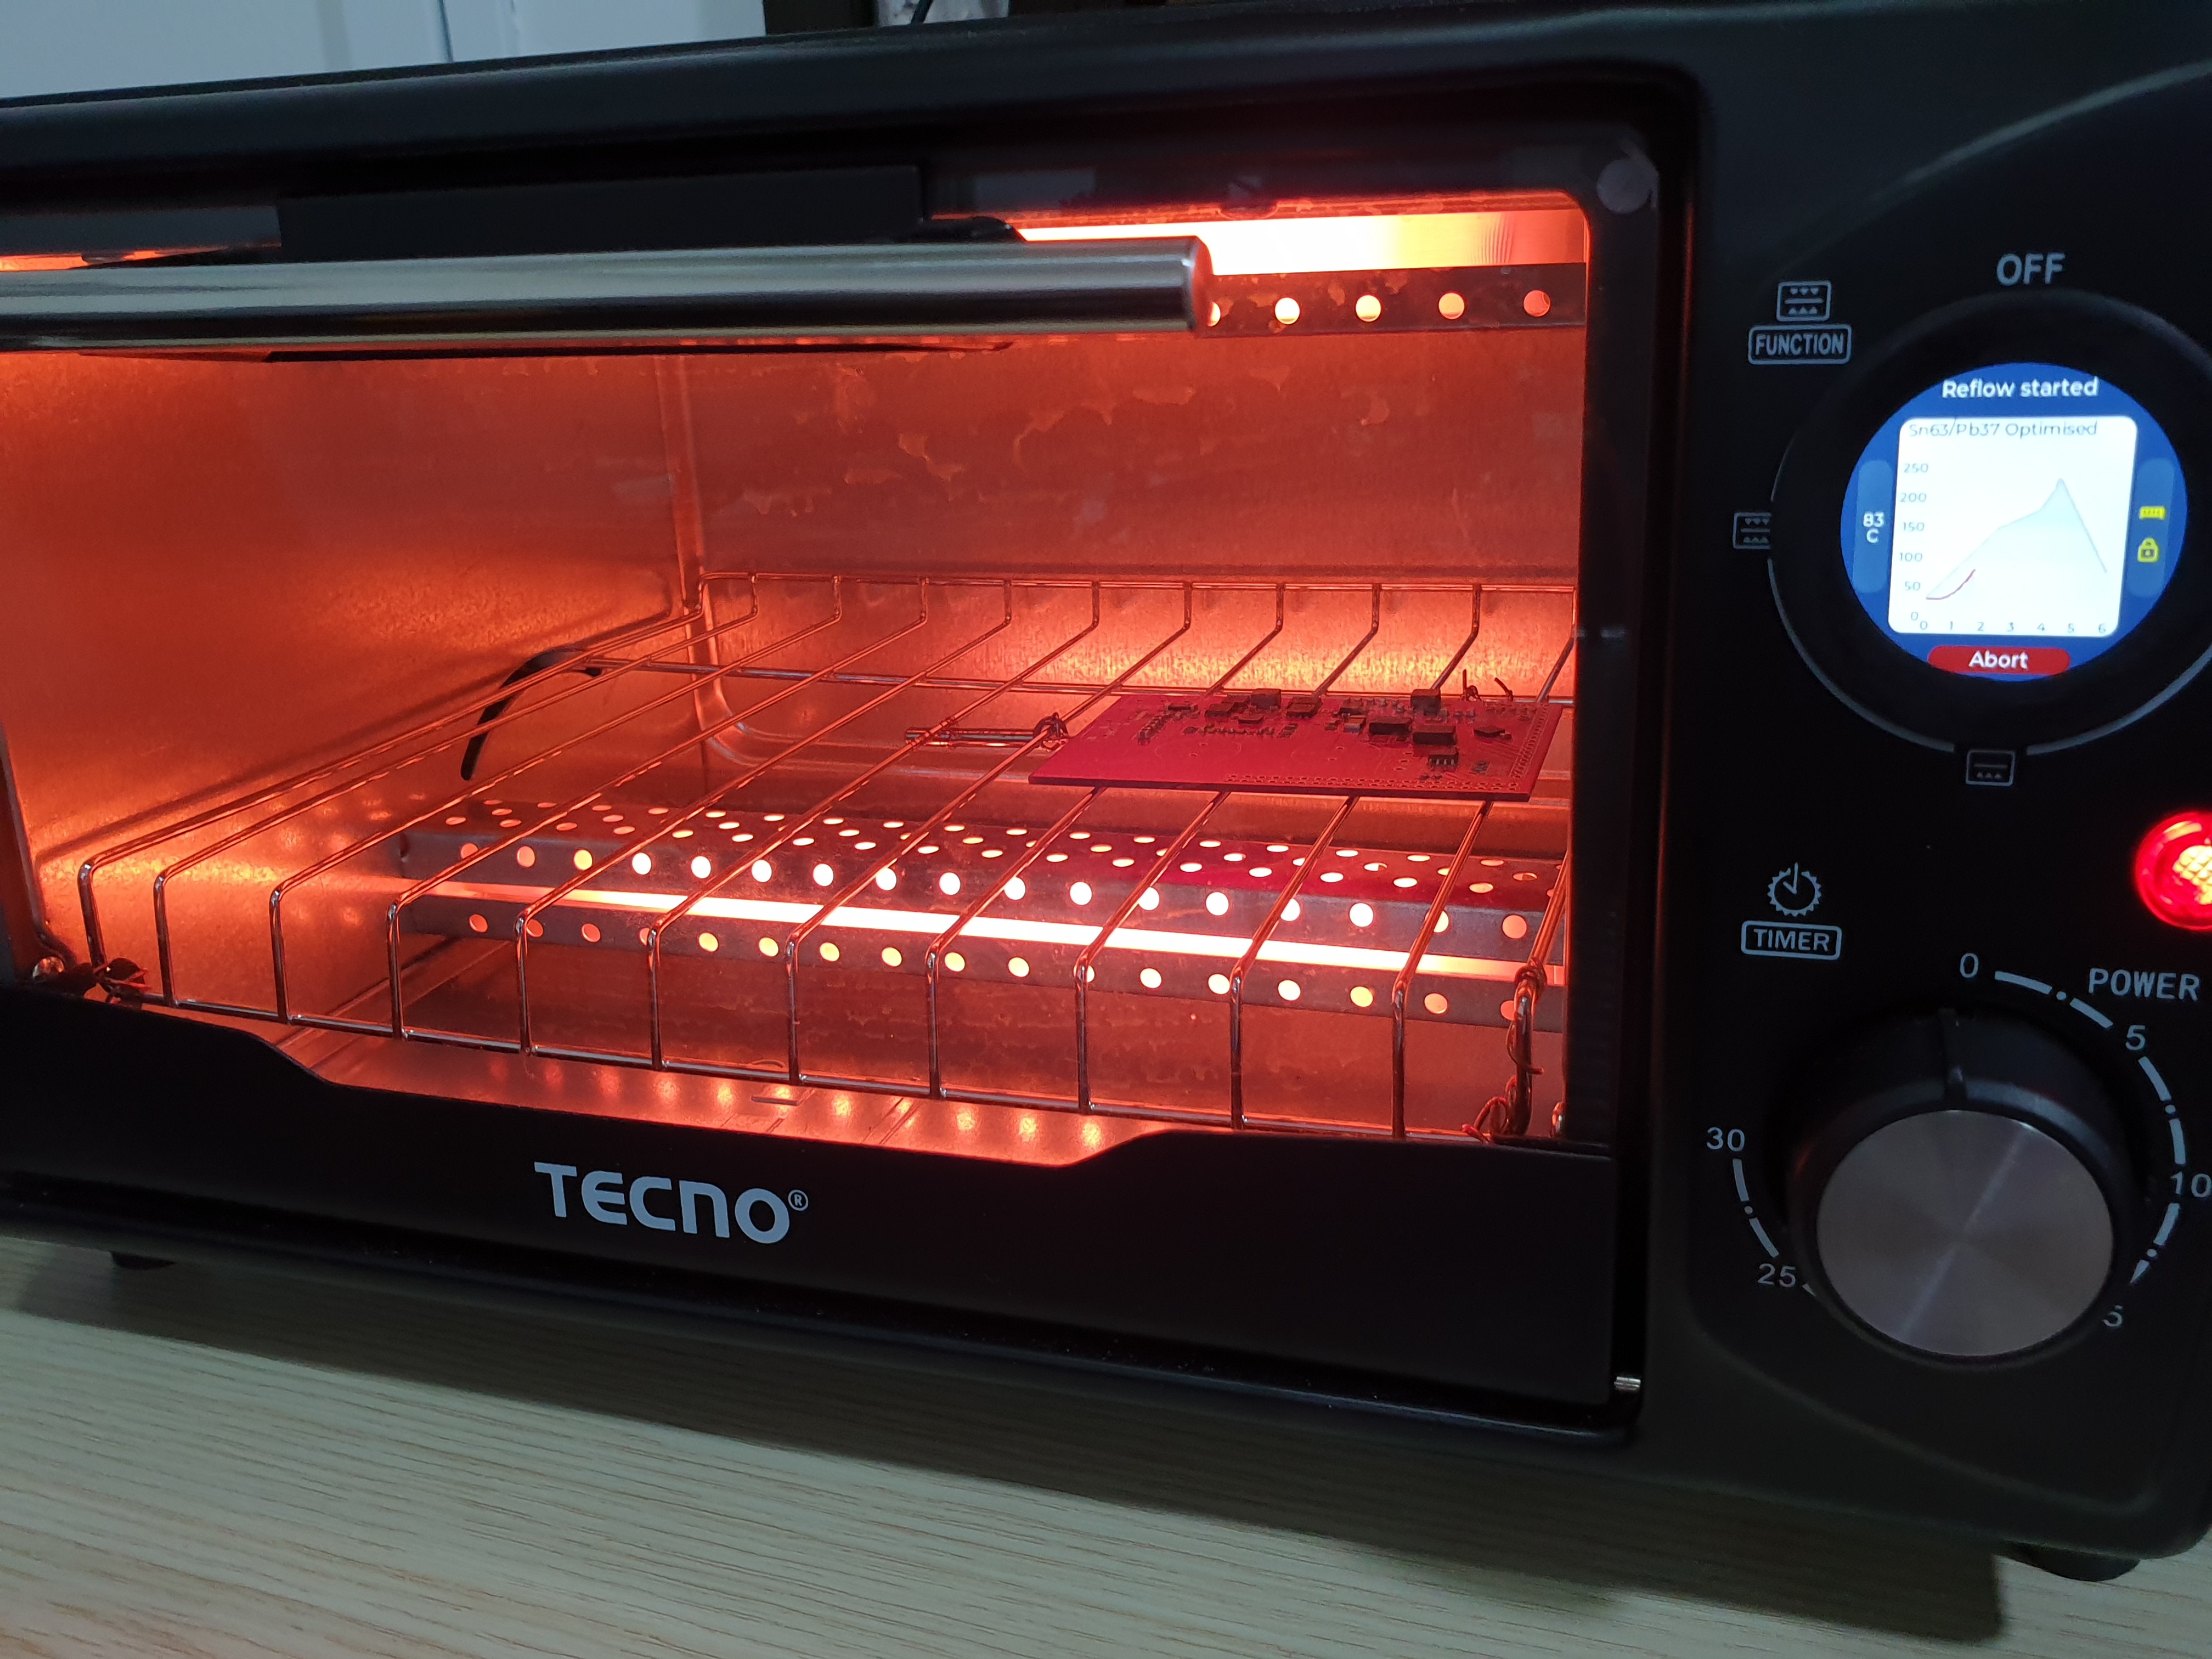
Overview:
A modern oven with all parts integrated within the oven body.
Features:
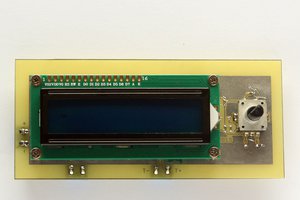
User interface (LVGL)
Rotary encoder input
Round IPS LCD (GC9A01 Controller)
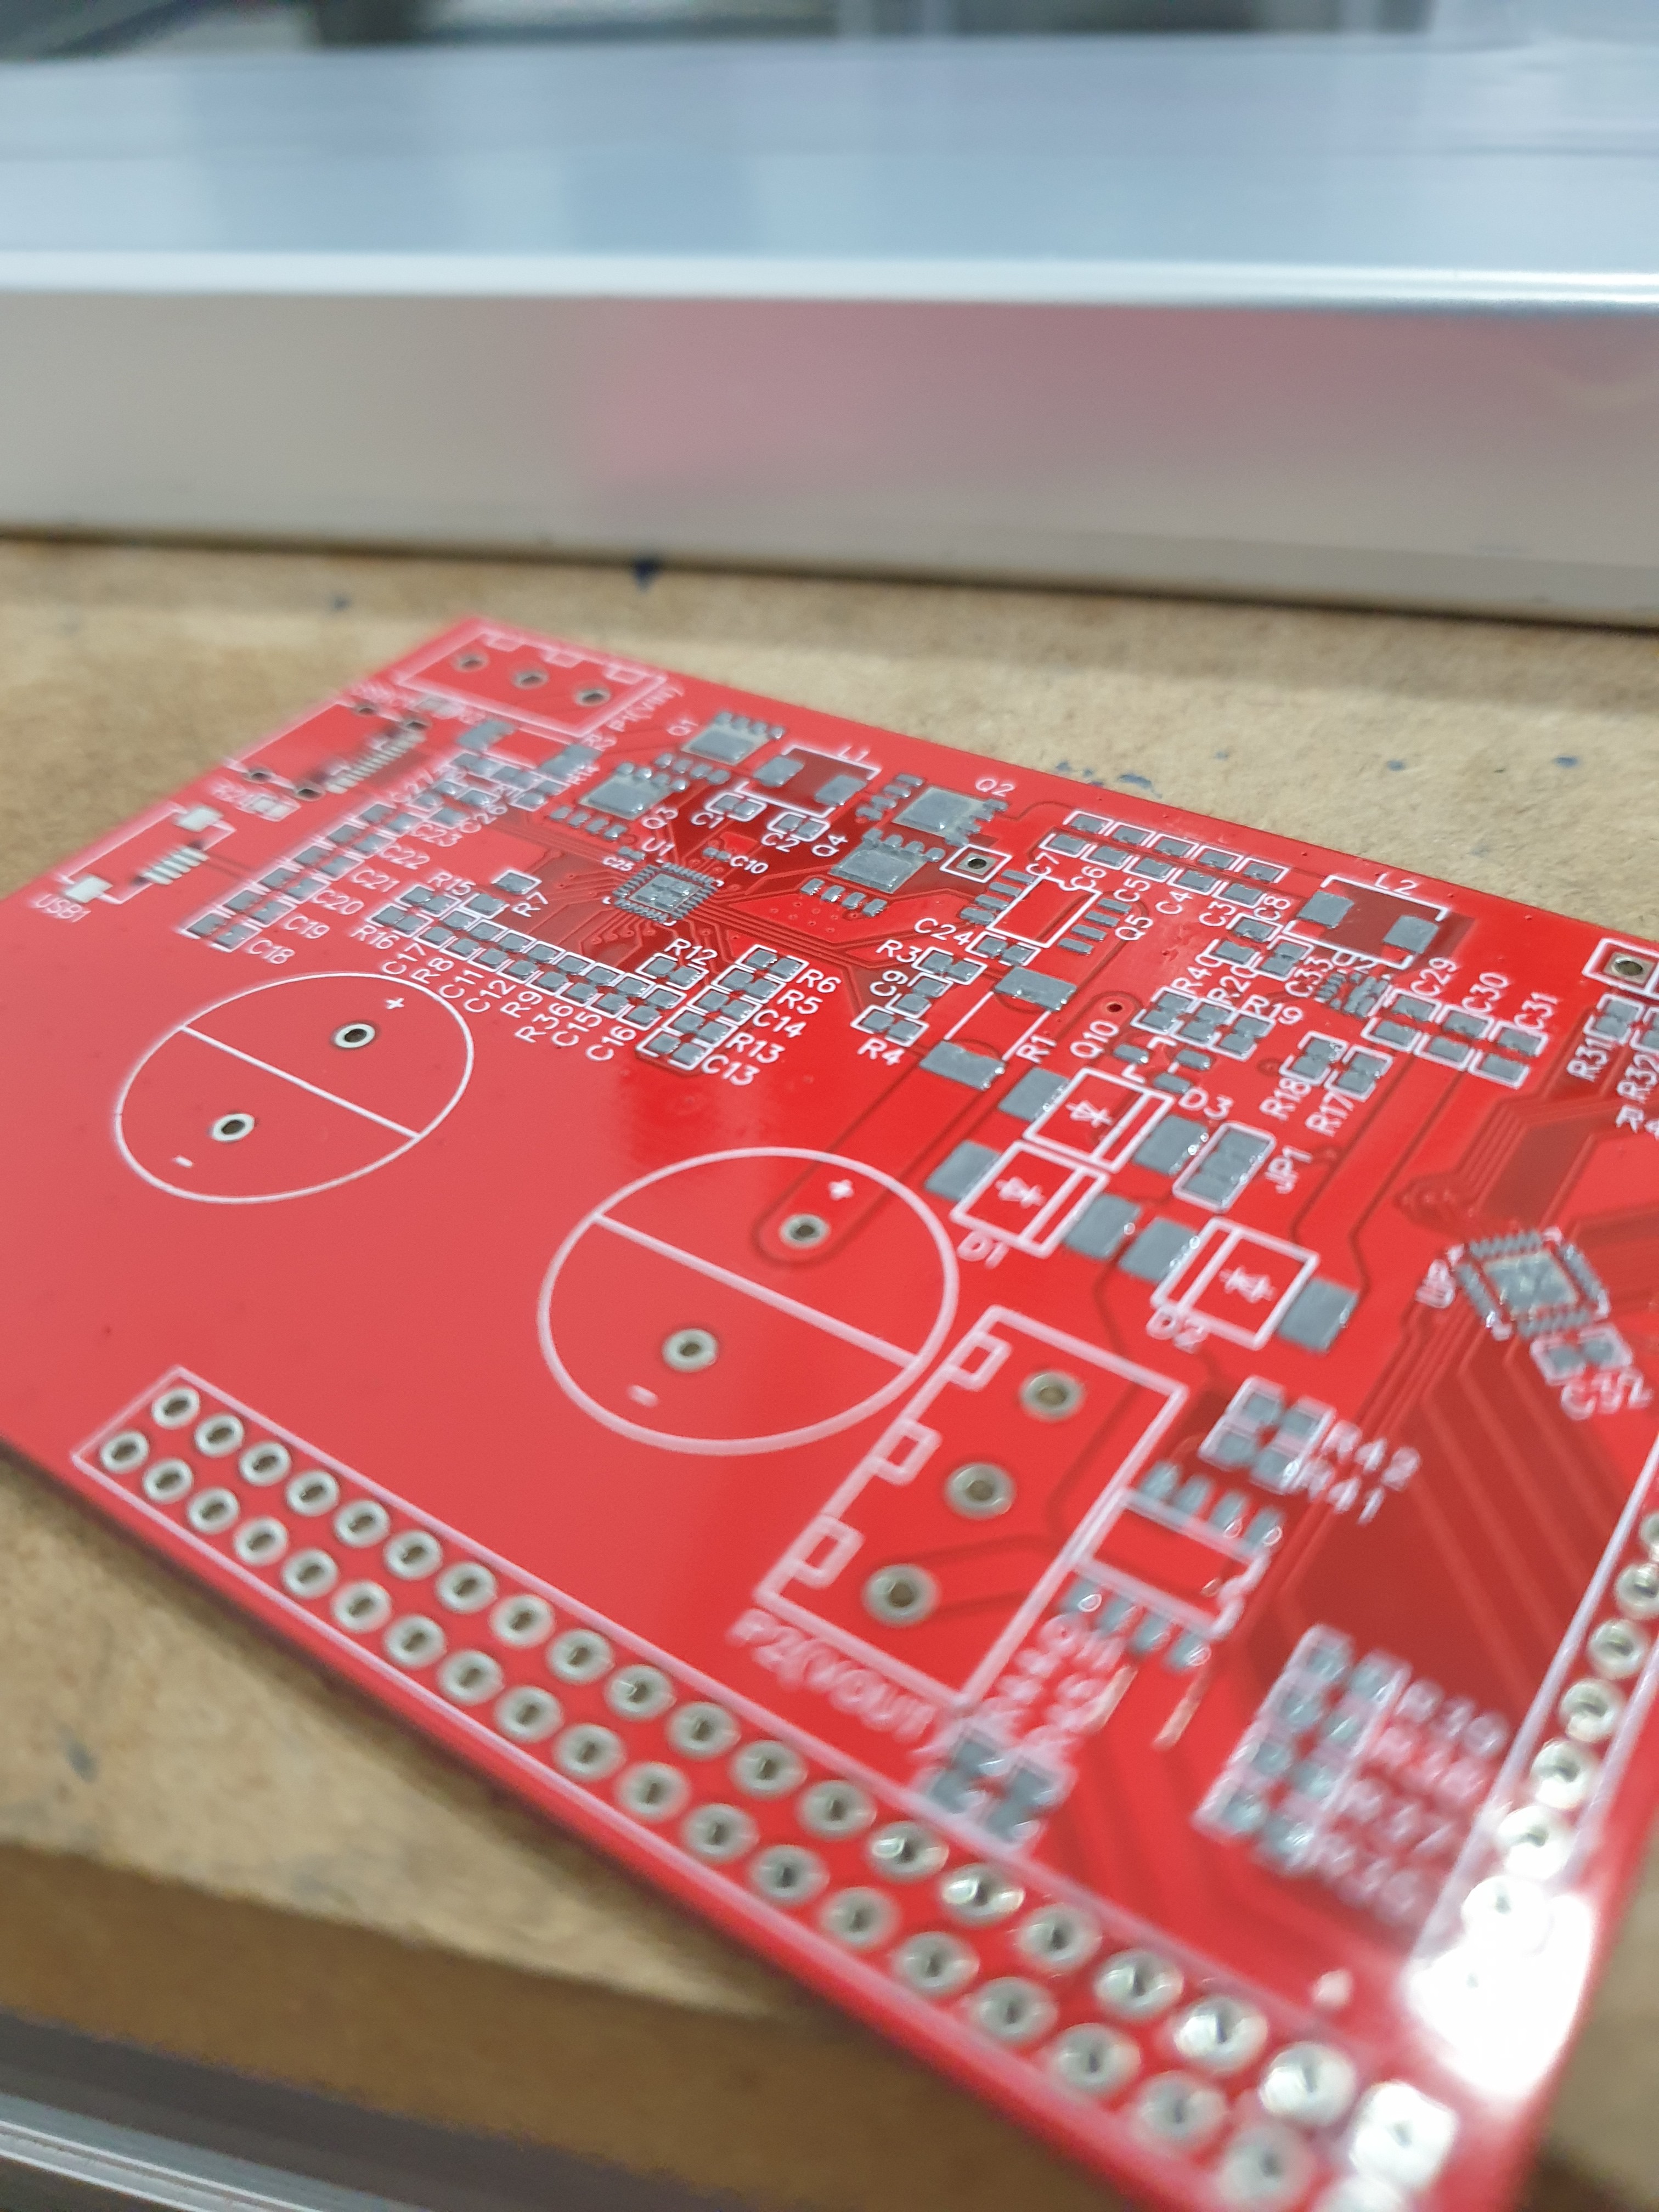
PT100 Temperature Sensor connected to MAX31865
PID Temperature Control
Automatic door control (LX-16A Servo with encoder)
Construction:
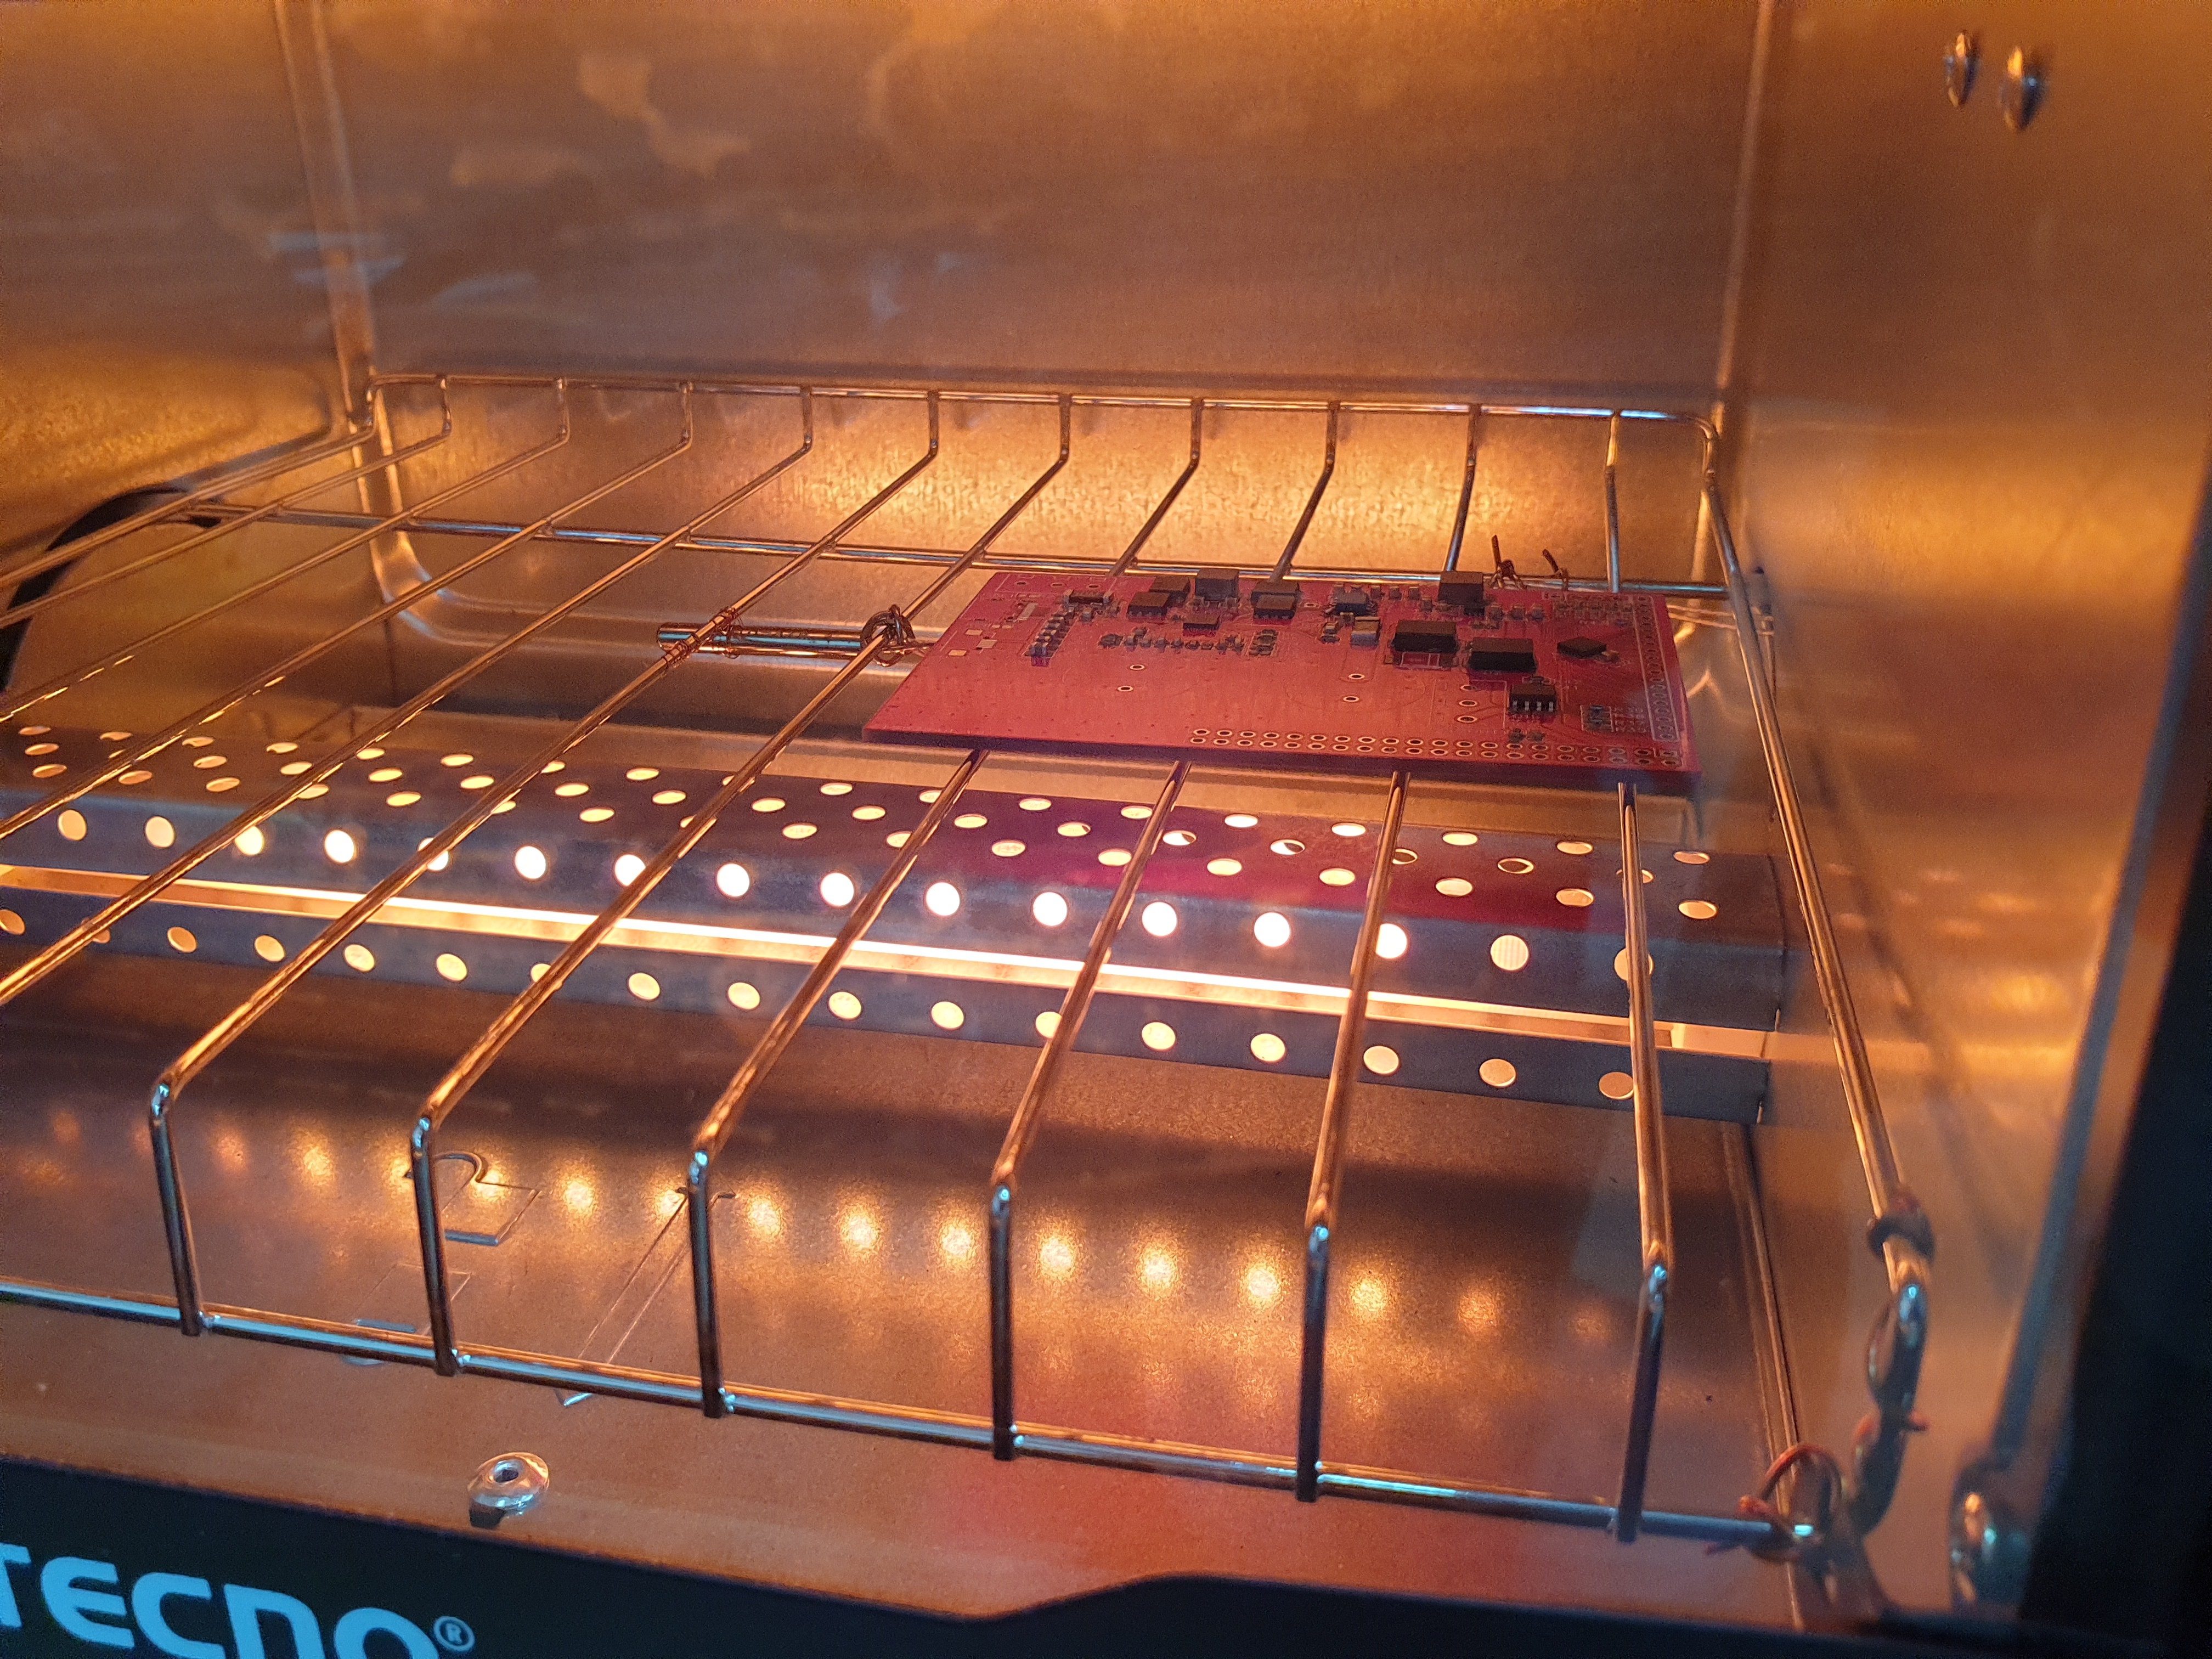
A 1000 Watt Toaster Oven costing only 39 SGD (29 USD) was used, some modifications to the oven was made to mount the servo motor and SSR, but the front panel was untouched, one of the original knobs was also reused.
5V power was provided by a PSU from 220V.
An ESP32 development board (off the shelf), MAX31865 breakout board was enclosed in an box within the oven.
A 3D printer was used to print a part that would secure the rotary encoder onto the front panel.
Insulation was provided by carbon felt but efficacy was not tested.


 Aleksander Kawęczyński
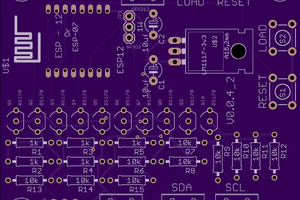
 jimmayhugh
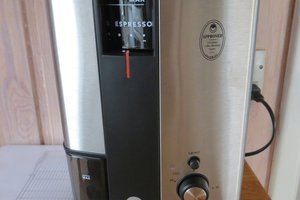
 David Gonzalez
Very awesome project, I'm doing something similar and just have a question about what your approach was for the UI? Did you design it by code, use emulator or GUI editor that generated the code?