Close
0%
0%

But mom, just one more game! [Arcade machine]

If you are an 80's kid, there is a great chance that you know what am I talking about, that's right, arcades!

Similar projects worth following
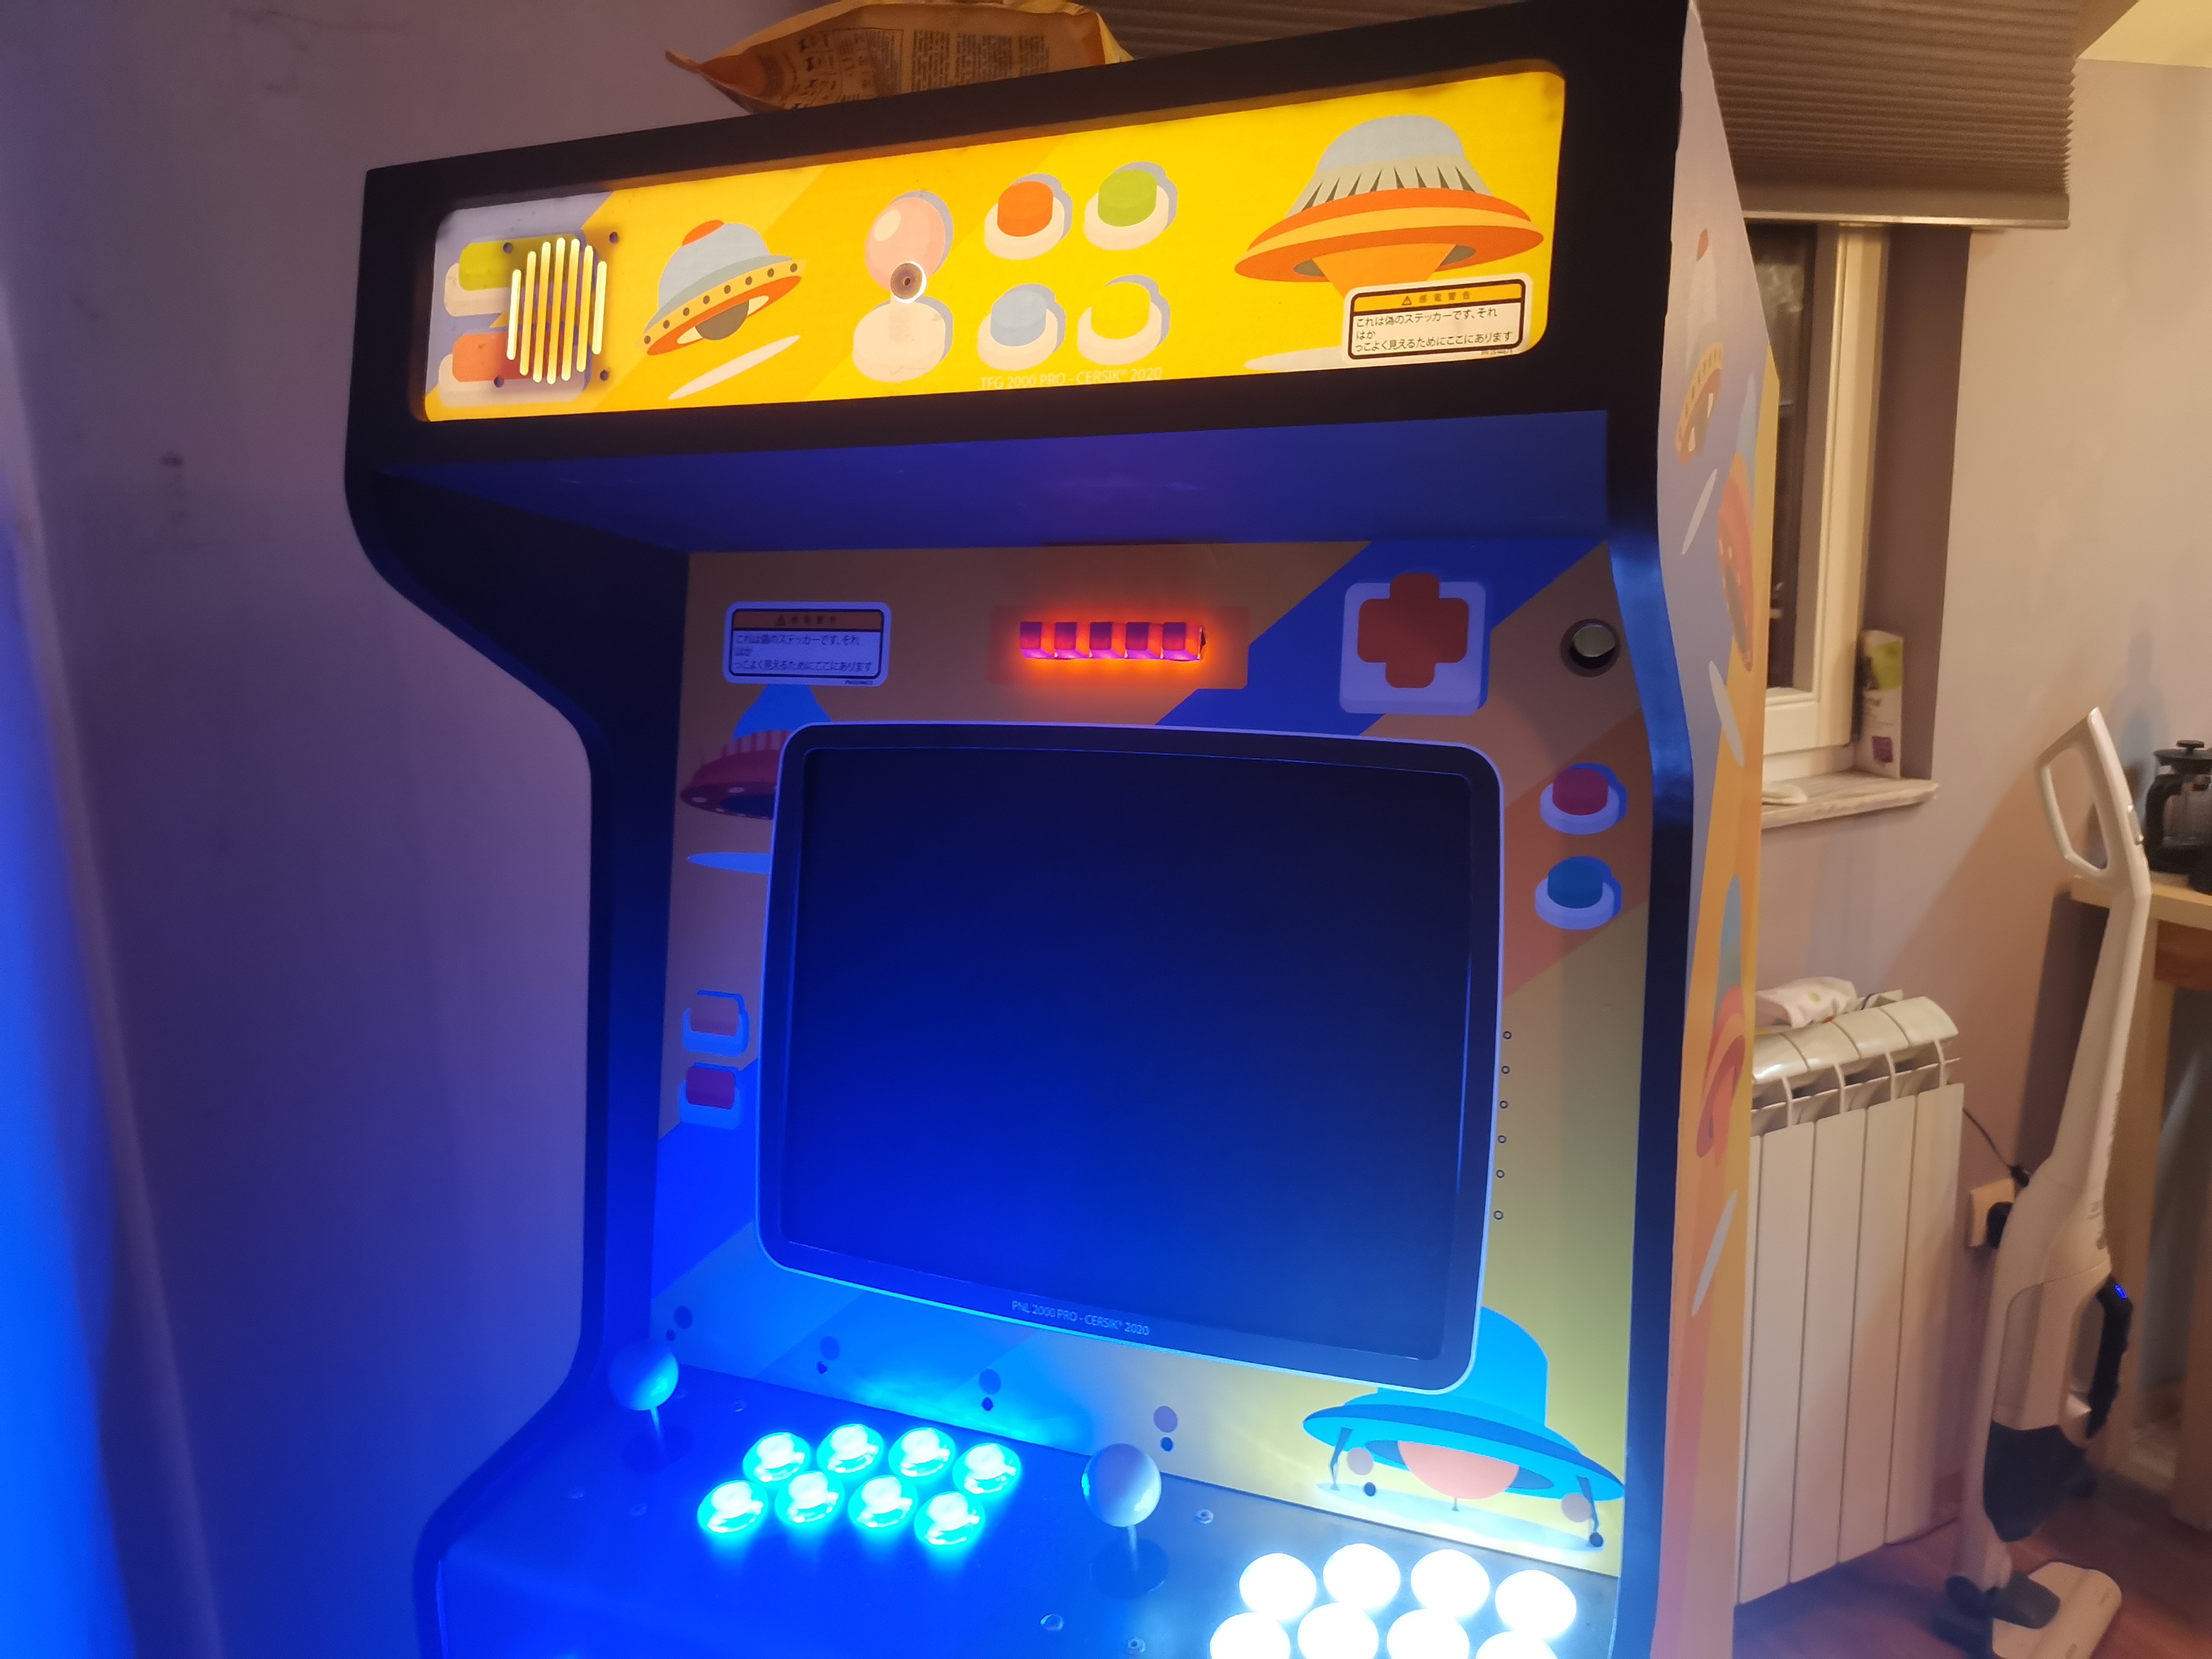
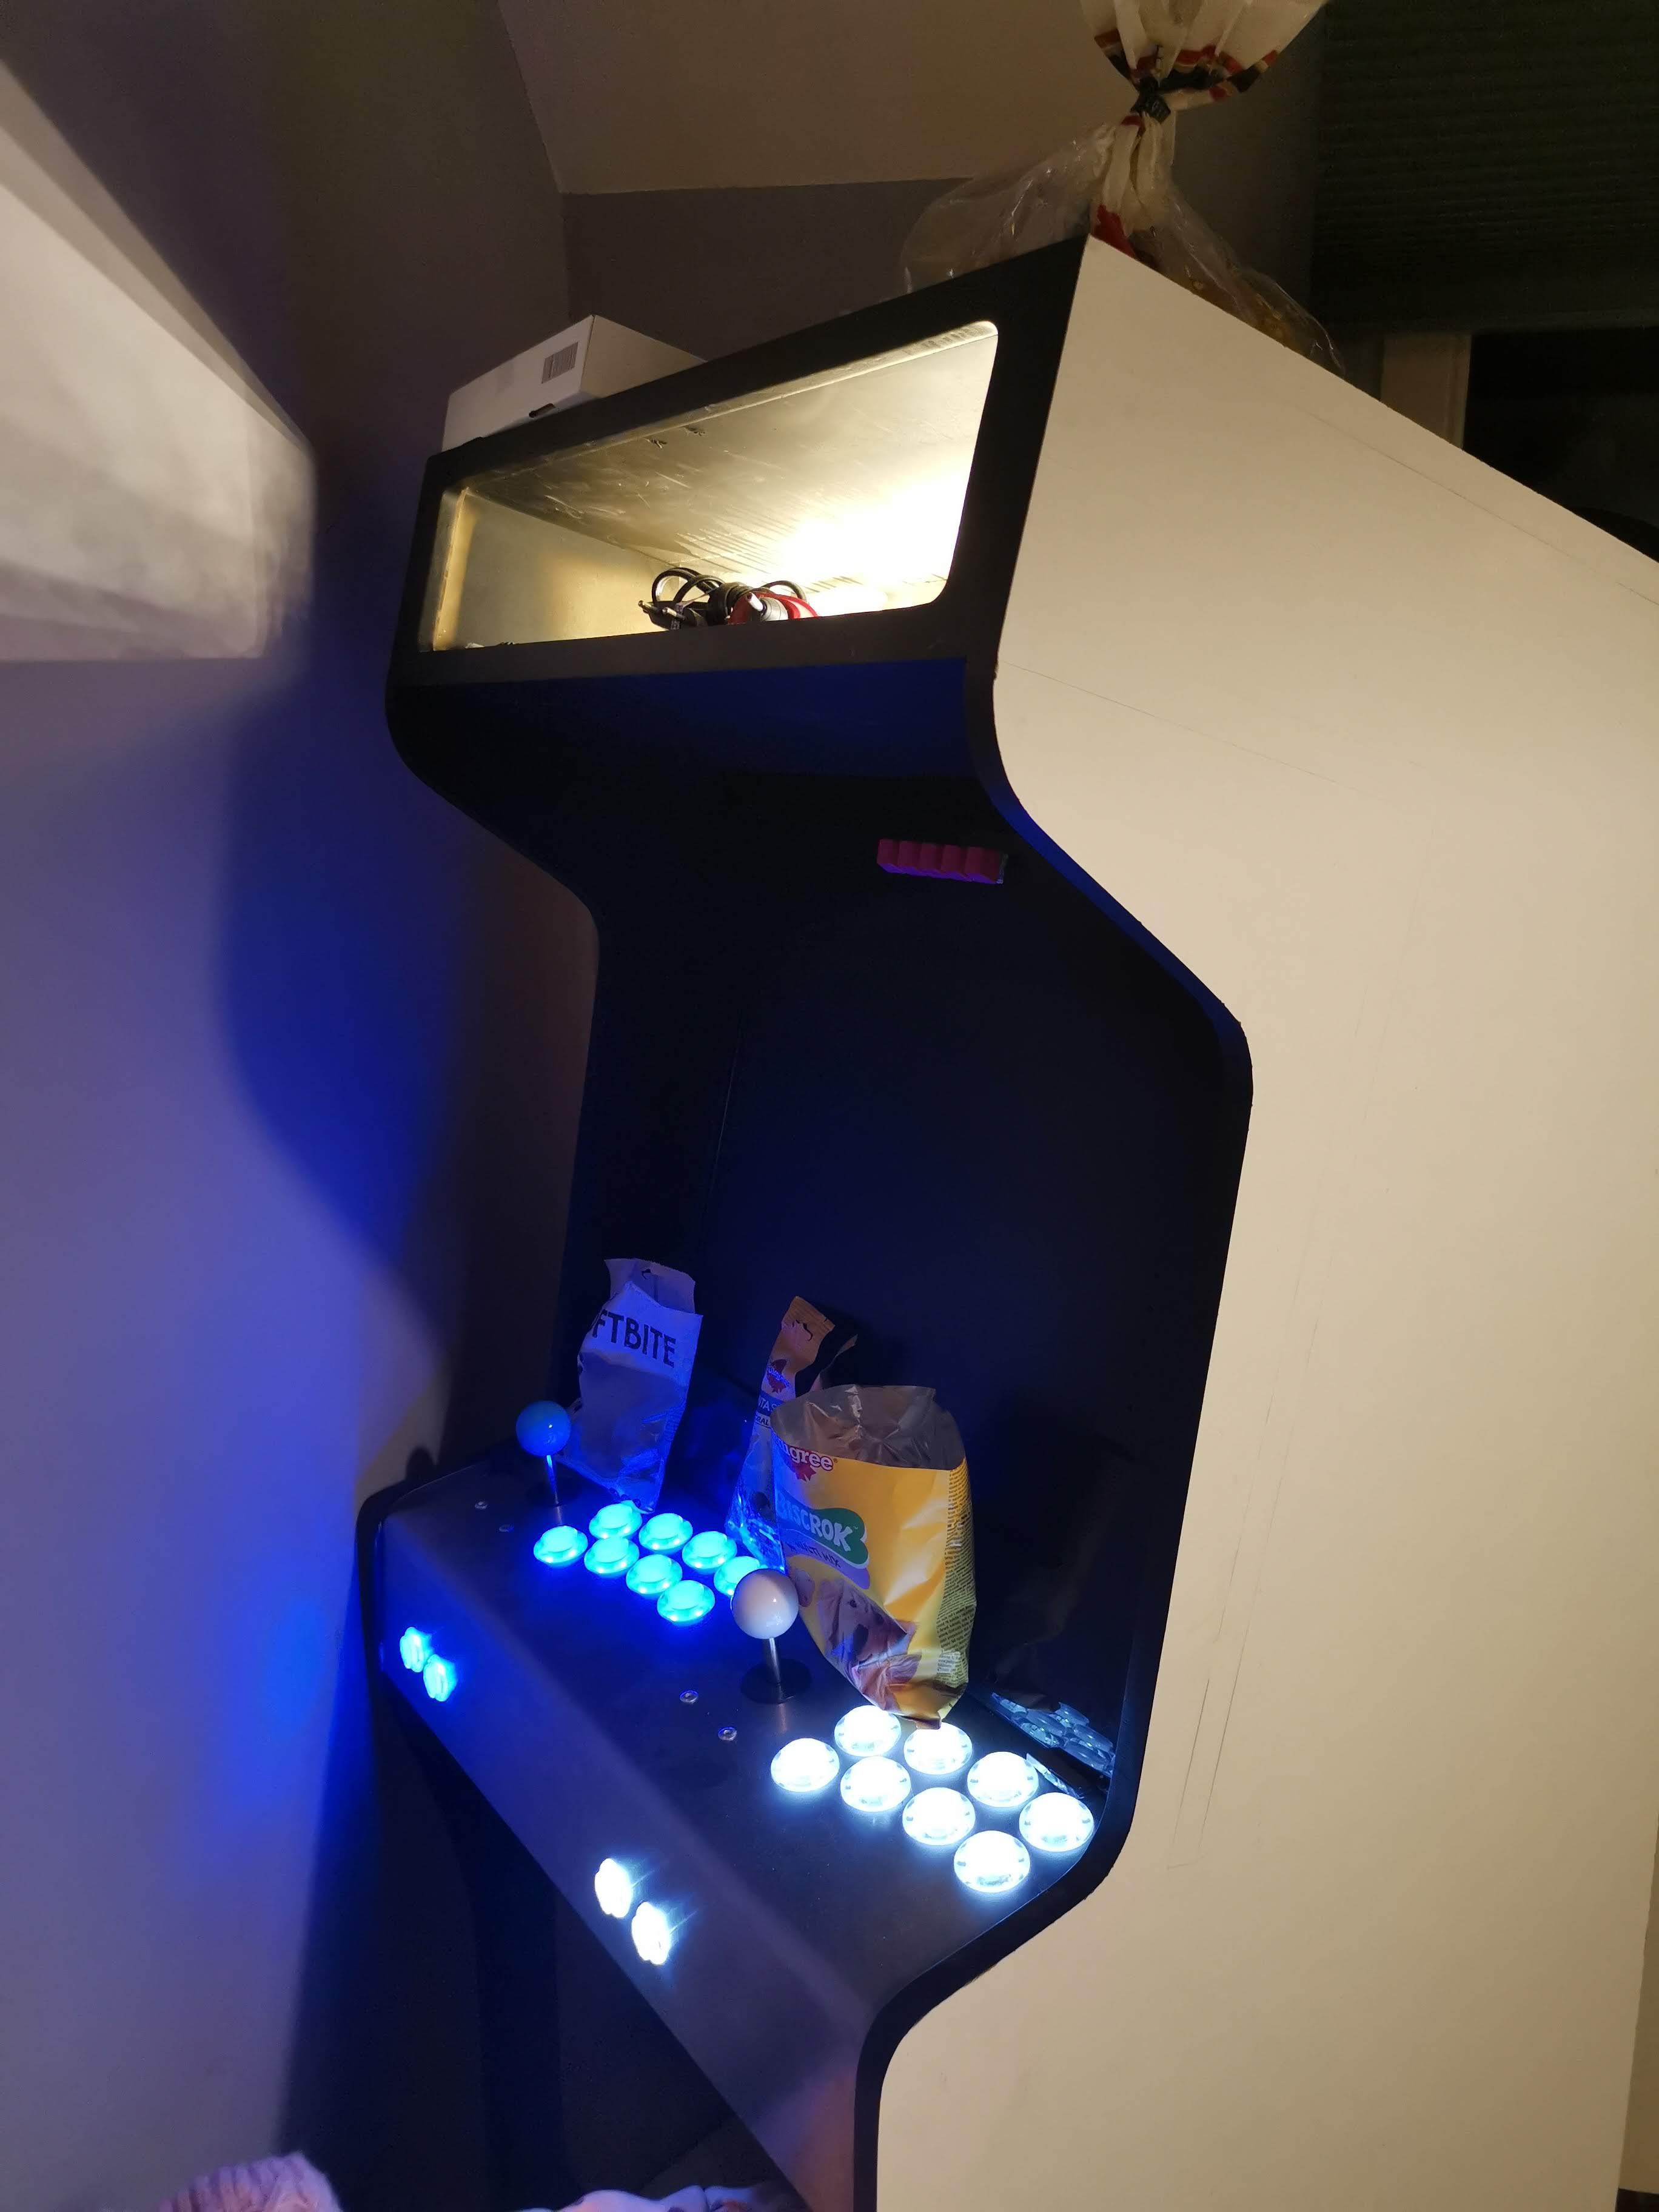
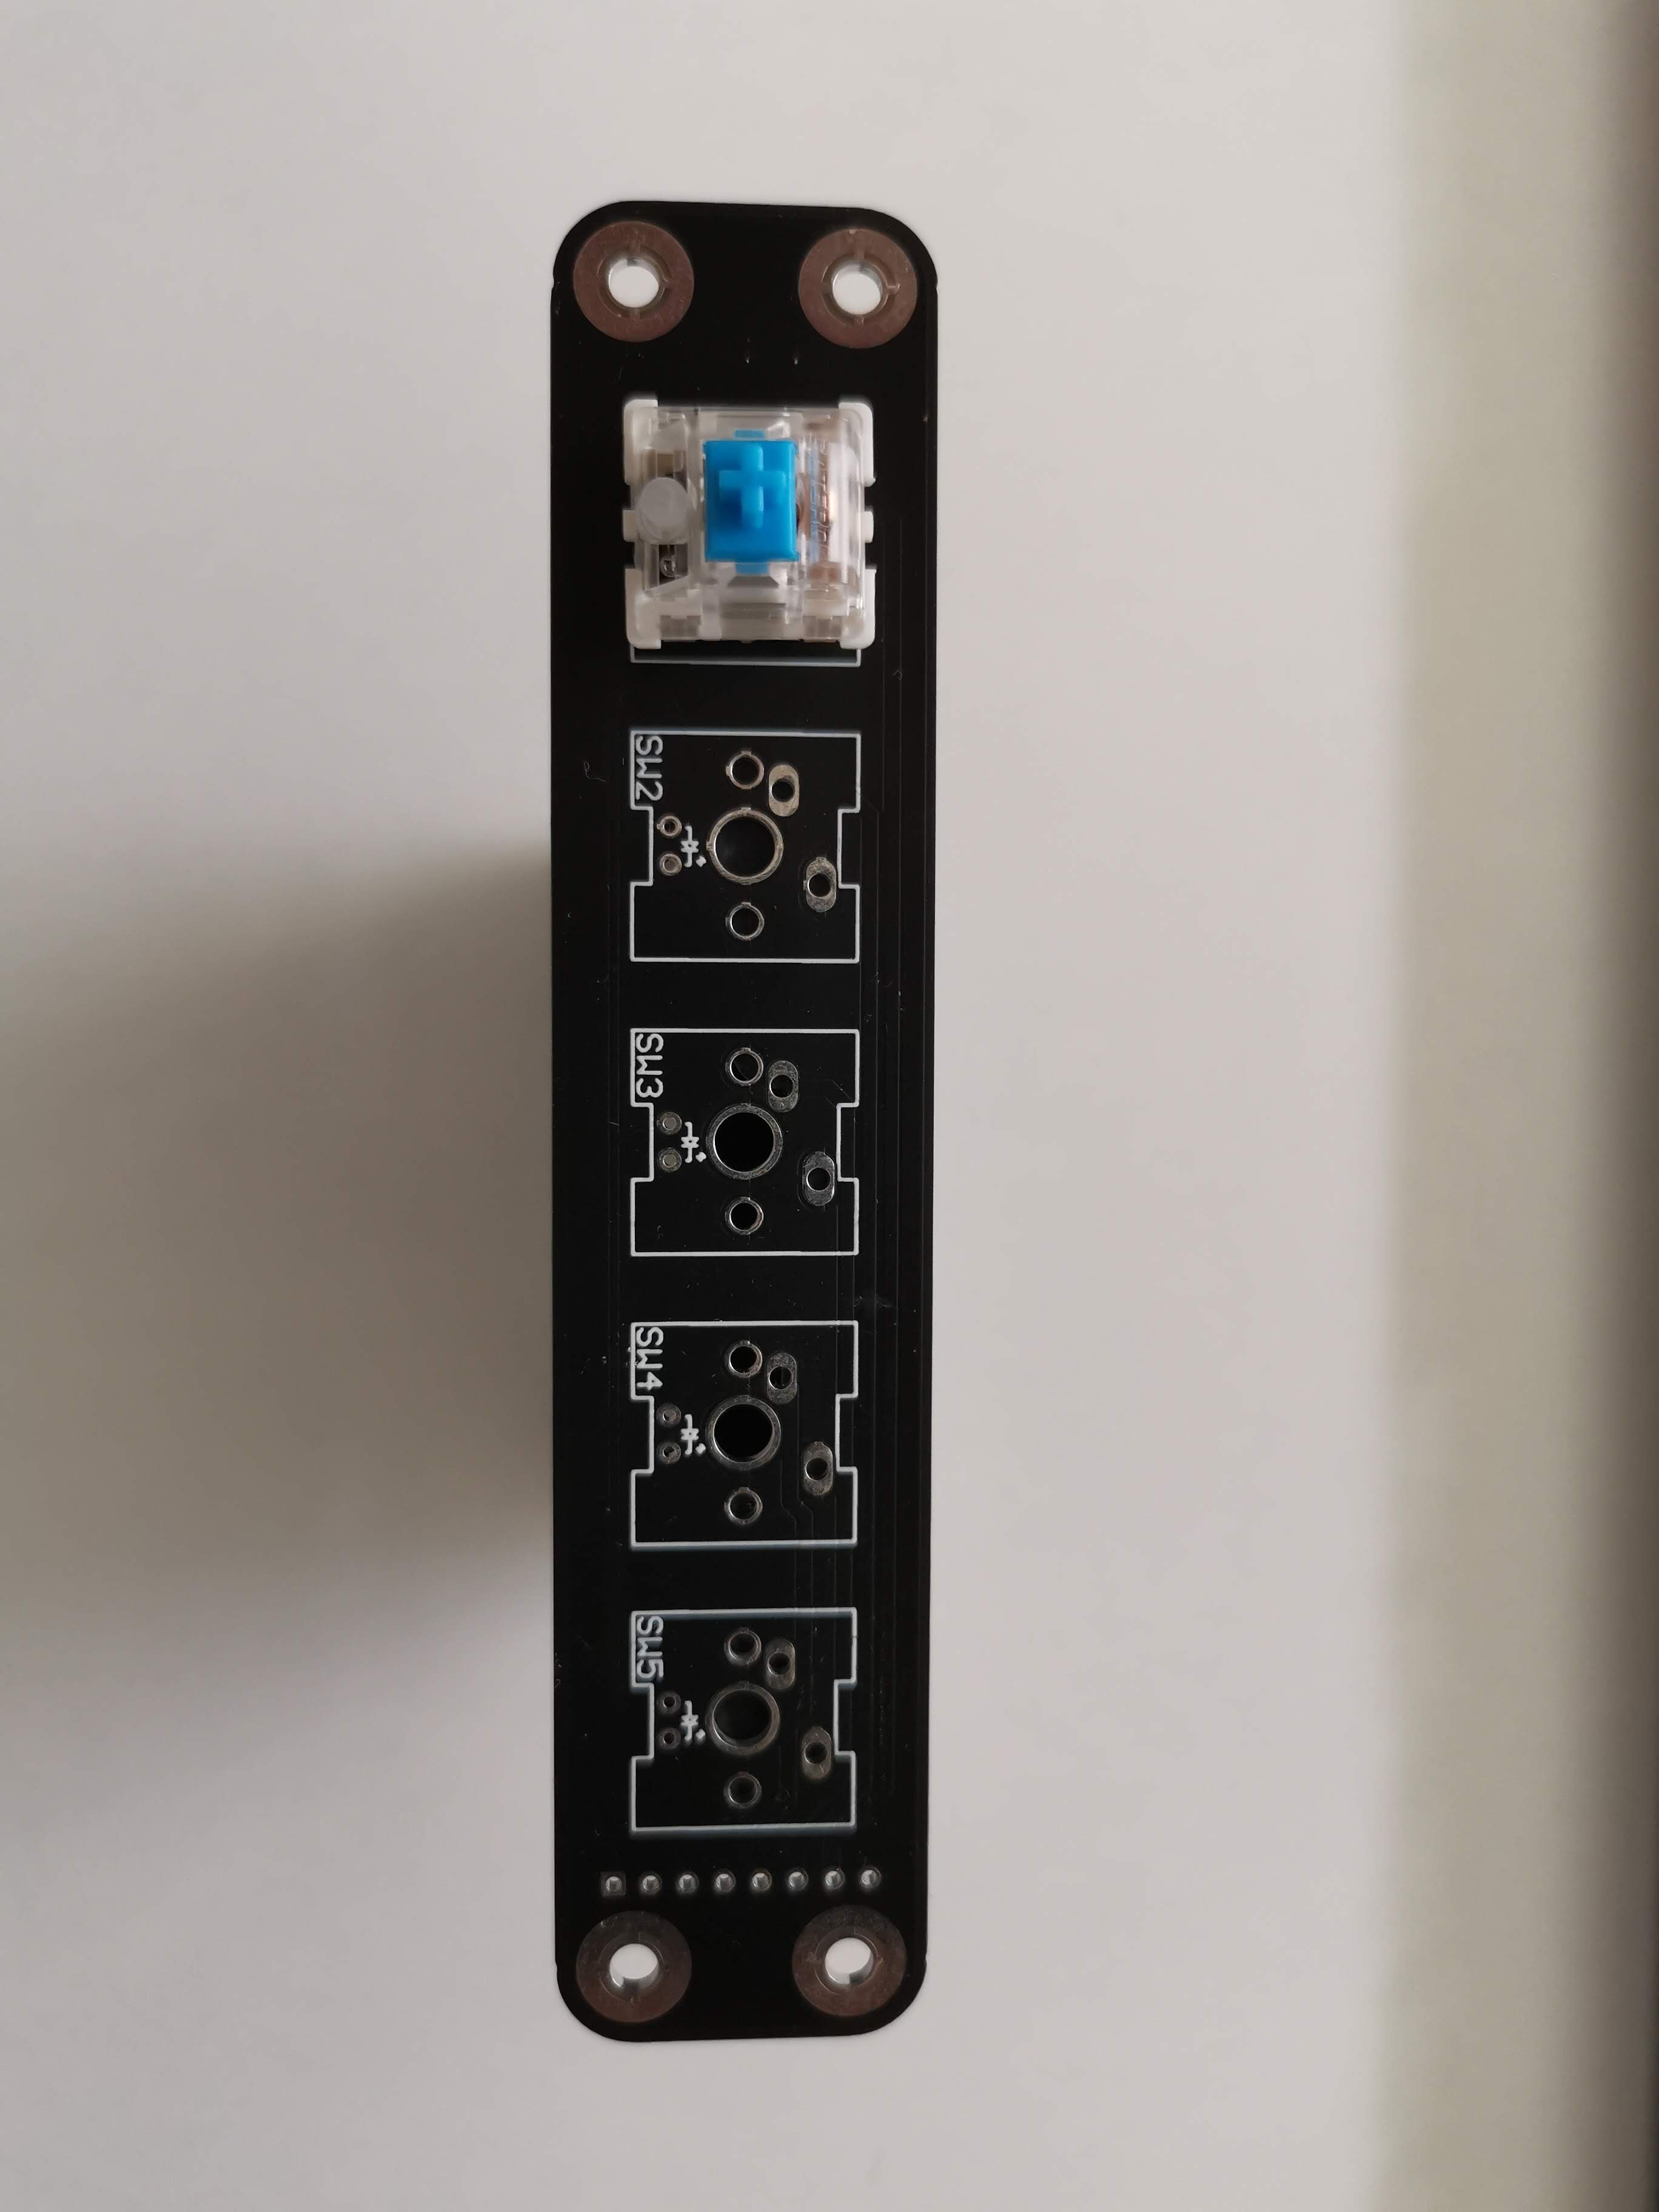
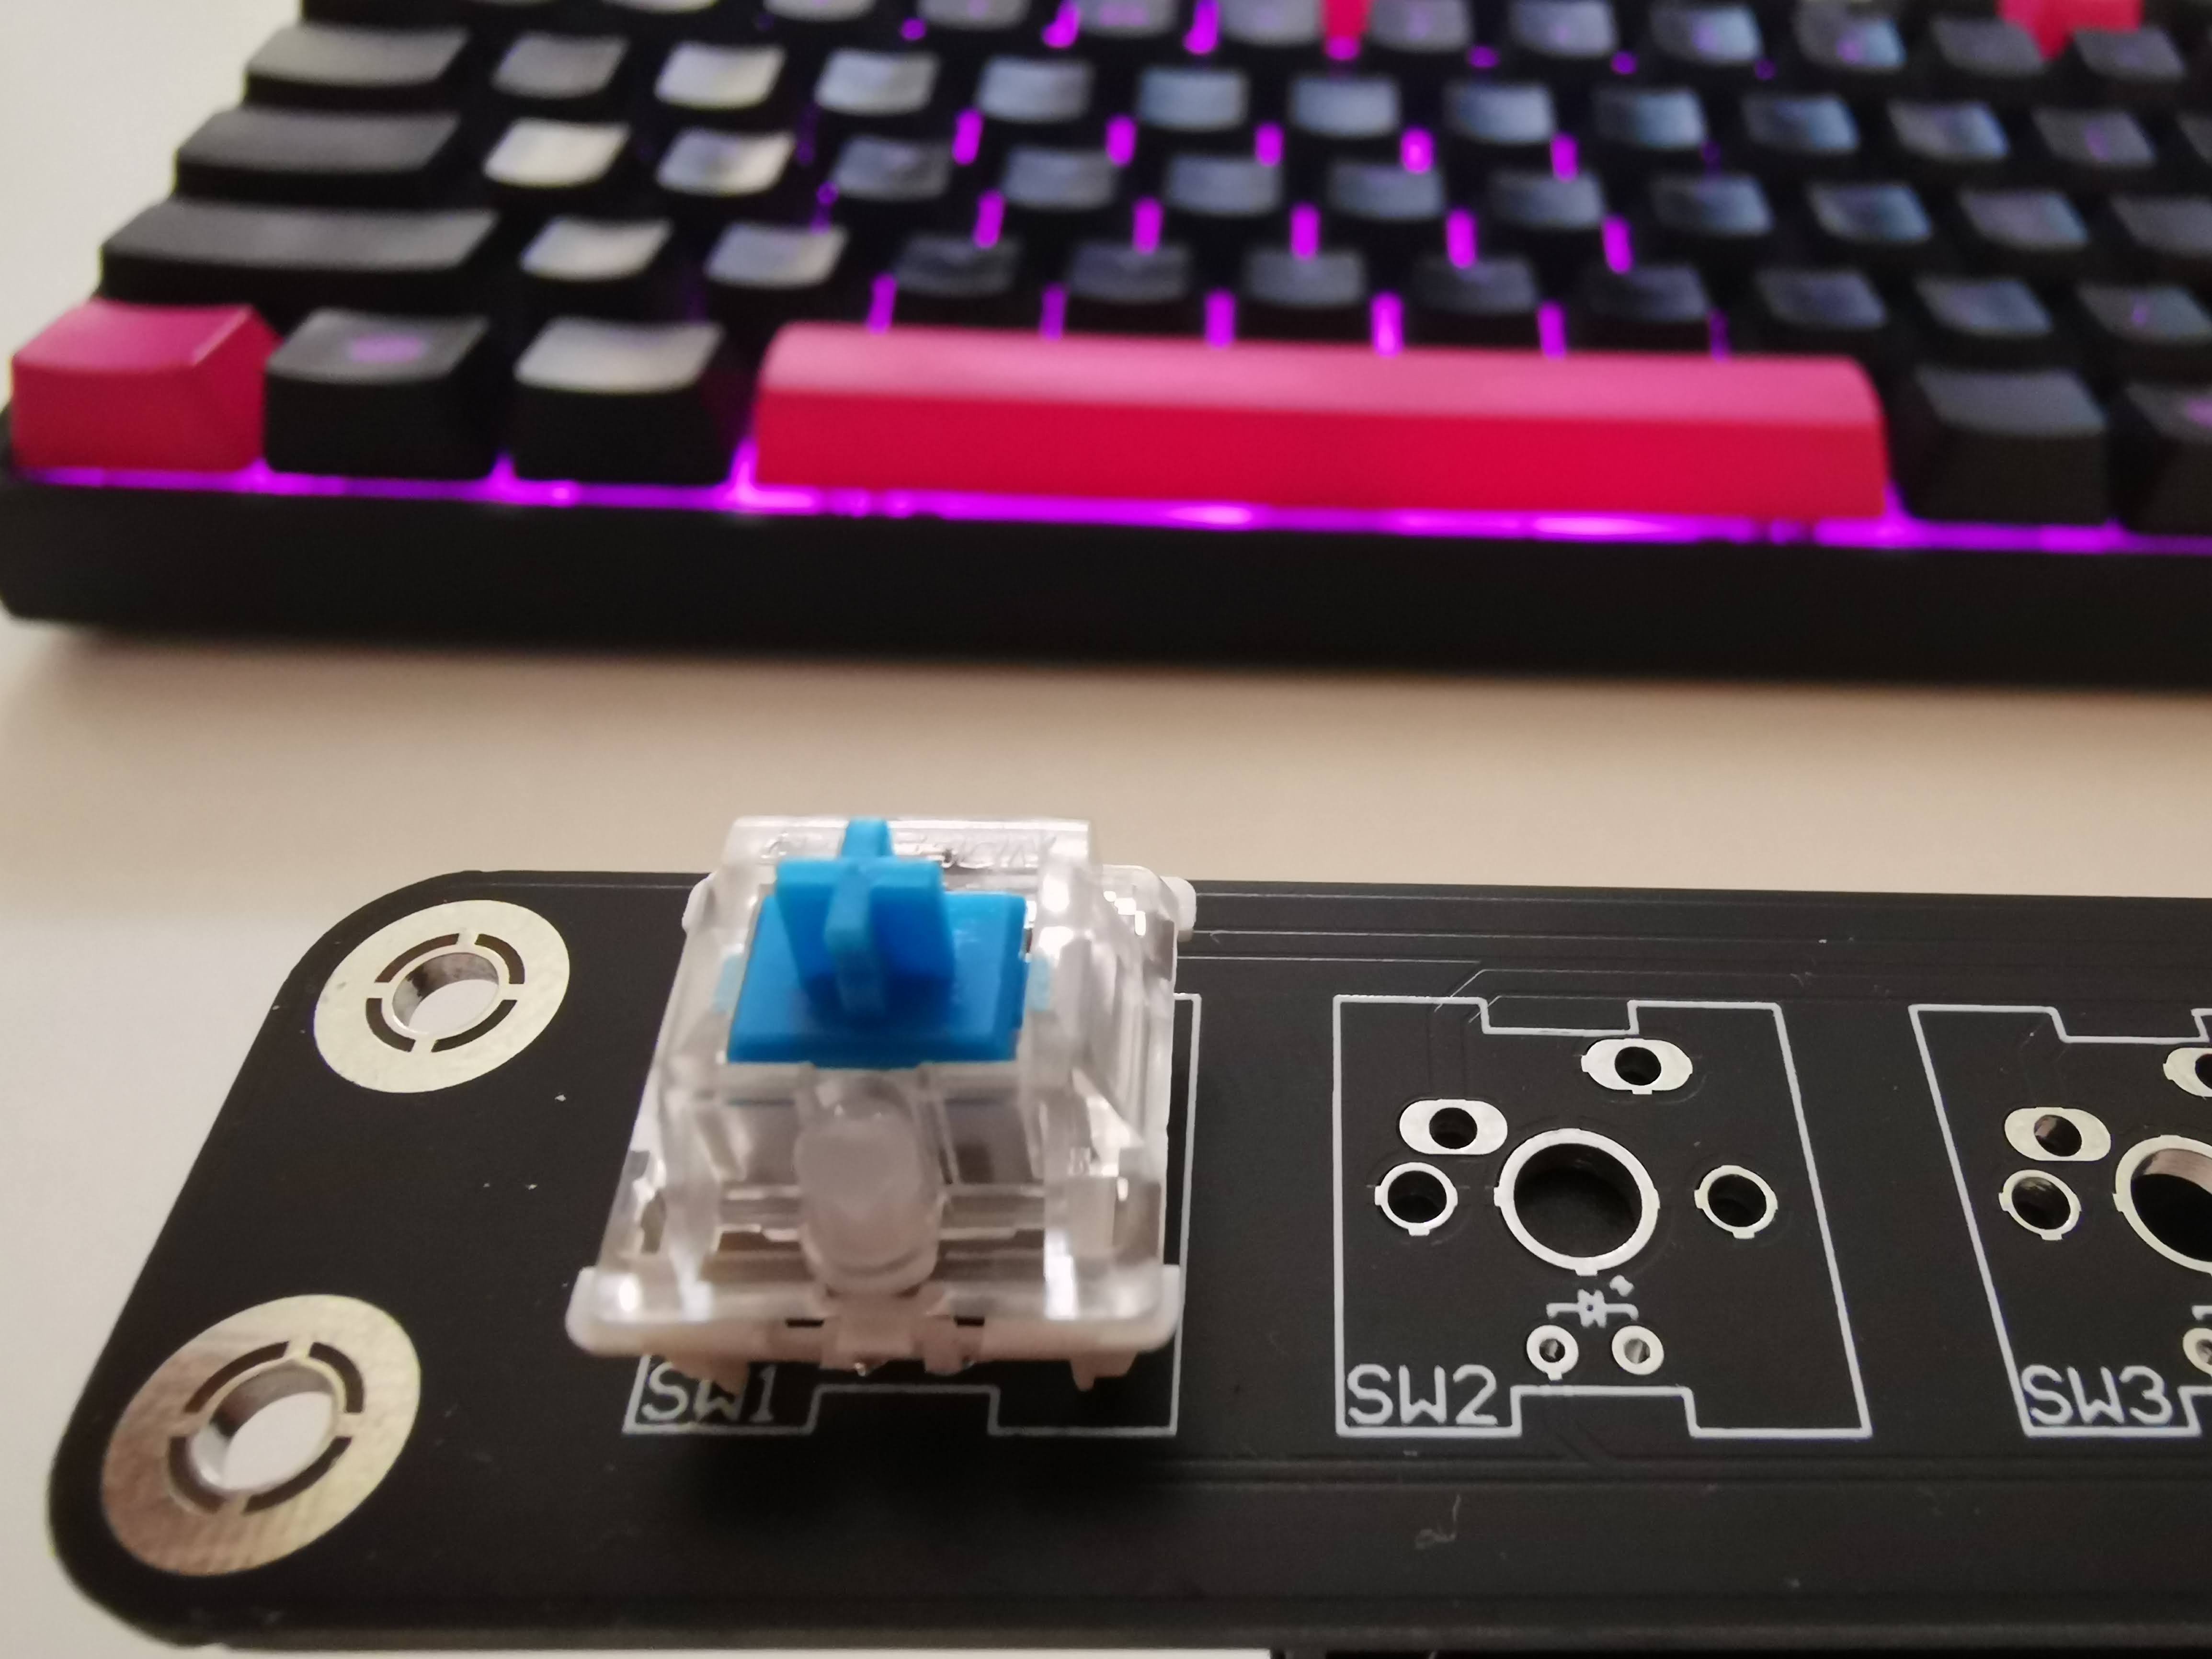
This is me making arcade machine, it is based on a Raspberry PI 3 currently, running RetroPie OS. Most of the components are made using CNC routers, laser cutters, benders etc. so the quality of the final product can remain high enough. There is only one custom PCB in this whole build, but it is not required, I used it to mount Gateron MX Blue (Give me the cheap ones) switches to the front panel. All in all, this is a simple and fun to make project, well, you can make it as simple or complex as you want, all the plans, files, pictures and templates are available on the GitHub.

Have a nice build...

The build

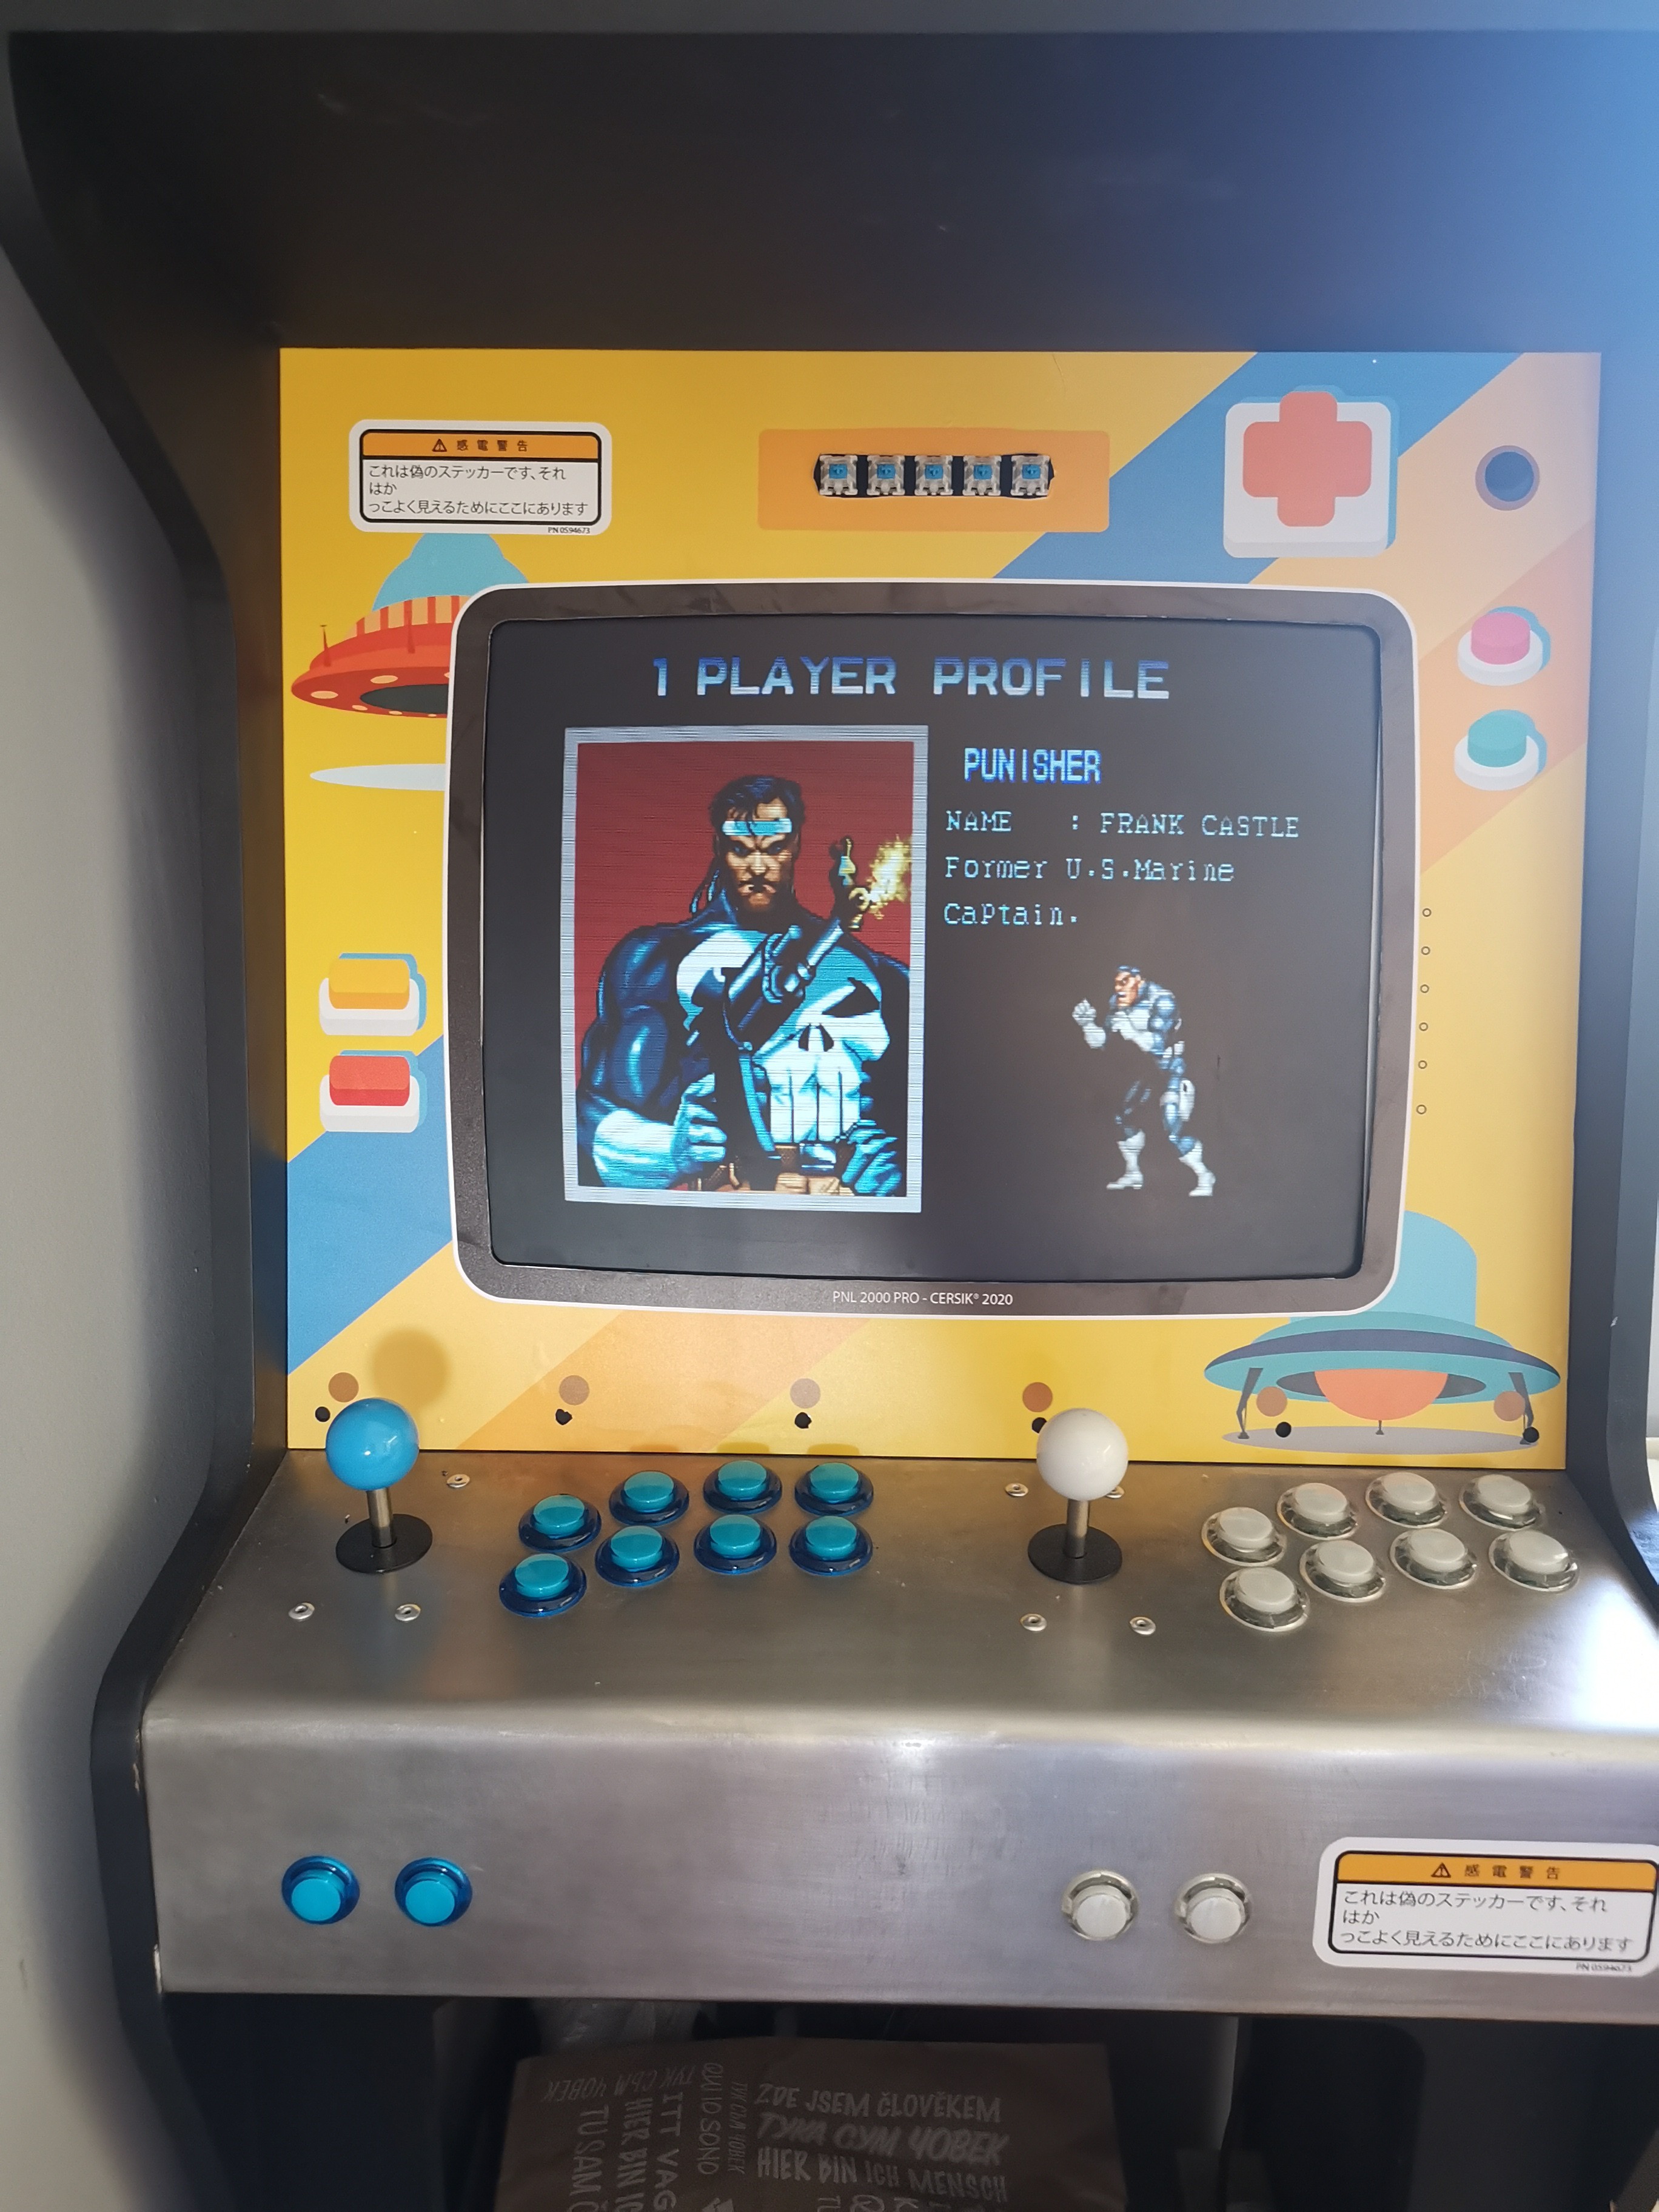
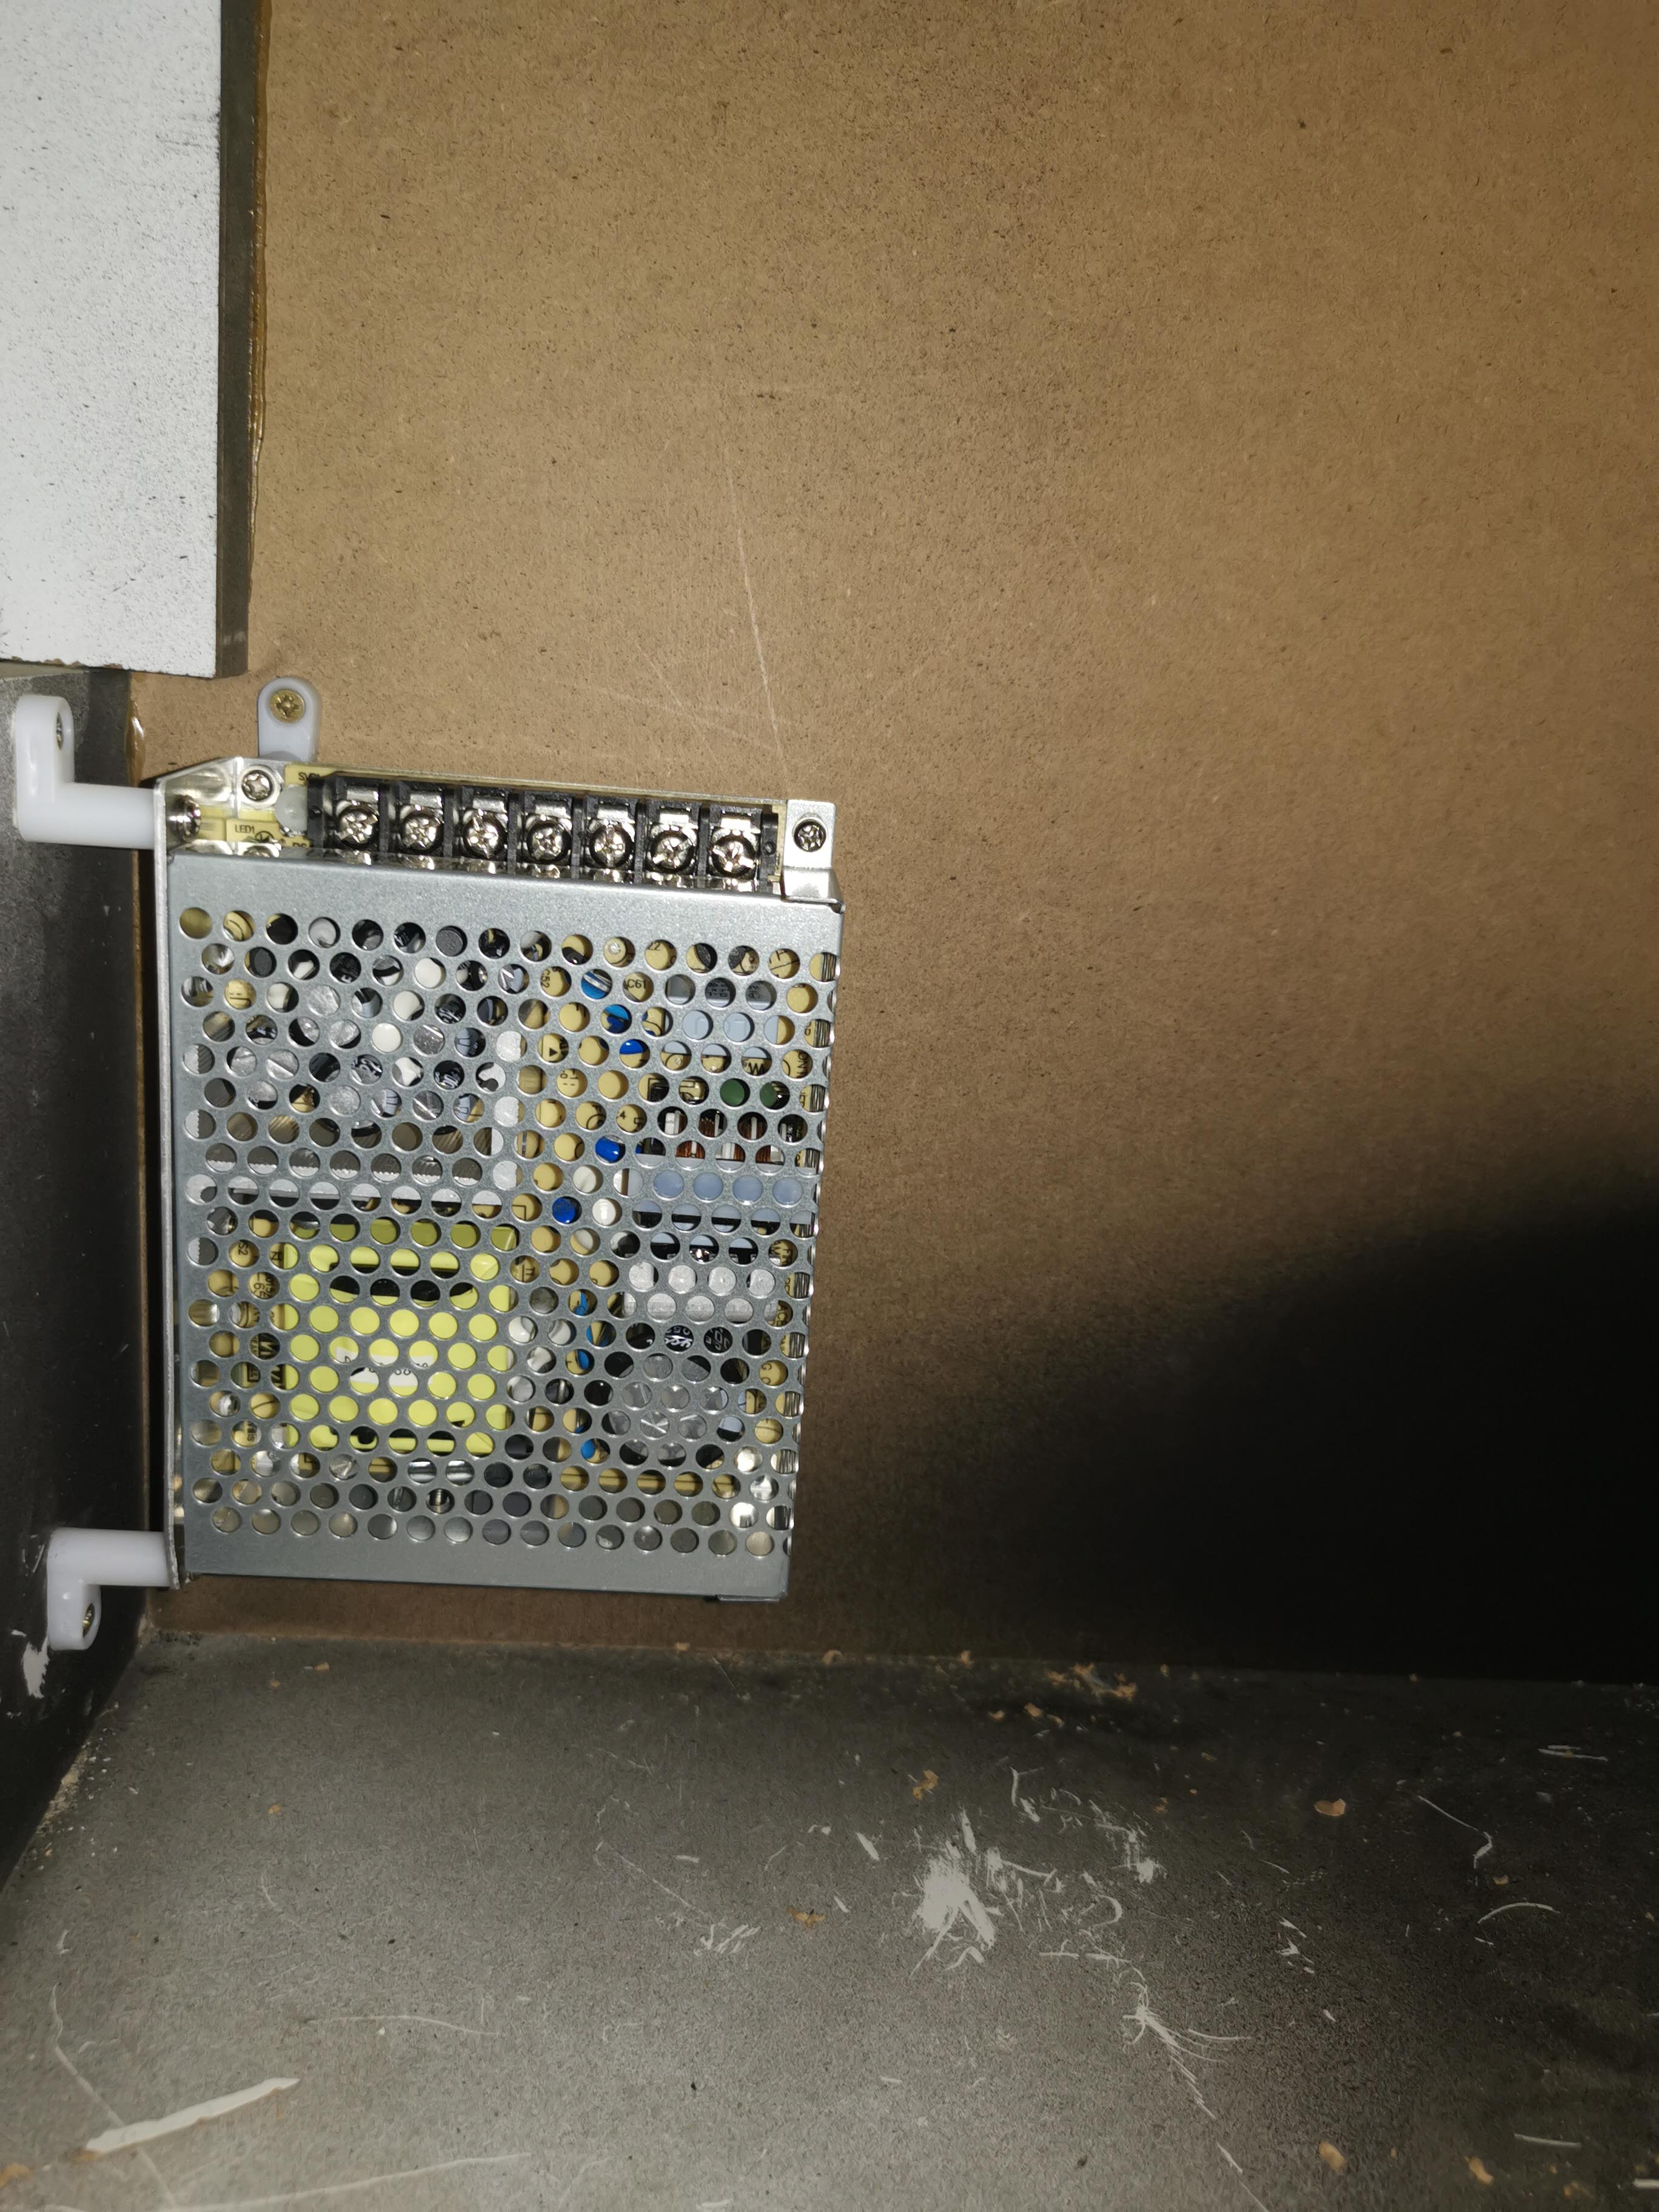
The first step of the build was to obtain all the materials, components, parts, etc. Some of the components, like the monitor and PSU are not new, i used my old SyncMaster 720n and dual output power supply left over from another project. Prepare yourself to wait for the parts, especially during this COVID19 pandemic, some of the components arrived after two + months. The biggest challenge of this build was to source all the parts. What to do until the parts arrive? Well, I built arcade cabinet. Whole cabinet is made from 16mm MDF, cut using a CNC router. I also included A4 printable templates, that can be used to cut the parts by hand, it can be fun, but i guess the you will need some kind of workshop, maker space or something similar. I had access to my father's workshop, so all the dirty work was done there, gluing, clamping, nailing, sanding. After finishing sanding, I painted the front and top of the cabinet mate black, and also decided not to use T-molding on the sides, even though it was initially designed in that way. During the build I have made some changes, that are not included in the original design, one of which was to add two peaces of the hardwood at the bottom of the cabinet, so I could mount it on a caster wheels.

Assembly

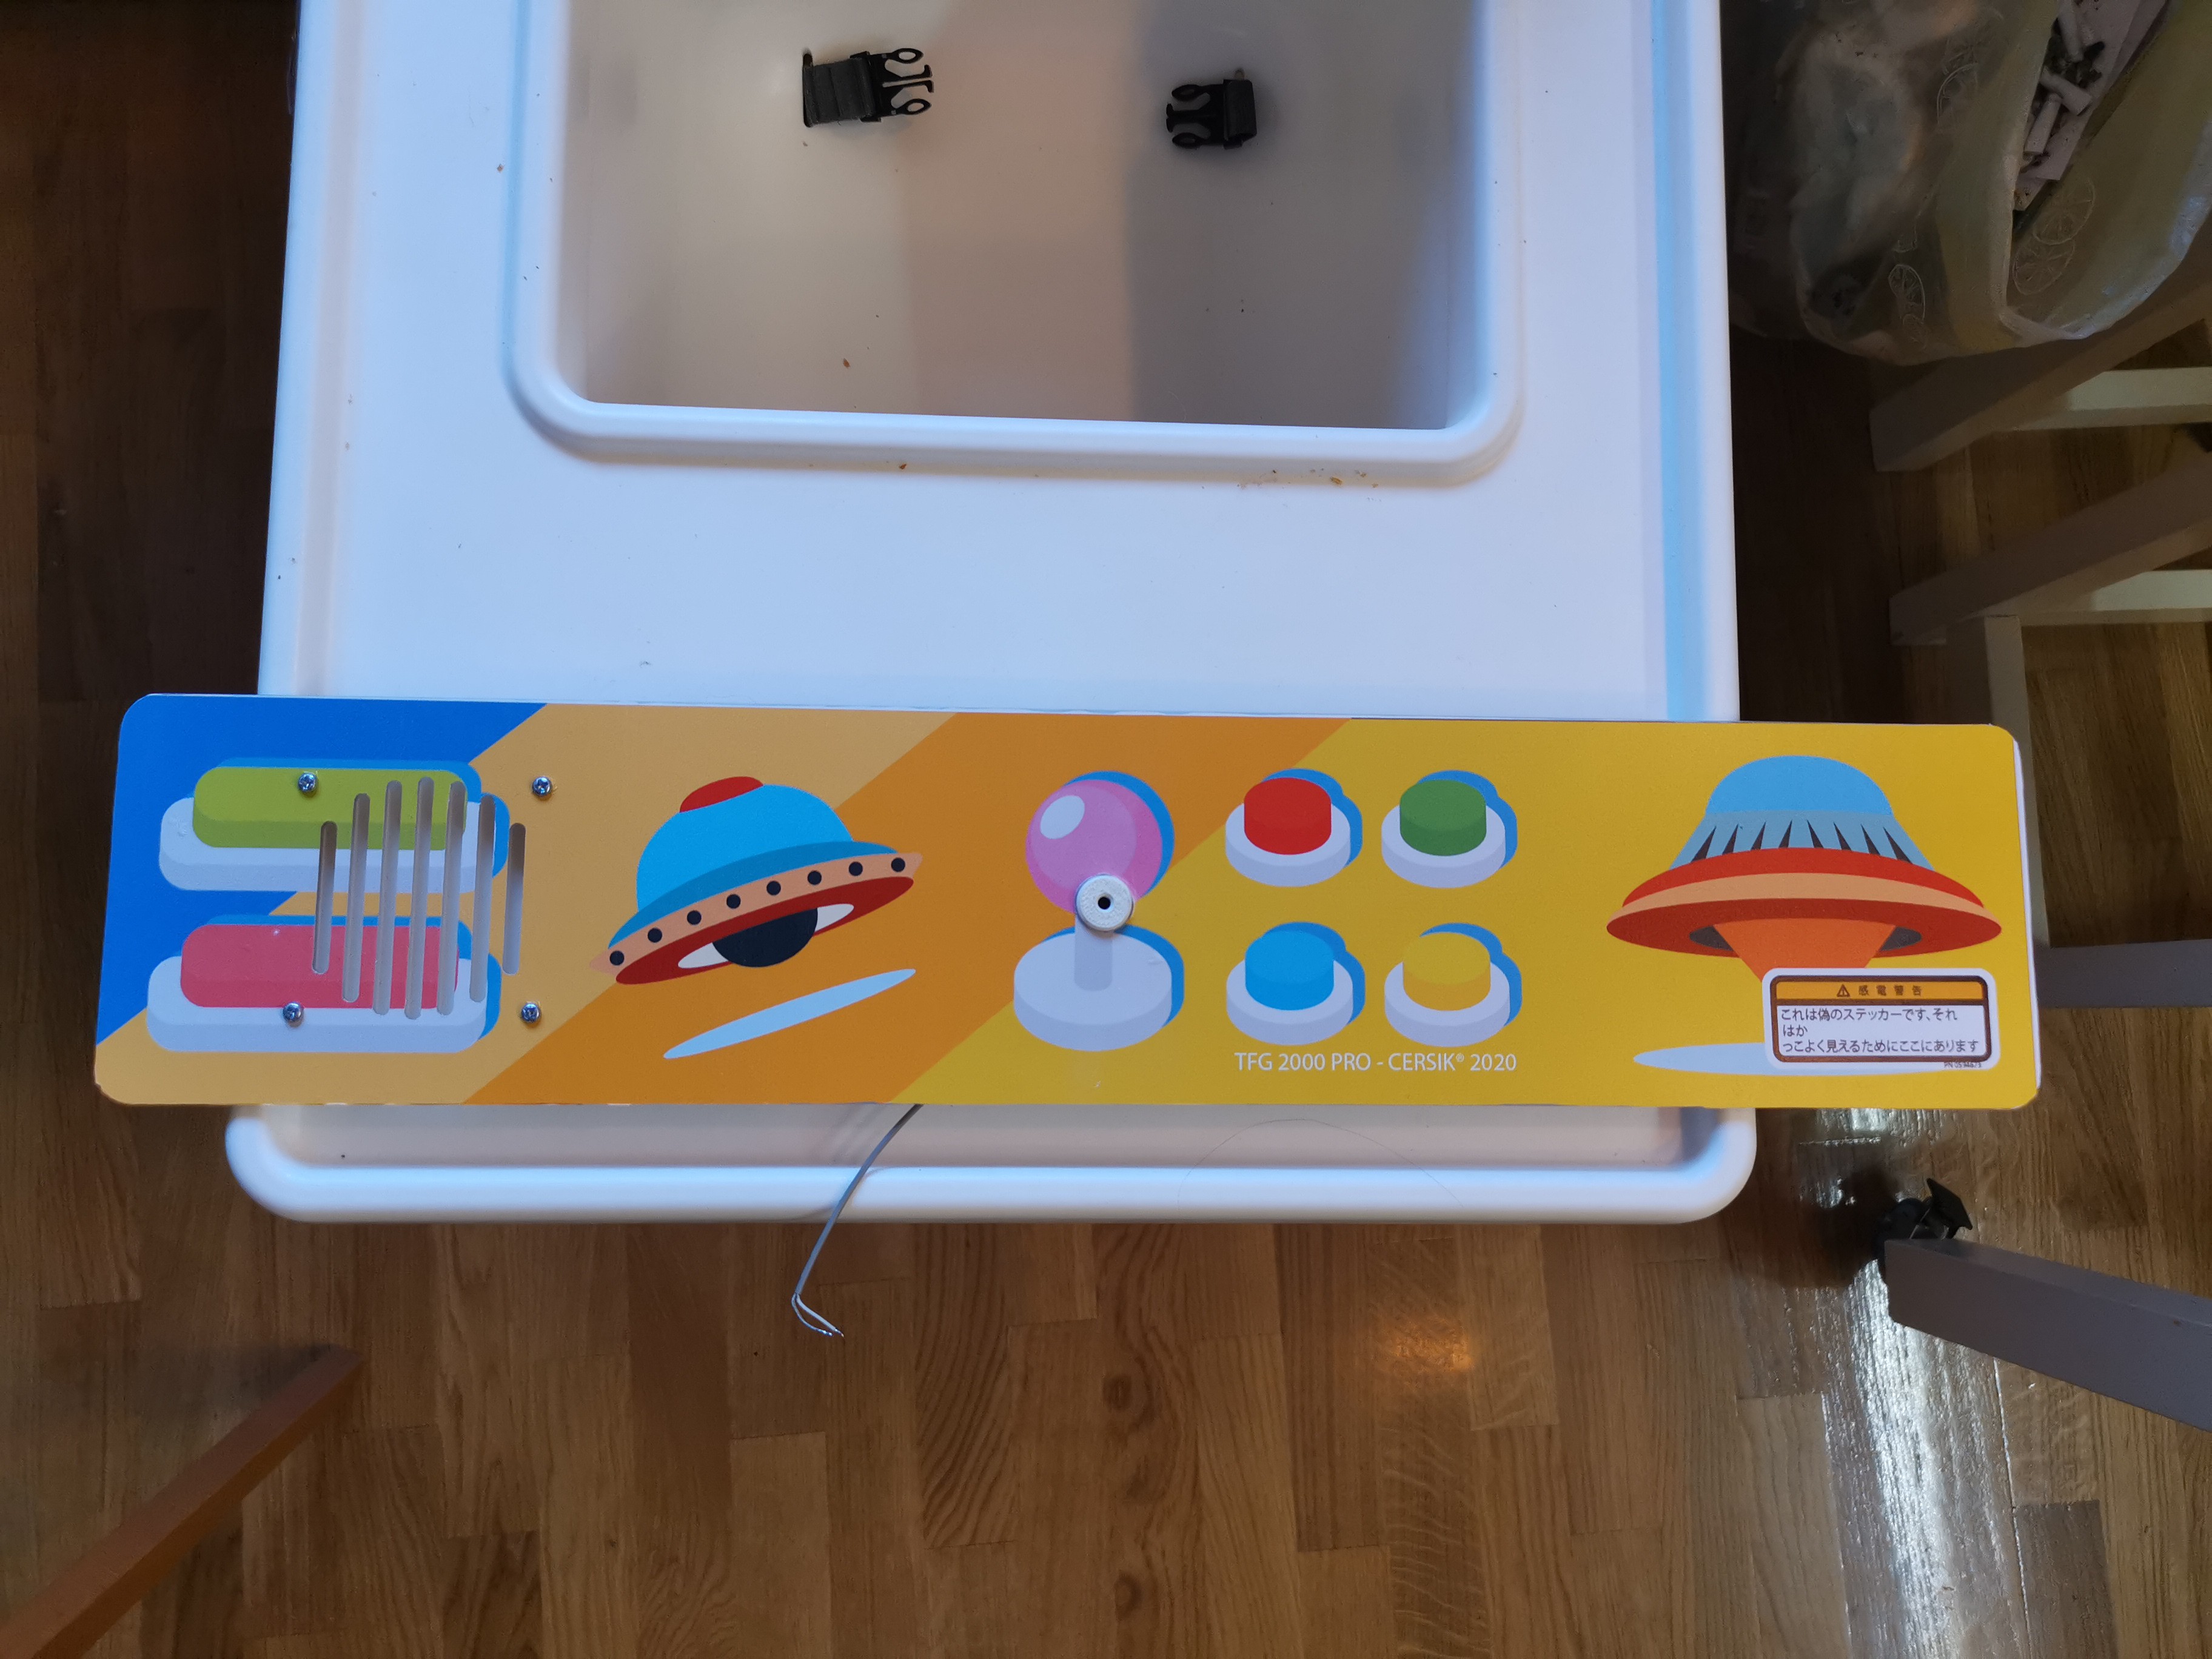
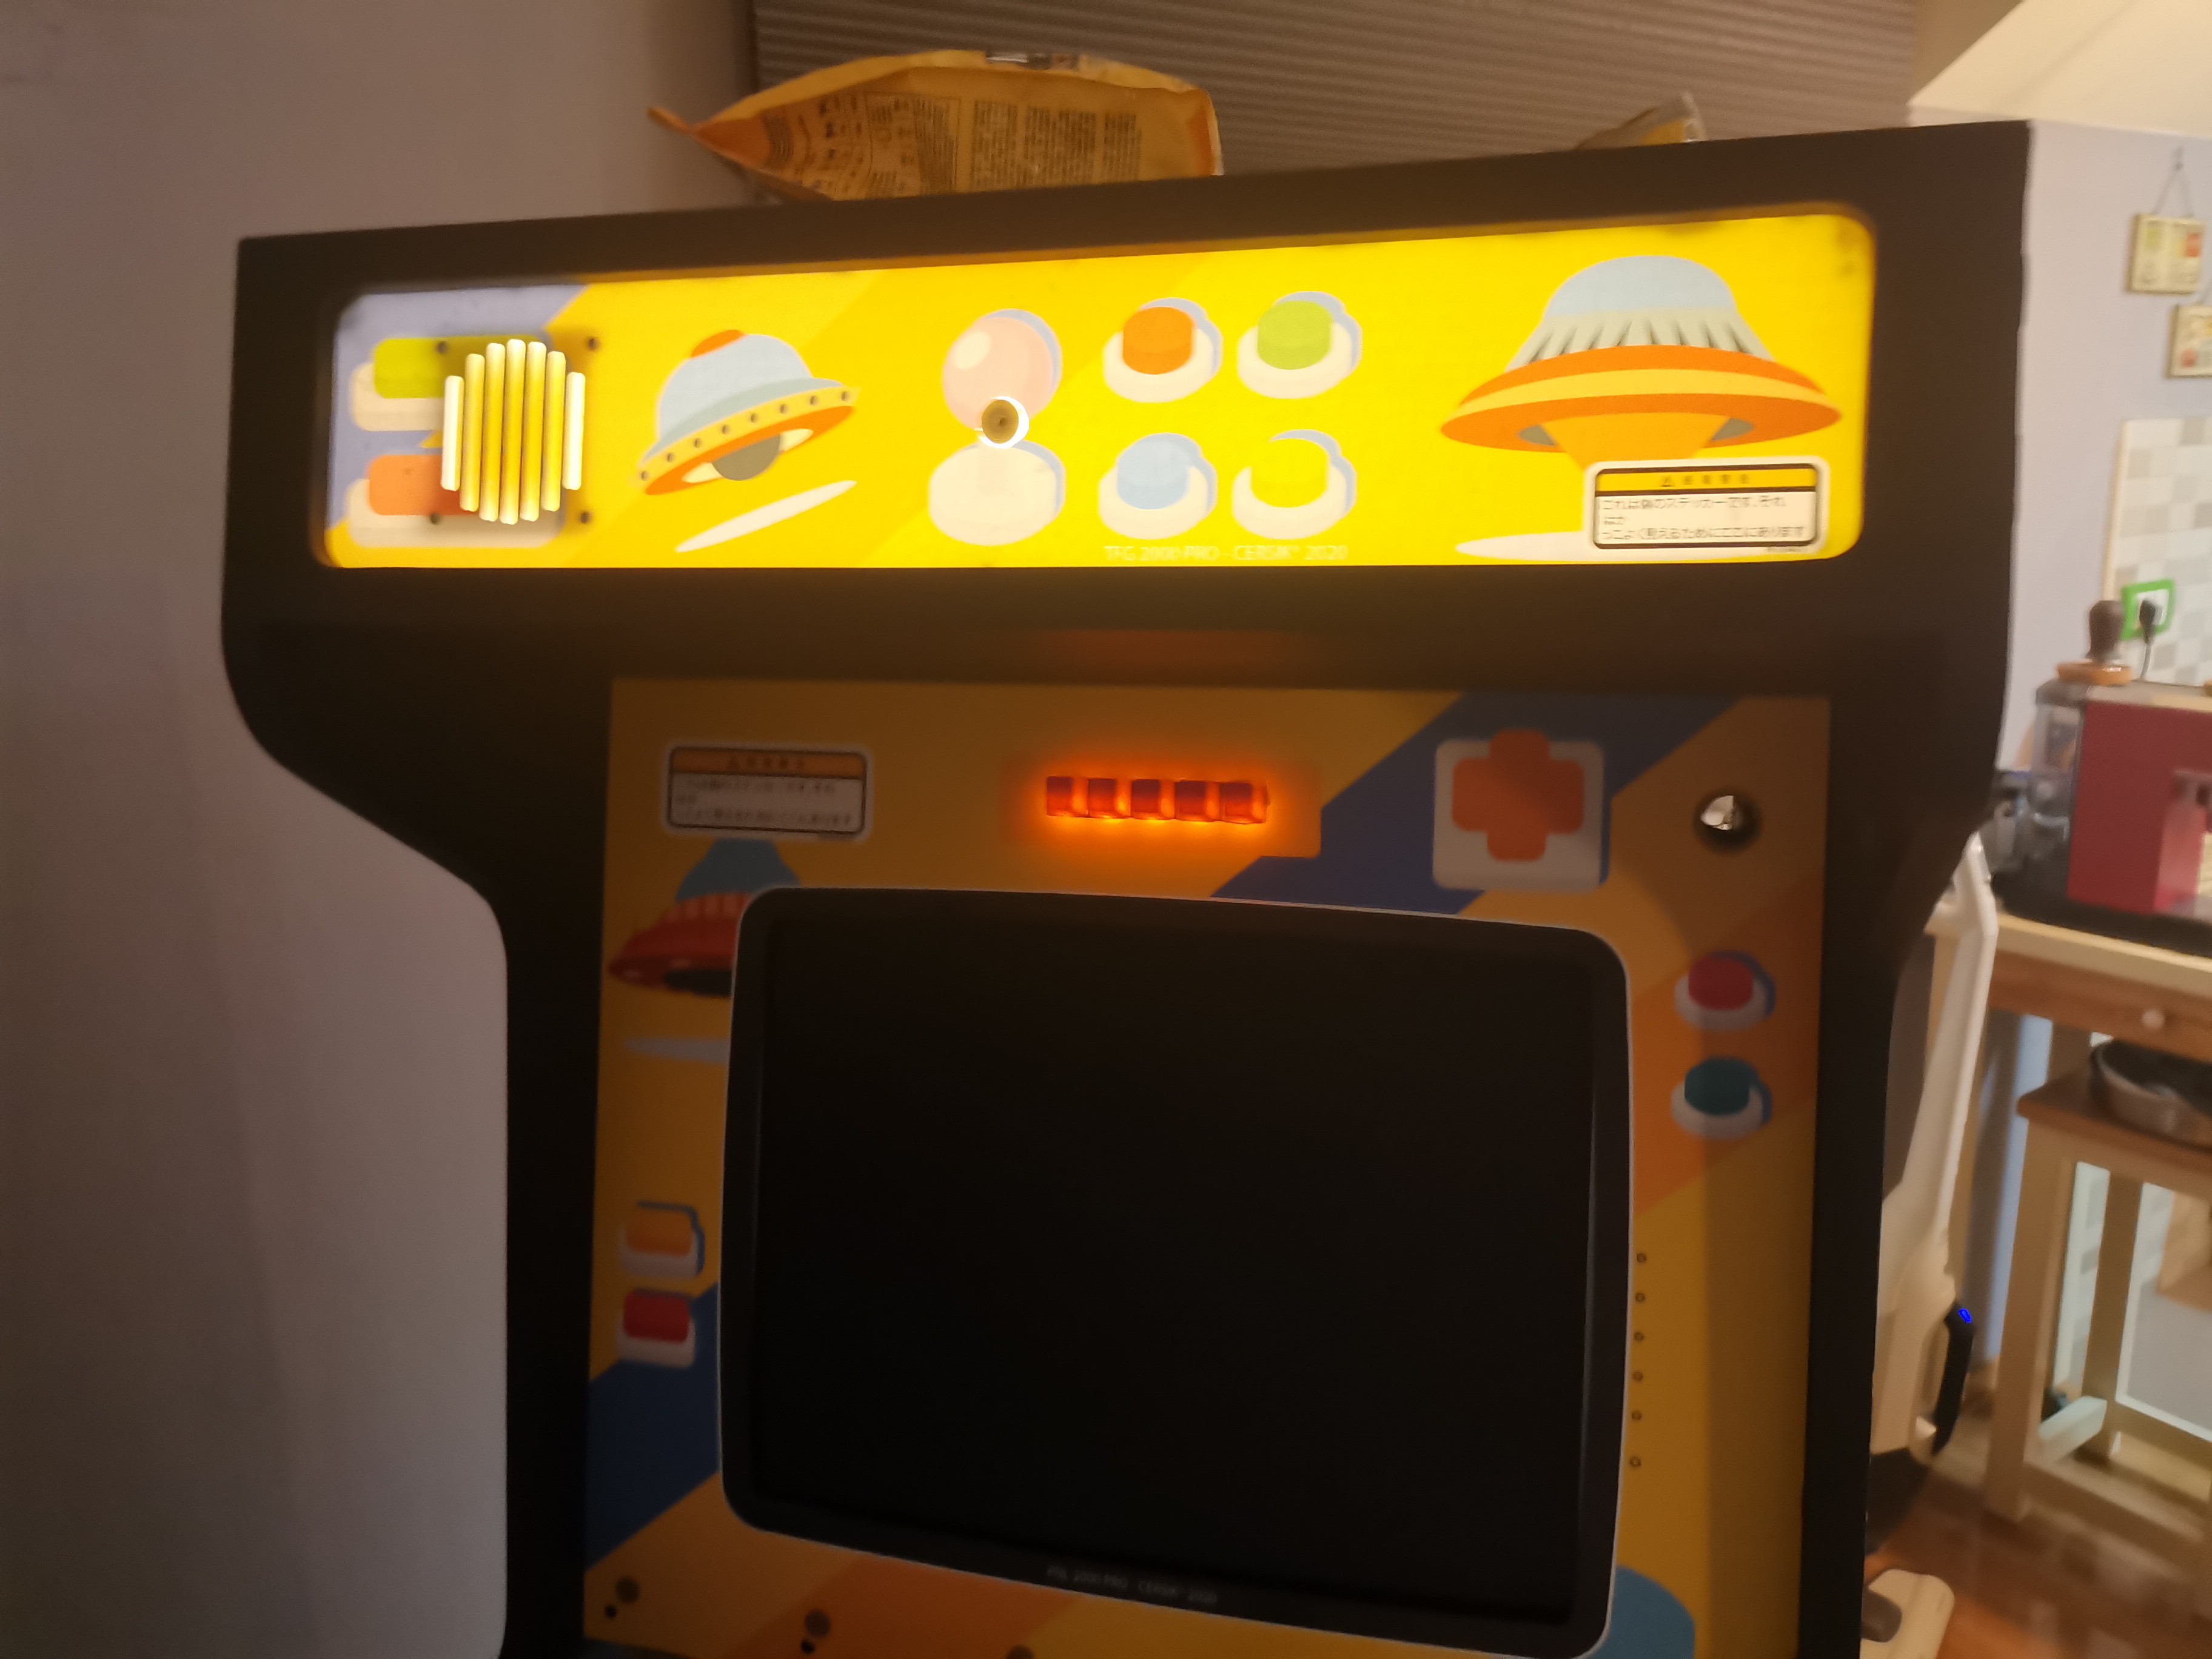
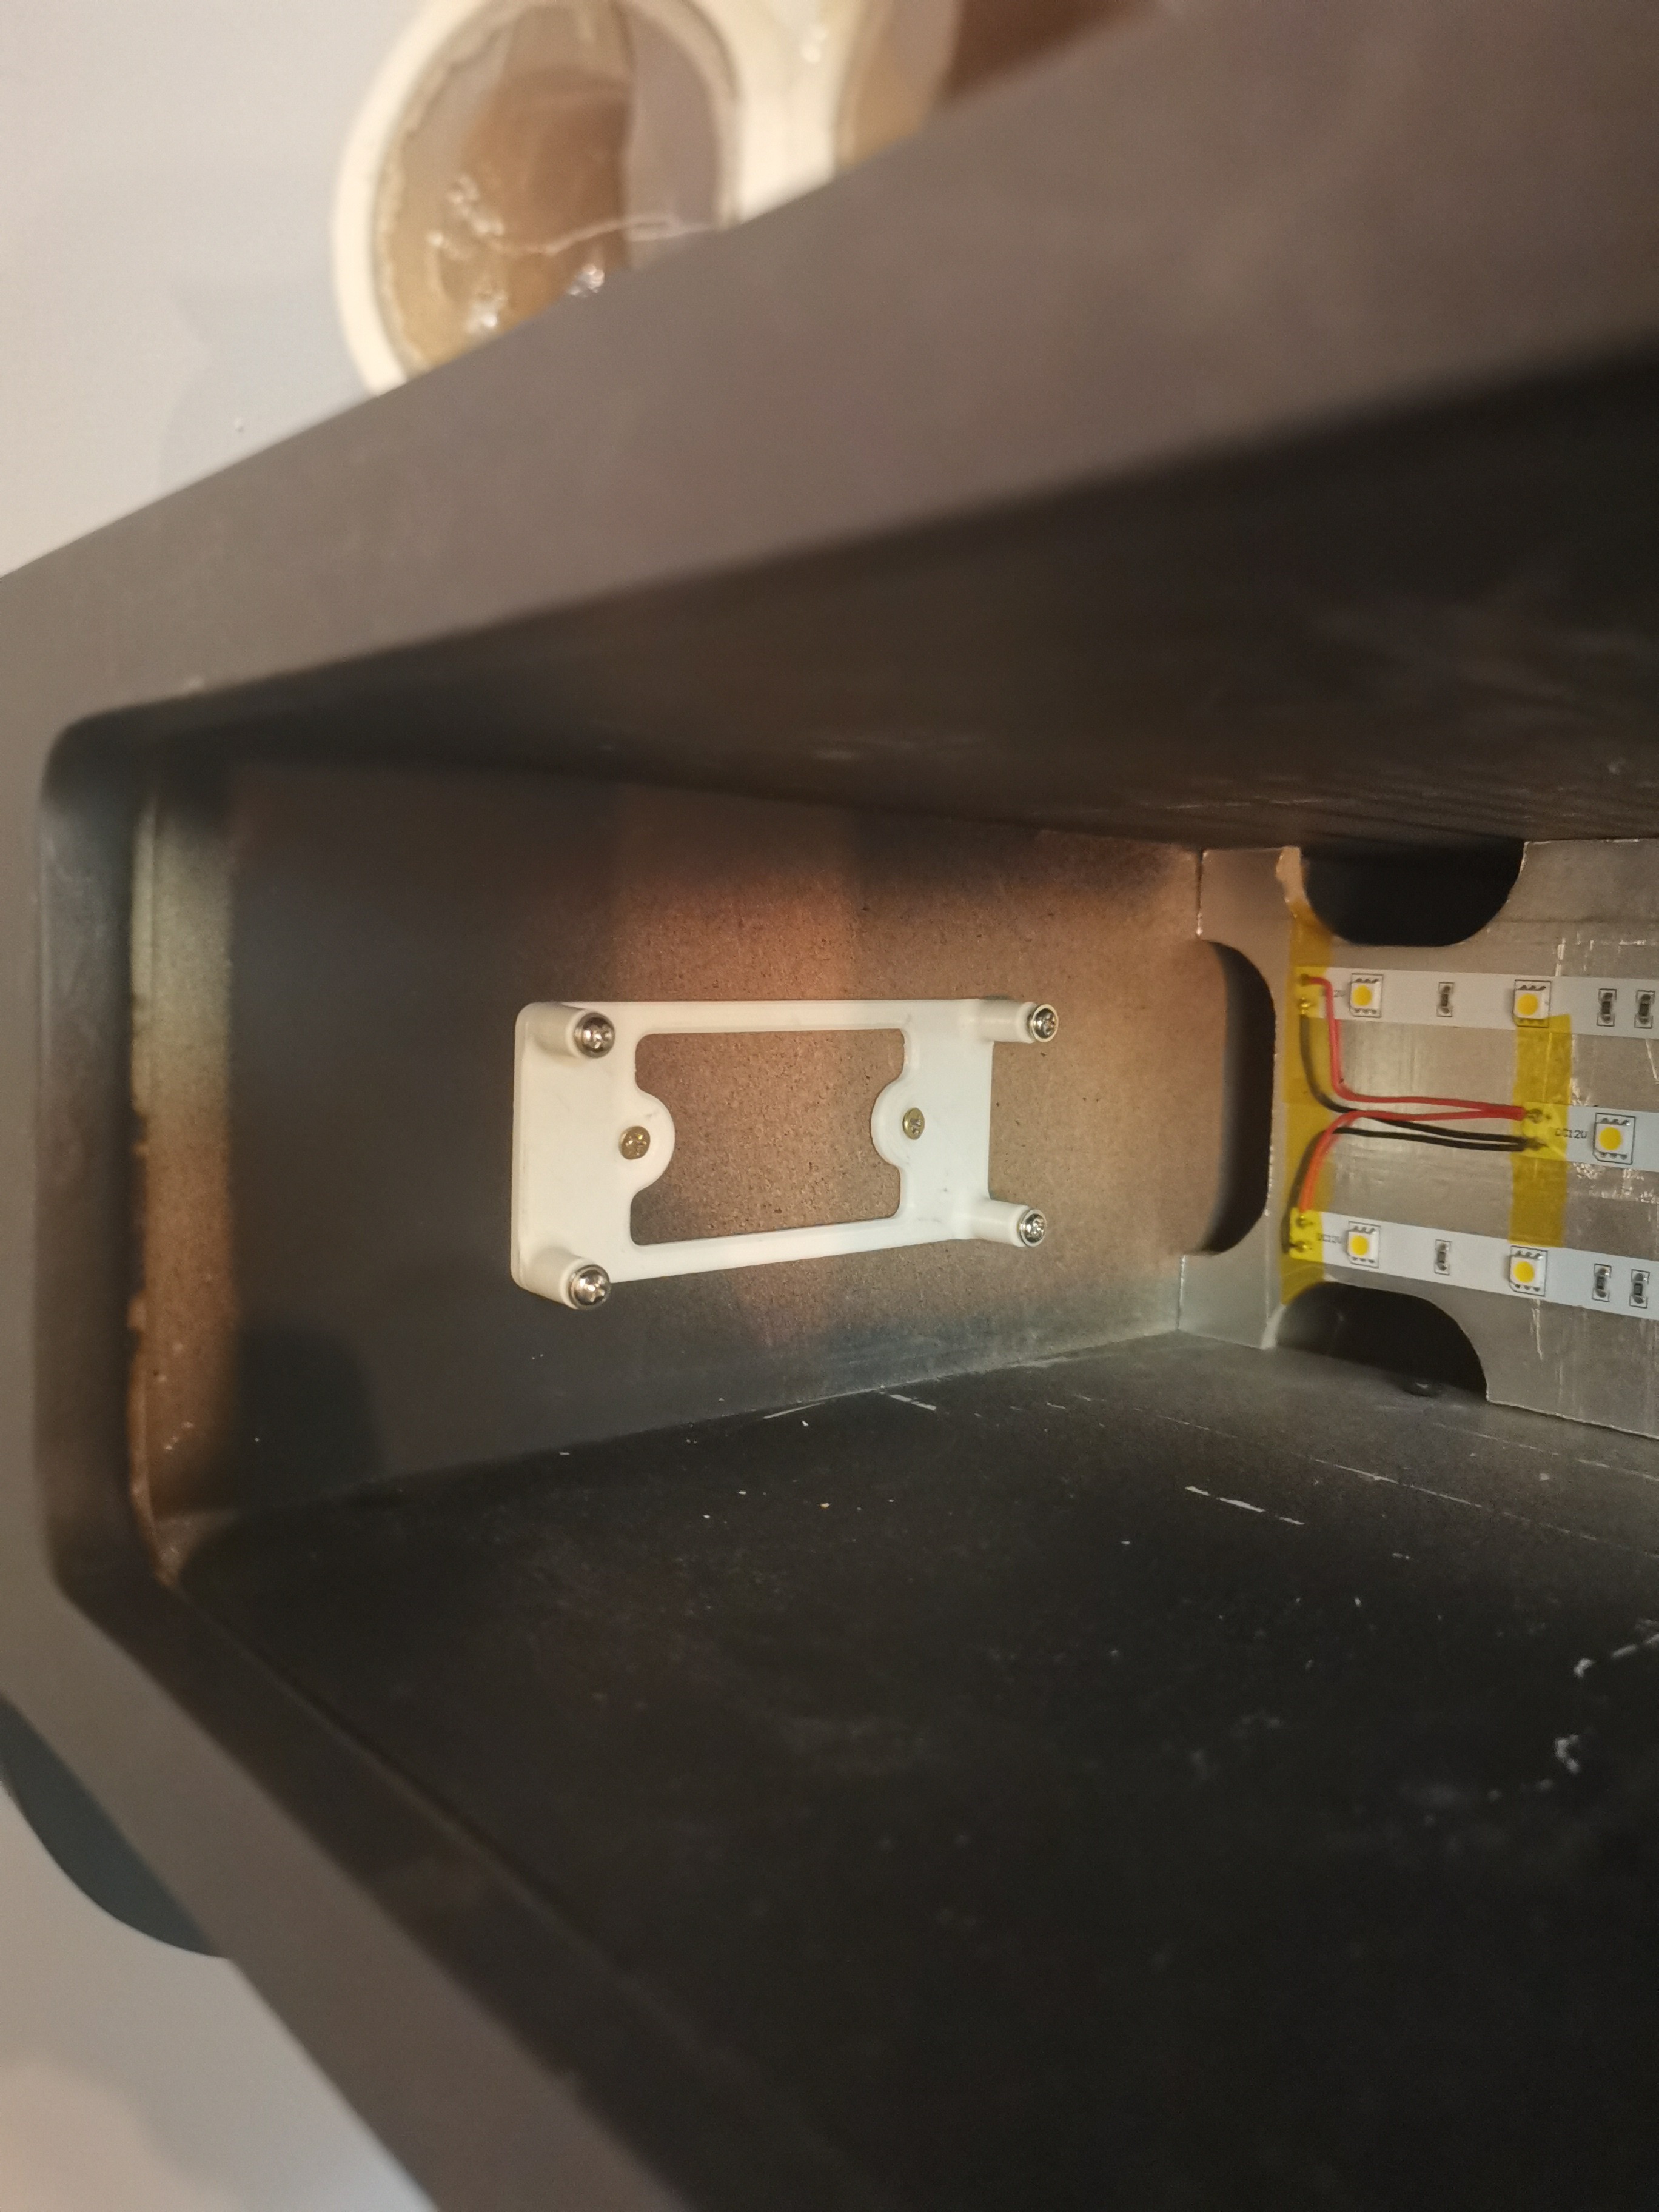
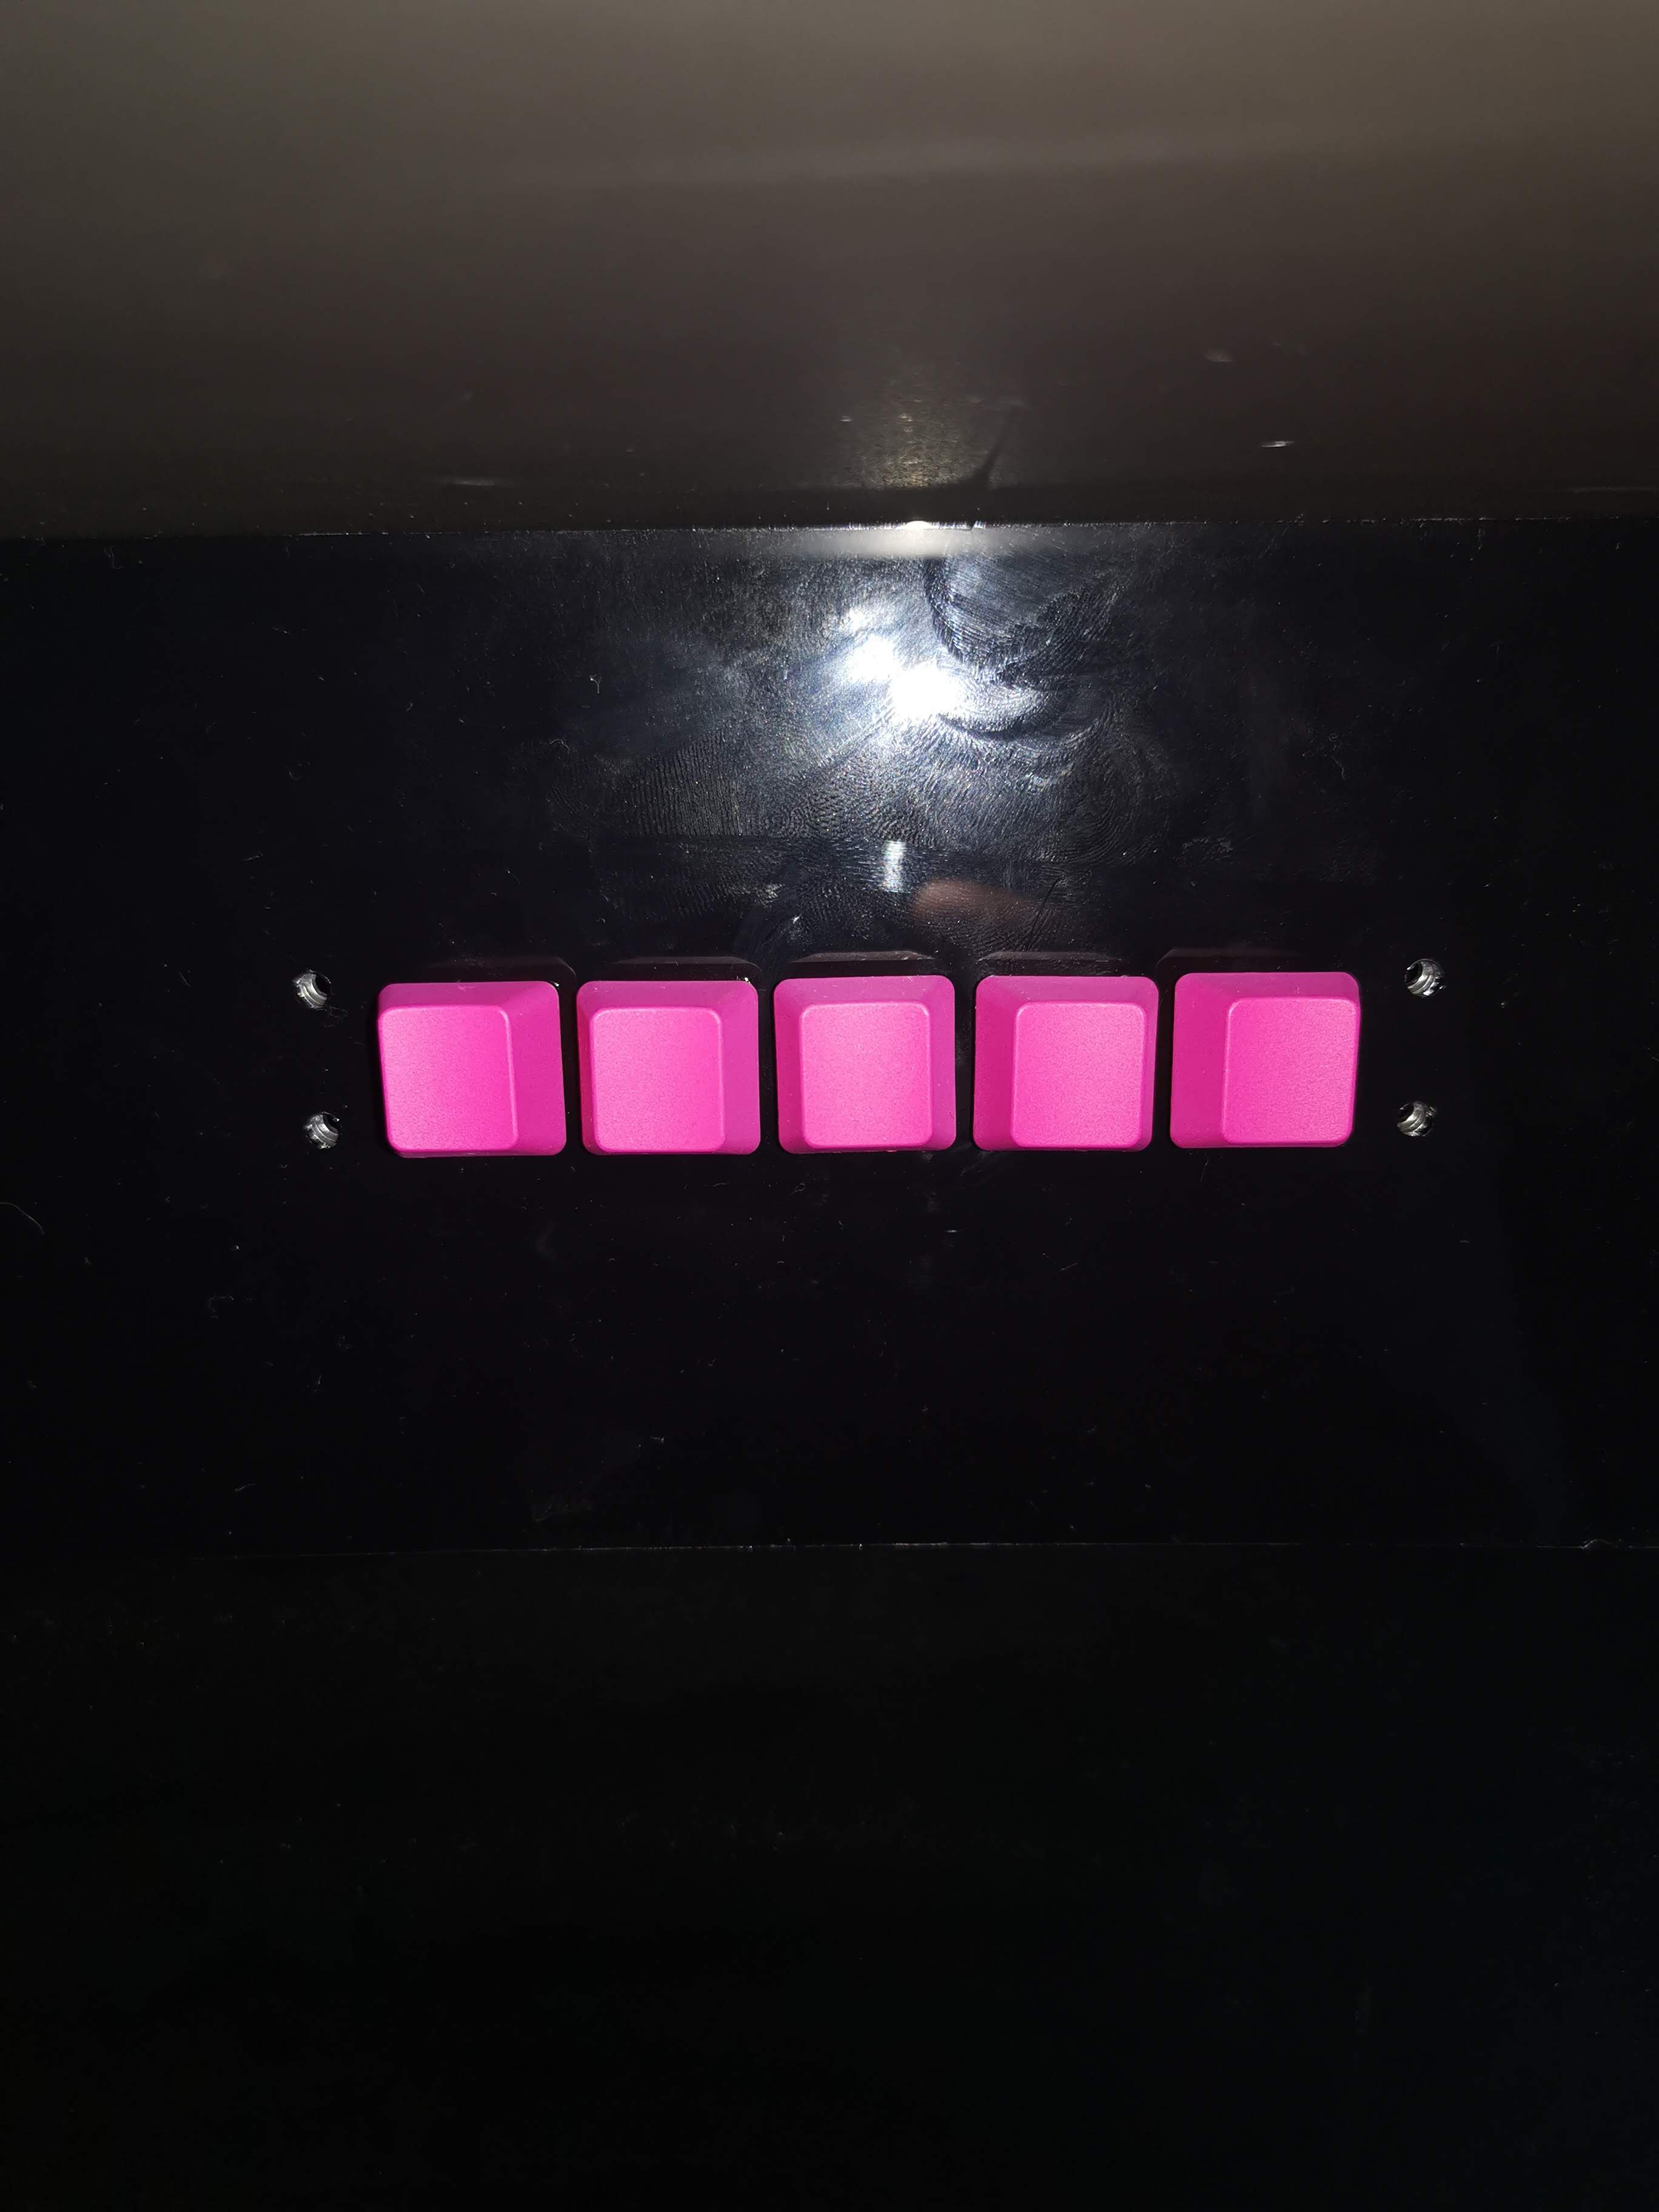
After completing the cabinet build, I ordered the rest of the non electronic parts, laser cut acrylic for the screen and marquee, stainless steel base for the controllers, also laser cut and bent, and some small 3D printed parts. At some point during the build, I had an idea about using my new arcade machine as a Google assistant device, it had all the stuff already, decent speakers and a Raspberry PI, only thing missing was the microphone, so i added it to a marquee front plate, using a small 3D printed holder, this is still work in progress, so i don't have any useful information about daily usage and user experience, but I hope it will come out good. Besides microphone holder, I also printed some speaker brackets and speaker grill for the  marquee. After screwing it all together, all that is left is some wiring. Front plate, just above the screen, received custom PCB with 5 Gateron MX blue switches, some pink key caps i had lying around, and some amber LEDs, this little mechanical keyboard module is wired to control the 4ch latching relay board, that in the end turns on and off marquee backlight, controllers backlight and audio amplifier.

The final step

The final step of the build is to download a fresh copy of RetroPie, flash it to the SD card, plug in your Raspberry PI, connect the USB controllers and play some Cadillacs and Dinosaur :) I haven't used any type of coin acceptor, instead I mapped it to the button on the control panel. As I said earlier, this is still an ongoing project, so some new features will be added, first of all, Raspberry PI is now supported by RetroPie, so you can easily add some Wi-Fi and Bluetooth support to your arcade machine, second thing will be some kind of doors or drawers or tambour door (powered by an electric motor) in the bottom half of the cabinet, because it is empty right now, and it can be used as a storage. So, that's about it, you can find all the files on the GitHub, enjoy building.

JPEG Image - 266.03 kB - 11/04/2020 at 11:35

Preview
Download

JPEG Image - 398.52 kB - 11/04/2020 at 11:35

Preview
Download

JPEG Image - 453.67 kB - 11/04/2020 at 11:35

Preview
Download

JPEG Image - 392.03 kB - 11/04/2020 at 11:35

Preview
Download

JPEG Image - 627.66 kB - 11/04/2020 at 11:35

Preview
Download

View all 11 files

  • 1 × GitHub parts list All the parts that i could think of are listed on the GitHub

  • Electric sliding door concept

    Nikola Secerovski05/12/2021 at 06:40 0 comments

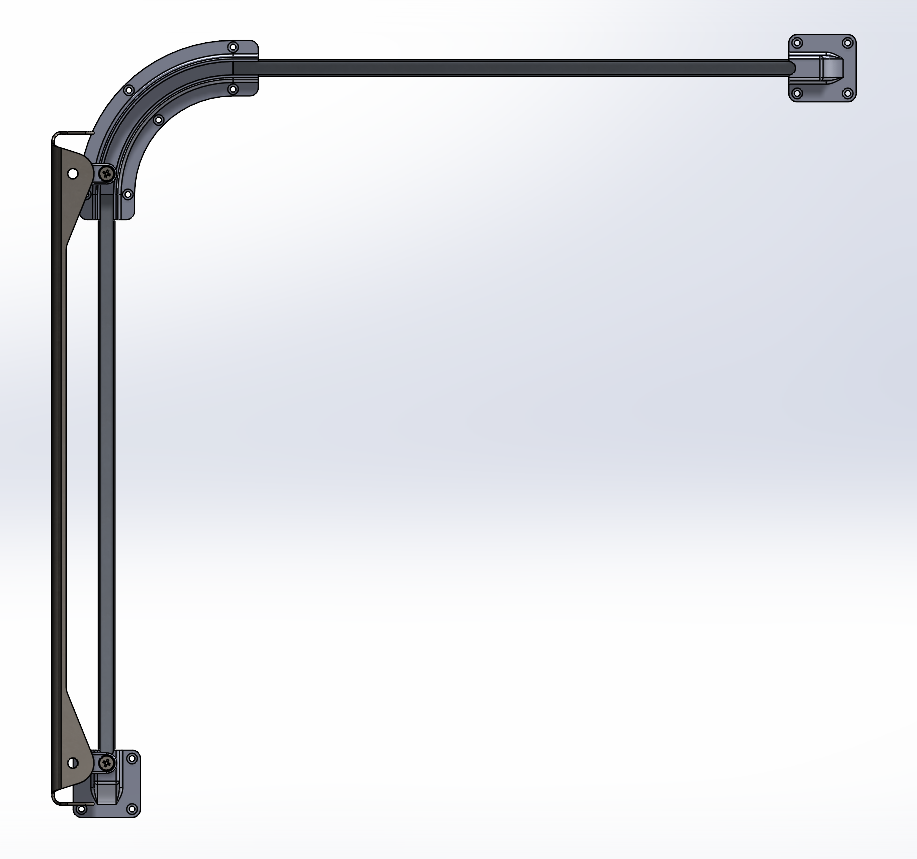
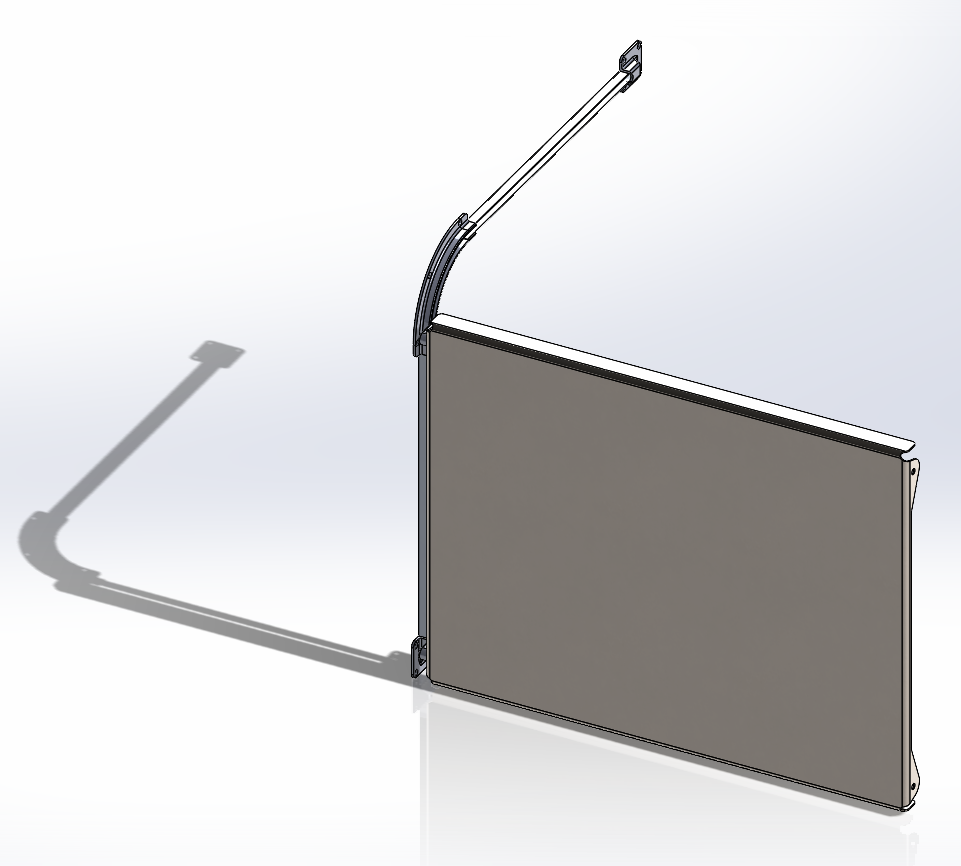
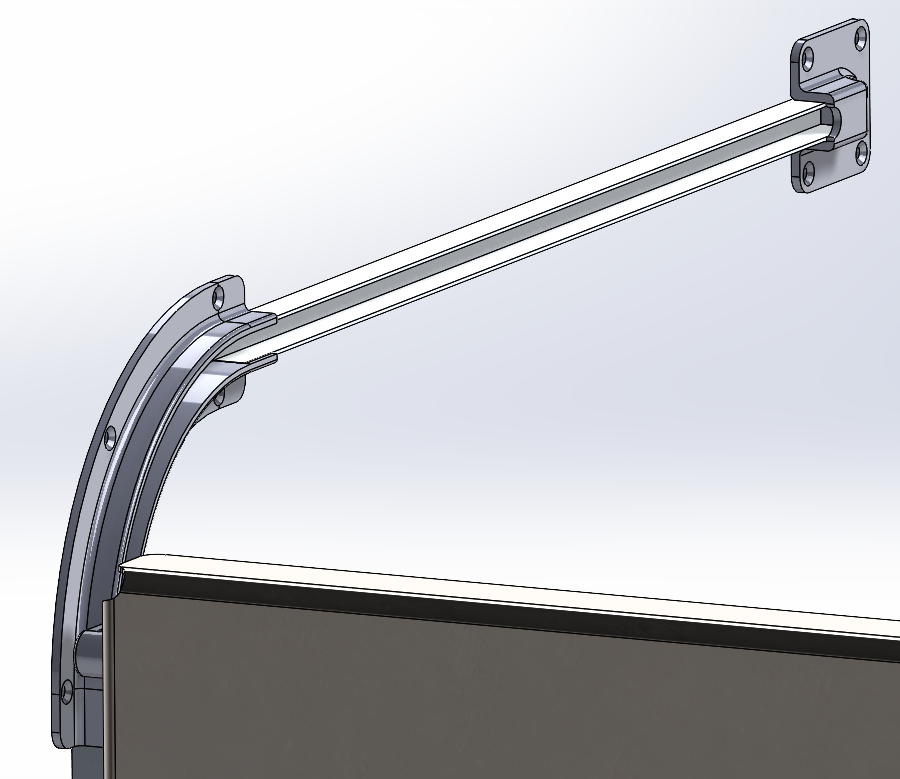
    Here is an idea for the sliding electric front door, it uses aluminum U profiles and some 3D printed parts. Door itself is made from bent aluminum sheet. Here are some pictures...

  • PART_4.STL [IEC Connector housing]

    Nikola Secerovski02/08/2021 at 12:37 0 comments

    Just added PART_4.STL file to the GitHub repository. This is a IEC connector housing for the arcade cabinet.

  • Progress update

    Nikola Secerovski01/31/2021 at 13:26 0 comments

    The to do list for this project is getting smaller and smaller. There are few more things left to do:

    • Replace RPI 3 with 4 and properly mount it
    • Connect the microphone (I was wrong about audio input, so i ordered USB sound card)
    • Make electric front door (This will become a new project)
    • Print screen bezel (Transparent PVC foil overlay)
    • 3D print recessed housing for IEC power connector, so it doesn't stick from the back of the cabinet
    • Make new cabinet back (Laser cut .75mm galvanized steel sheet)

  • Printing arcade graphics

    Nikola Secerovski01/31/2021 at 13:15 0 comments

    I have just added pdf file to git repository that I used to print arcade graphics. If someone decide to use this template, just be aware of the dimensions, i left no room for error, everything must line up, as it ends up, it was a mistake :)

  • Wrap it up

    Nikola Secerovski01/31/2021 at 08:25 0 comments

  • Got some stickers?

    Nikola Secerovski01/29/2021 at 12:05 0 comments

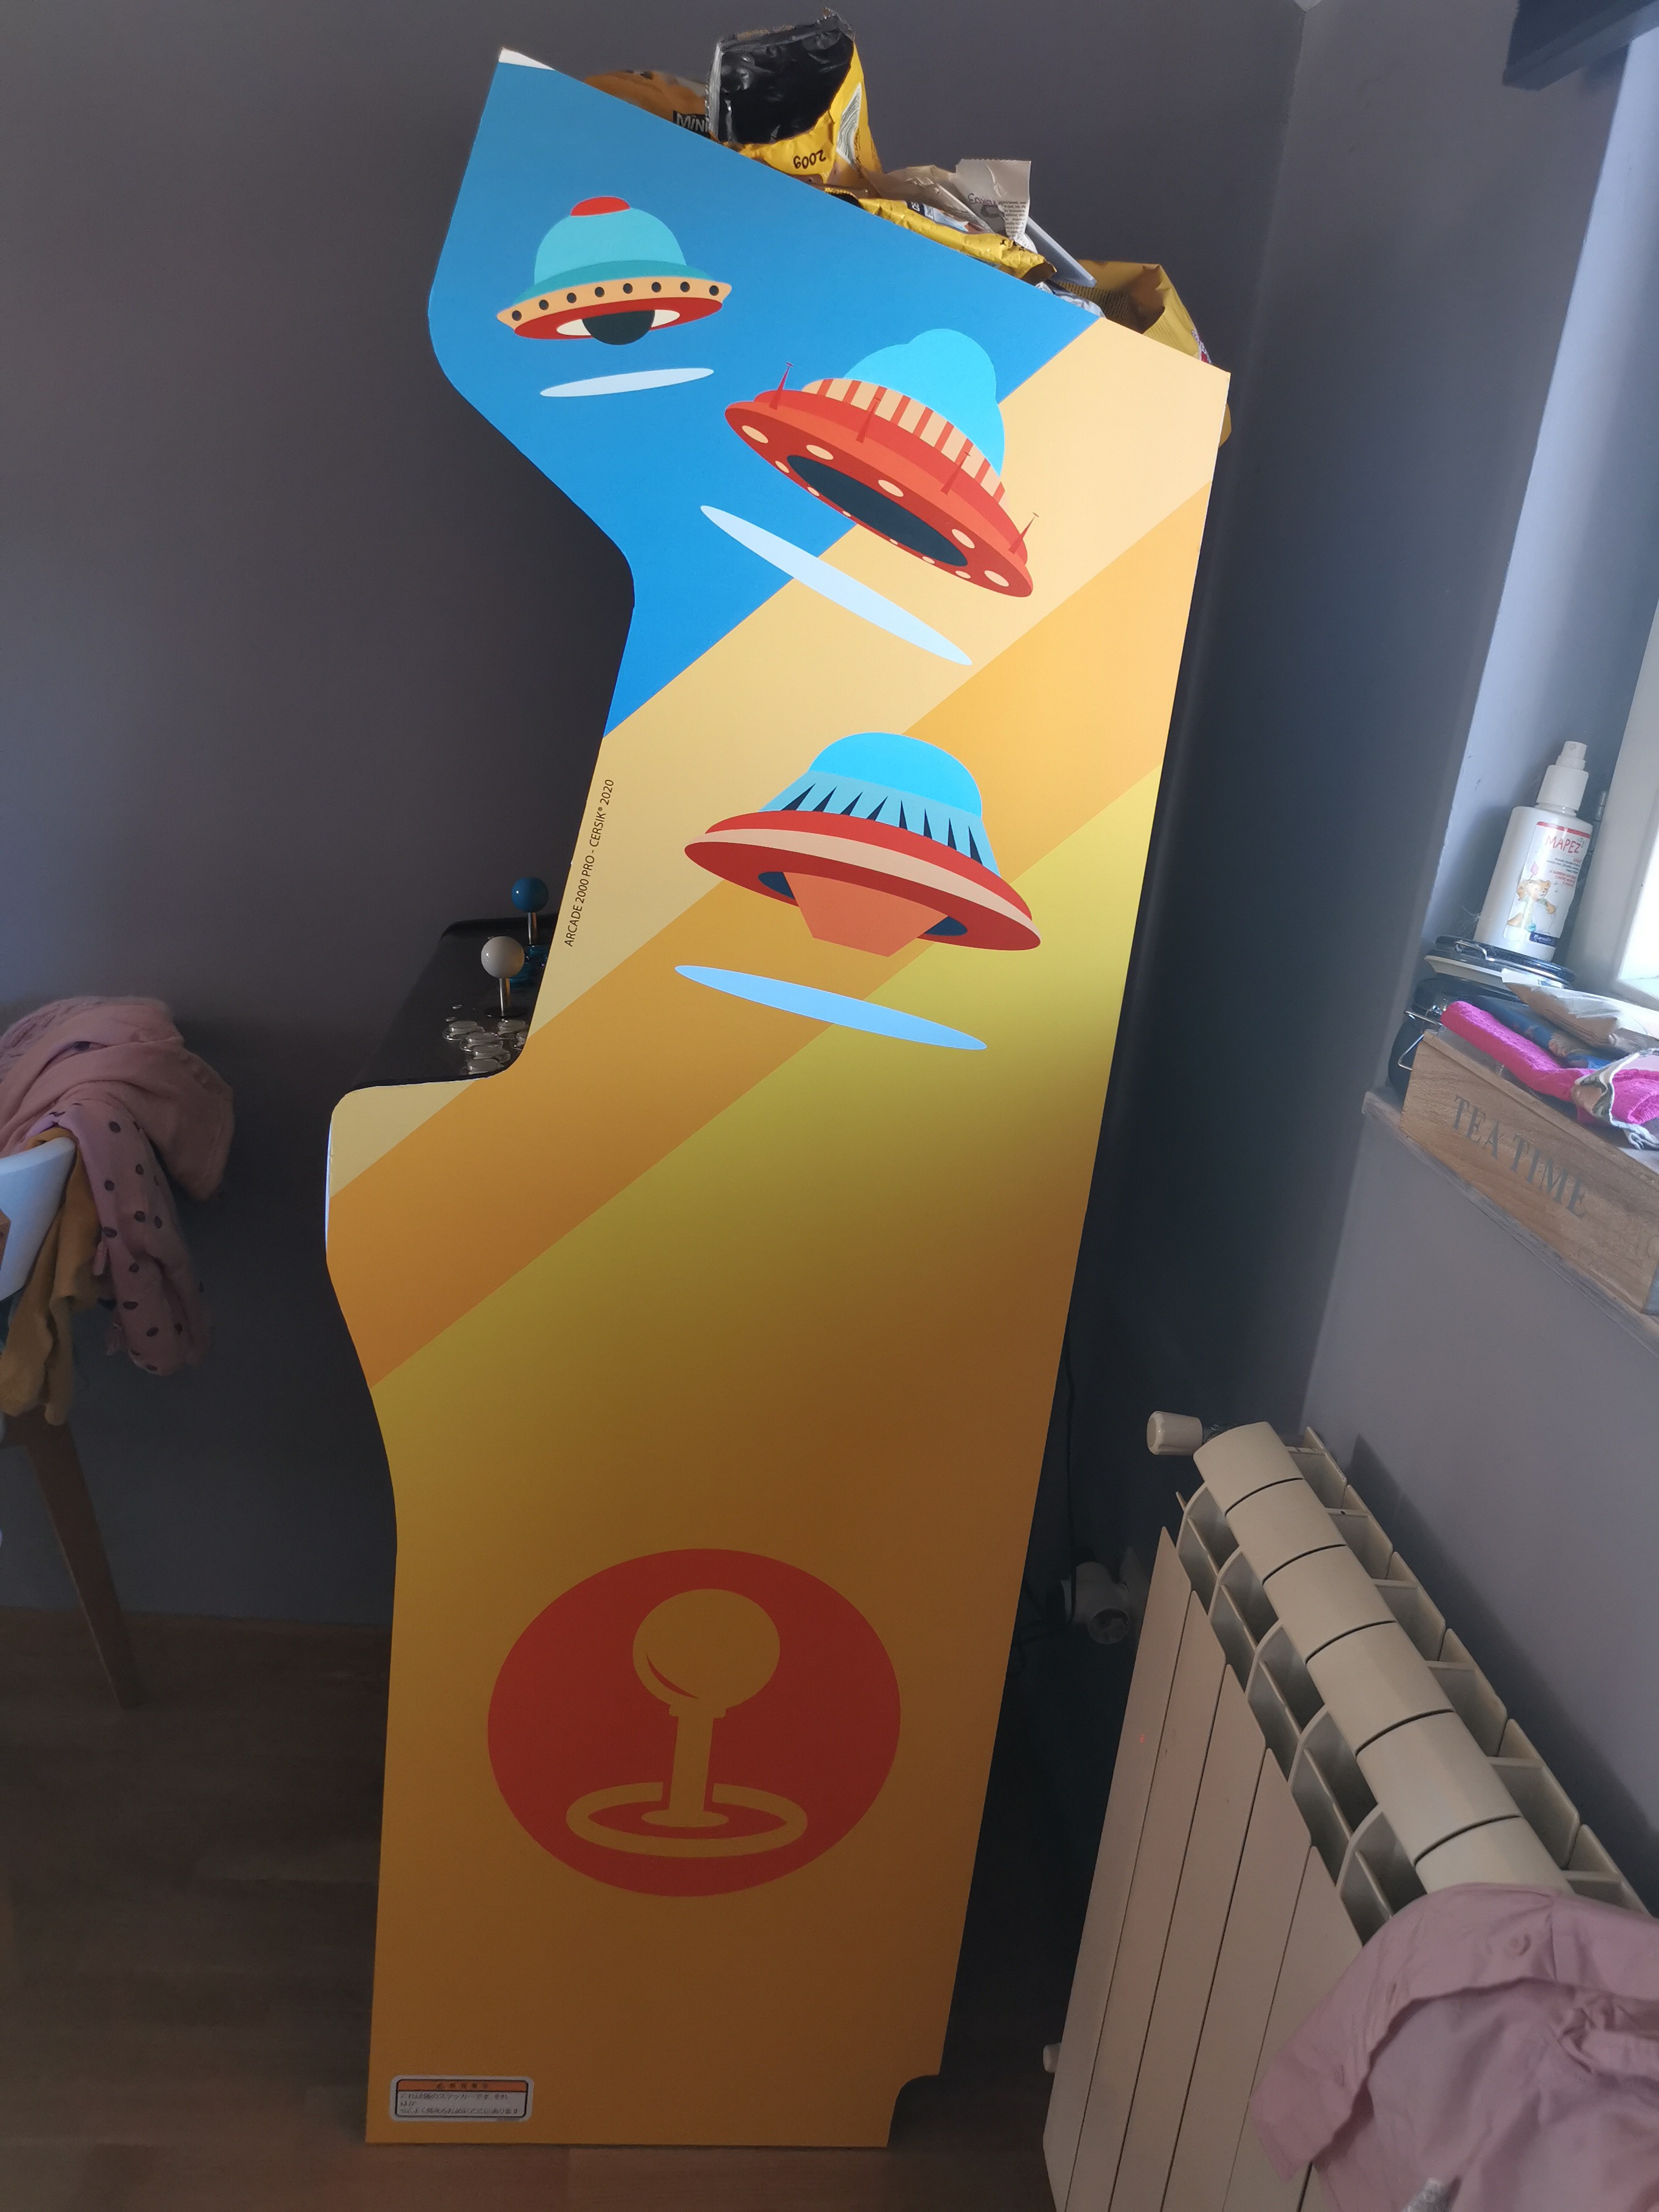
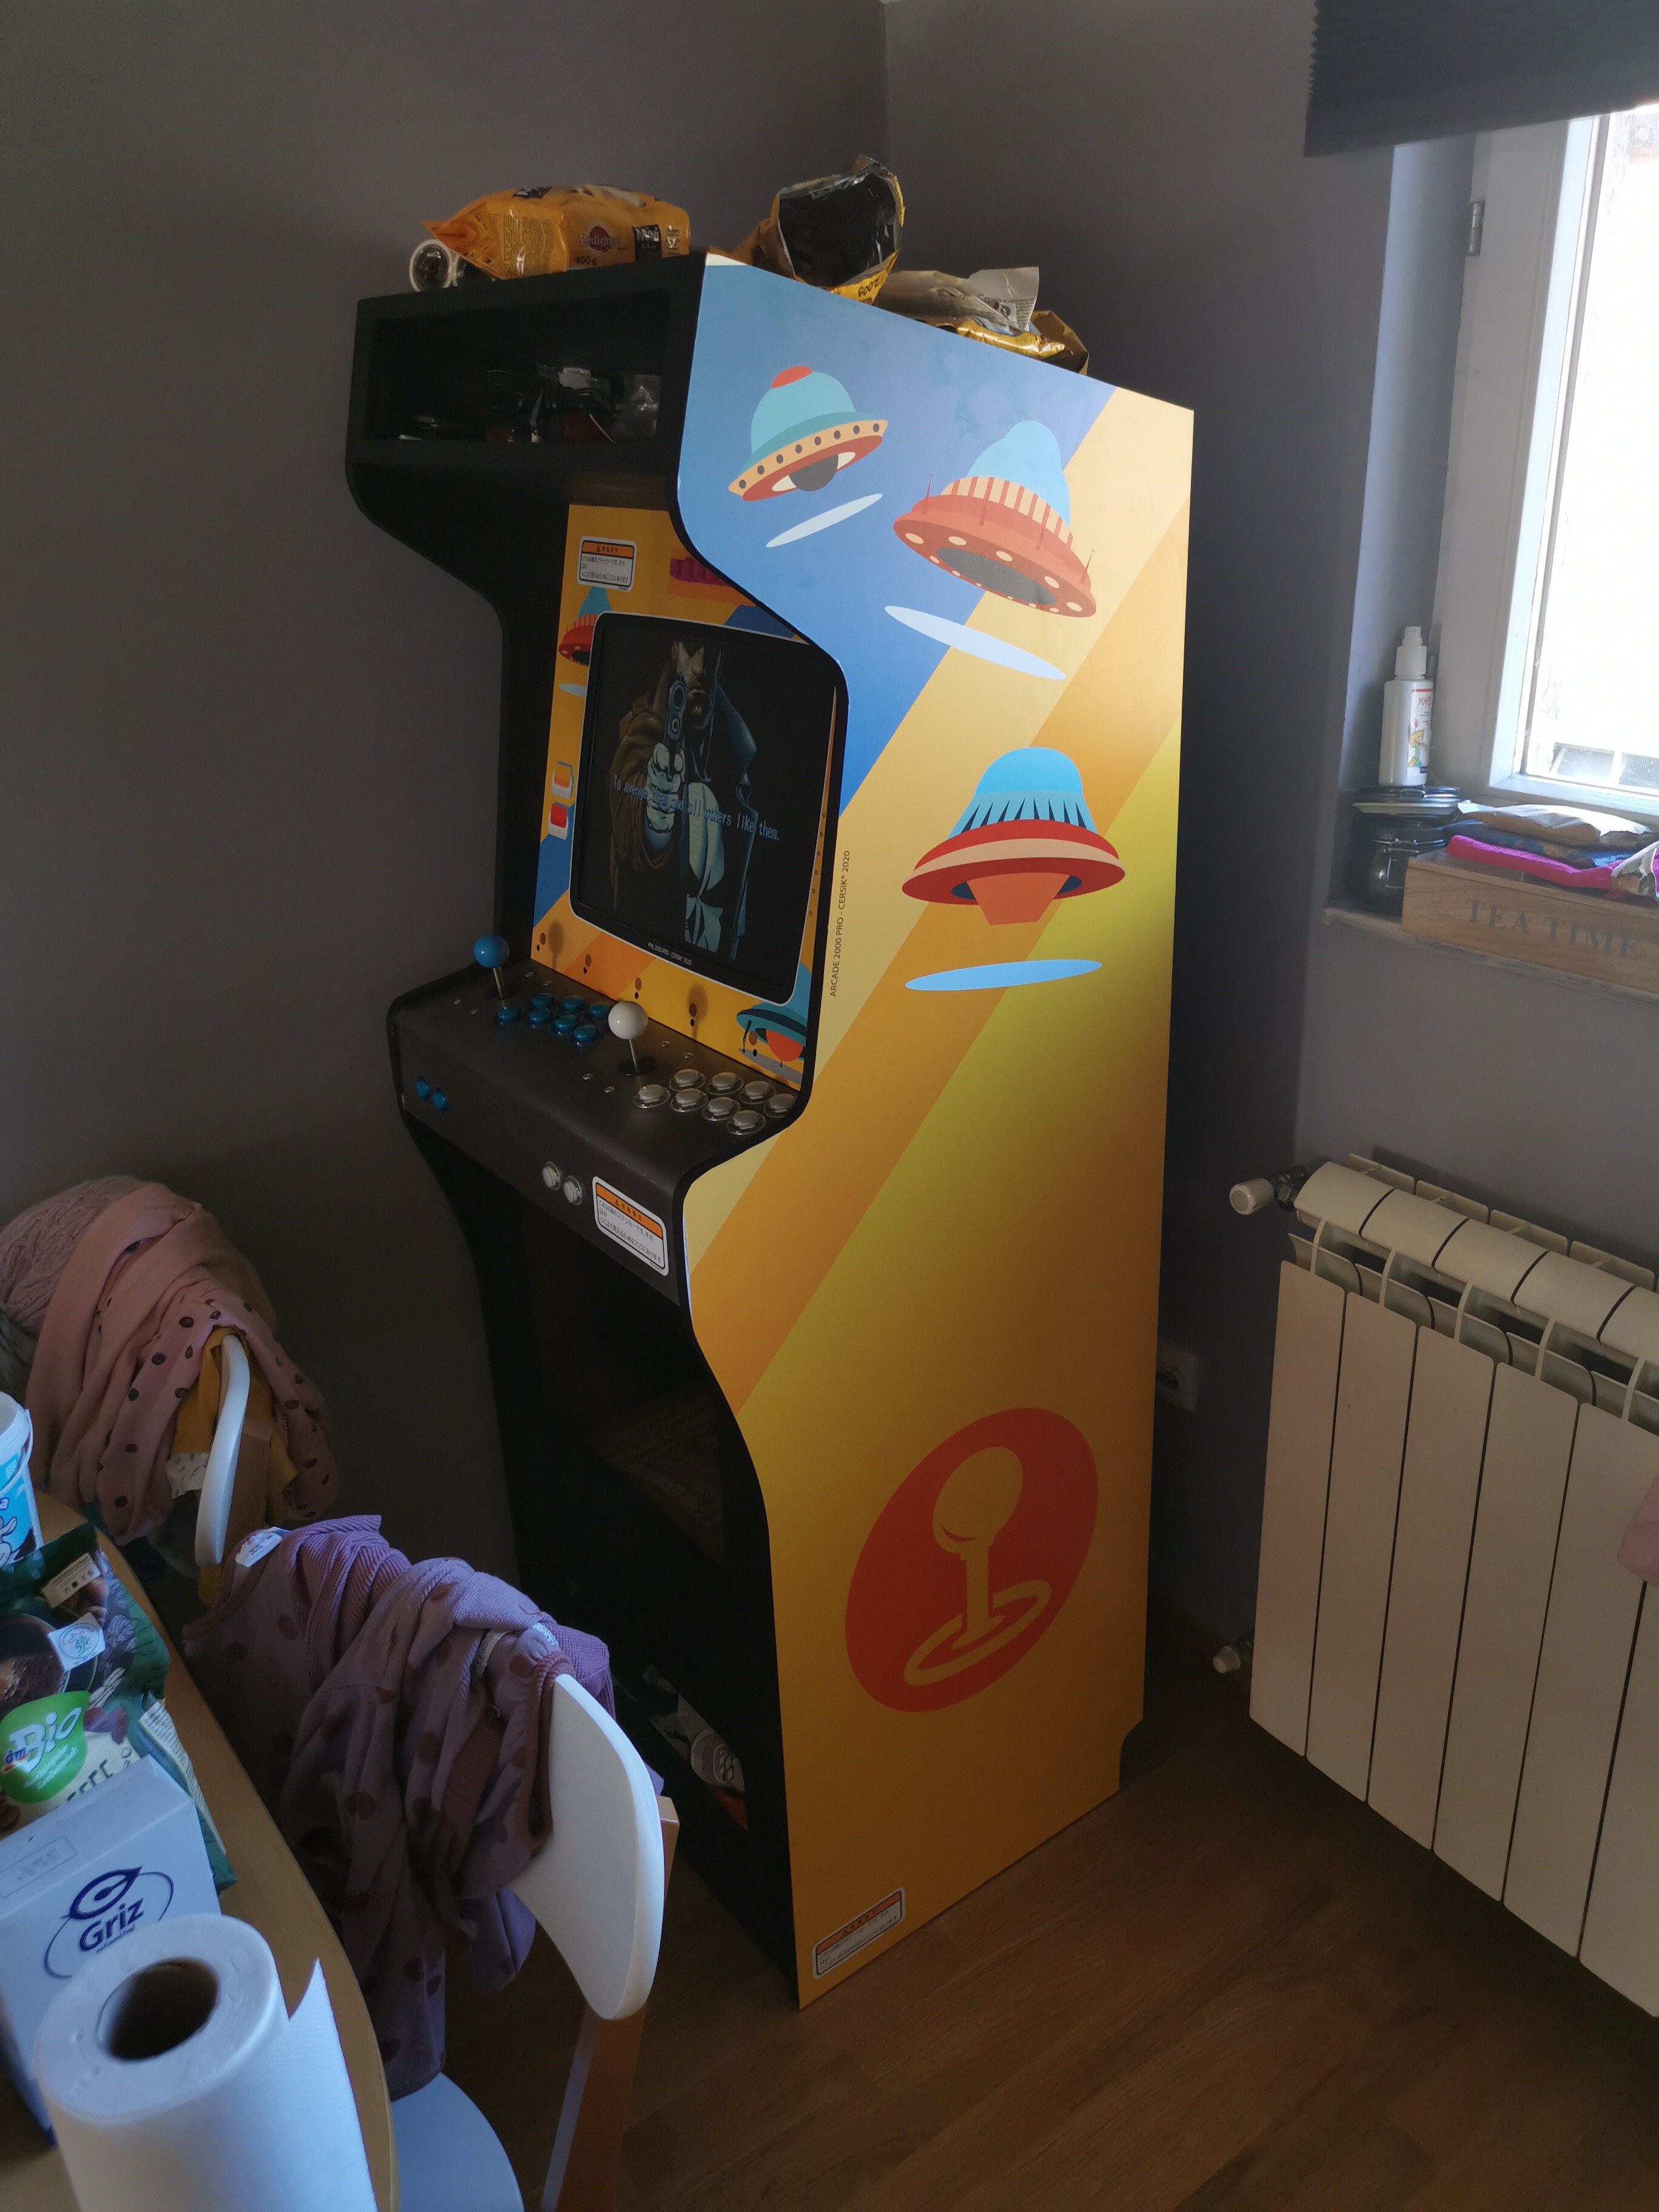
    Printed vinyl stickers have arrived! Here is the preview...

  • Front panel keypad

    Nikola Secerovski01/26/2021 at 11:00 0 comments

  • Wiring (I'm lazy)

    Nikola Secerovski01/25/2021 at 10:01 0 comments

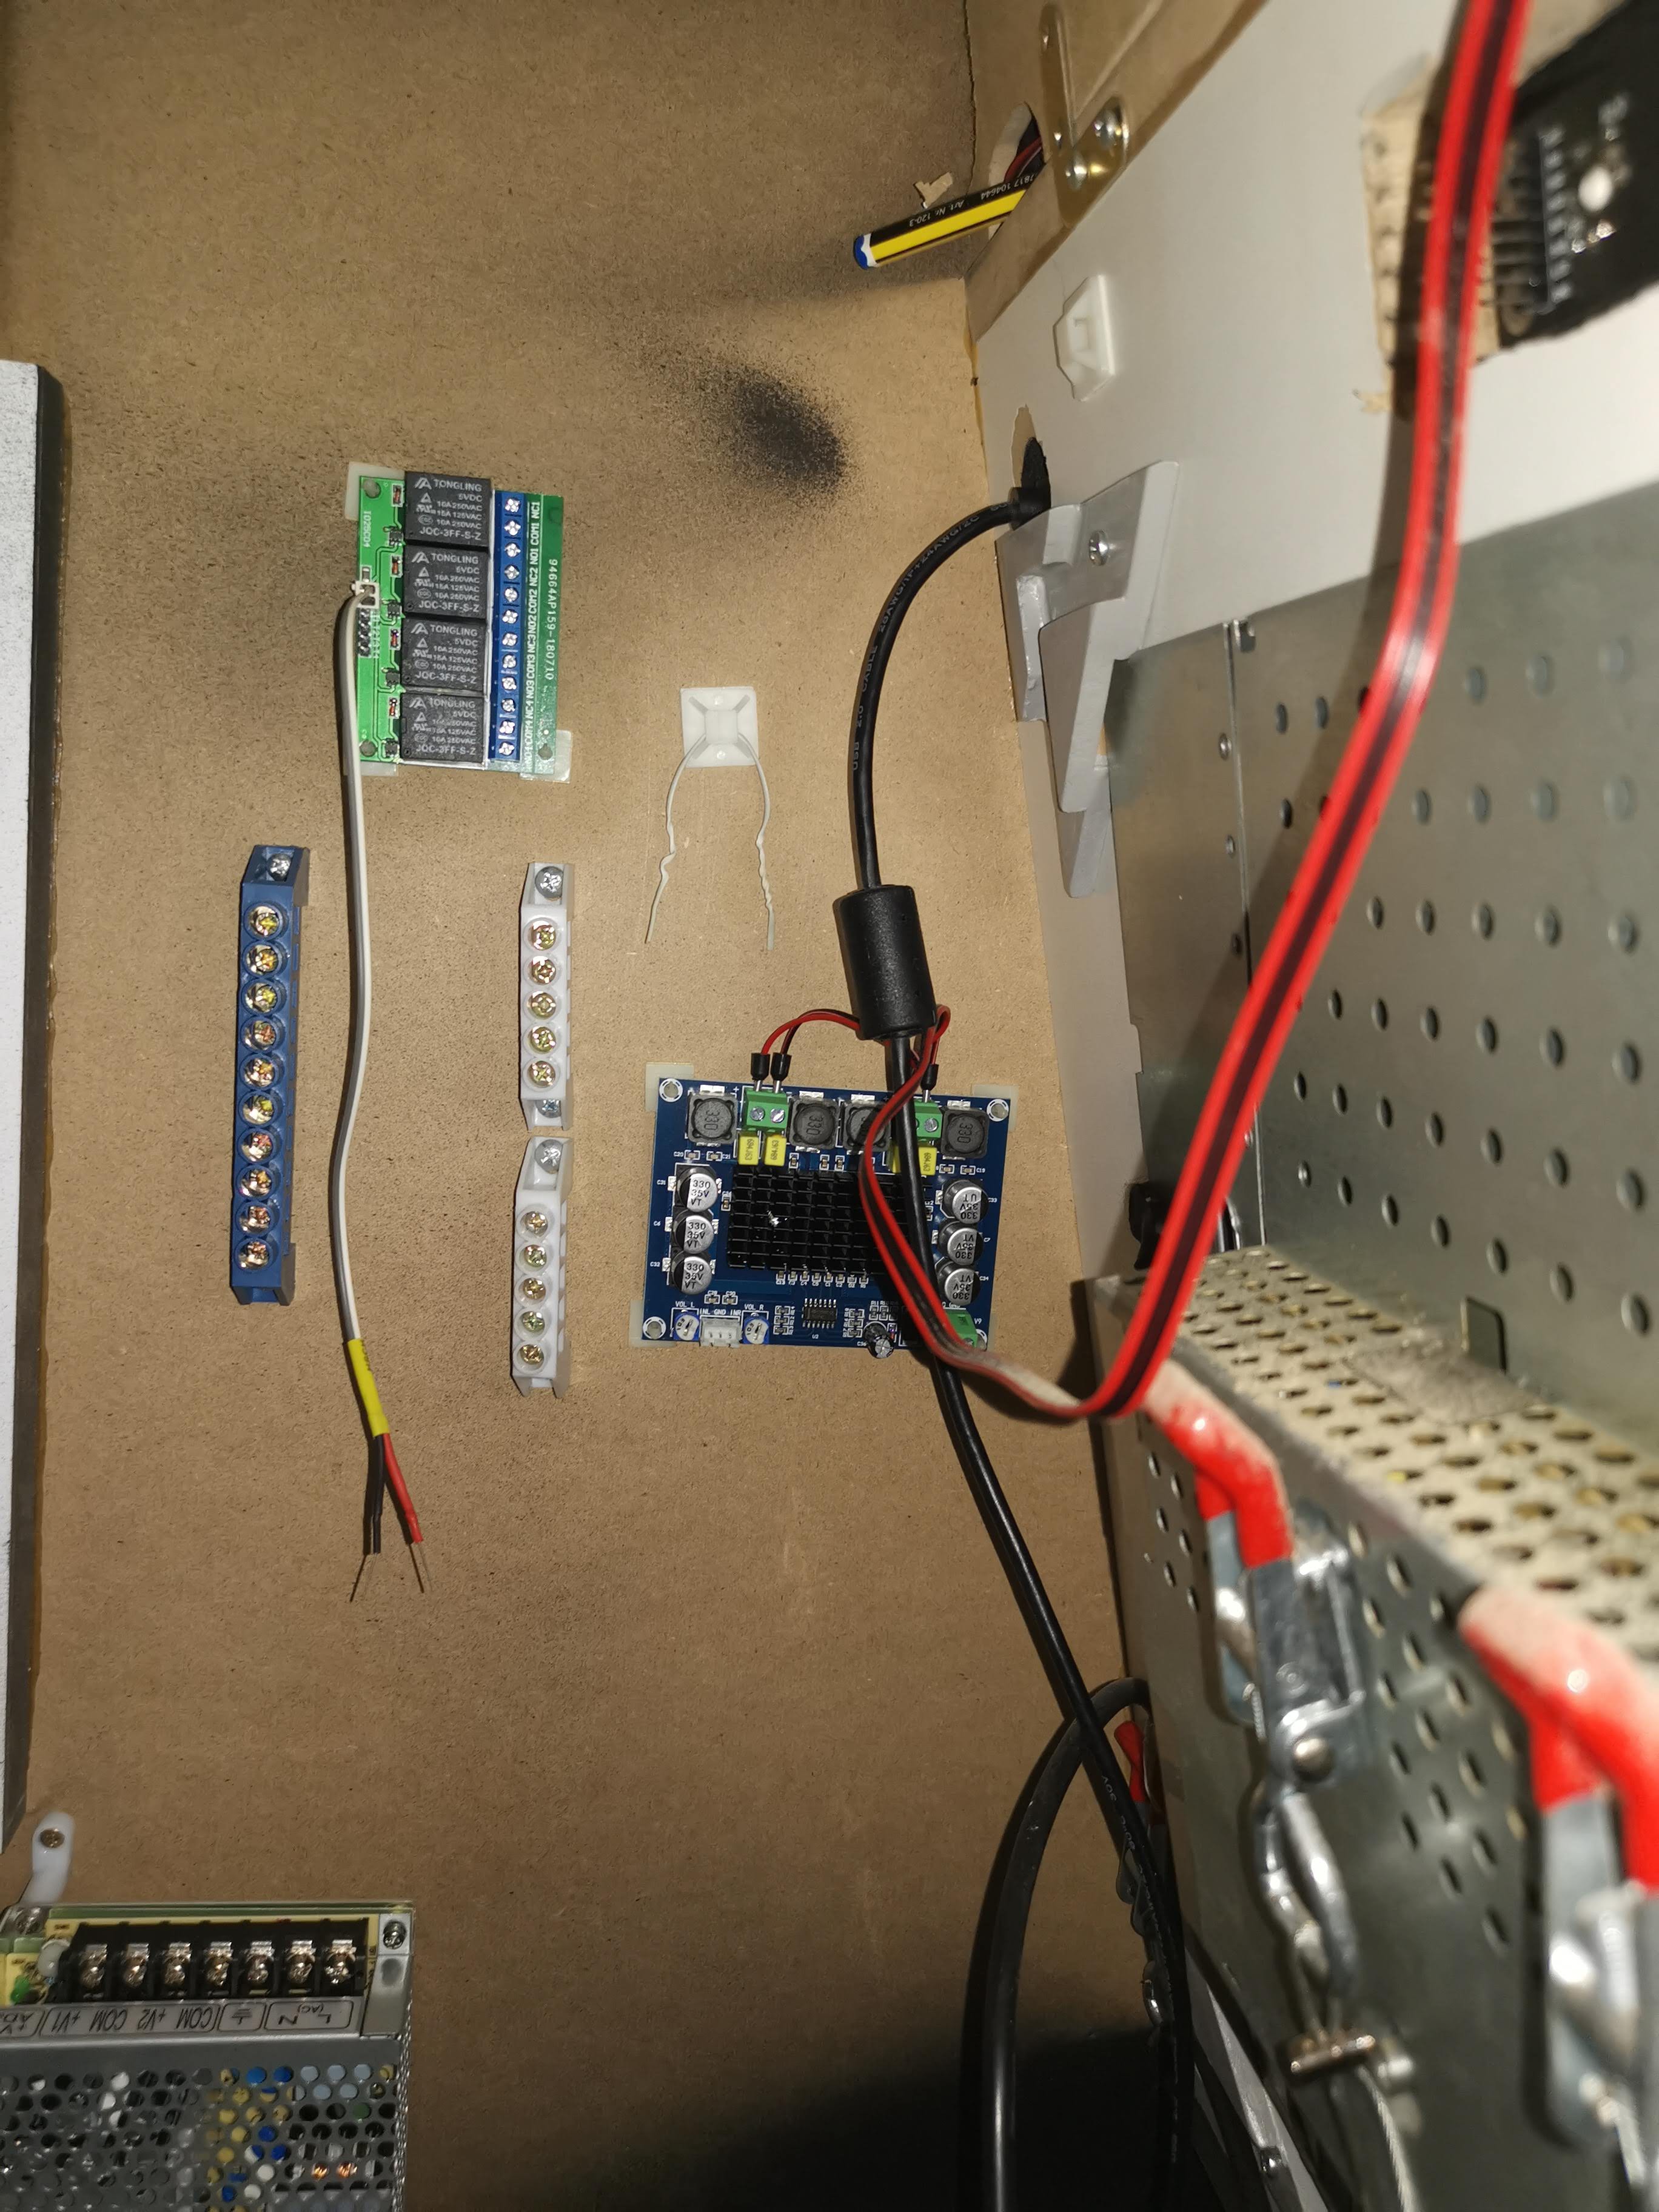
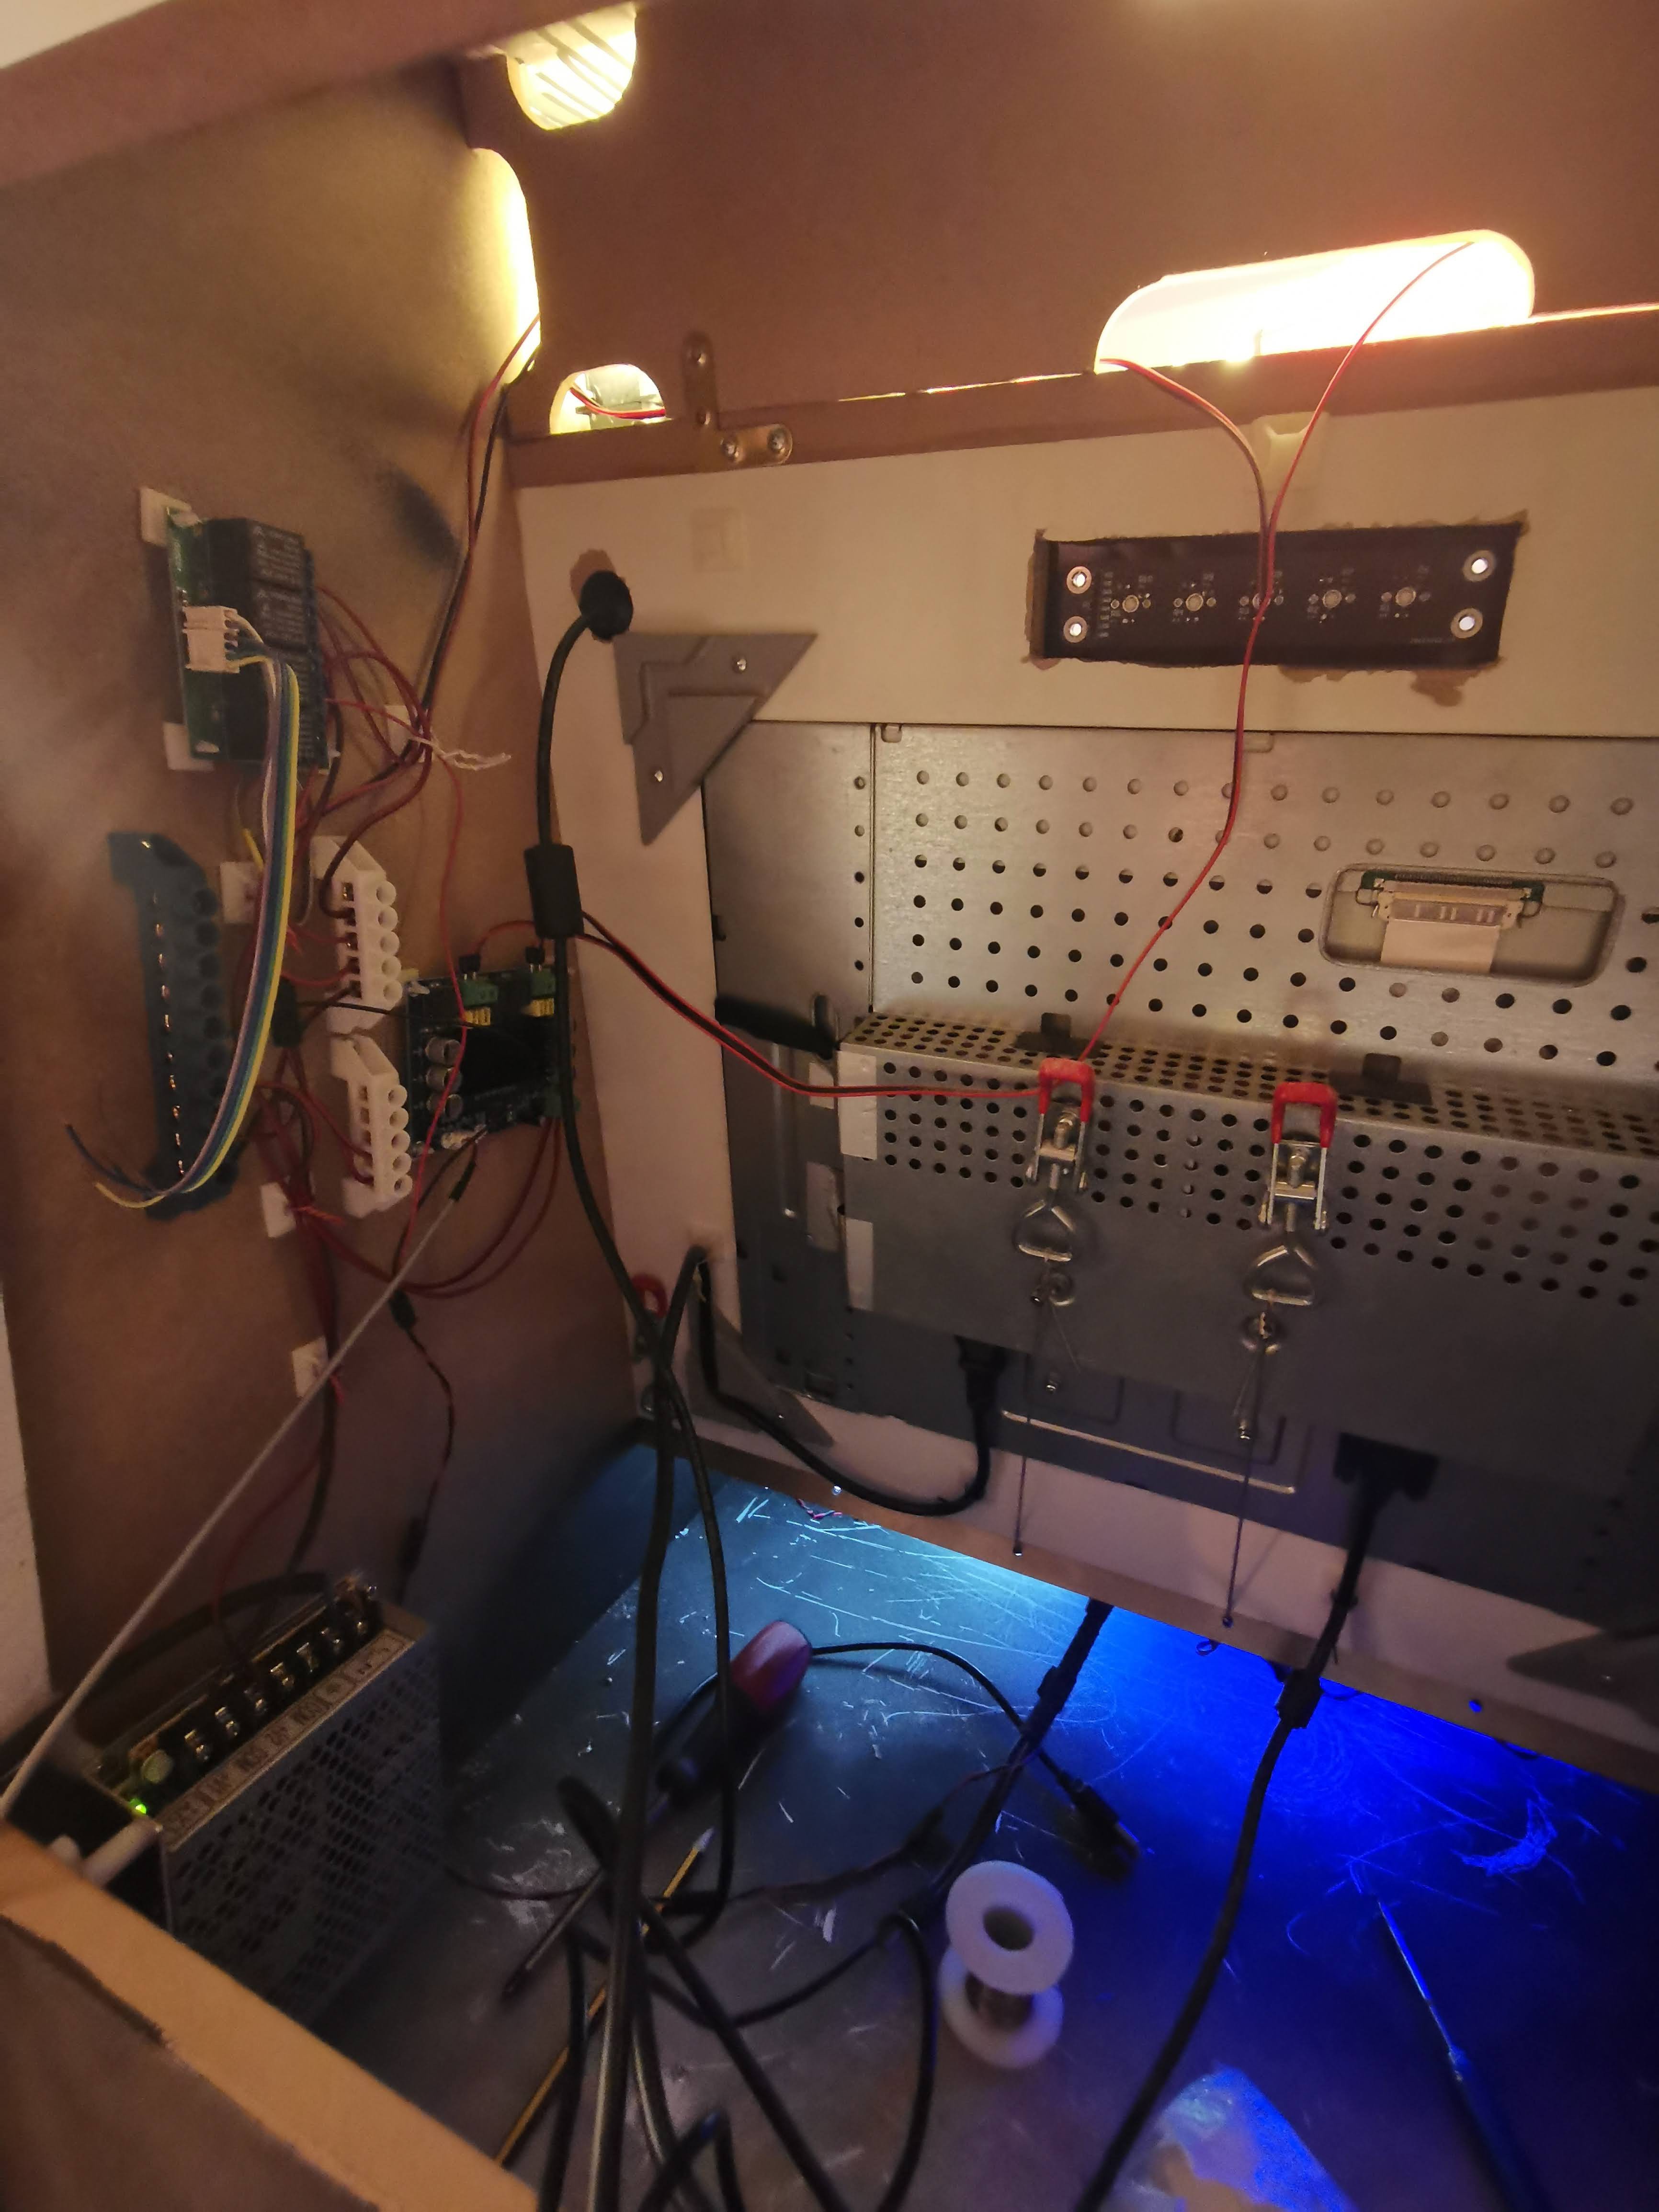
    This item on the arcade check list i long-overdue, all the components have arrived weeks ago, but i was to lazy to do this task. These are the components I put together:

    • Power supply (Dual rail, 5V + 12V, SMPS) 
    • Latching relay module board (4ch) 
    • Audio amplifier (D-Class)
    • Marquee LED backlight
    • Controls backlight
    • Front panel keypad
    • Raspberry PI 3

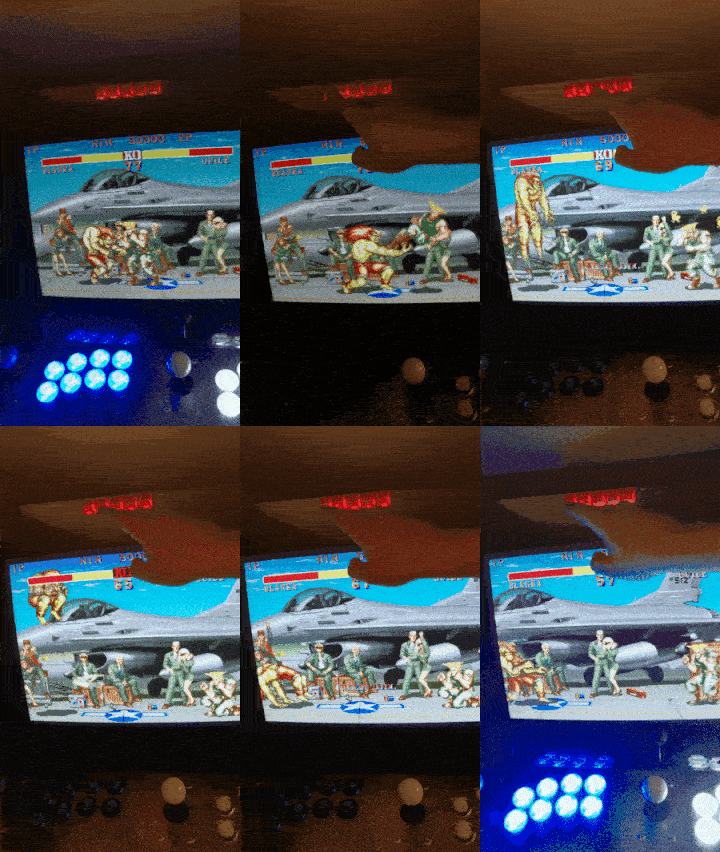
    How it all works? Basically, front panel keypad controls latching relay module, 3 of available 4 channels, this is channel assignment:

    1. CH1 => Marquee LED backlight
    2. CH2 => Audio amplifier power
    3. CH3 => Controls backlight
    4. CH4 => FREE

    Remaining 2 buttons on front panel keypad are connected directly to RPI GPIO port, and control the audio volume. 

    Power supply is distributed across all the components, including RPI and front panel keypad backlight. 

    Audio signals are also wired, directly to RPI 3.5mm audio connector, using custom made coax cable, including audio amplifier input and microphone mounted to marquee plate (To enable Google assistant support).

    Next items on my check list are to create graphics, and replace RPI 3 with RPI 4 (This will enable Google assistant support and Wi-Fi connectivity)

    Here are some photos

View all 8 project logs

  • 1
    Step one

    Build it

  • 2
    Step two

    Play some games

View all instructions

Enjoy this project?

Share

Discussions

Nikola Secerovski wrote 11/05/2020 at 07:30 point

Ahhhhh, the famous scissors counterweight! I wanted to take a picture, but the front plate kept falling down, so I balanced it like that.

  Are you sure? yes | no

Dan Maloney wrote 11/04/2020 at 17:14 point

OK, I'll bite - what's with the scissors?

  Are you sure? yes | no

Similar Projects

Does this project spark your interest?

Become a member to follow this project and never miss any updates