 sarah boo
This project was born out of experimenting with 555 timers for the first time. I like relationships between the auditory and the visual, and I like that circuit sculptures provide a literal expression of their connection. So, I started off gathering a bunch of 555s and LEDs and hit the internet to learn about creating analog sound circuits.
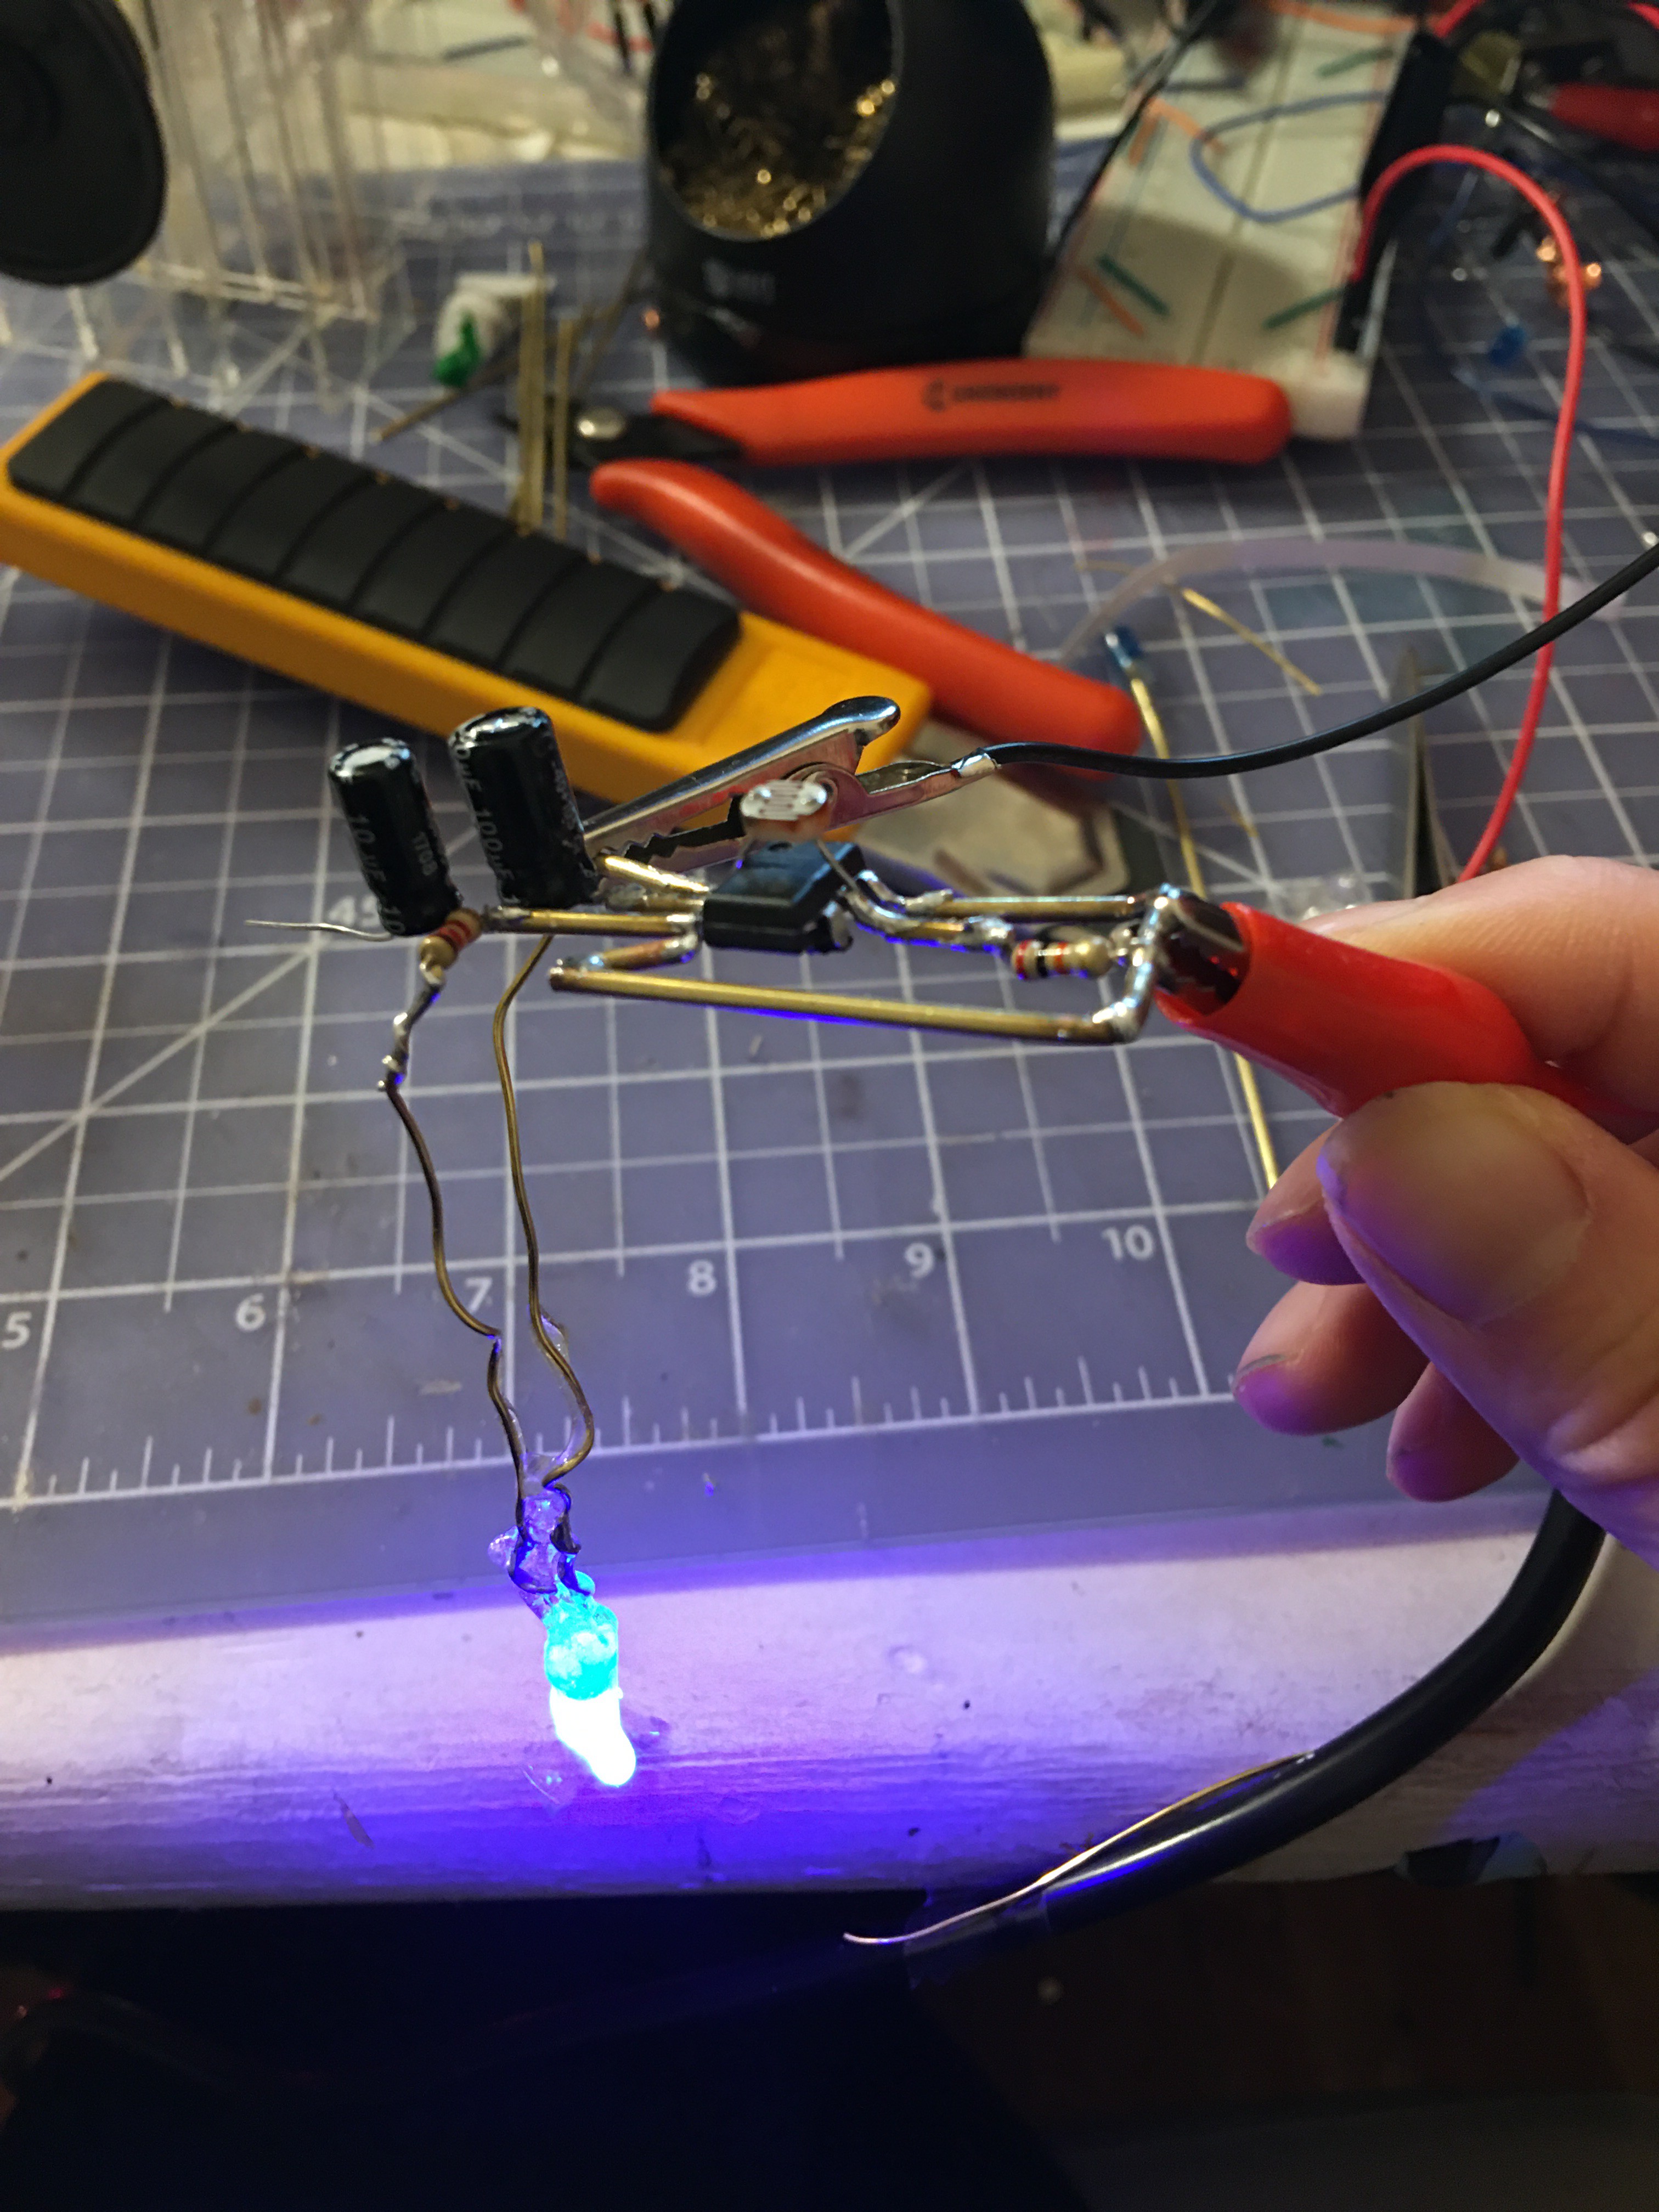
The building block of this circuit is the 555 timer in astable mode, acting as an oscillator to create square waves of varying frequencies. I used this video by ScienceOnline and this article by Circuit Basics as reference to the standard astable circuit. I opted for a bottom-up design approach, playing with one chip at a time. I switched out resistors and capacitors until I found something I liked, then added it to the main circuit. Maybe a product of my environment (I live with roommates who have ears and I get anxious that I'm being too loud all the time), but I immediately preferred the gentle low frequency clicks that came after sticking in a heftier 100uF over the mezzo-soprano square wave wails I started out with (with a 1uF cap).
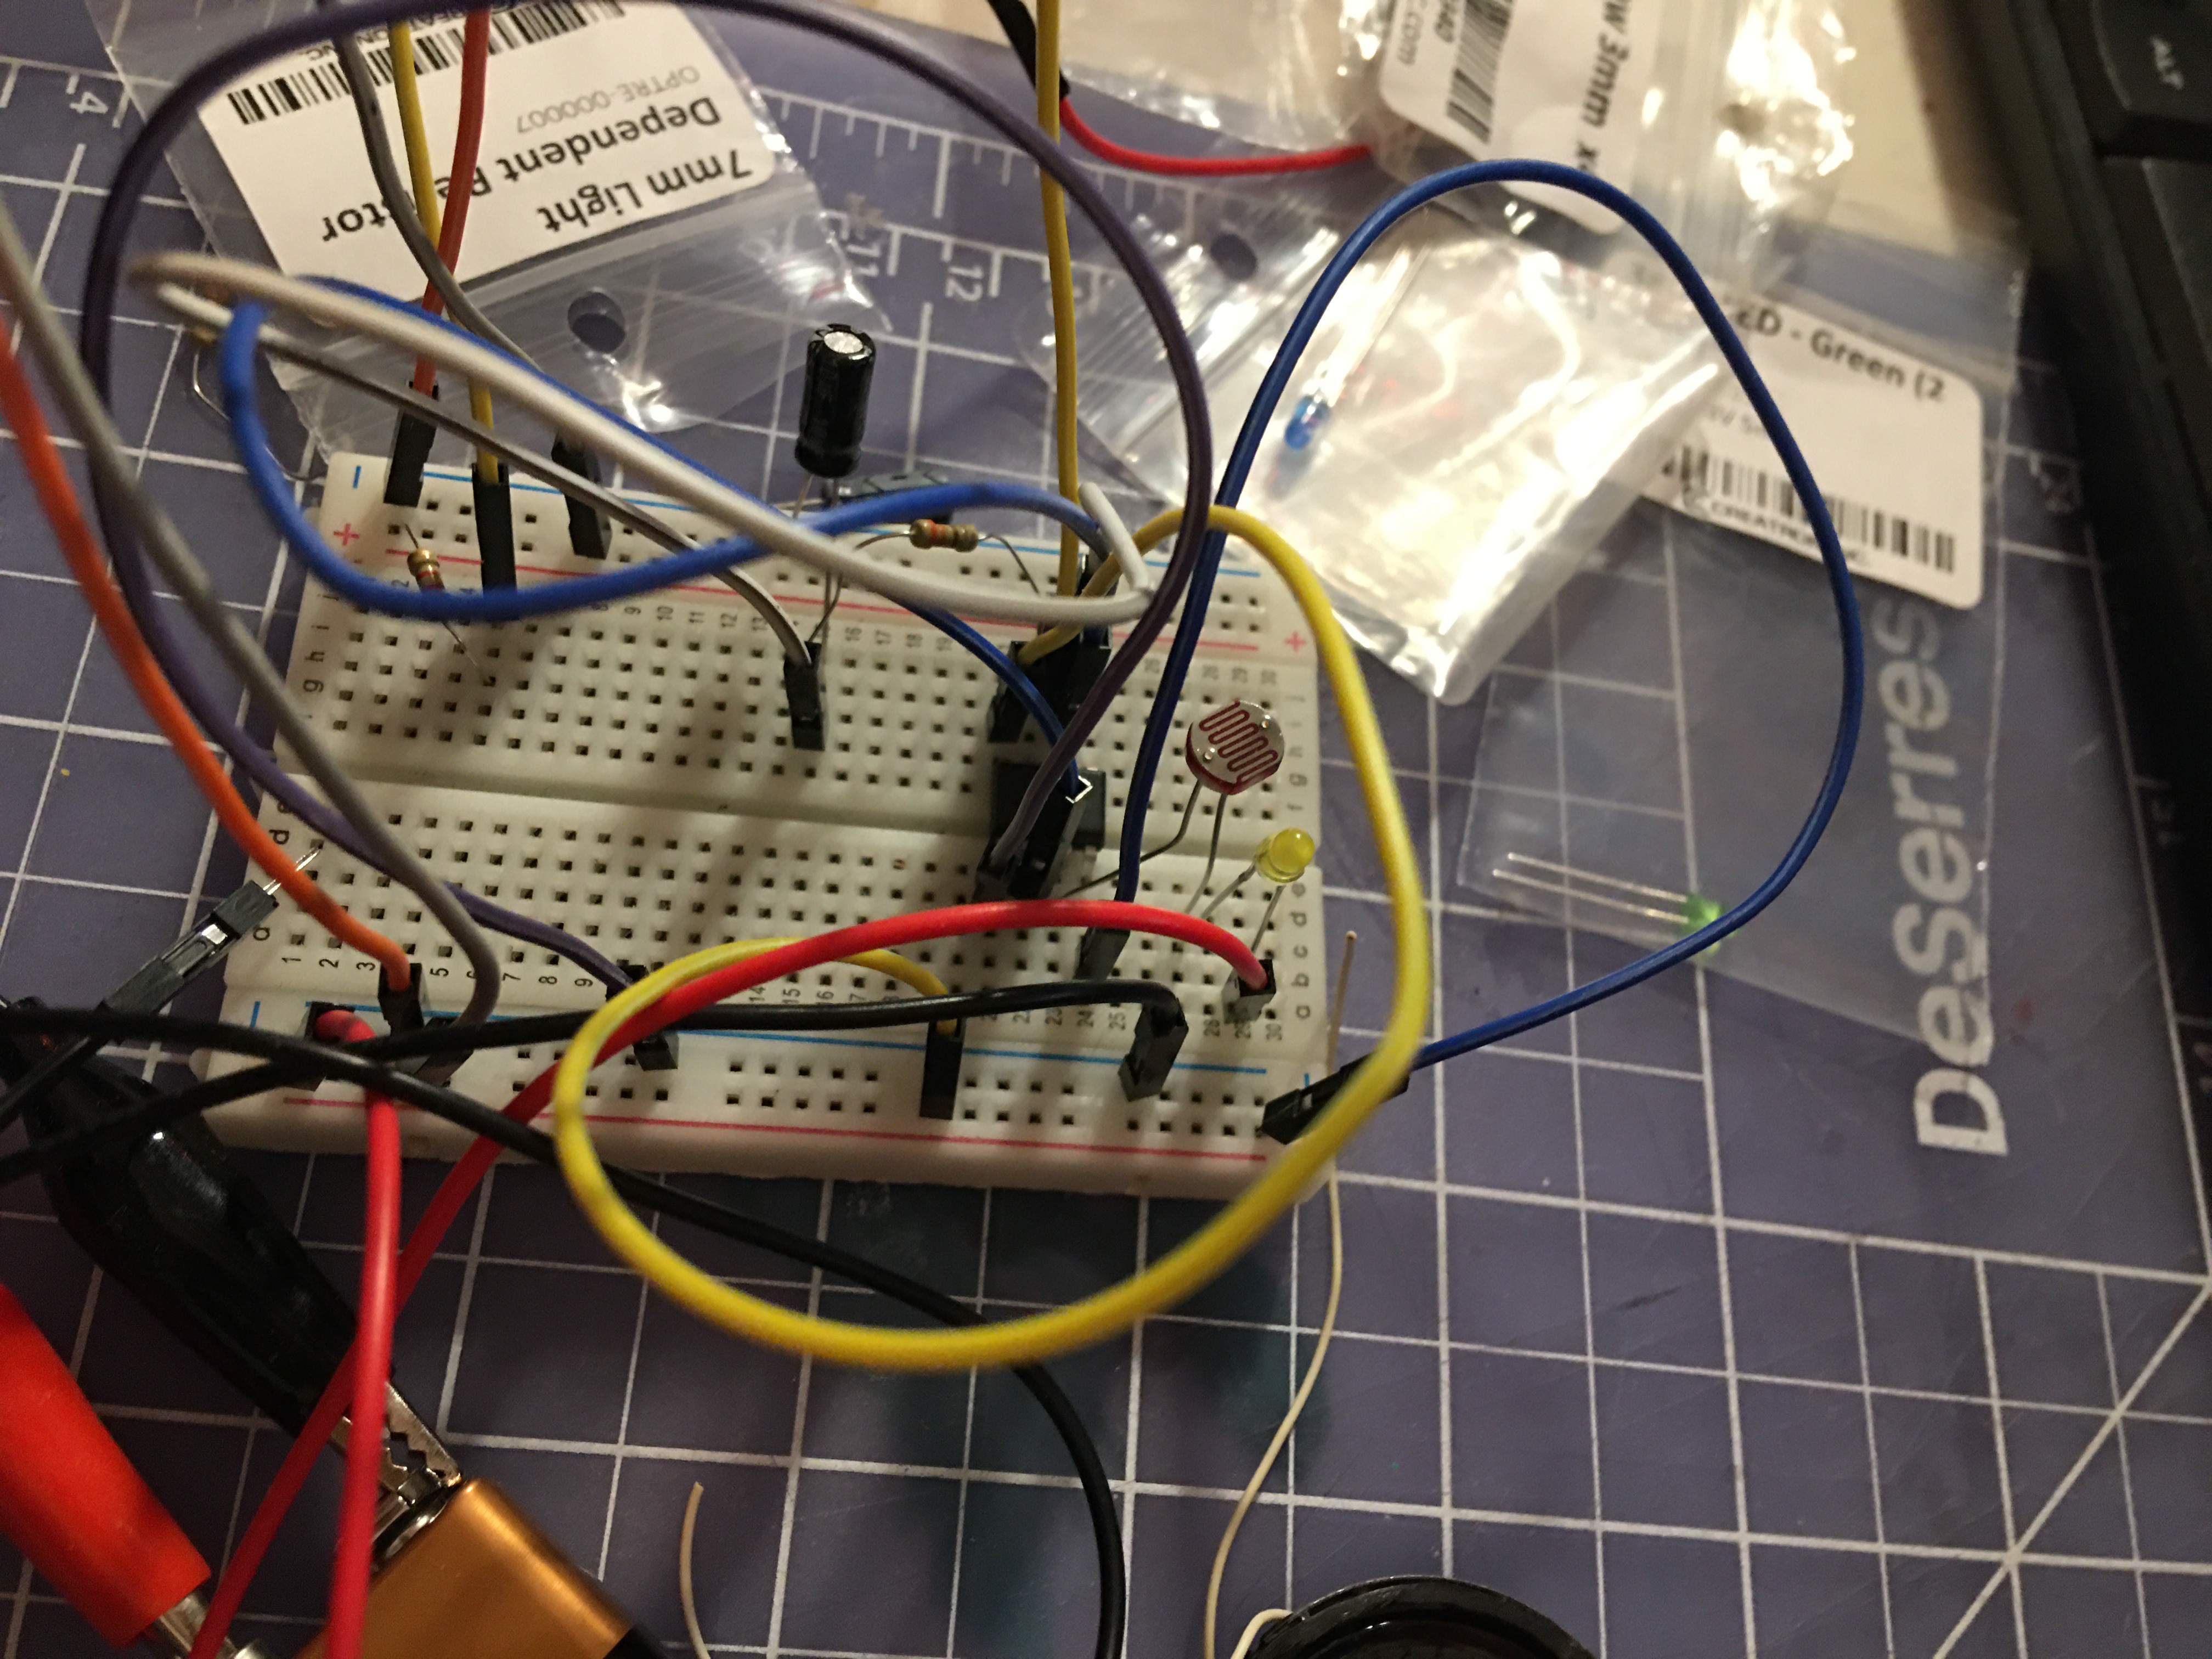
I also tried LDRs (light-dependent resistors) in different positions to vary frequency and volume, as you can see in the early prototype above. Interactive sculptures are interesting to me- particularly when the interactions are not too prescriptive or easily controlled. I like when objects have some autonomy. This is something I keep in mind.
Soon after the clicks of the first 555, I became attached to the idea of emulating raindrops. When you listen carefully to raindrops, you can learn a lot about the physical space around you. Depending on the objects and shapes they encounter, raindrops take different journeys to the ground and end up in streams of varying dropping frequencies.
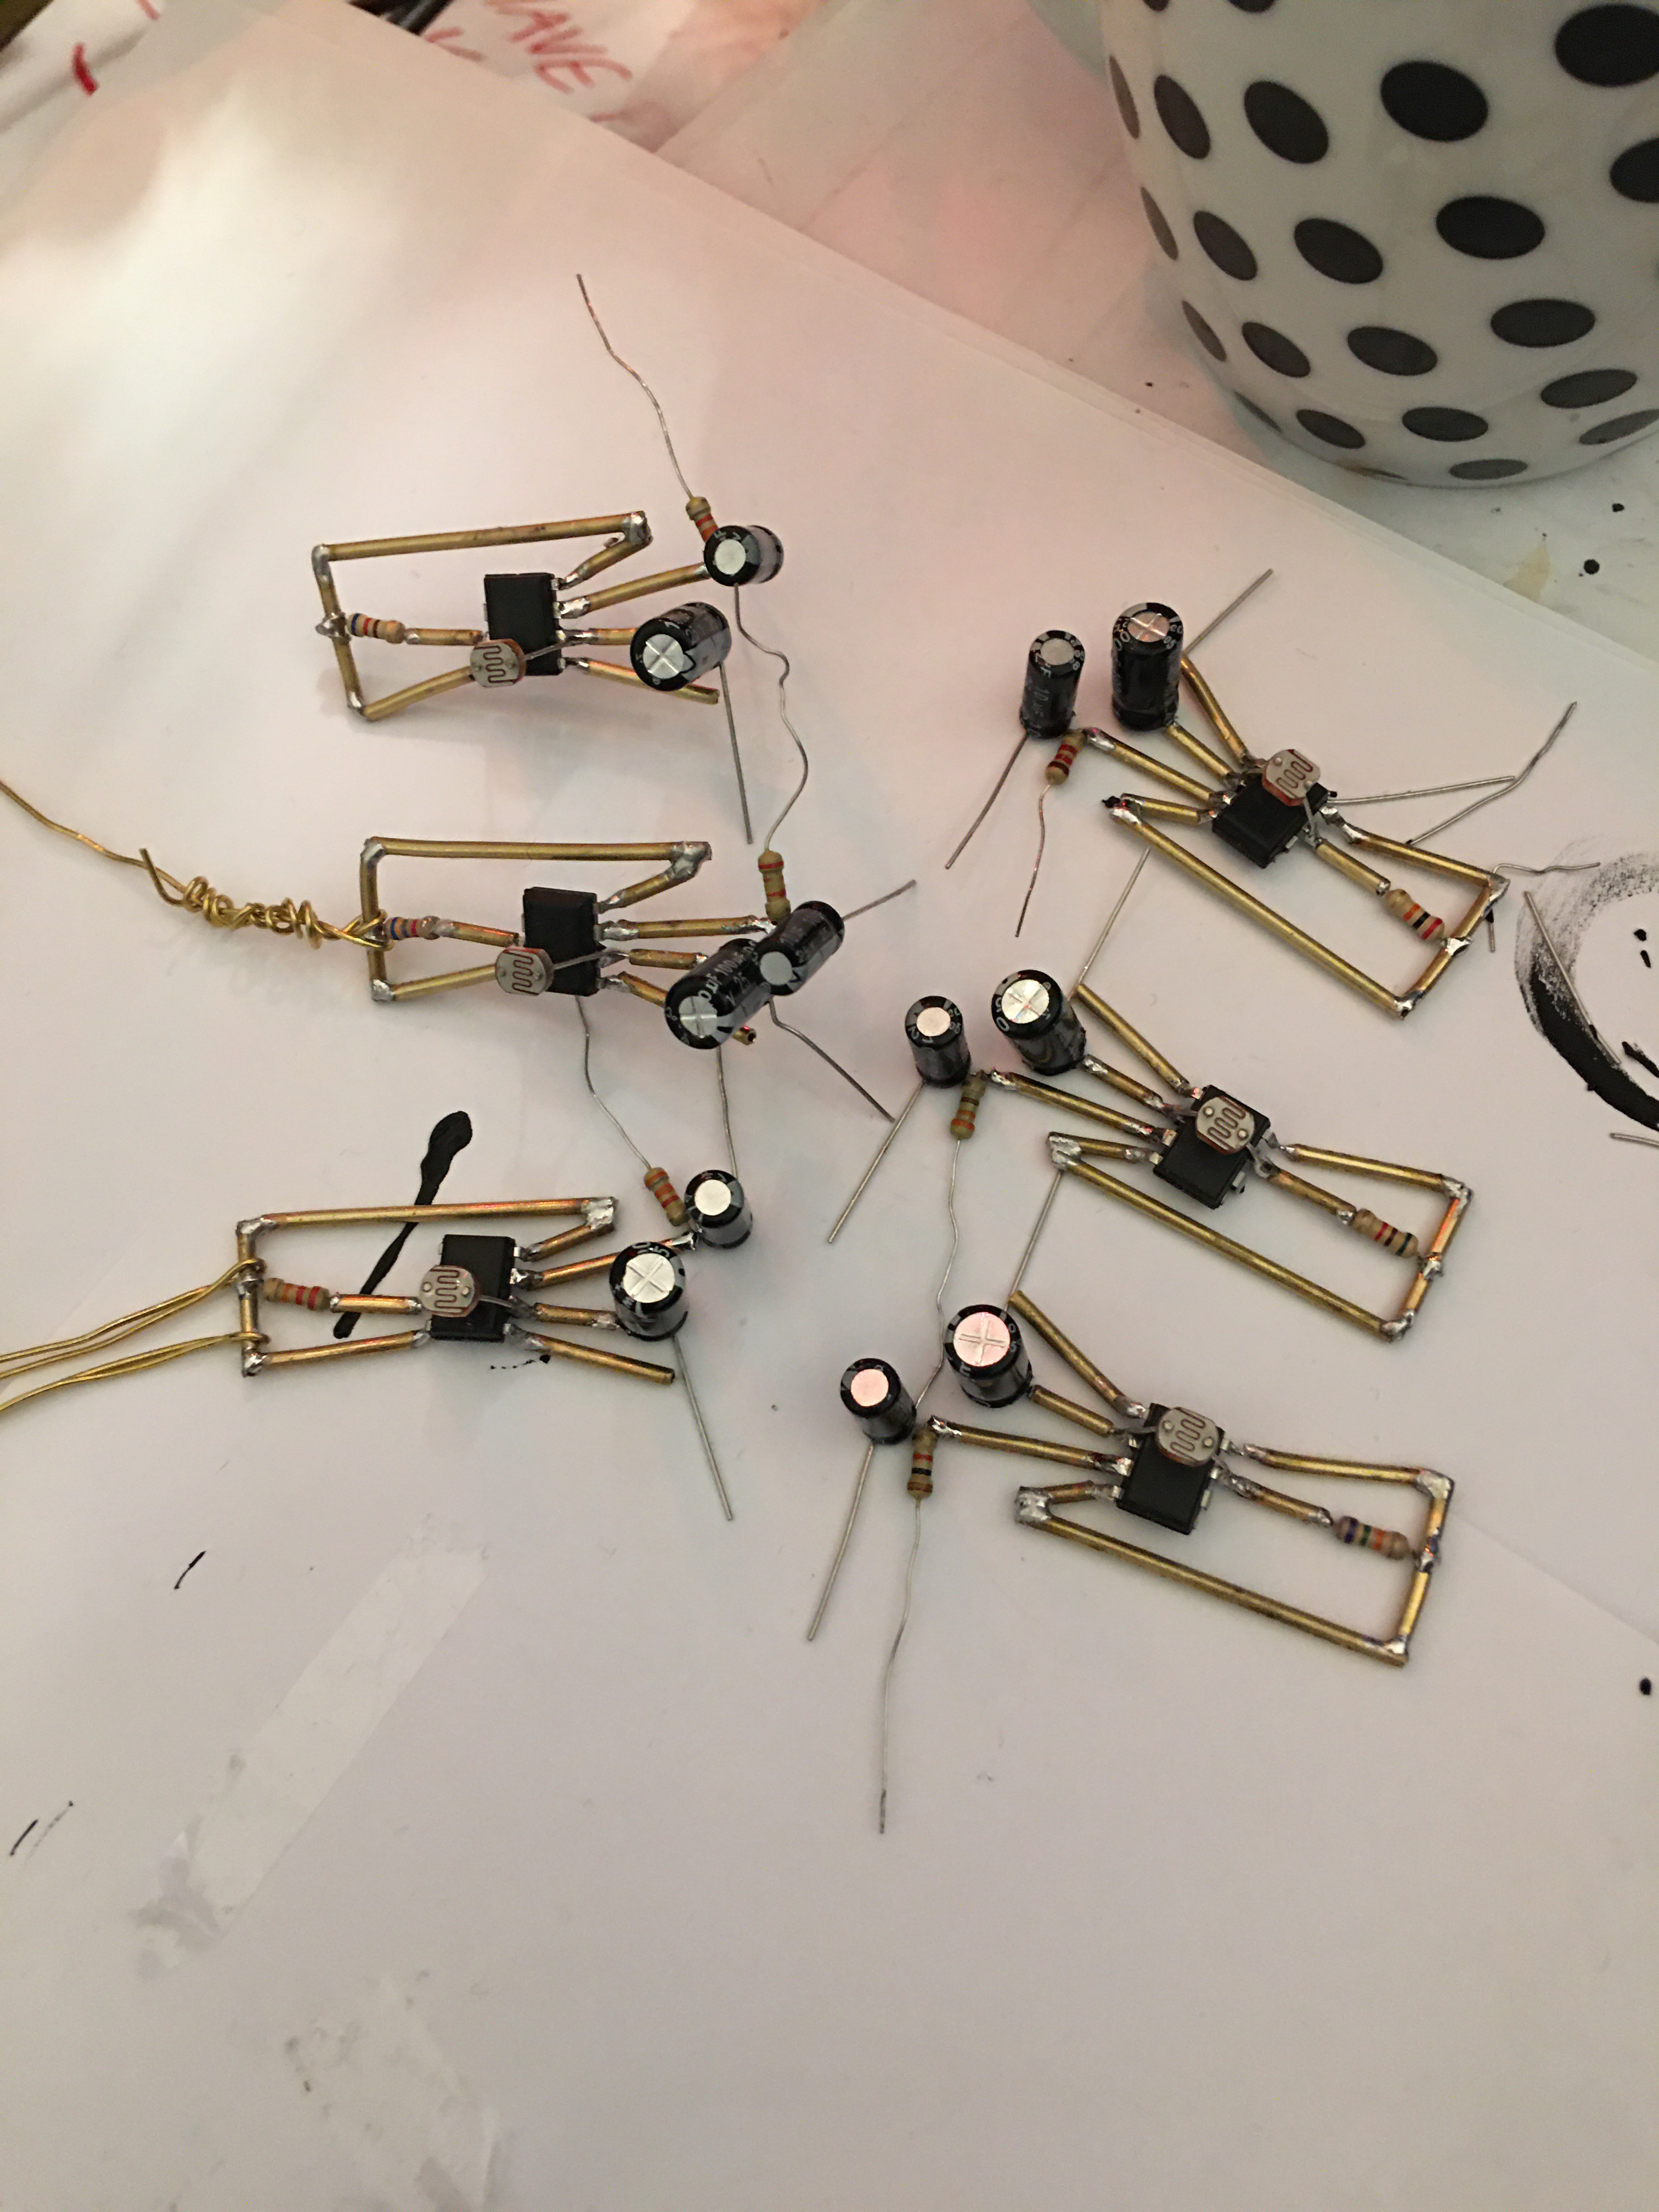
Eventually I settled on 6 different frequencies of clicking sounds and used LDRs to allow the sound to react to light (brighter environment excites the rain). I decided on using two speakers to spread out the sound in different directions, three sounds per speaker. Next was time to begin soldering together the 555 blocks with brass rod.
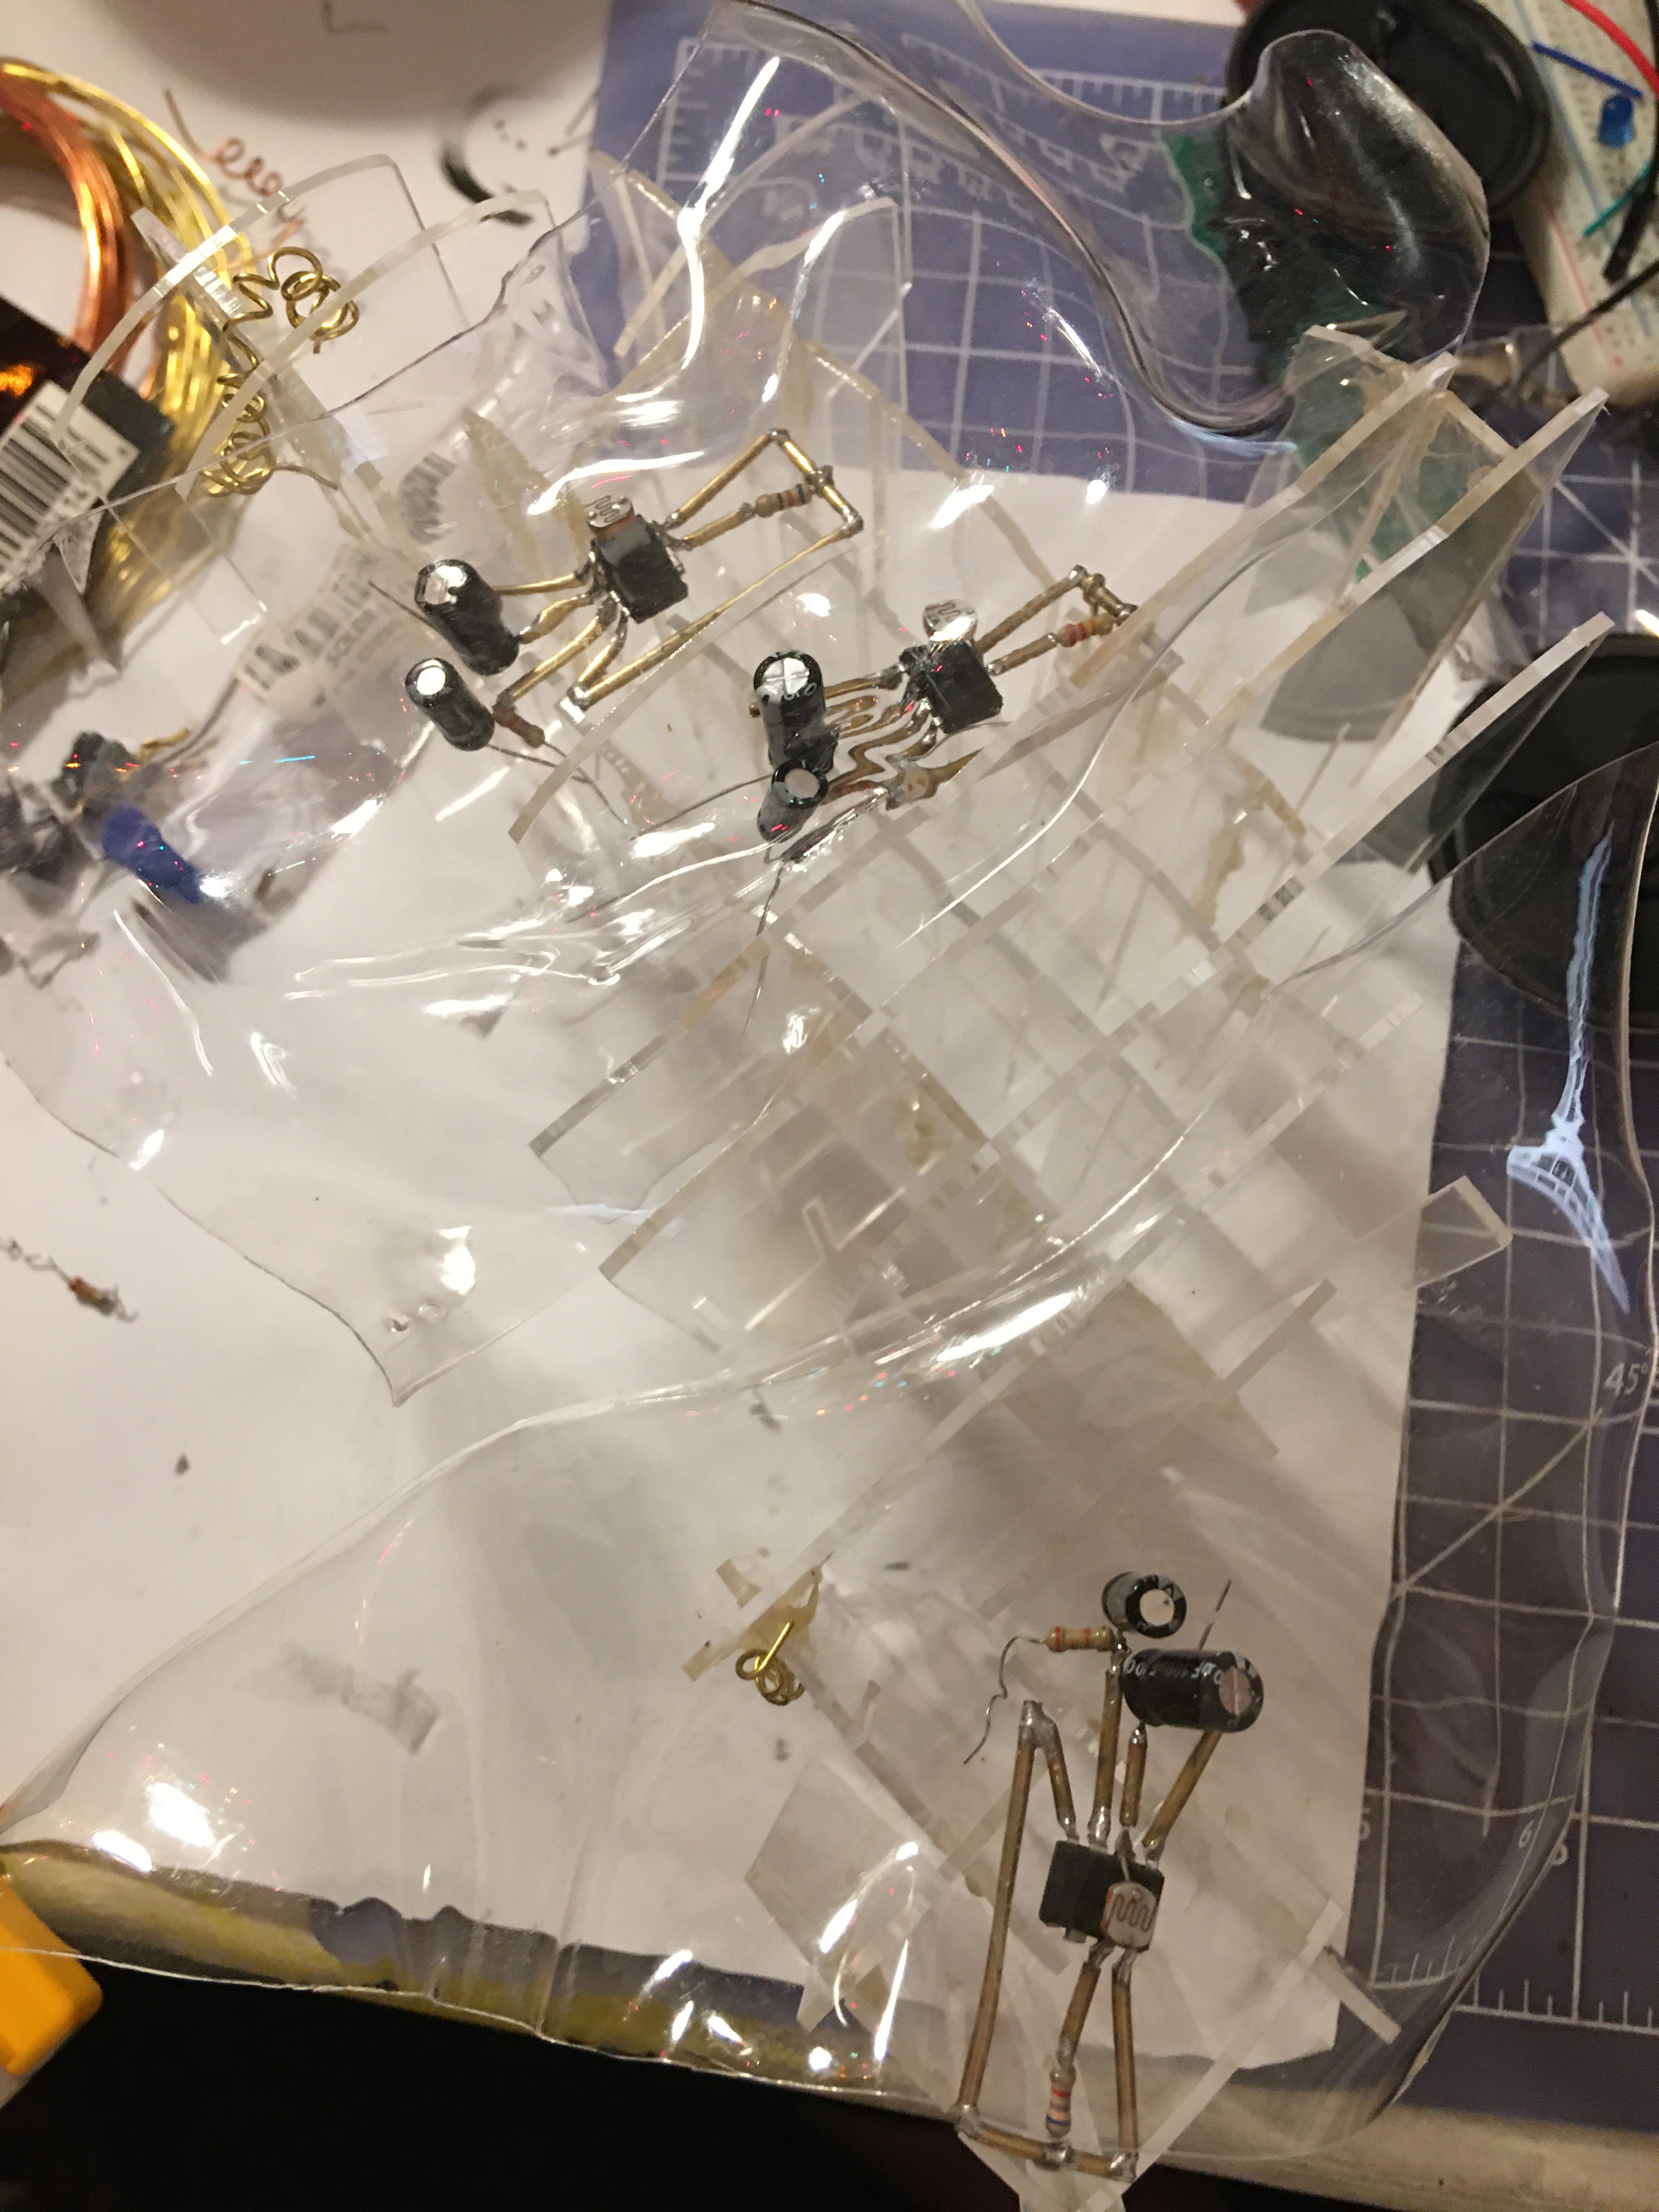
Maybe the most challenging part of this whole process was figuring out how I wanted to compose the overall structure. I wanted to use forms that would reference skies and rain. In a serendipitous moment, I was digging through my junk when I found pieces from an unfinished acrylic sculpture I had loved but abandoned about a year ago. It consisted of a waffle-cut grid-like structure (made on Rhino3D with Grasshopper and the BBWaffle plugin) and 1/8" acrylic sheets cut and formed into amorphous shapes with a heat gun. I had always envisioned embedding an LED circuit in the waffle-cut structure, so I was ~quite~ elated.
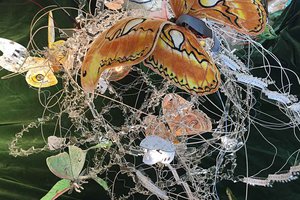
Next, I prepared some LEDs on the ends of slightly thinner brass wire, shaped to express free-flowing movement. Epoxy was dripped over the pieces for two reasons: 1) to stabilize the position of the wires so they wouldn't accidentally touch, and 2) because while LEDs are always going to be fun out of the box, diffusing them with different materials can go a long way in terms of visual atmosphere.
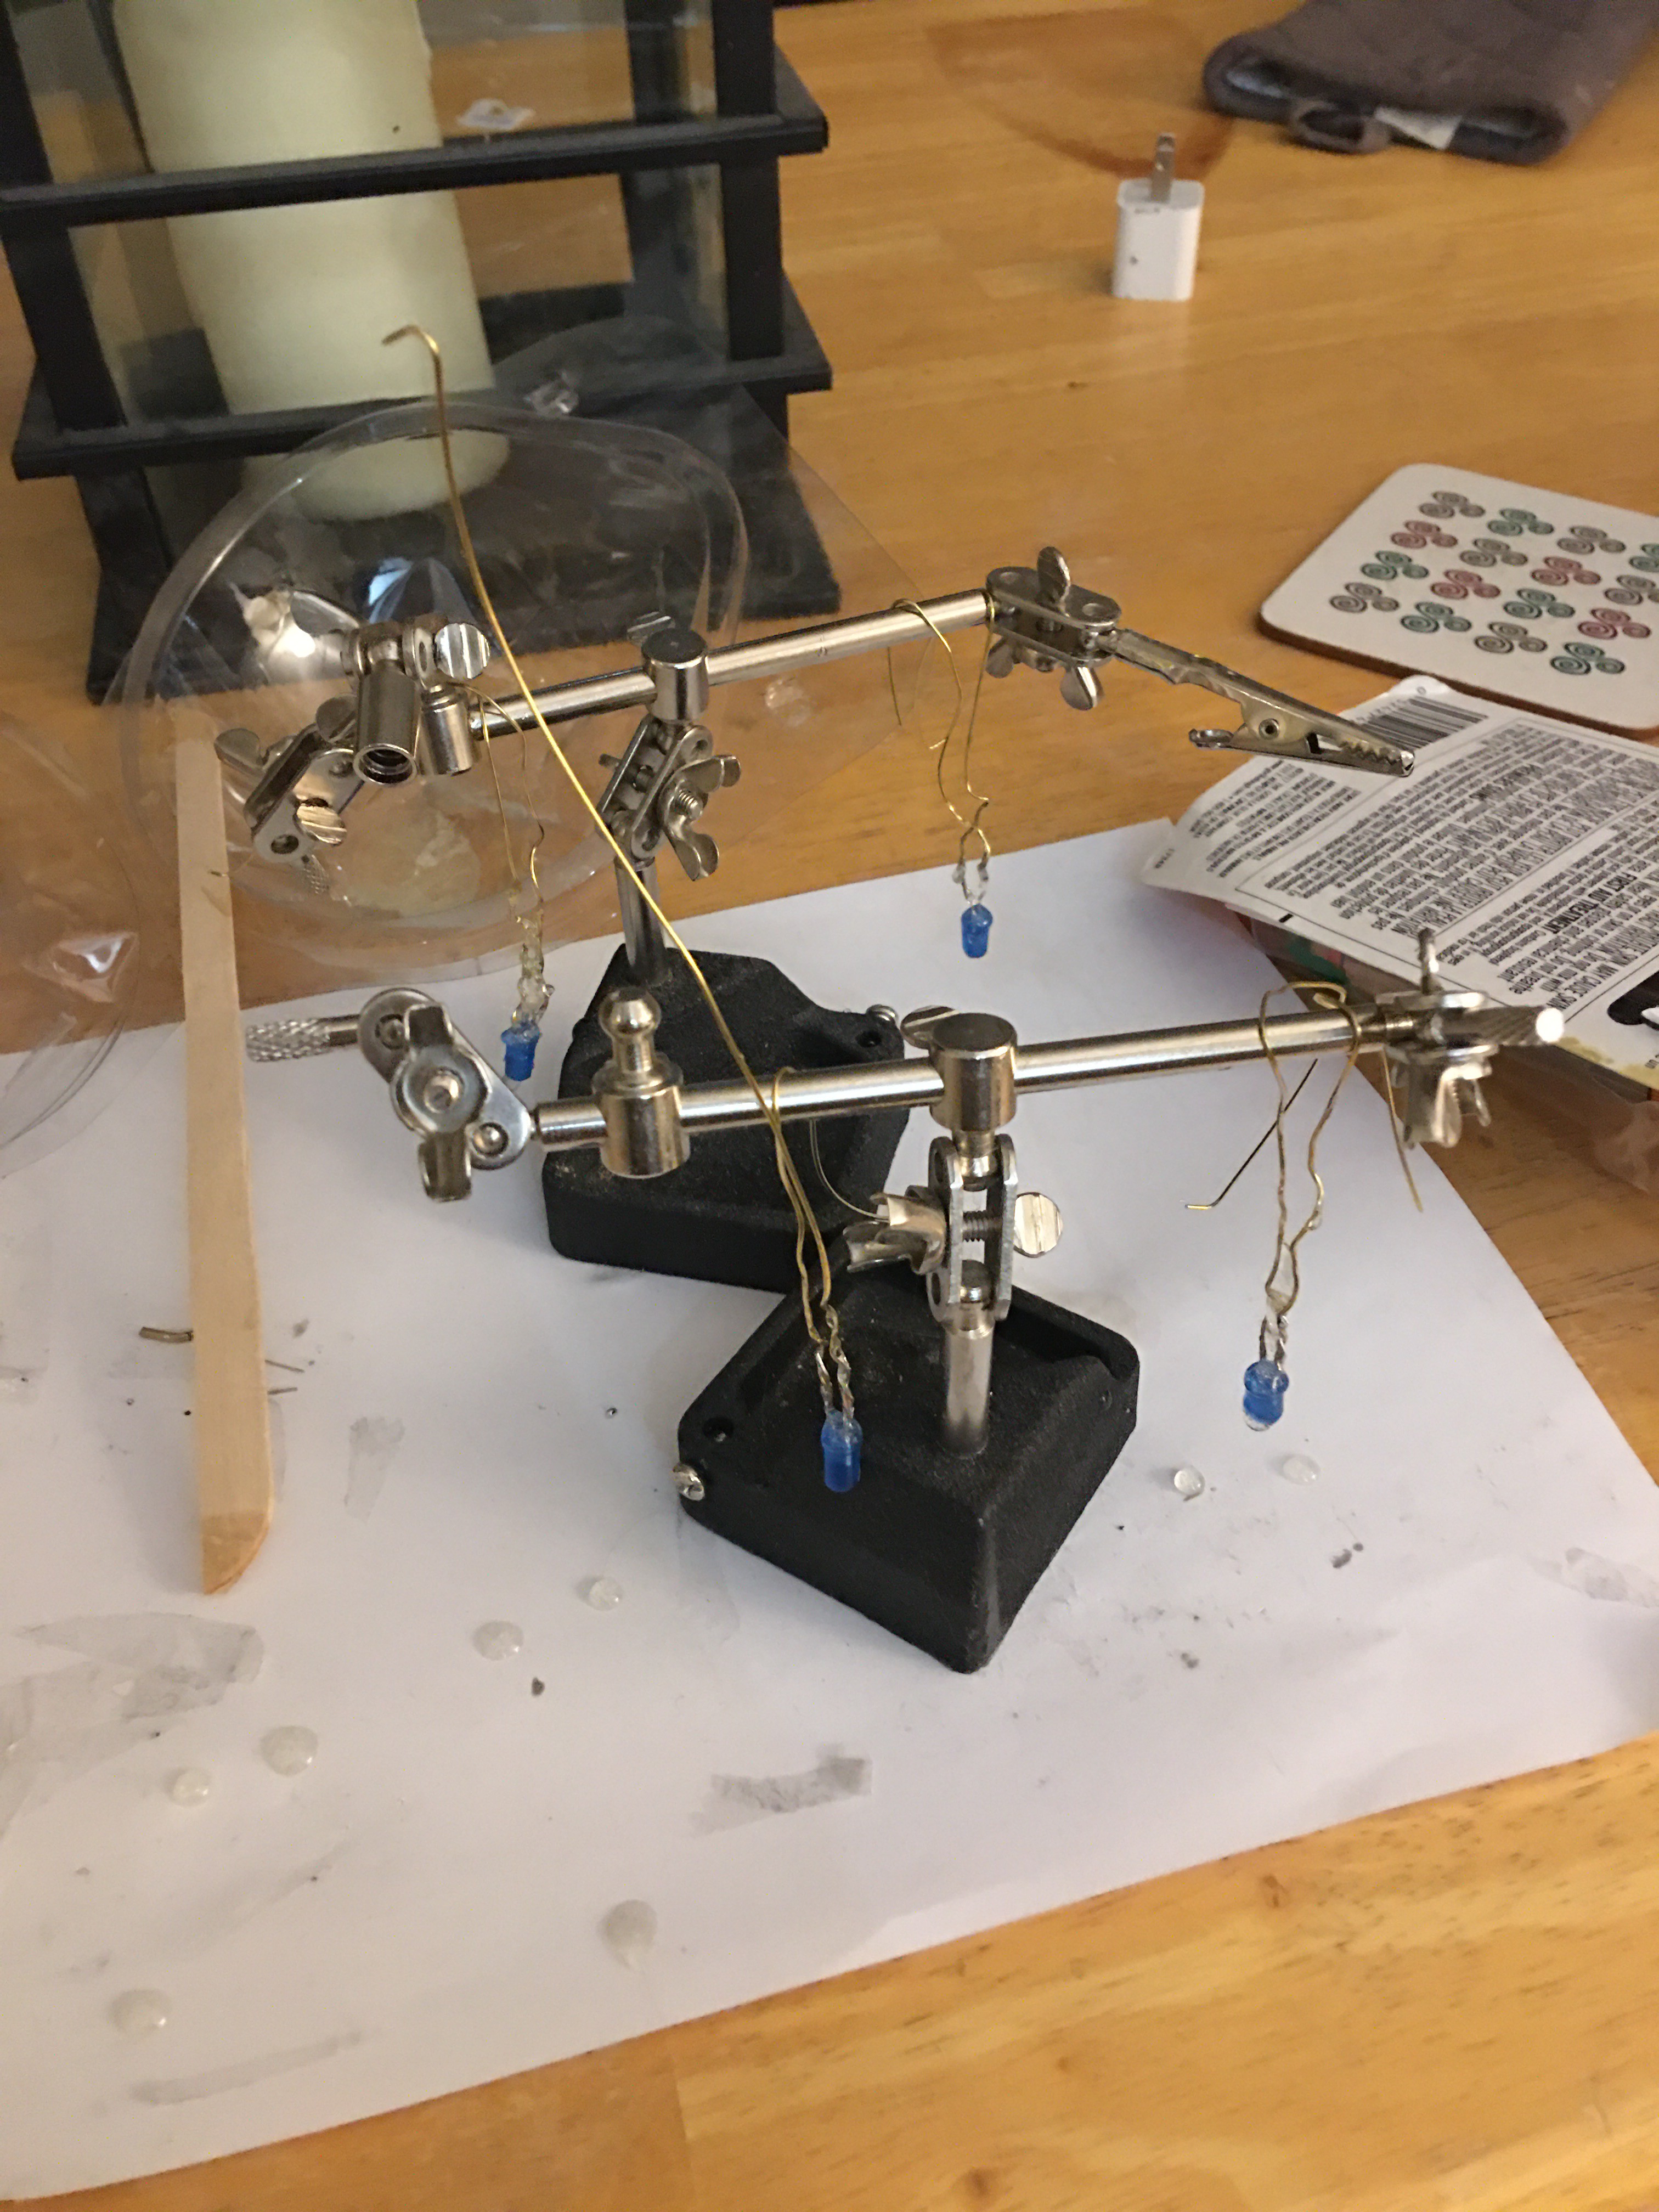
The LEDs were attached to the pin 3 output of each 555 timer in parallel with the speaker so that they would flash in sync with their respective 555 circuits.
Assembling all the smaller circuits together was a bit tricky. The process was basically gluing and soldering piece by piece. I curled some brass wire to form the parallel power and ground connections, and used brass rod bent in 90 degree angles to connect each circuit to its speaker. I like the idea of visual consistency- like a circuit diagram, a certain form indicates a certain function or characteristic.
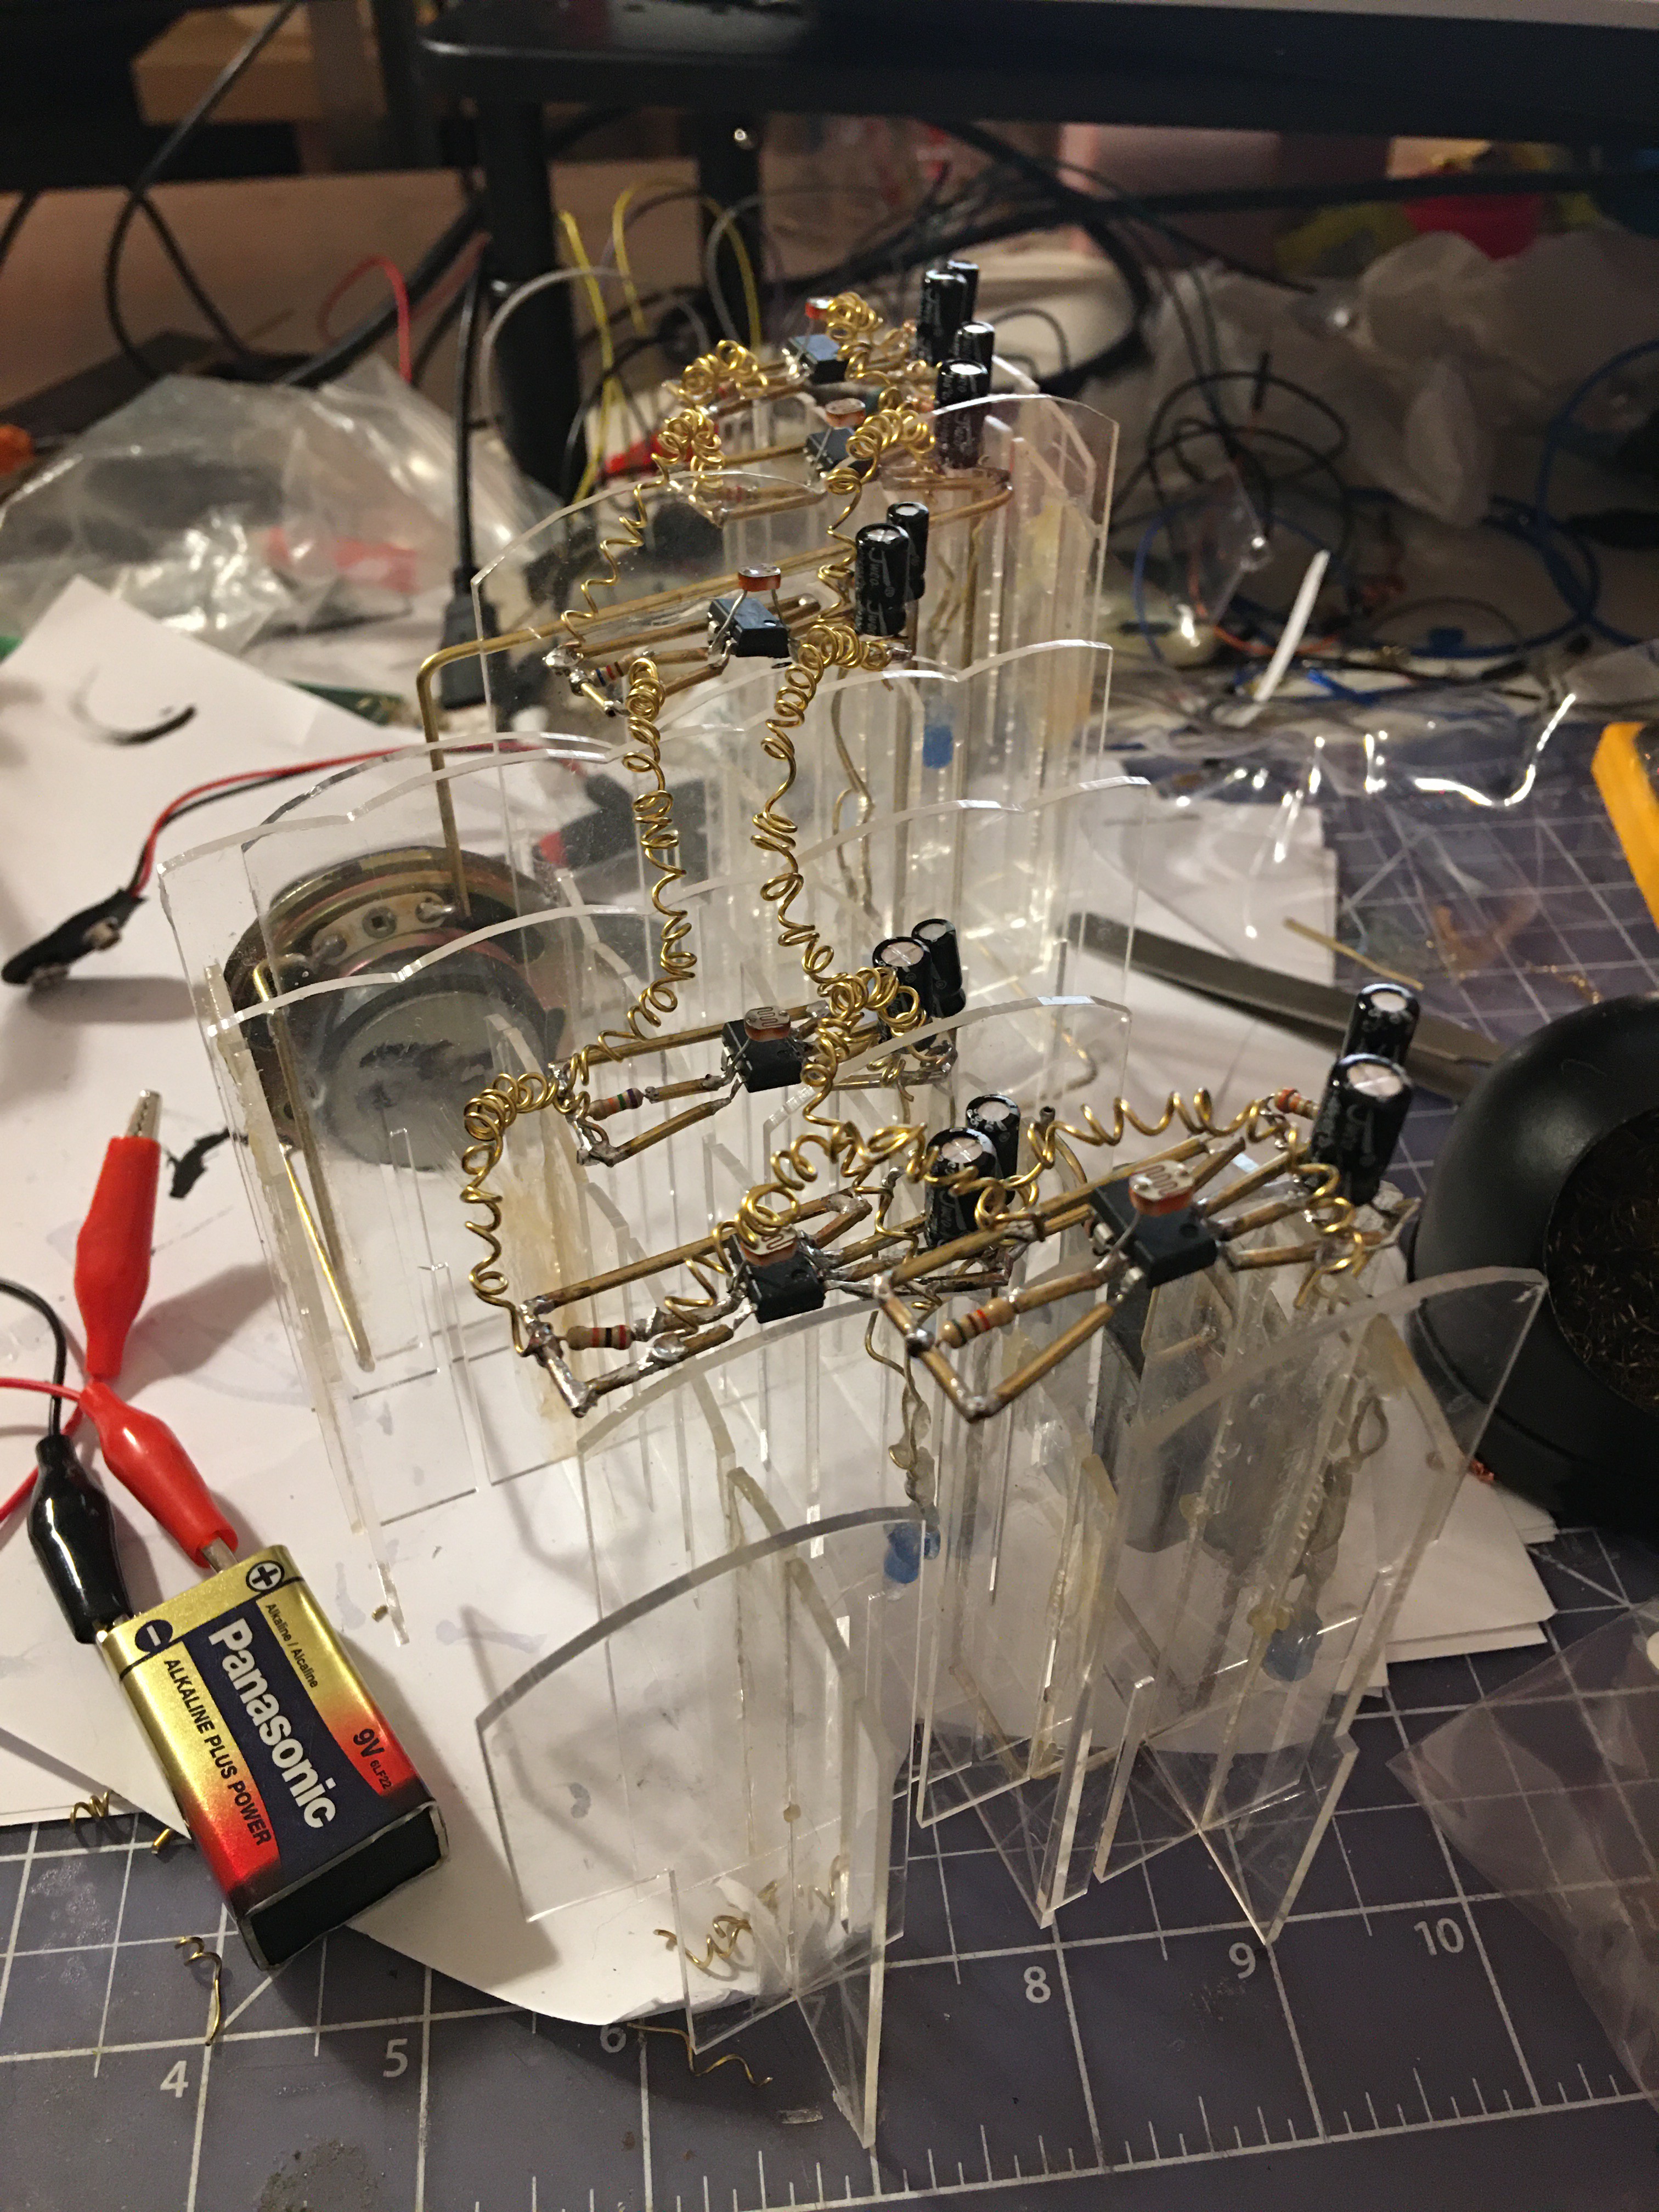
Epoxy drips were added to sooth/confuse the eye, to bend and shape the light (as raindrops do).

Then came placing the heat-bent acrylic sheets, which added another...
Read more »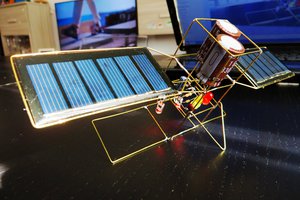
 Andrea Console
 moko
moko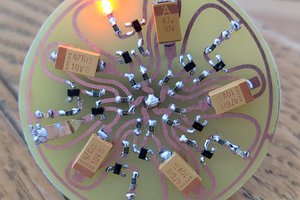
 Kelly Heaton