 Luke J. Barker
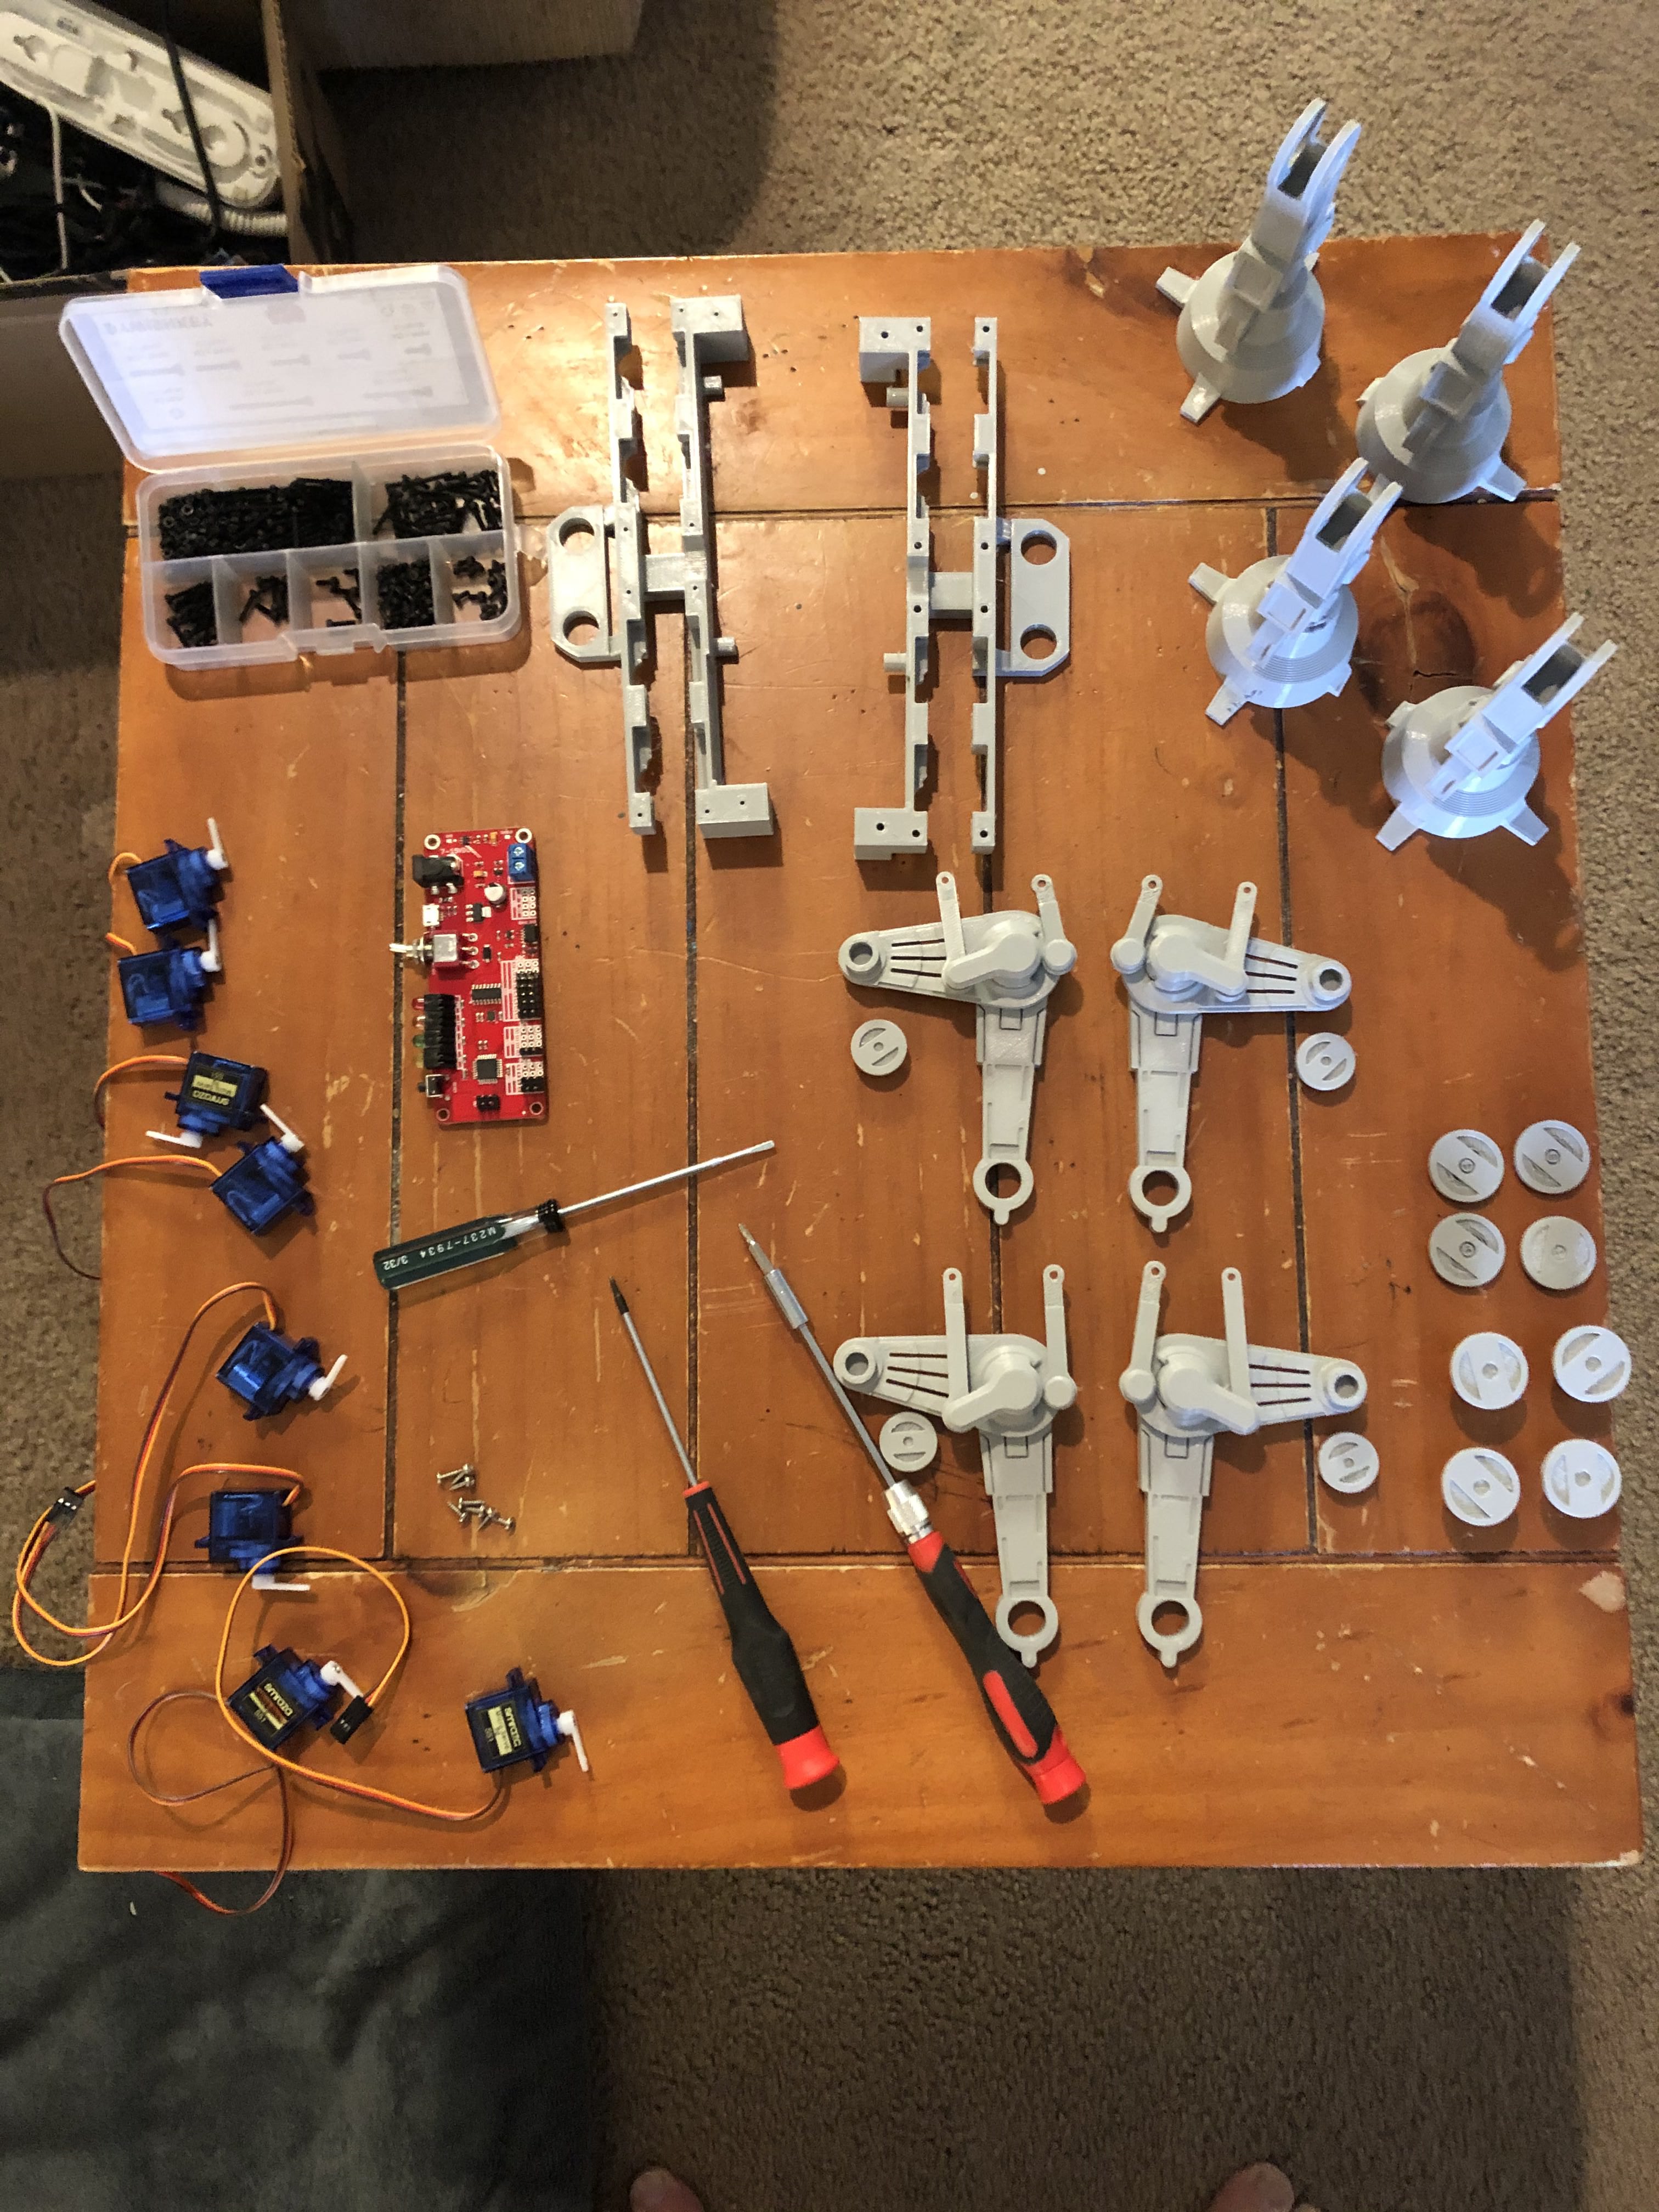
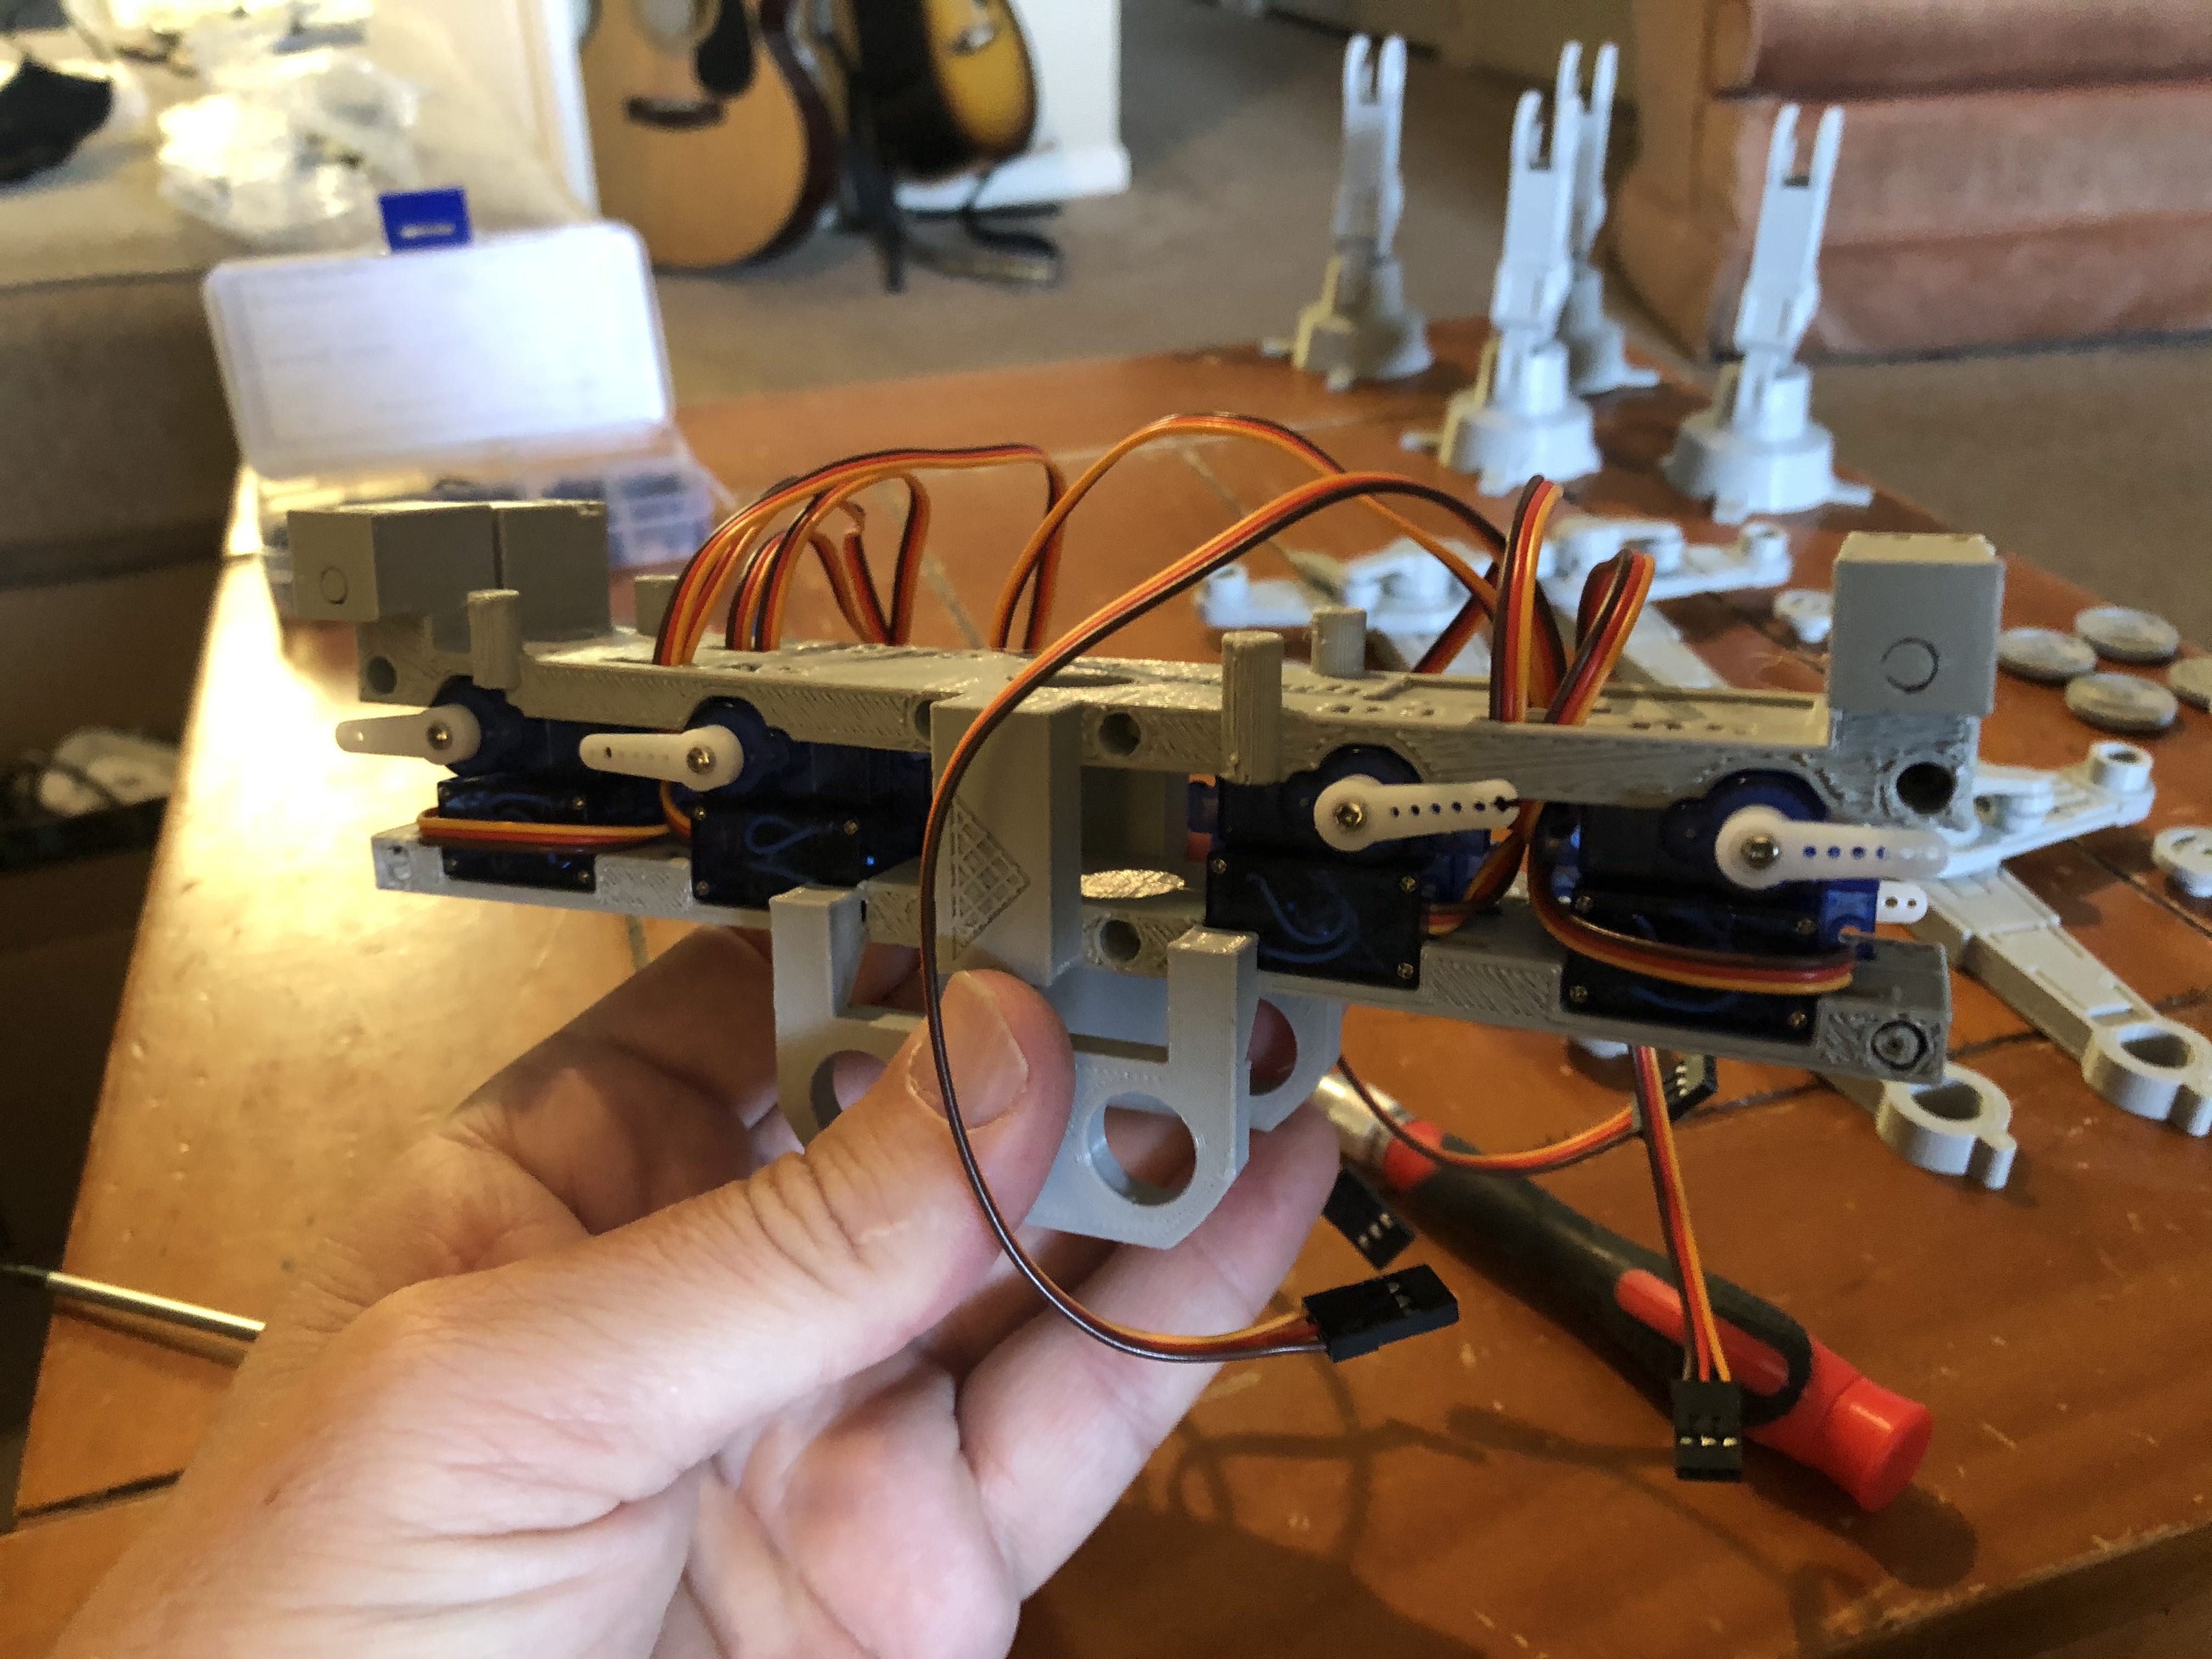
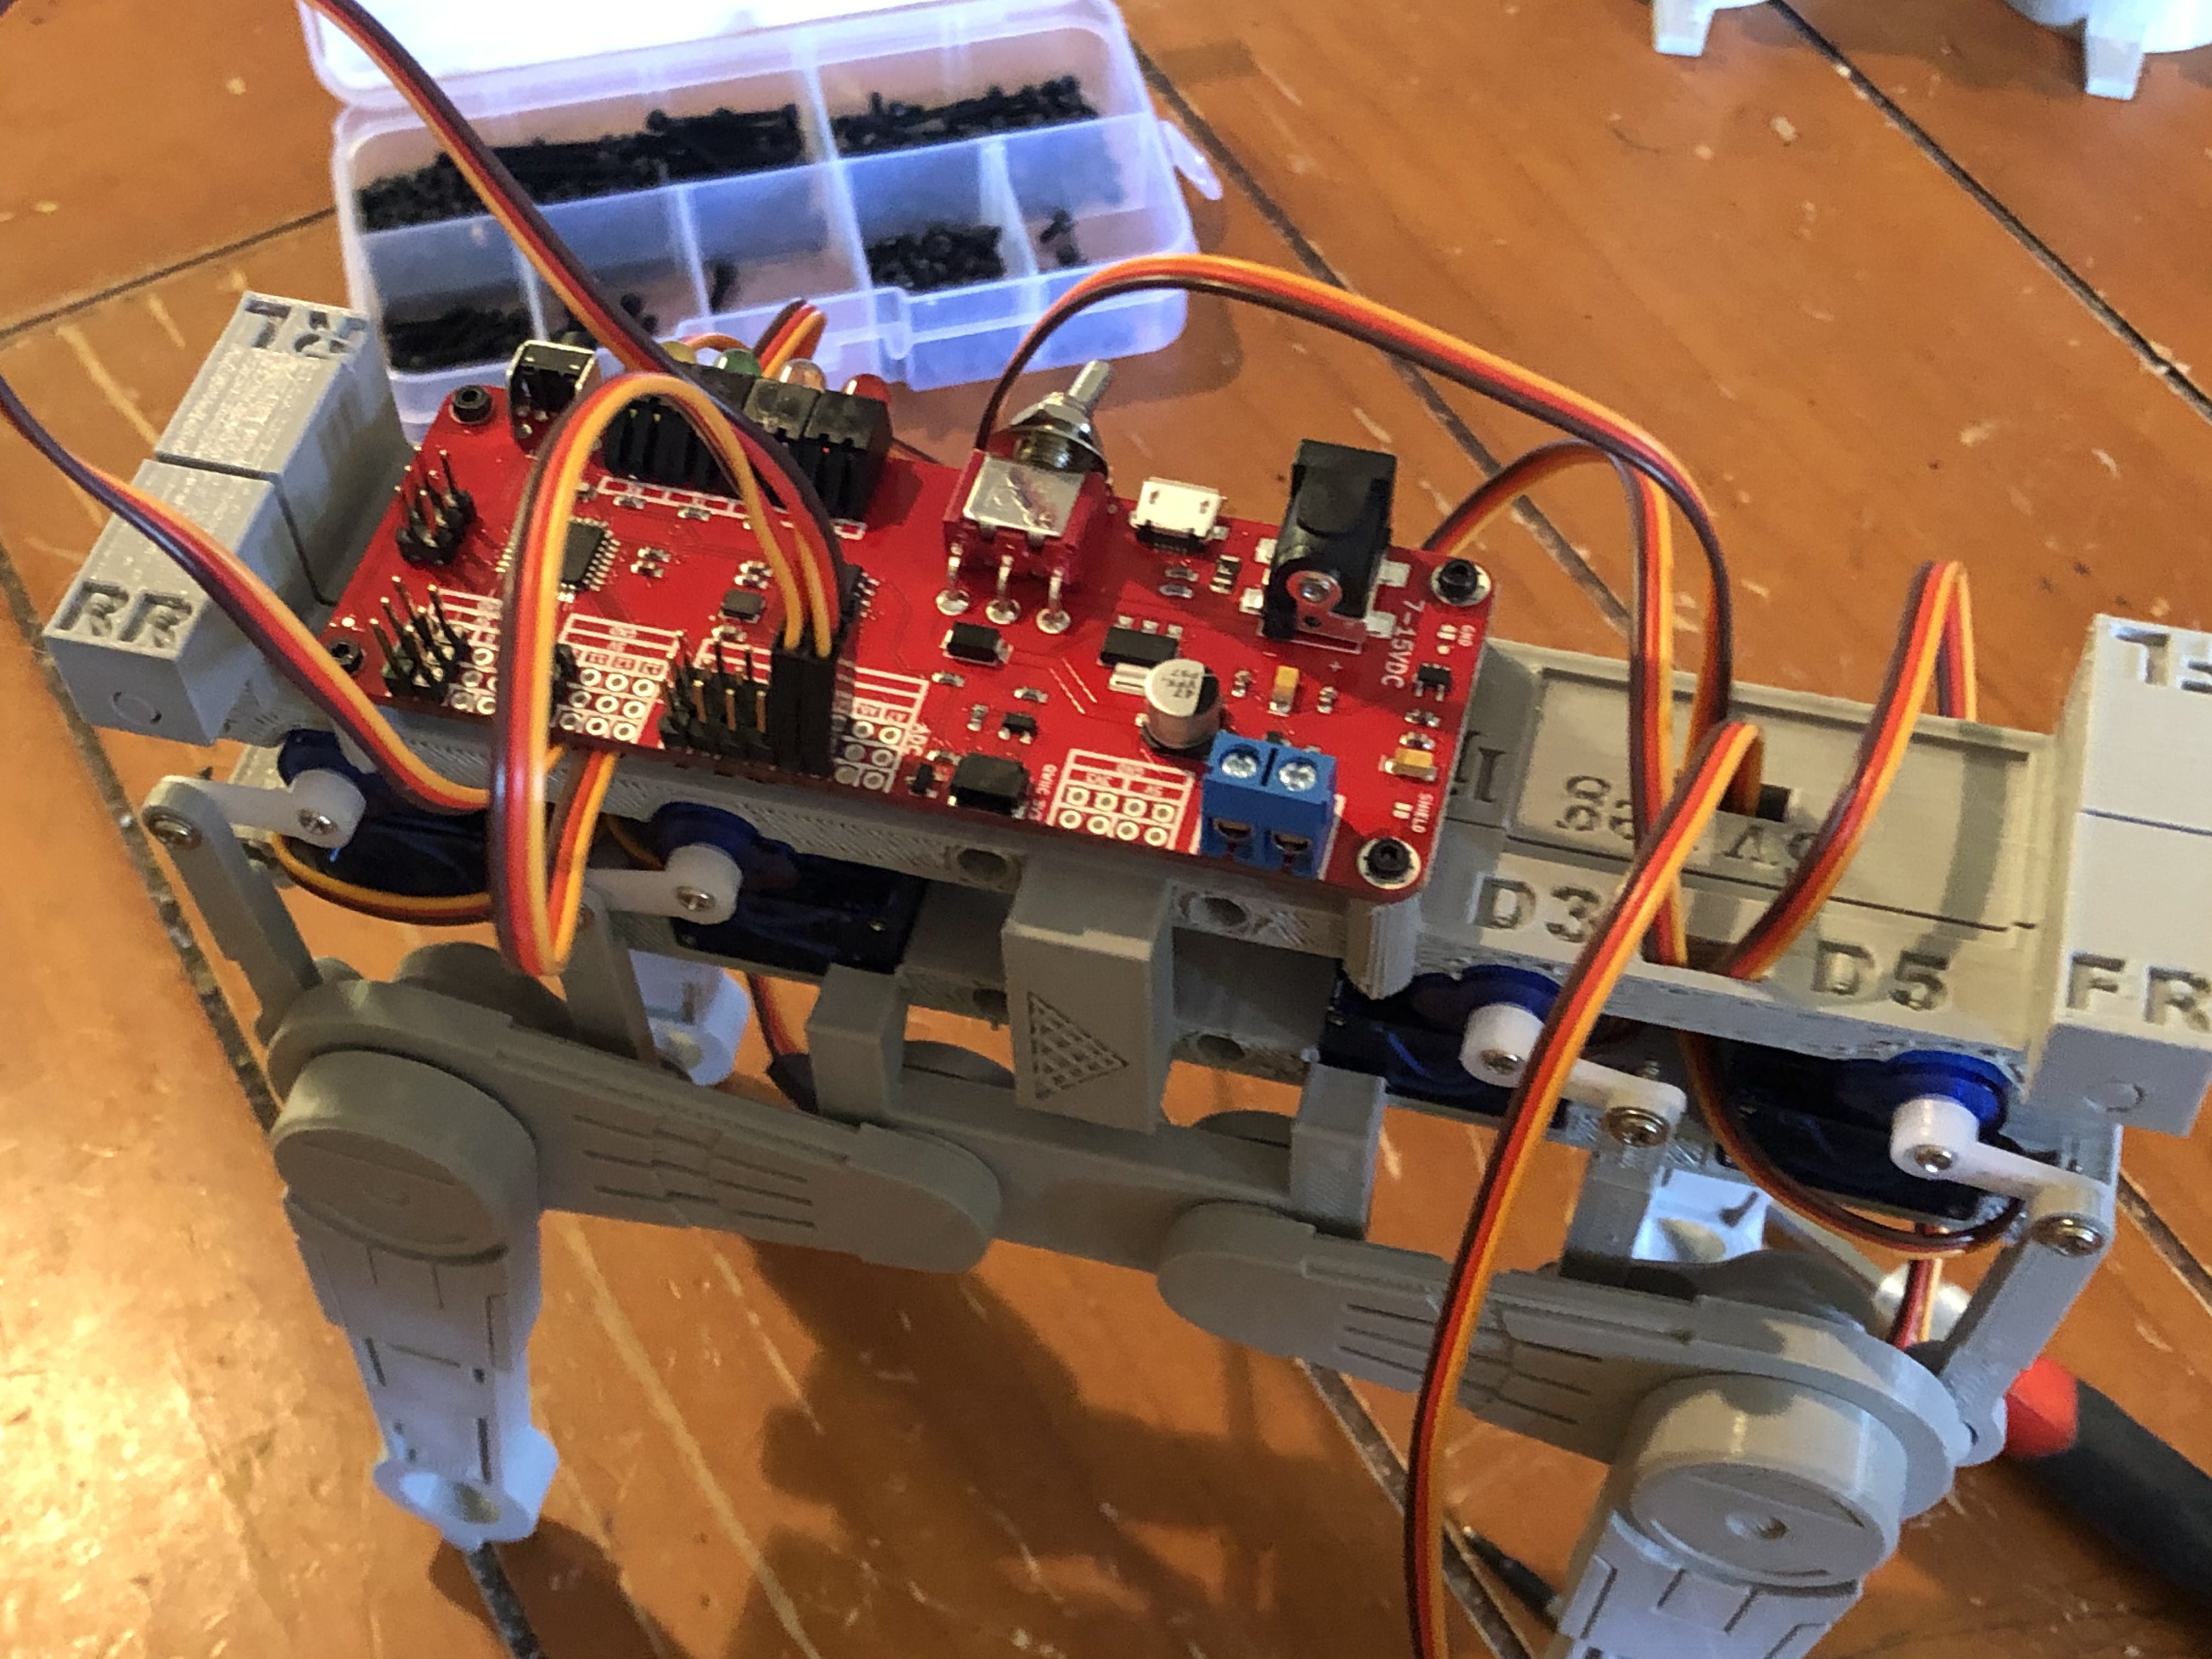
After printing all the parts, install the servos into the frame by snapping them into place. I designed the frame so the servos can only go in one way. Each servo is labeled for where it is connected to the Arduino. I used the Sparkfun Edge board : https://www.sparkfun.com/products/14525 as it was easy to solder on 3 pin headers for the servos. You will definitely need to use an external 5v regulator. The Edge will handle 800ma but the servos tend to run > 100ma each while running.
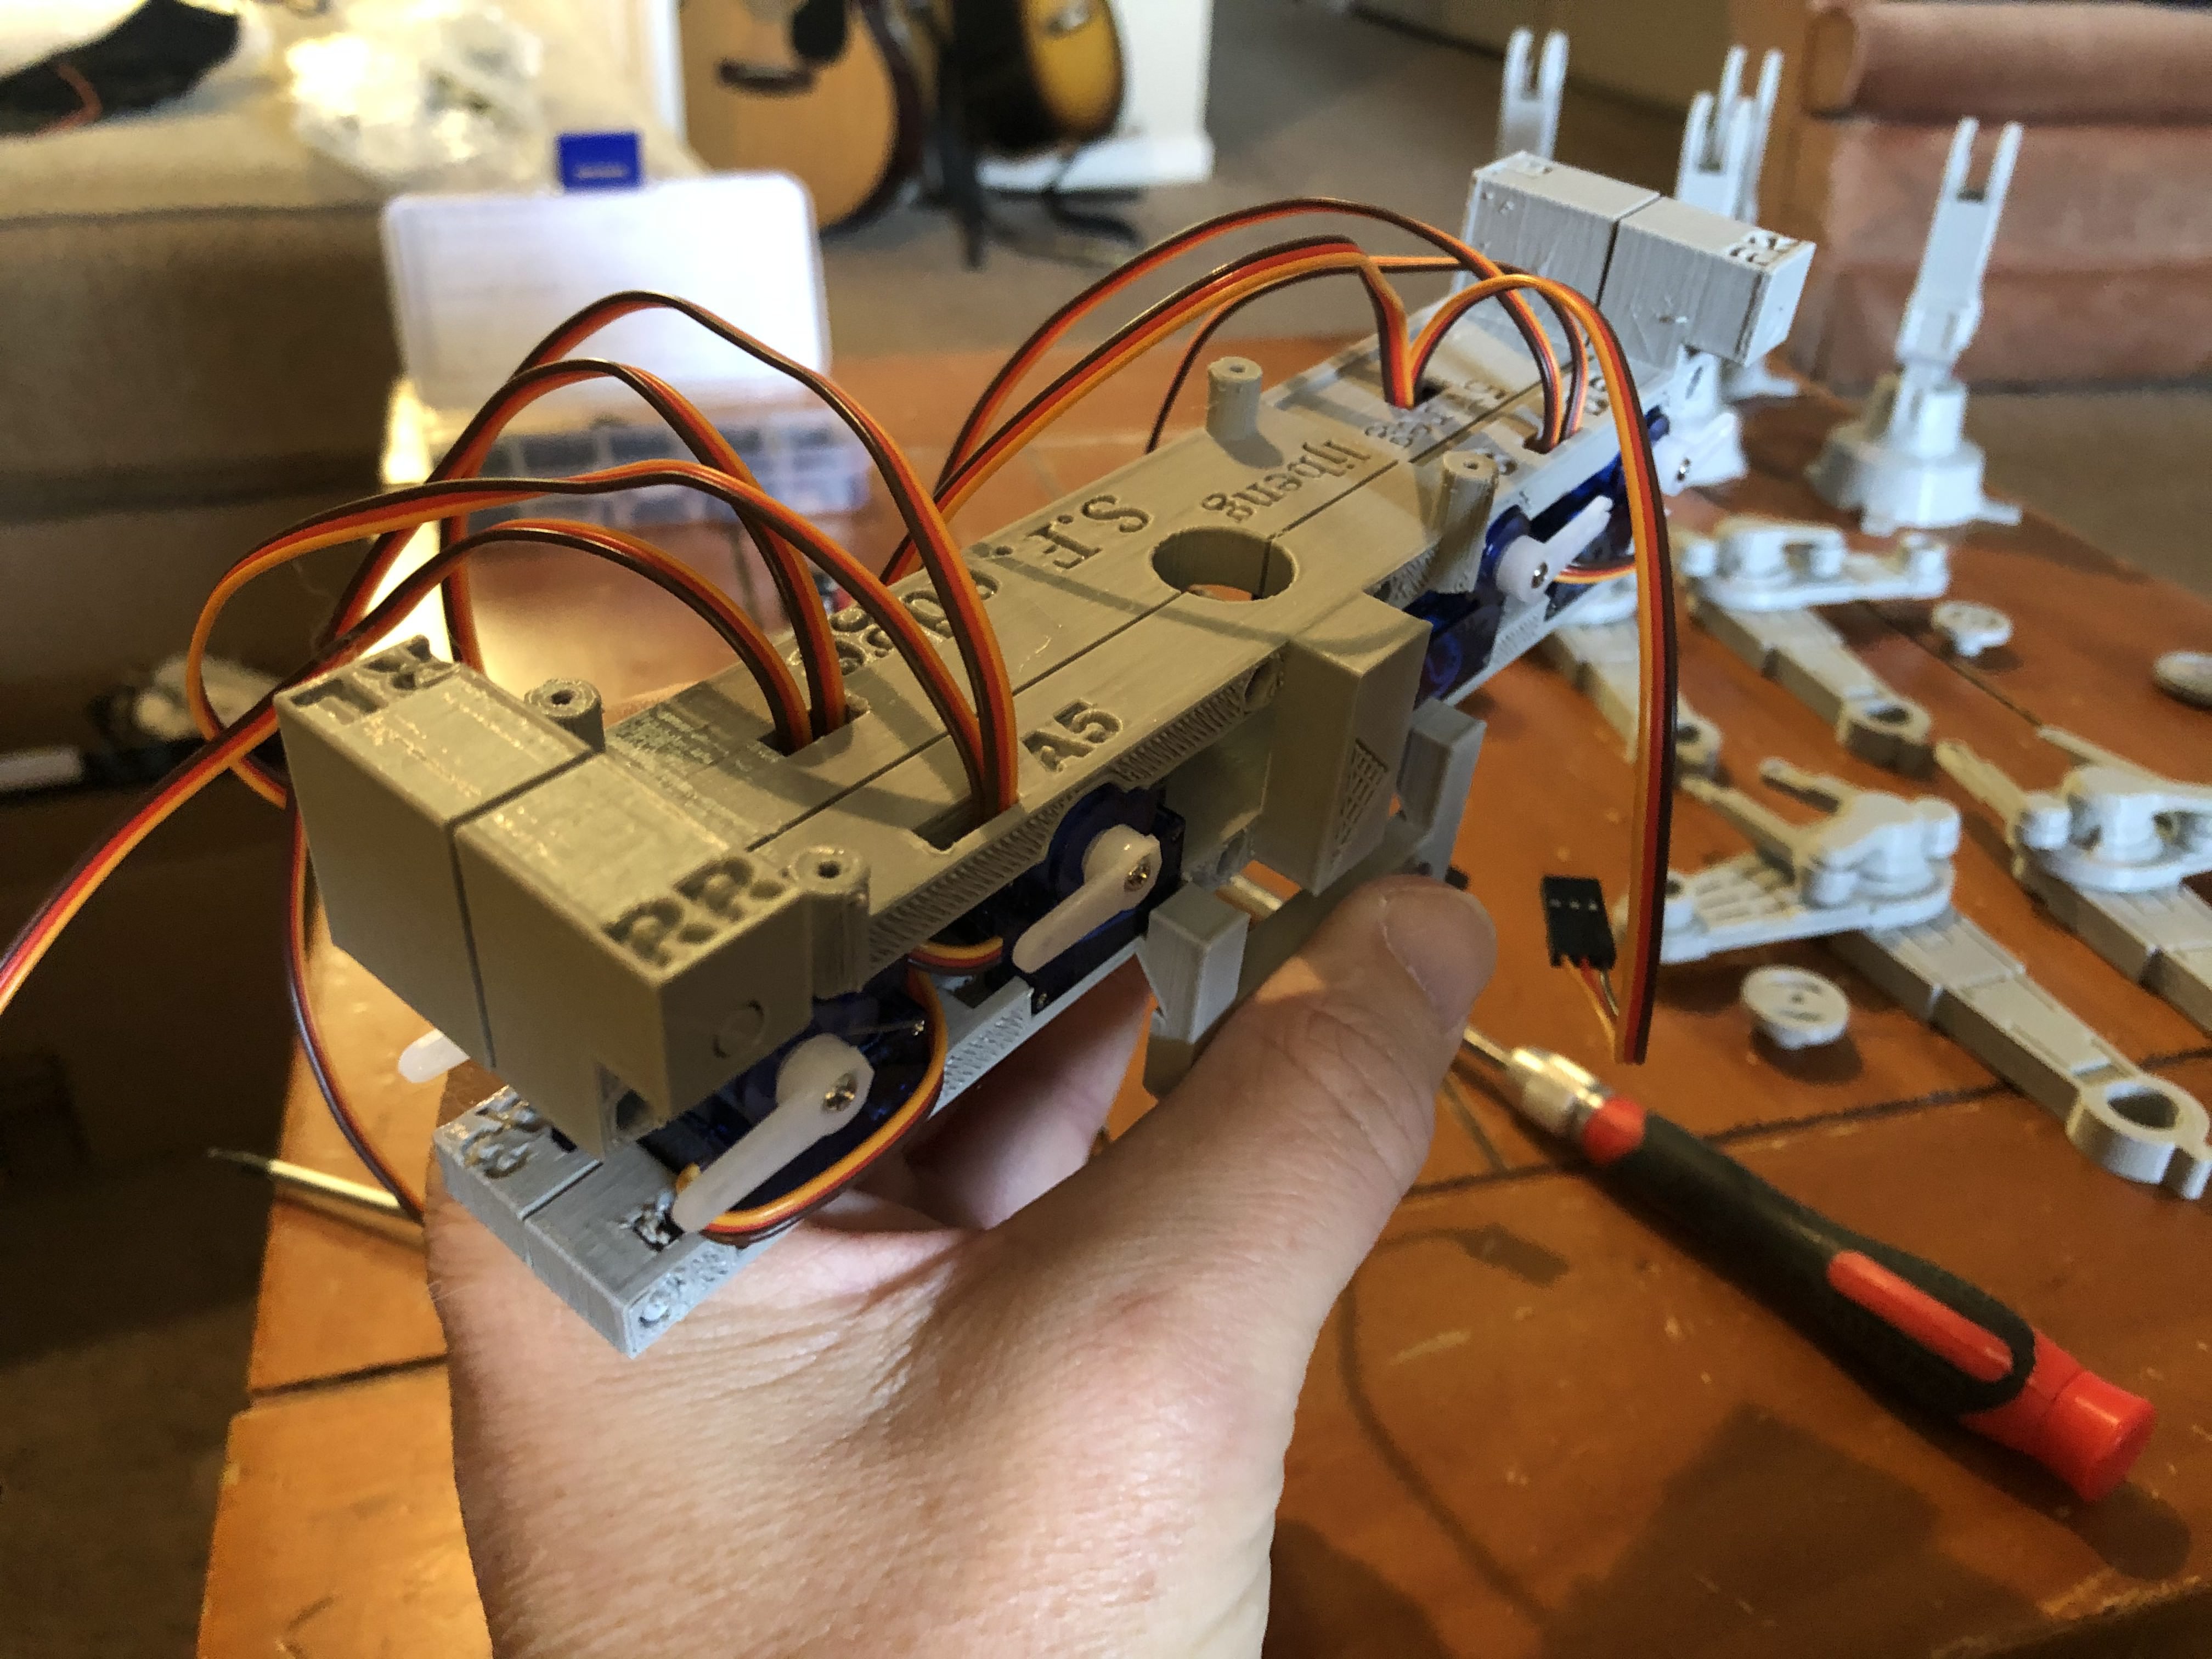
After the servos are installed, use the HomeServos.ino program to get them all to 90°. Then put the arms on as shown in the photos basically in line with the servo and all point towards the outside of the frams. Double and triple check you have the servos connected to the correct connector on the Edge board.
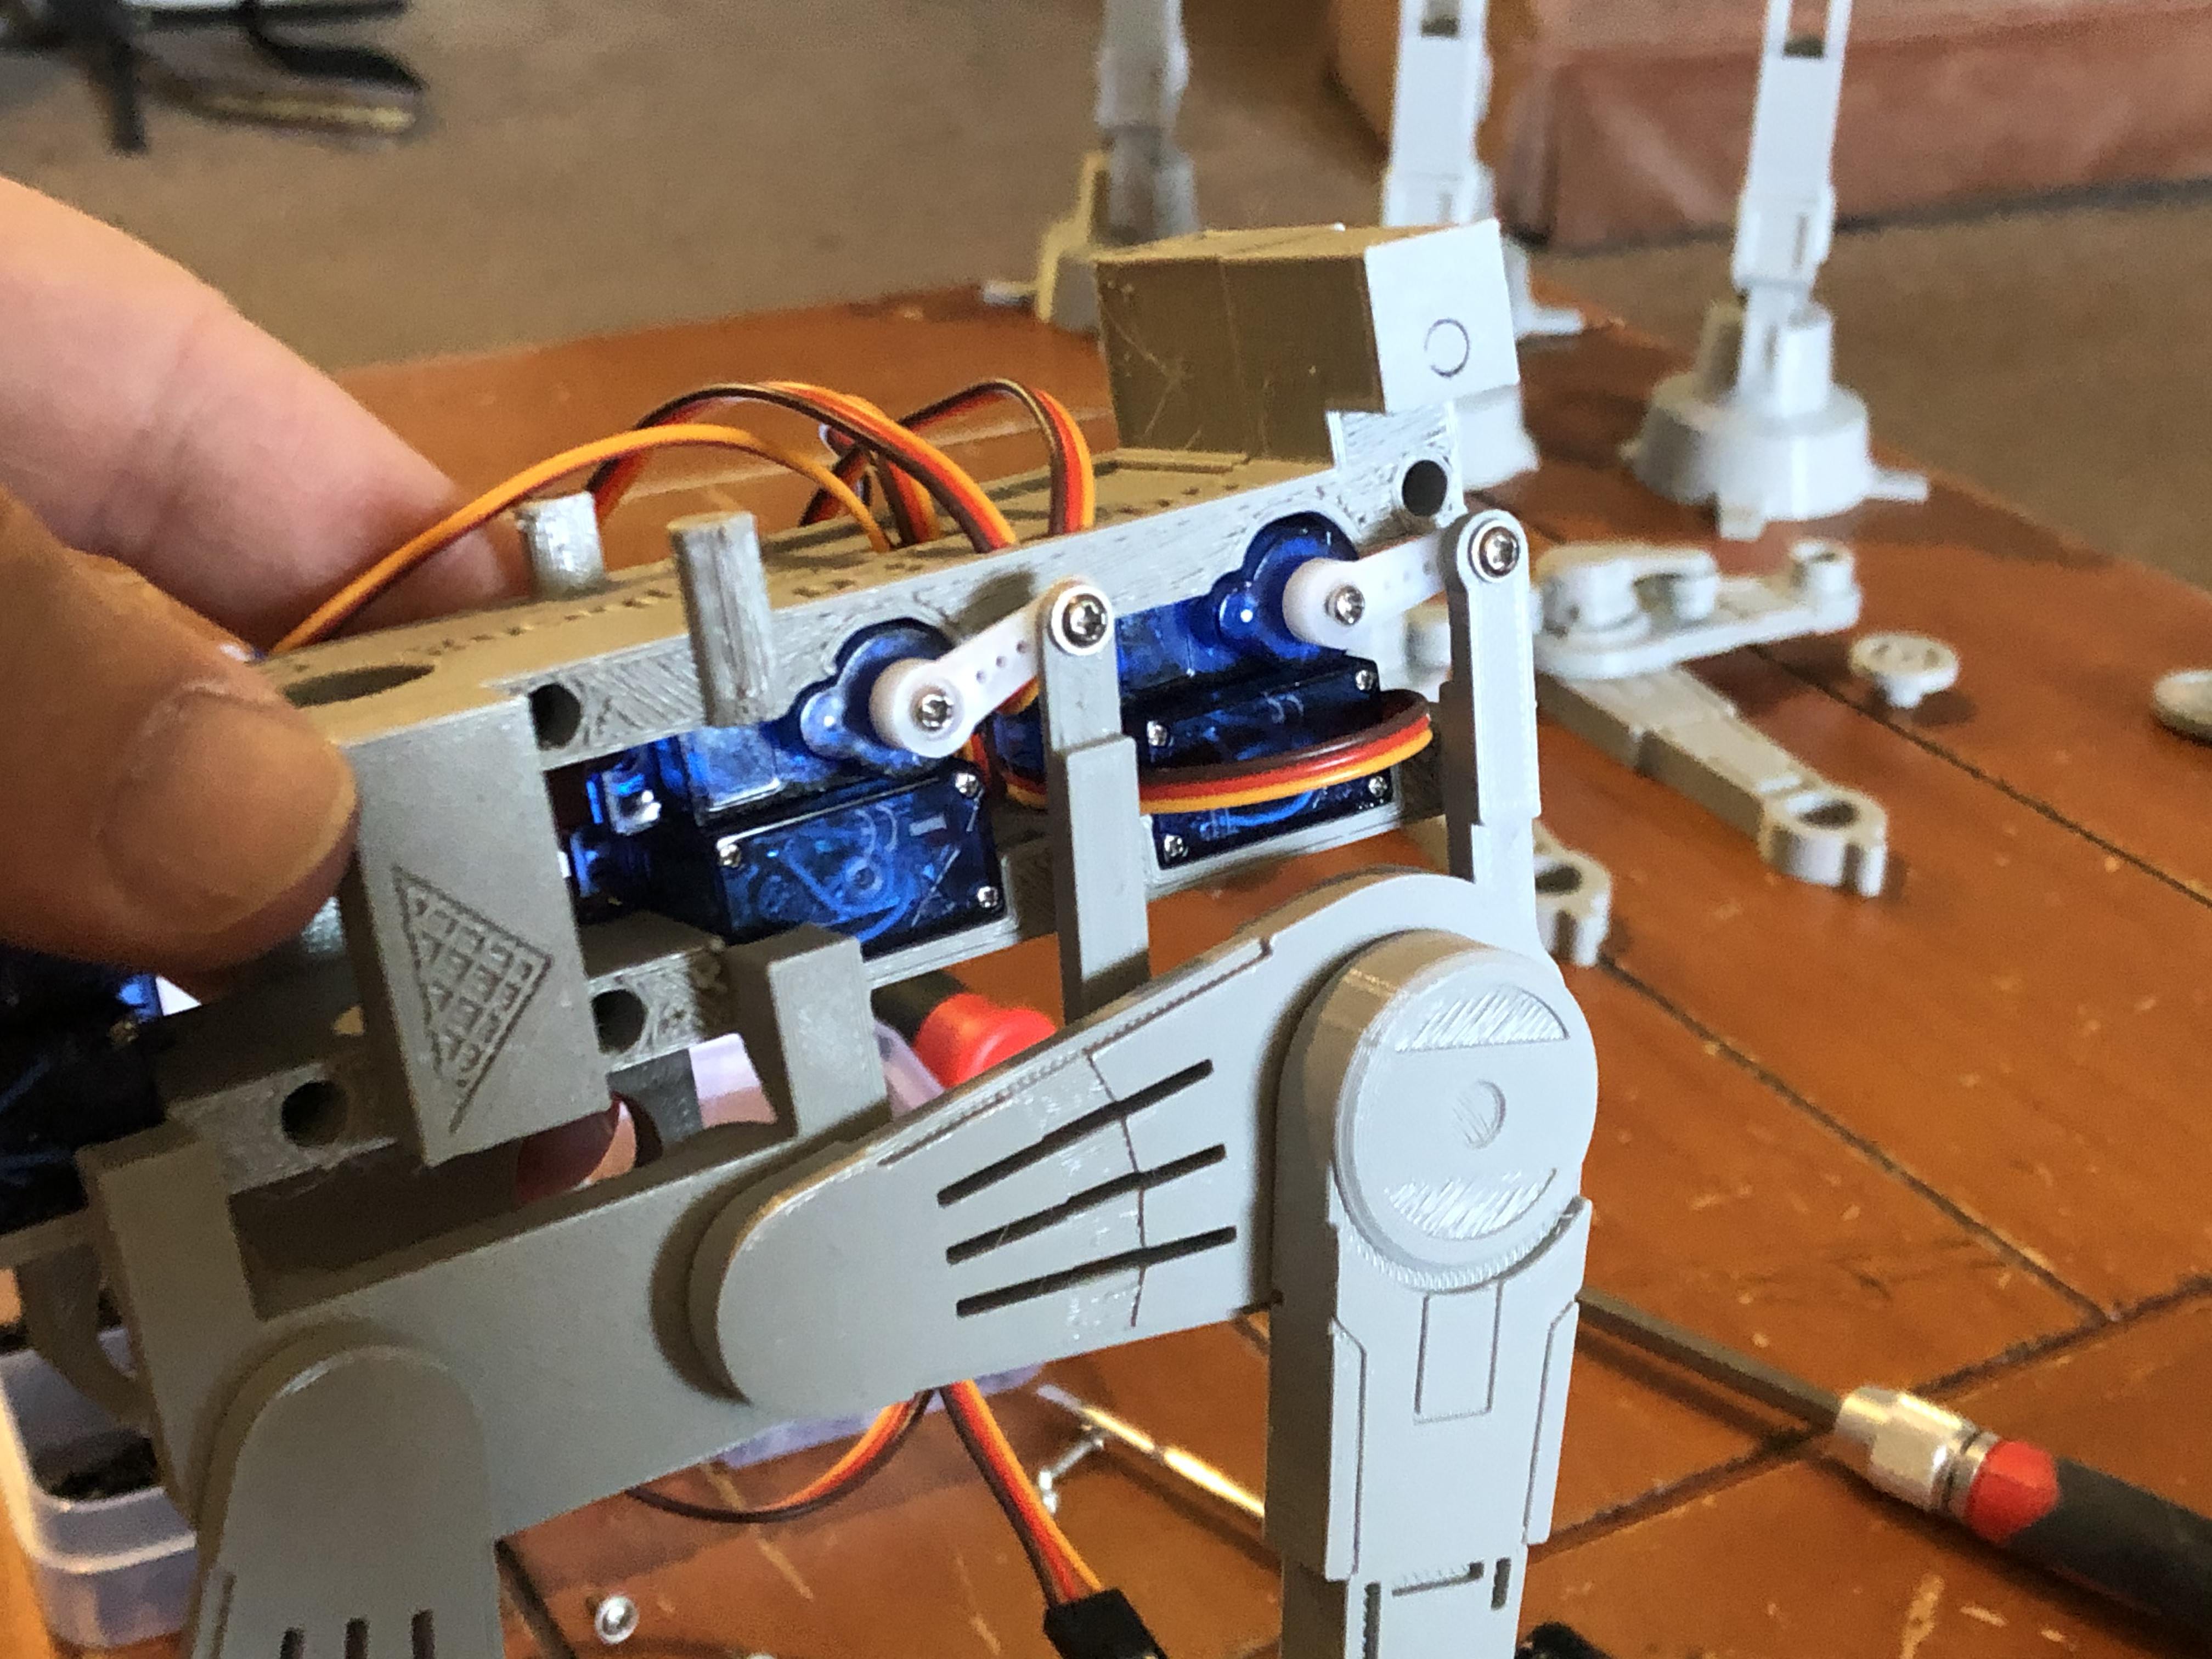
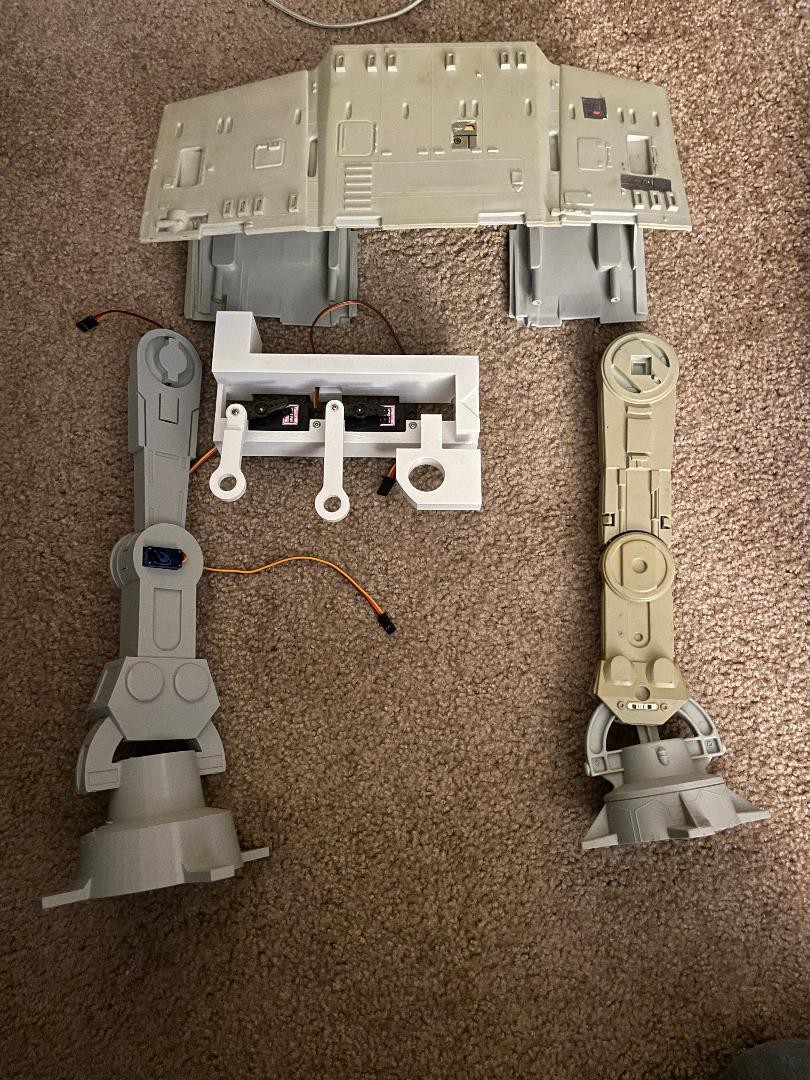
Add the small single arm that came with the servos and use the included screws to attach the Long and Short Arms to the servos.
Test it upside down without more than the upper "thigh" legs attached. when you are ready, you can attach all the parts below the knee.
Watch until the FR side of the frame lifts the shoulder. You should see the shoulder rise in this order : FR, RR, FL, RL.
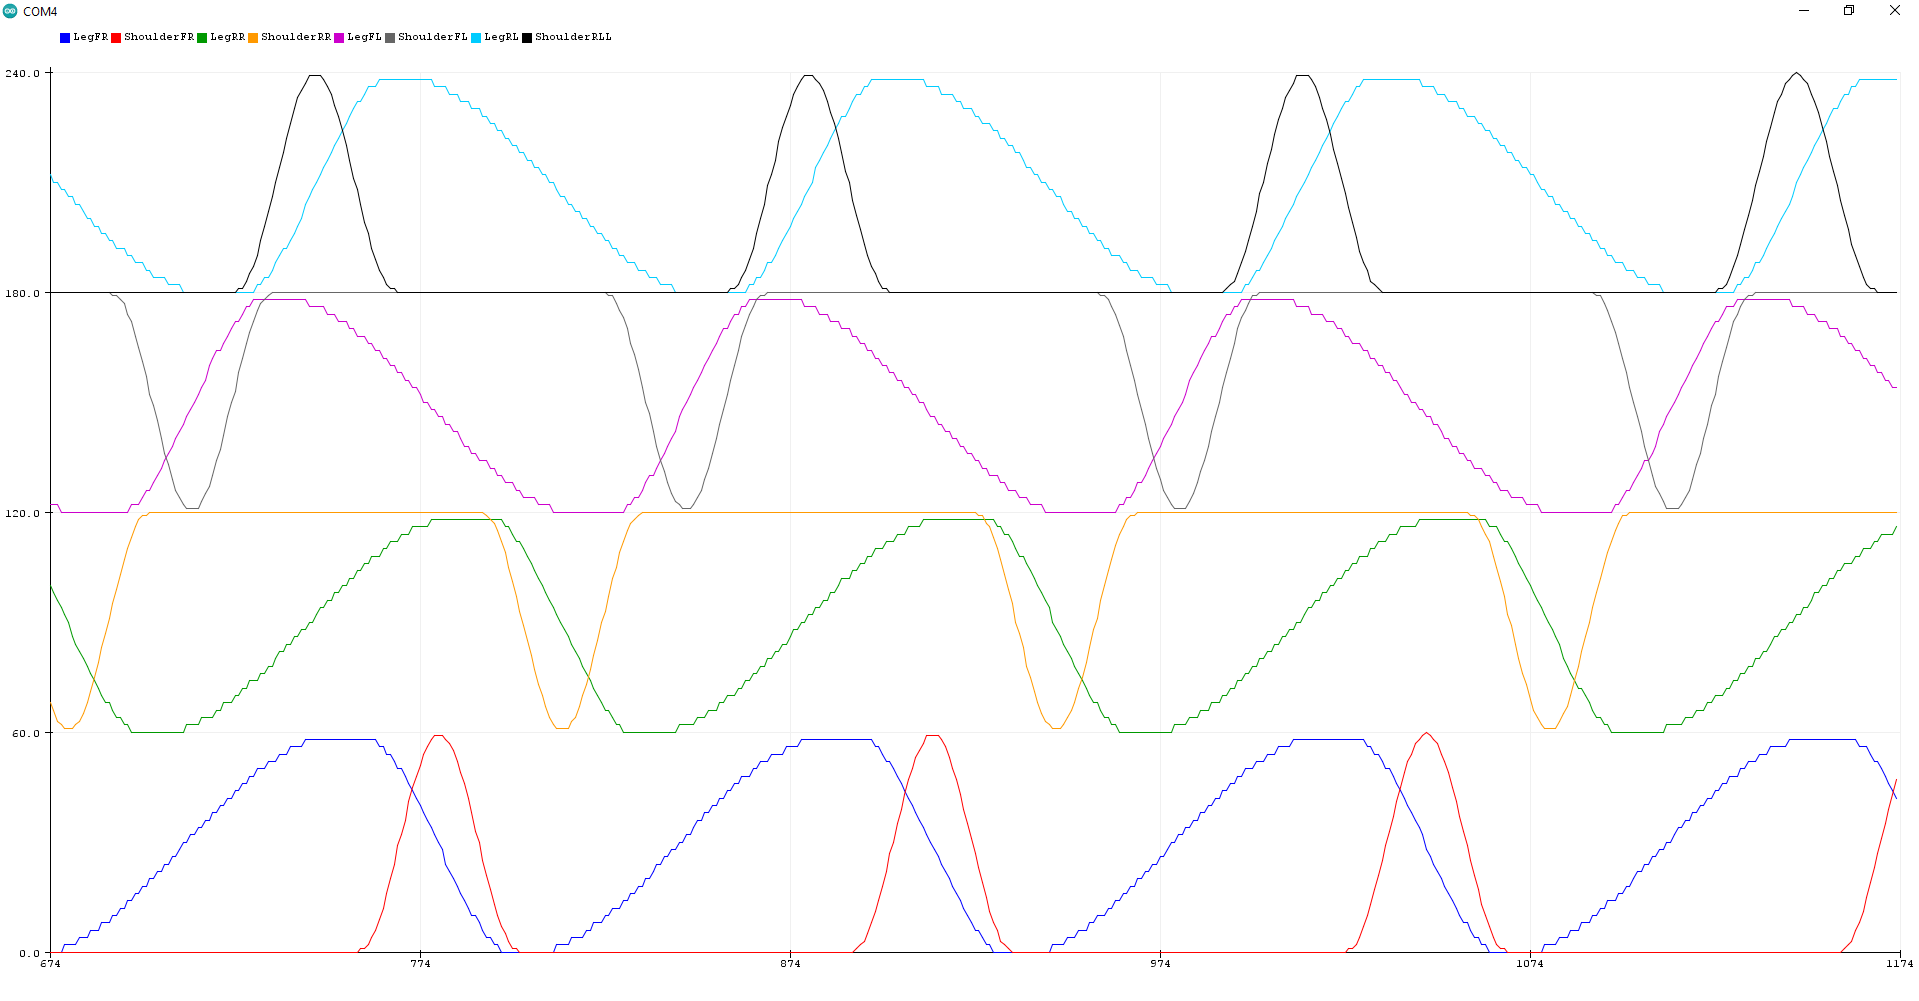
The program is a basic sin wave servo motion action. I watched the mechanical version many times and just tried to emulate that. You can certainly tweak the program and show me how to do it correctly!
https://www.youtube.com/watch?v=F8O341sPUUk
This is a remix of this: https://www.thingiverse.com/thing:1083338
The Detailed body pieces are here: https://www.thingiverse.com/thing:4641541
The Servo Frame and push rods are here: https://www.thingiverse.com/thing:4651937
You will need some M2 x 8mm screws :)
Here is the graph of servo motion...


 jeromekelty
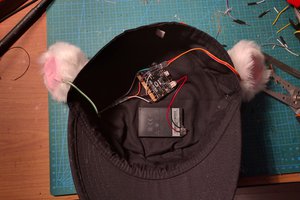
 deʃhipu
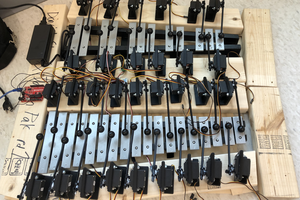
 Jason P.
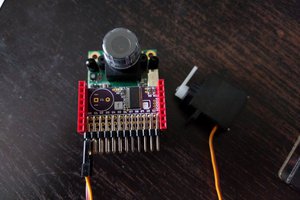
Hi Barker, tks for sharing such amazing project, recently I built your project and is so cool, I m now thinking to use same concept on AT-ACT or AT-M6....I d like to see the progress for your increased size version.