 David H. Bronke
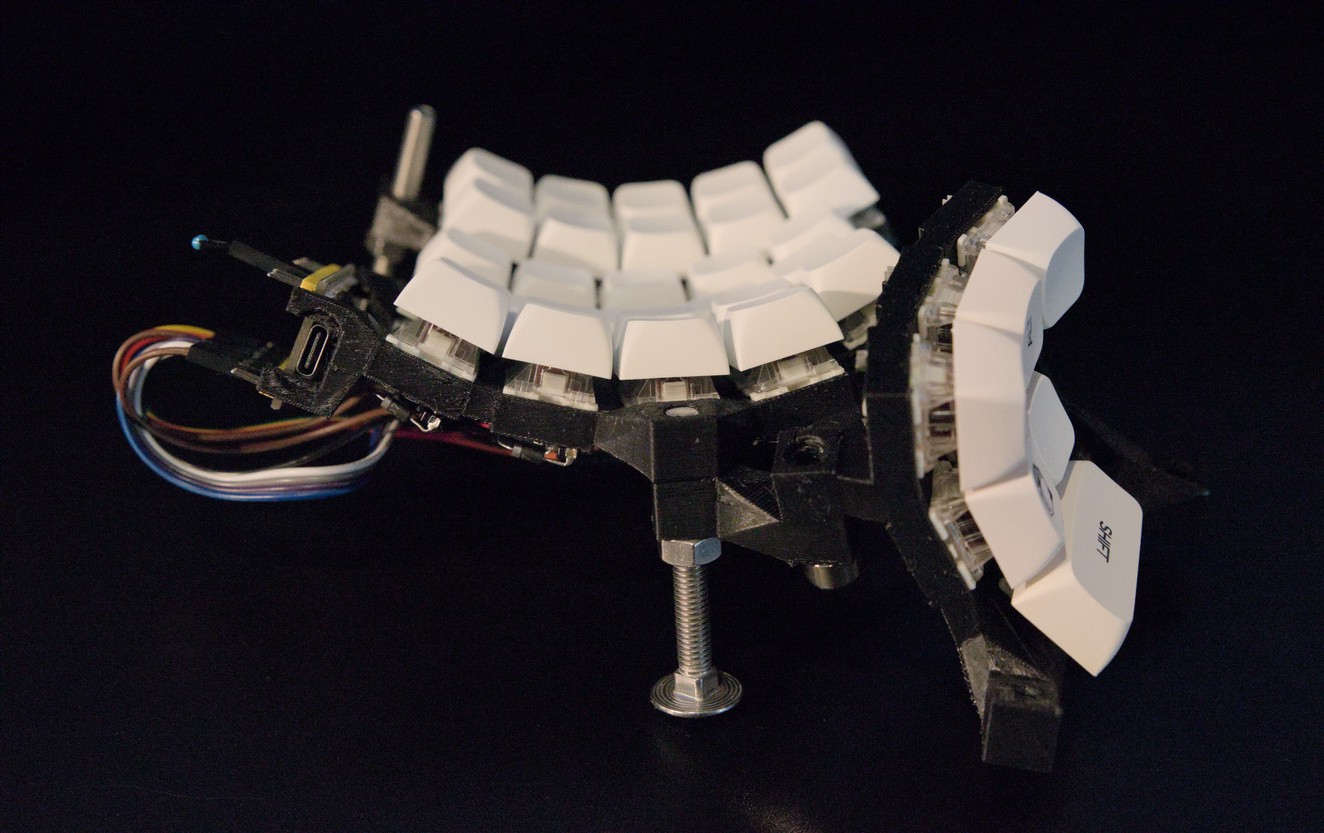
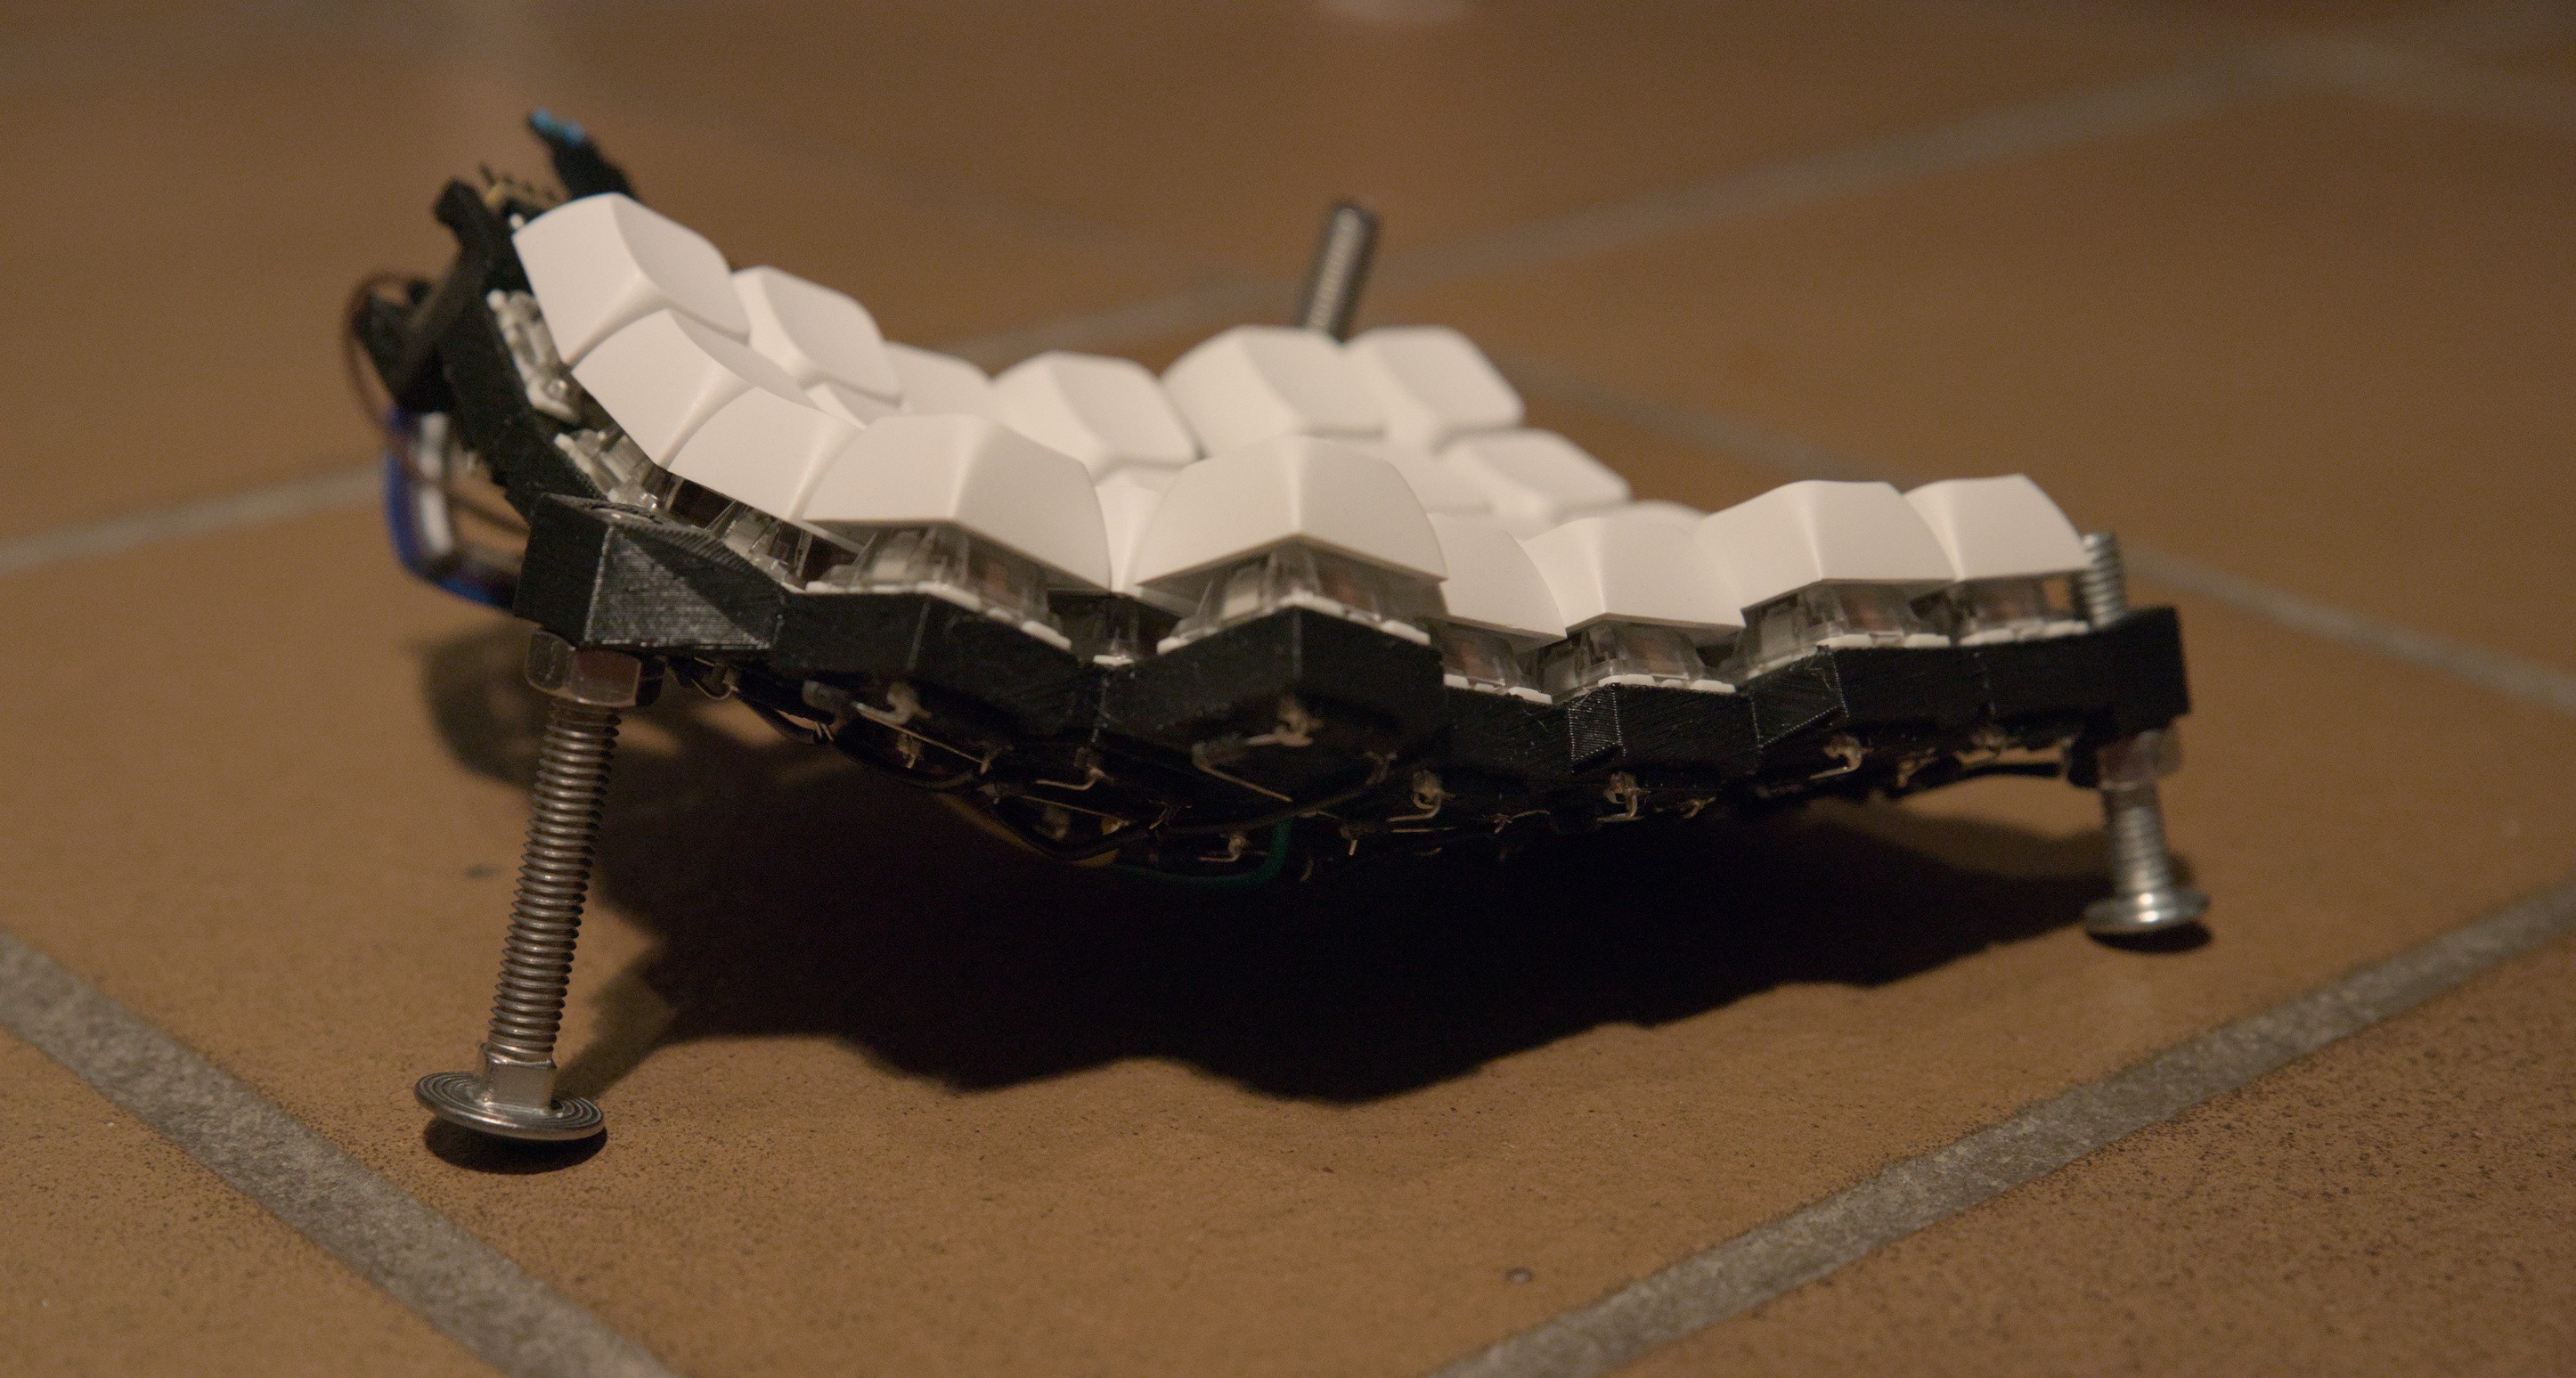
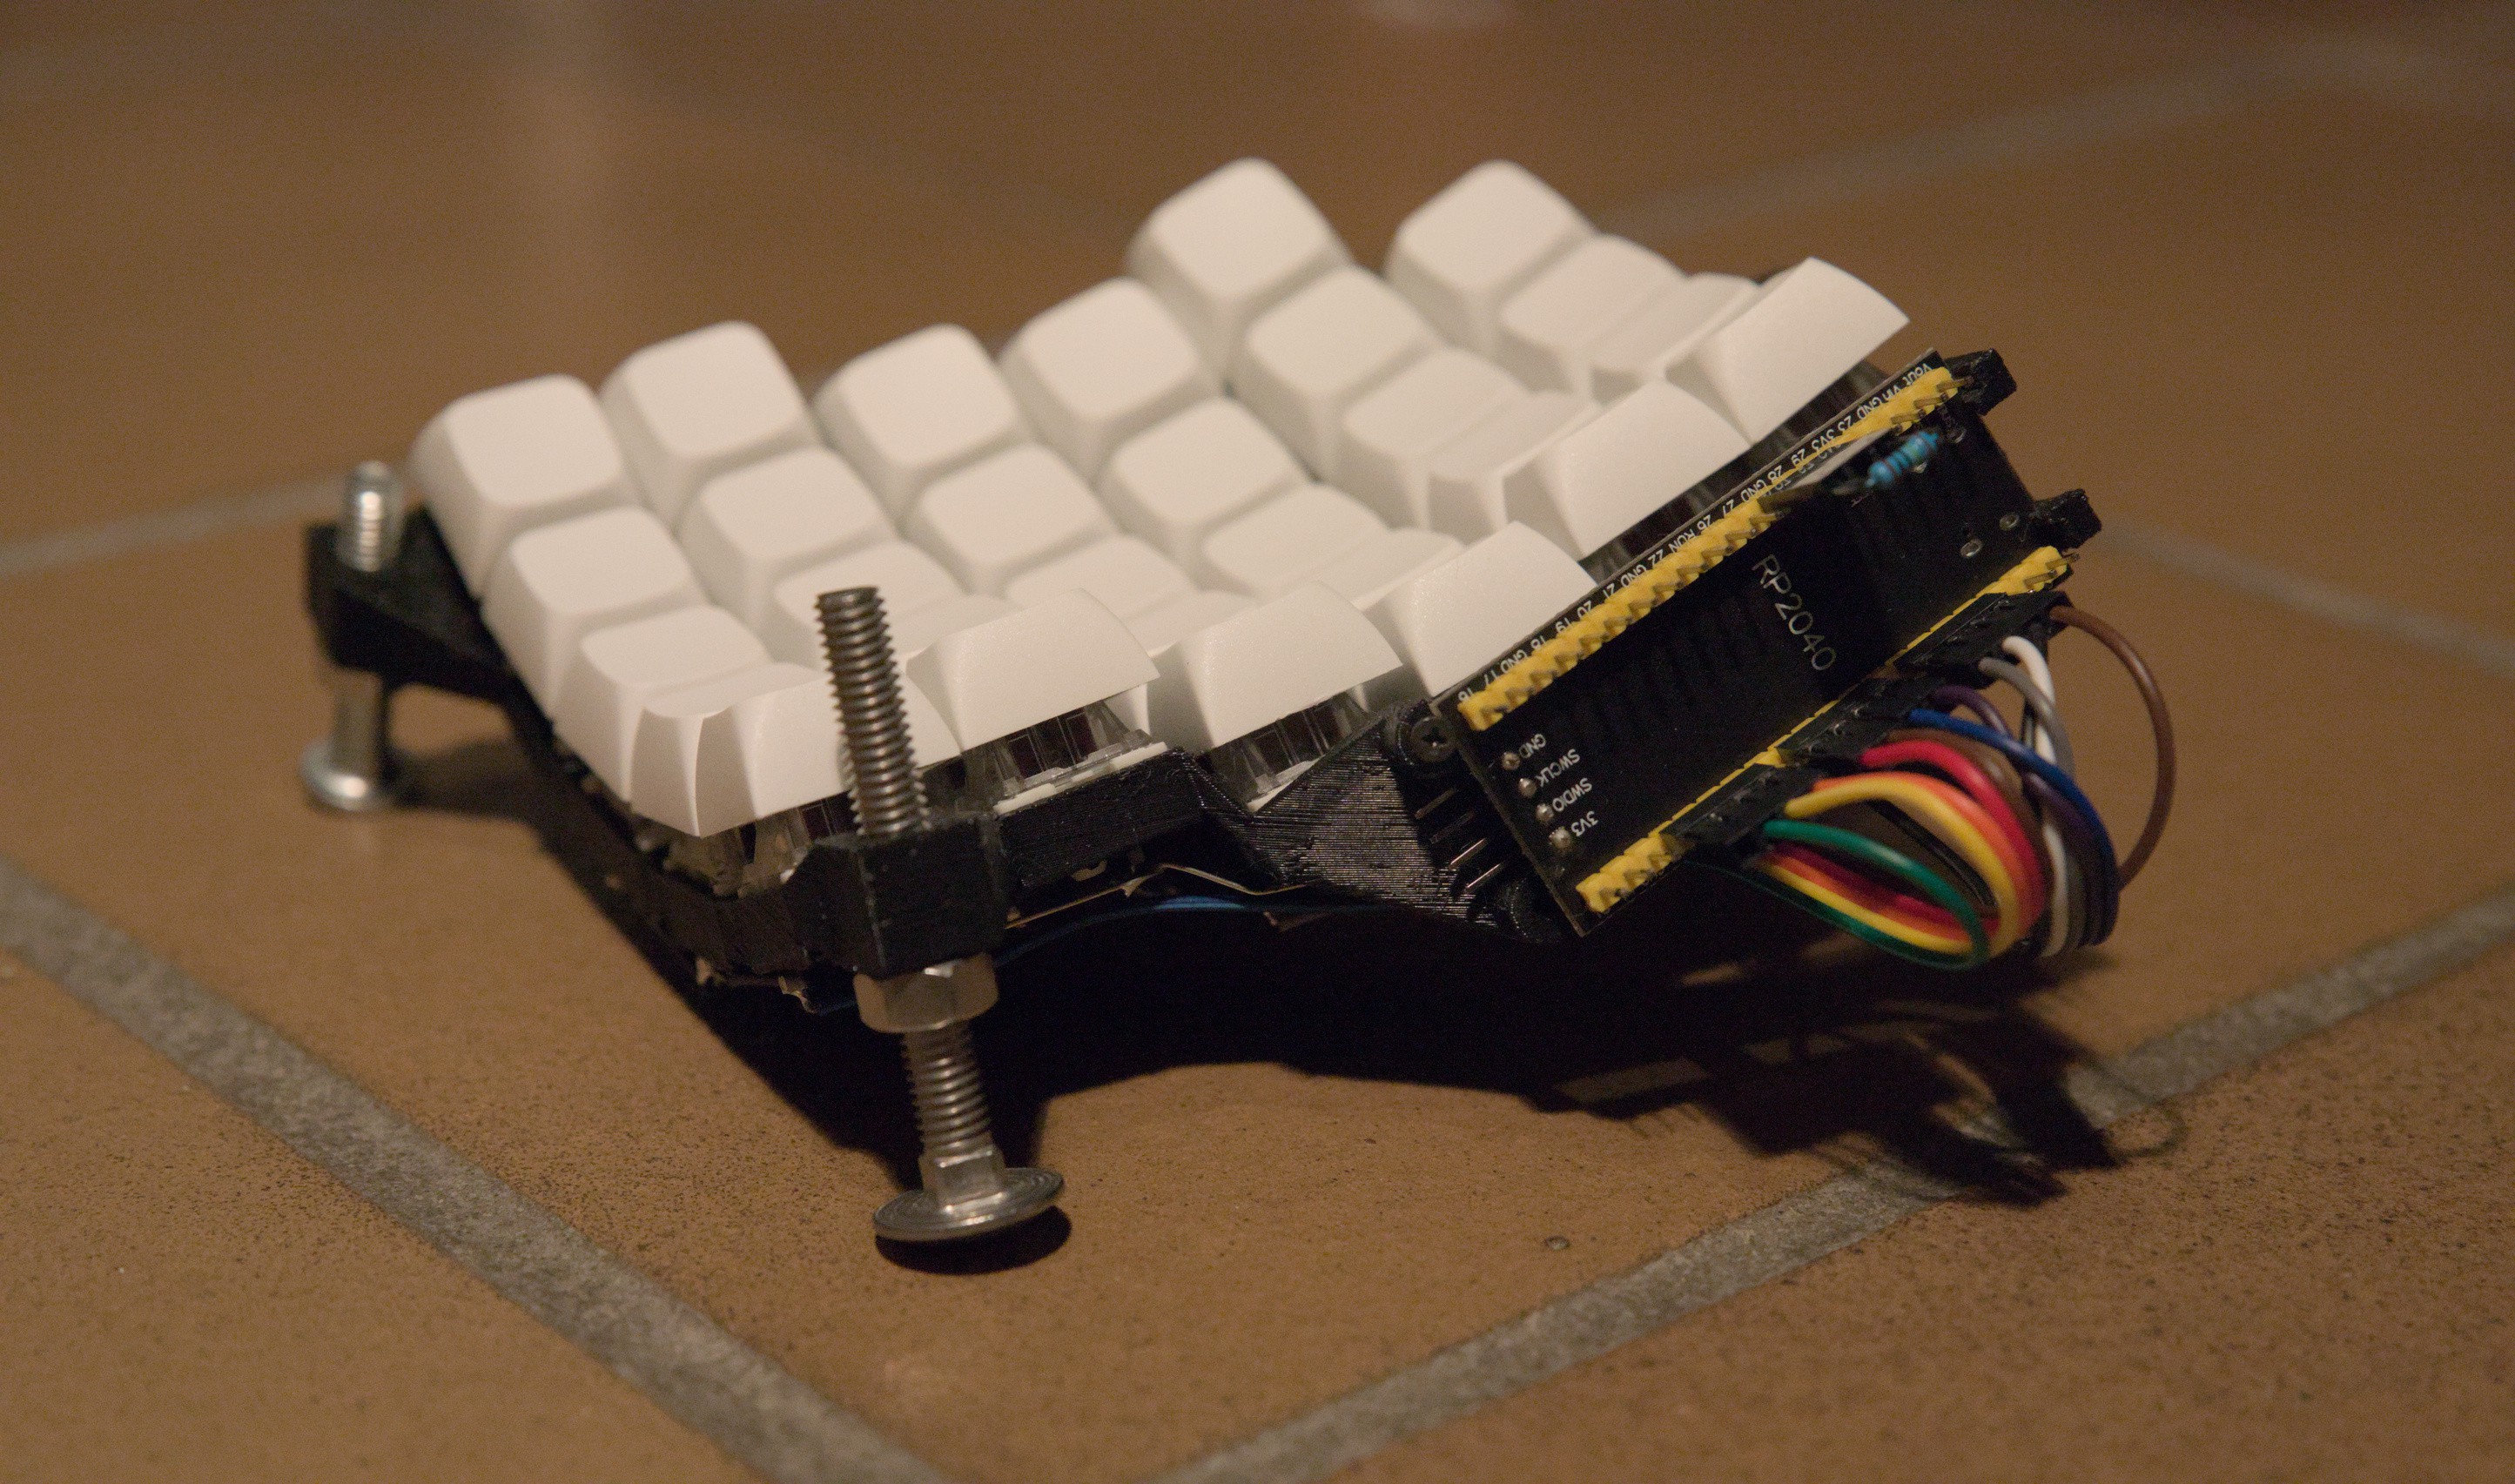
The Dactyl Lynx is a parameterized, split-hand, concave, columnar, ergonomic keyboard.
This is my fork/rewrite of the original Dactyl. I've changed a few things:
- Rewrote the generating code in Python instead of Clojure, using SolidPython2 and spkb.
- Rotated thumb clusters to be close to vertical (inspired by the Dactyl-ManuForm and the way my thumbs move; see also Viktor Eikman's DMOTE and Concertina keyboards)
- Steeper tenting angle
- 1U or 2U keycaps - easy to source
- A new adjustable skeletal design (which will probably change once I solidify the physical placement of the wells, but I'll likely keep around as an option)
- Modified keyswitch holes to support Kailh hot-swap sockets
Future plans:
- Adding a TrackPoint module between the
D,H,B, andMkeys (H,J,N, andMon QWERTY) - I already implemented this in the Clojure version, but I haven't yet ported it to the Python version - Adding mouse buttons and a scroll ball from an Apple Mighty Mouse next to the right-hand thumb cluster
- Adding a thumbstick to the left side?
- Multiple user-defined key maps that can be uploaded via USB and easily toggled between on the fly (I want this to replace my Orbweaver) - Use QMK's Raw HID support or maybe Vial. (though Vial has a limitation of 4 layers)
- Adding support for ALPS or Choc switches instead of MX-style switches, along with appropriate hot-swap sockets (this will be mostly implemented in spkb first)
See the corresponding firmware in my
whitelynx/dactyl_lynx QMK branch for instructions on building and flashing the firmware.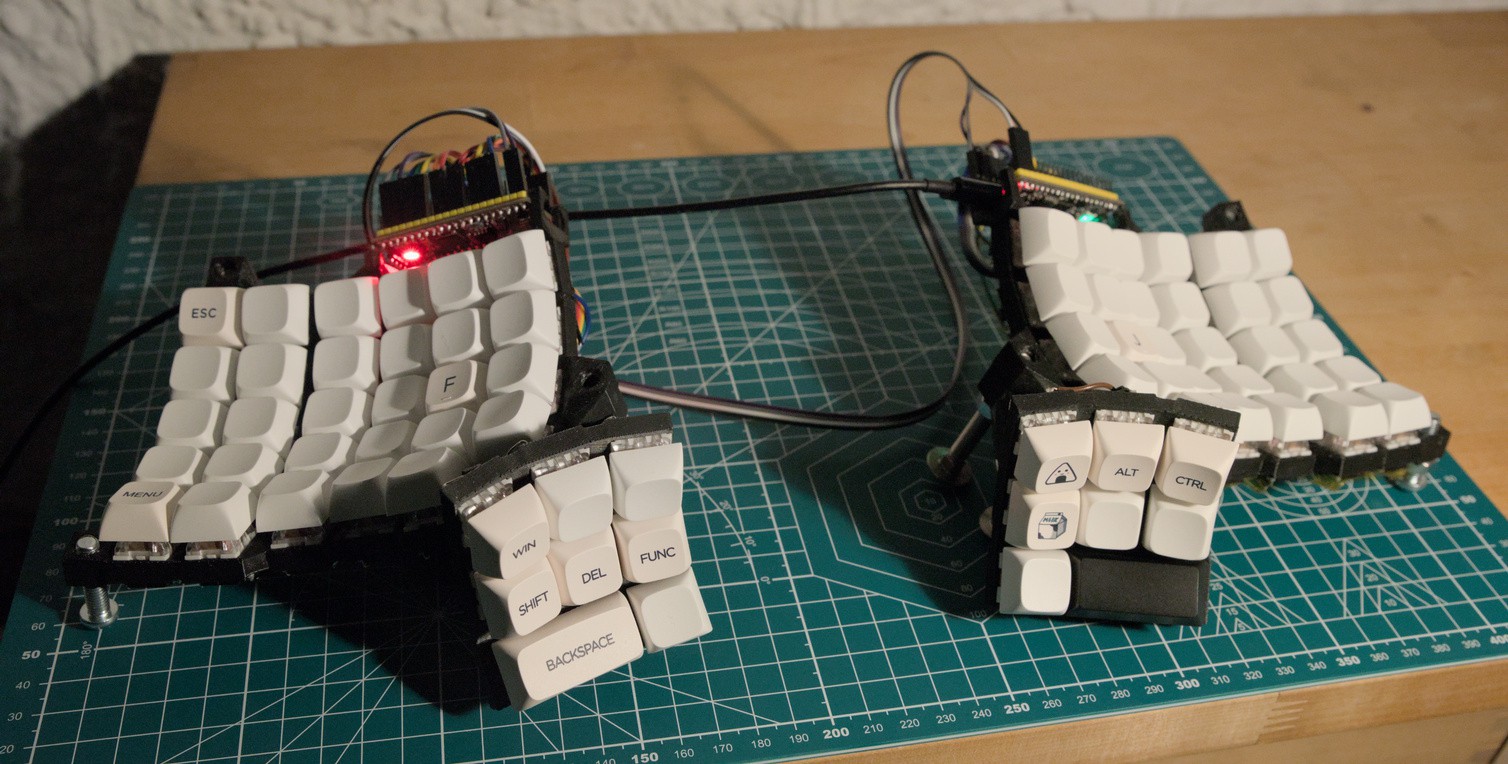
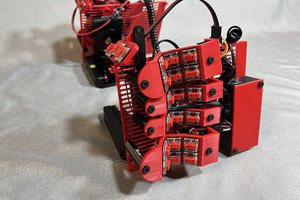
 I finally finished wiring up as much of the right side as I could, though I'm still waiting for some more hotswap sockets and a new set of switches to come in. That's not a problem yet, though, because my keymap doesn't even have a use for those key positions yet.
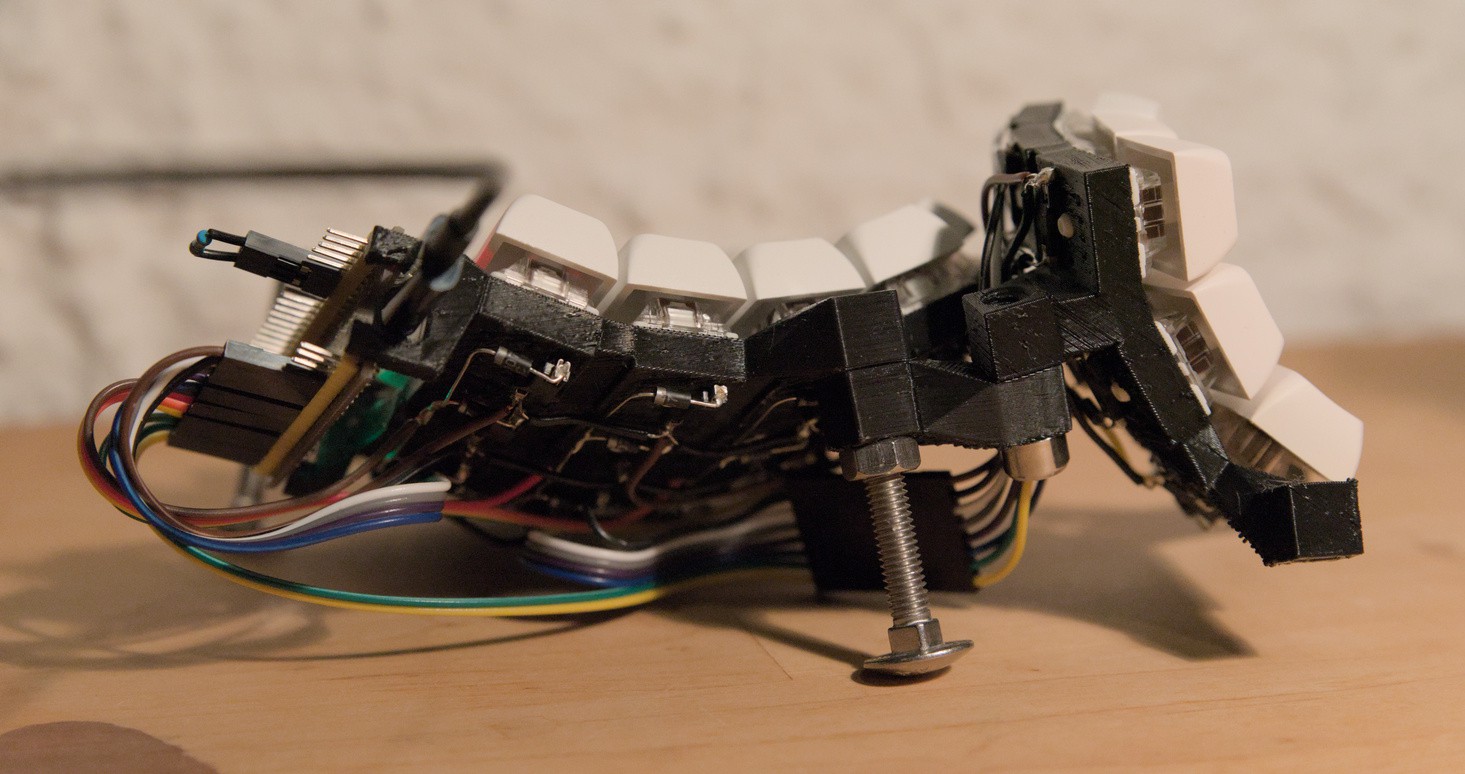
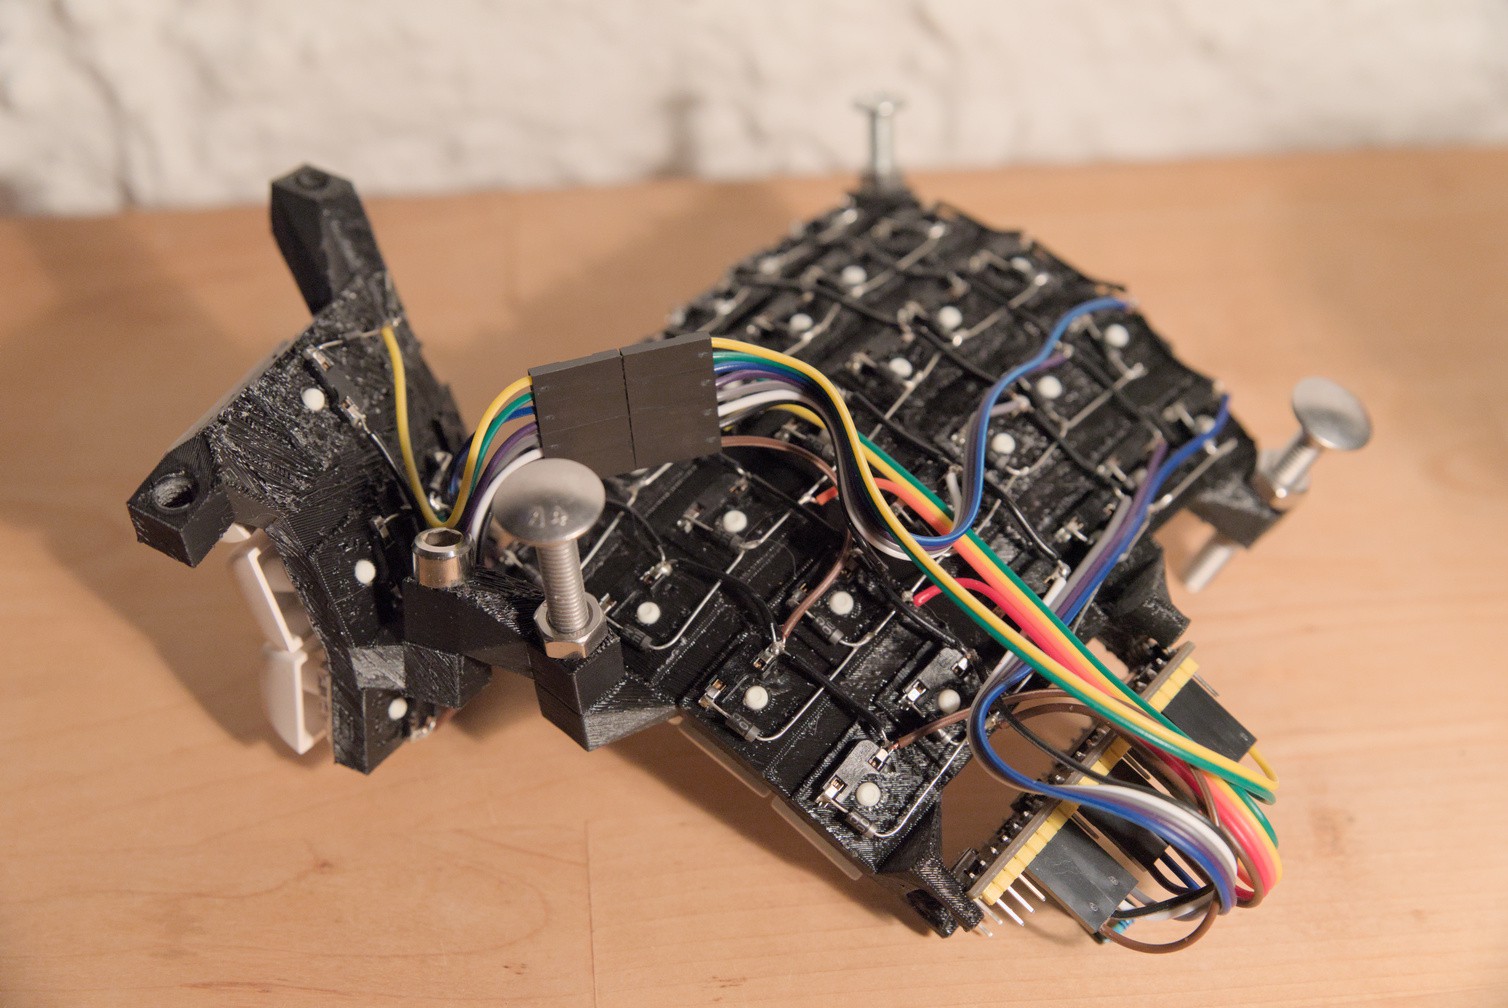
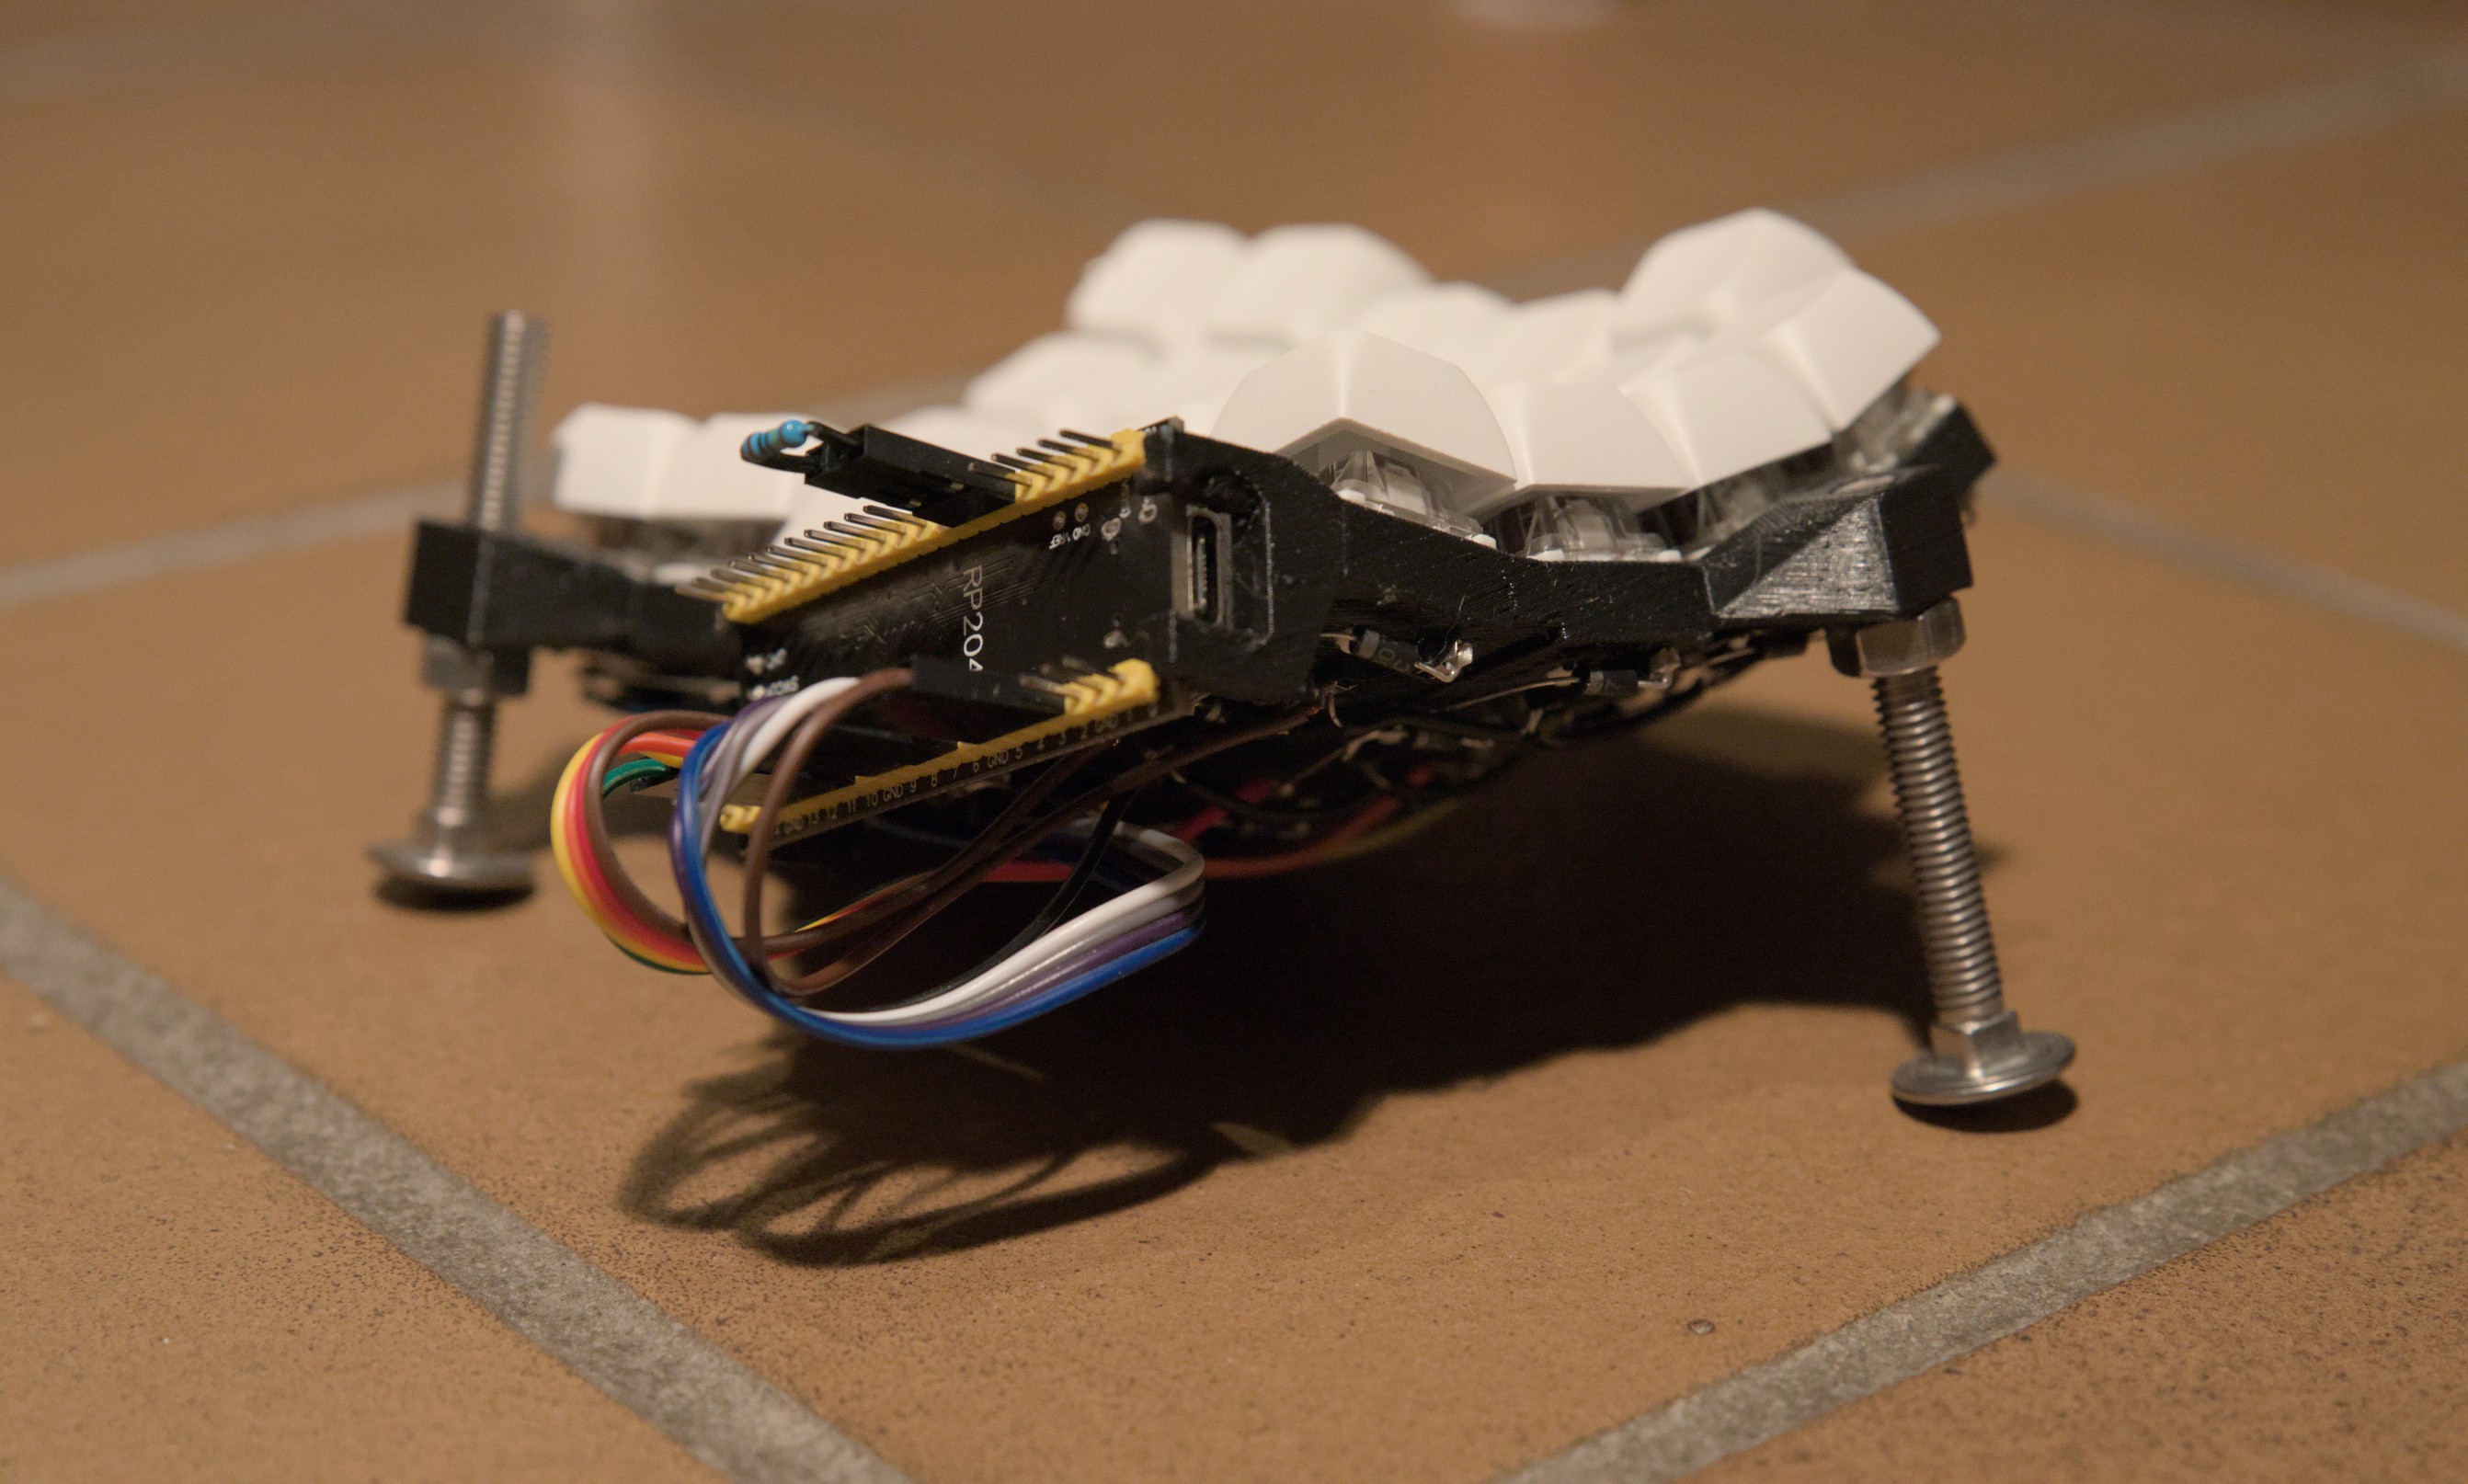
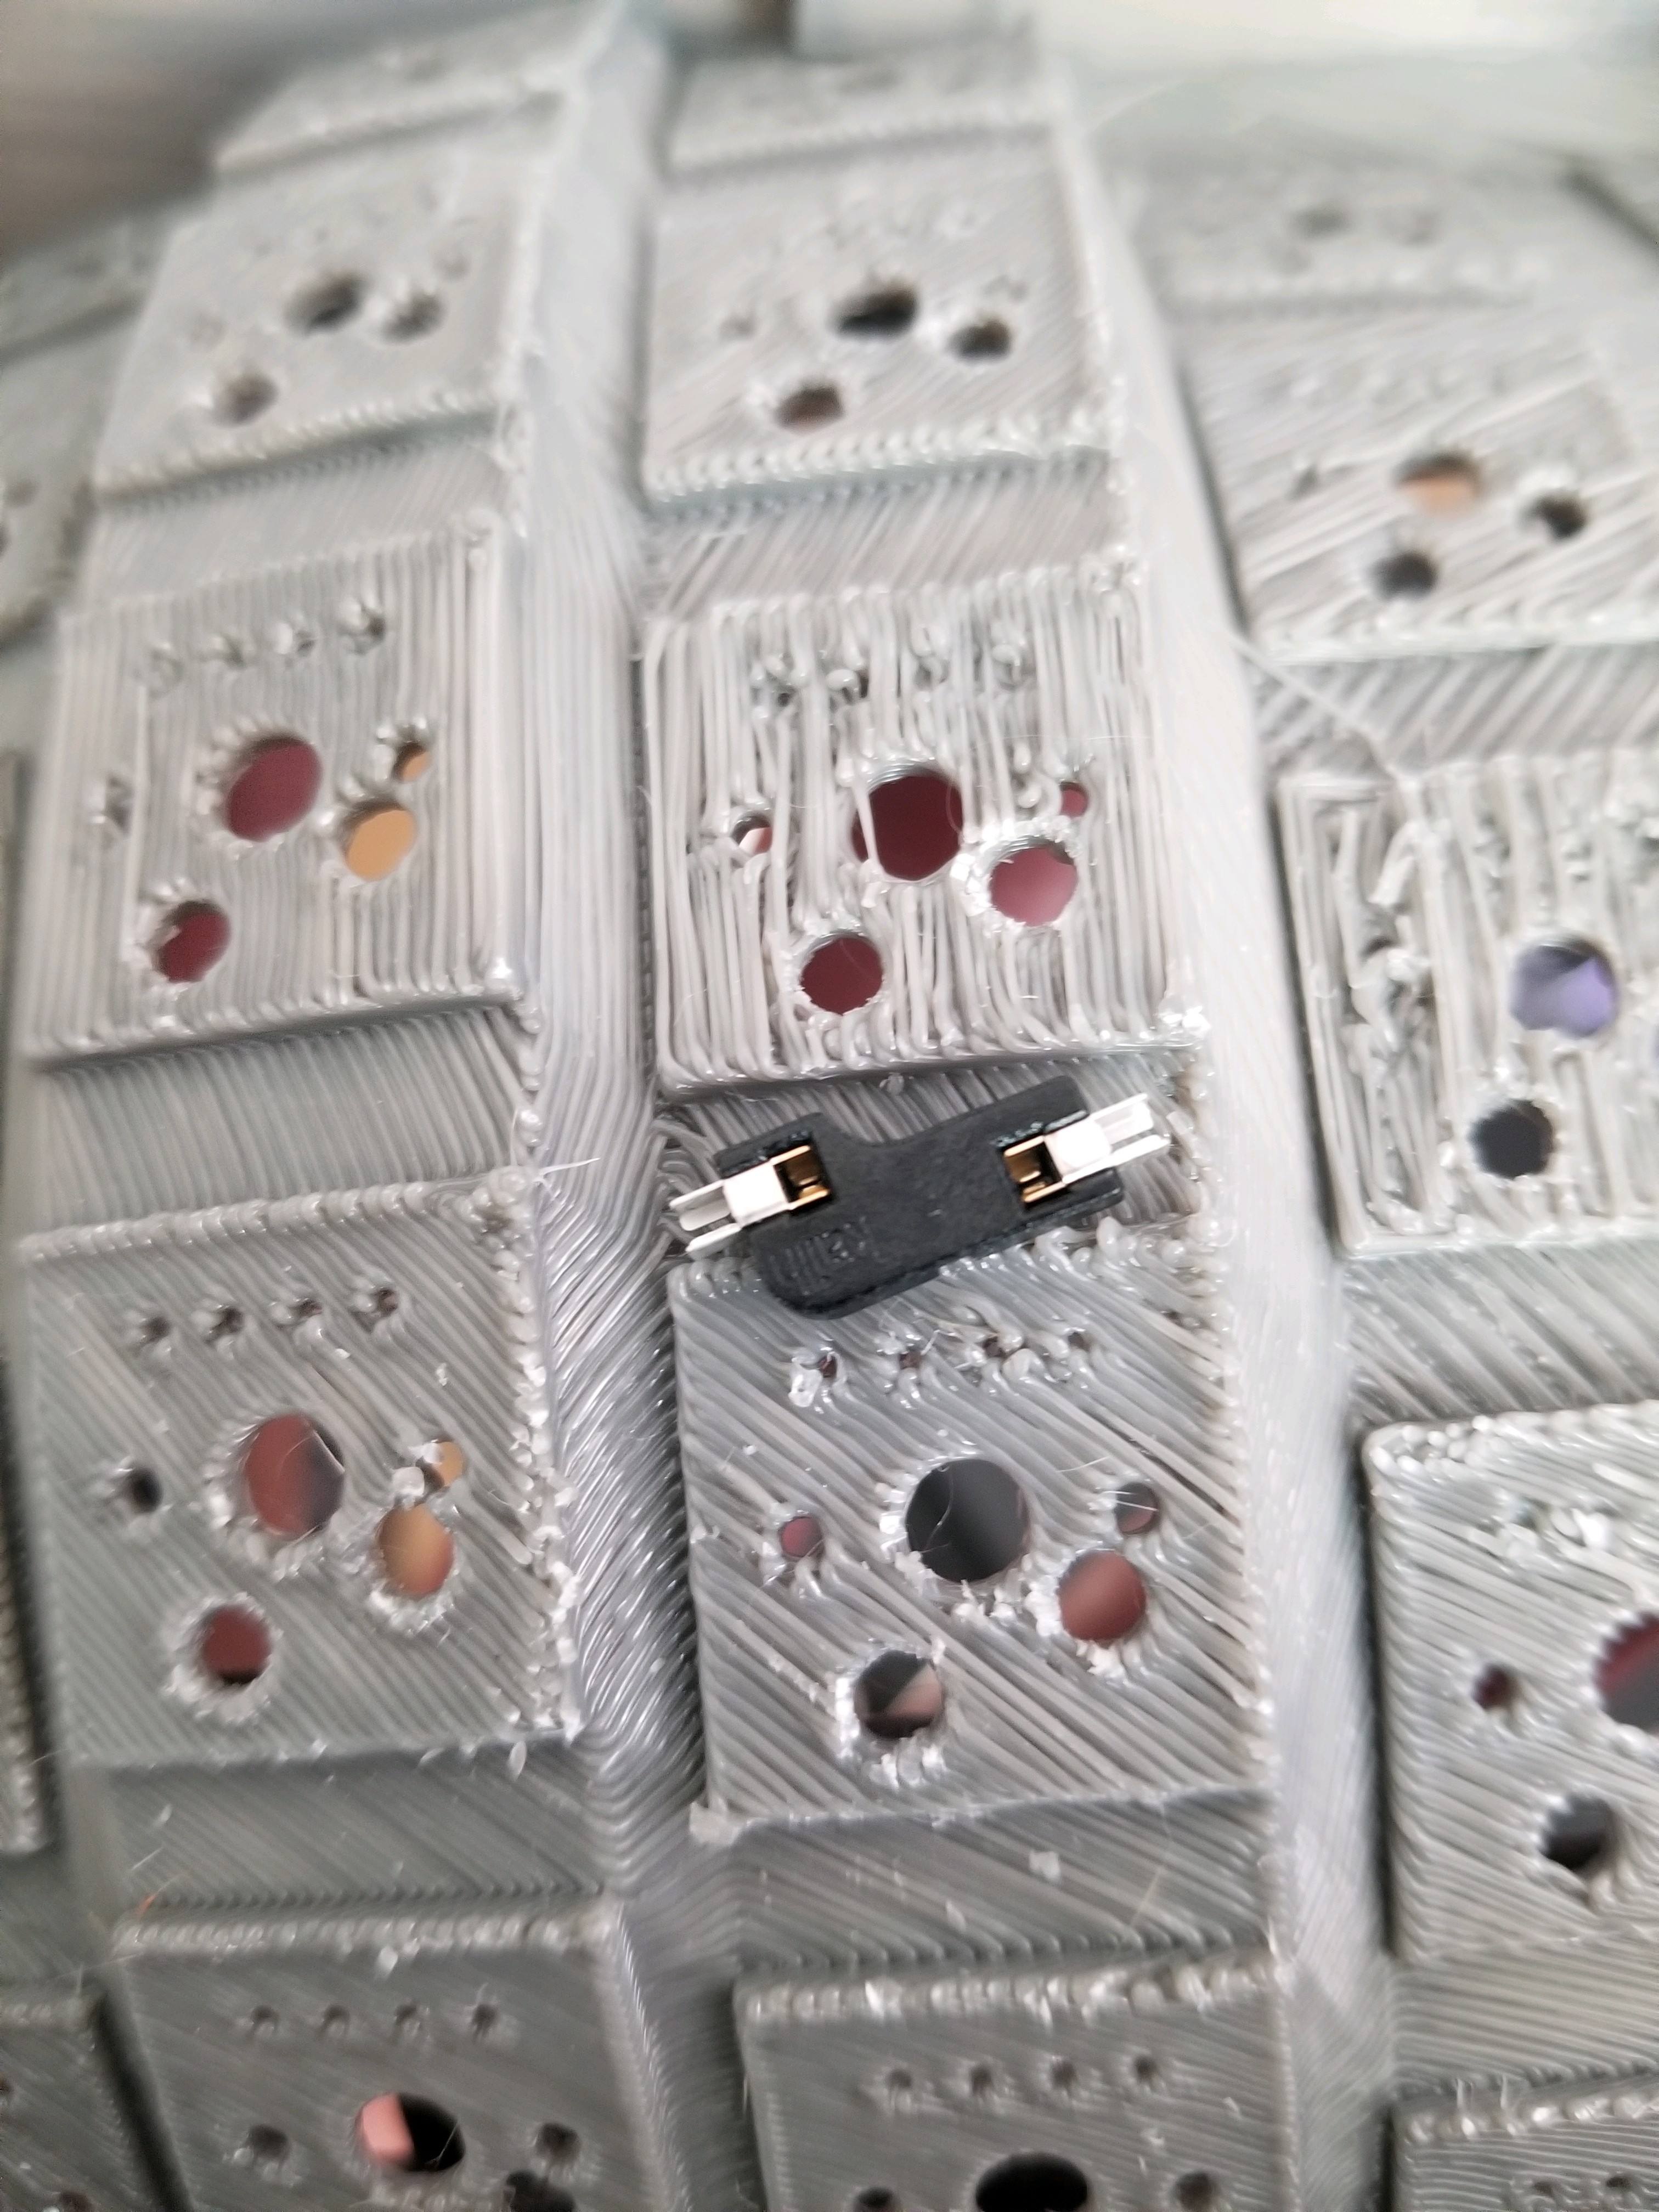
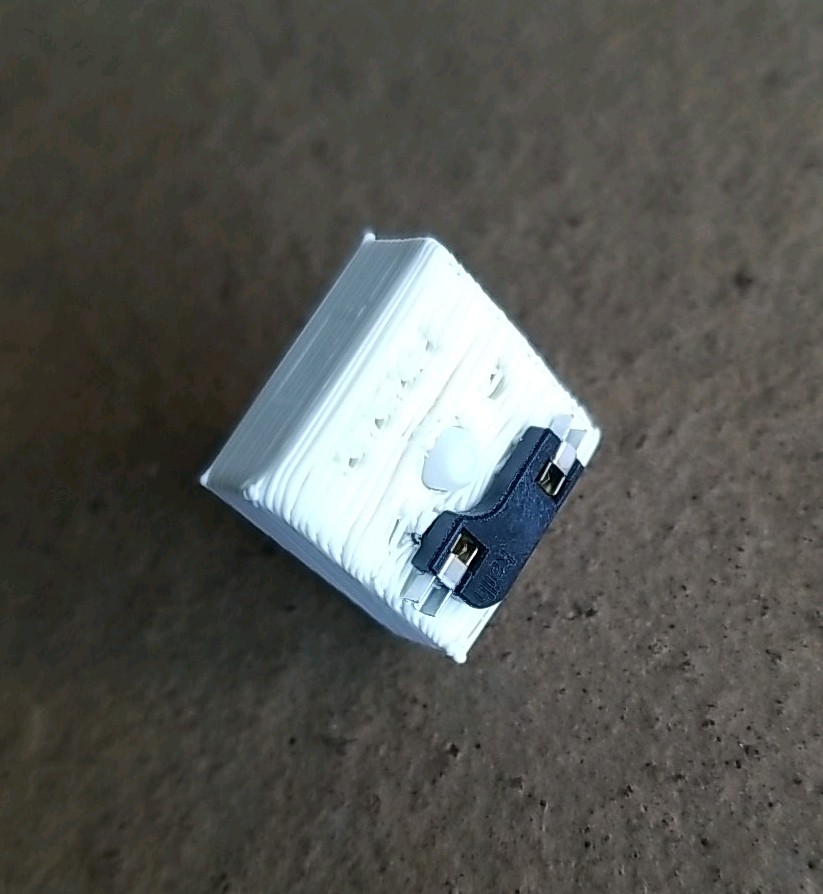
 You may notice that there's nothing supporting the hotswap sockets; they're just sitting attached to the bottom of the keyswitches. This will still allow me to hot-swap keyswitches, but it does mean I have to be careful about pulling the old switches out and make sure that I'm not yanking on the hotswap sockets and their wiring.
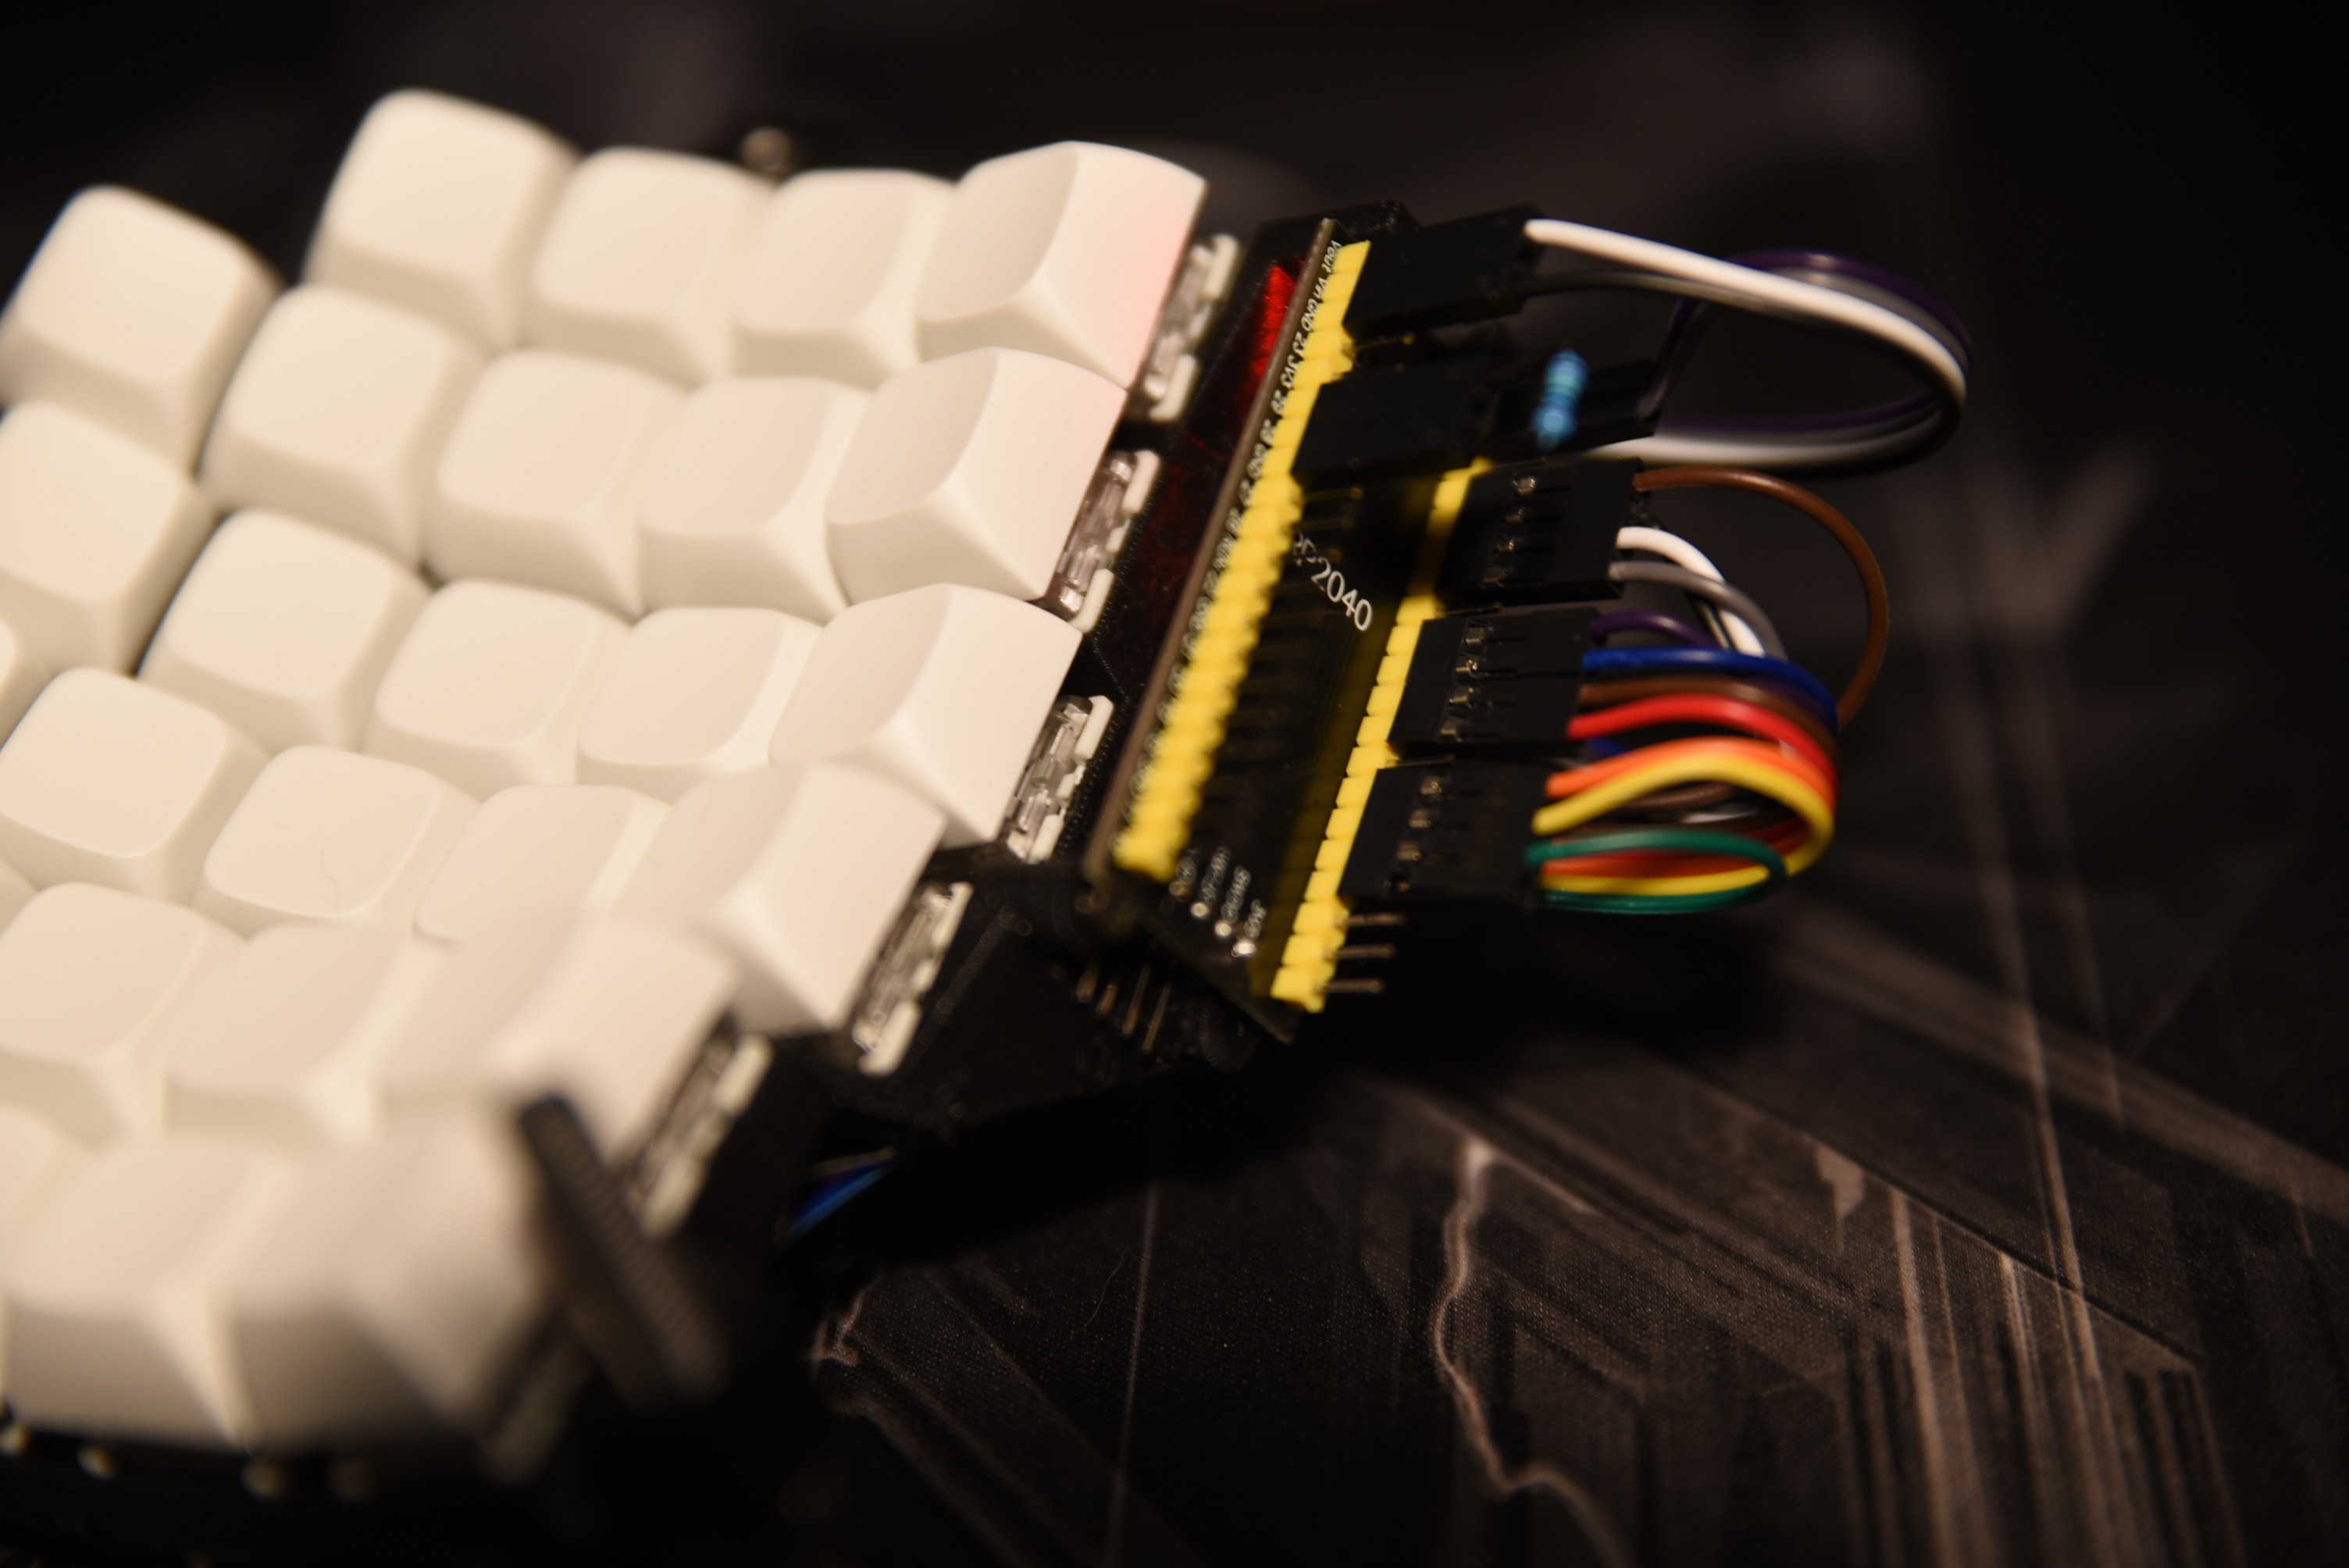
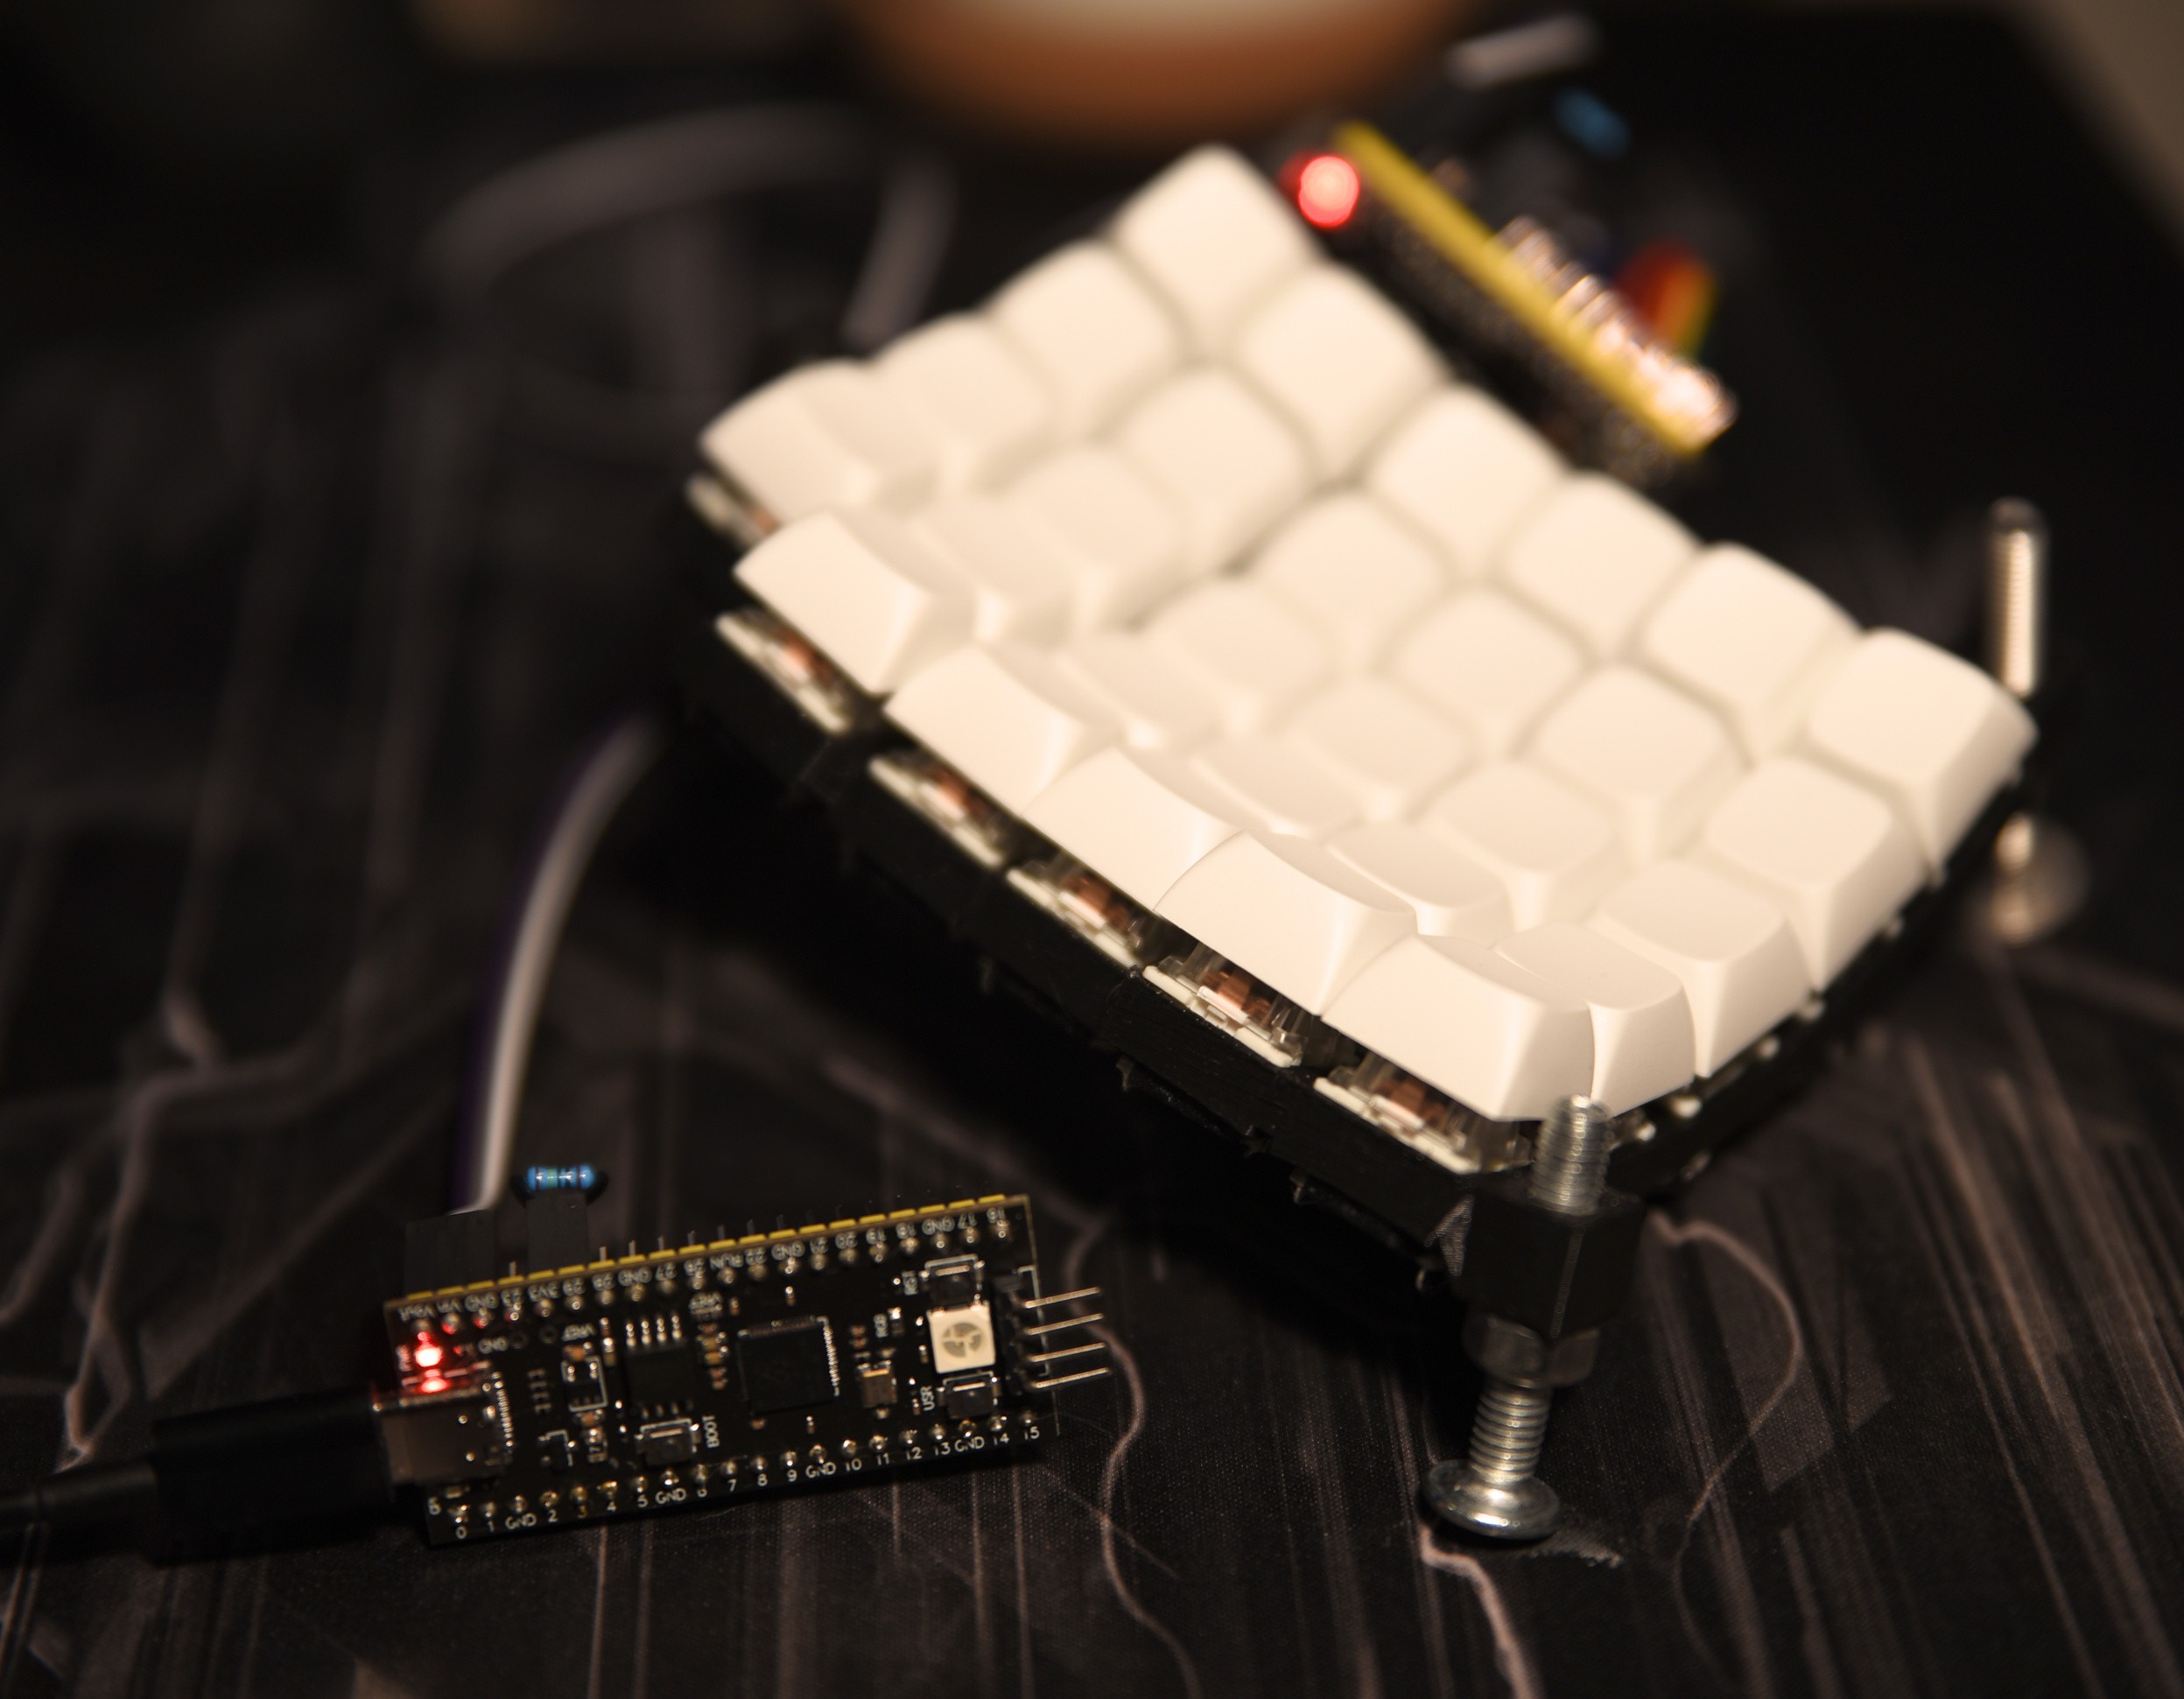
 ...and the completed wiring.
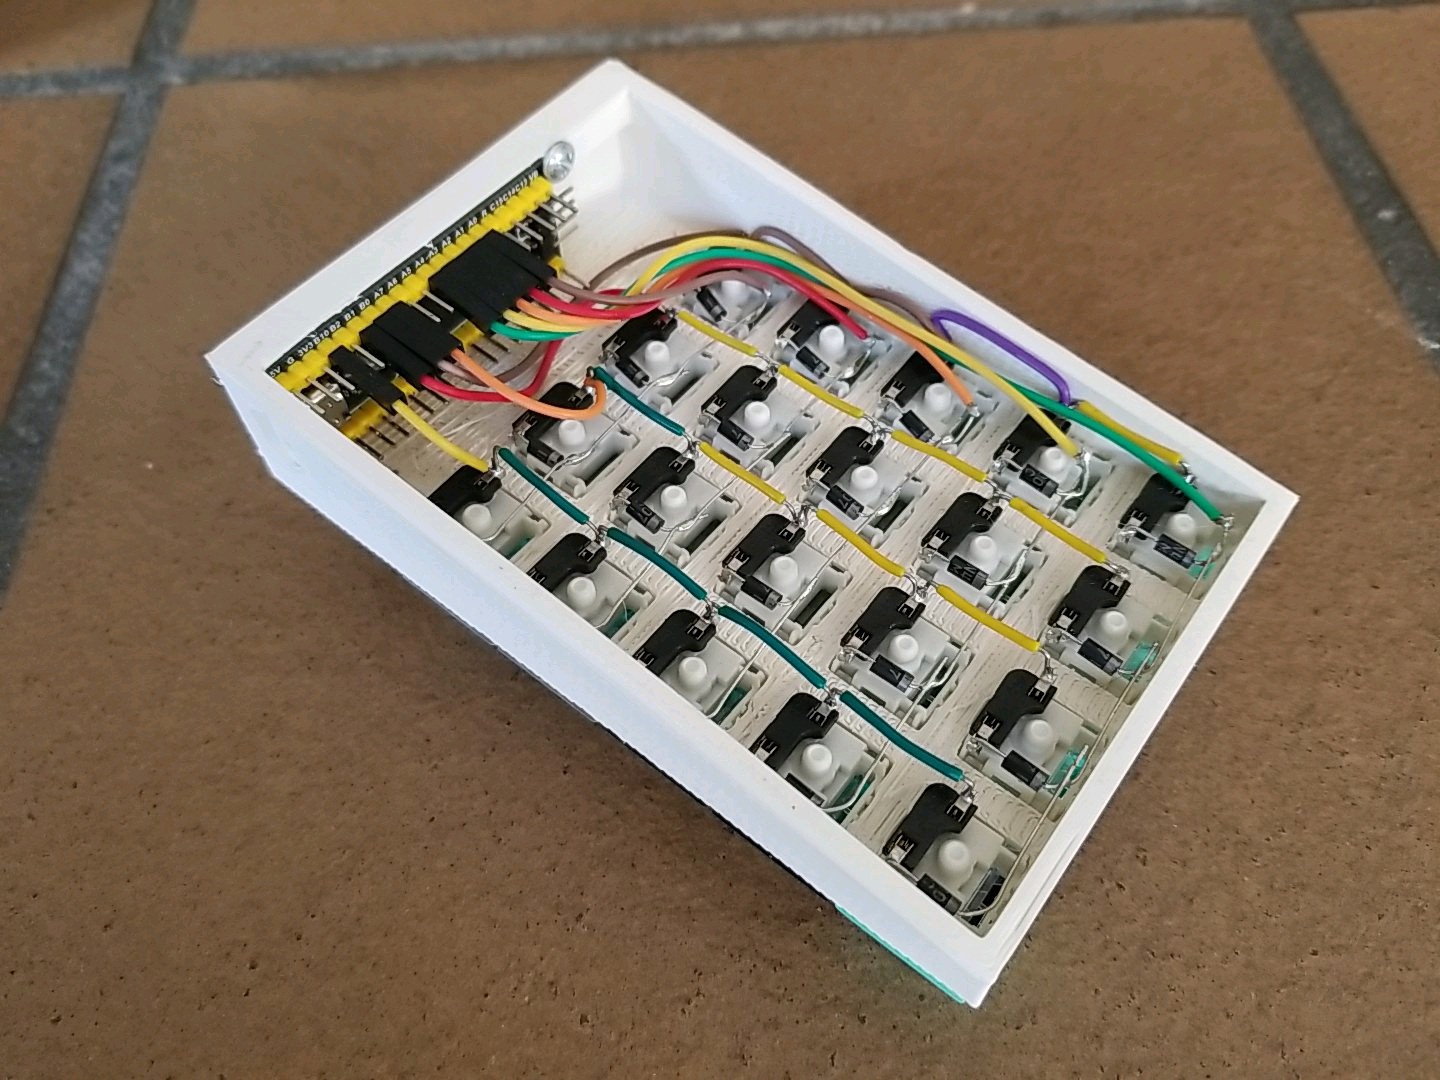
 Peter Lyons
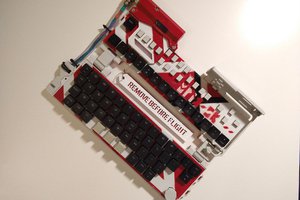
 mkdxdx
 T. B. Trzepacz
 deʃhipu