 David H. Bronke
I'm finally revisiting this project!
I've been without an ergonomic keyboard for about 2 years now, and it's driving me nuts. I've pretty much only been typing on laptop keyboards since then. I've at least had a vertical mouse, but it's not even the kind I like. (I prefer the Zalman FG-1000 FPSgun, but that's out of production and rather expensive these days)
Since I've finally decided to build my keyboard, I ordered the bare minimum parts in order to make it happen: diodes, hot-swap keyswitch sockets, and a couple of STM32F411 Blackpill boards. I'm reusing extra keycaps and keyswitches from my wife's keyboard, so I'll be using Gateron browns instead of my preferred Kailh speed pink switches, but at least I don't have to spend the 15€ on keyswitches. (yes, money has been that tight since our move to Europe)
I started out by printing a simple numpad and wiring it up as a proof of concept for using the Blackpill as the brain of the keyboard.
Starting on wiring the key matrix for my testing numpad:
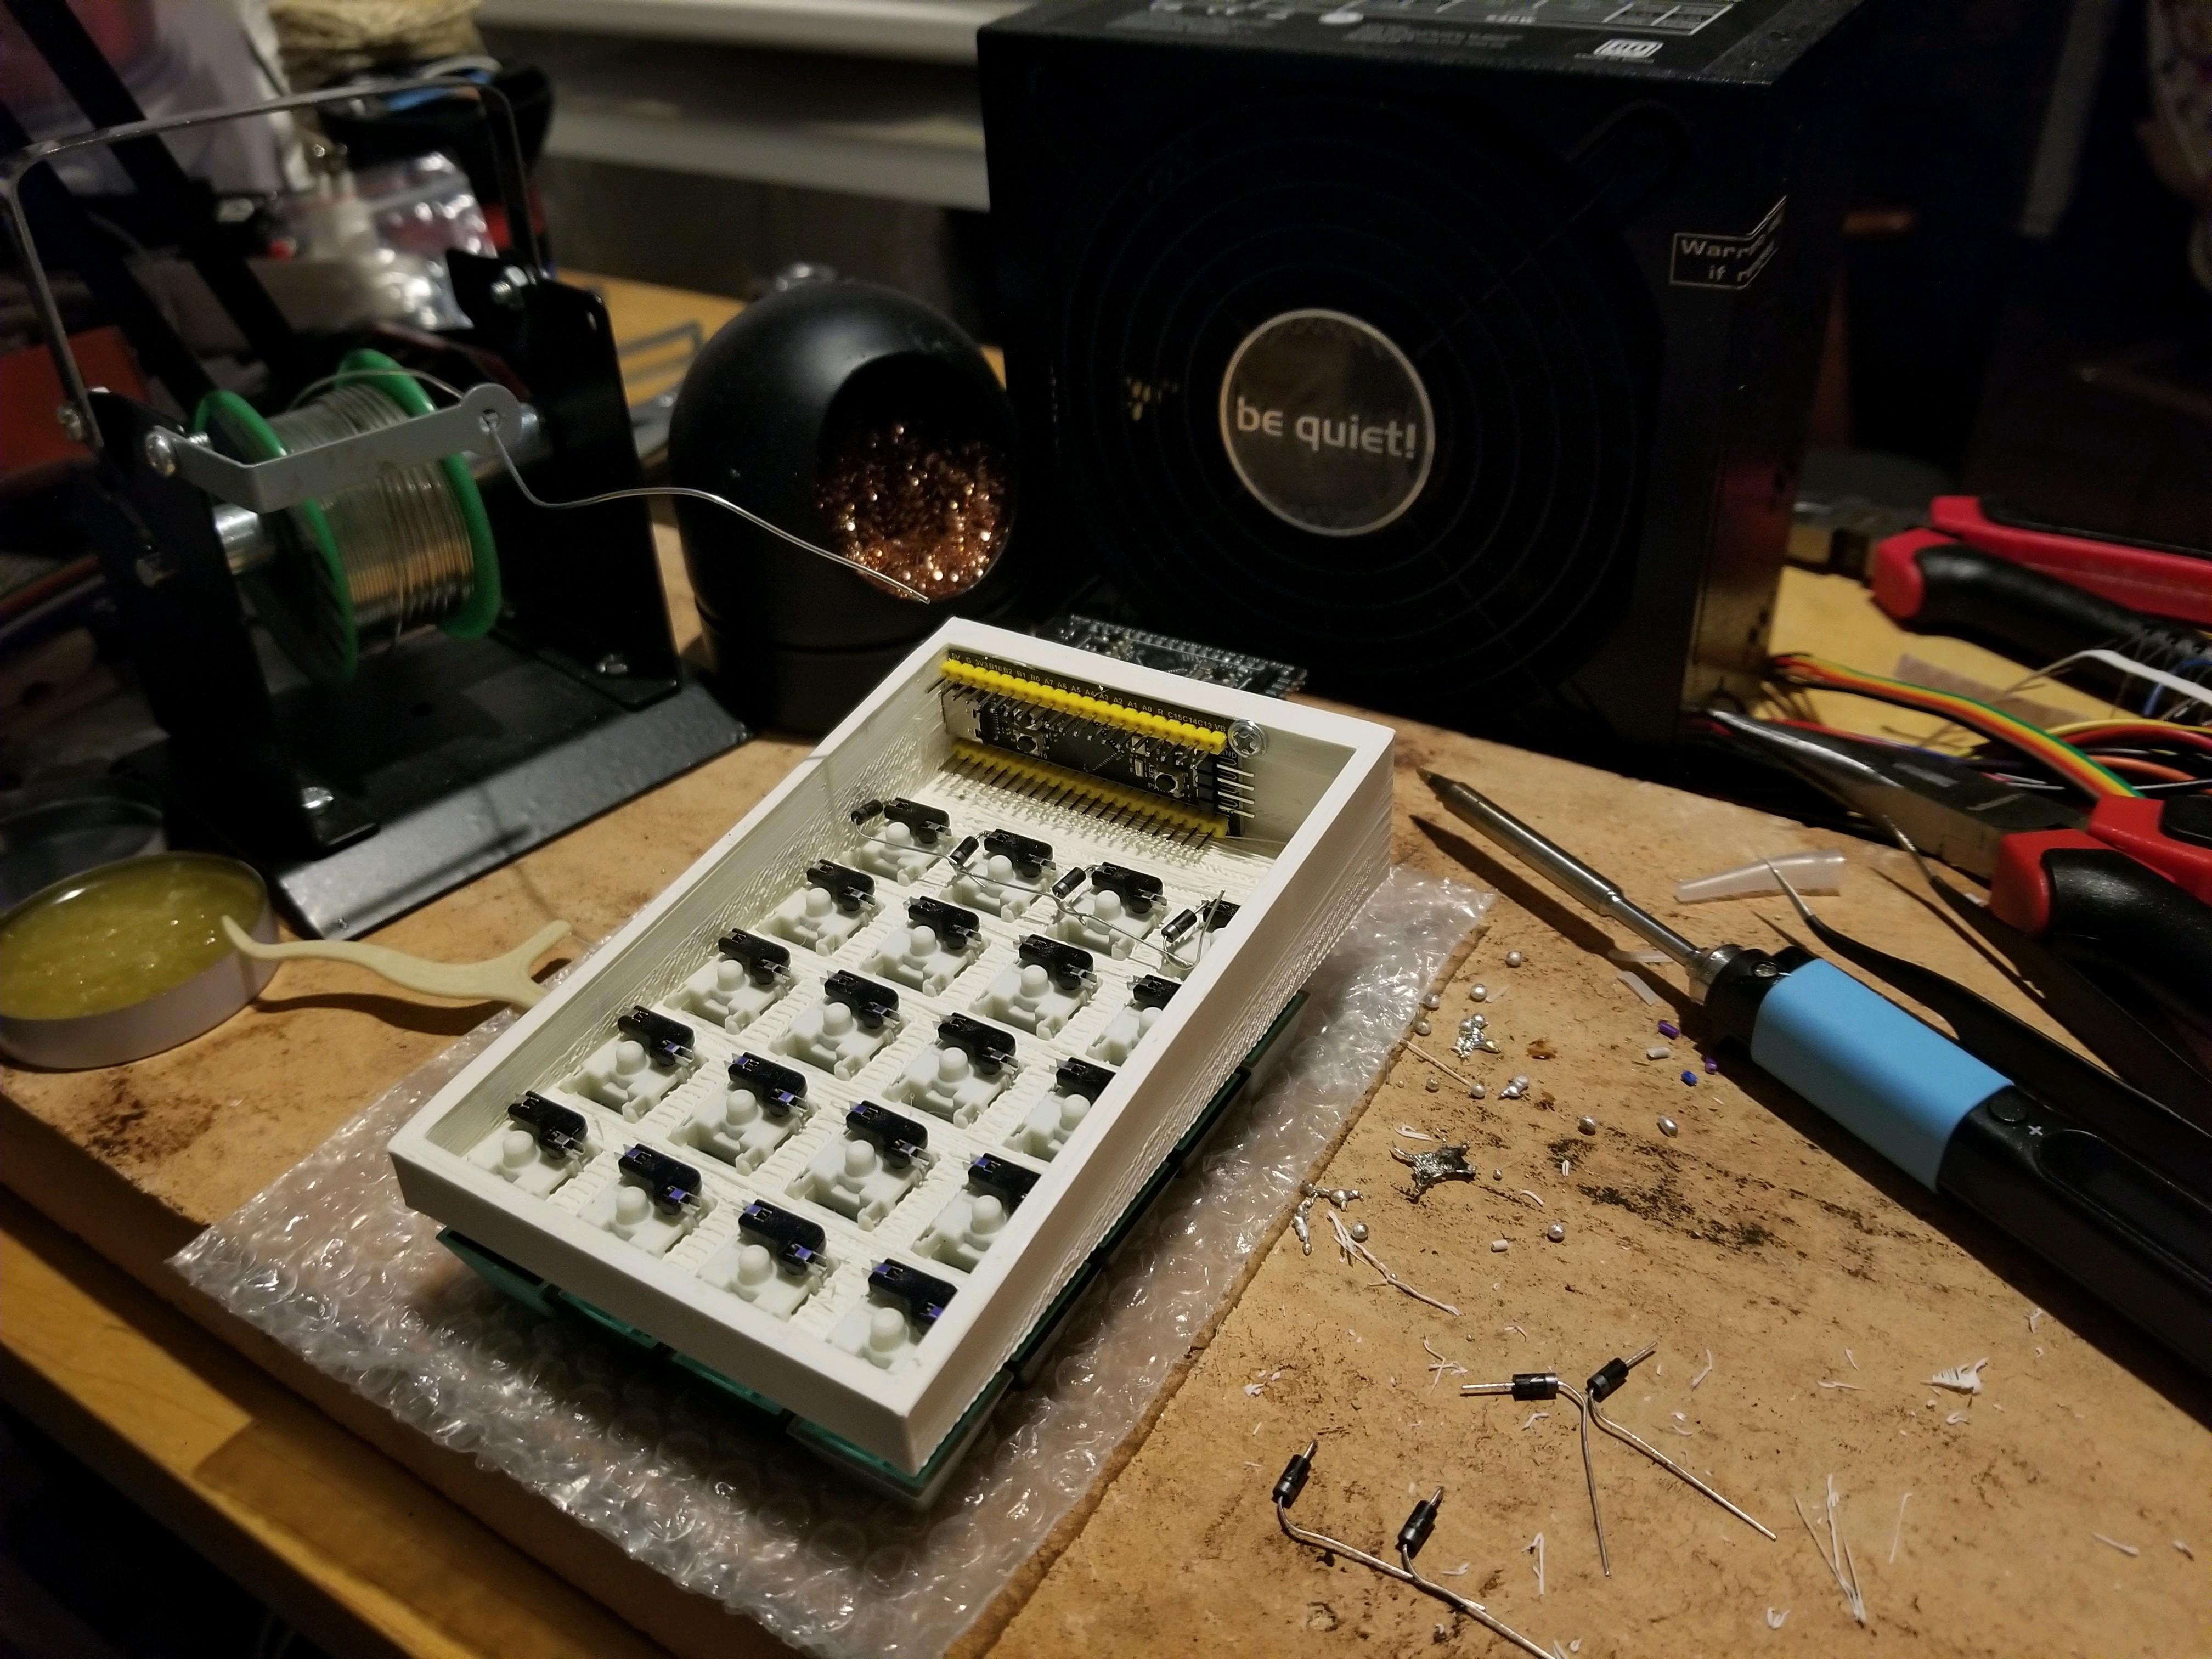 You may notice that there's nothing supporting the hotswap sockets; they're just sitting attached to the bottom of the keyswitches. This will still allow me to hot-swap keyswitches, but it does mean I have to be careful about pulling the old switches out and make sure that I'm not yanking on the hotswap sockets and their wiring.
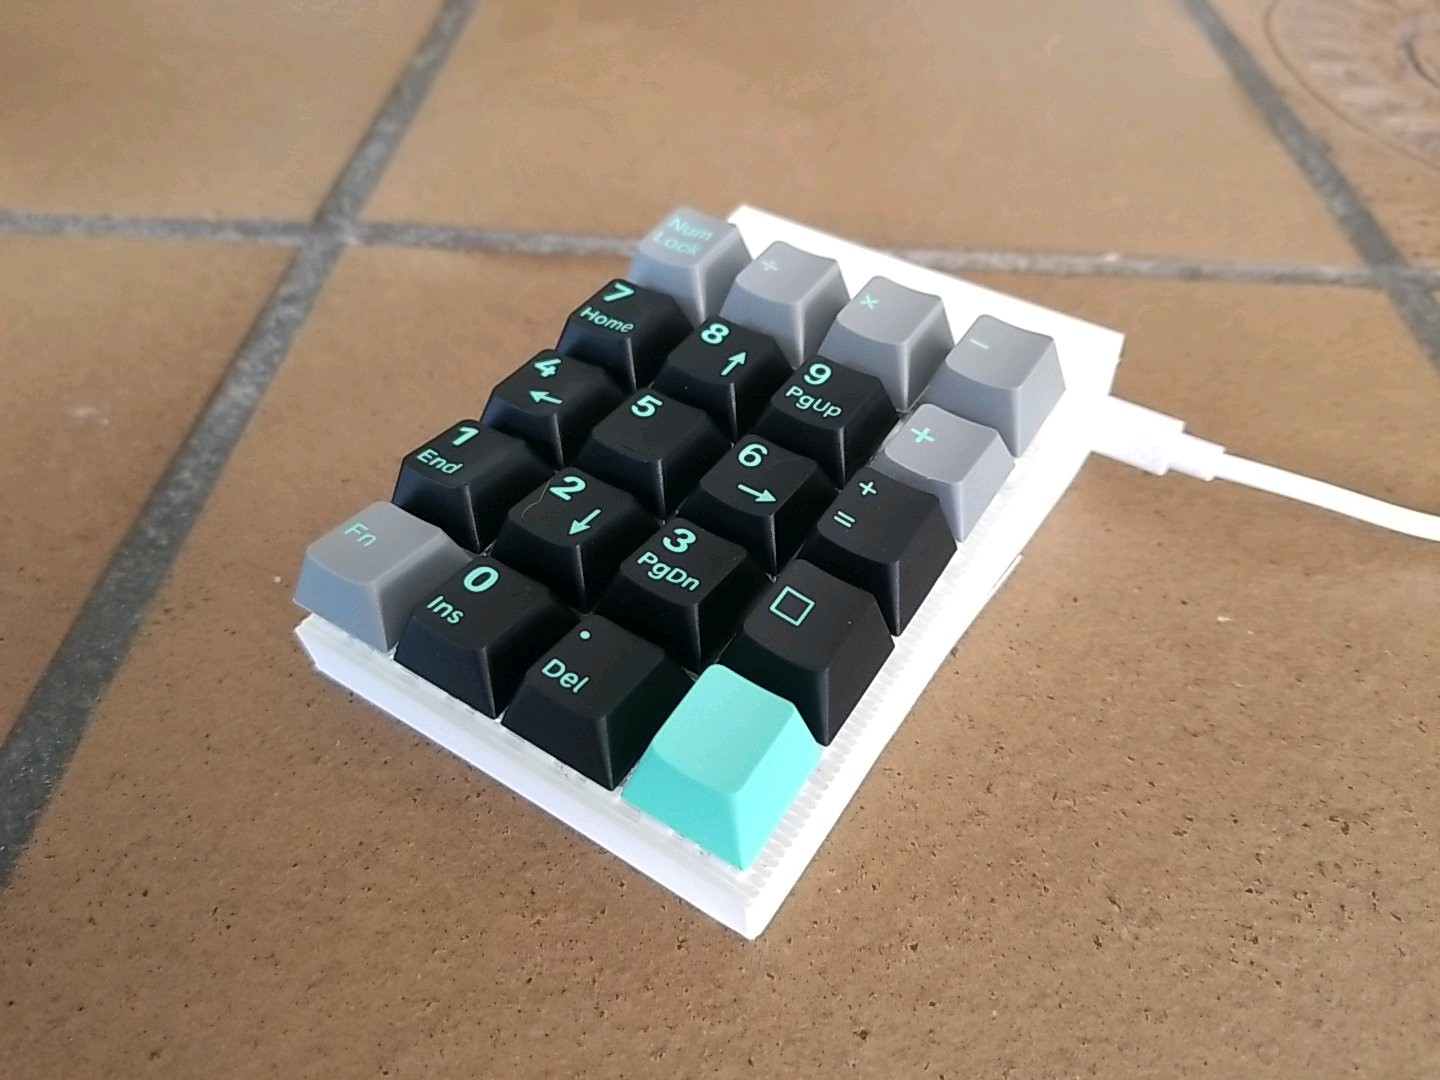
The finished numpad! The print quality is kinda terrible, but I think I've fixed that since printing this. If not, the first print of my new keyboard will be kinda terrible too, but as long as the hotswap sockets and keyswitches fit, I'll be happy.
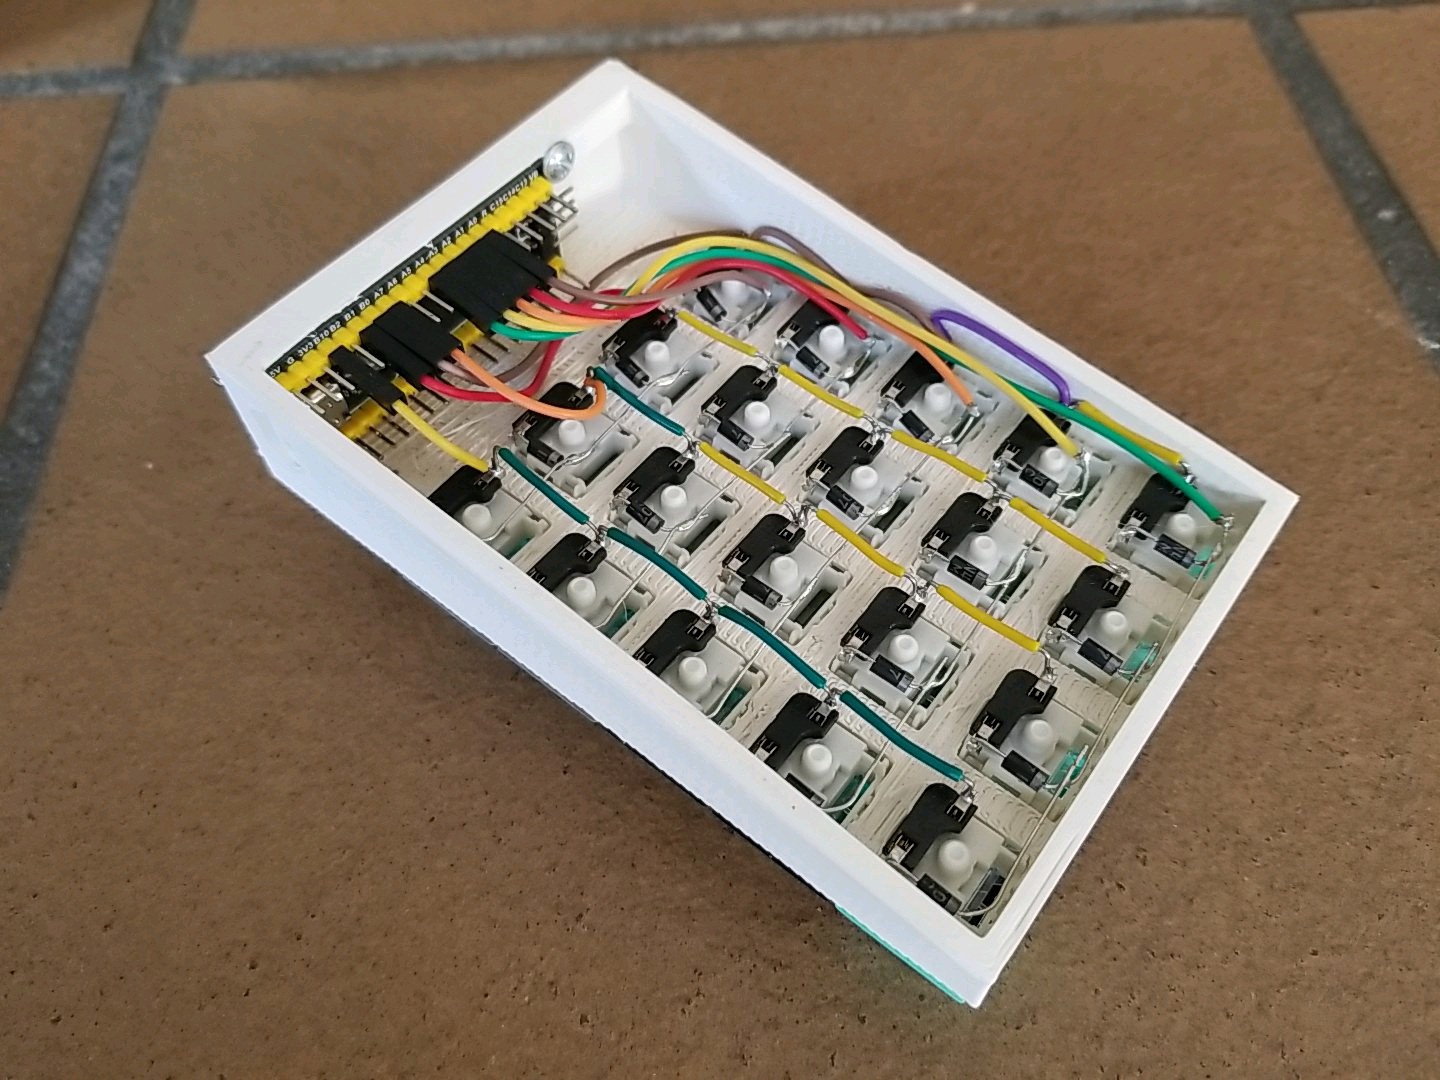
 ...and the completed wiring.
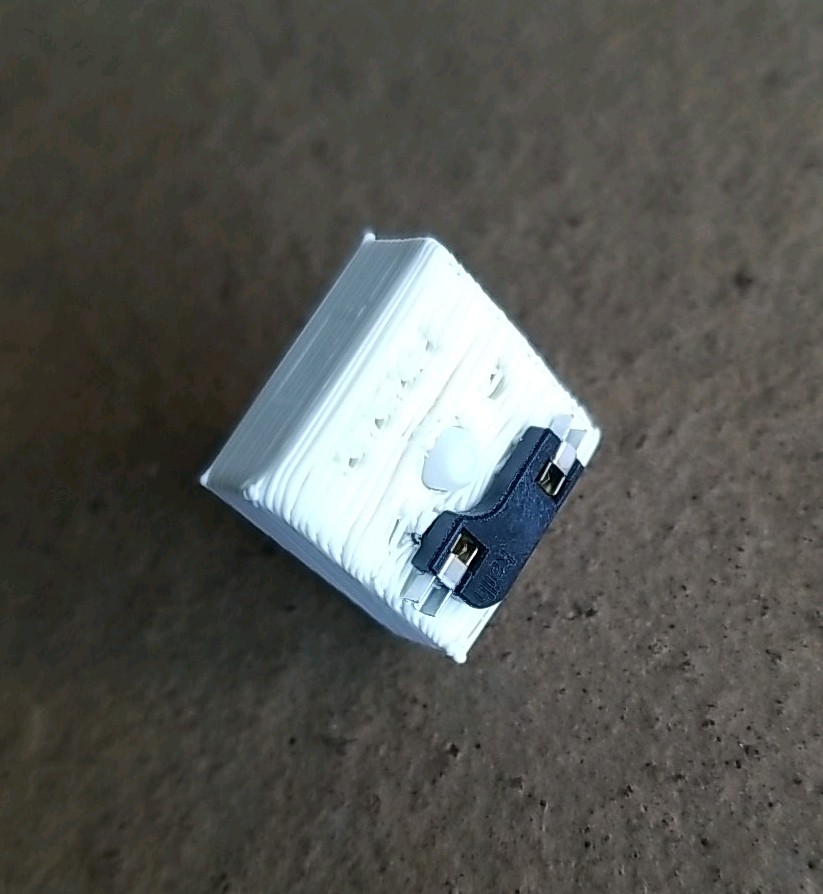
A keyswitch socket with holes for the hotswap sockets. I'll be using this exact design for the switch positions in the final keyboard.
I also made some final tweaks to the actual Dactyl Lynx case design so that the new Blackpill boards will fit correctly with their ISP headers, and finally got started printing the new case for the left side. I decided to print the left side first because it's simpler, and because then I can use it in place of the Razer Orbweaver that I left in the US.
The work-in-progress case for the left side of the keyboard:
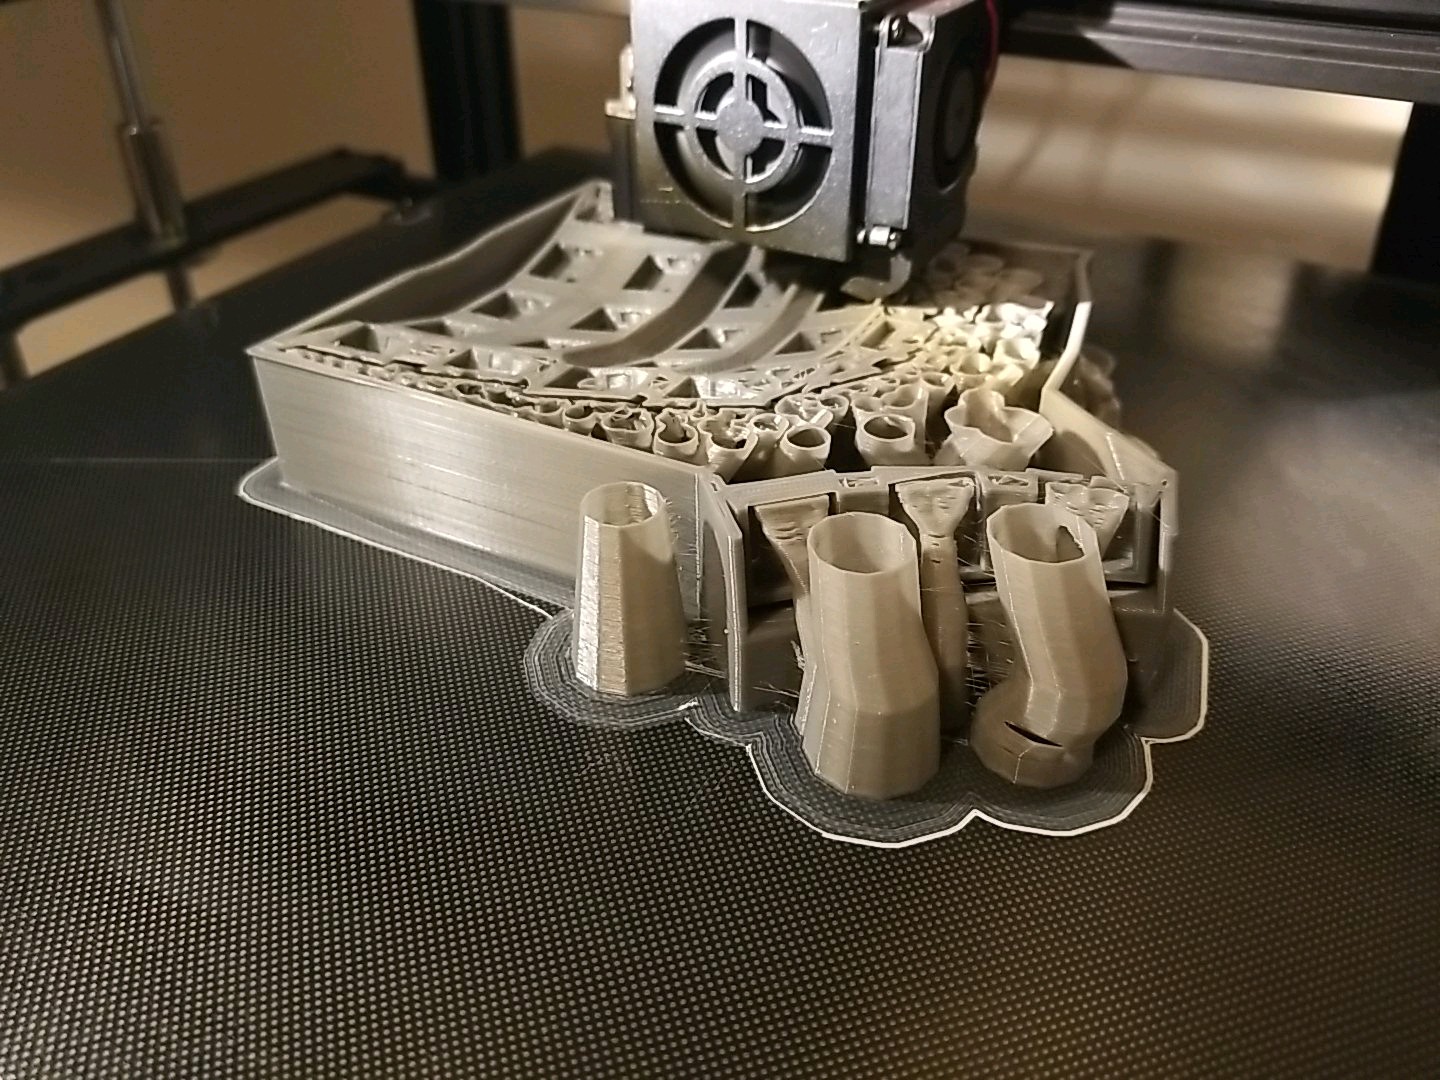
This print was estimating 1 day 7 hours and change, though it's taking longer because the filament runout sensor that came with my printer is terrible and keeps triggering, even though there's plenty of filament left on the spool. Not sure why it thinks that the filament is running out, but that's a problem for future me.
Hopefully my next project log will include a completed left-hand side!
Discussions
Become a Hackaday.io Member
Create an account to leave a comment. Already have an account? Log In.