 Nathan Kerns
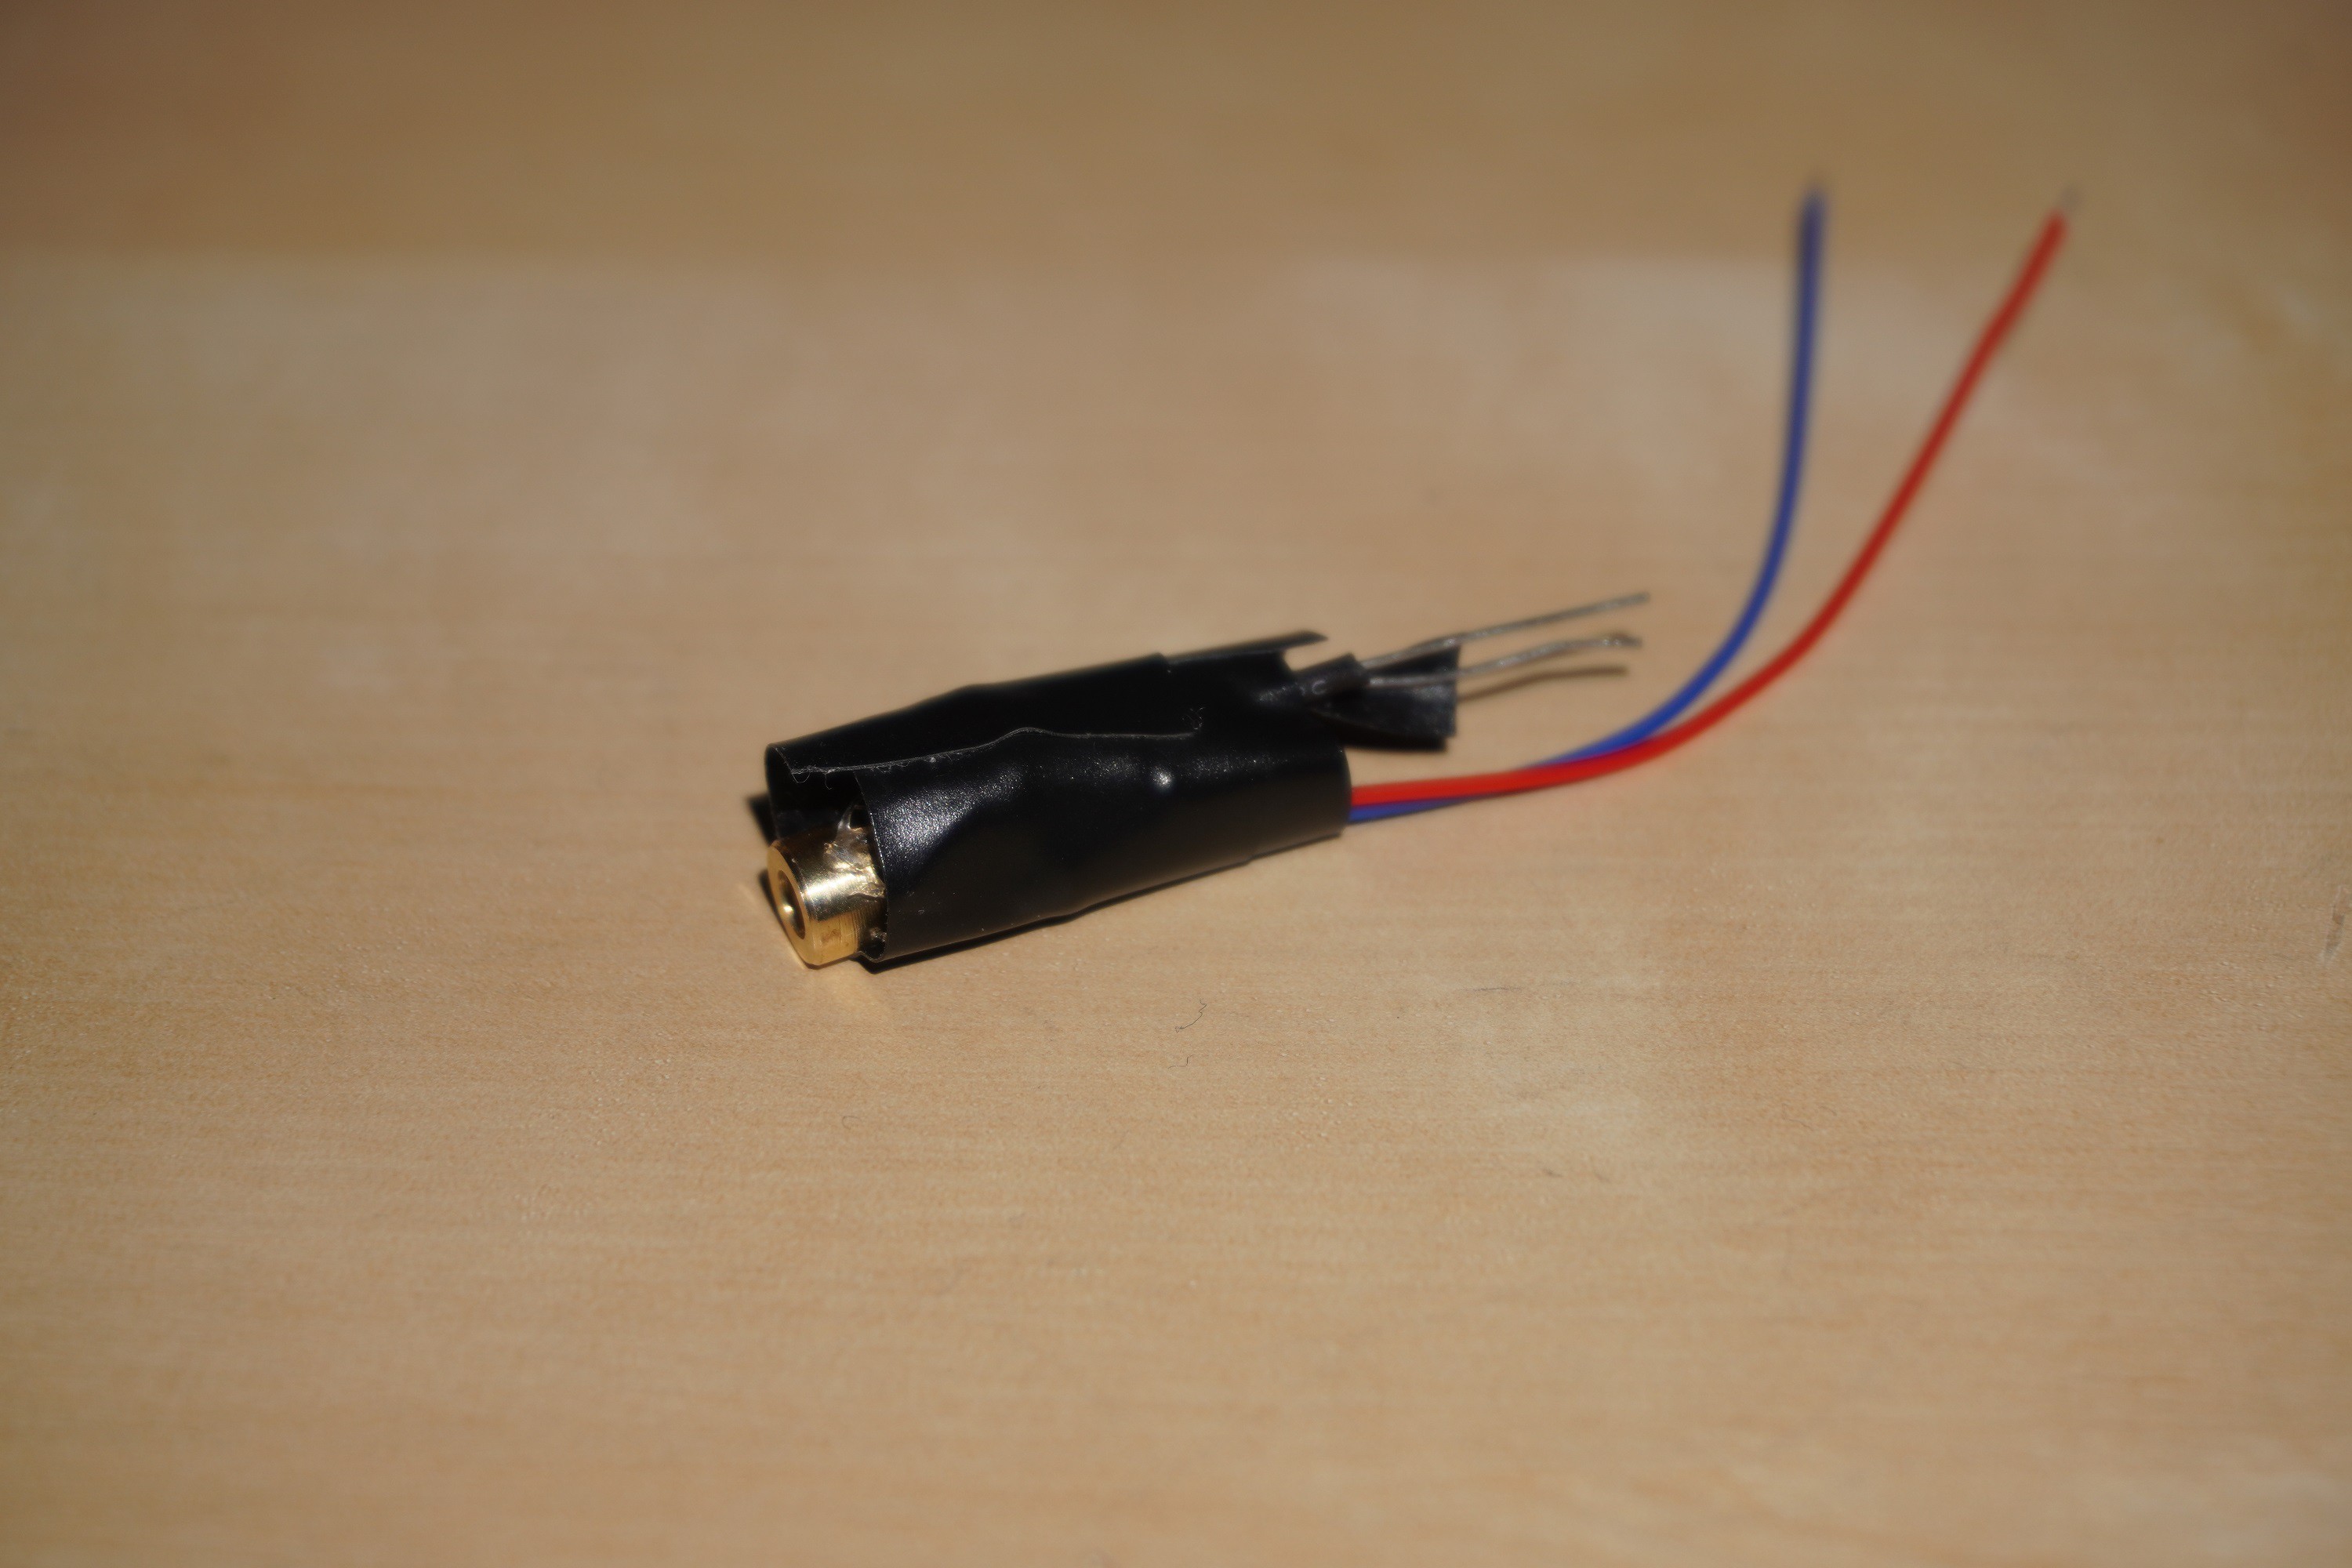
Inspired by this video from Ben Krasnow on the Applied Science YouTube channel, I've decided to build my own laser interferometer on a budget and see what can be done with it. My first prototype with a photoresistor provided some results, but they weren't very good due to the low bandwidth of the sensor. The second version that uses a phototransistor gives results almost identical to those in the original video. My plans for applications of this device include measuring the universal gravitational constant, measuring vibrations and sound, and creating documentation and tools for others to replicate and expand on this project.
0%
0%
$1 Laser Interferometer
A self mixing laser interferometer made with inexpensive components
Become a Hackaday.io member
Already have an account? Log in.
Just one more thing
To make the experience fit your profile, pick a username and tell us what interests you.
Pick an awesome username
hackaday.io/
Your profile's URL: hackaday.io/username. Max 25 alphanumeric characters.
Pick a few interests
Projects that share your interests
People that share your interests
 Jonathan Kelly
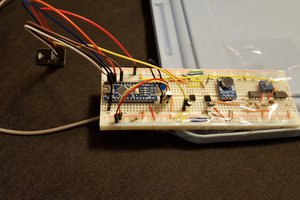
 Andrew Ferguson
 Federico Runco