 kristina panos
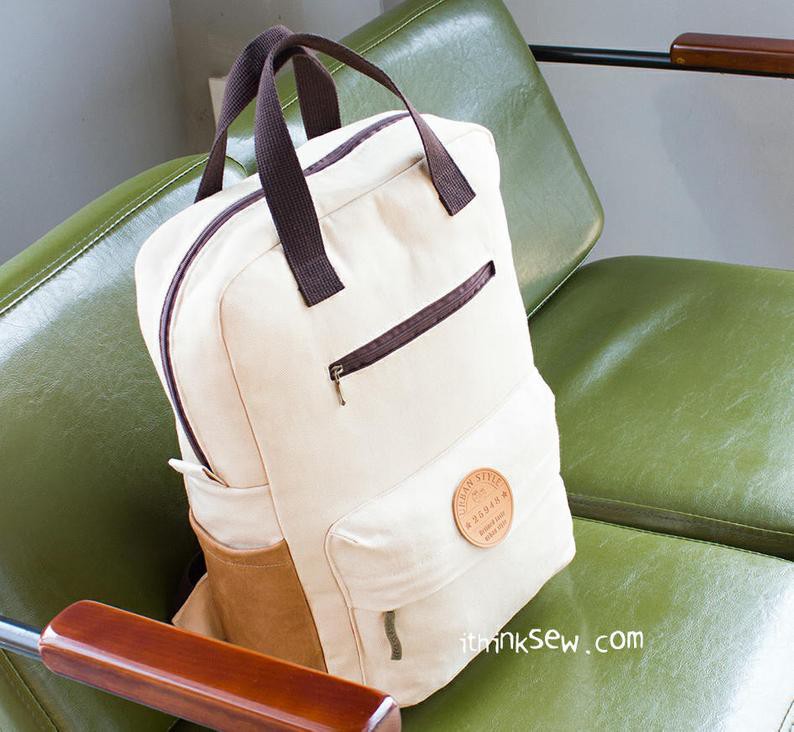
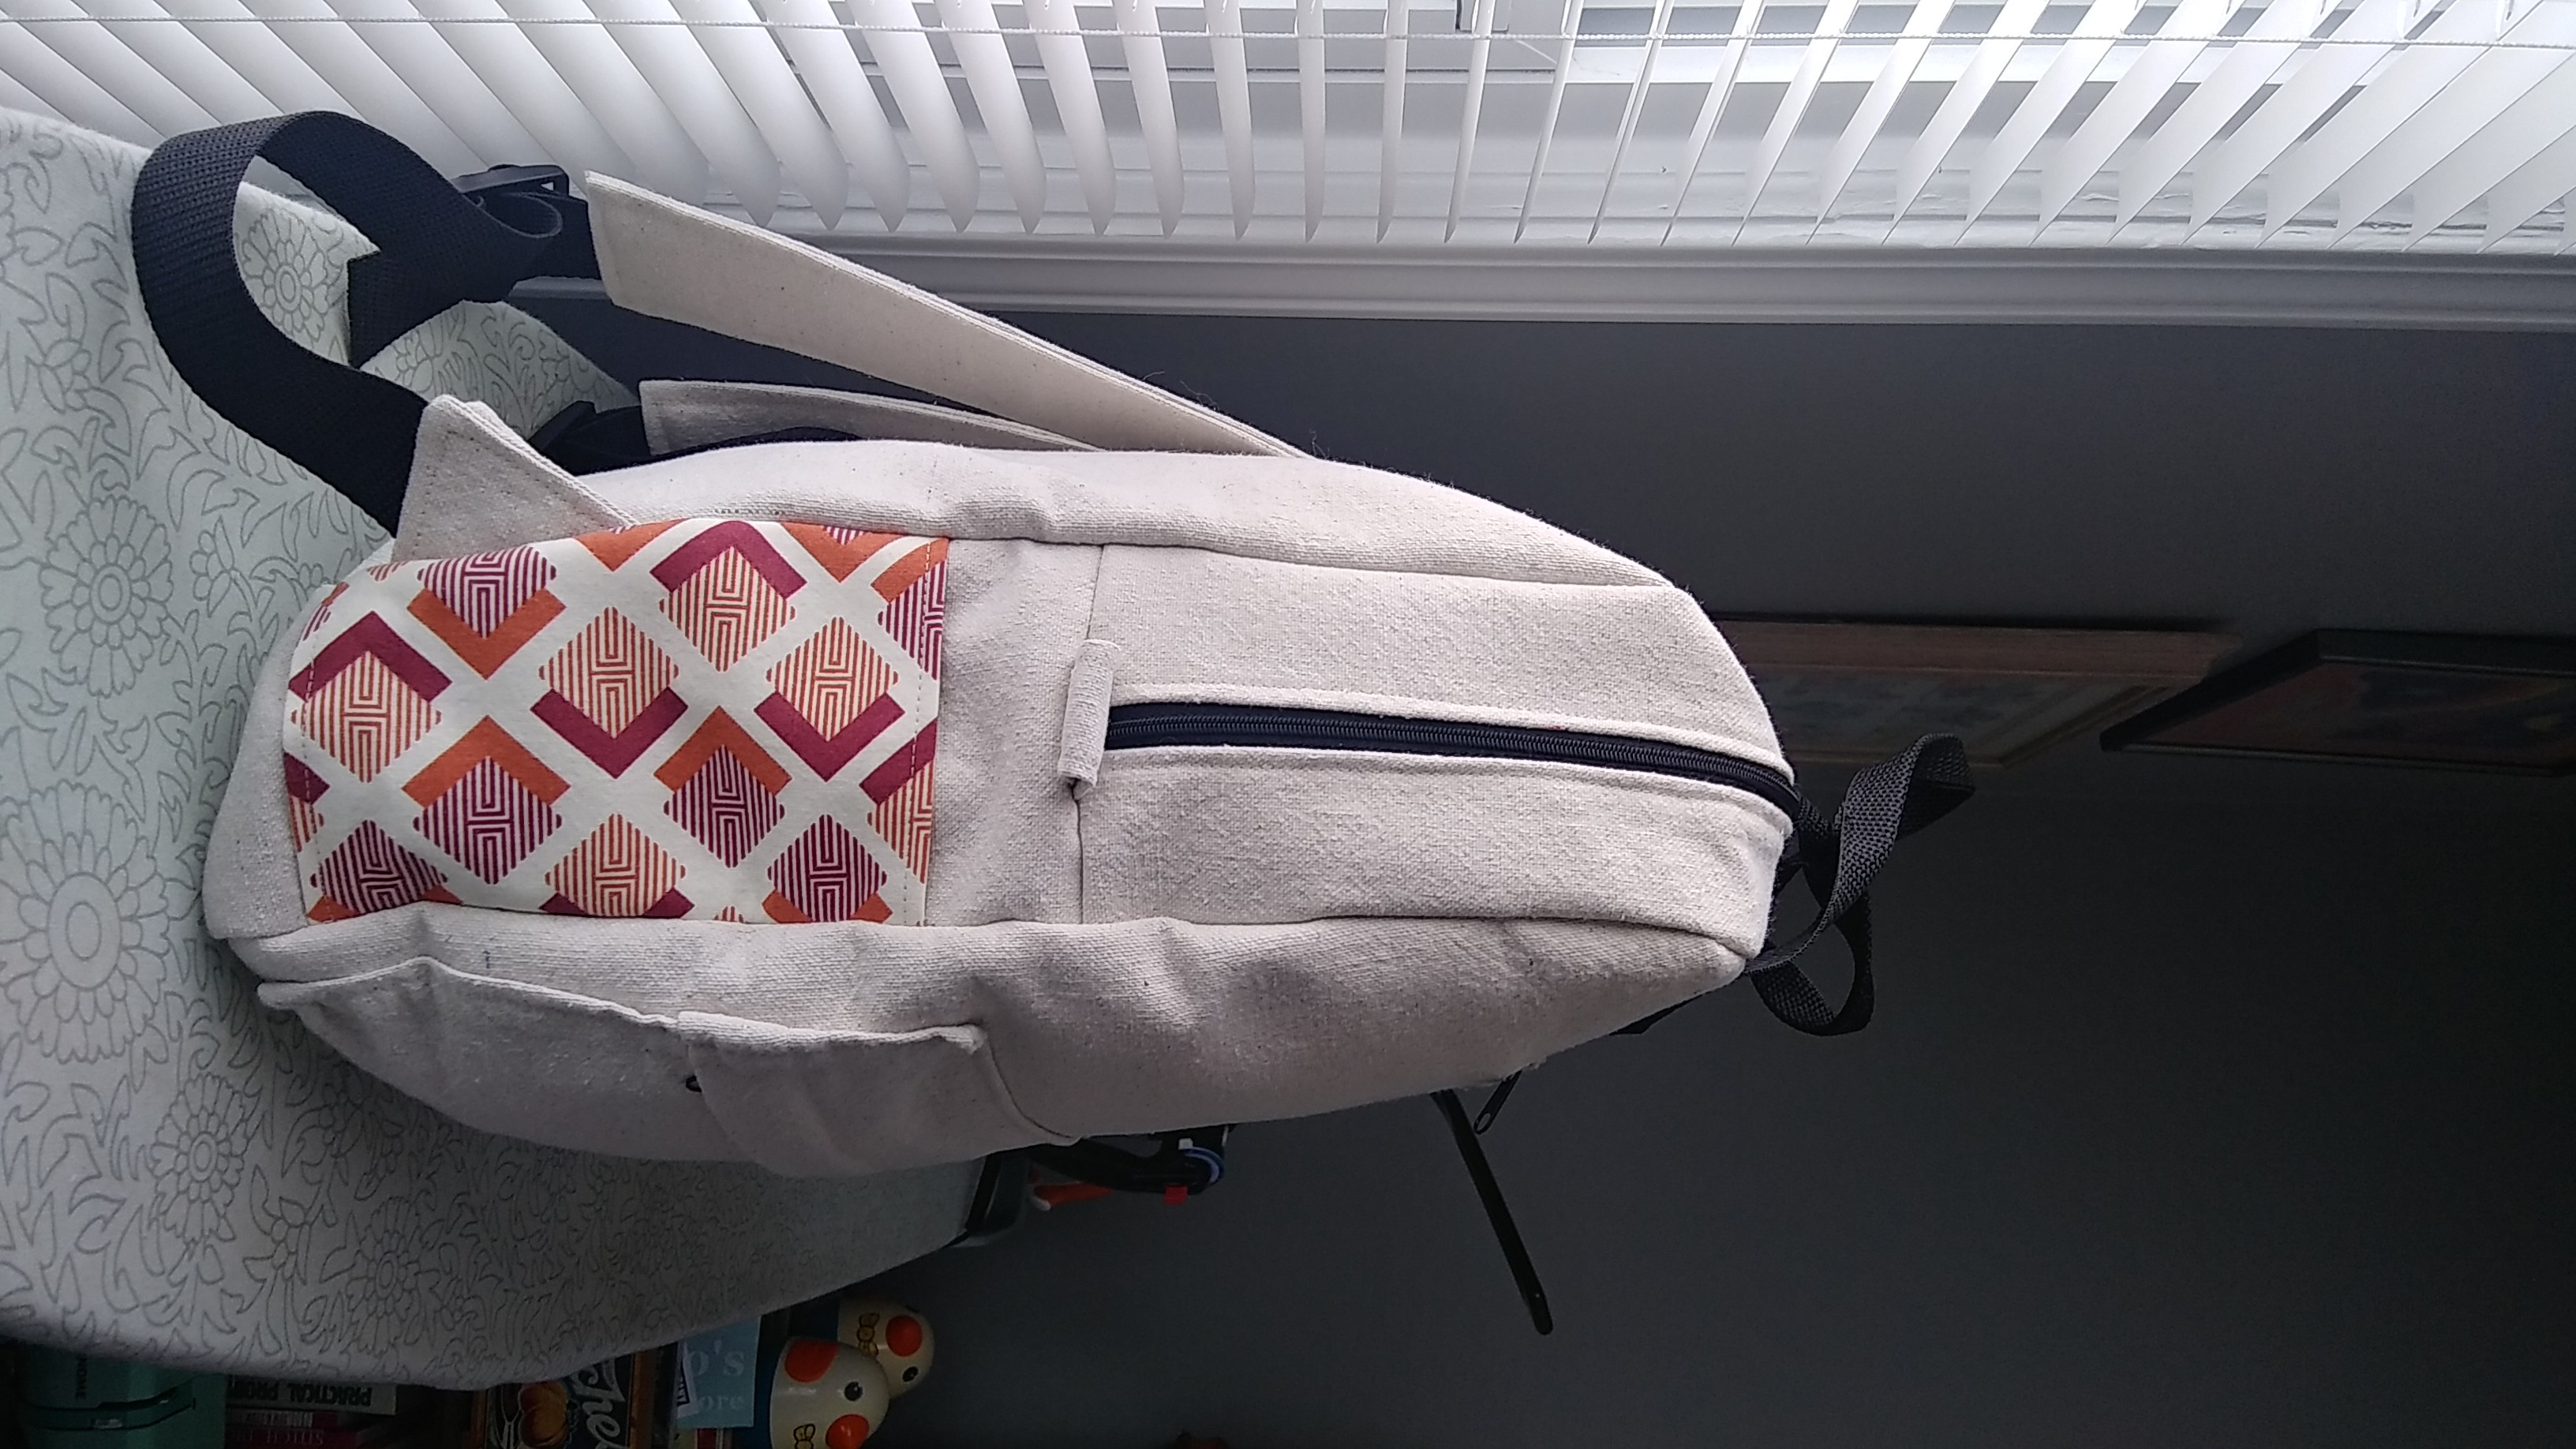
This is going to be a full-size adult backpack. According to the pattern, the finished dimensions are 11 1/2" wide by 16" tall by 4" deep. Here's a picture from the seller's etsy page:
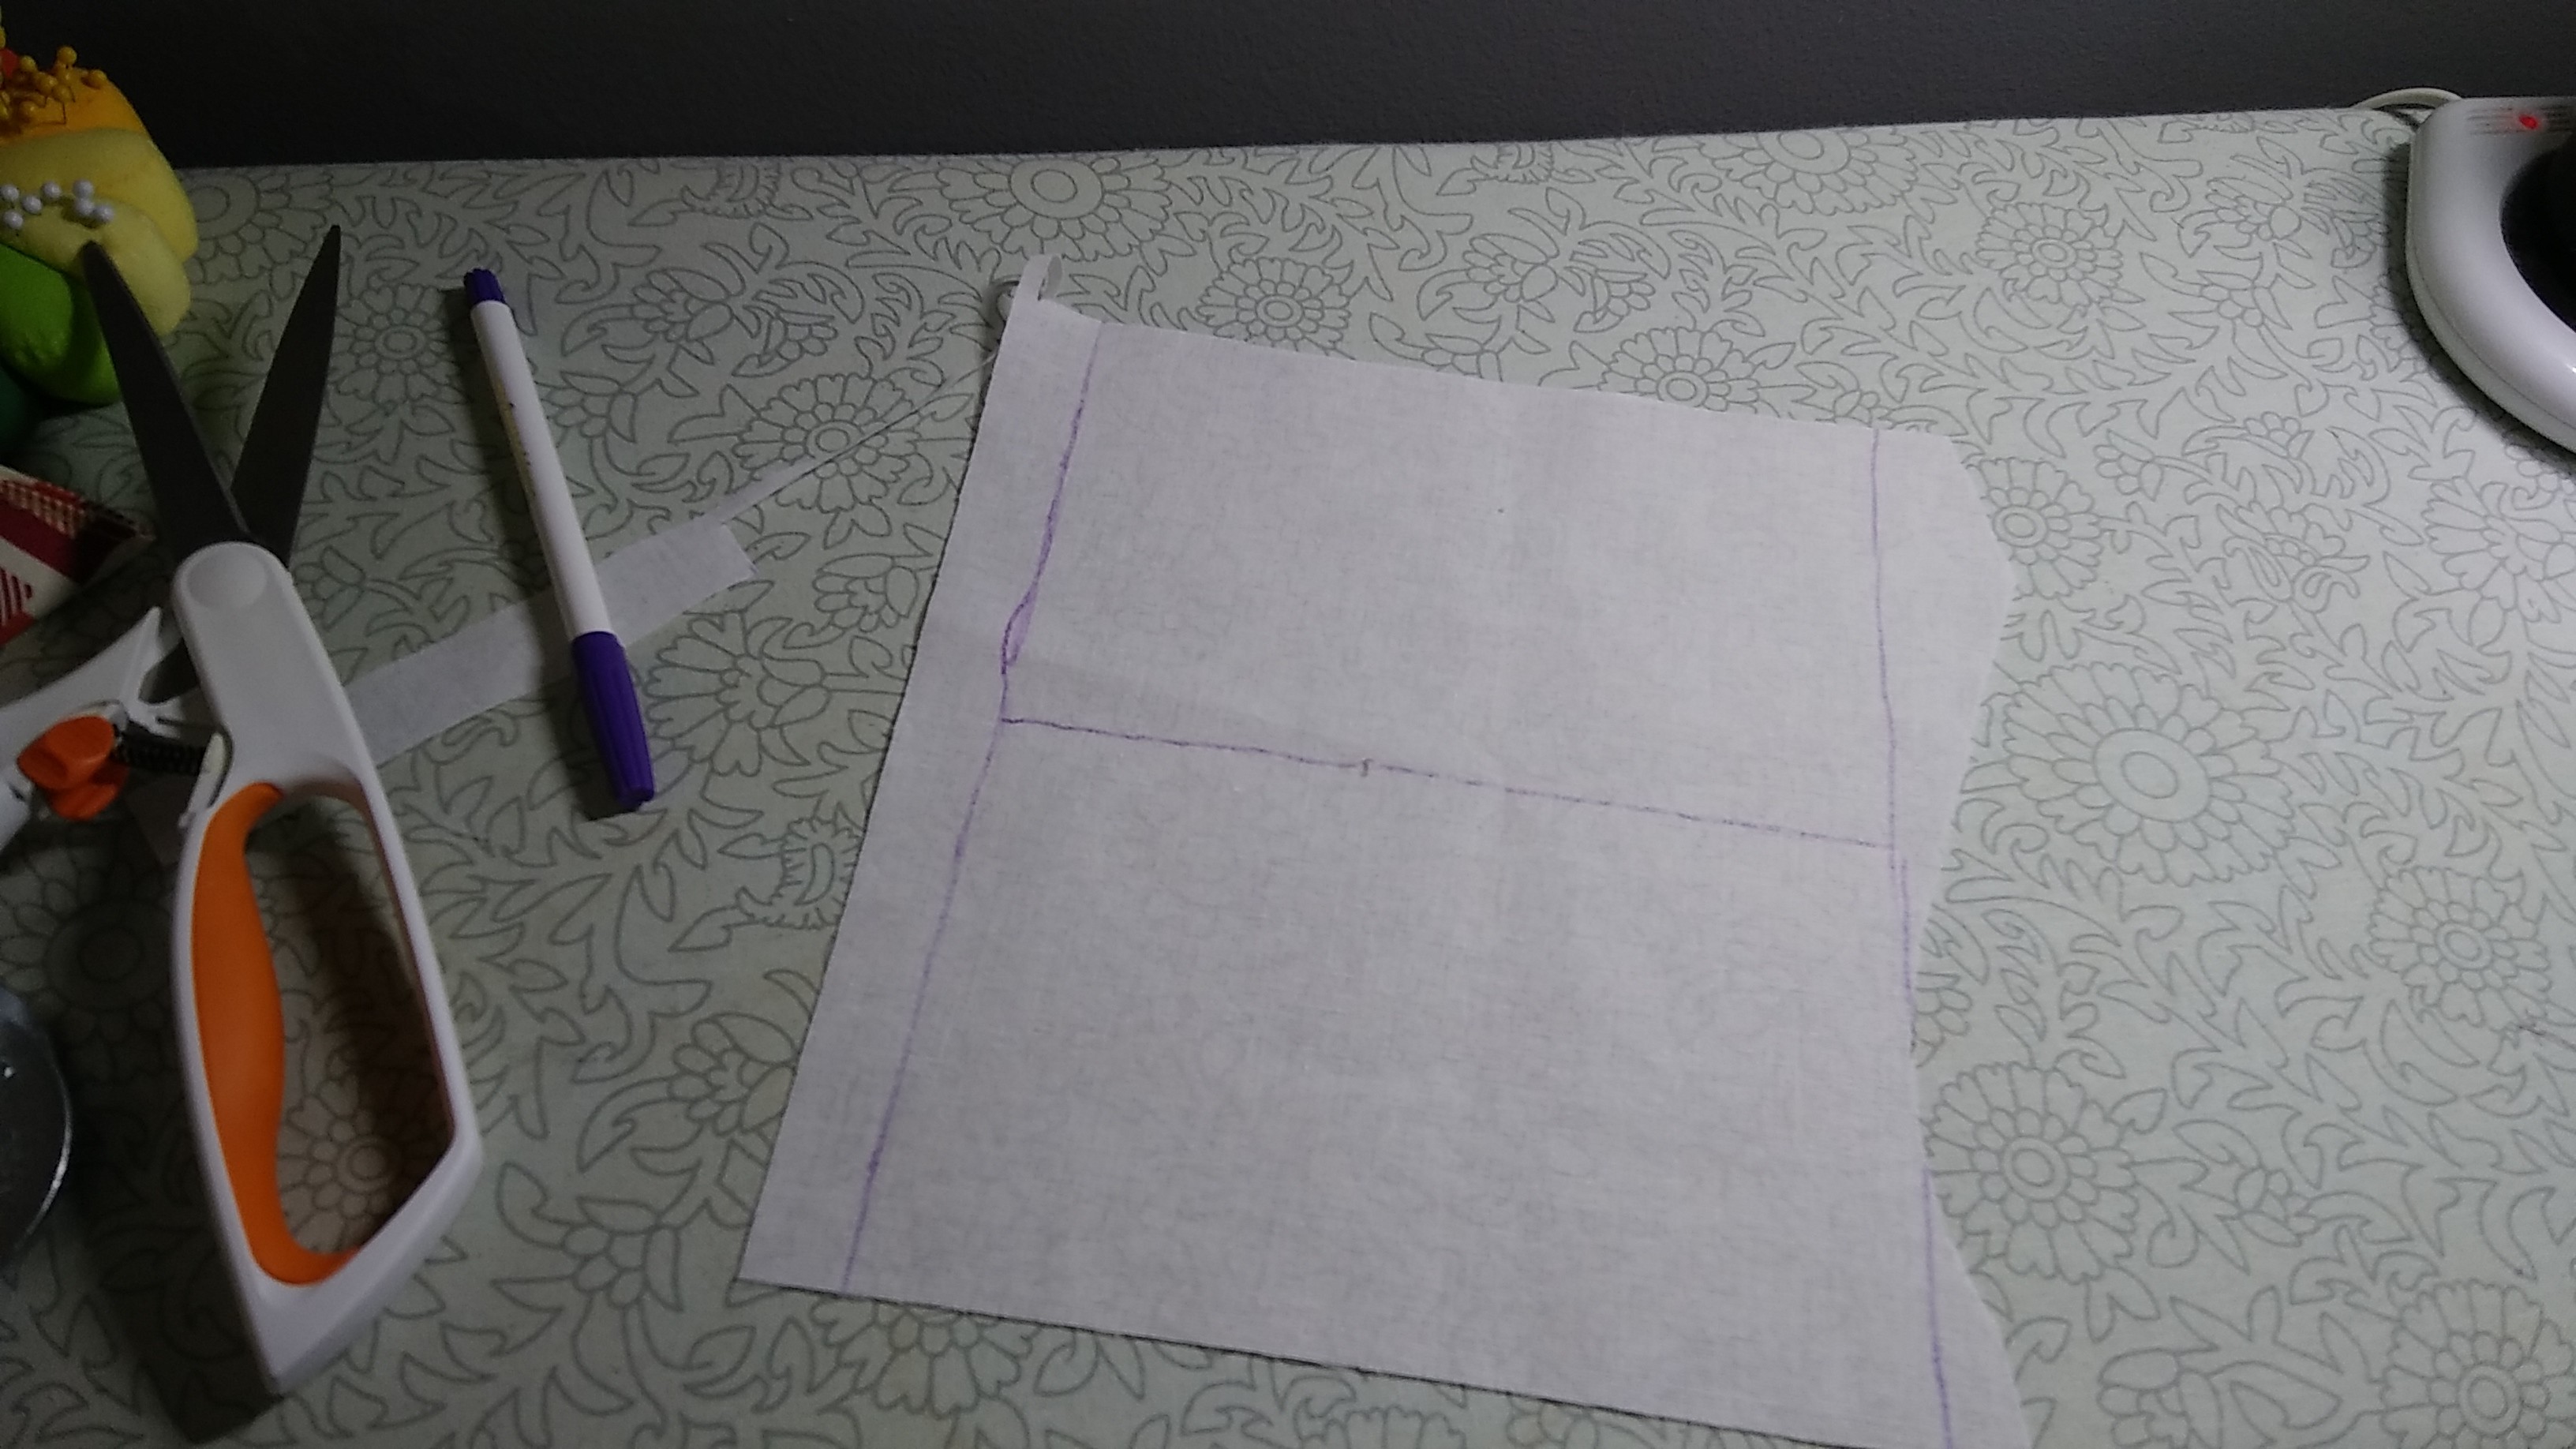
in dressmaking this is called making a muslin
Already have an account? Log in.
To make the experience fit your profile, pick a username and tell us what interests you.
This is going to be a full-size adult backpack. According to the pattern, the finished dimensions are 11 1/2" wide by 16" tall by 4" deep. Here's a picture from the seller's etsy page:
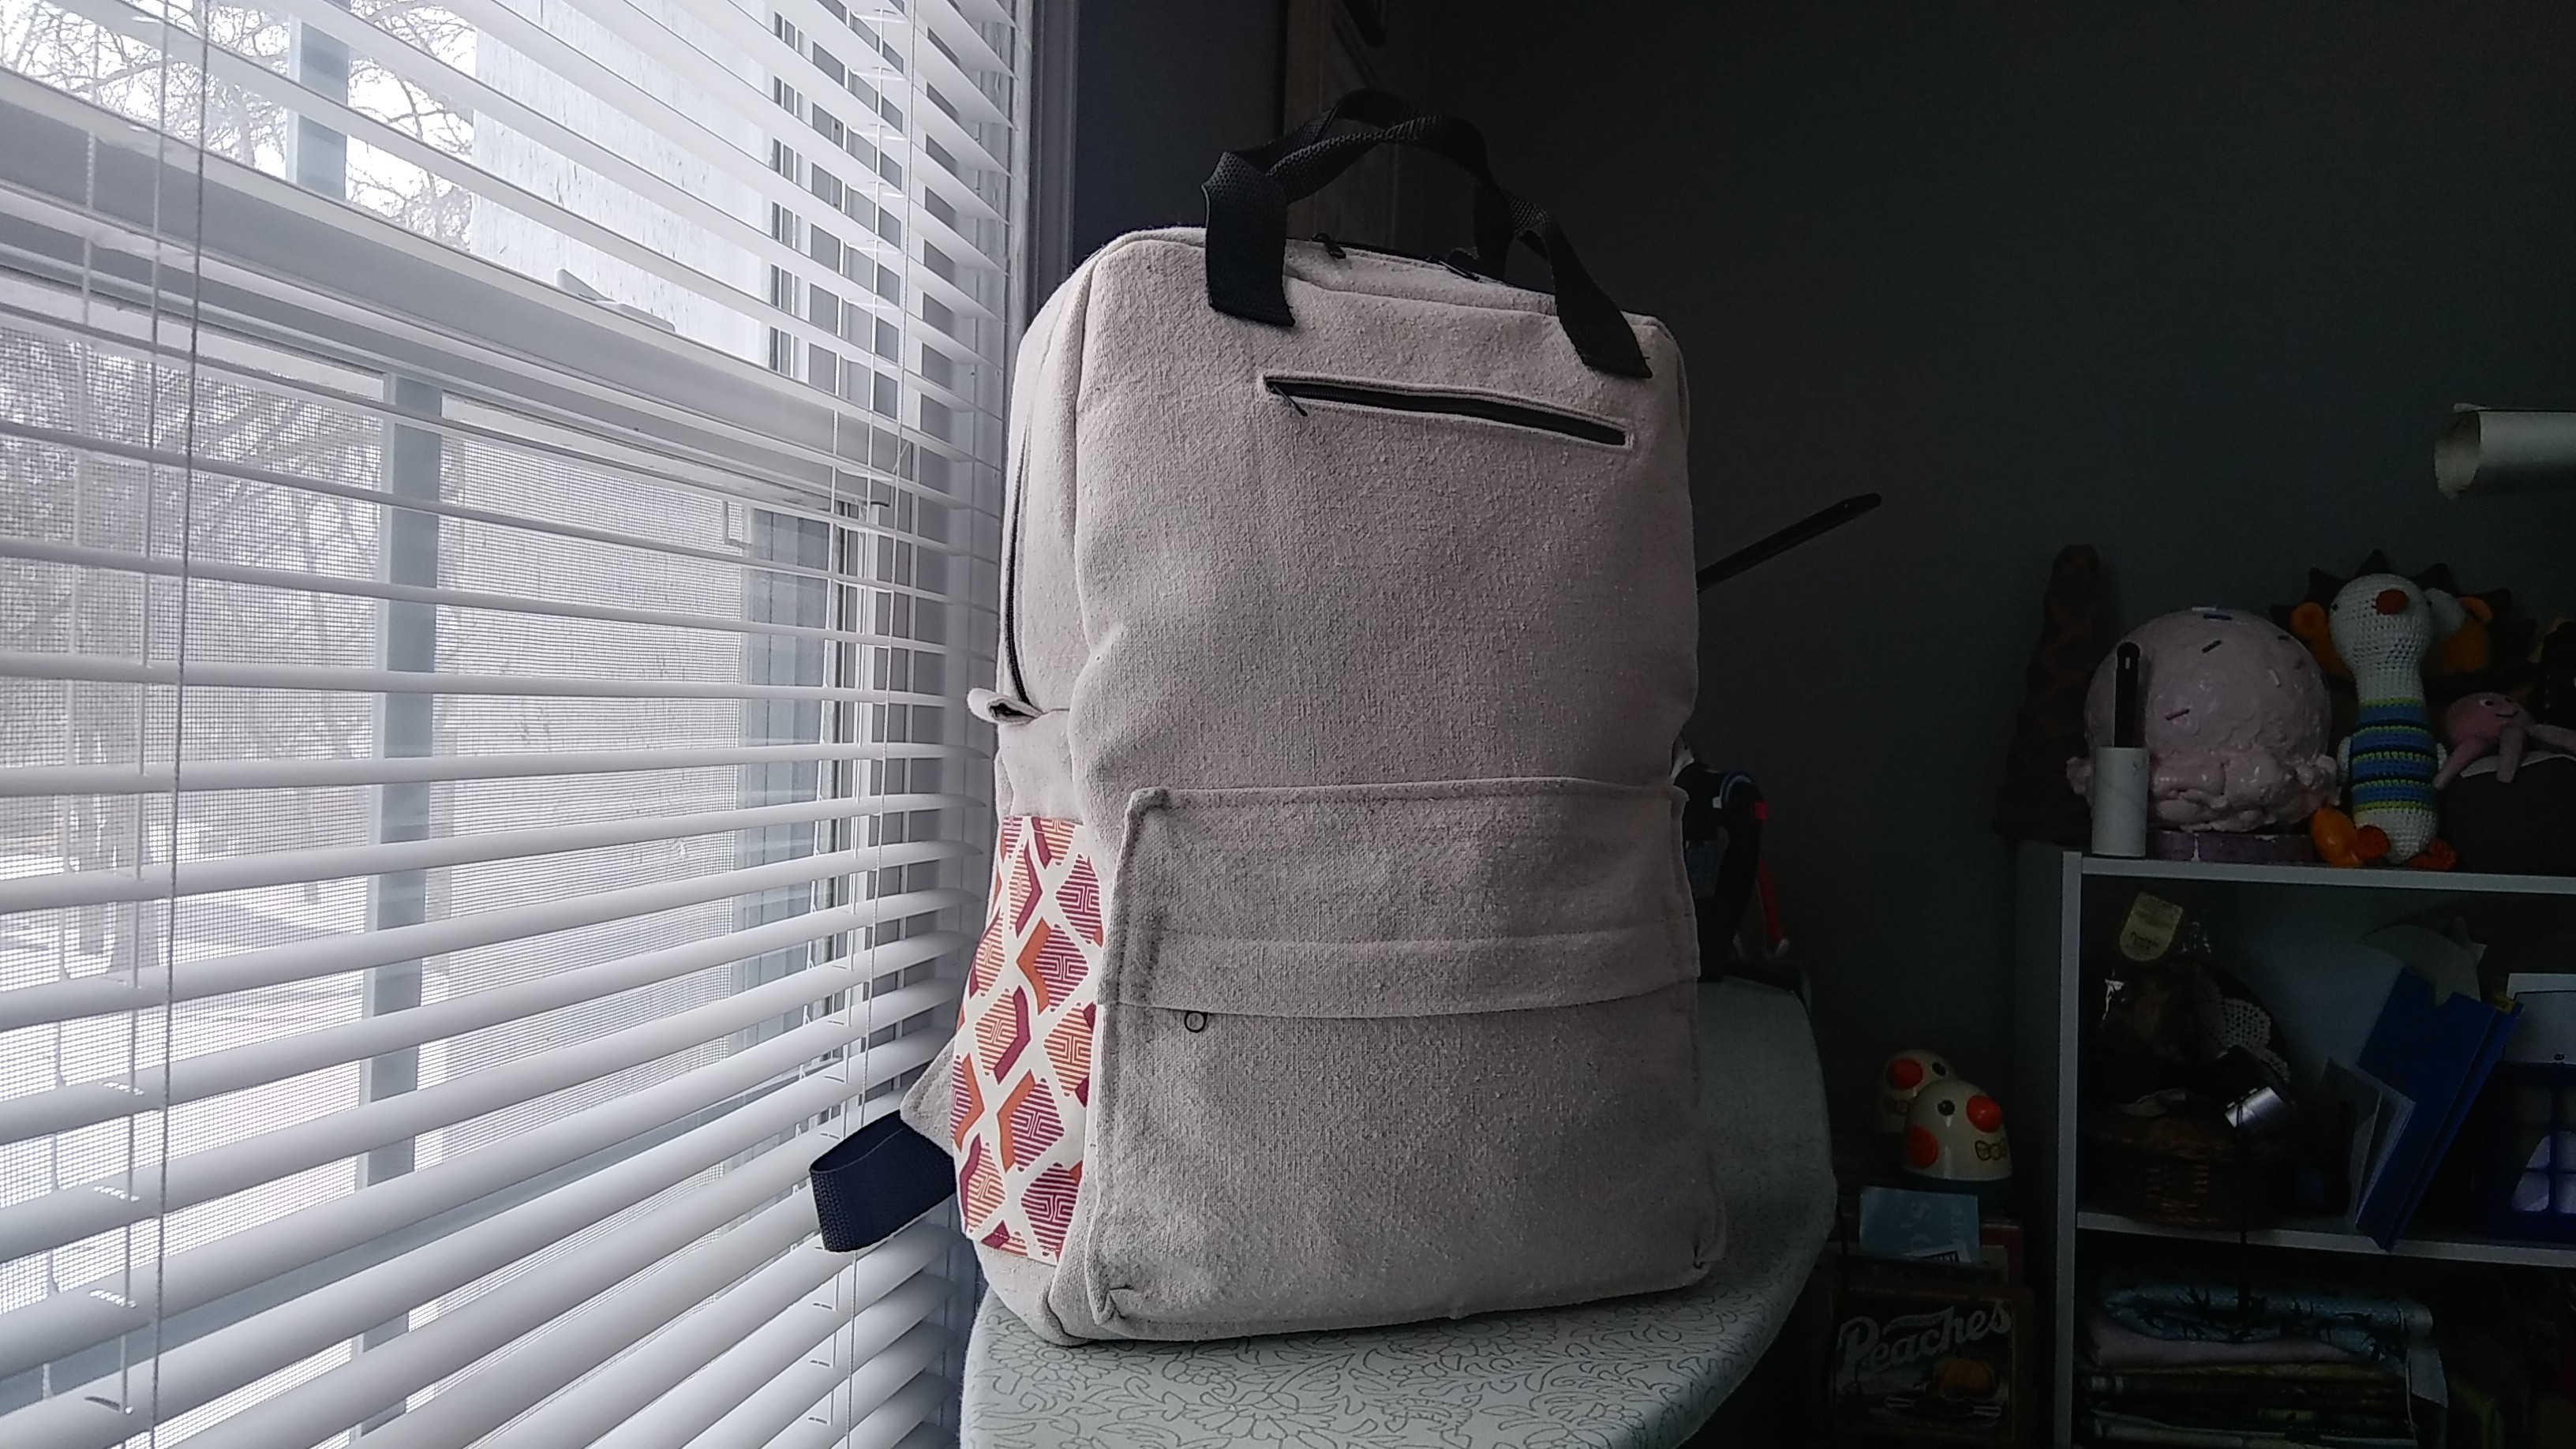
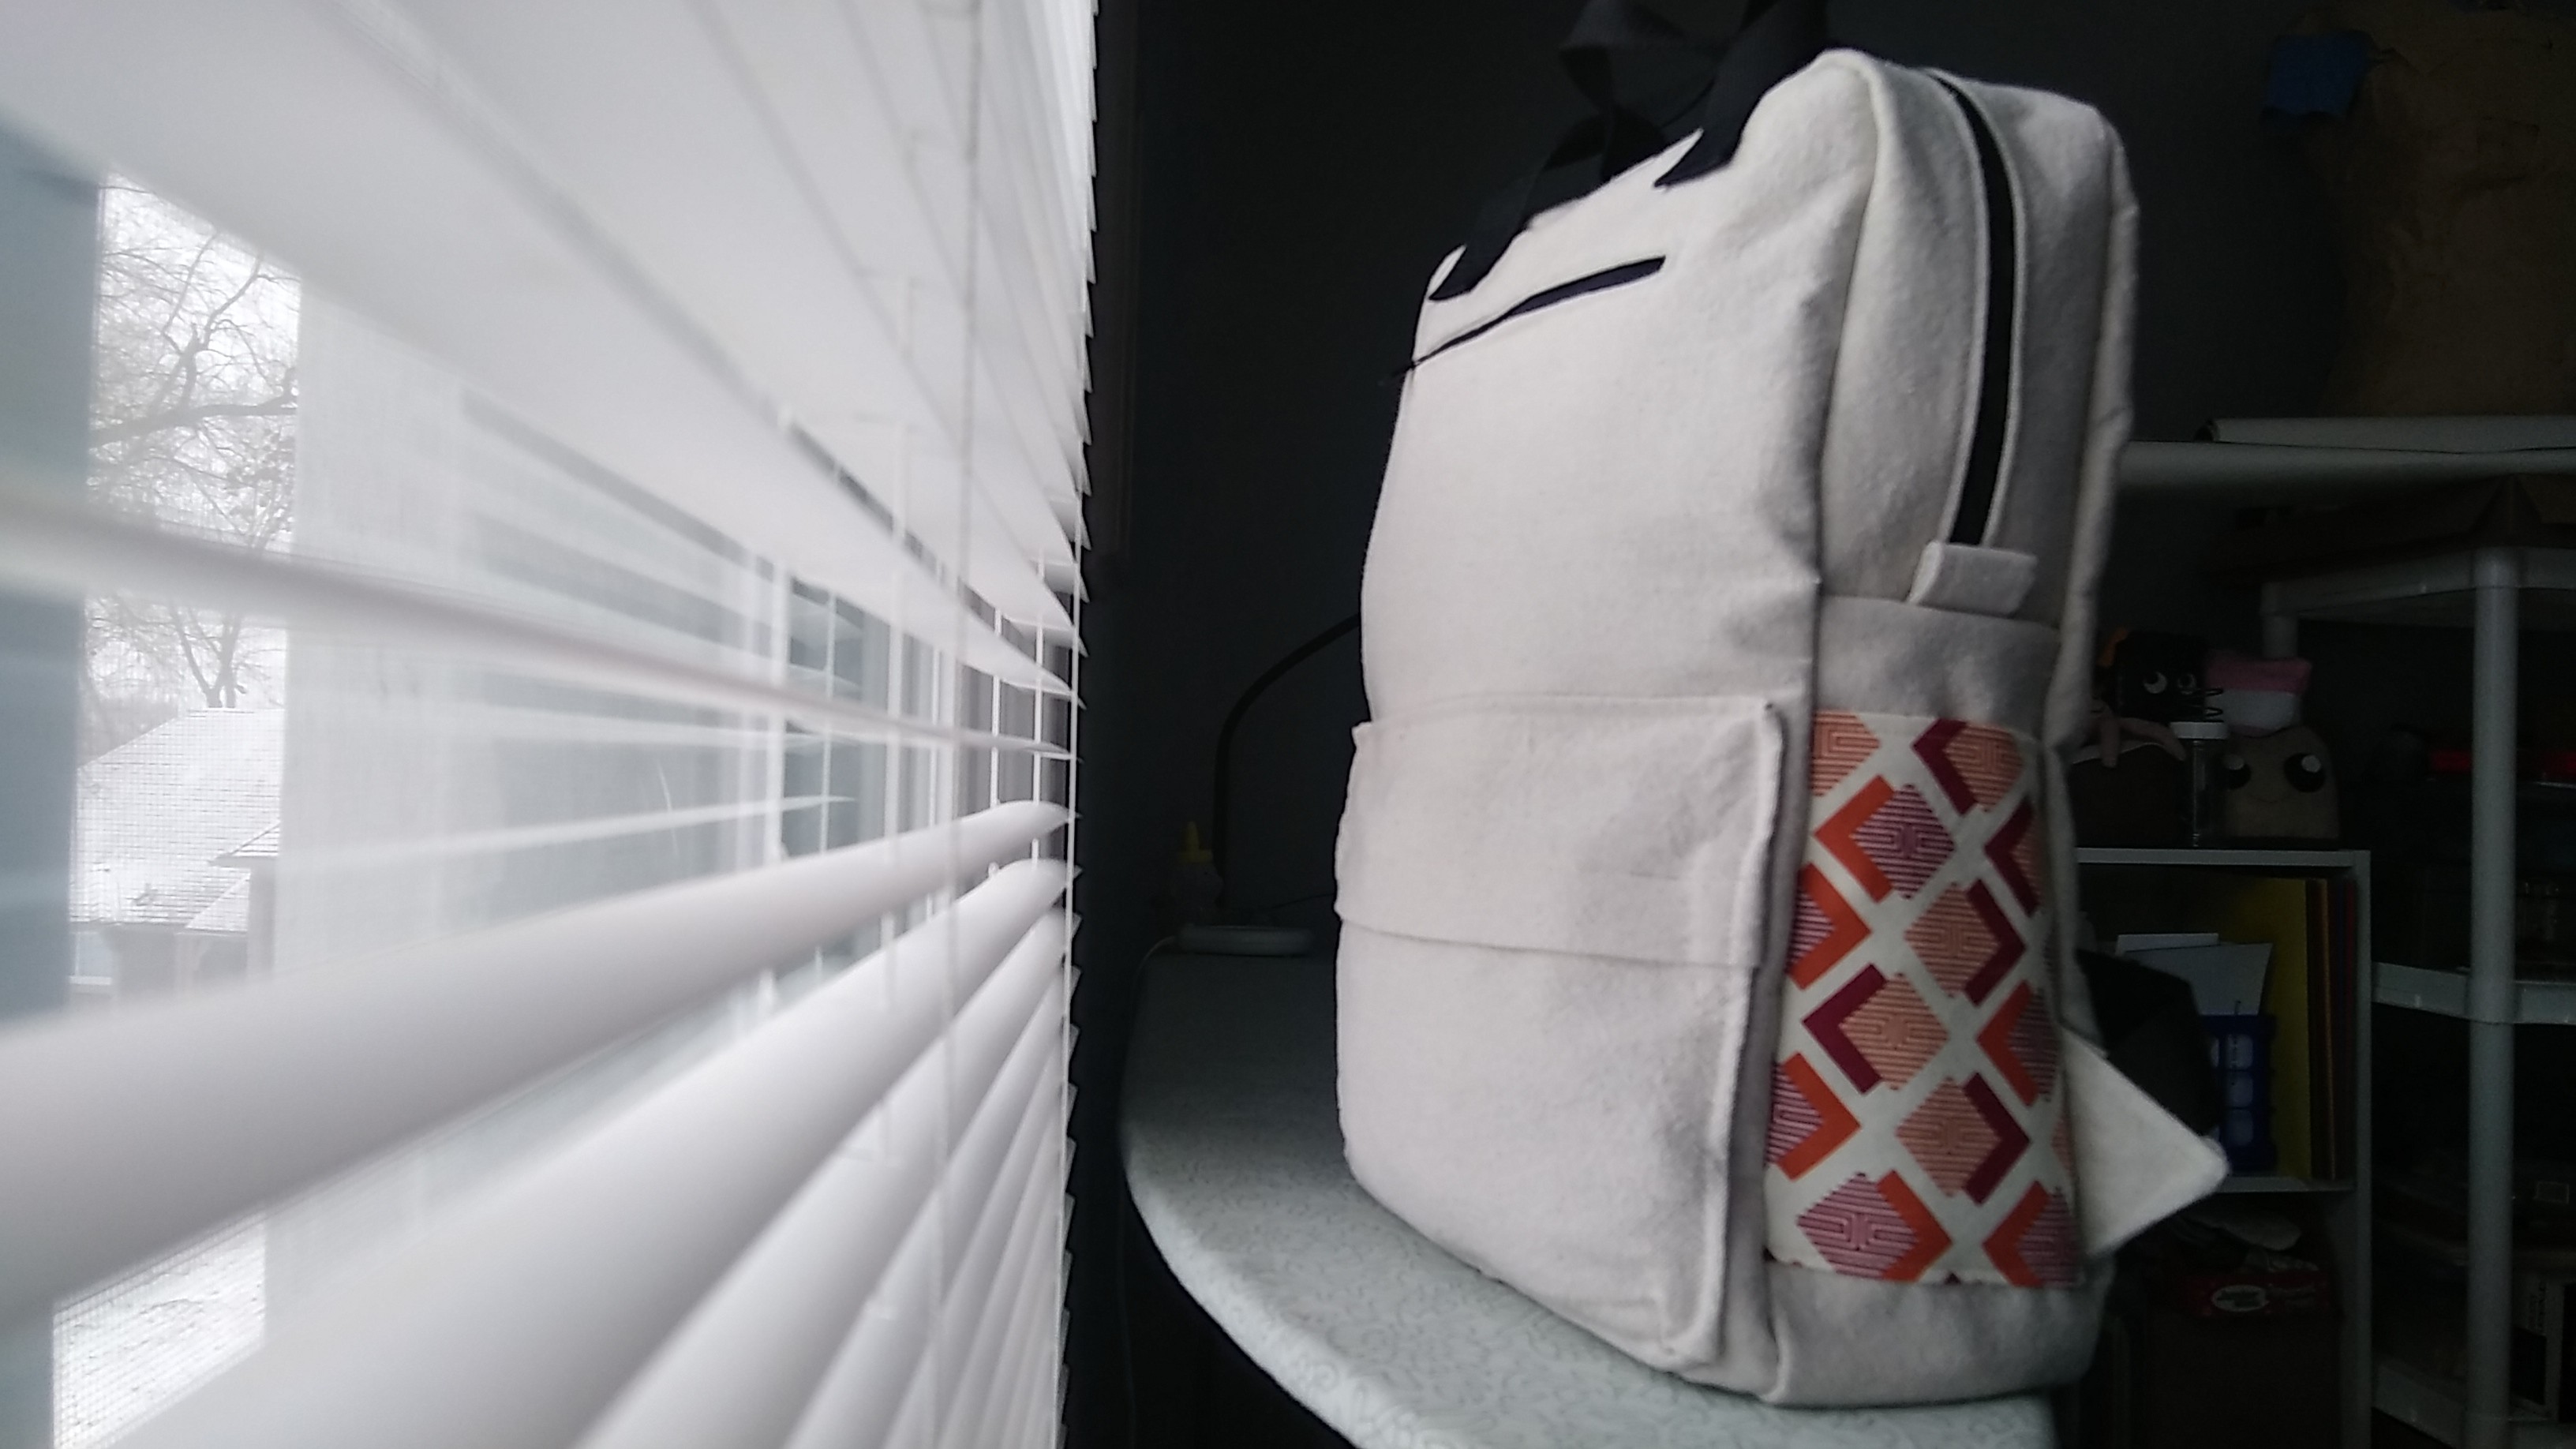
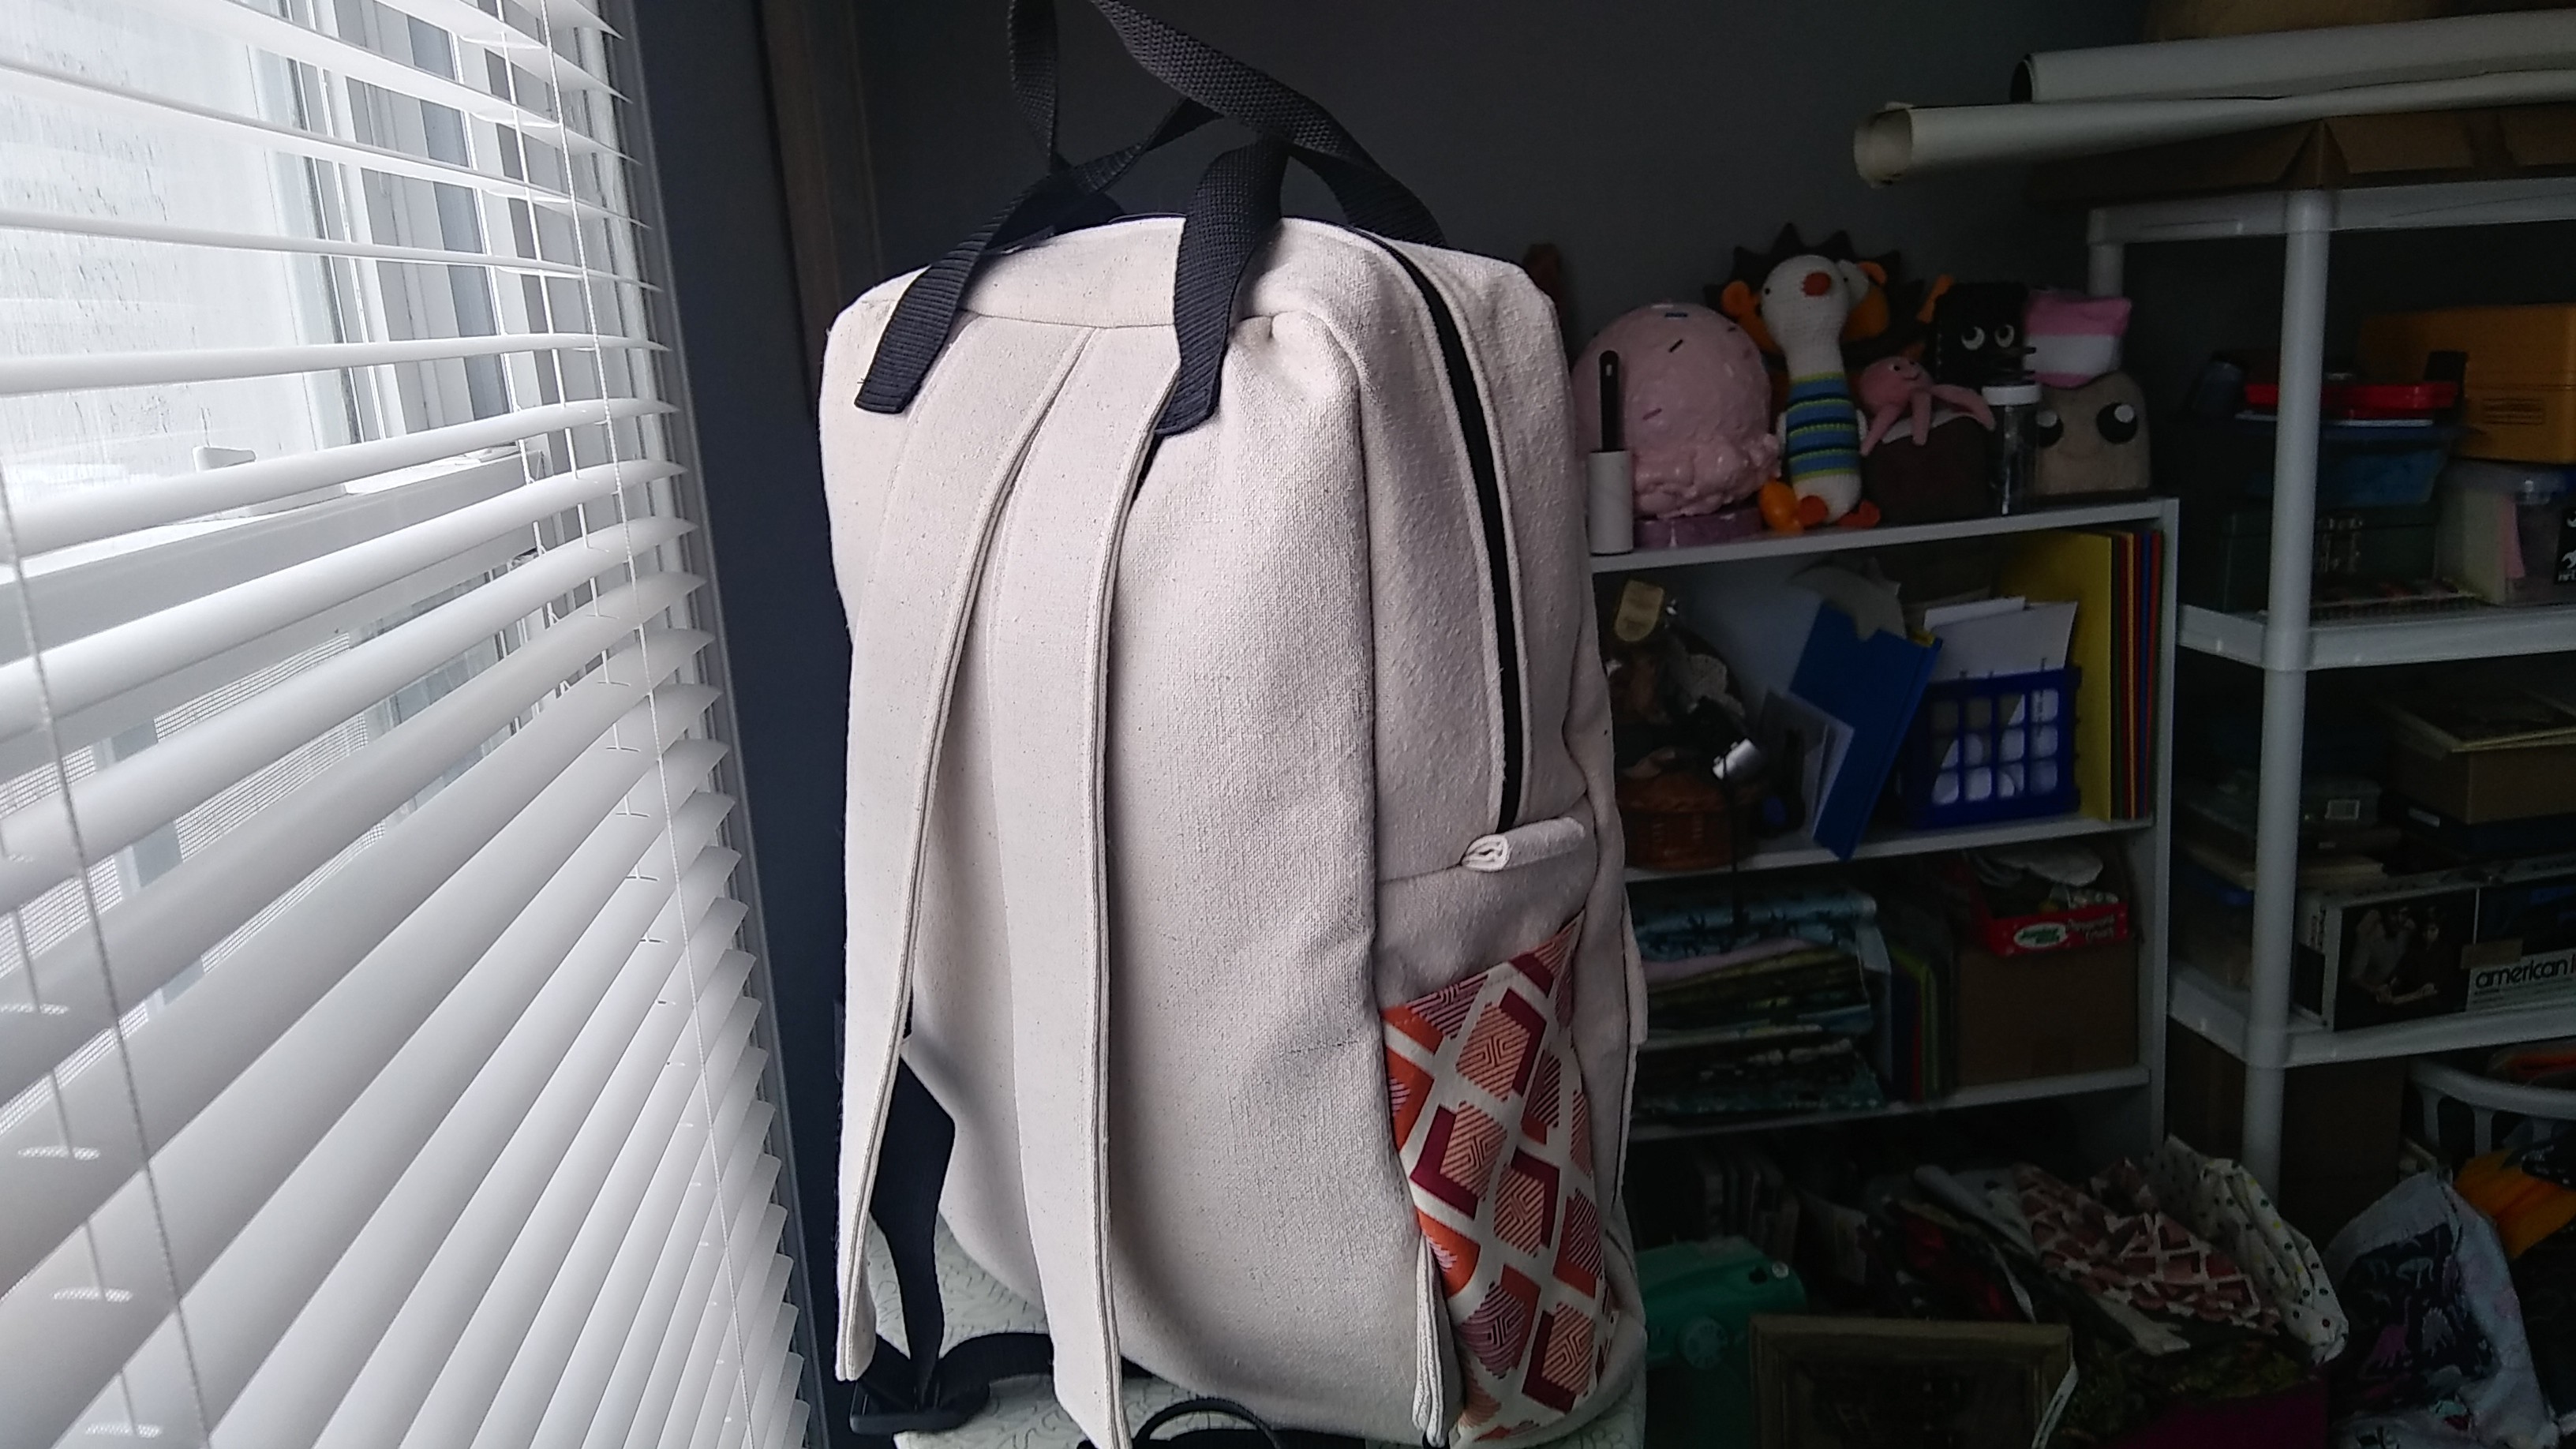
Here are some pictures of the finished backpack all stuffed with fabric scraps! Well, it's finished except for the bias binding on the inside to cover the raw seams. I haven't decided if I want to make my own or try to find some in a coordinating color.
But only because I have nothing to work on now. I really should start more than one bag at a time so I don't have this problem!
Updates with pictures of the finished product are coming soon, as is a list of lessons learned while making this pattern, a list of new techniques learned, and a bunch of notes for the next time I make this pattern.
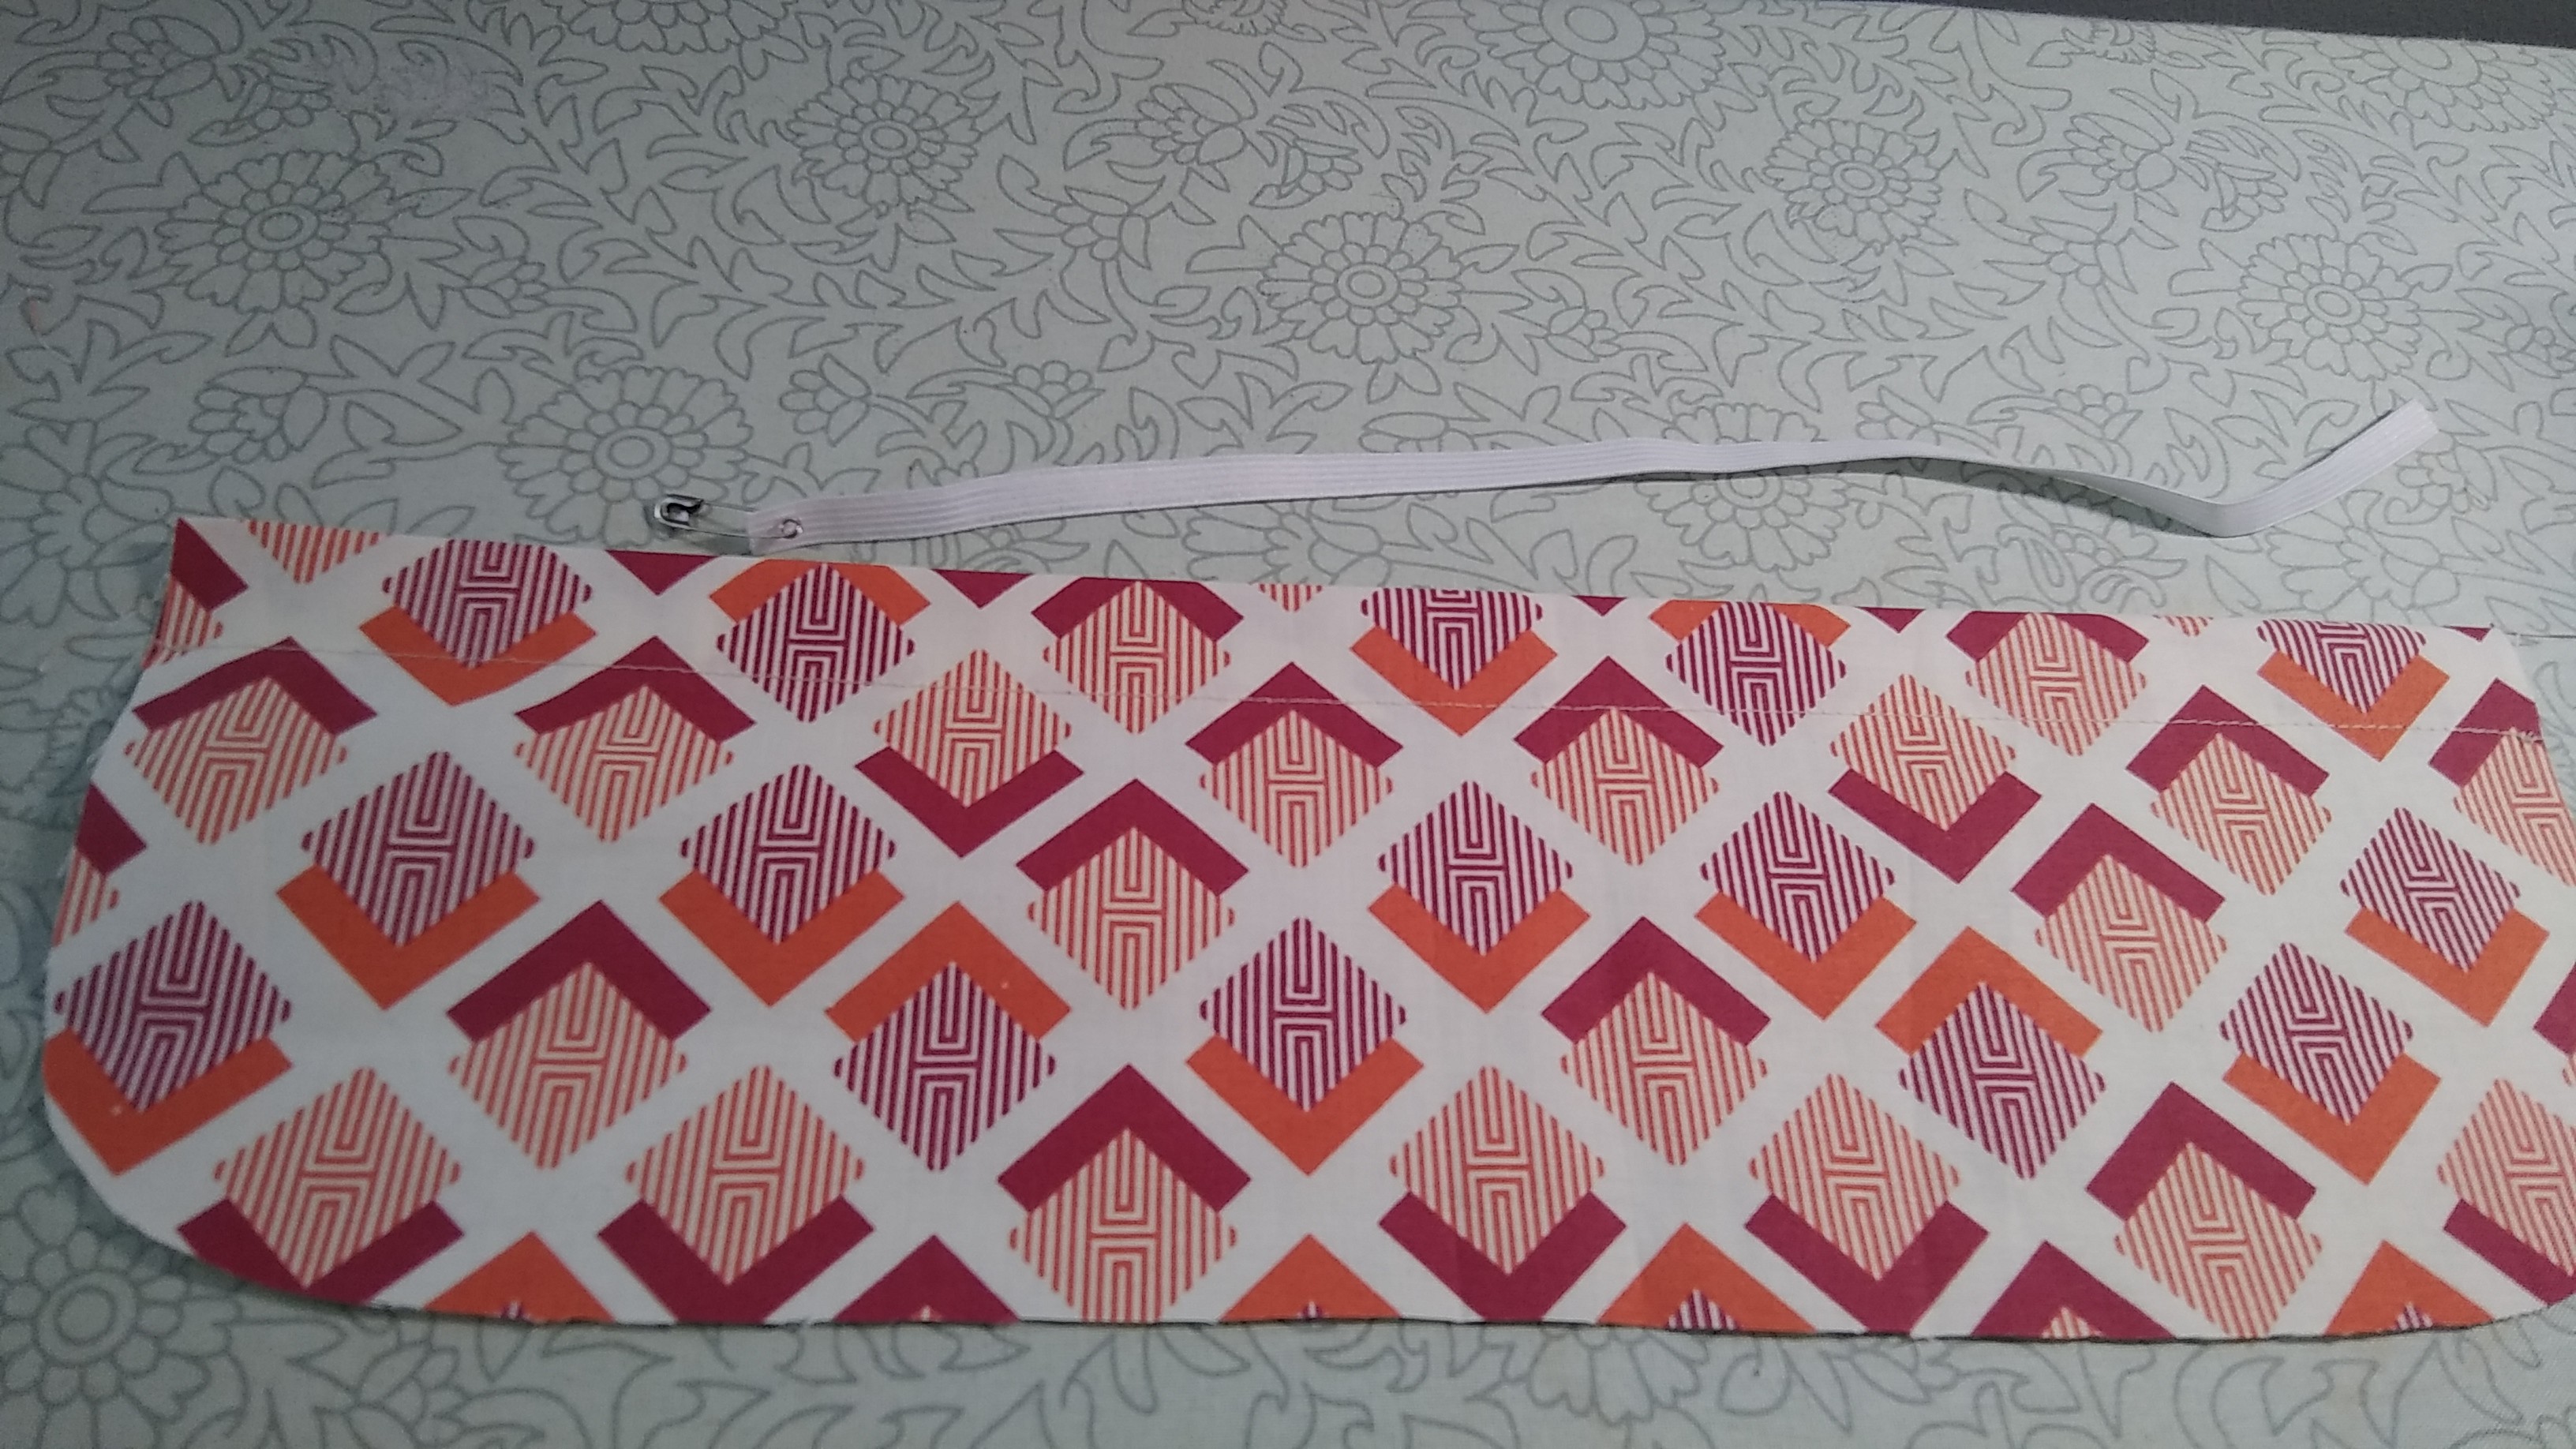
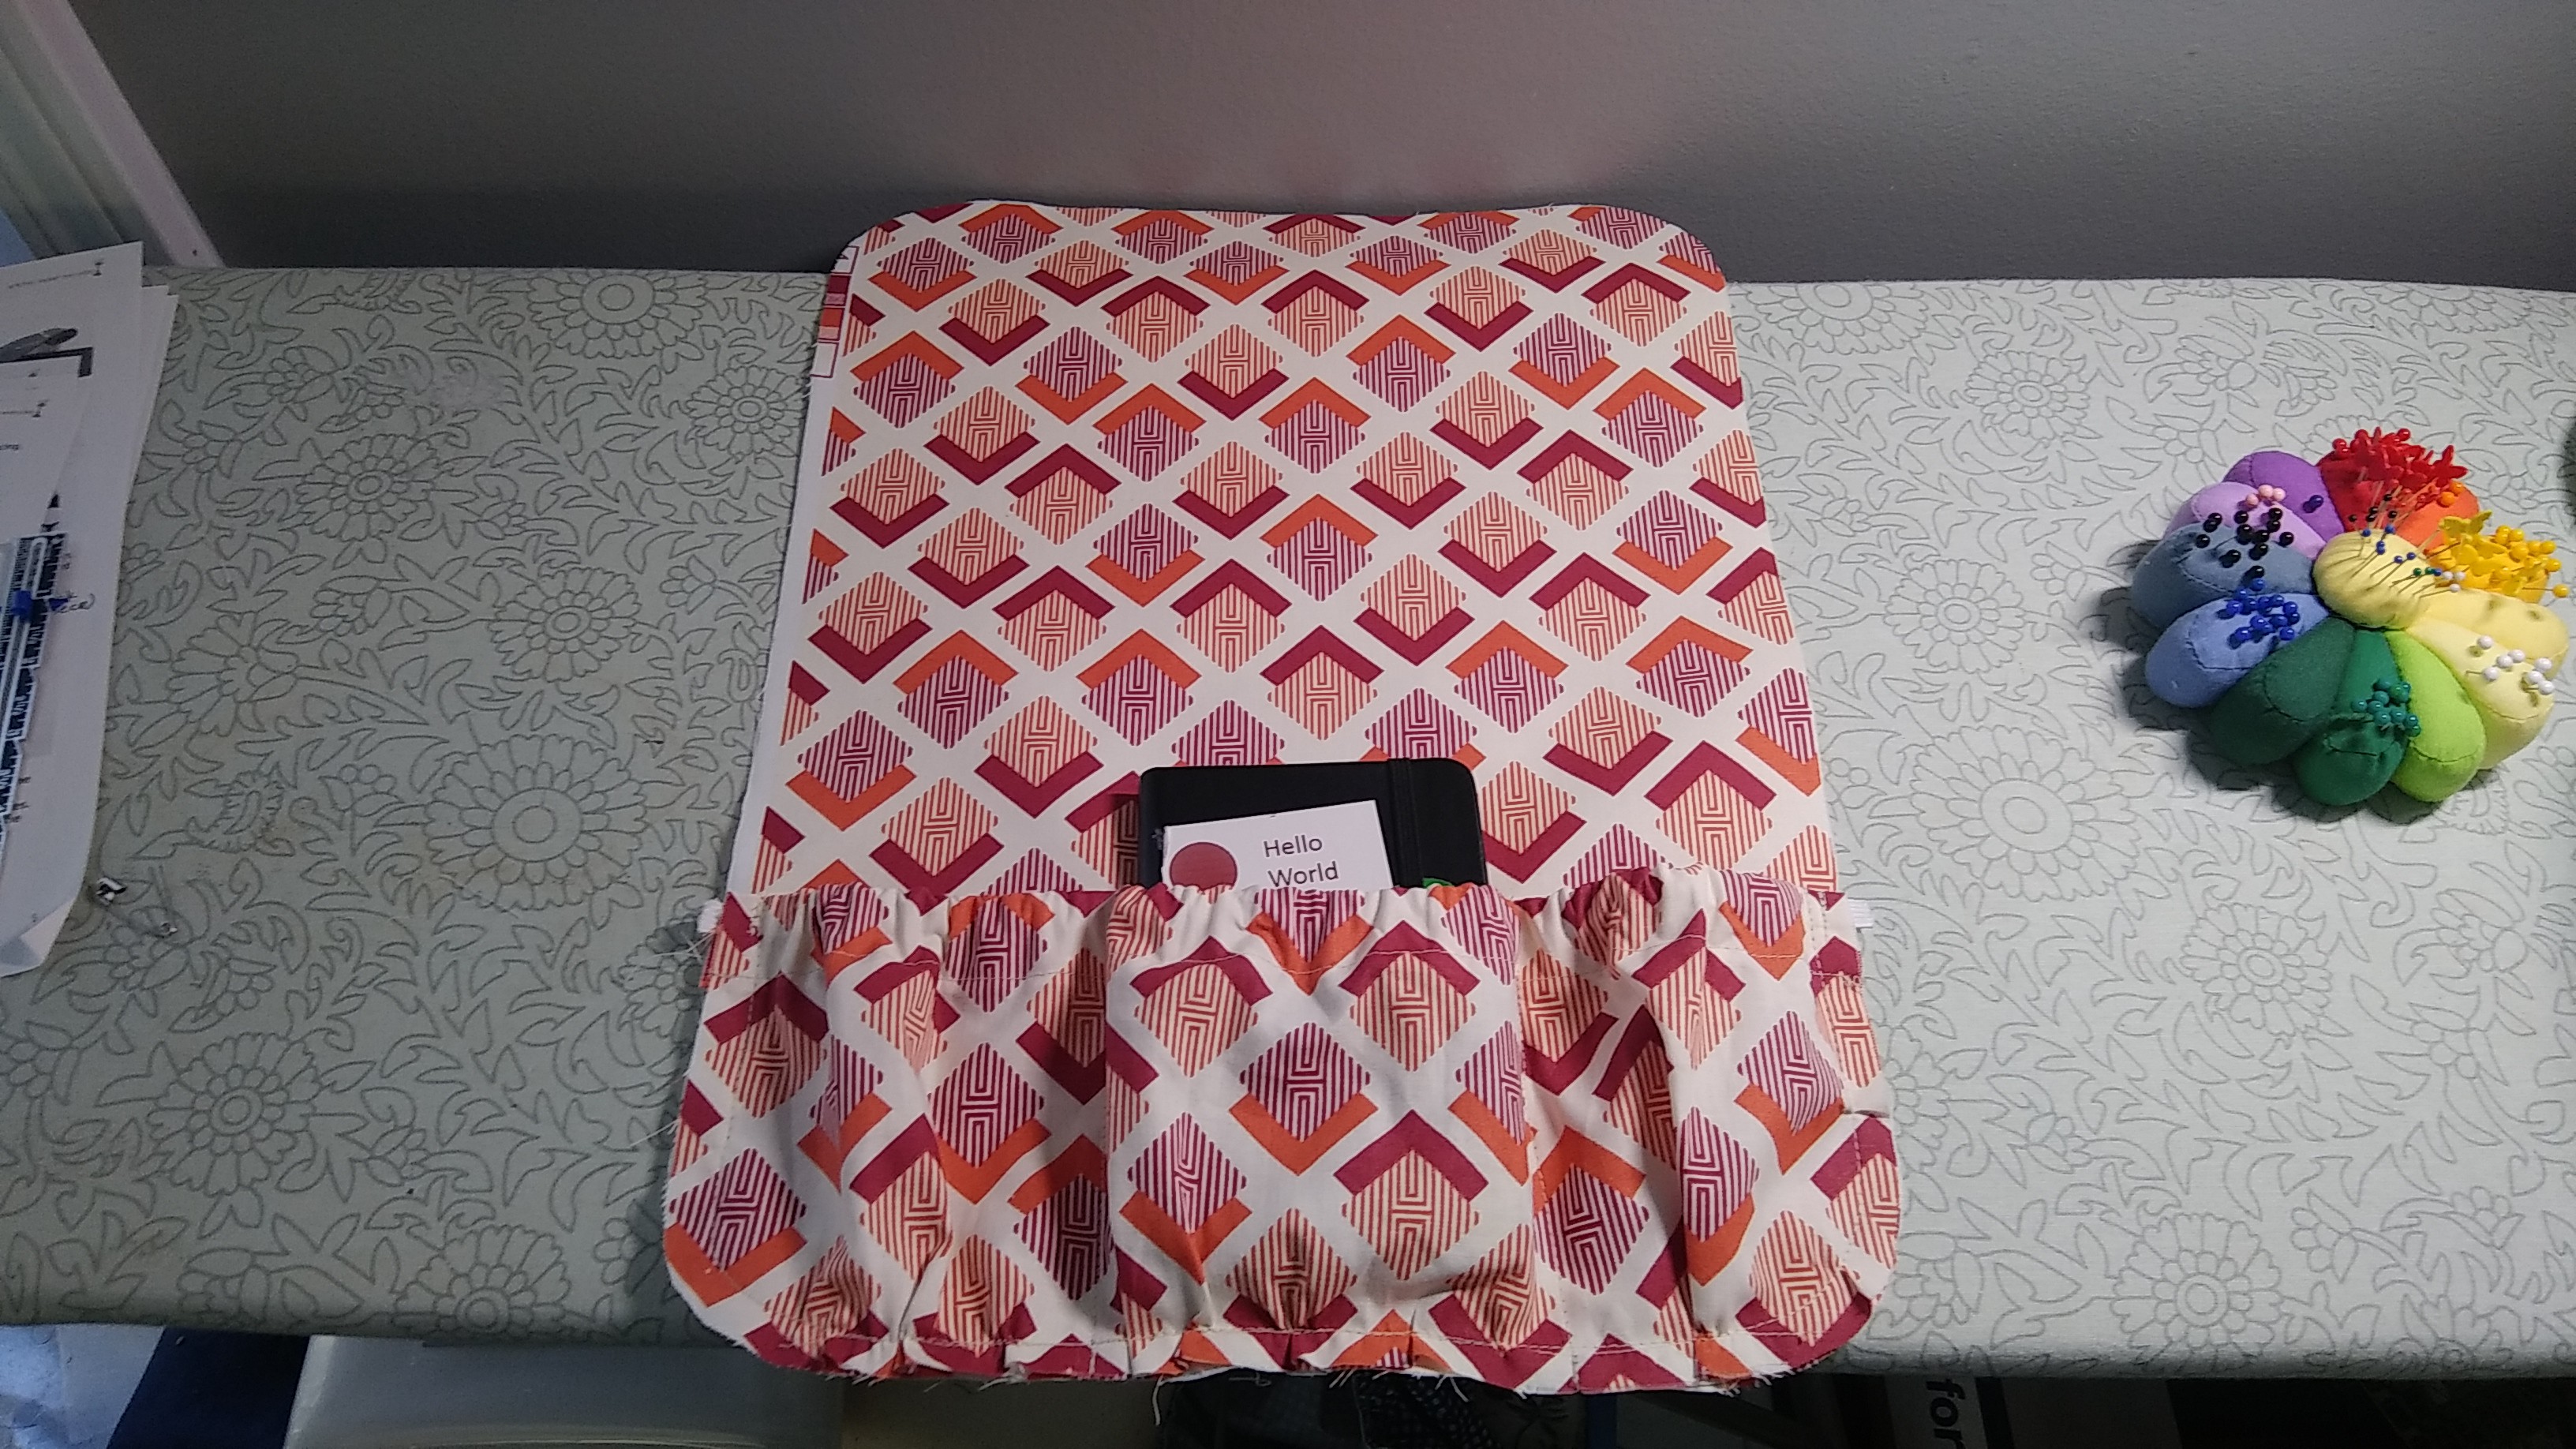
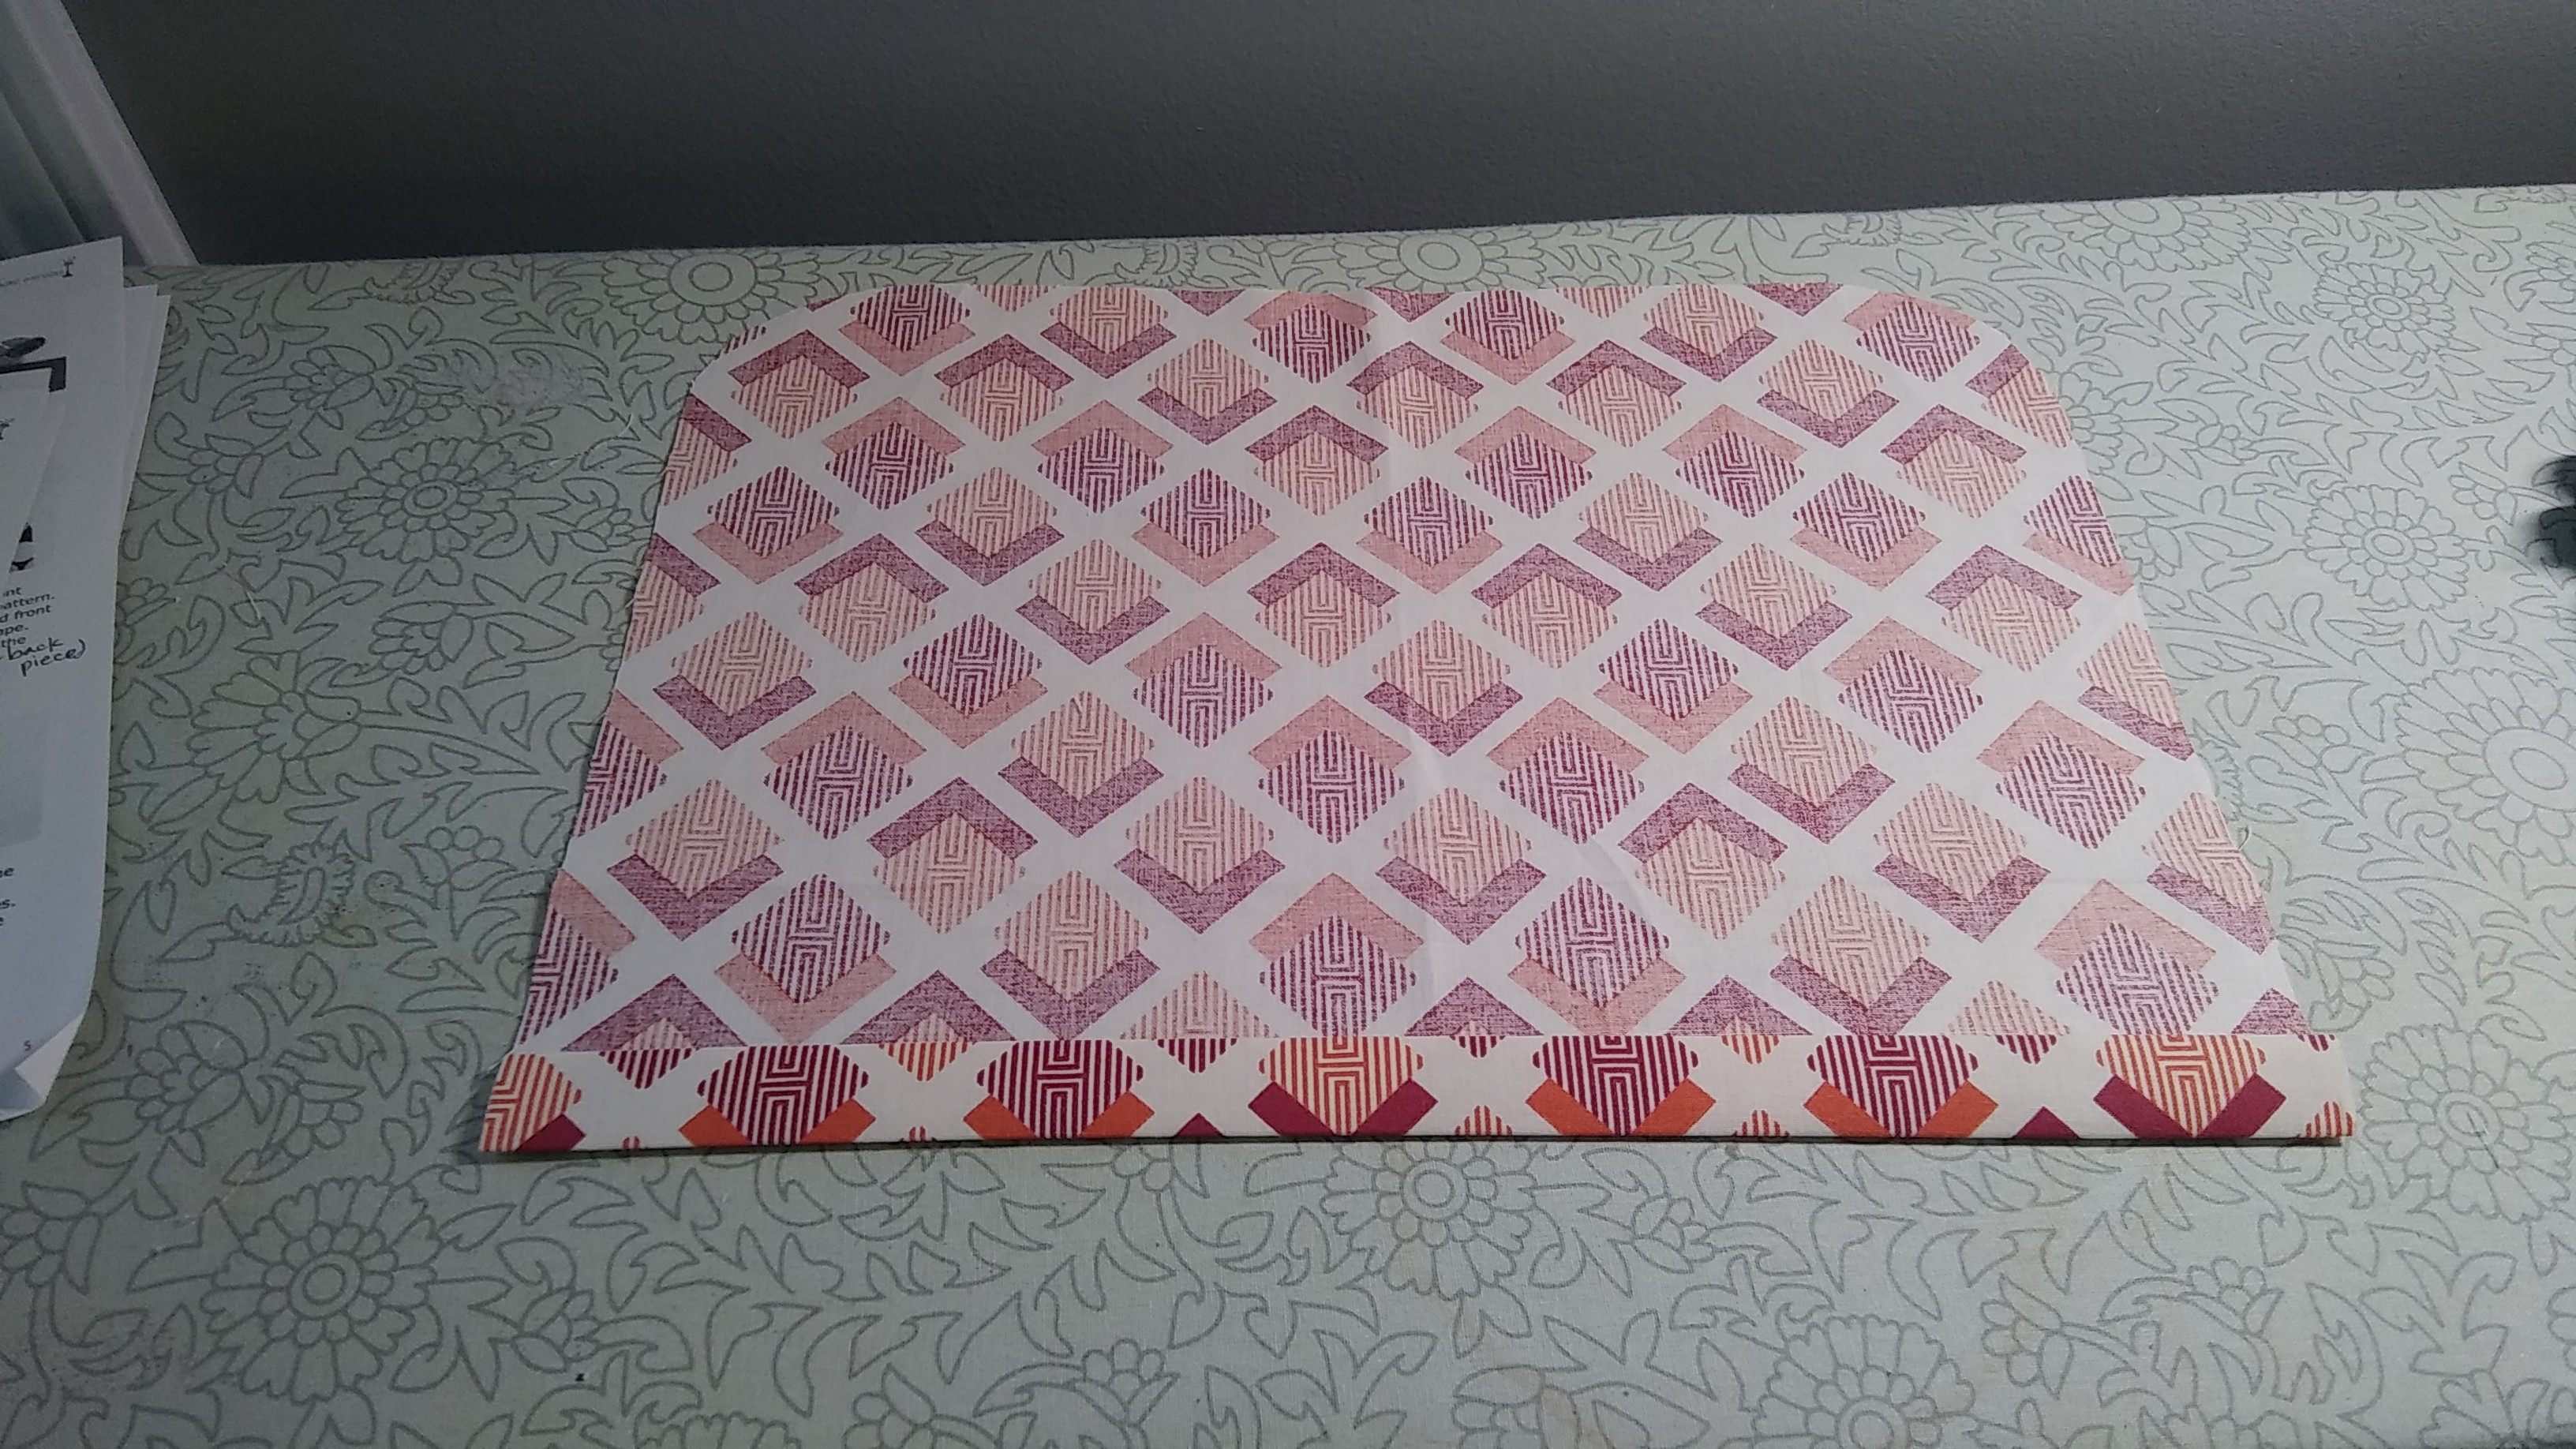
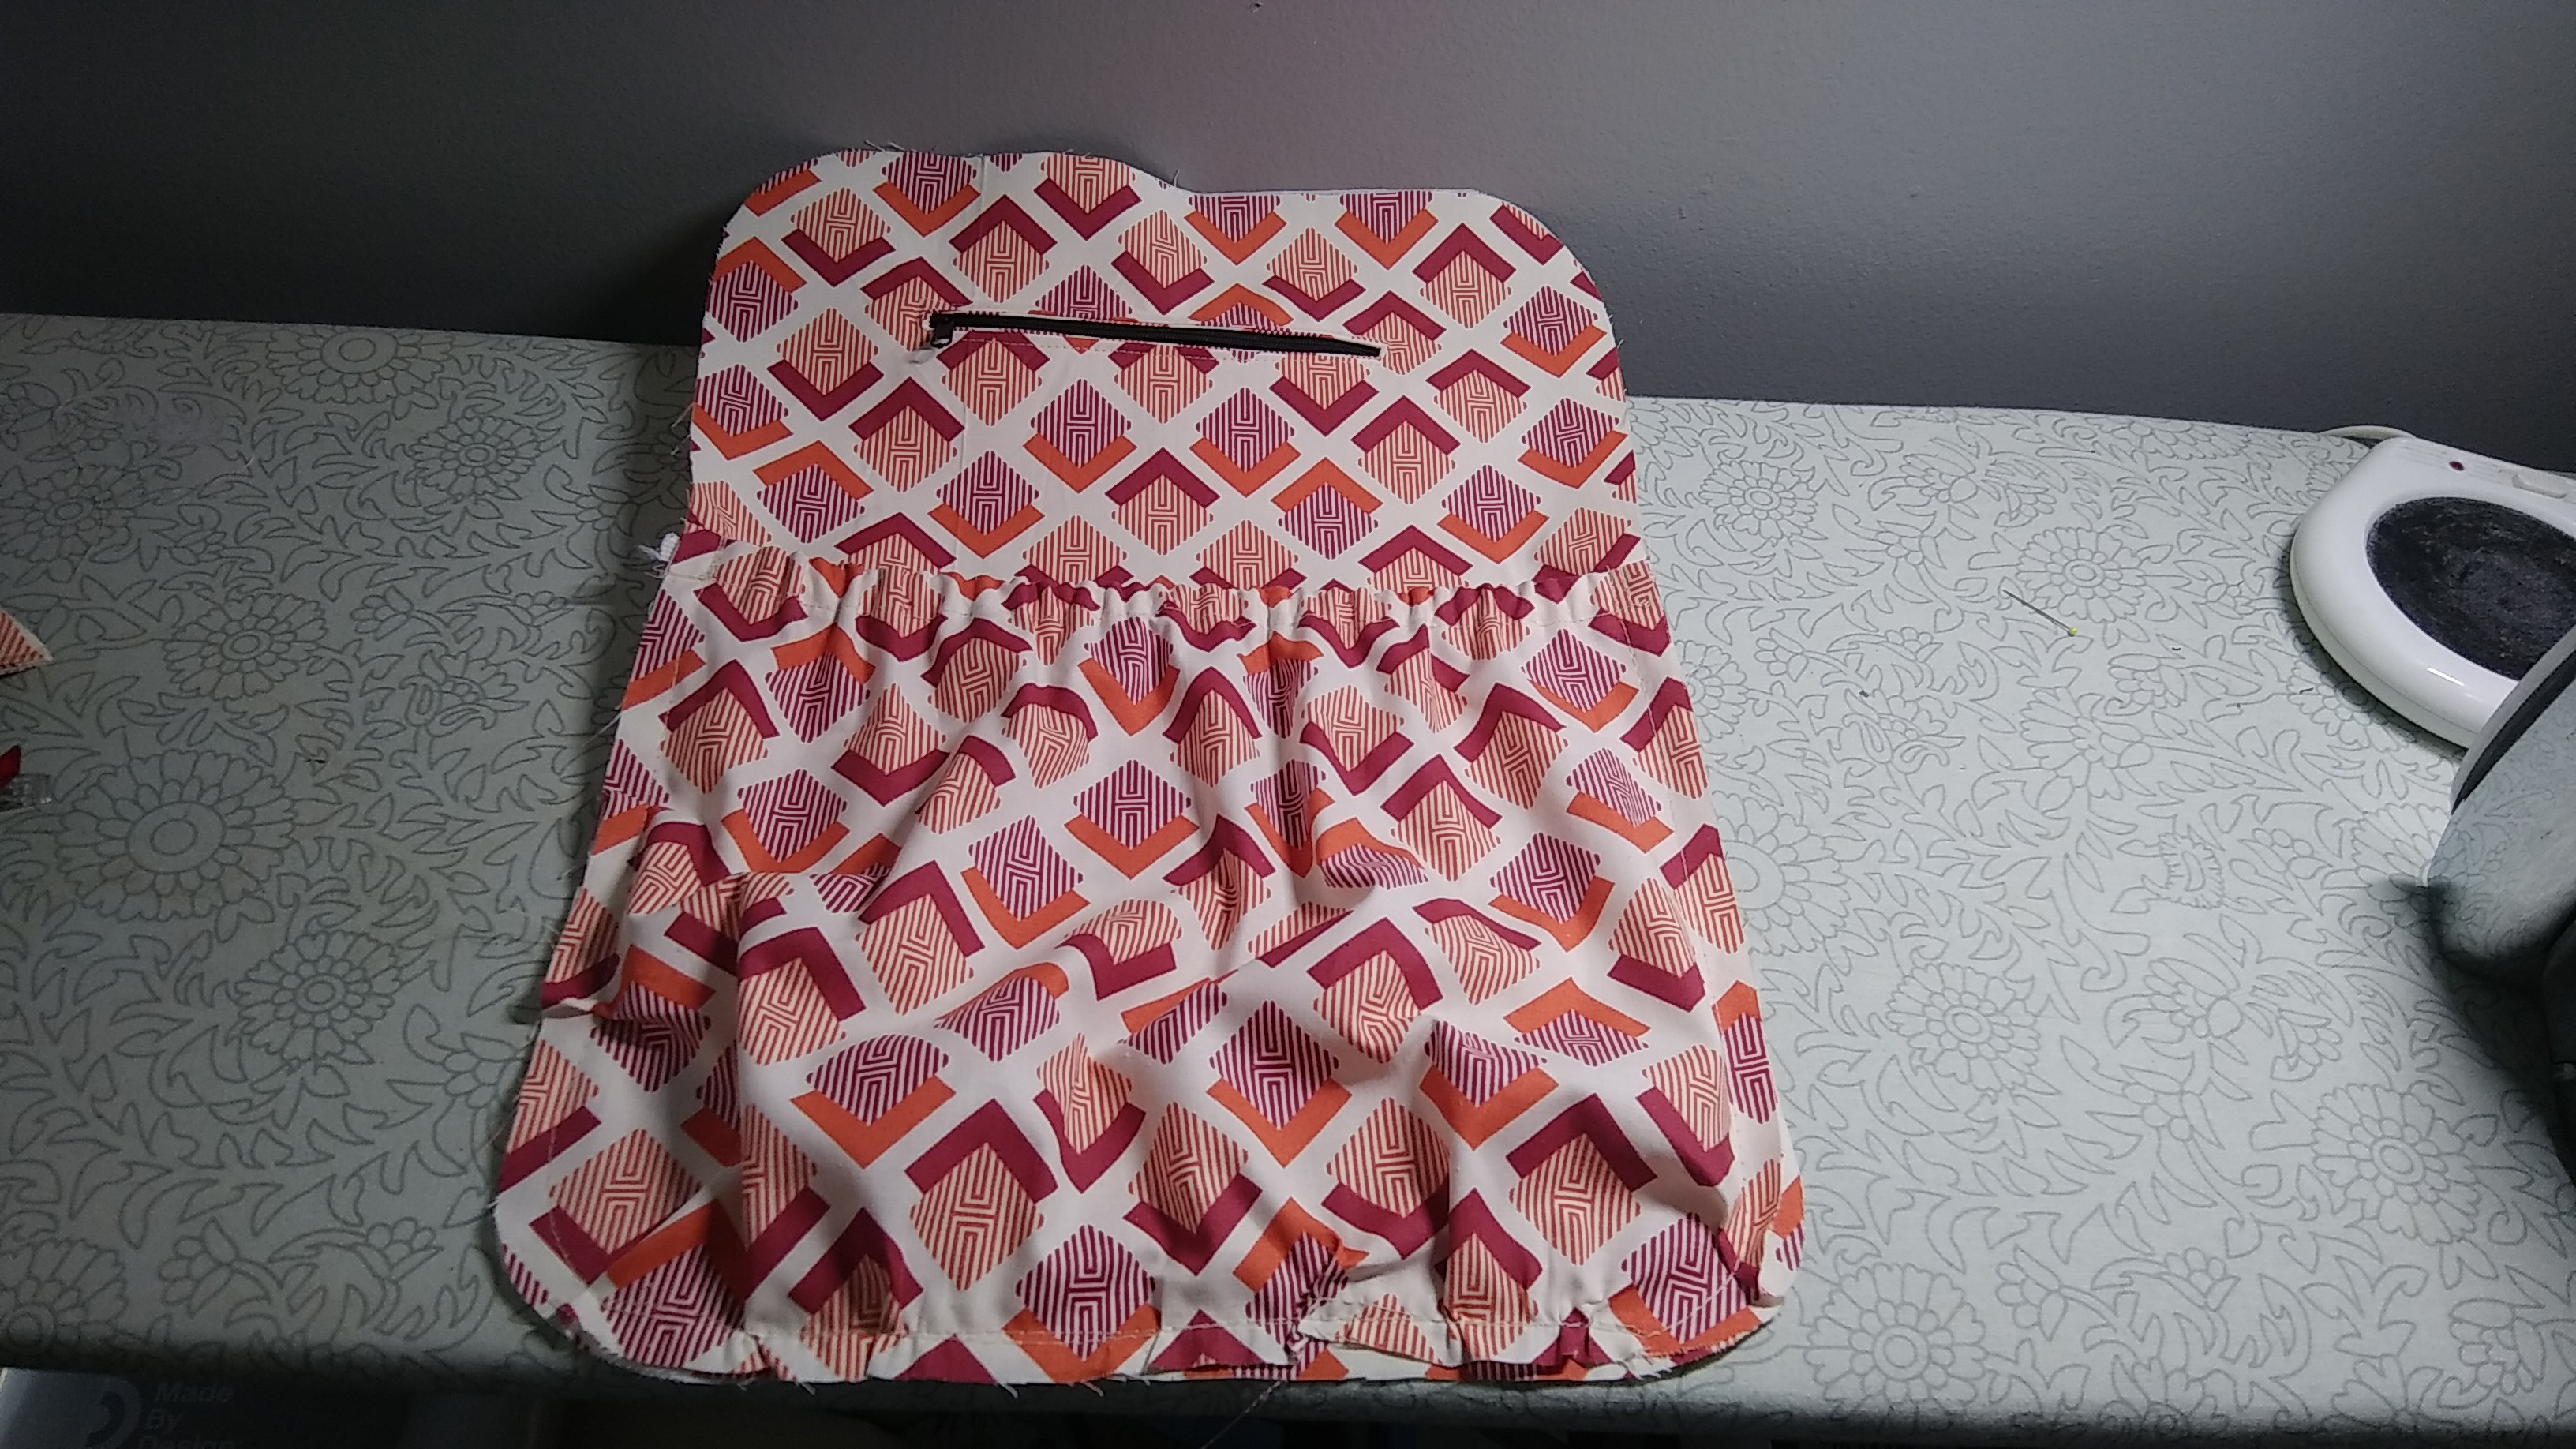
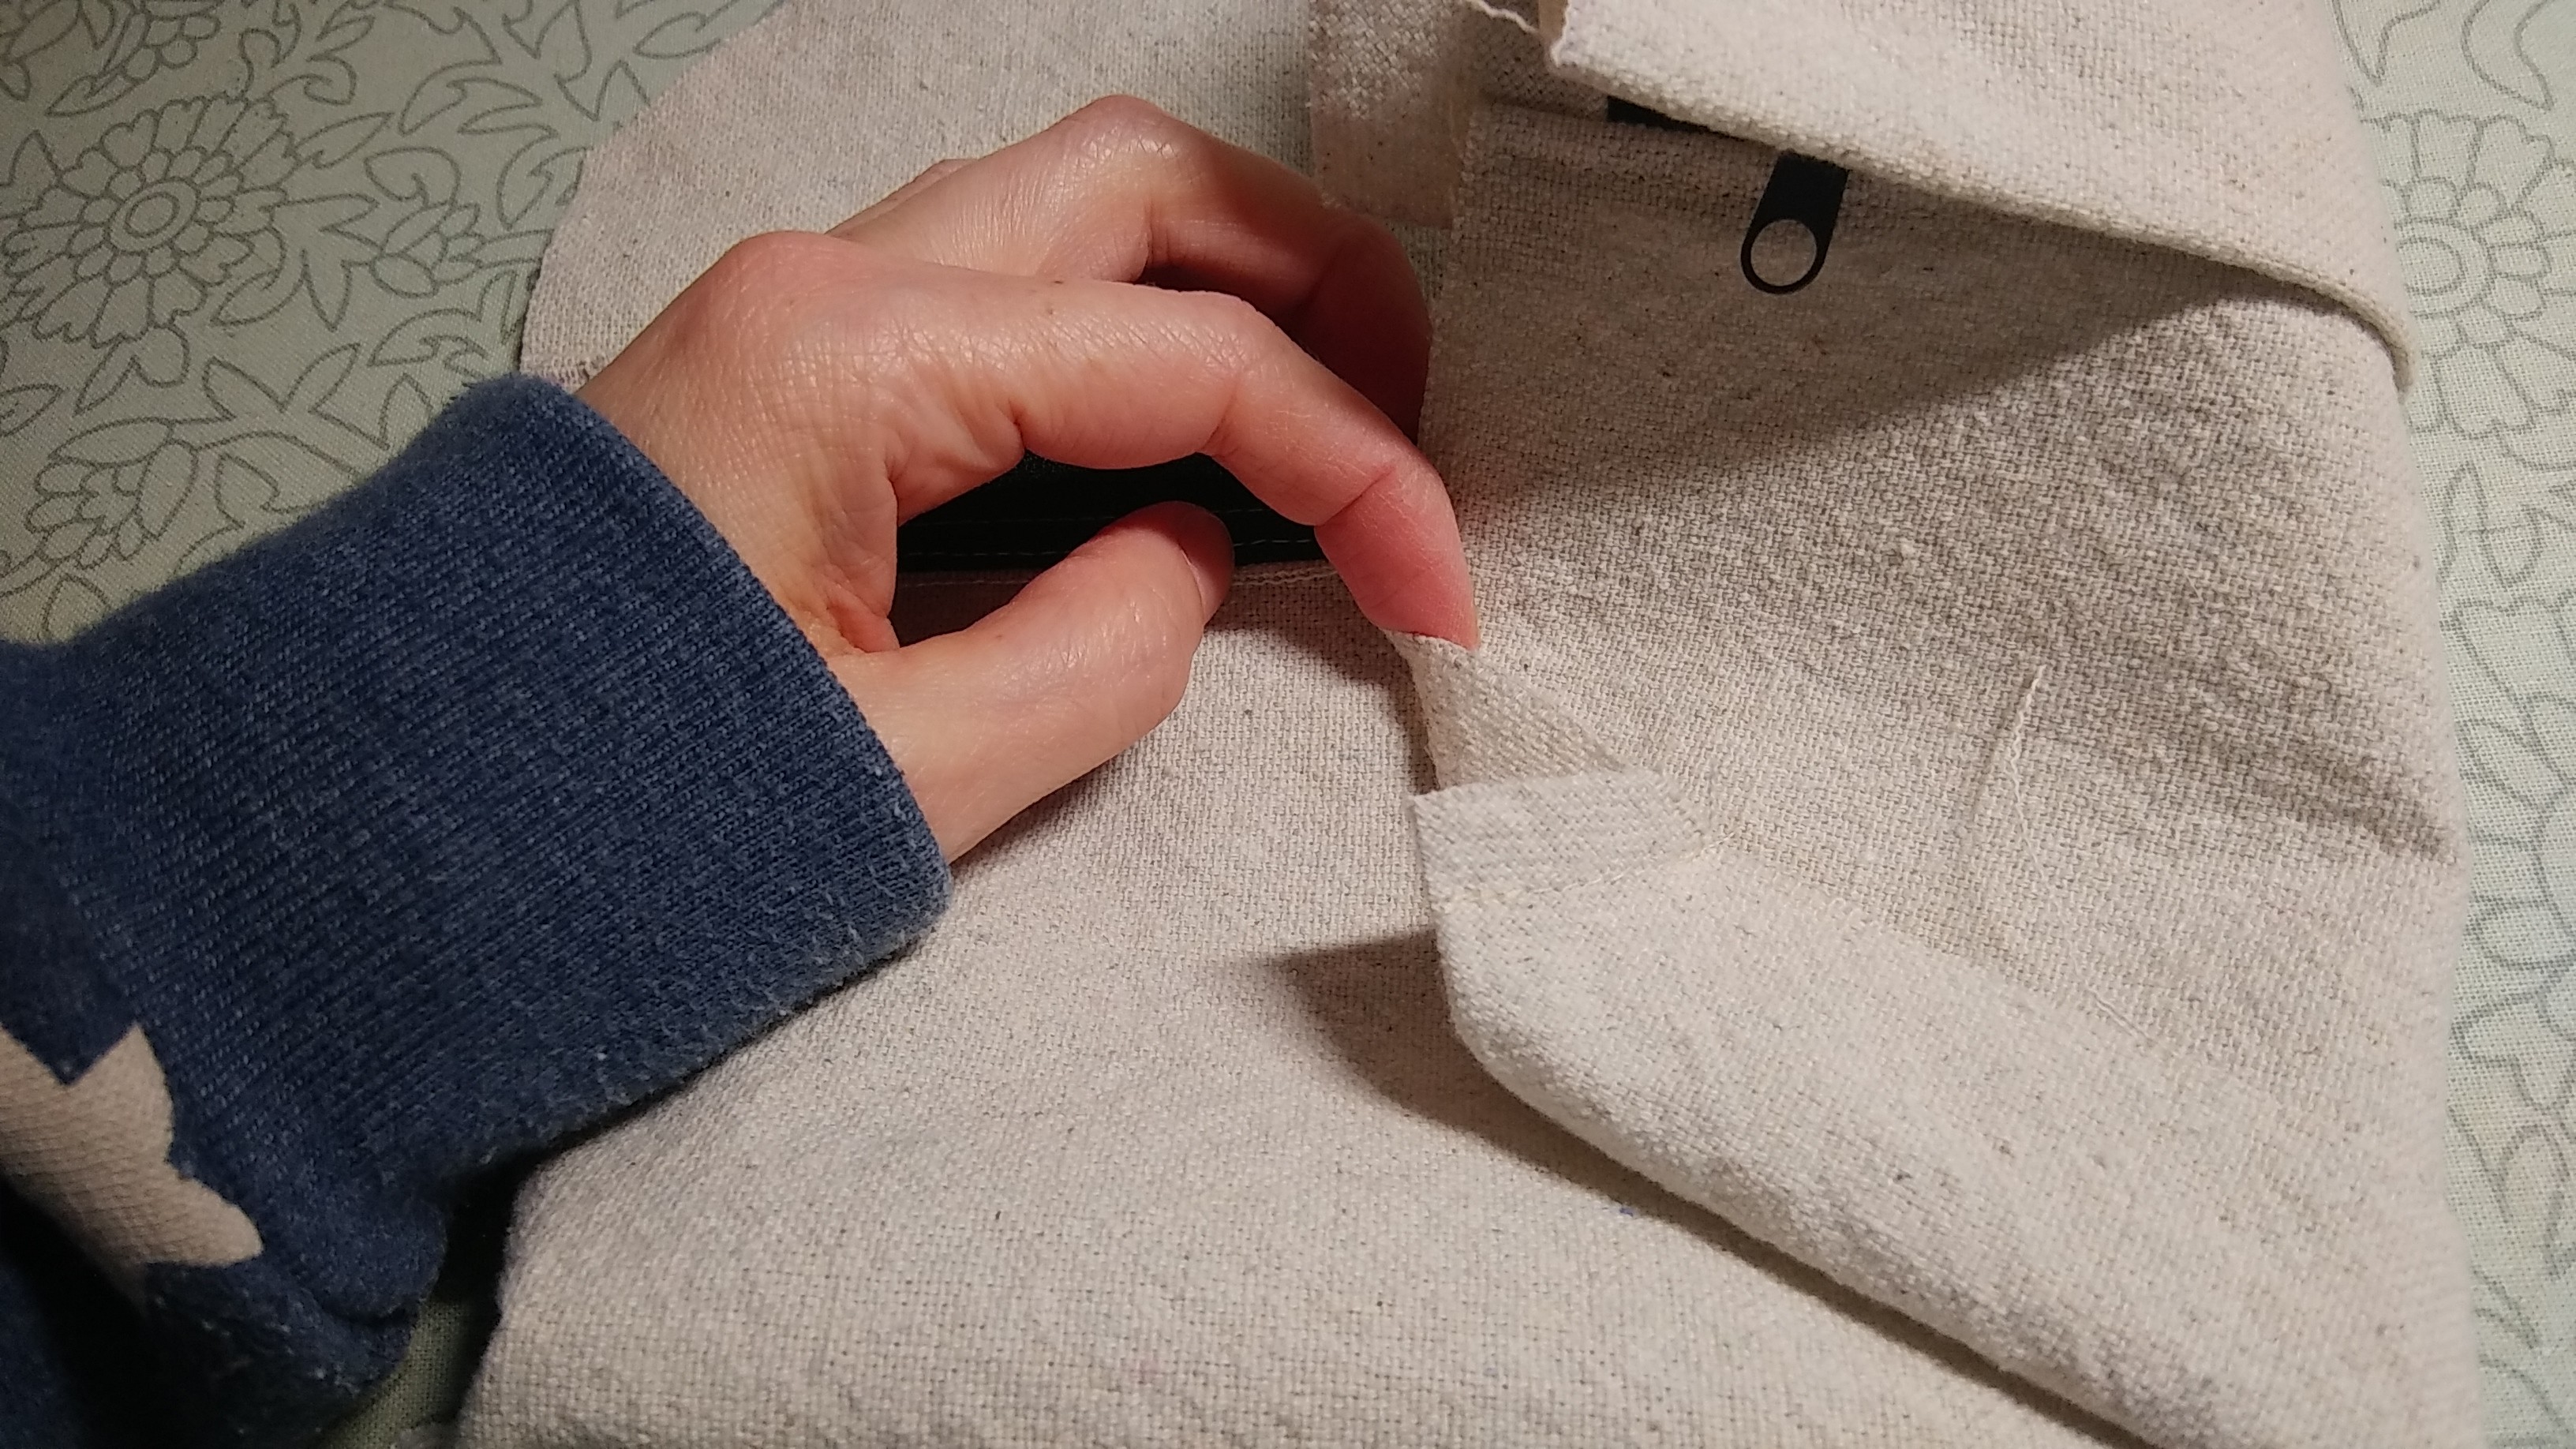
Both main lining pieces have elastic pockets -- the inside back has a large but non-padded laptop-sized pocket, and the inside front has a pocket that gets sewn into three (or whatever you want).
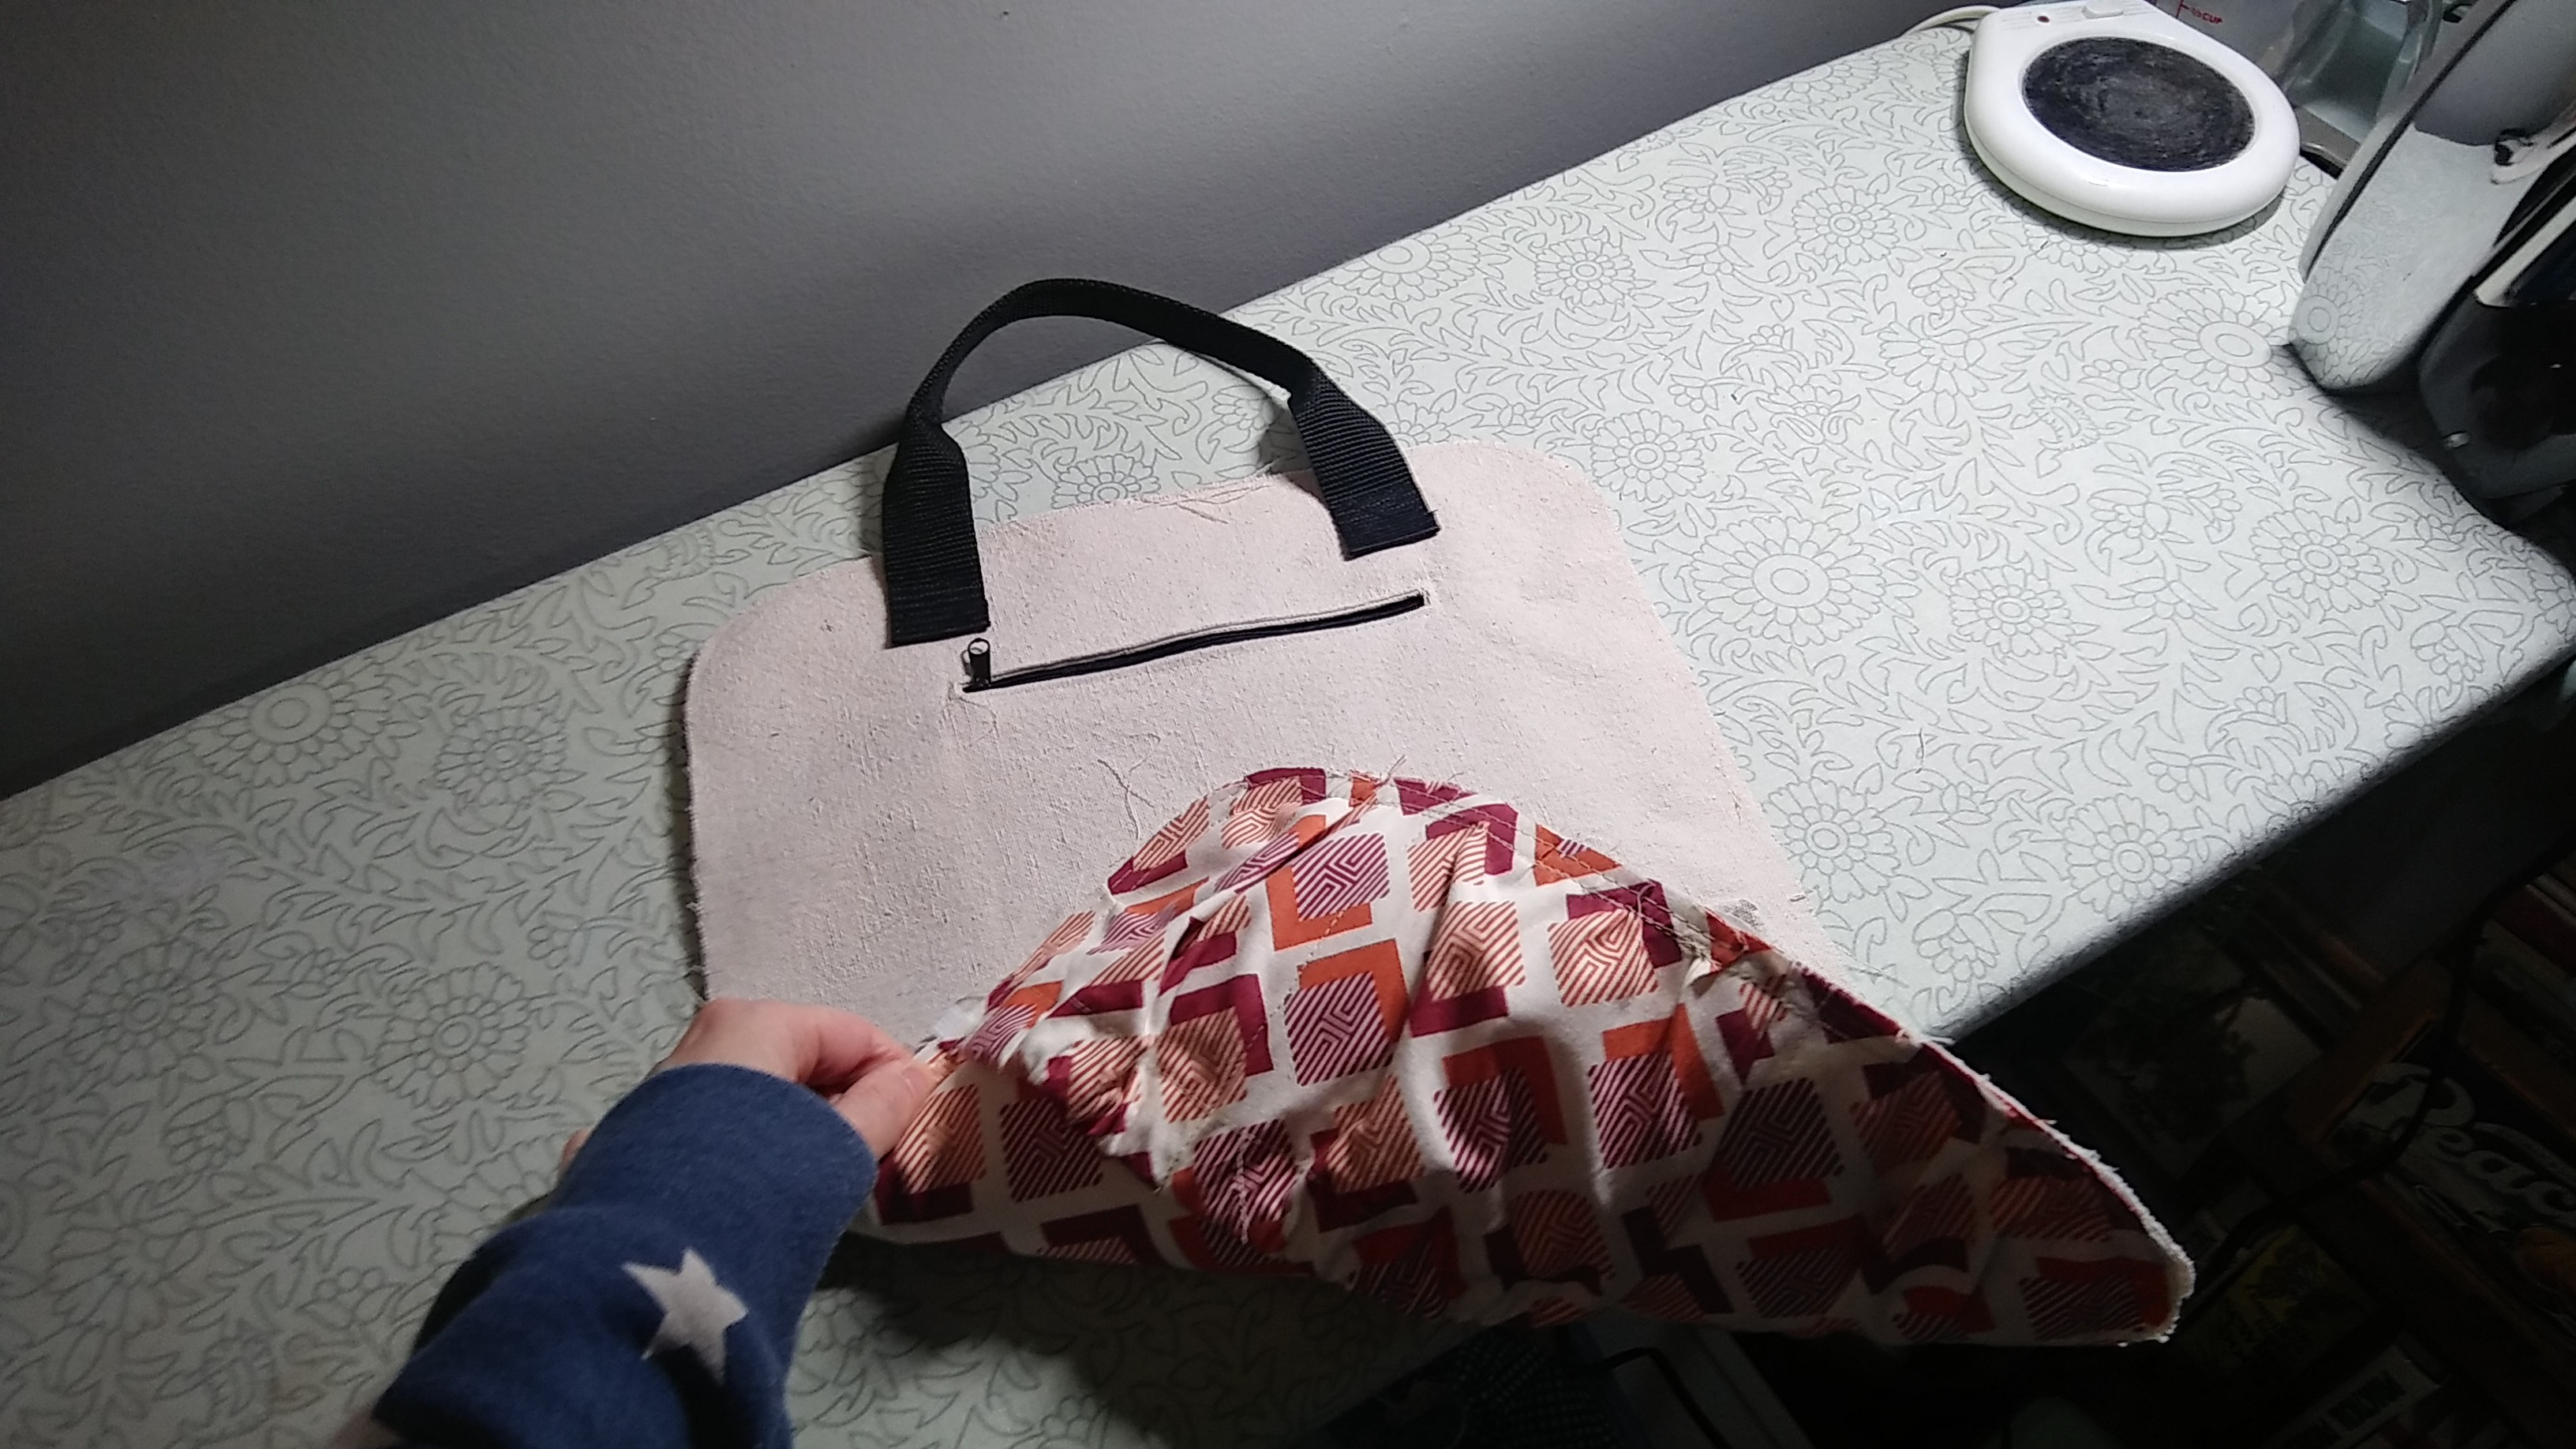
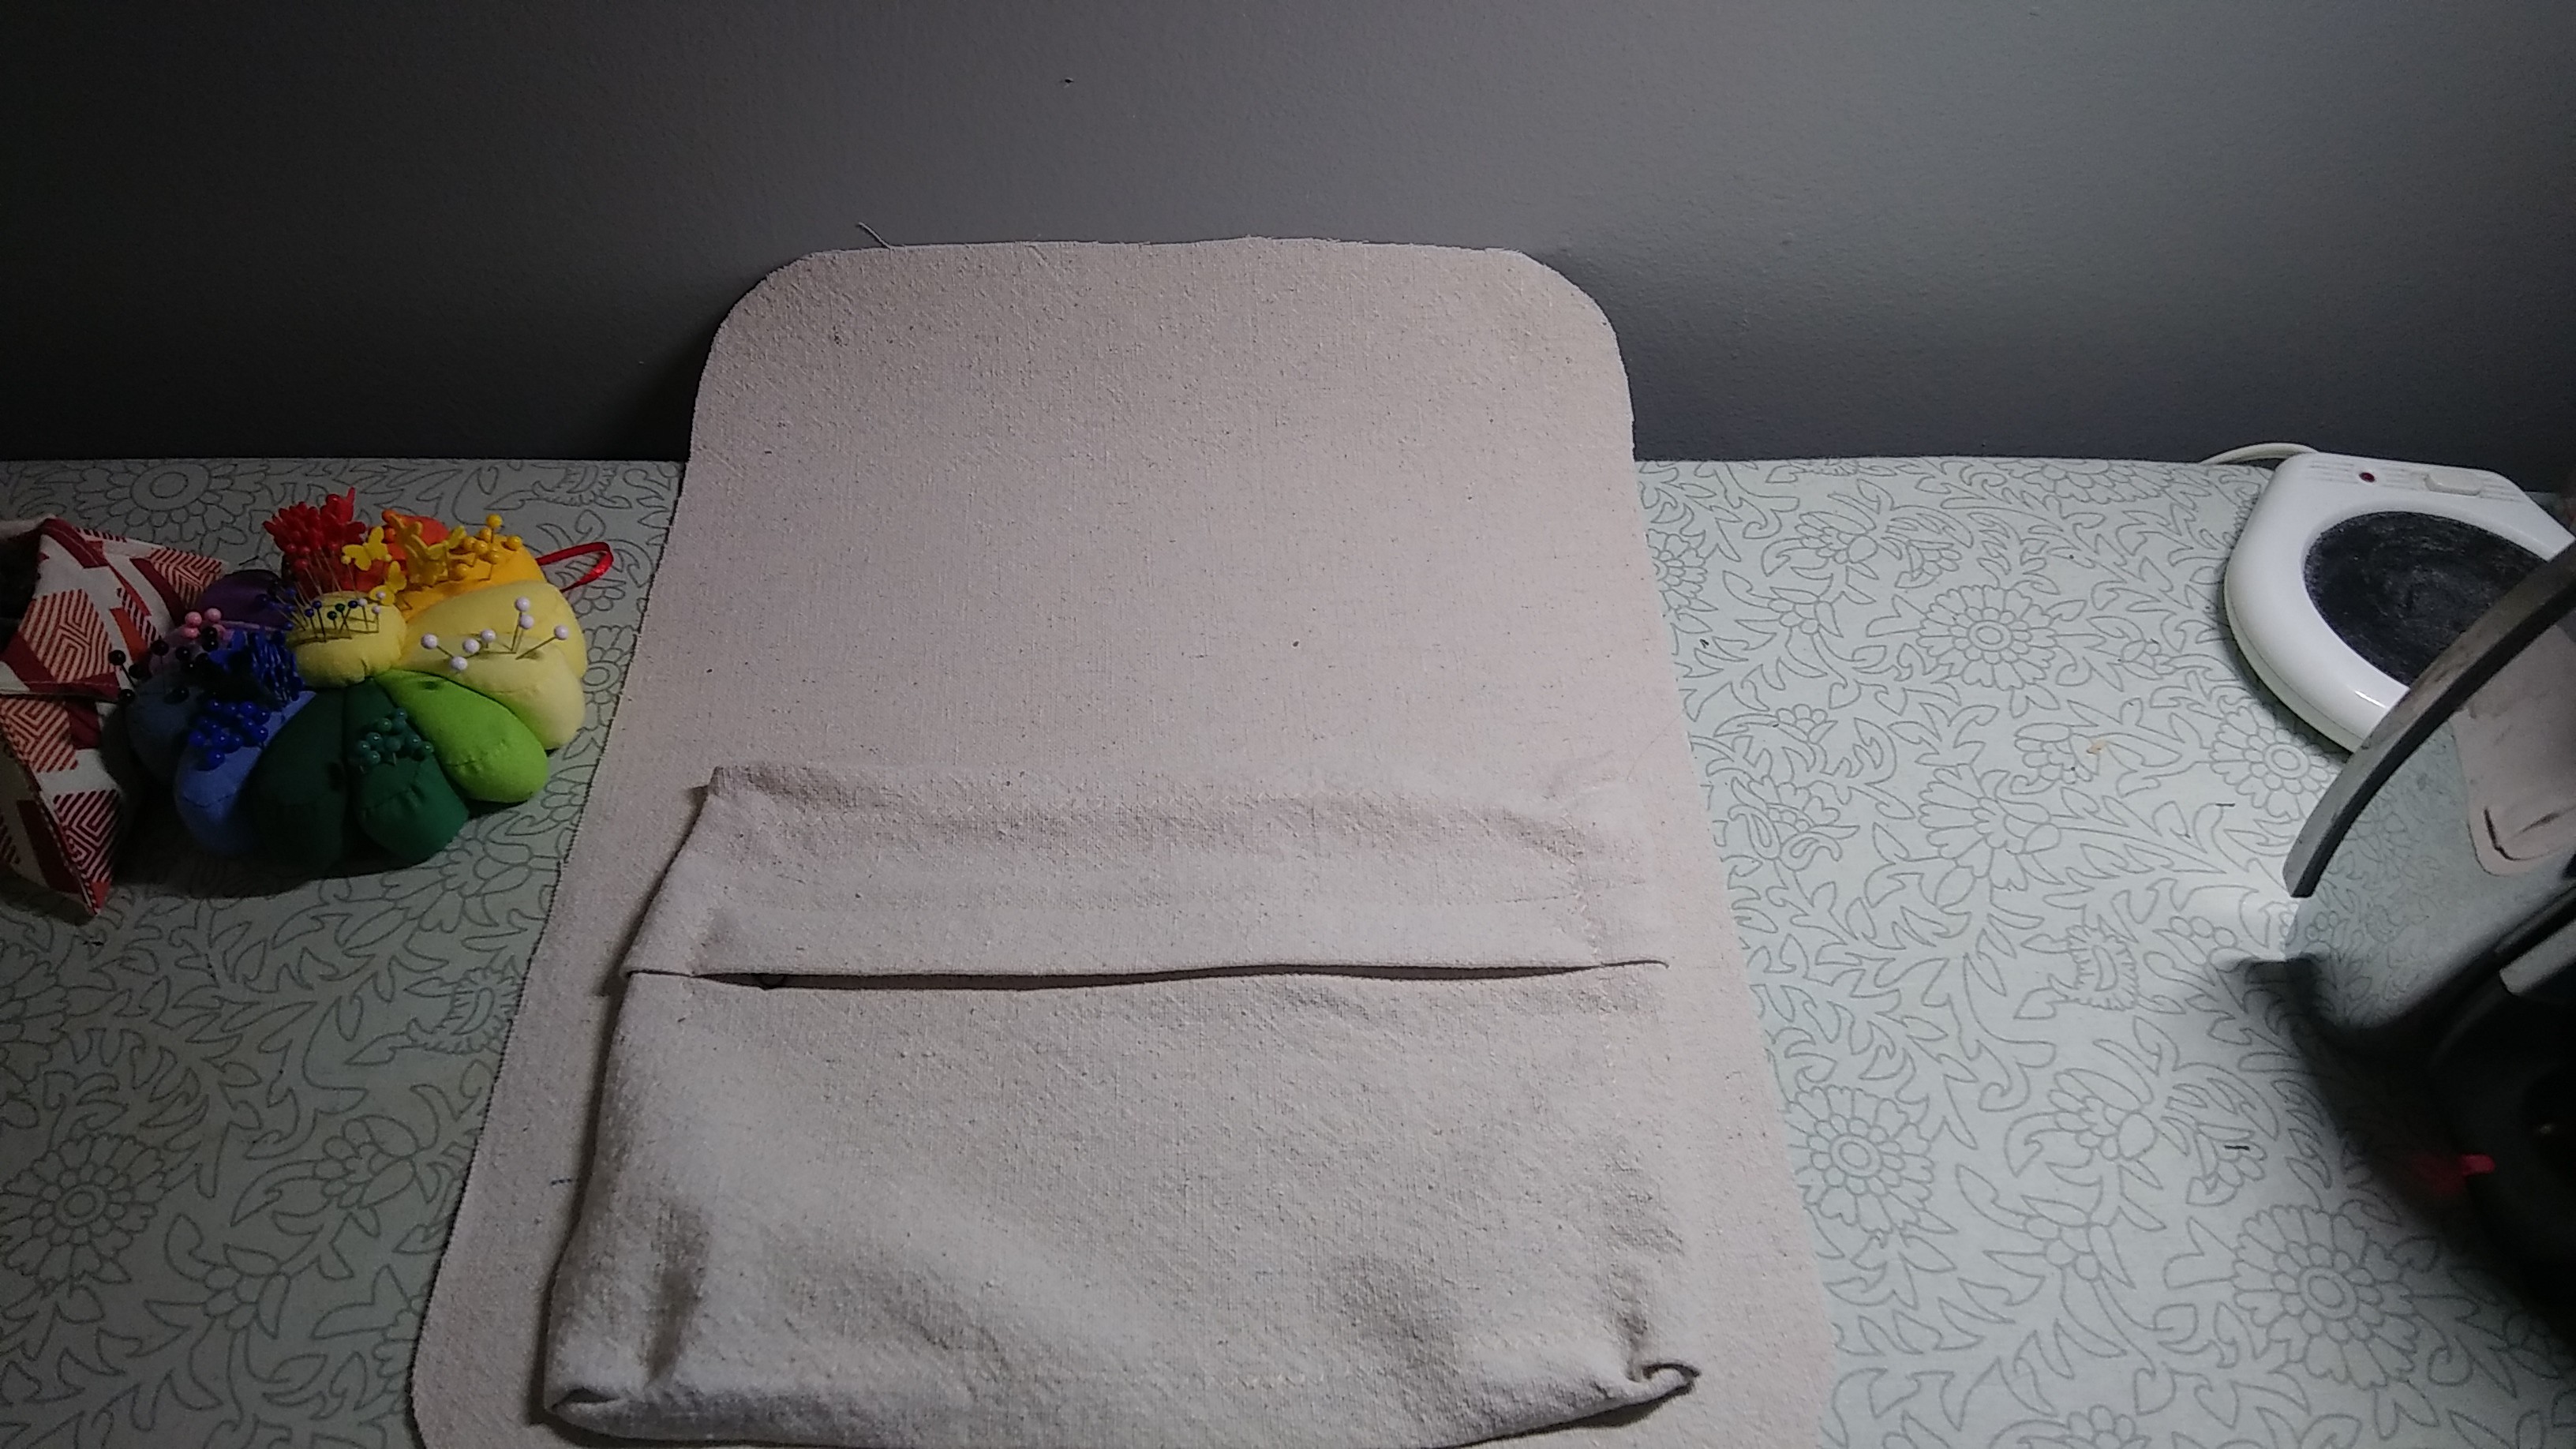
Once these are done, then it's a matter of sewing the lining main pieces to the exterior main pieces wrong sides together, and then sewing the three pieces you're left with (front, back, and gusset) into a finished backpack.
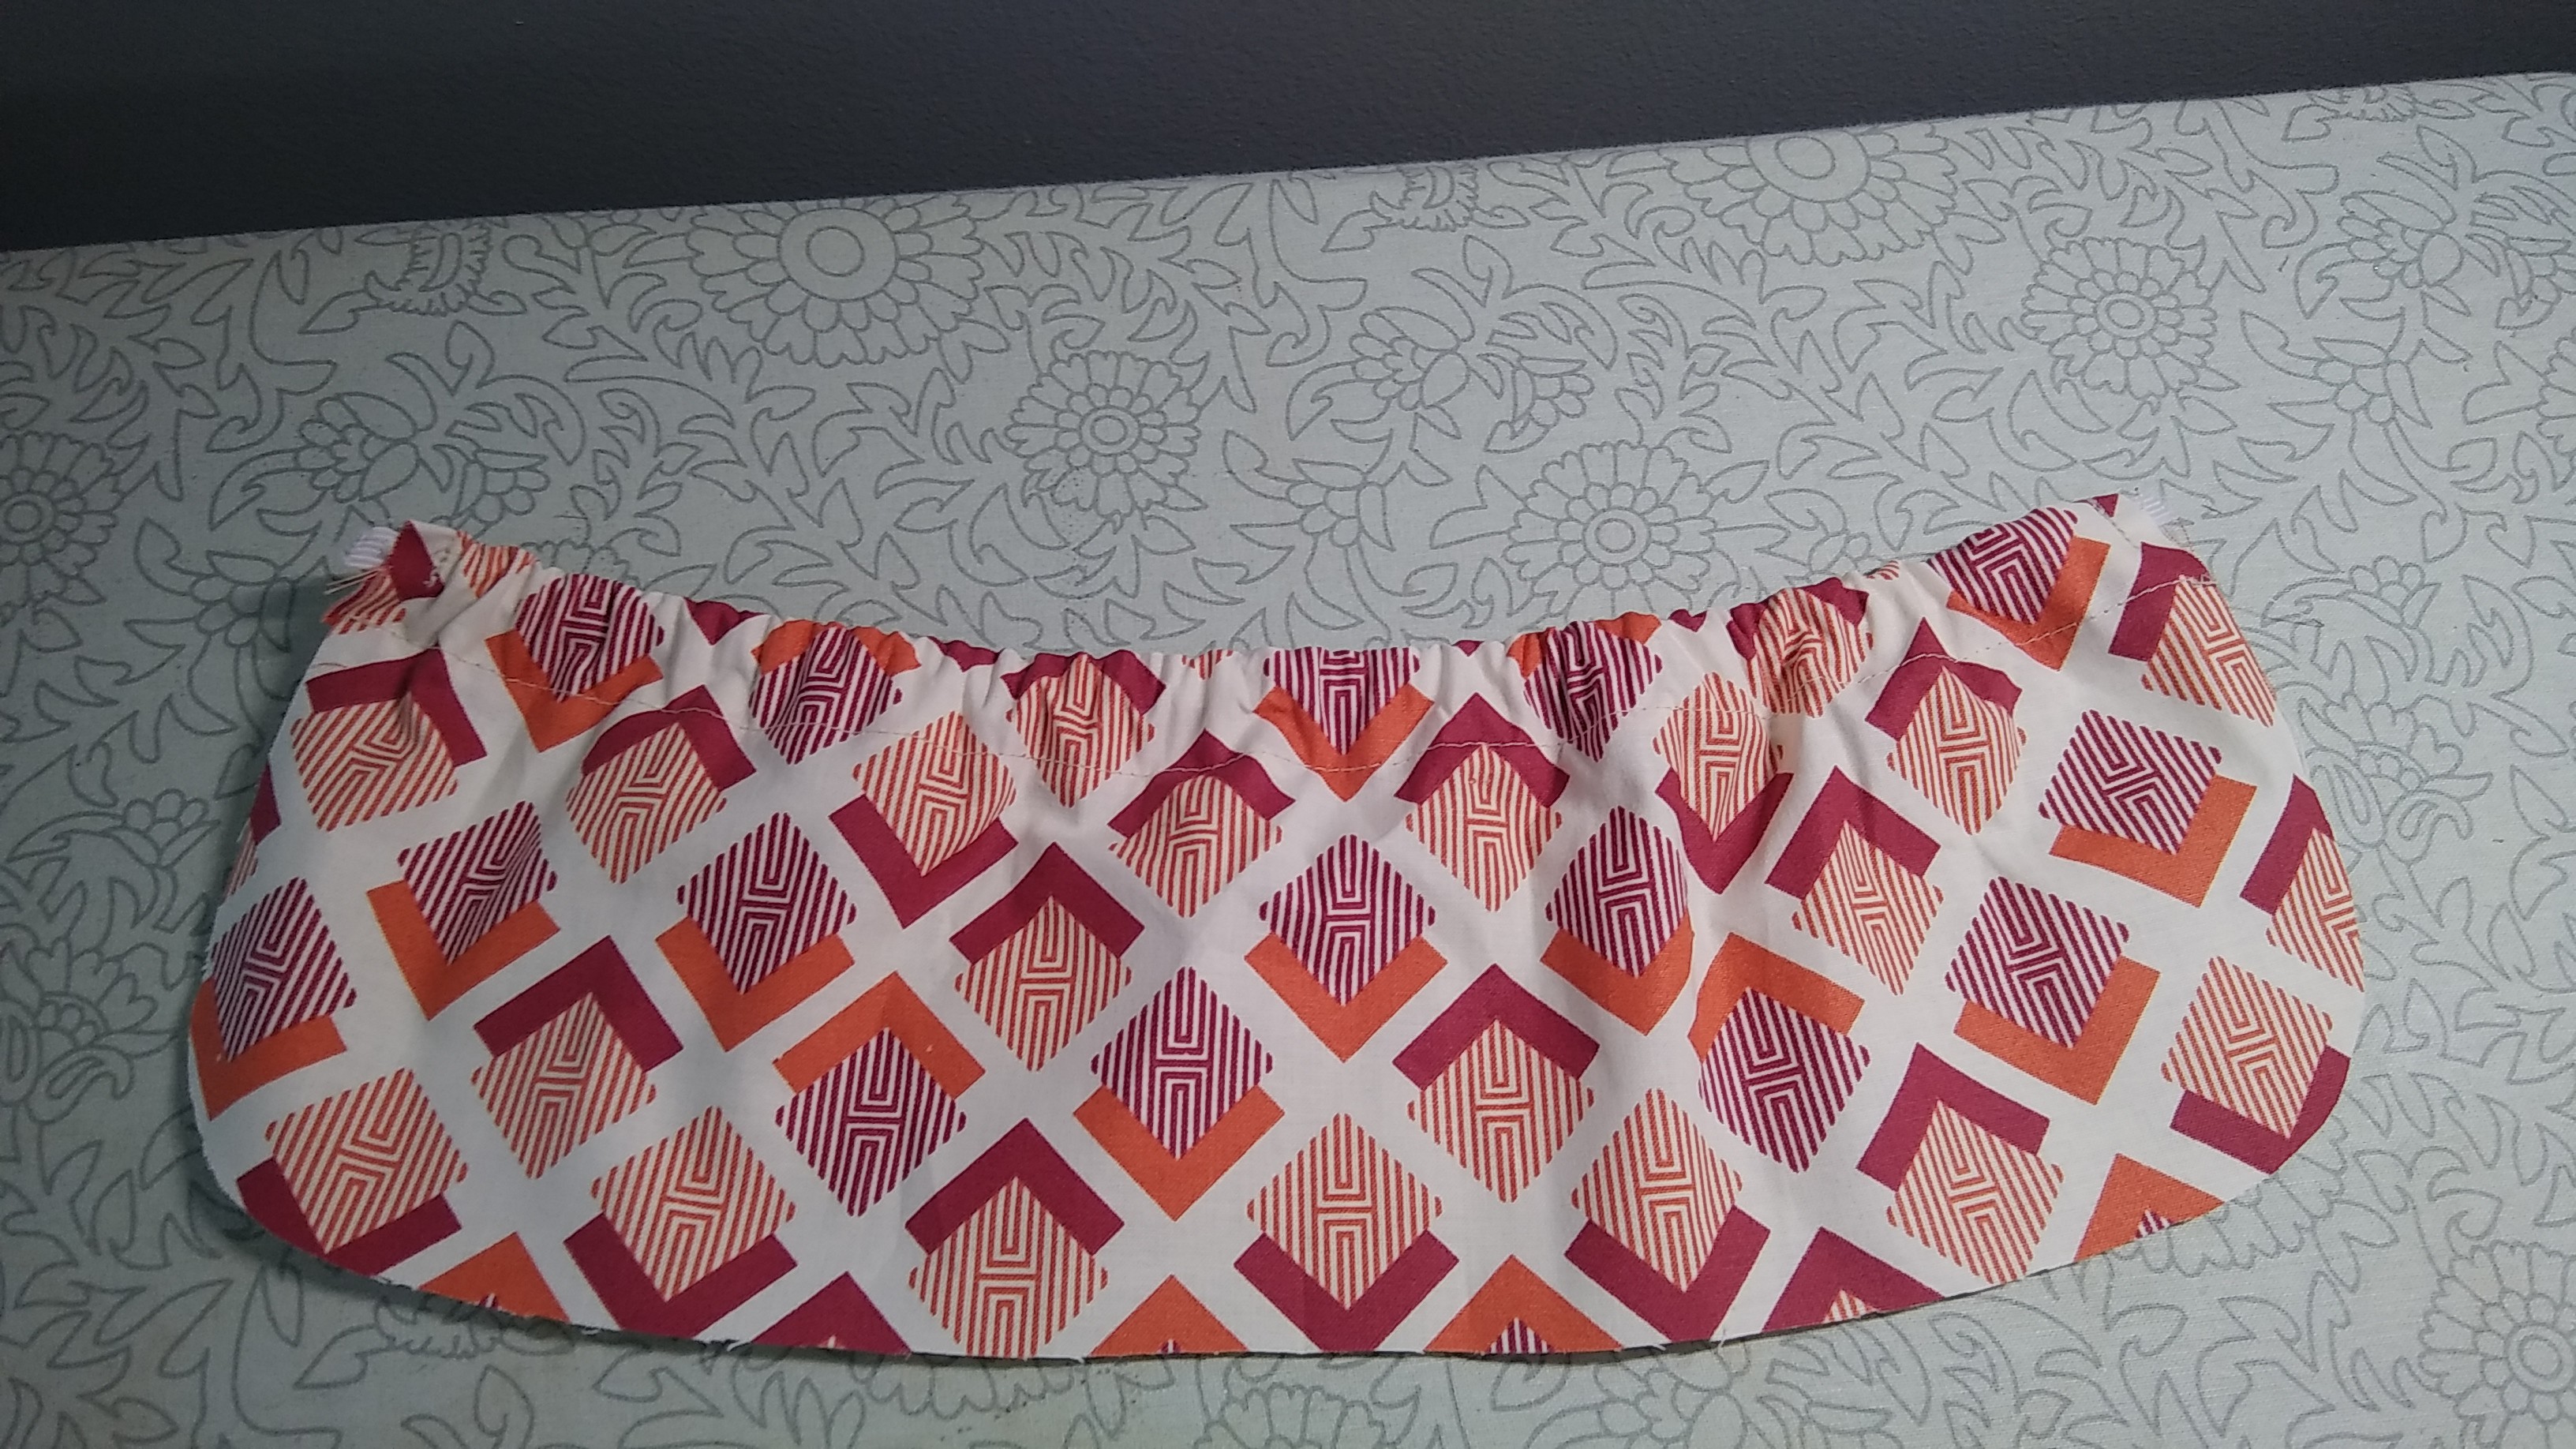
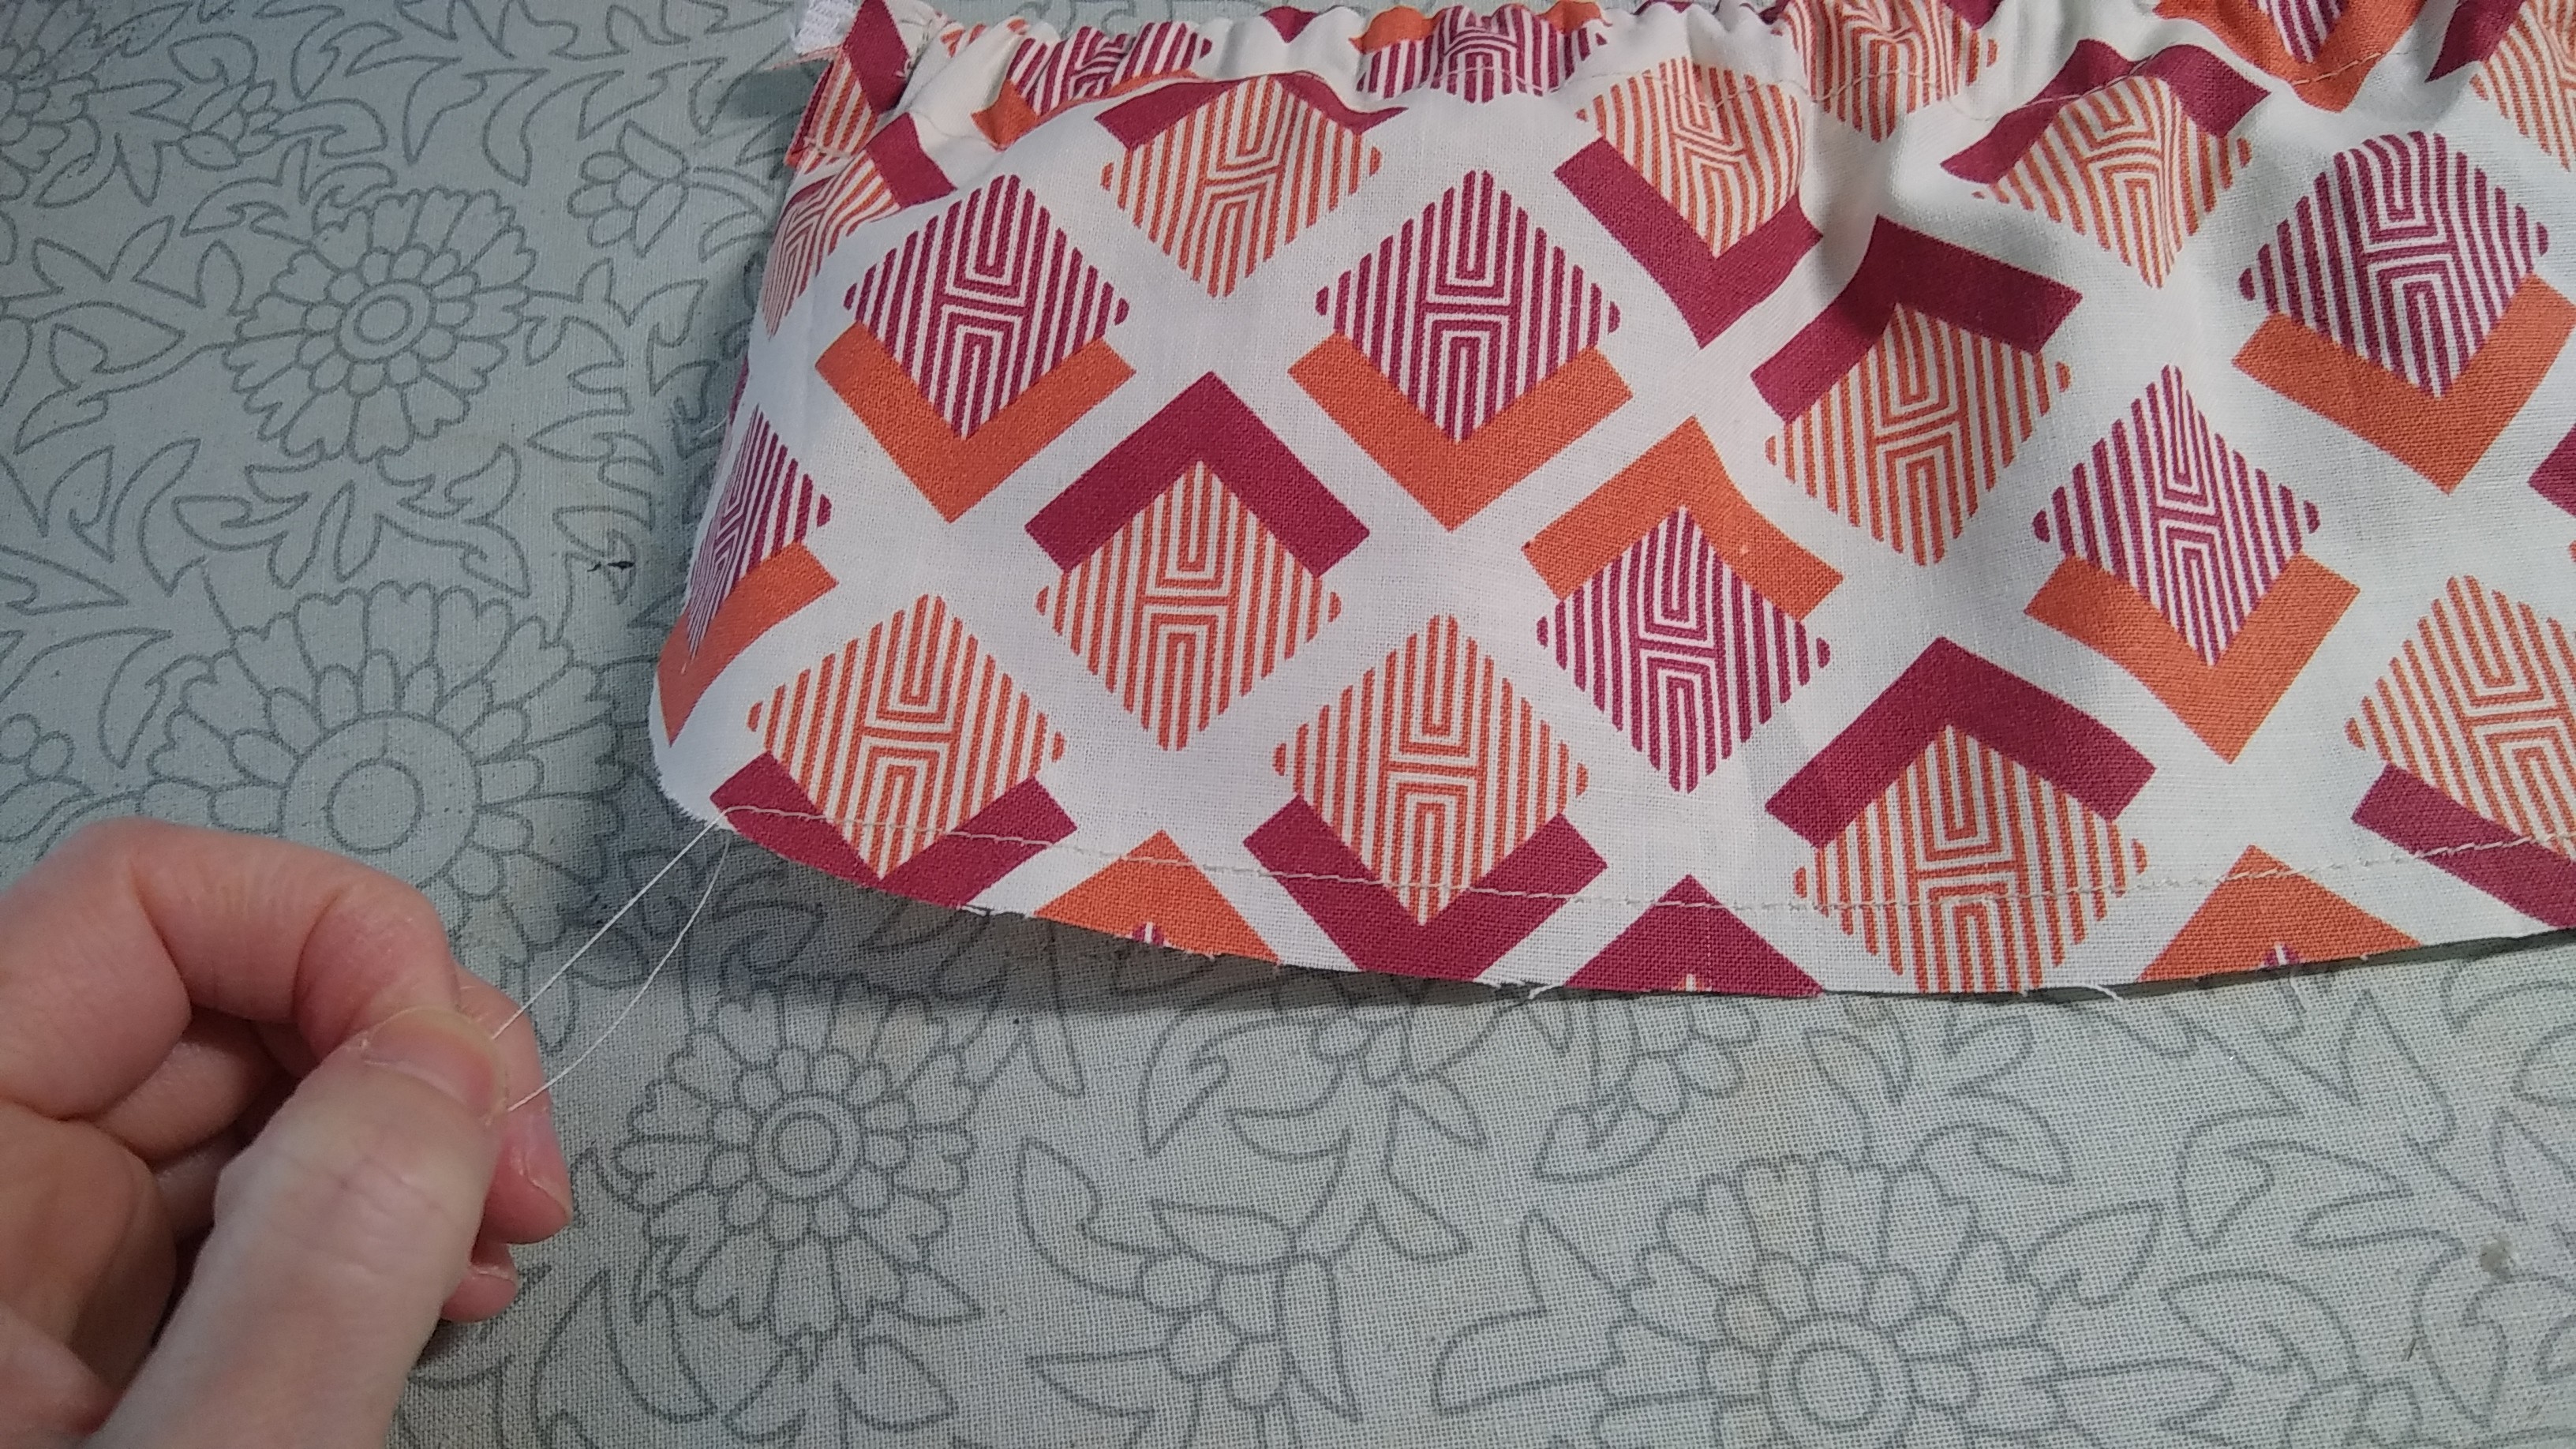
I made a running stitch along the bottom without backstitching at either end, and then pulled the threads to match the gather along the top.
I sewed mine into three equal pockets.
Now we're making the laptop-sized pocket.
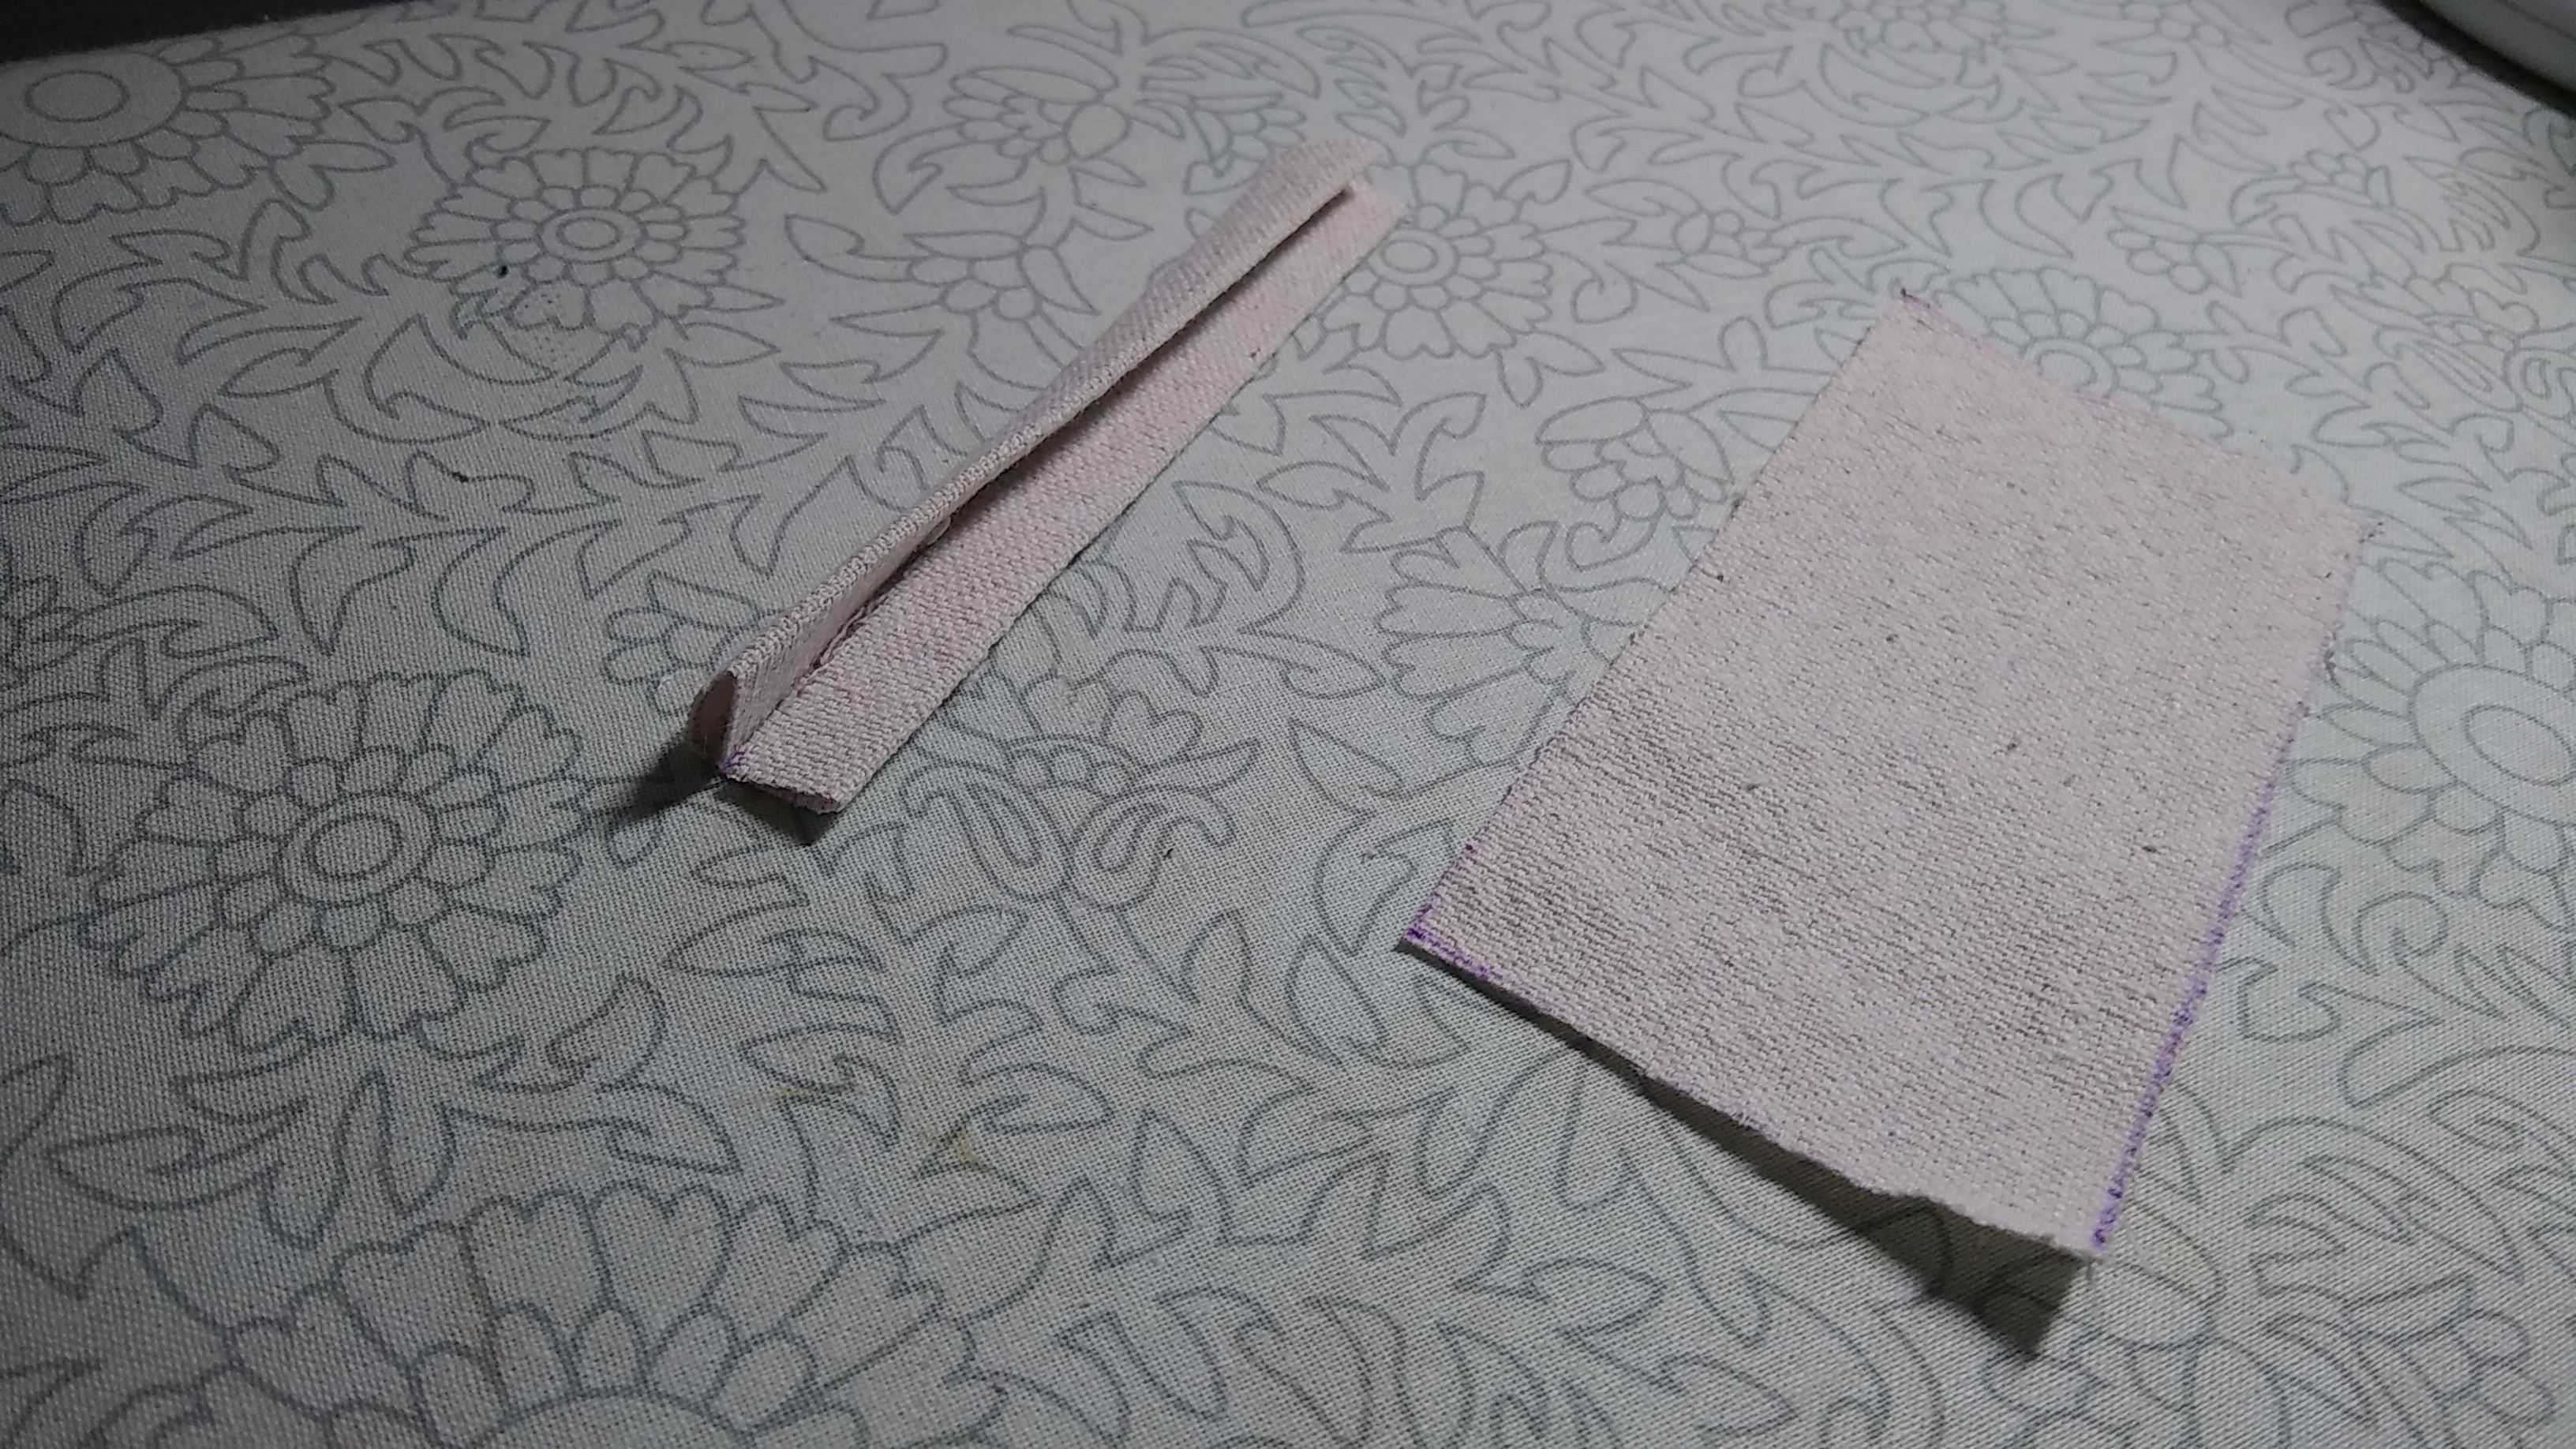
I also made binding for the raw seams where the zipper panel is sewn to the gusset.
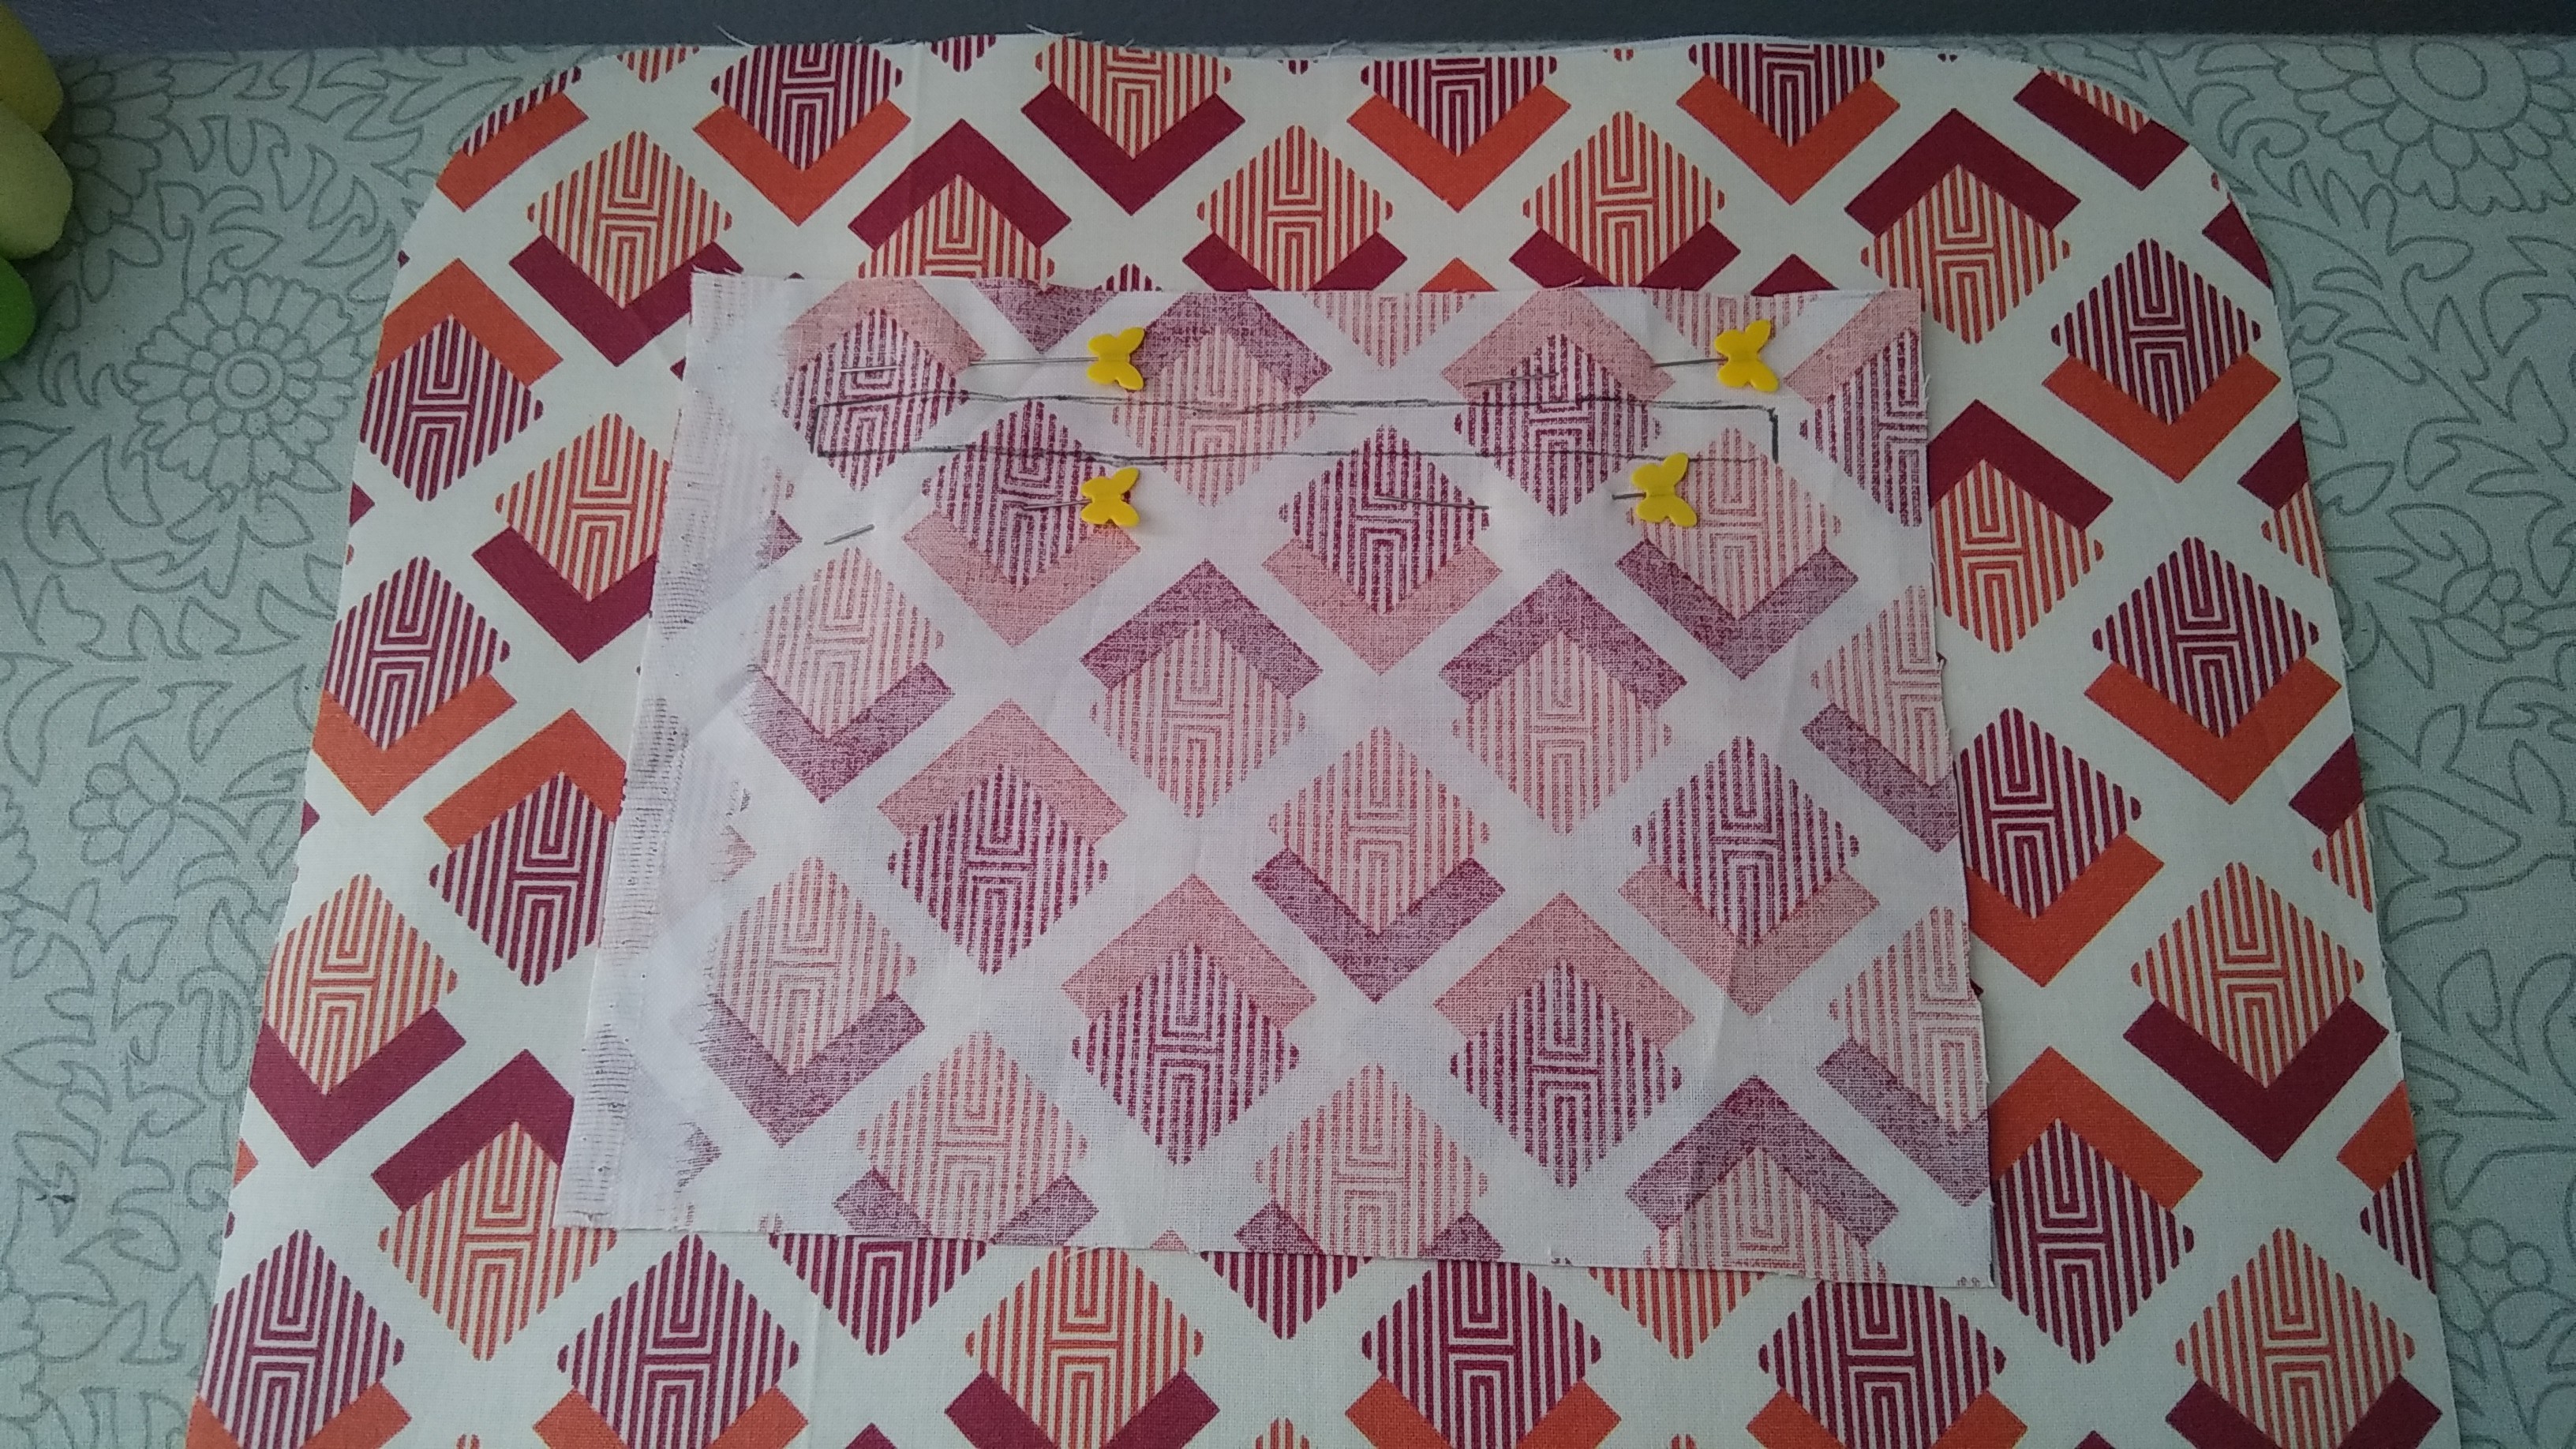
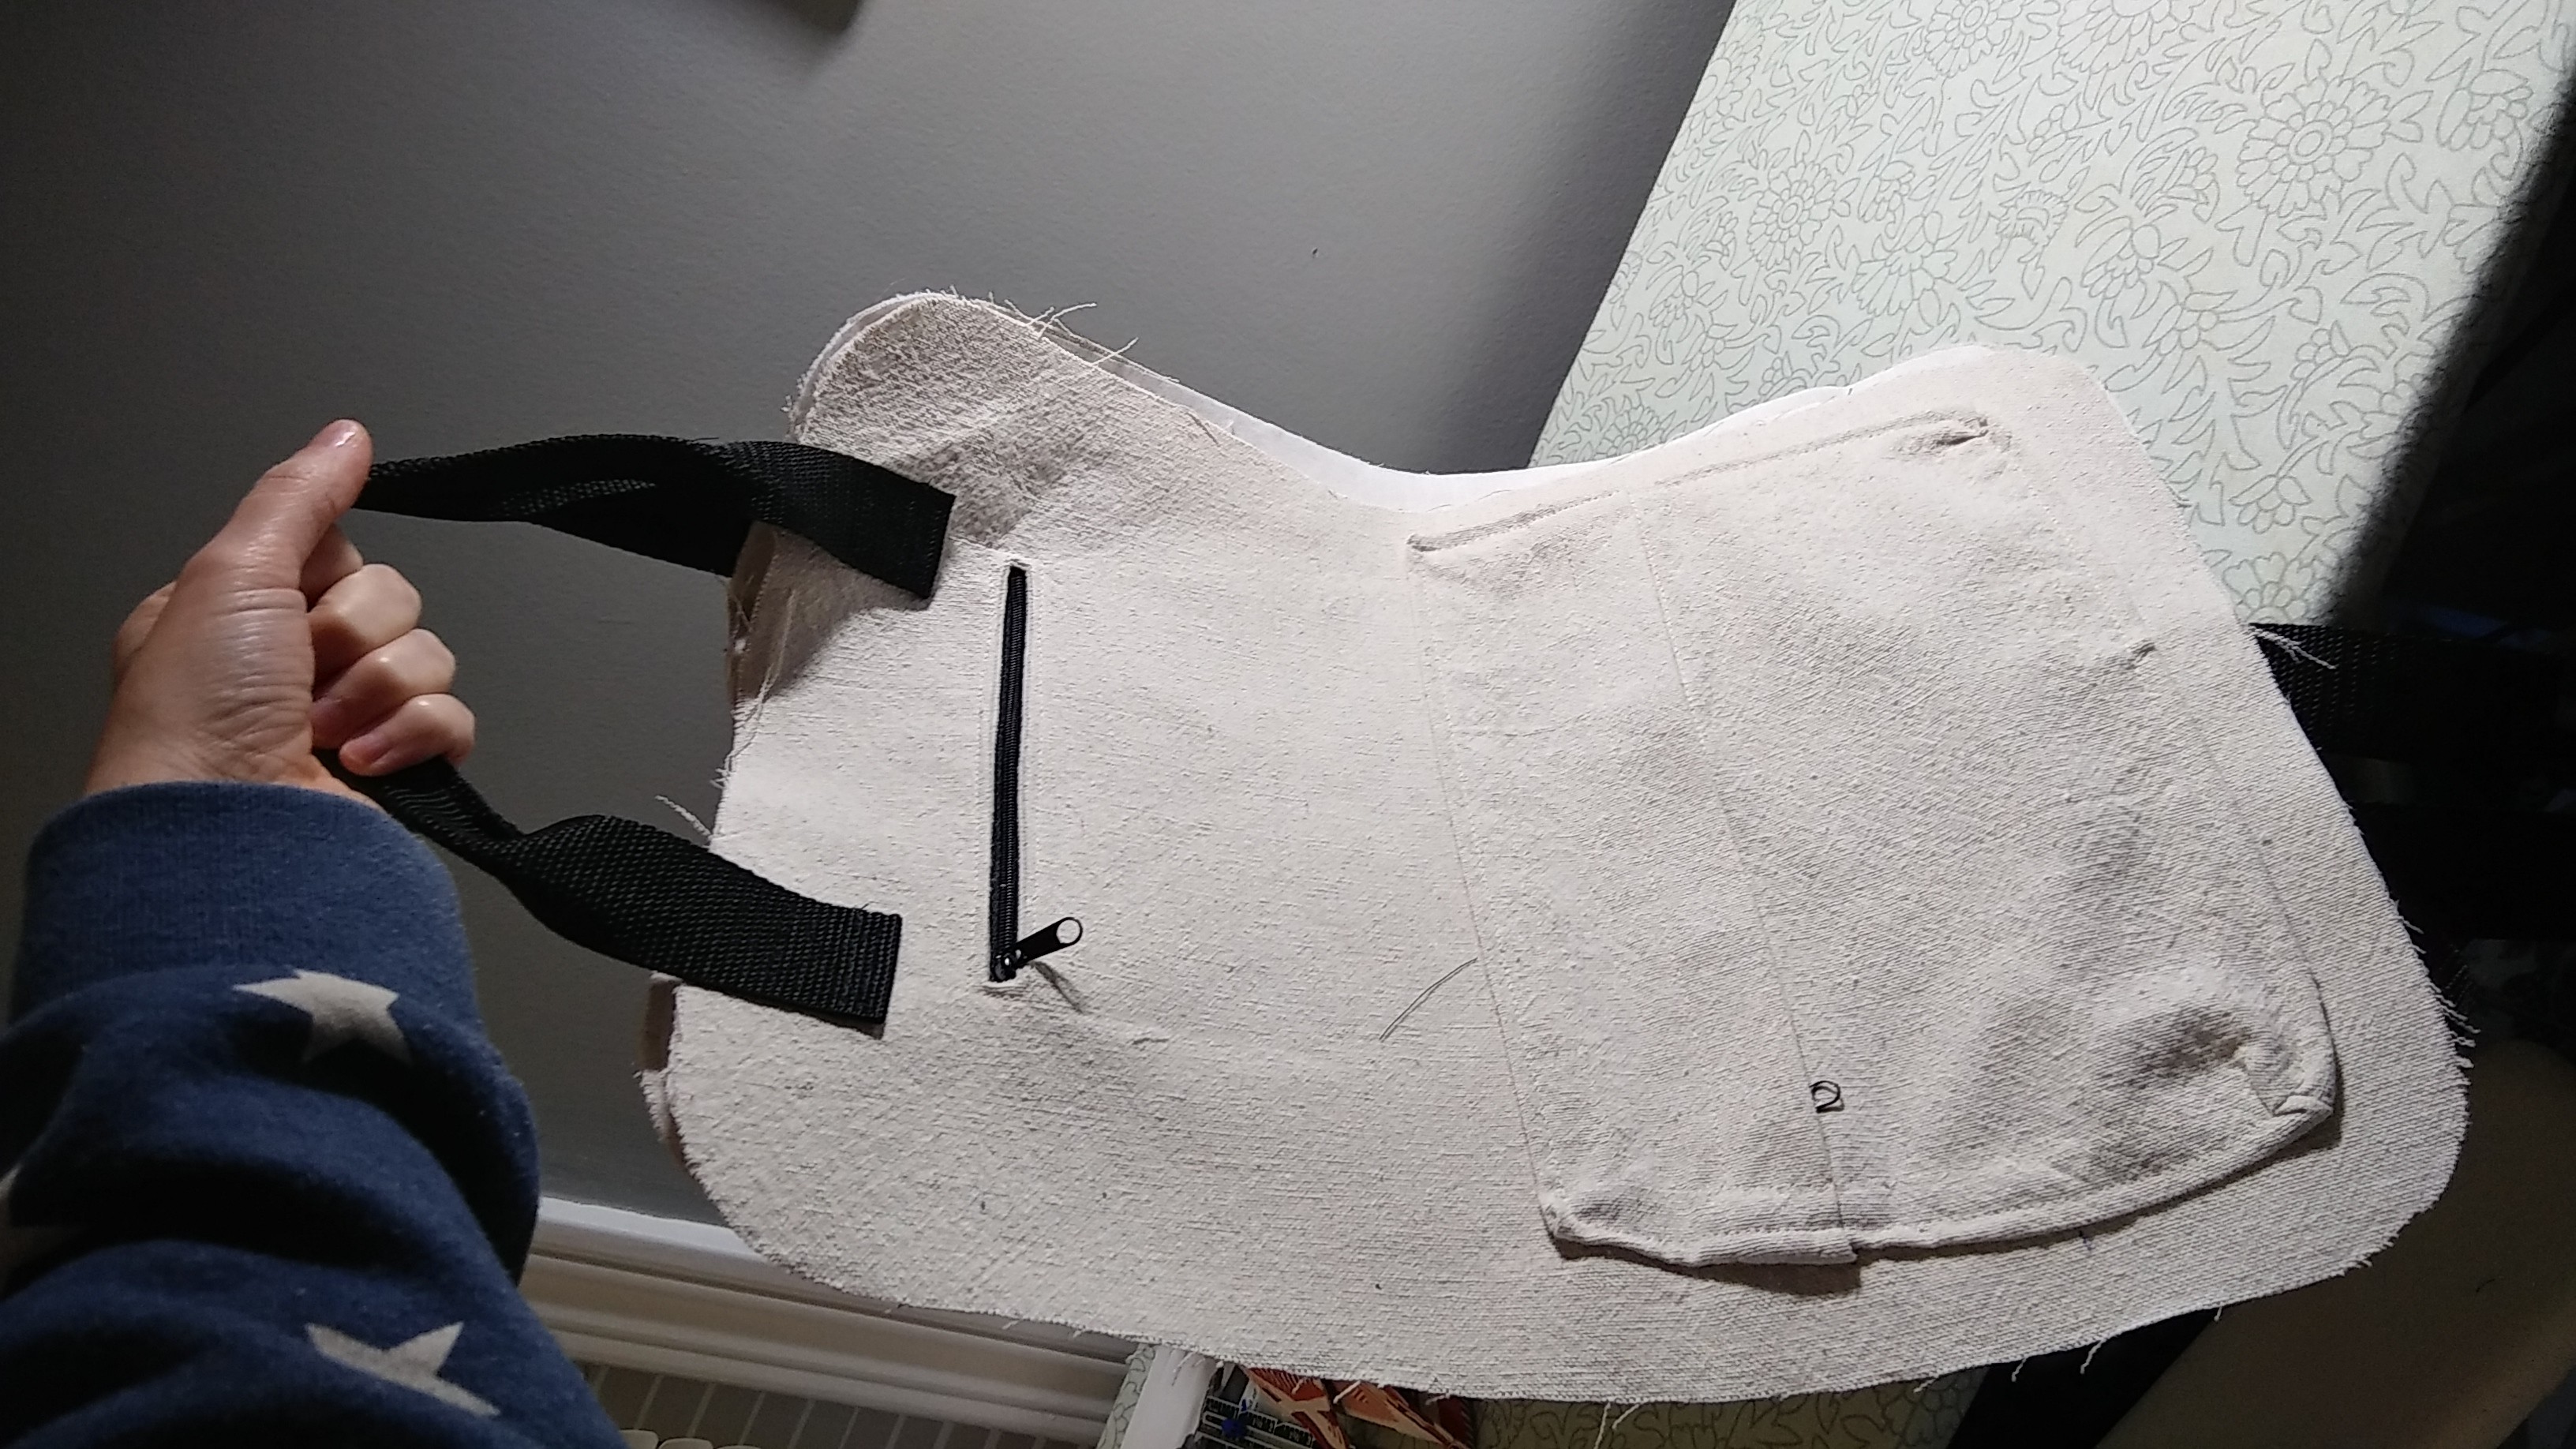
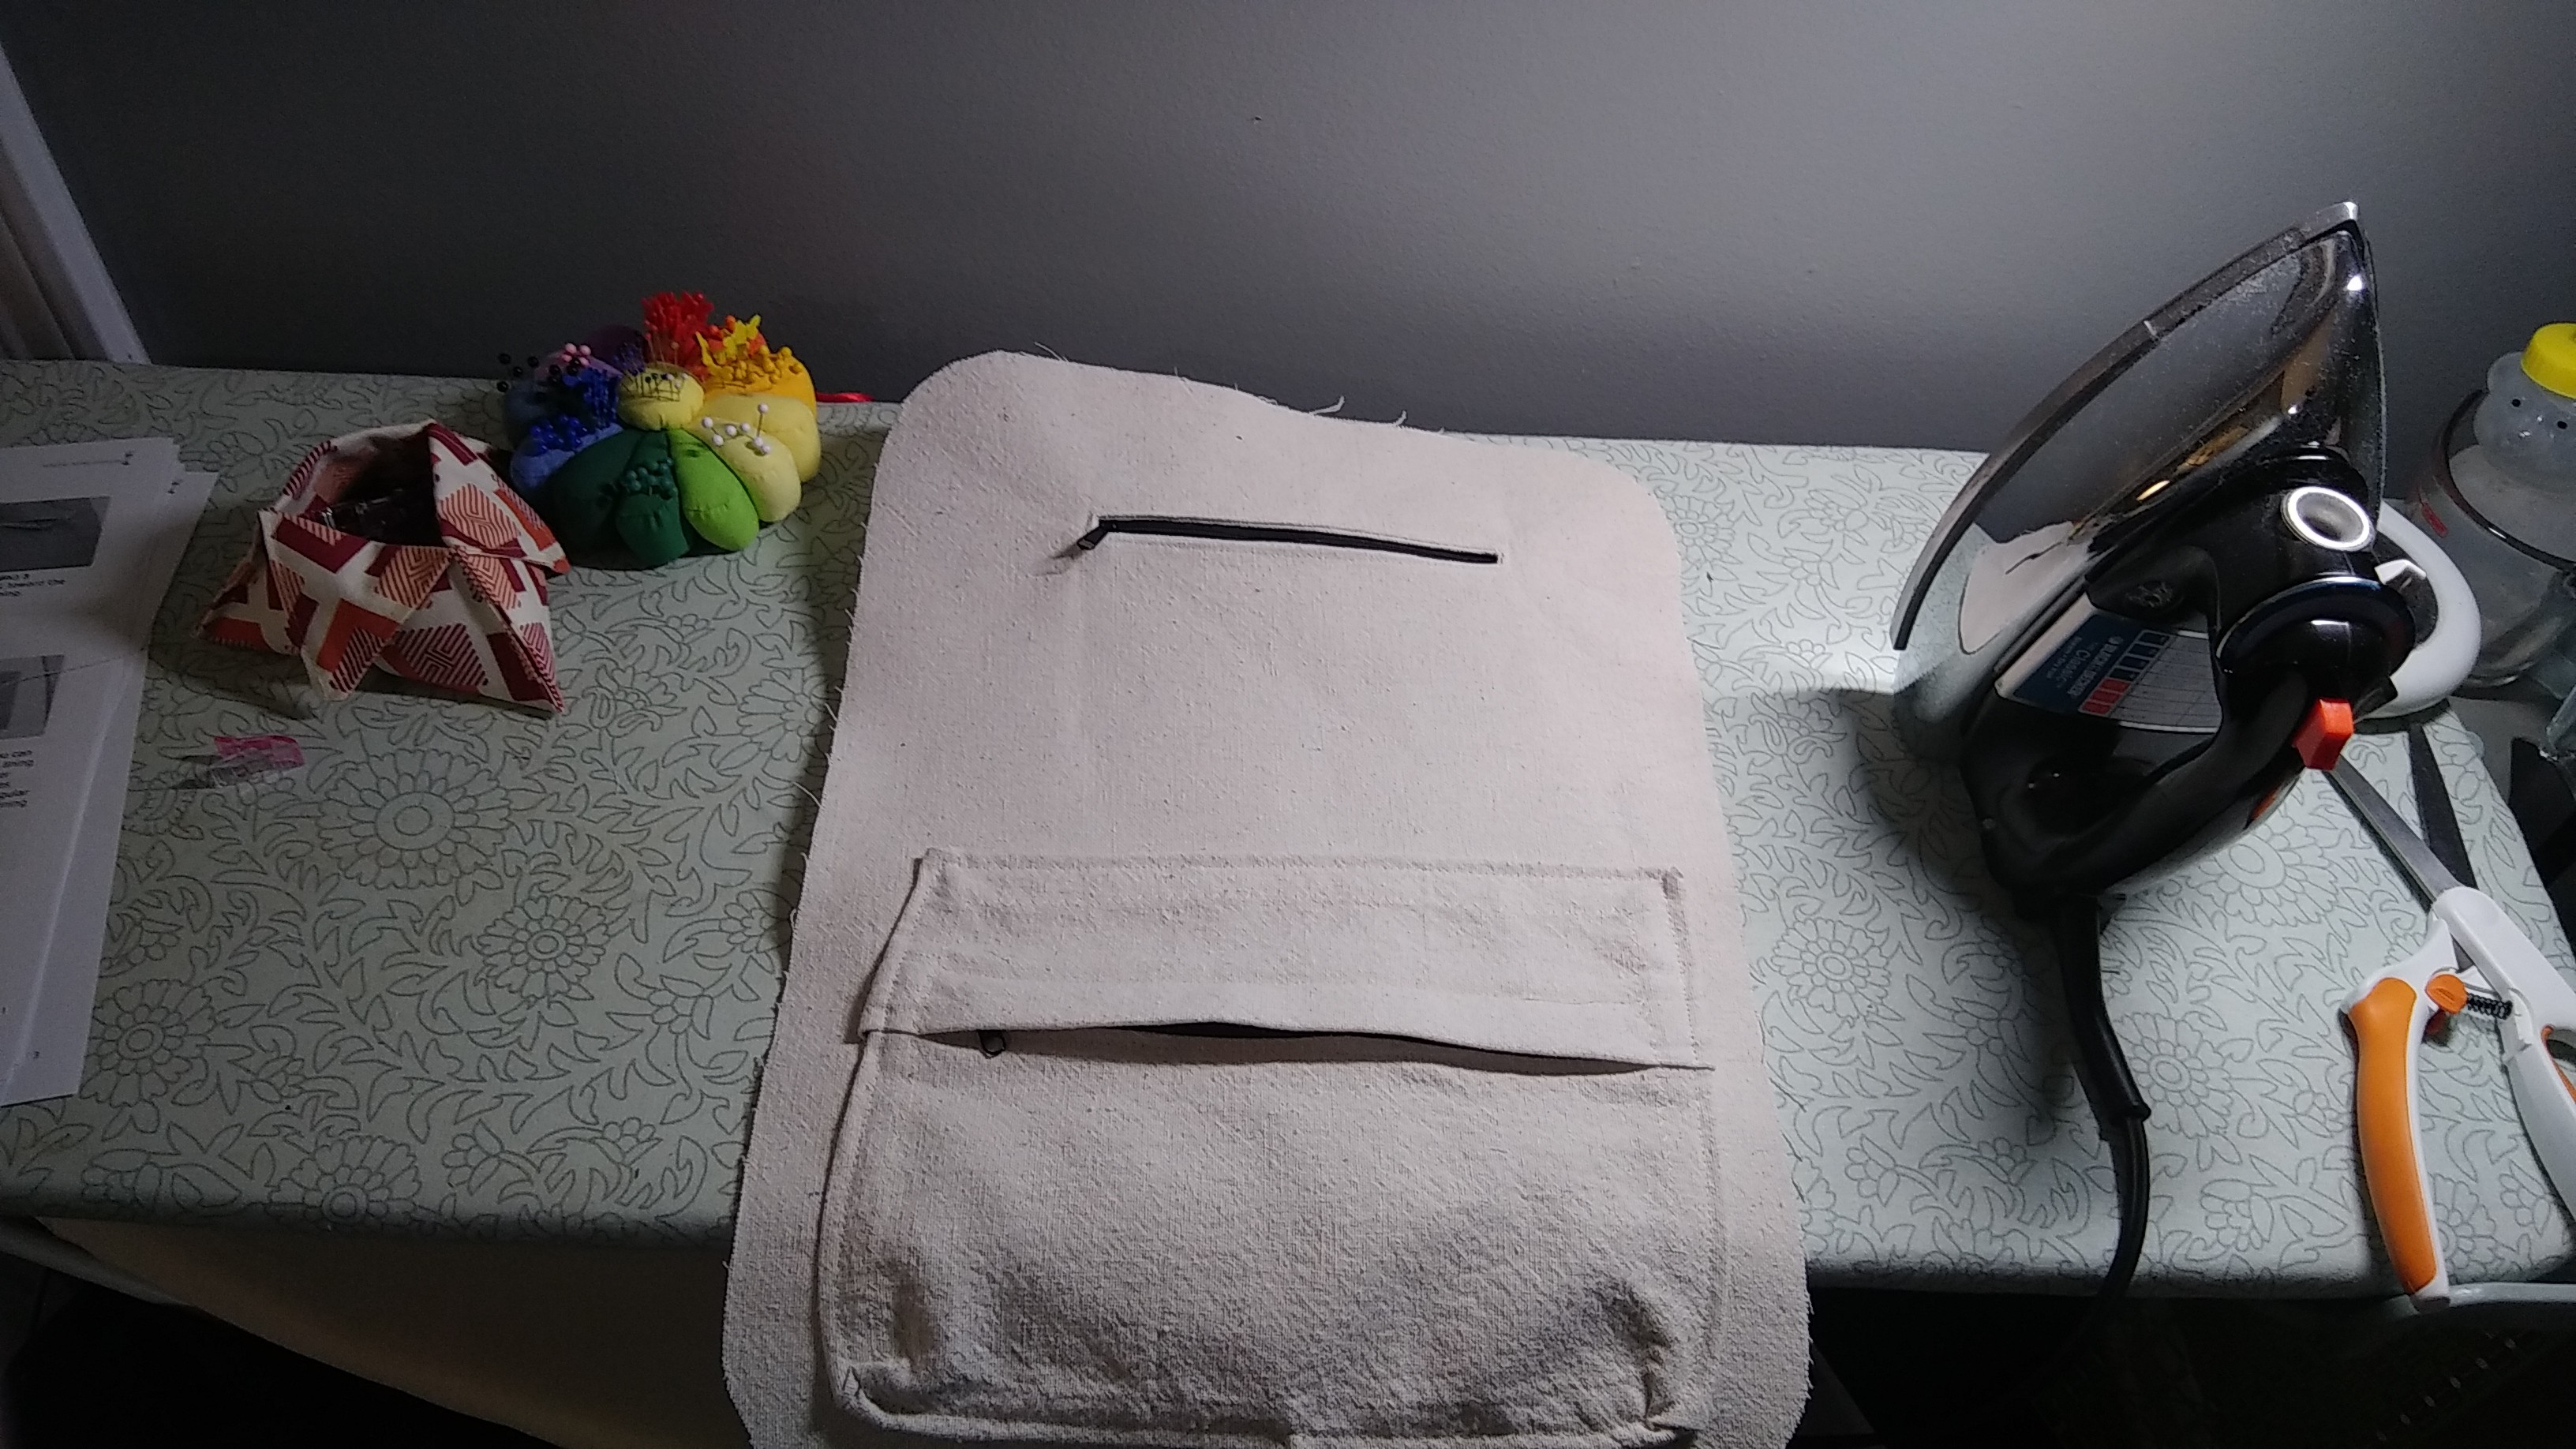
At this point, there's not much left to do before the backpack starts to come together. Both sides of the lining will have pockets. The back will have a large laptop-sized pocket and a zip pocket just like the top pocket on the front. The front lining will have three pockets.
So we have to do the same scary thing we did to the front of the backpack:
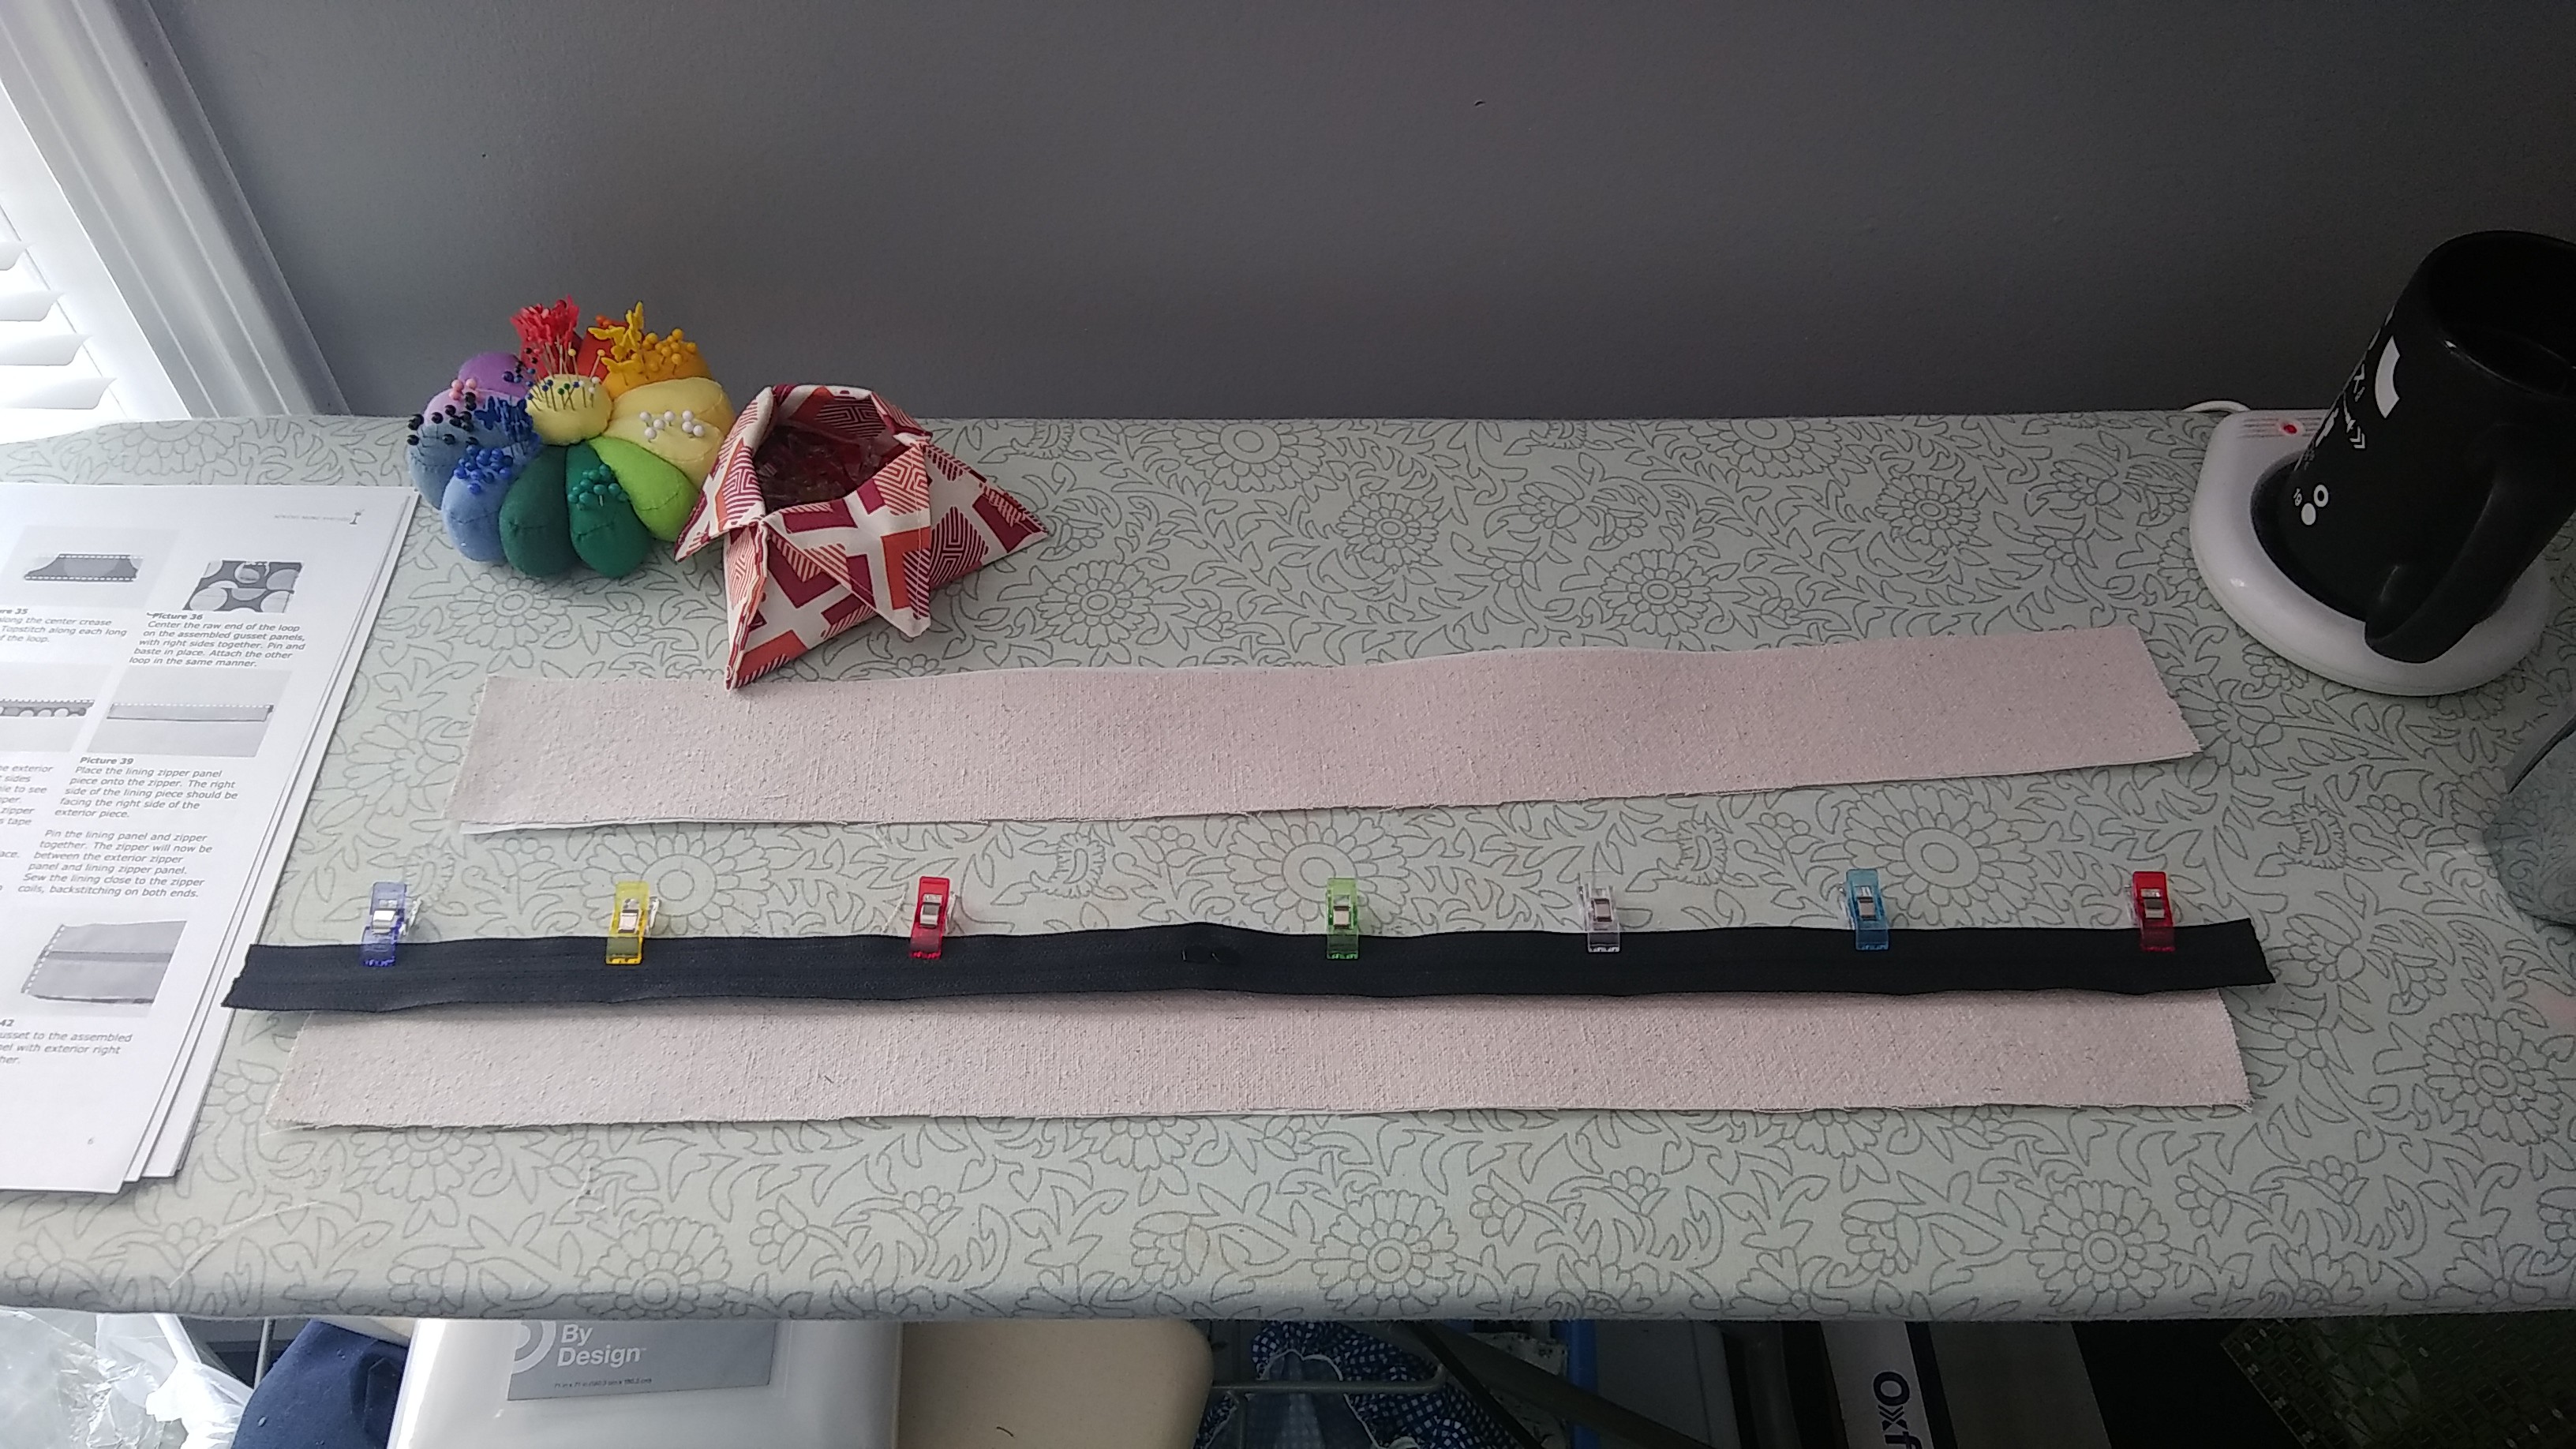
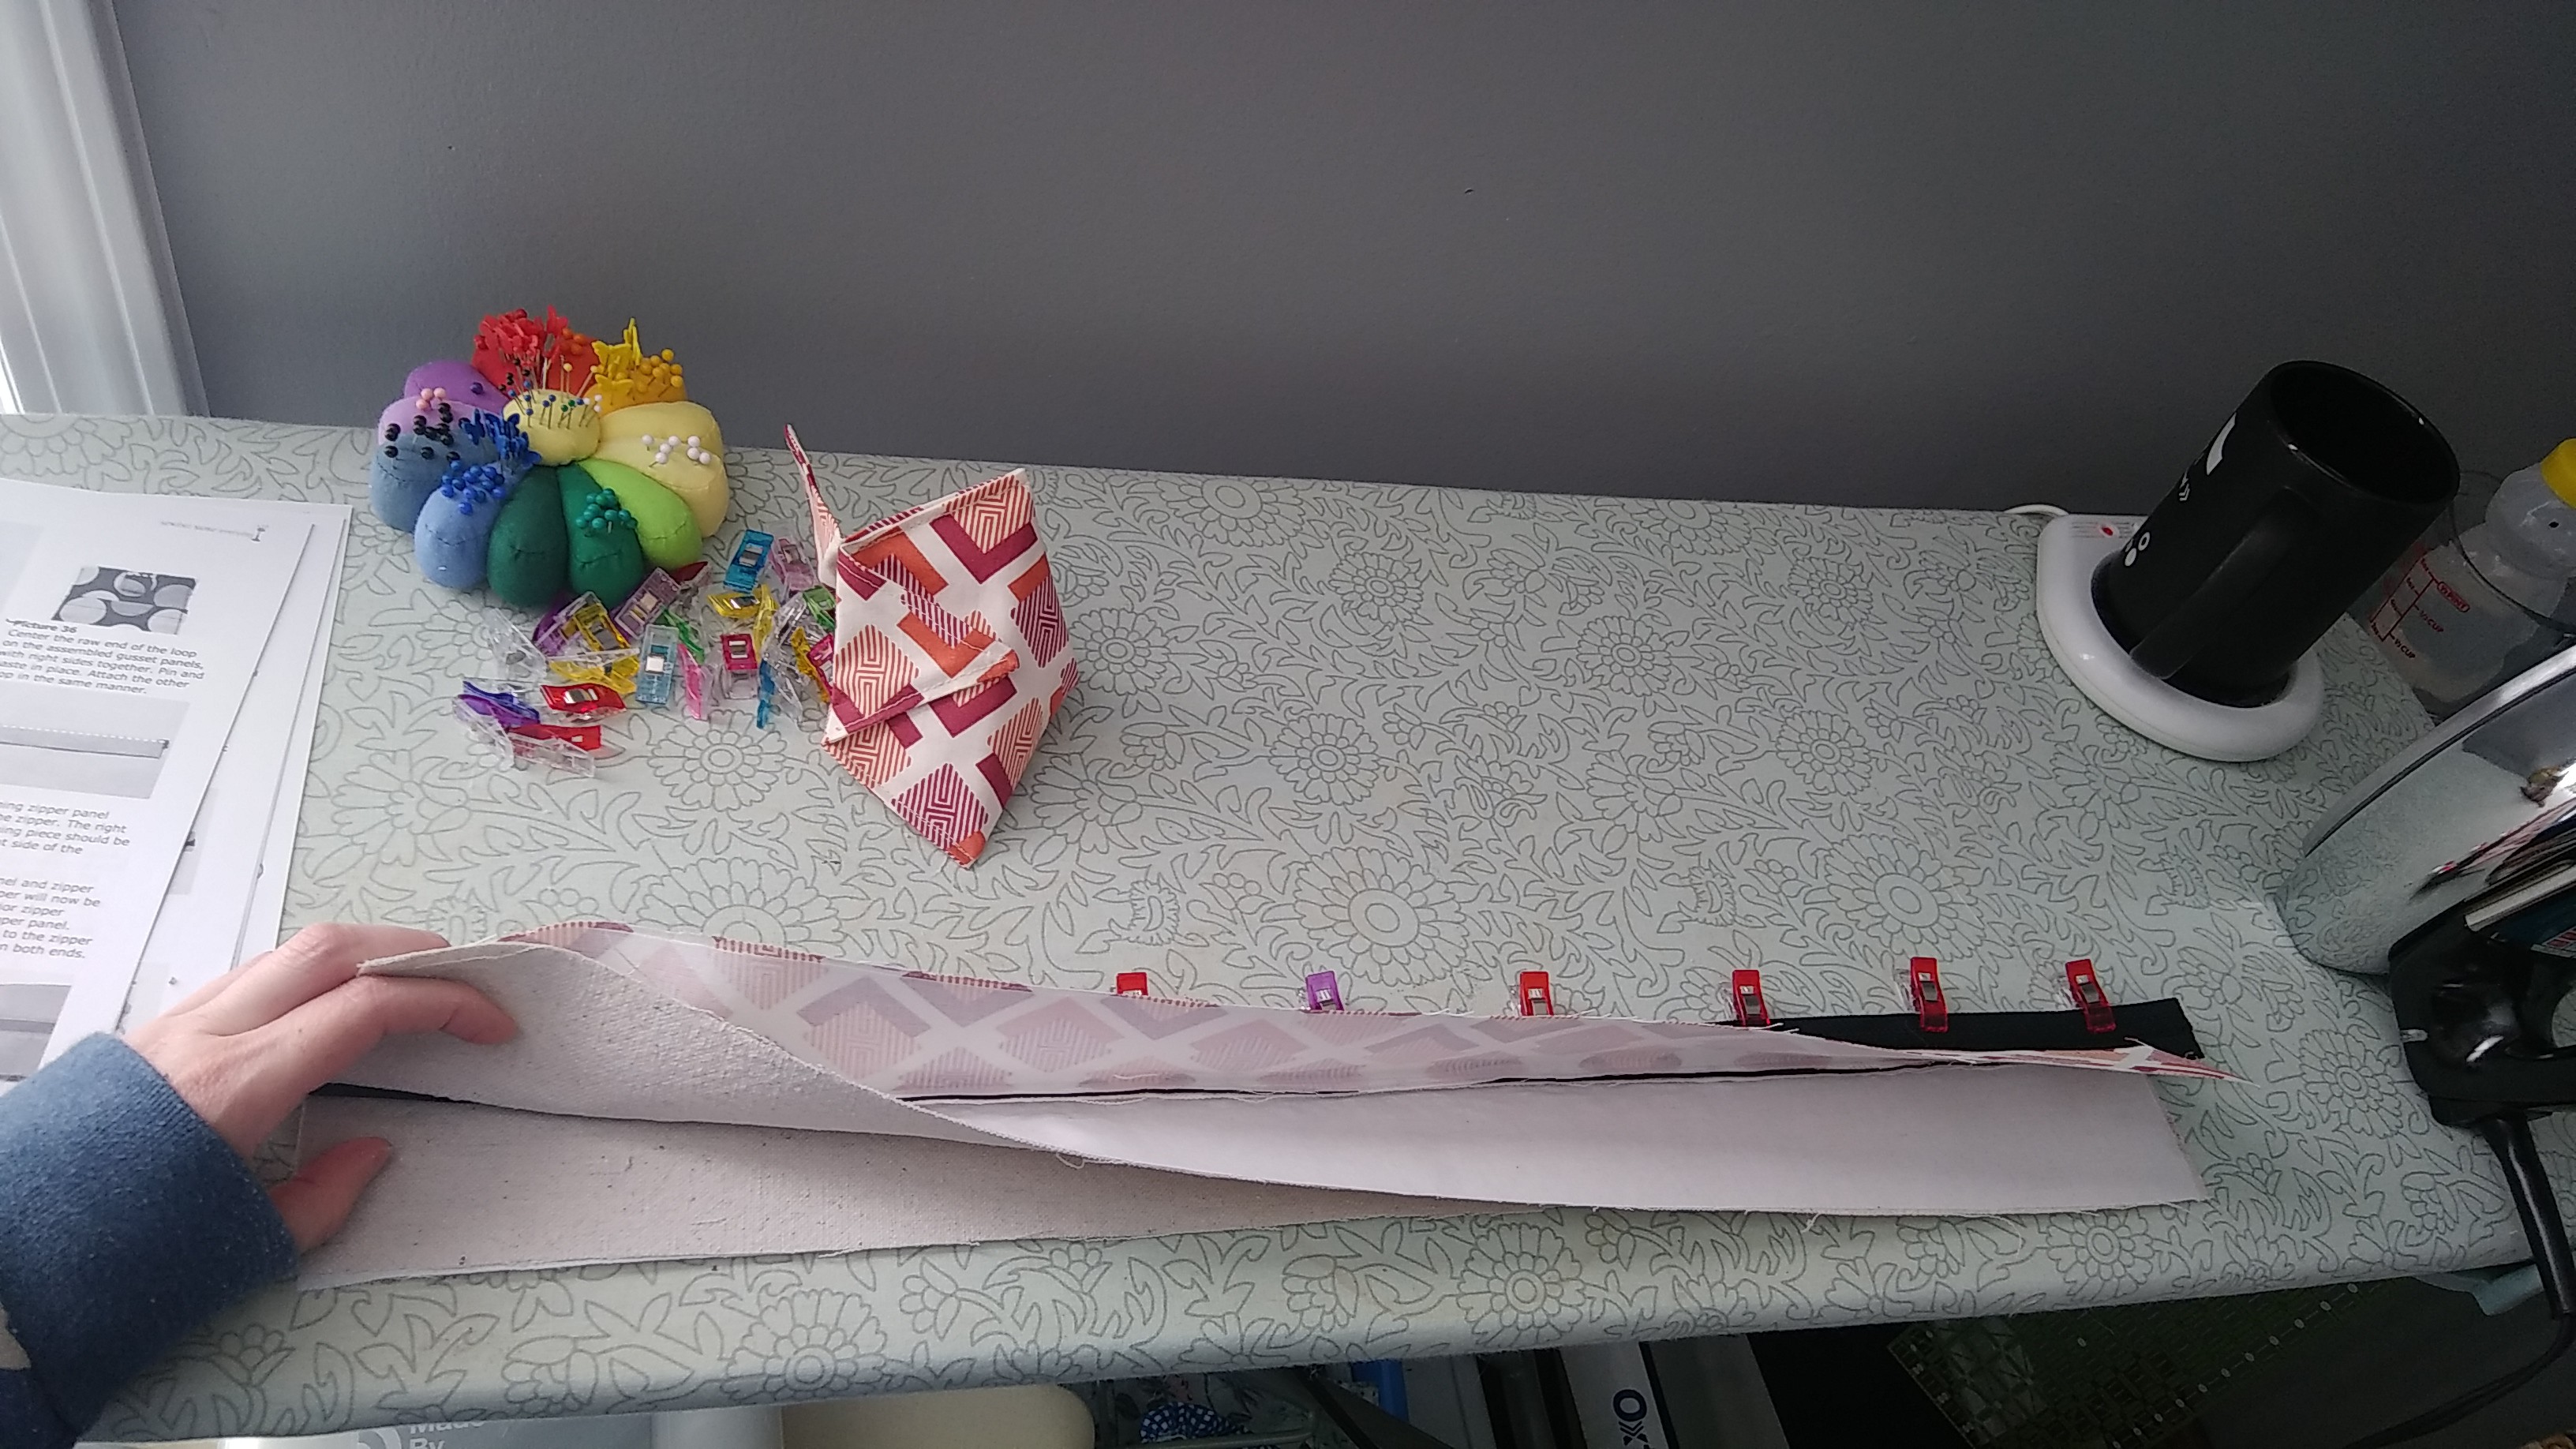
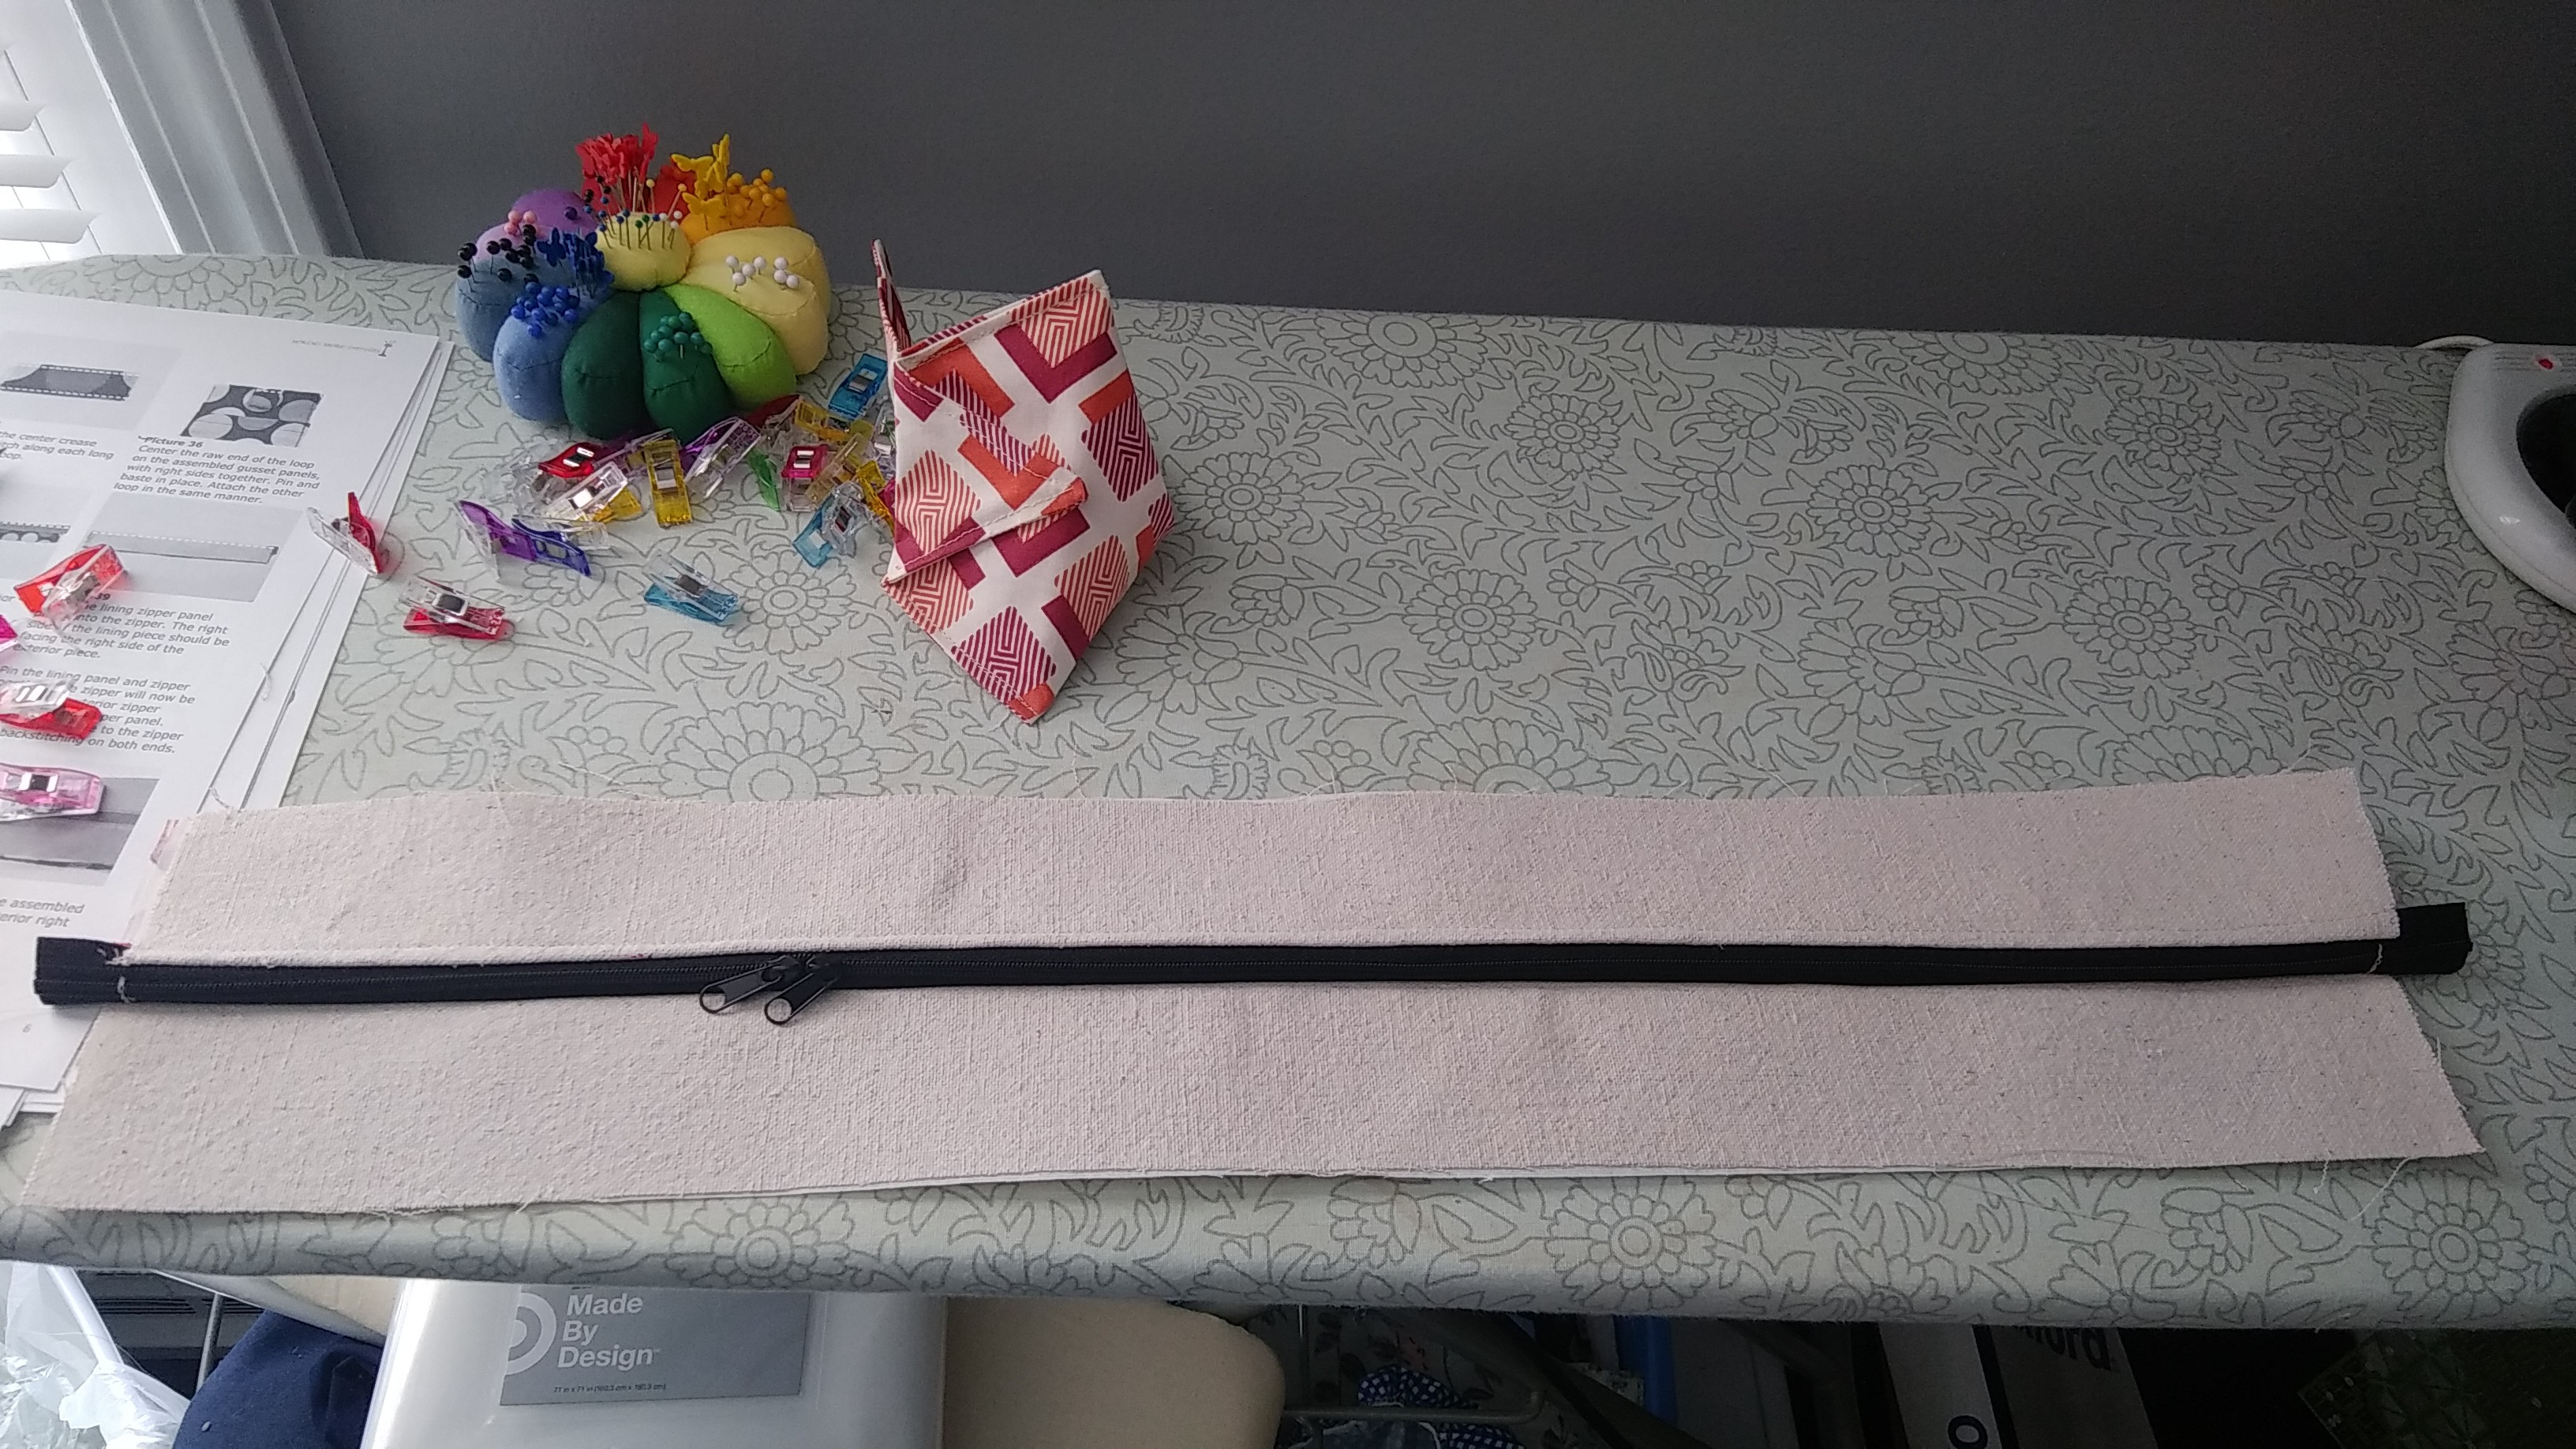
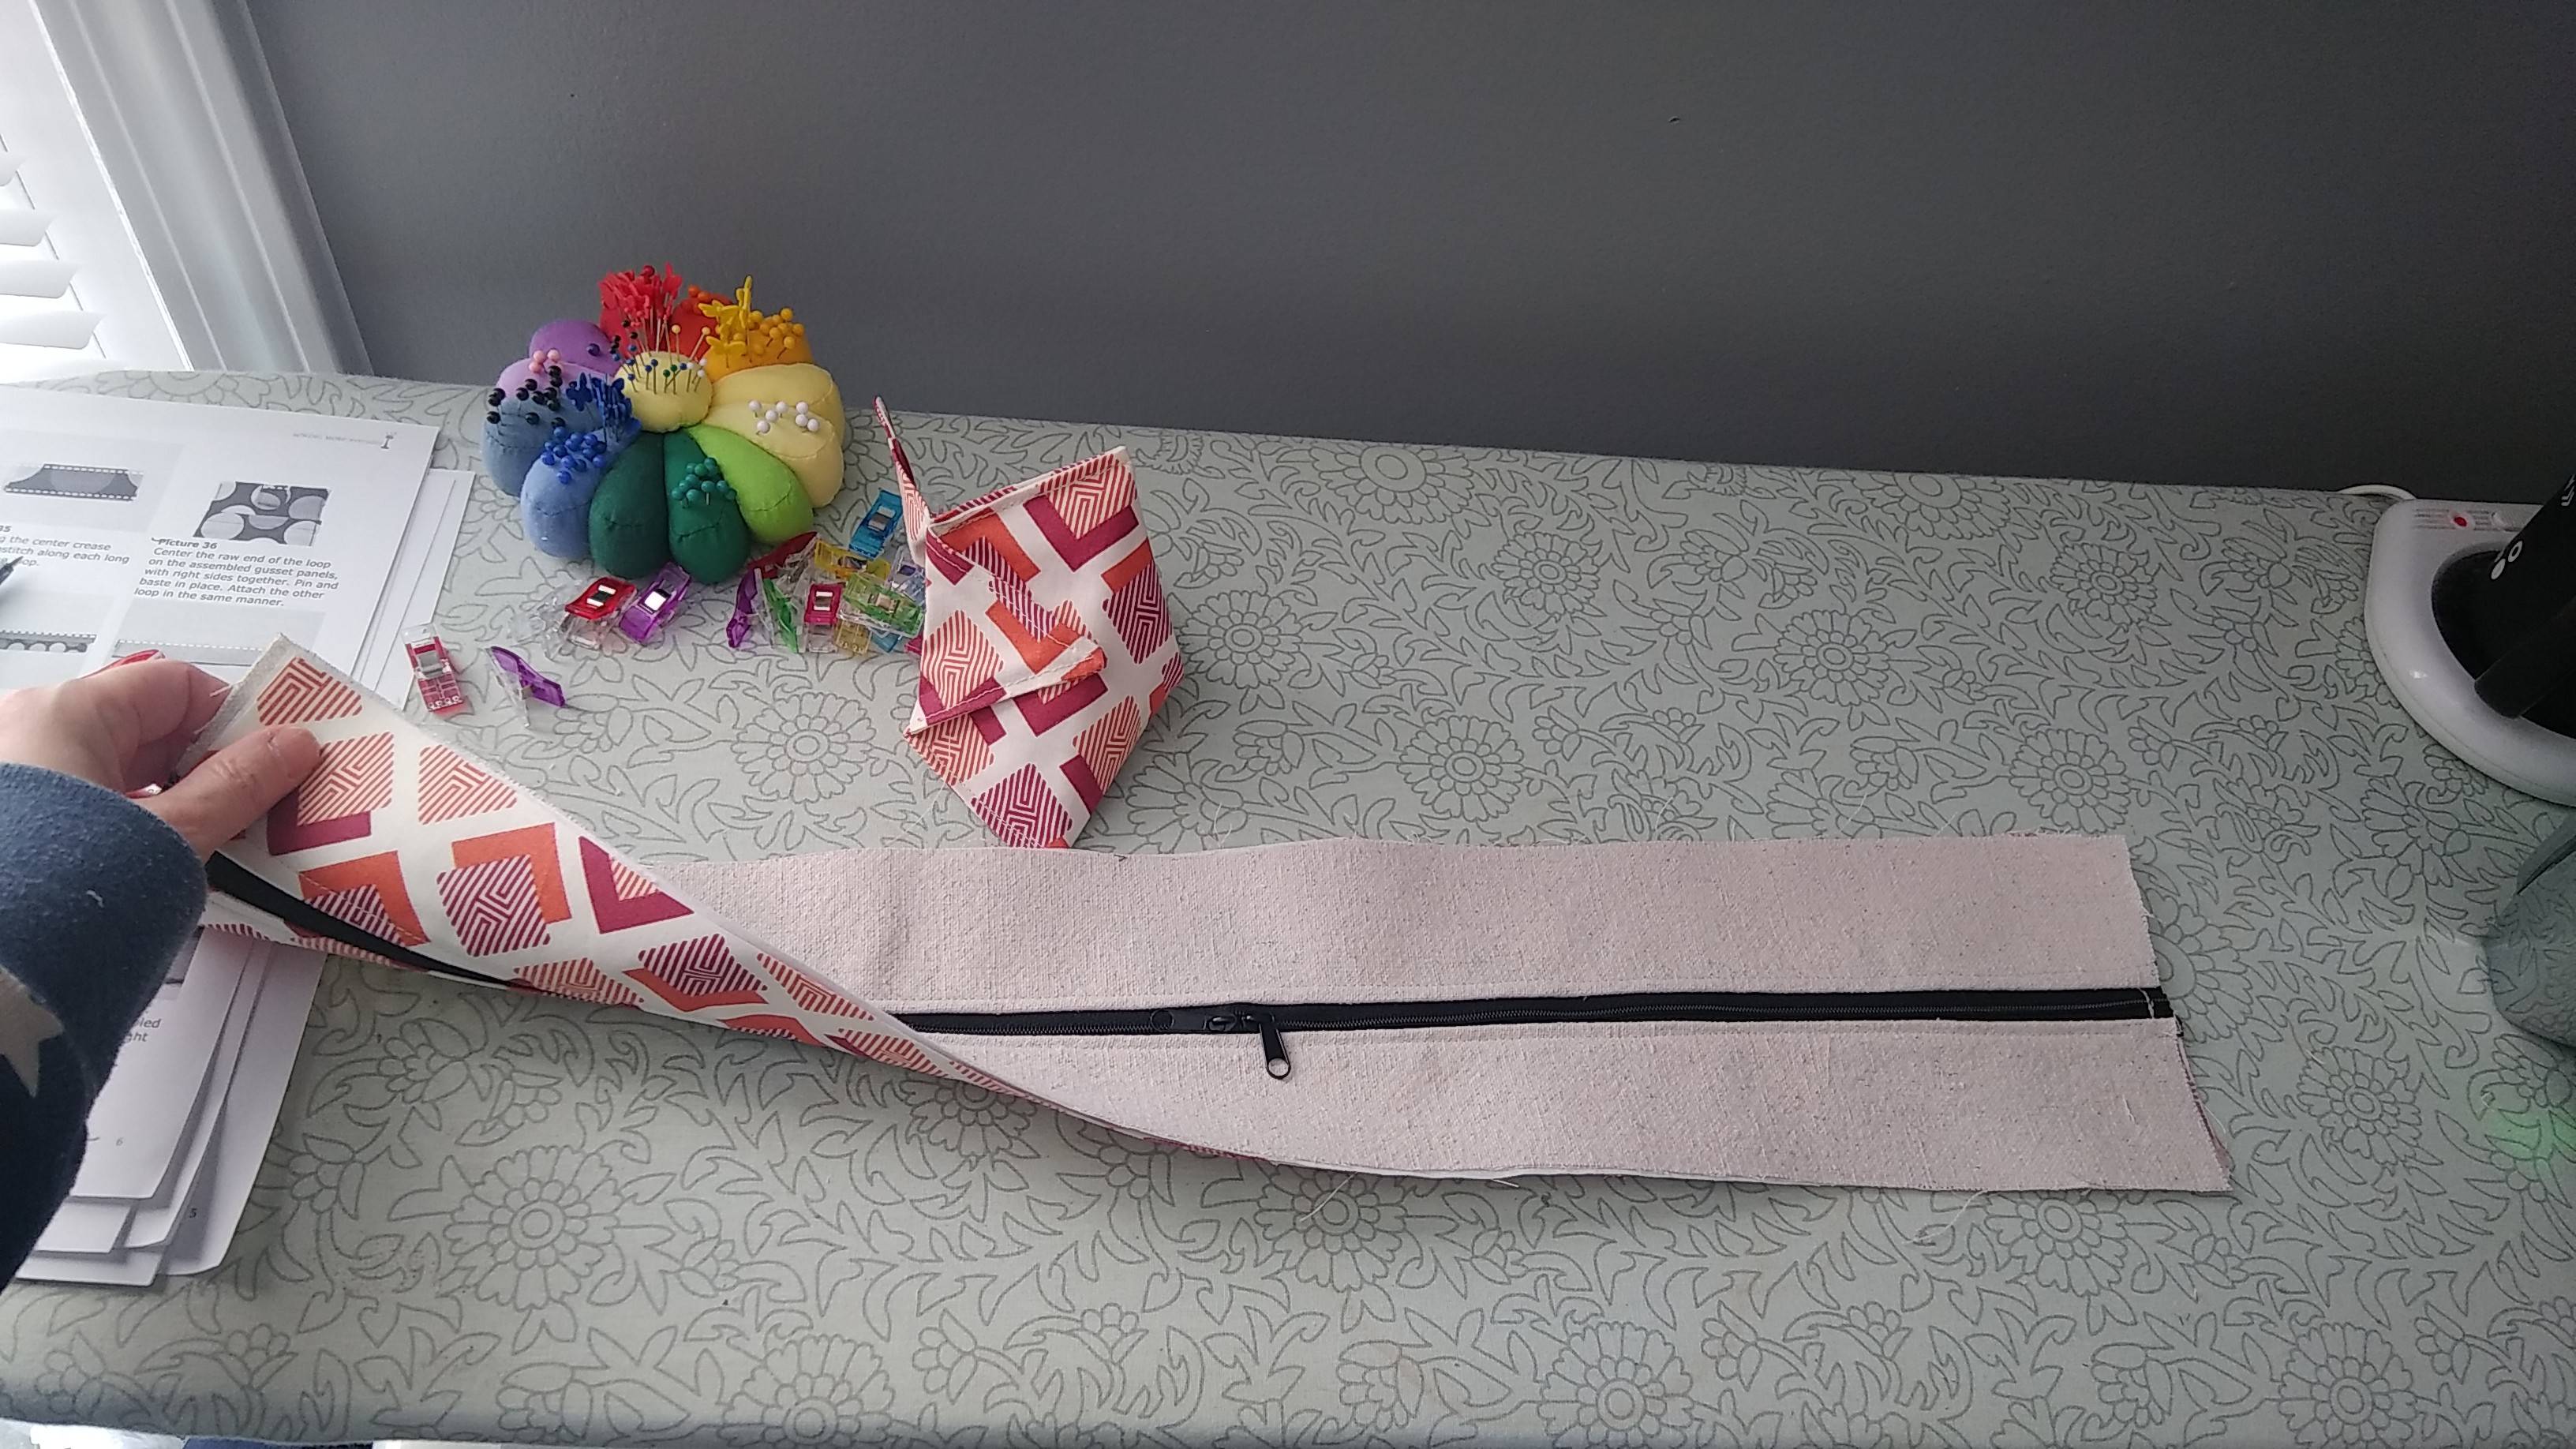
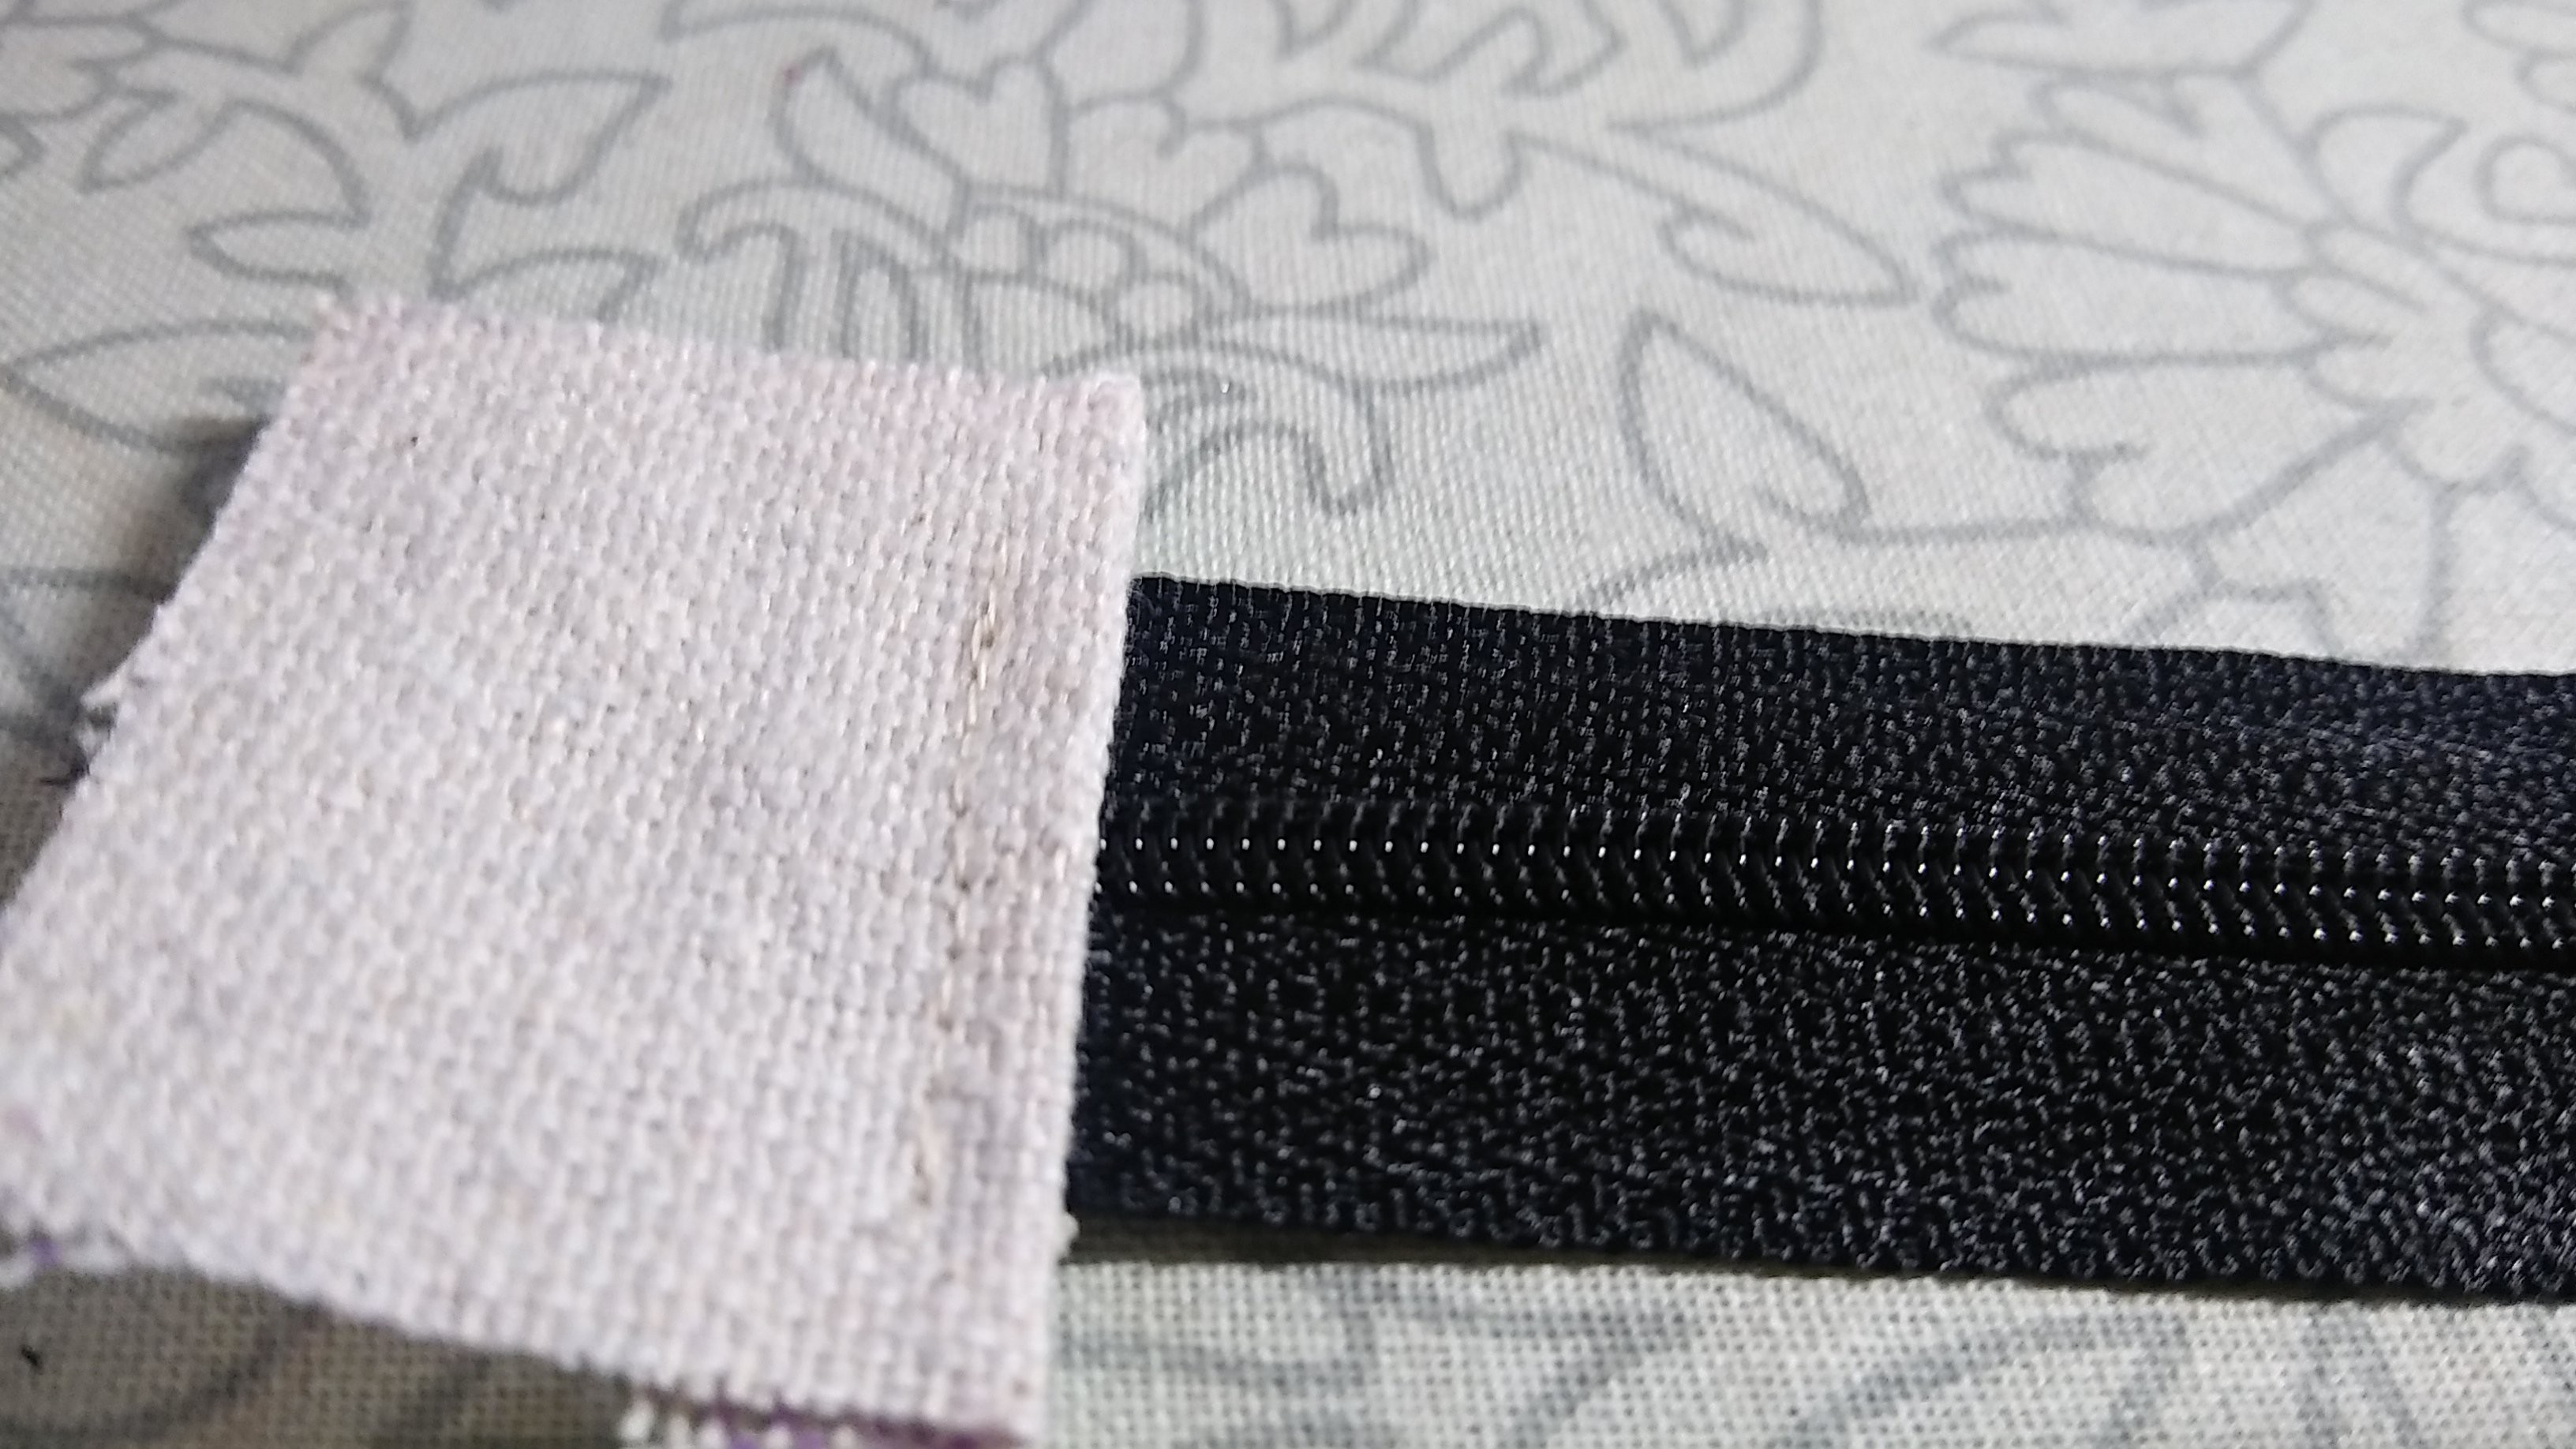
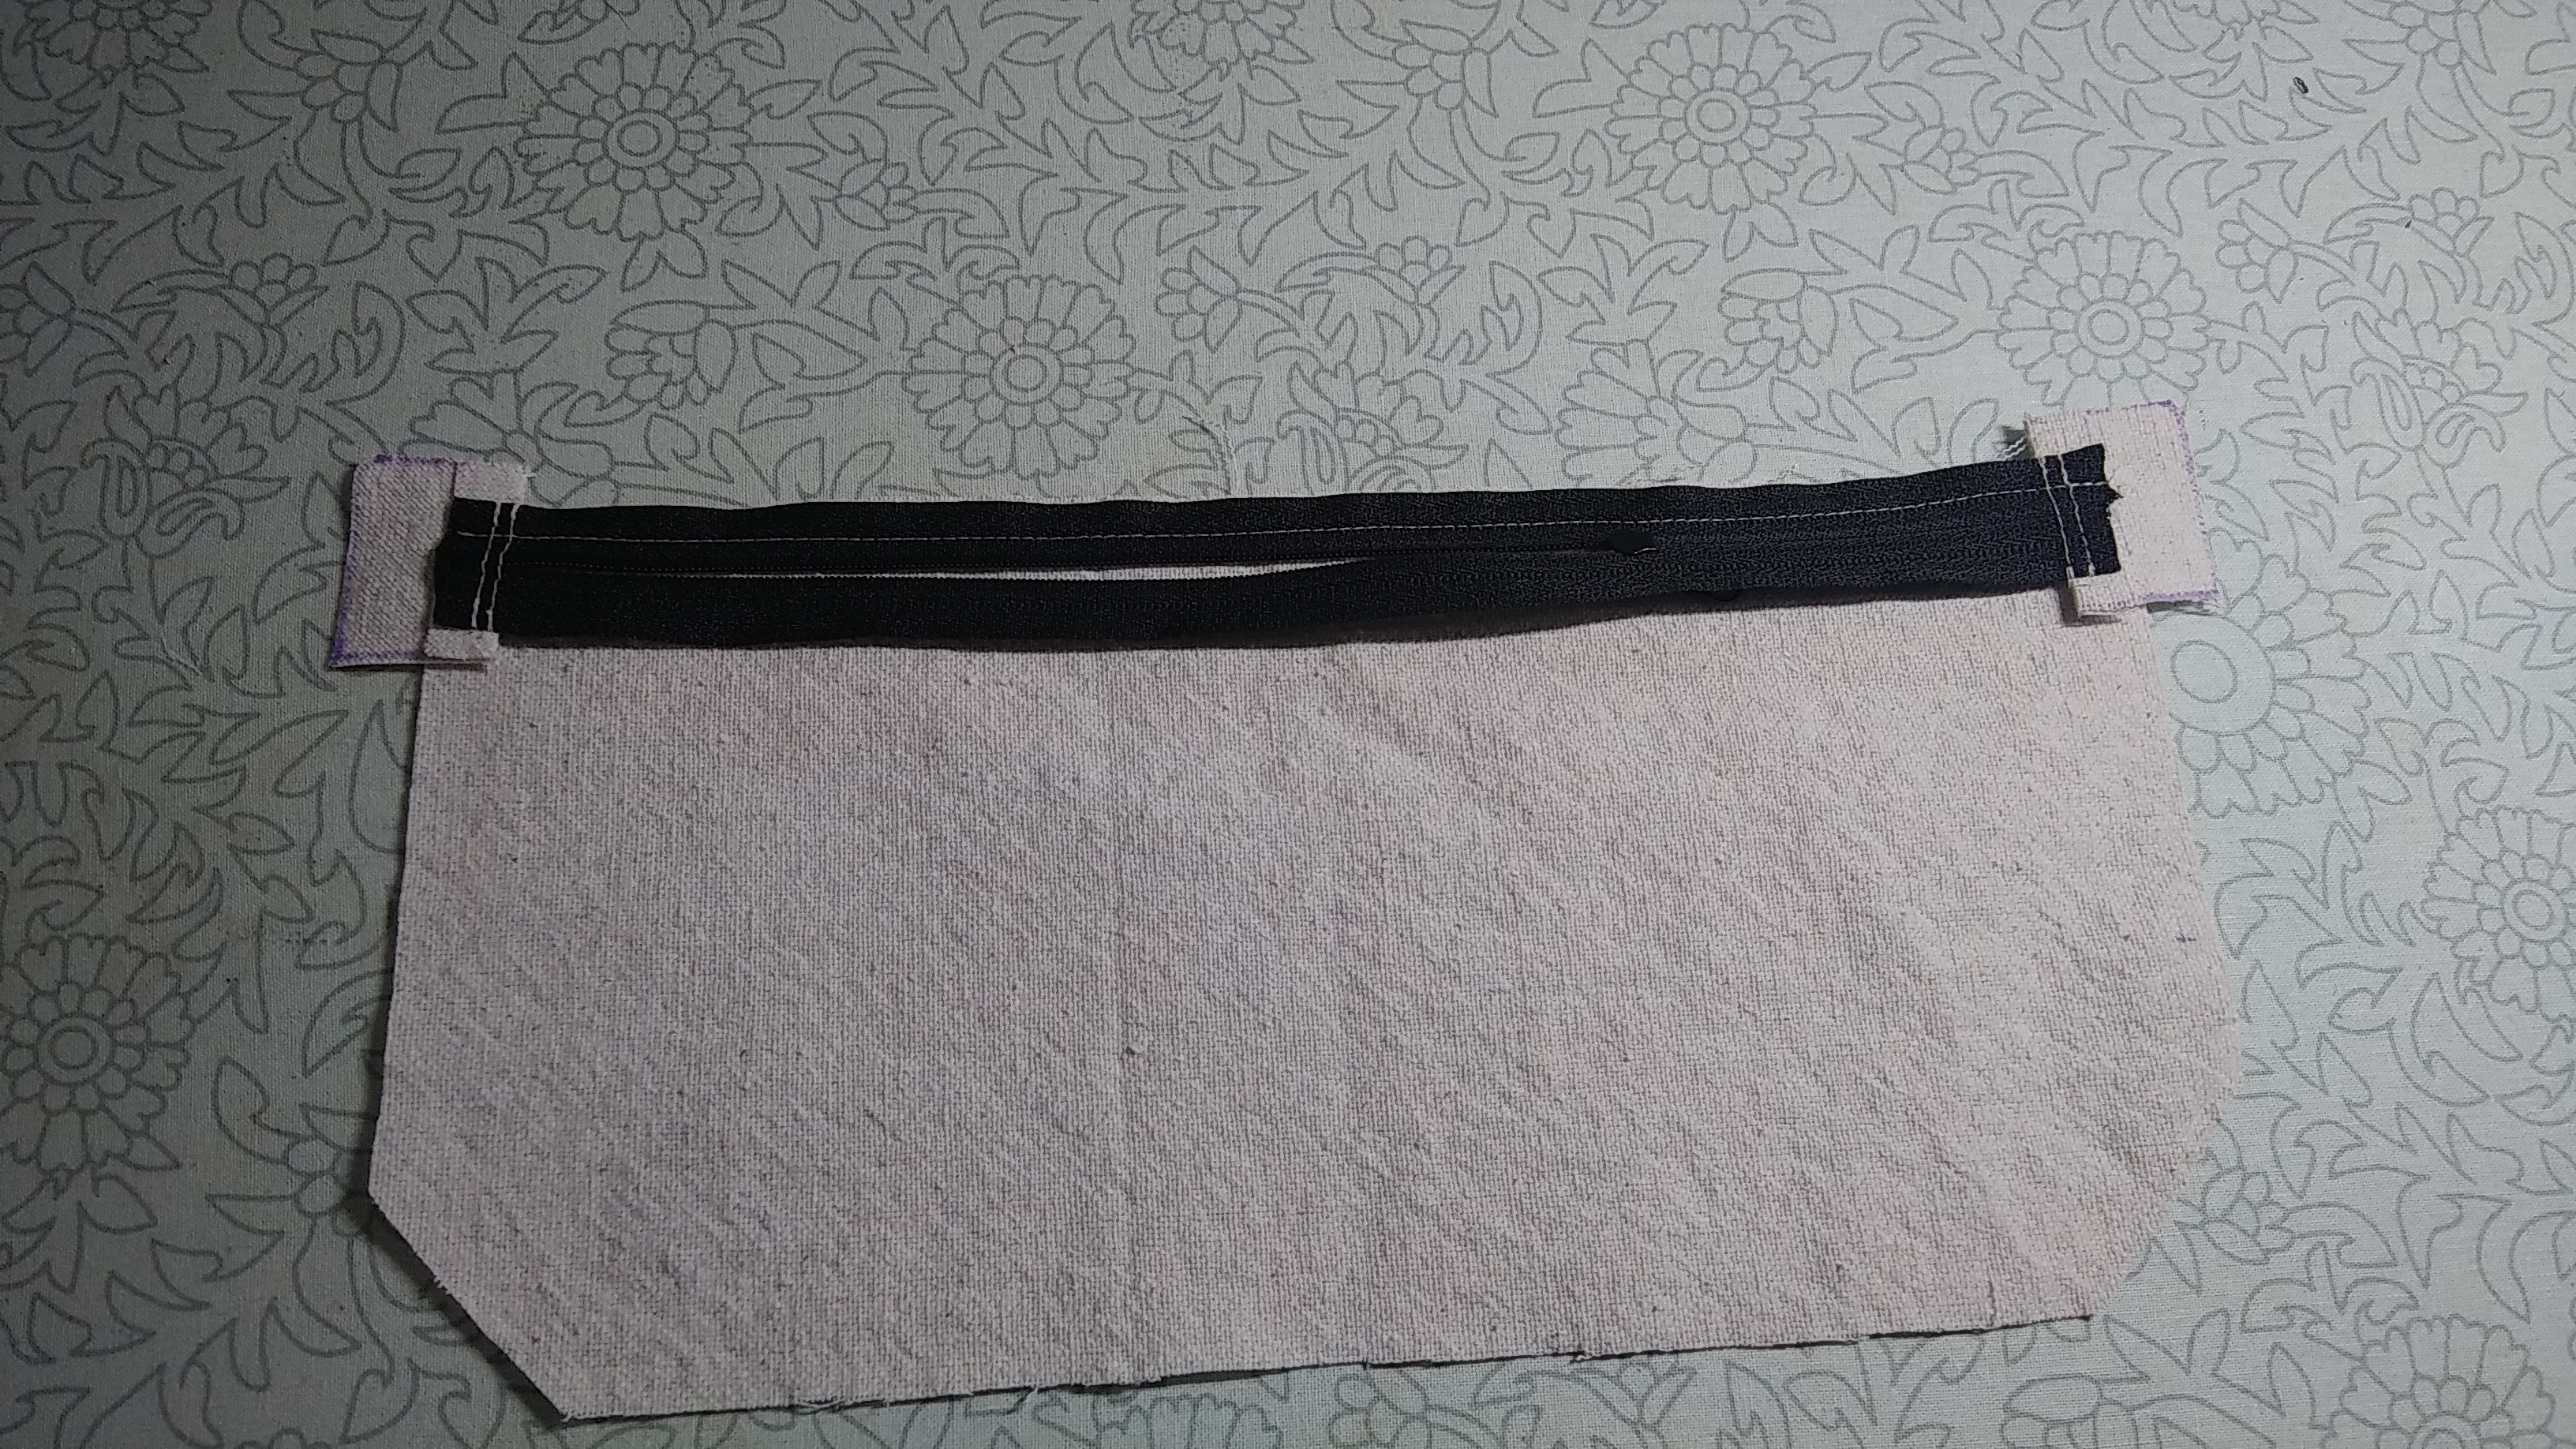
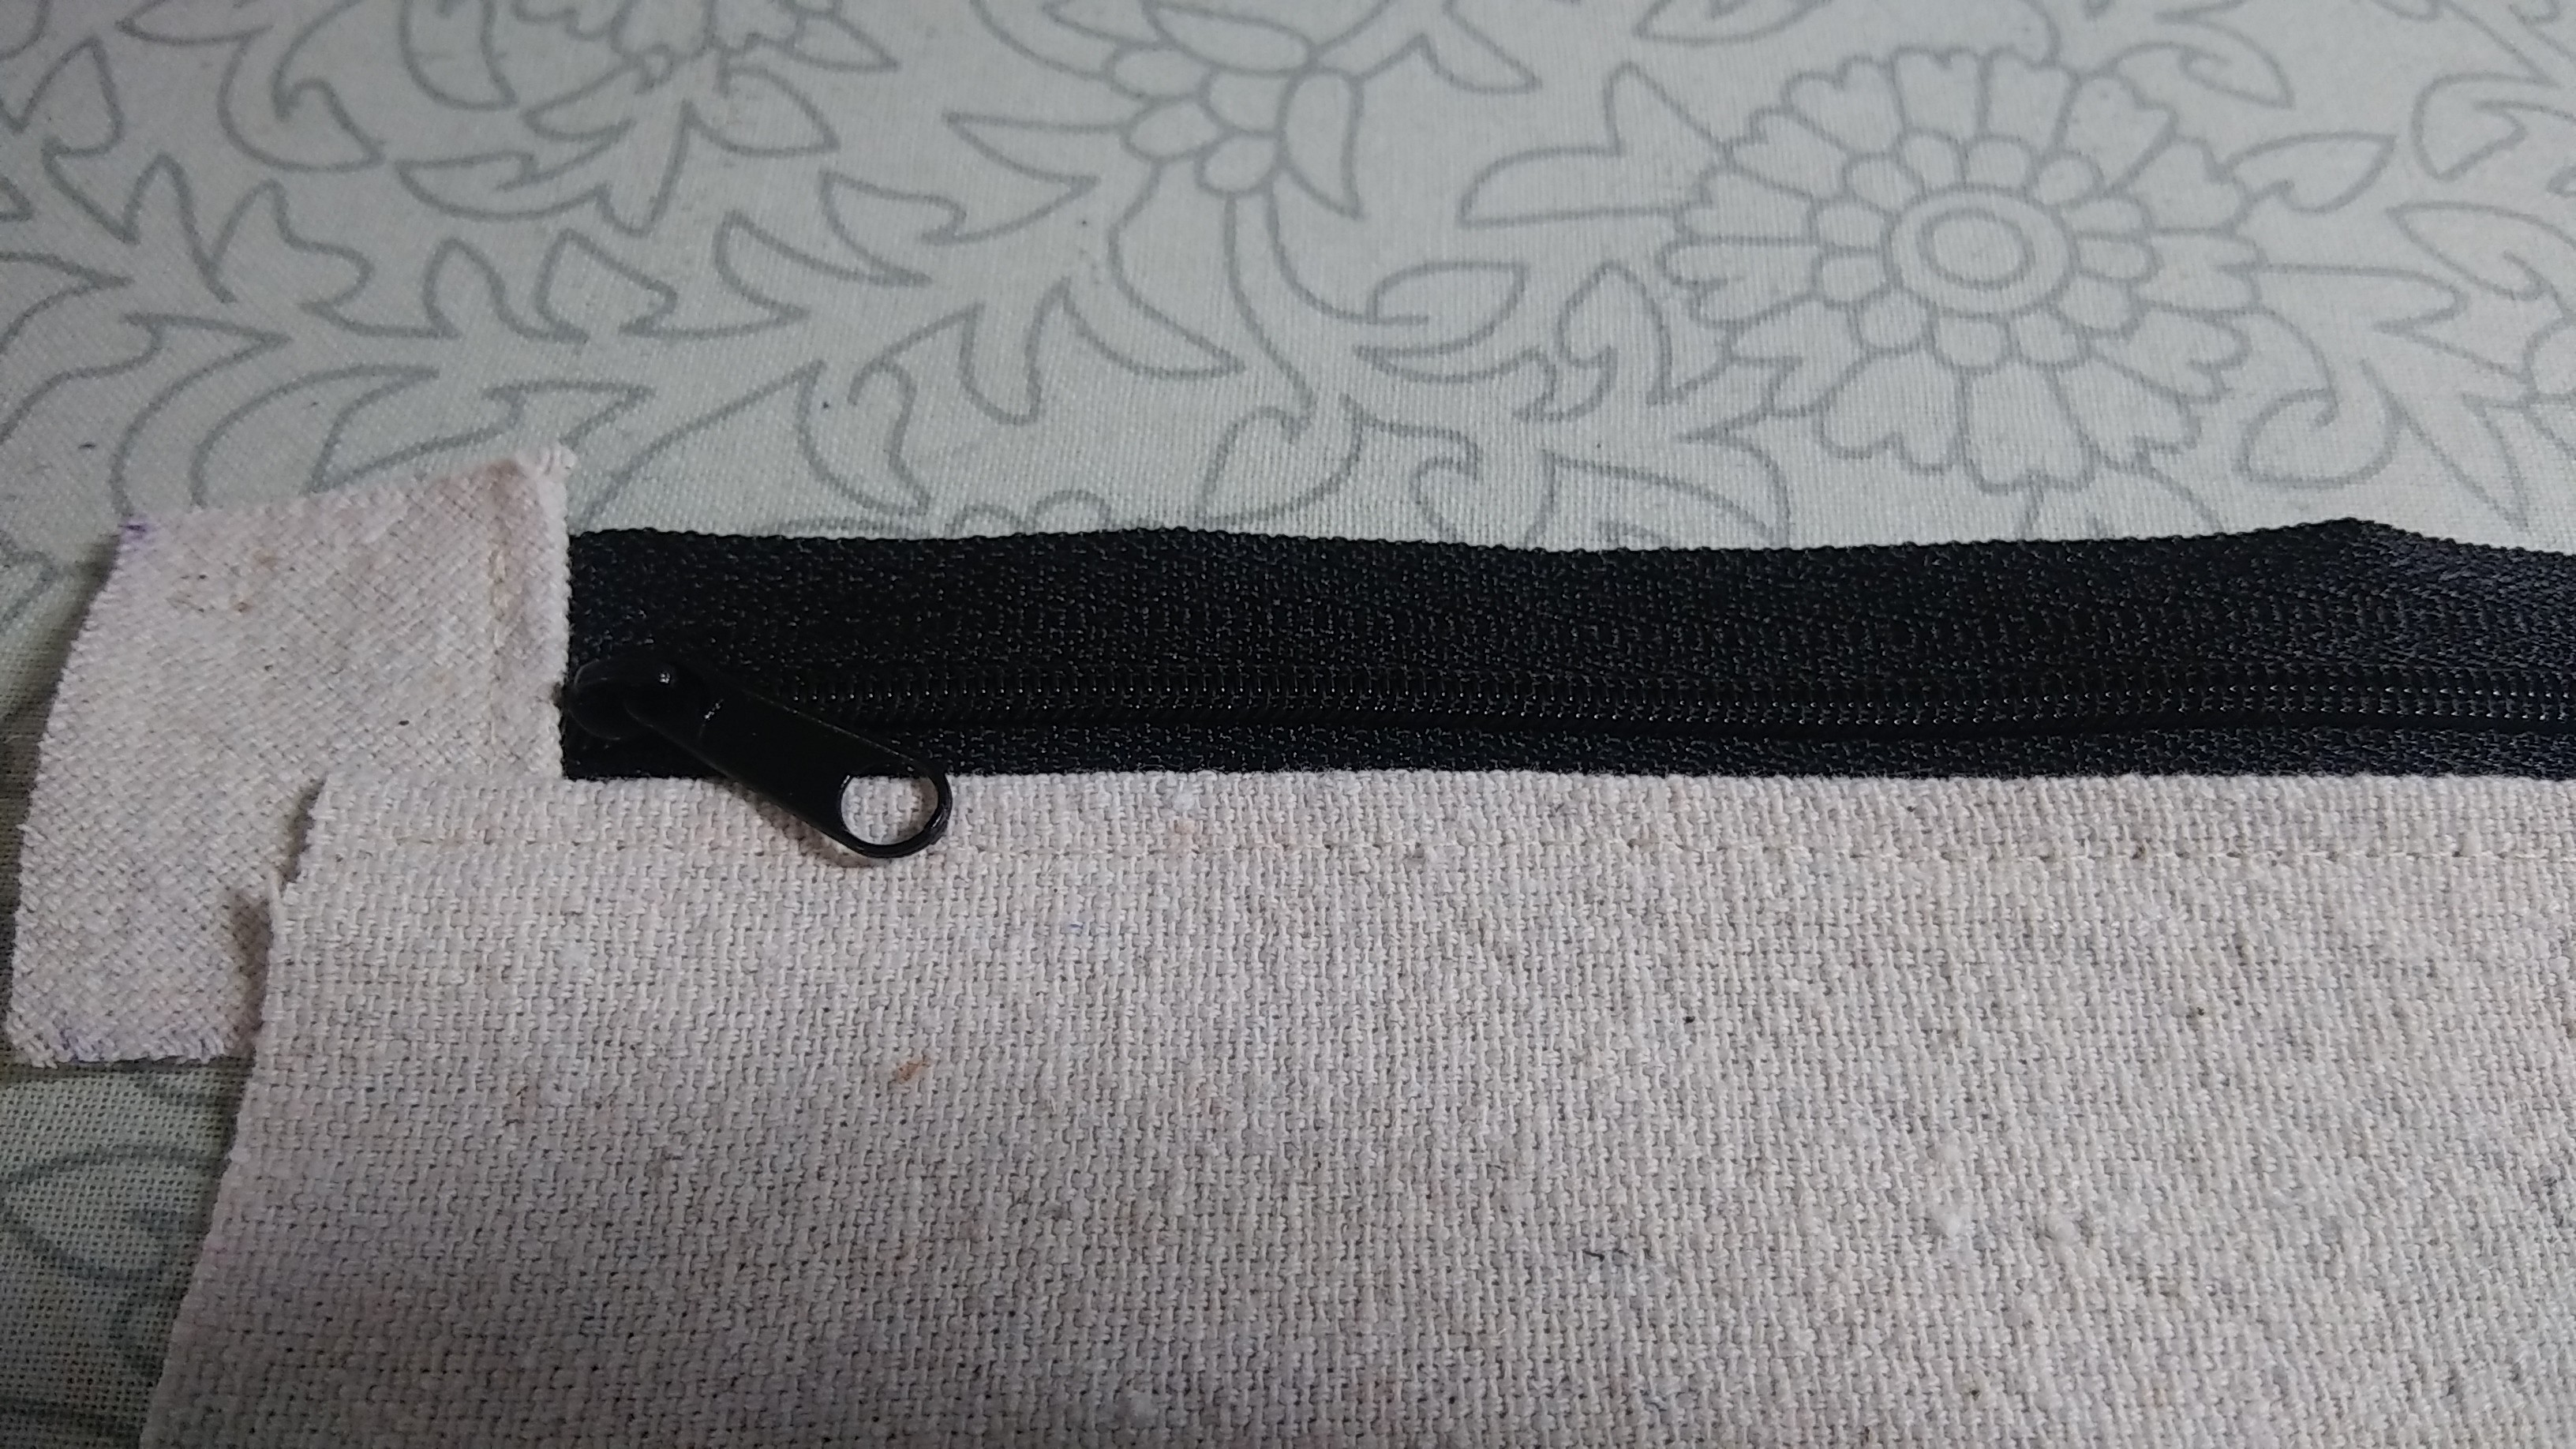
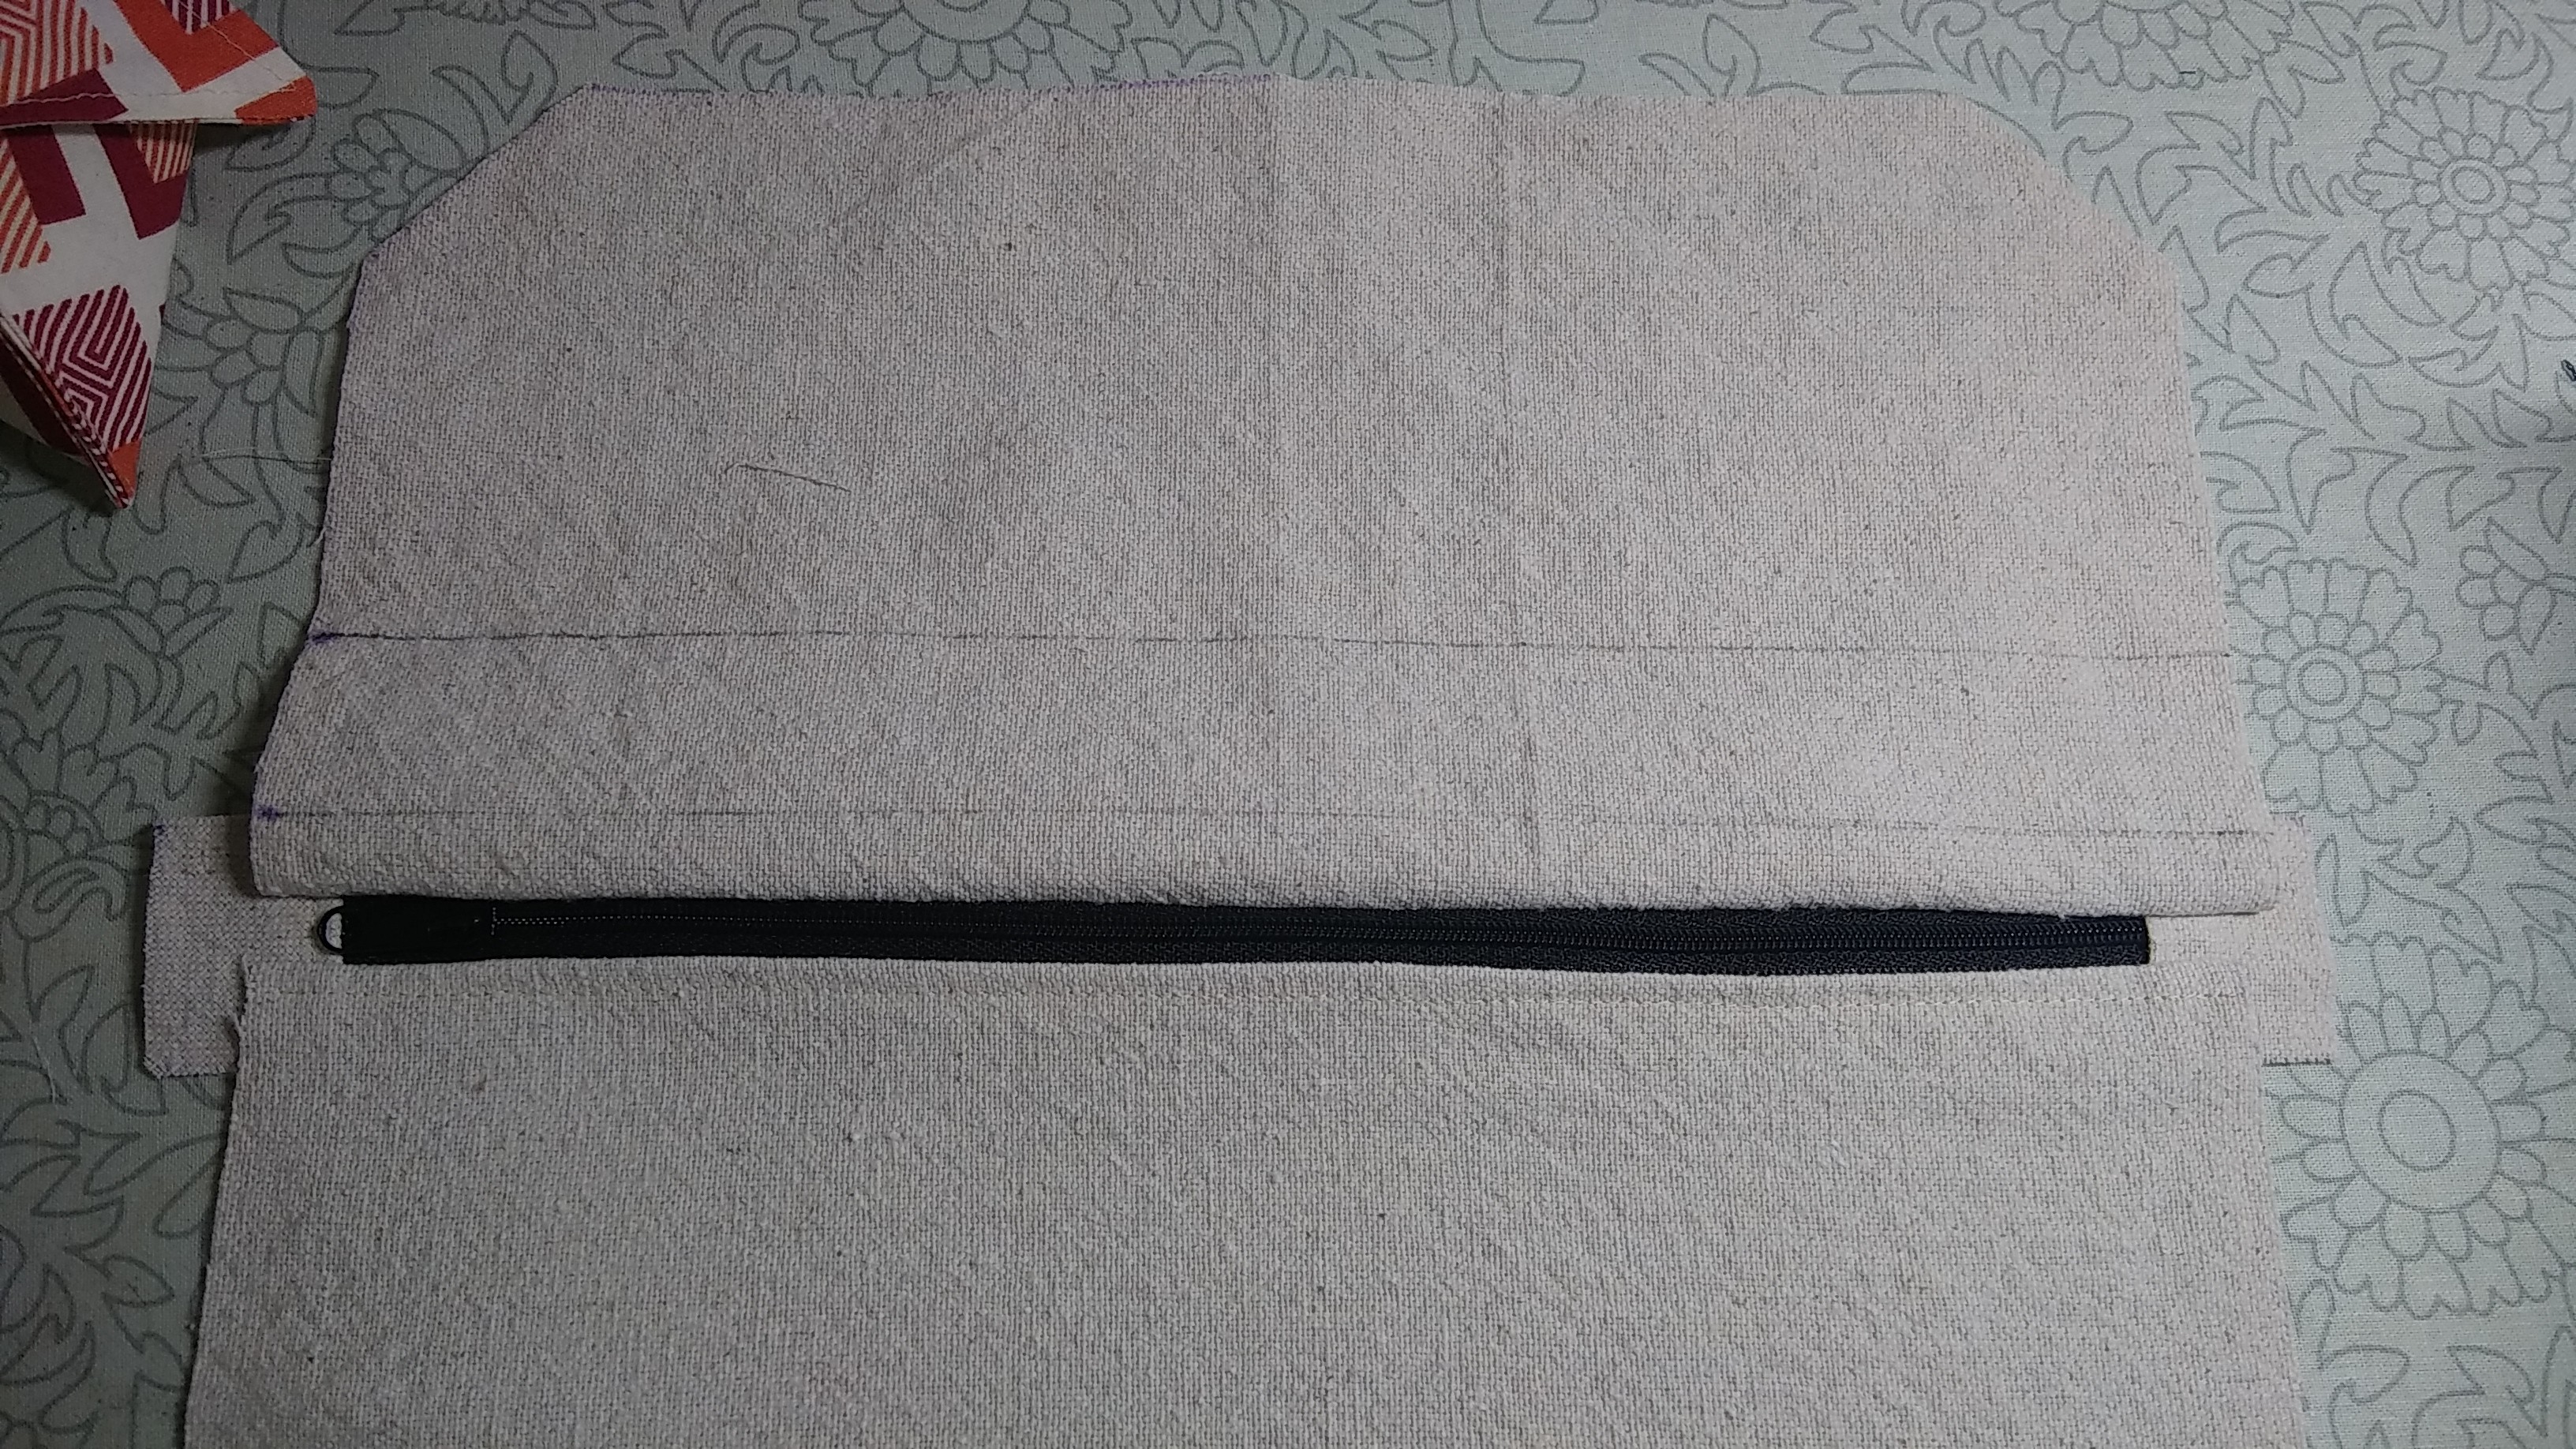
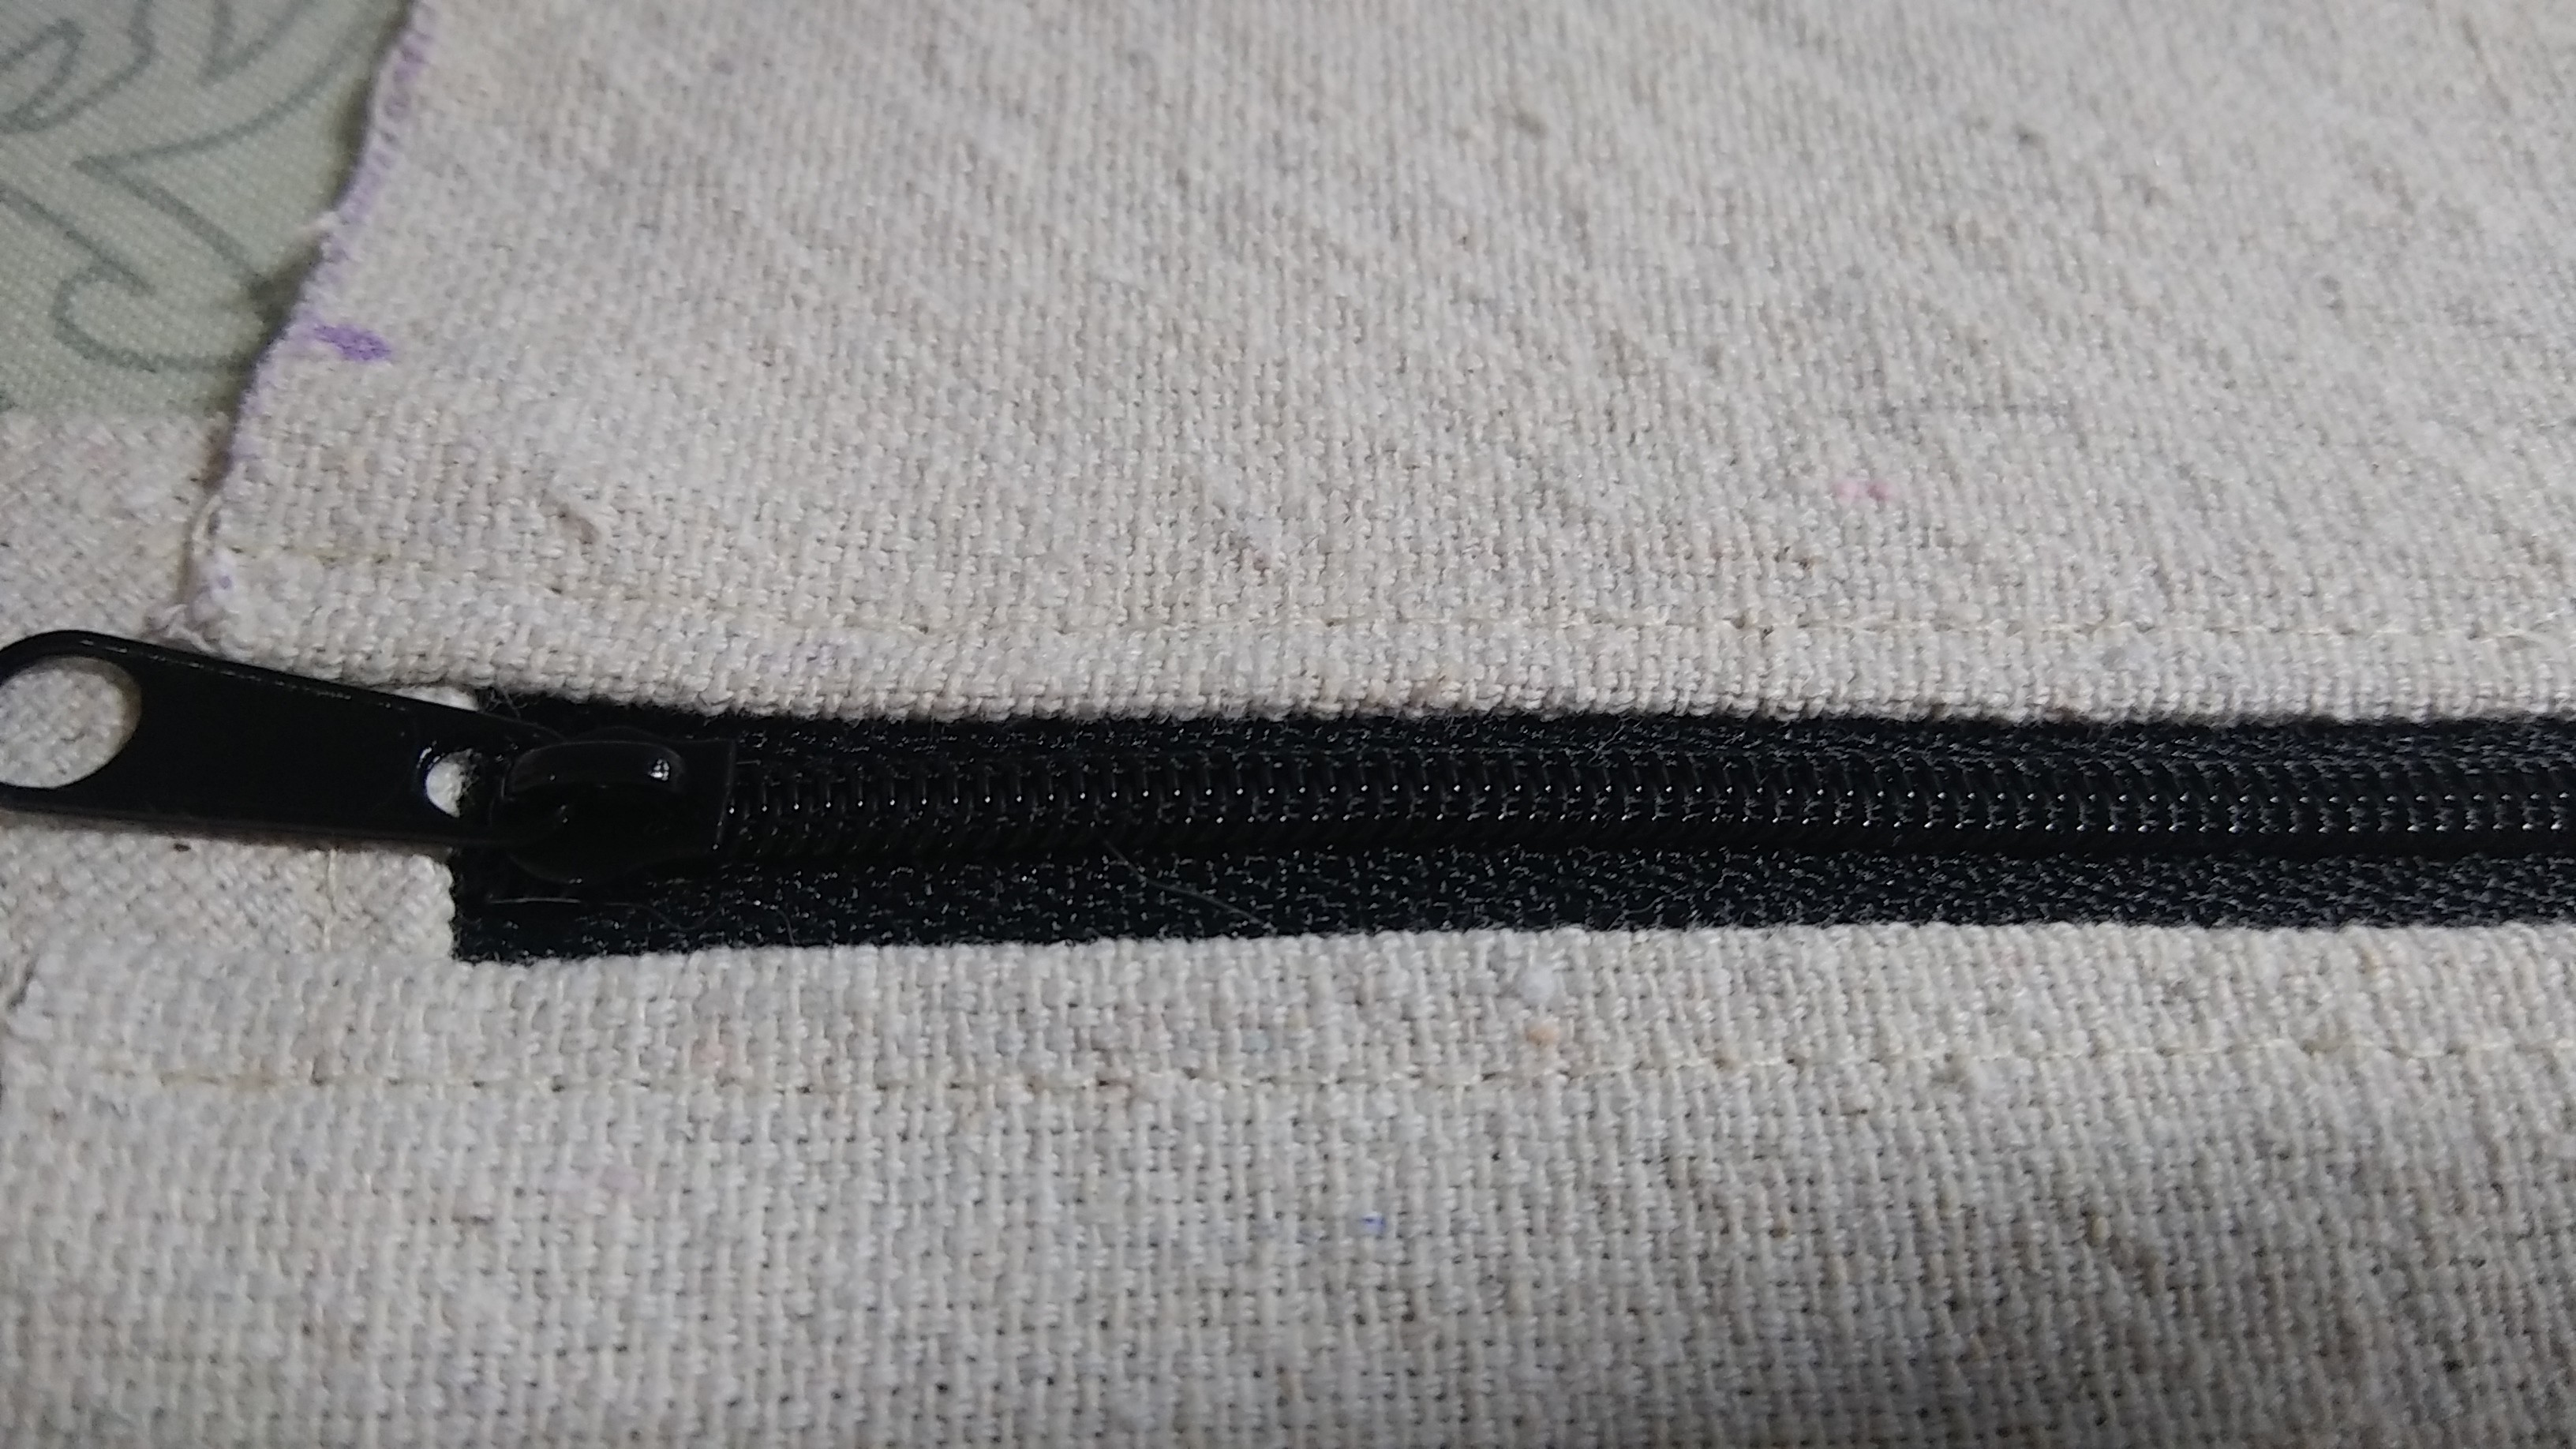
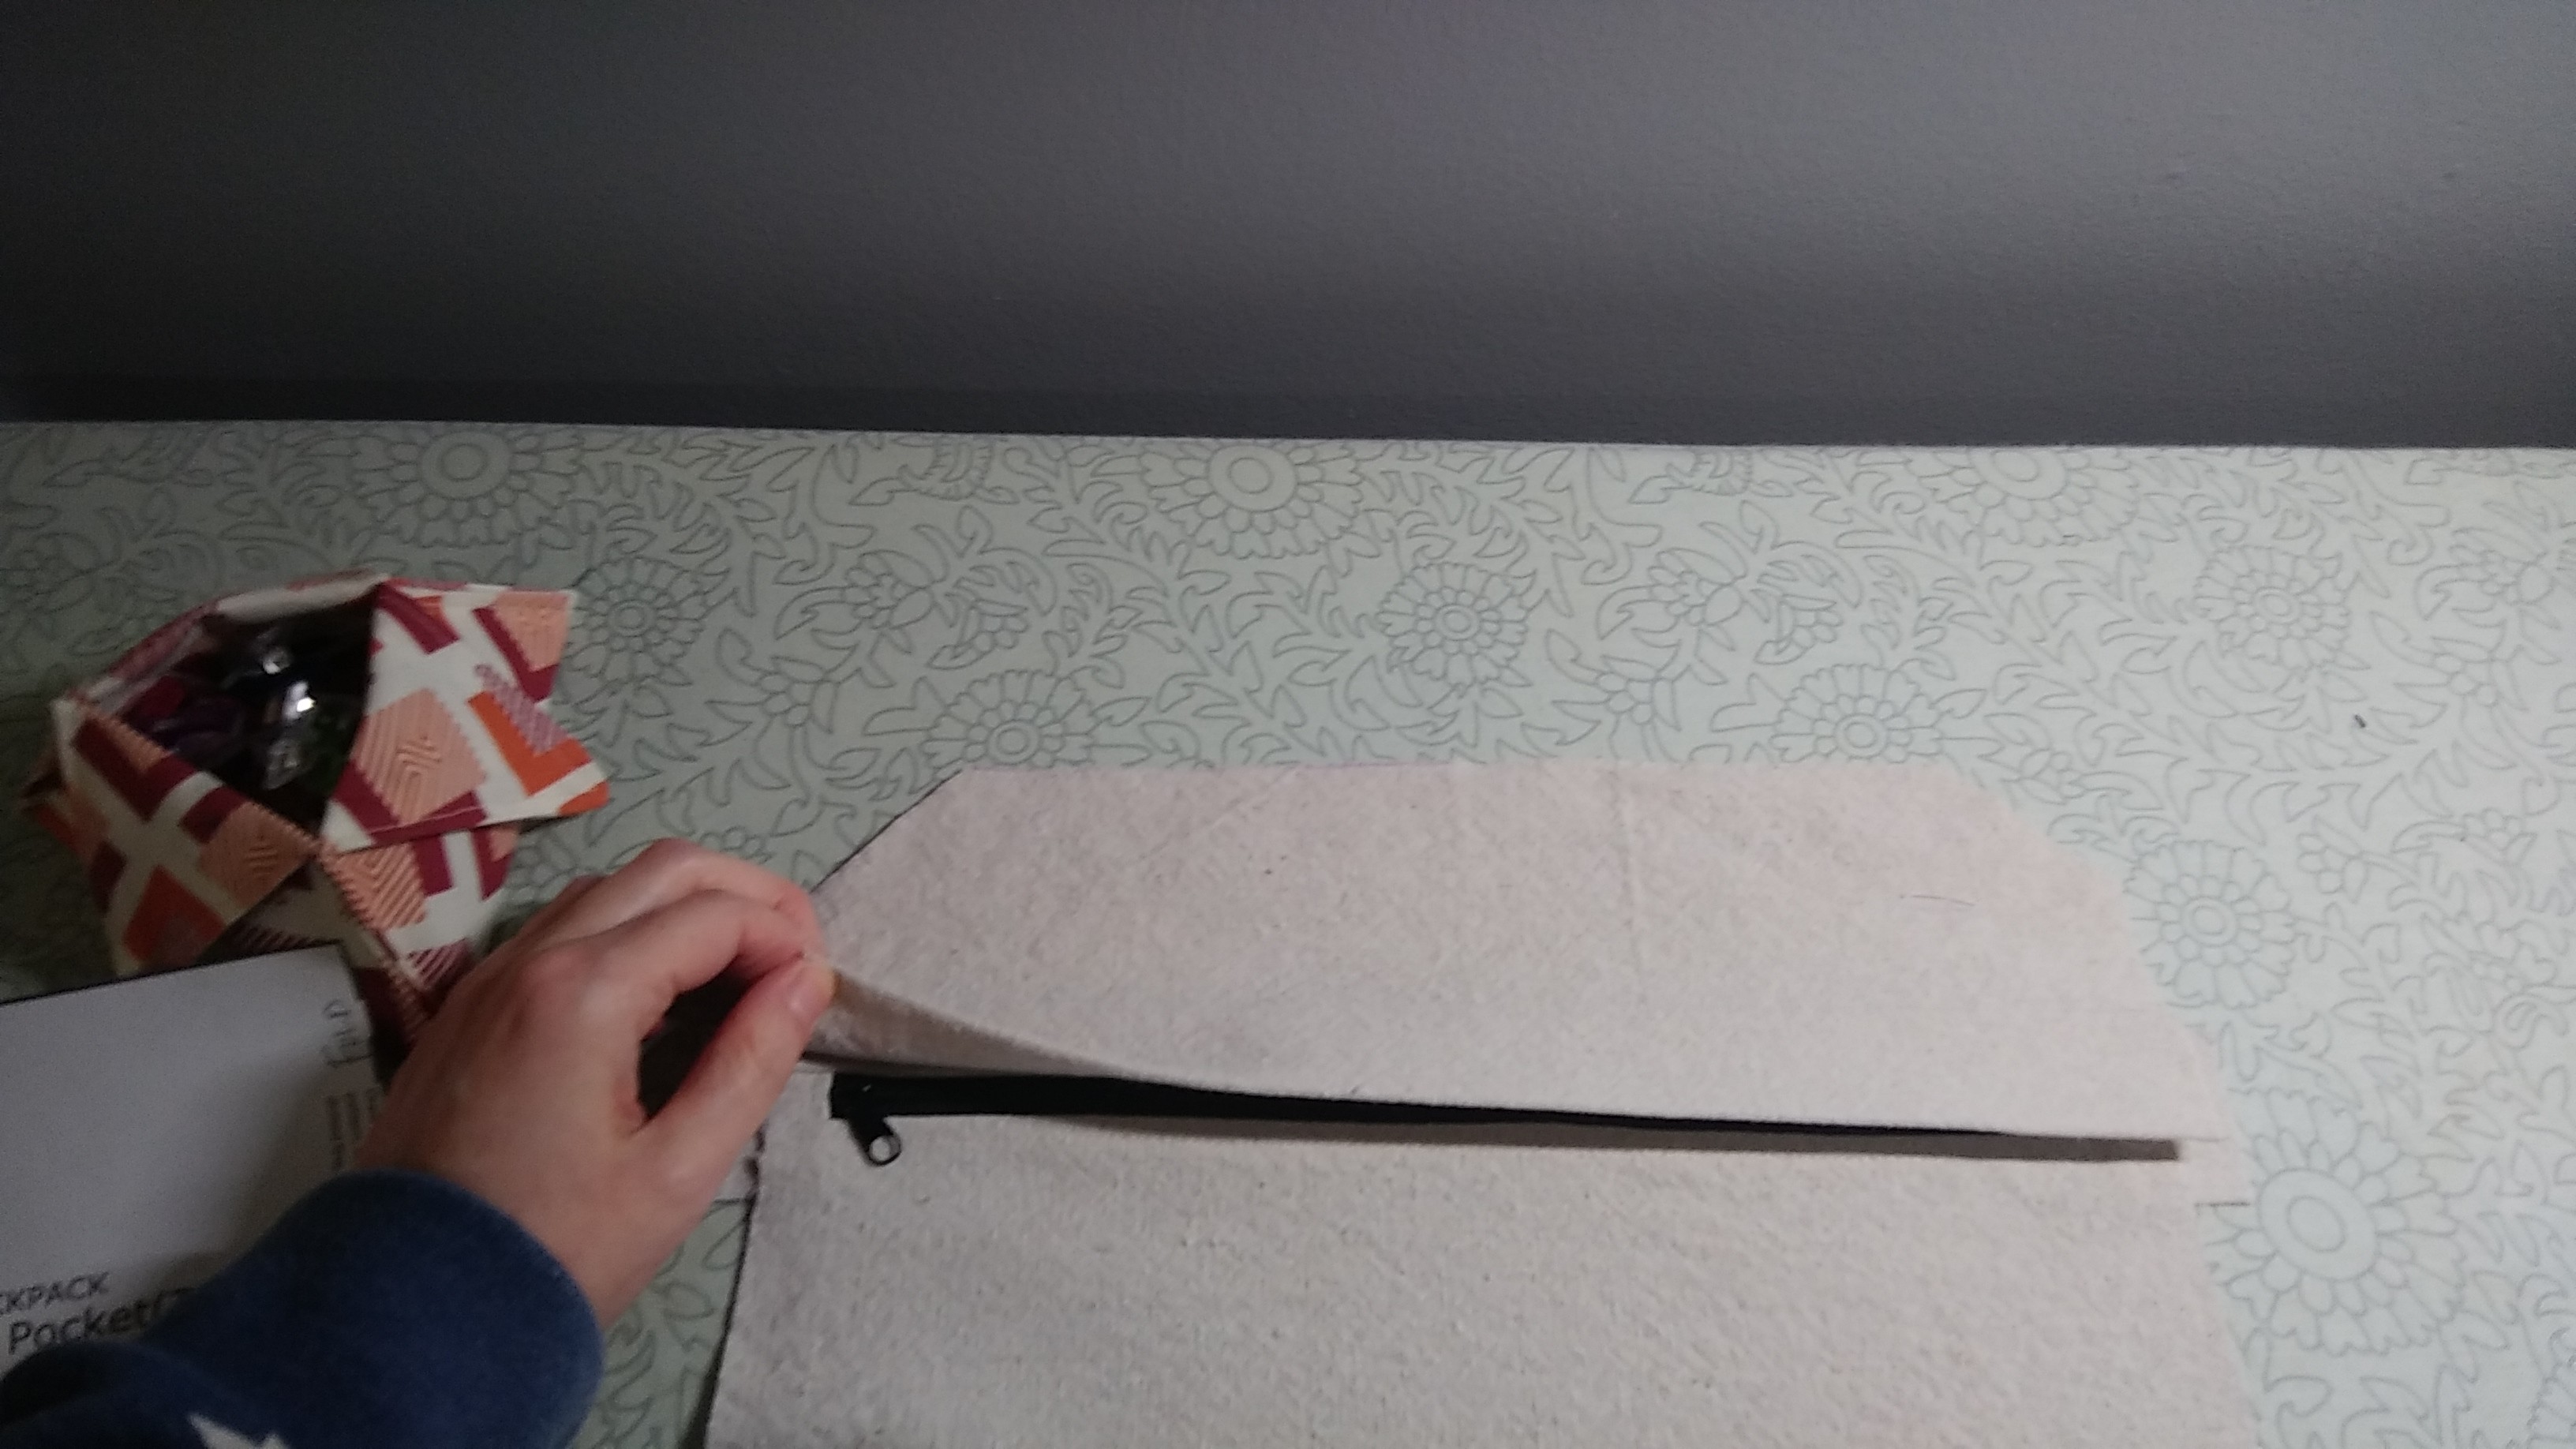
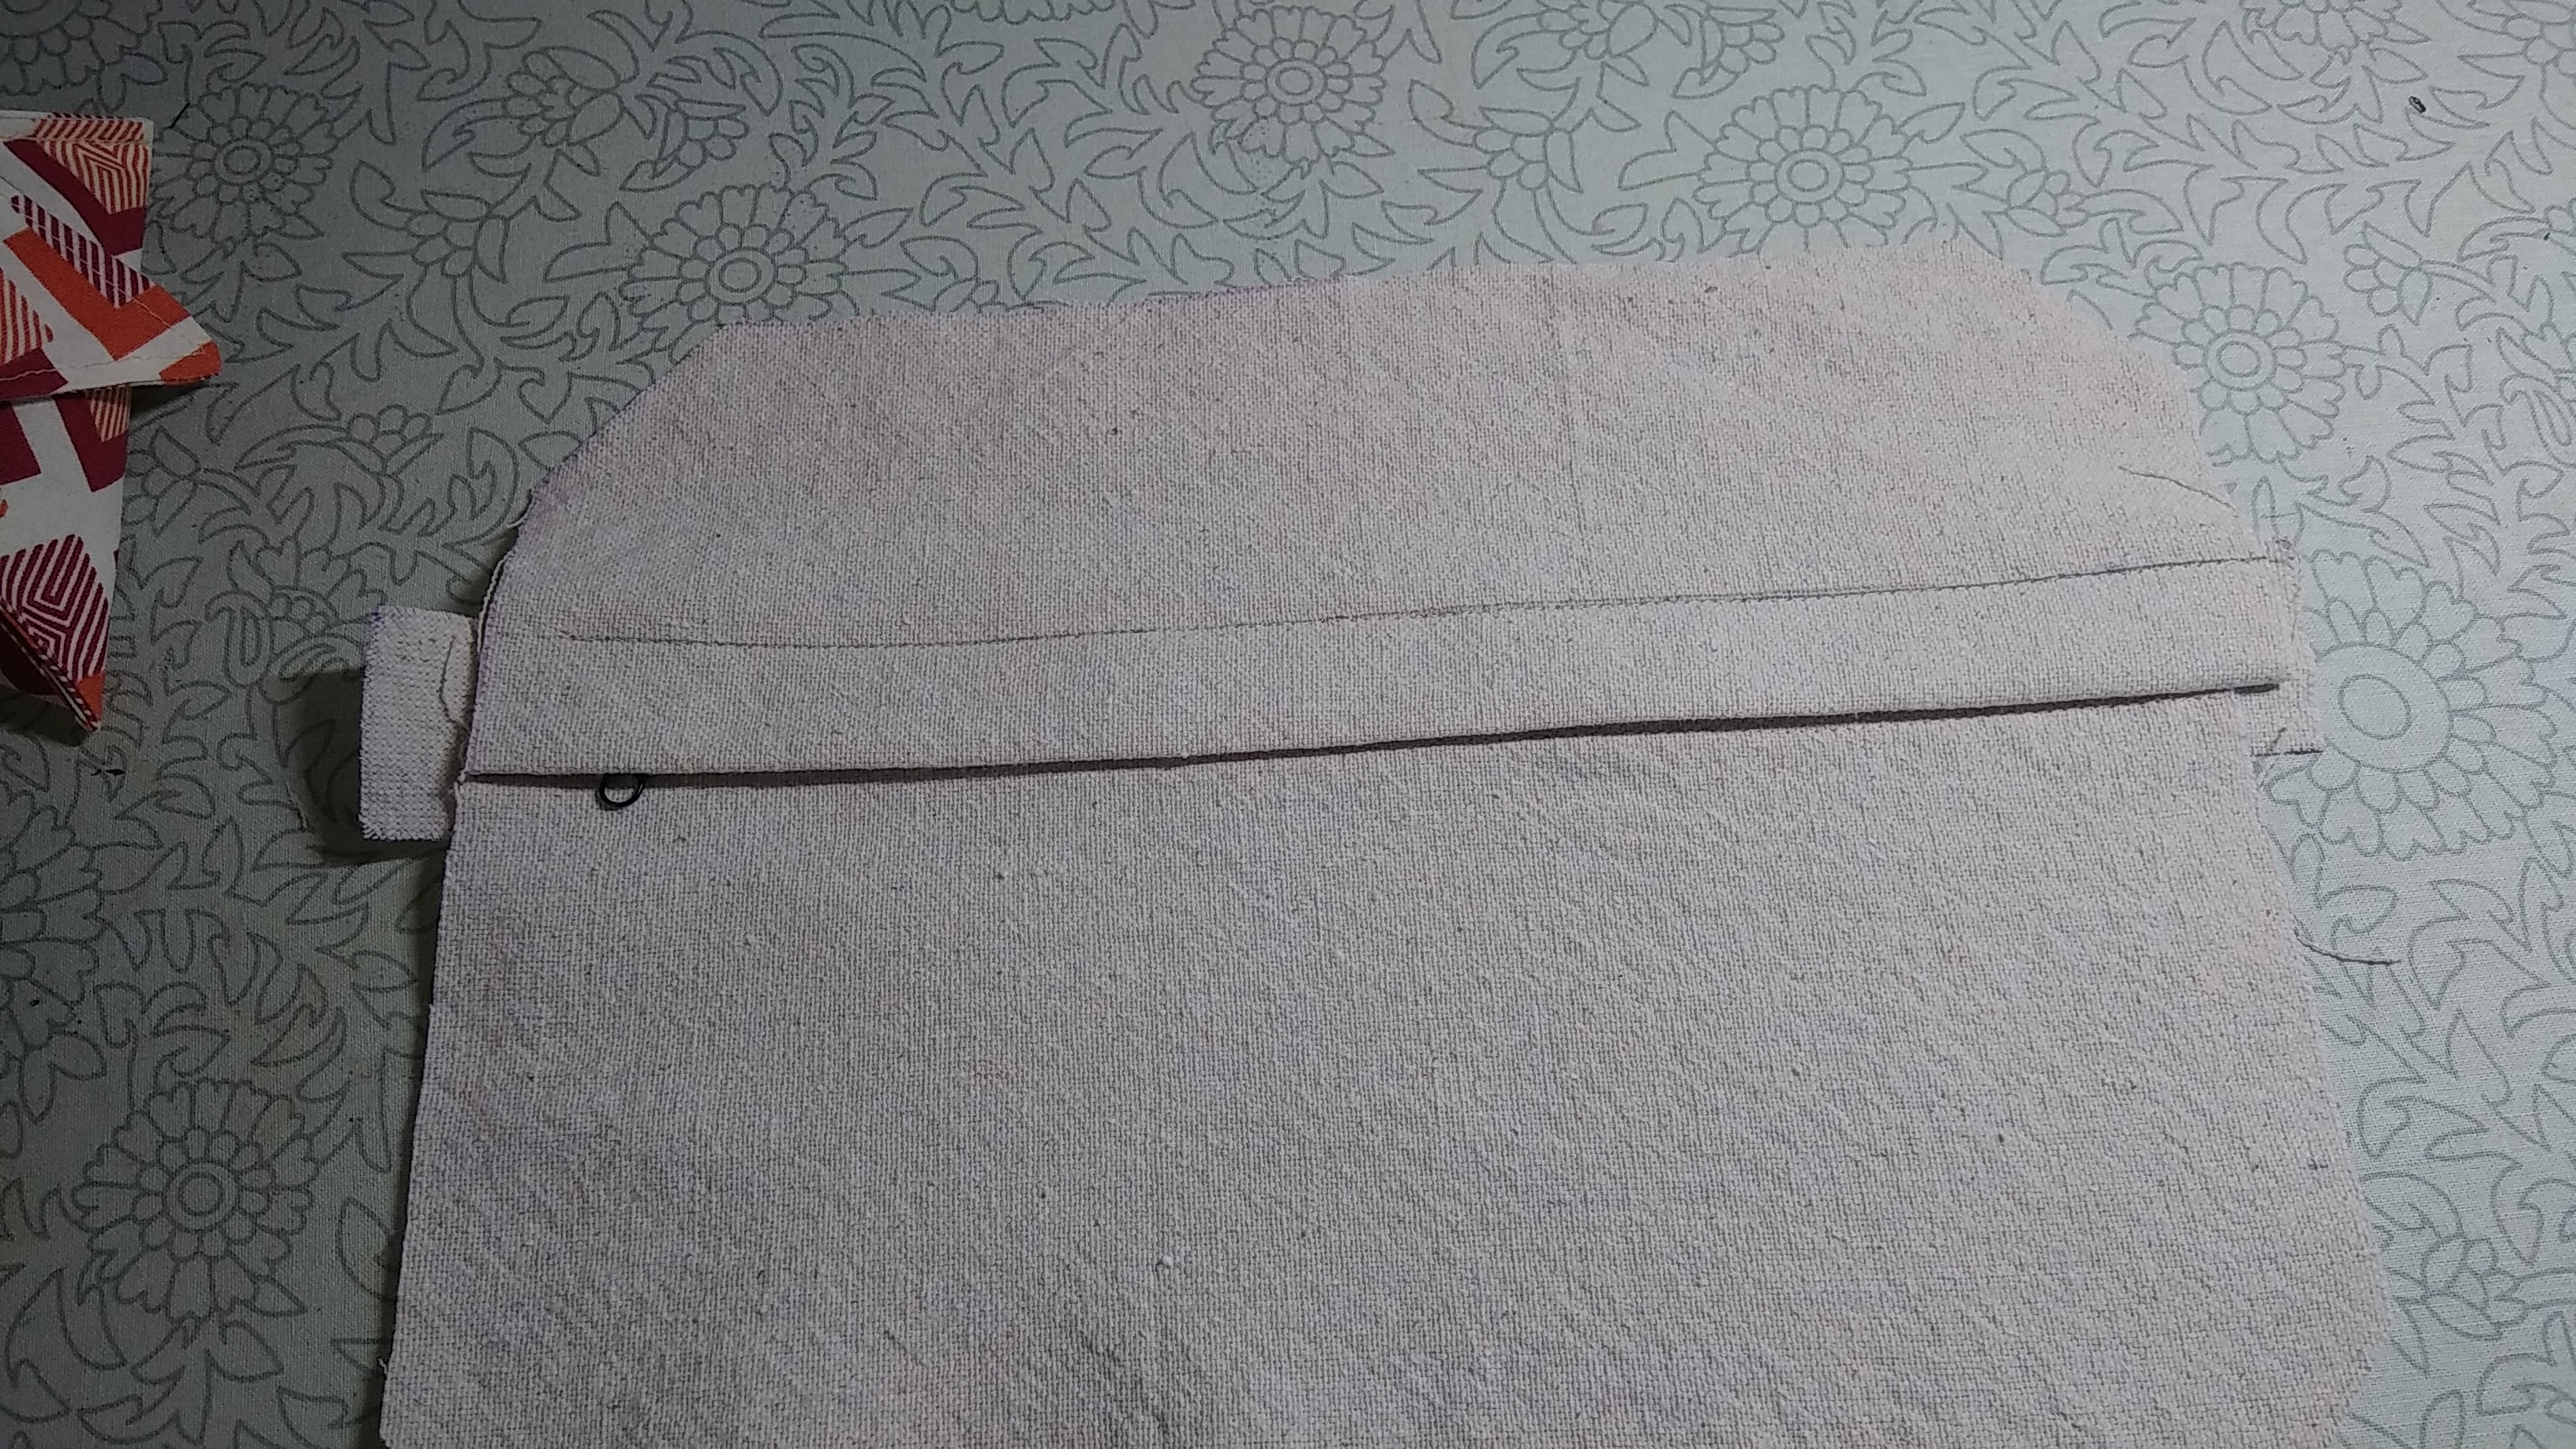
Here's how the zipper panel comes together. Pretty standard, really. Some people sew the exterior, the zipper, and the interior together all in one step, but I don't.
Topstitch:
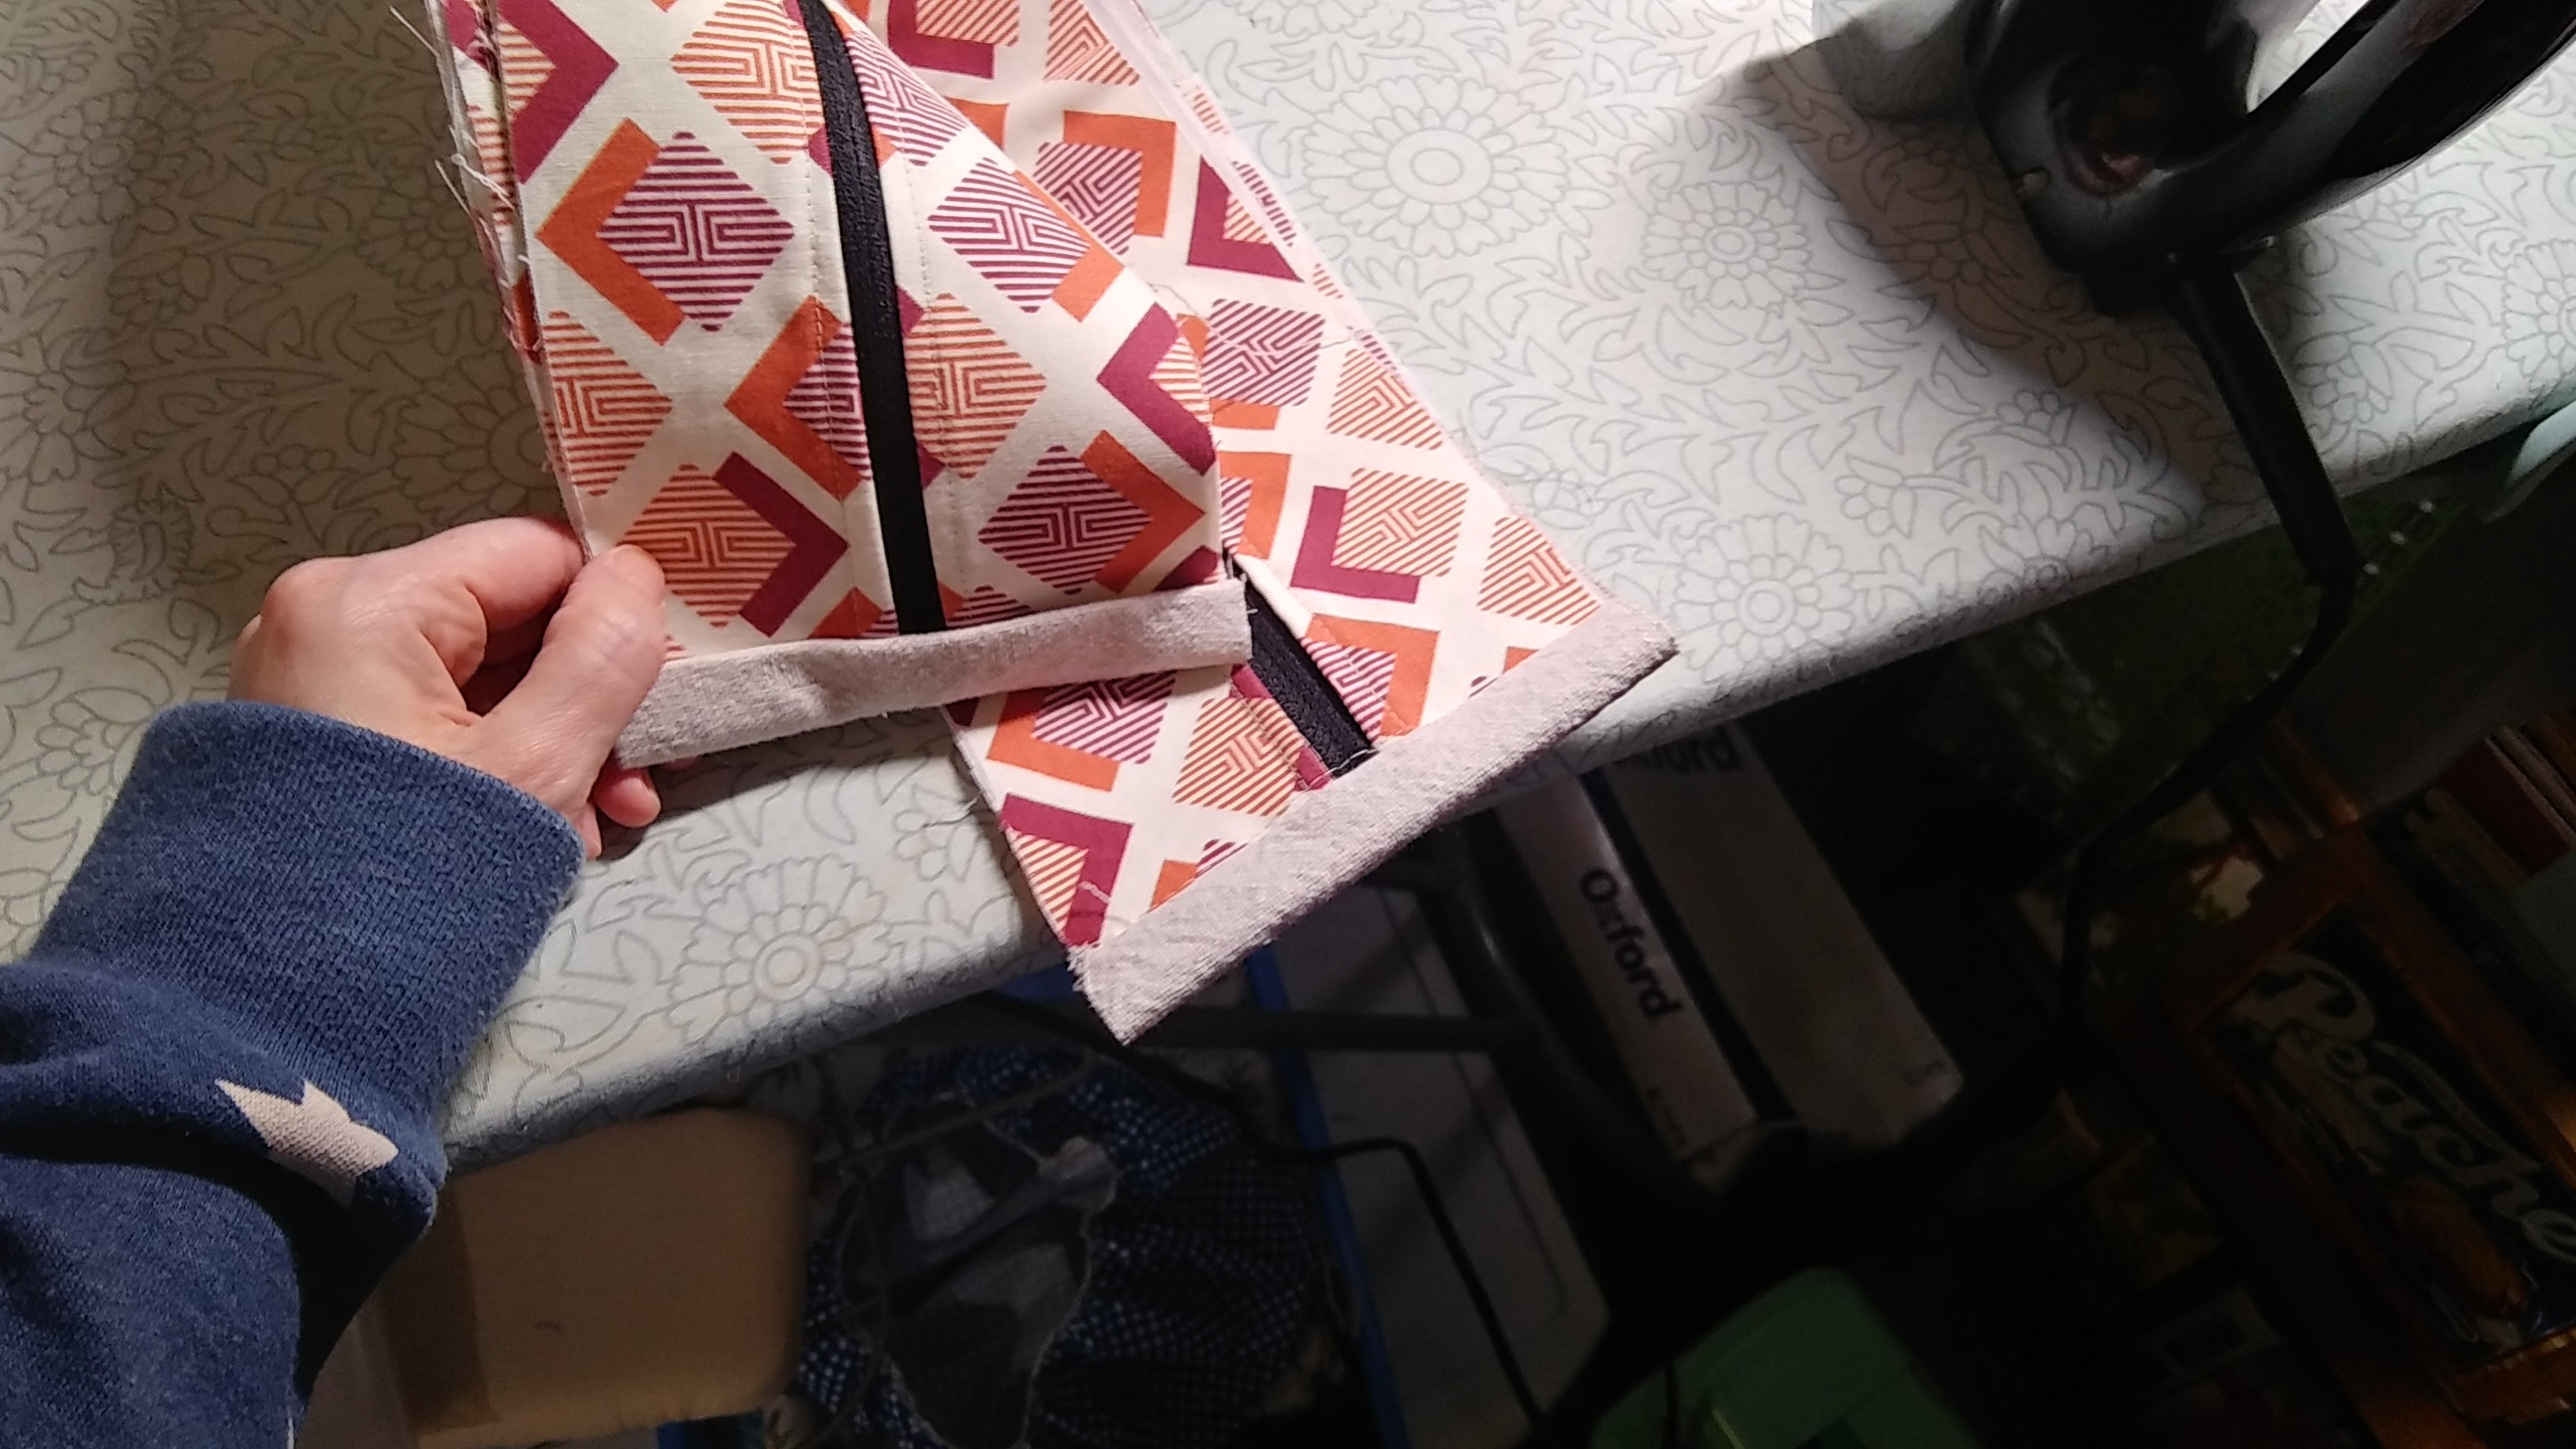
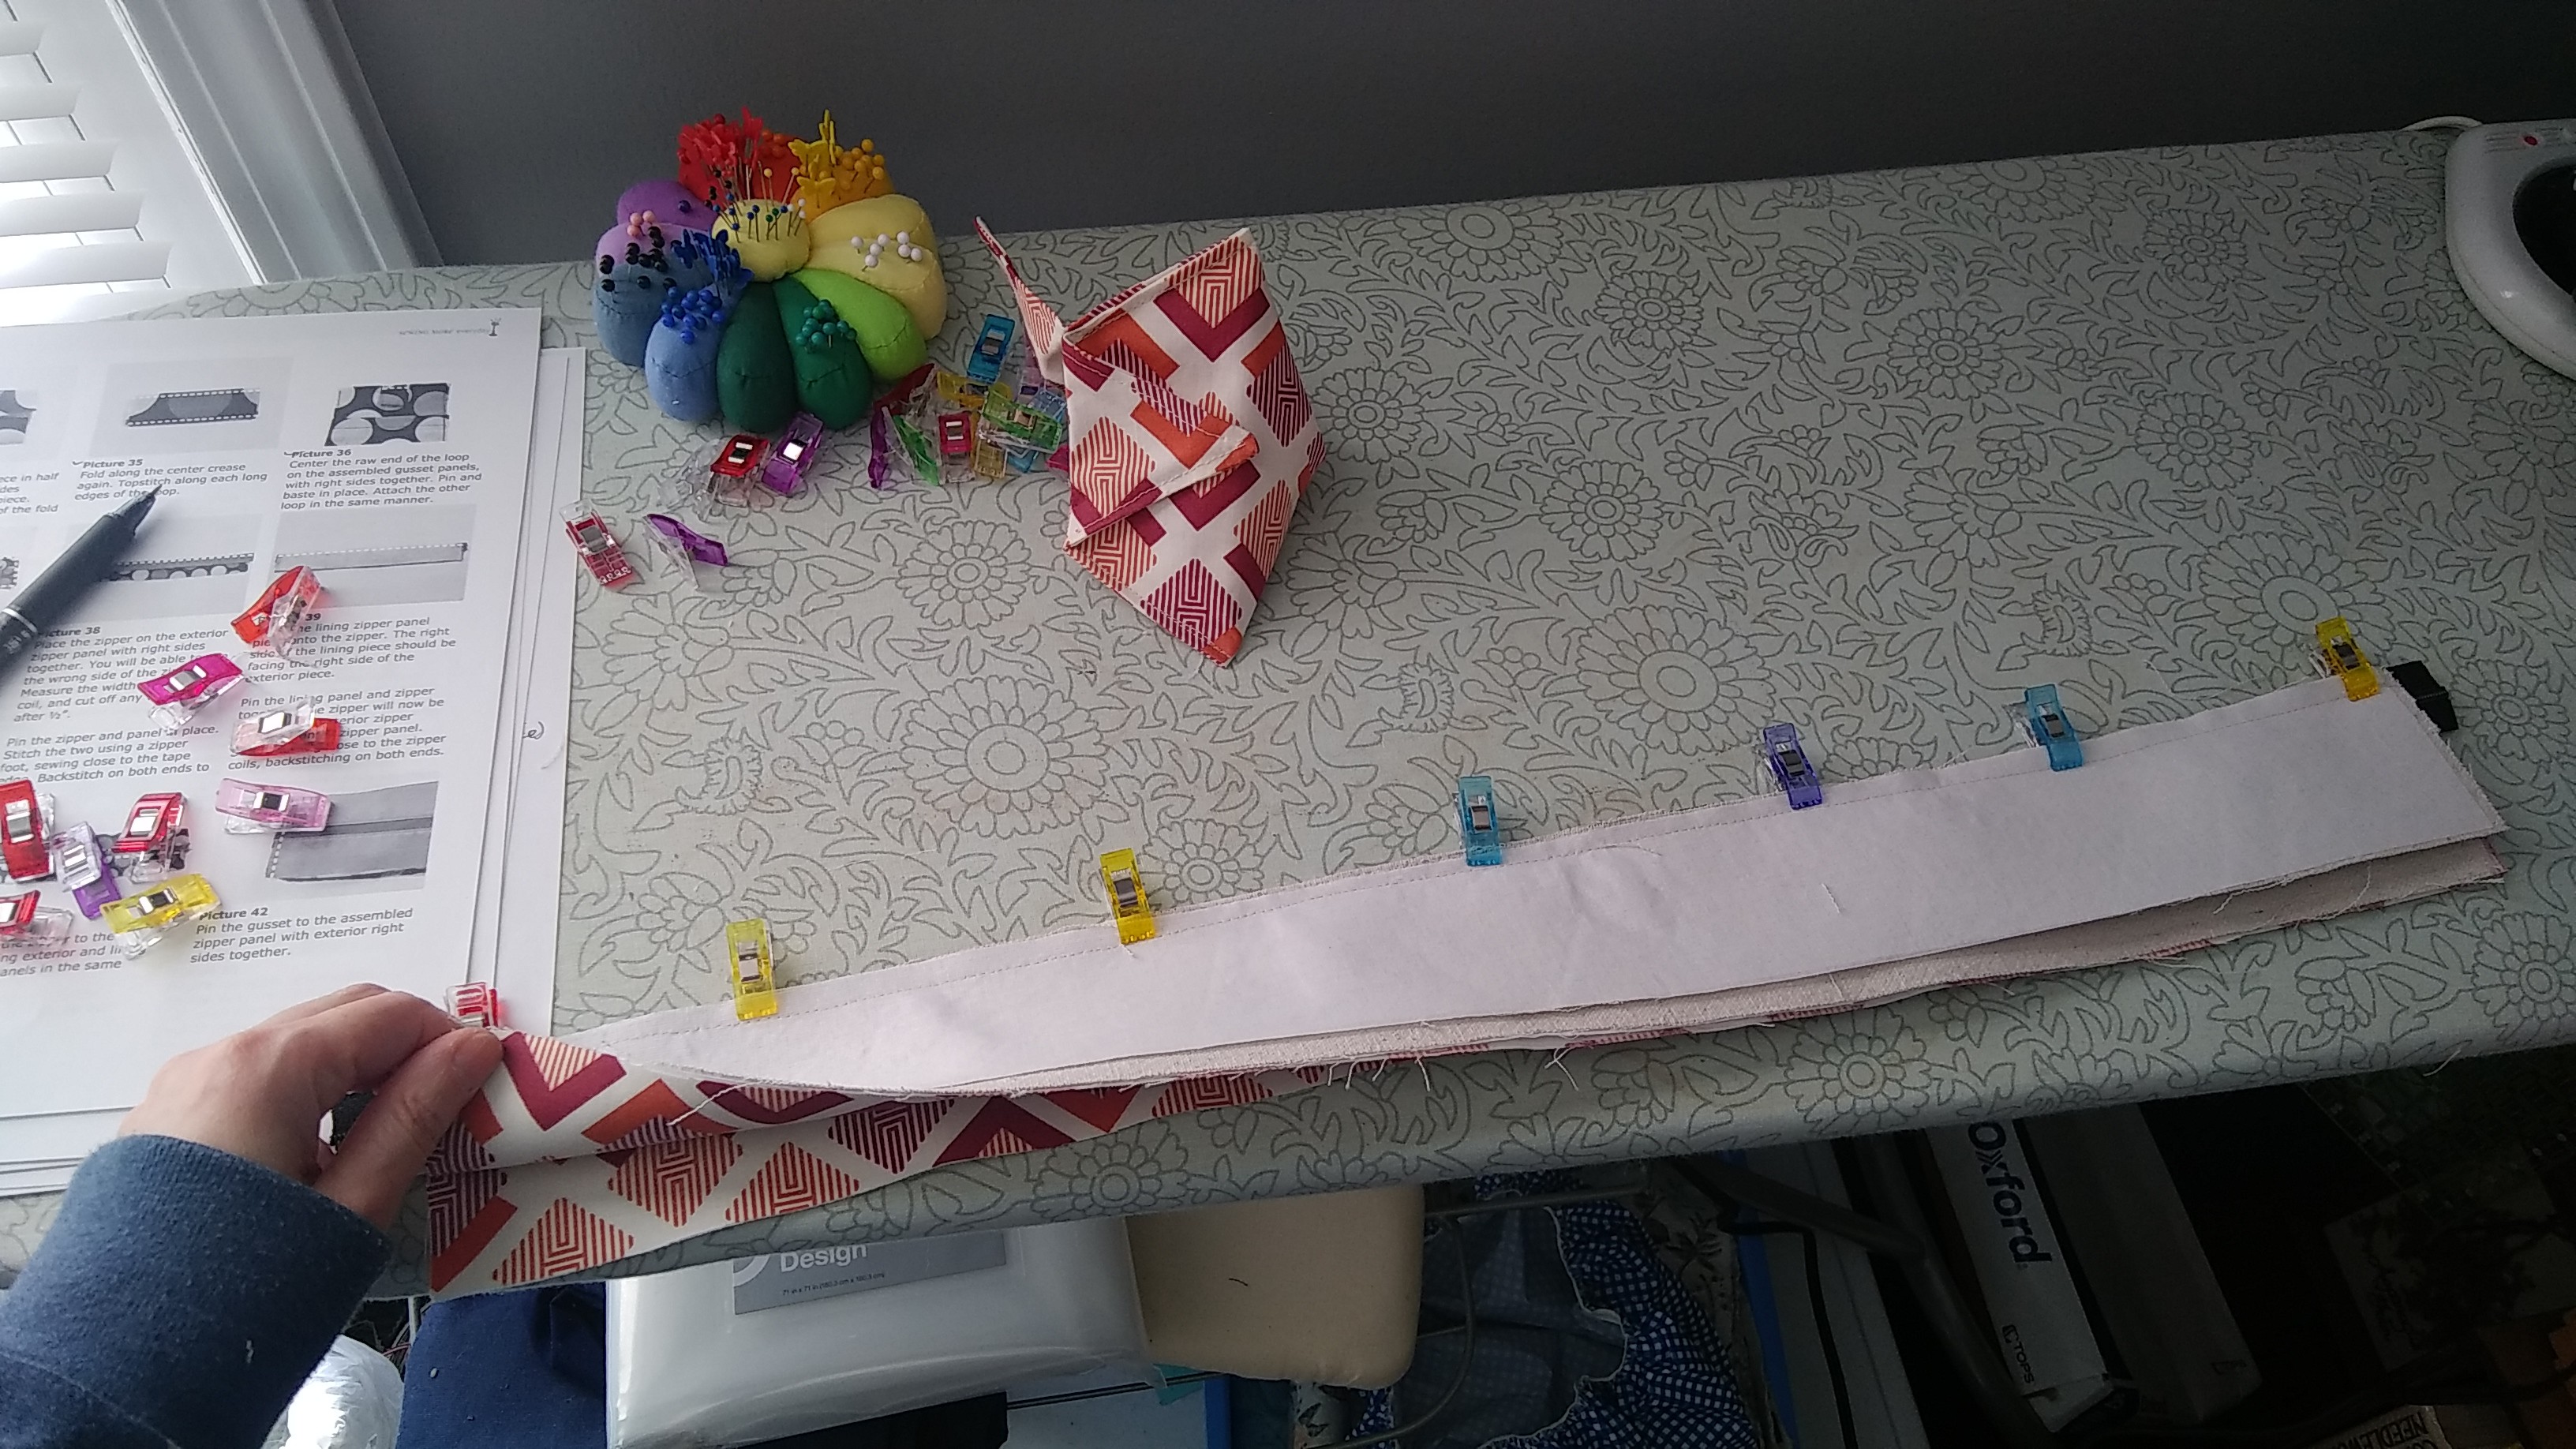
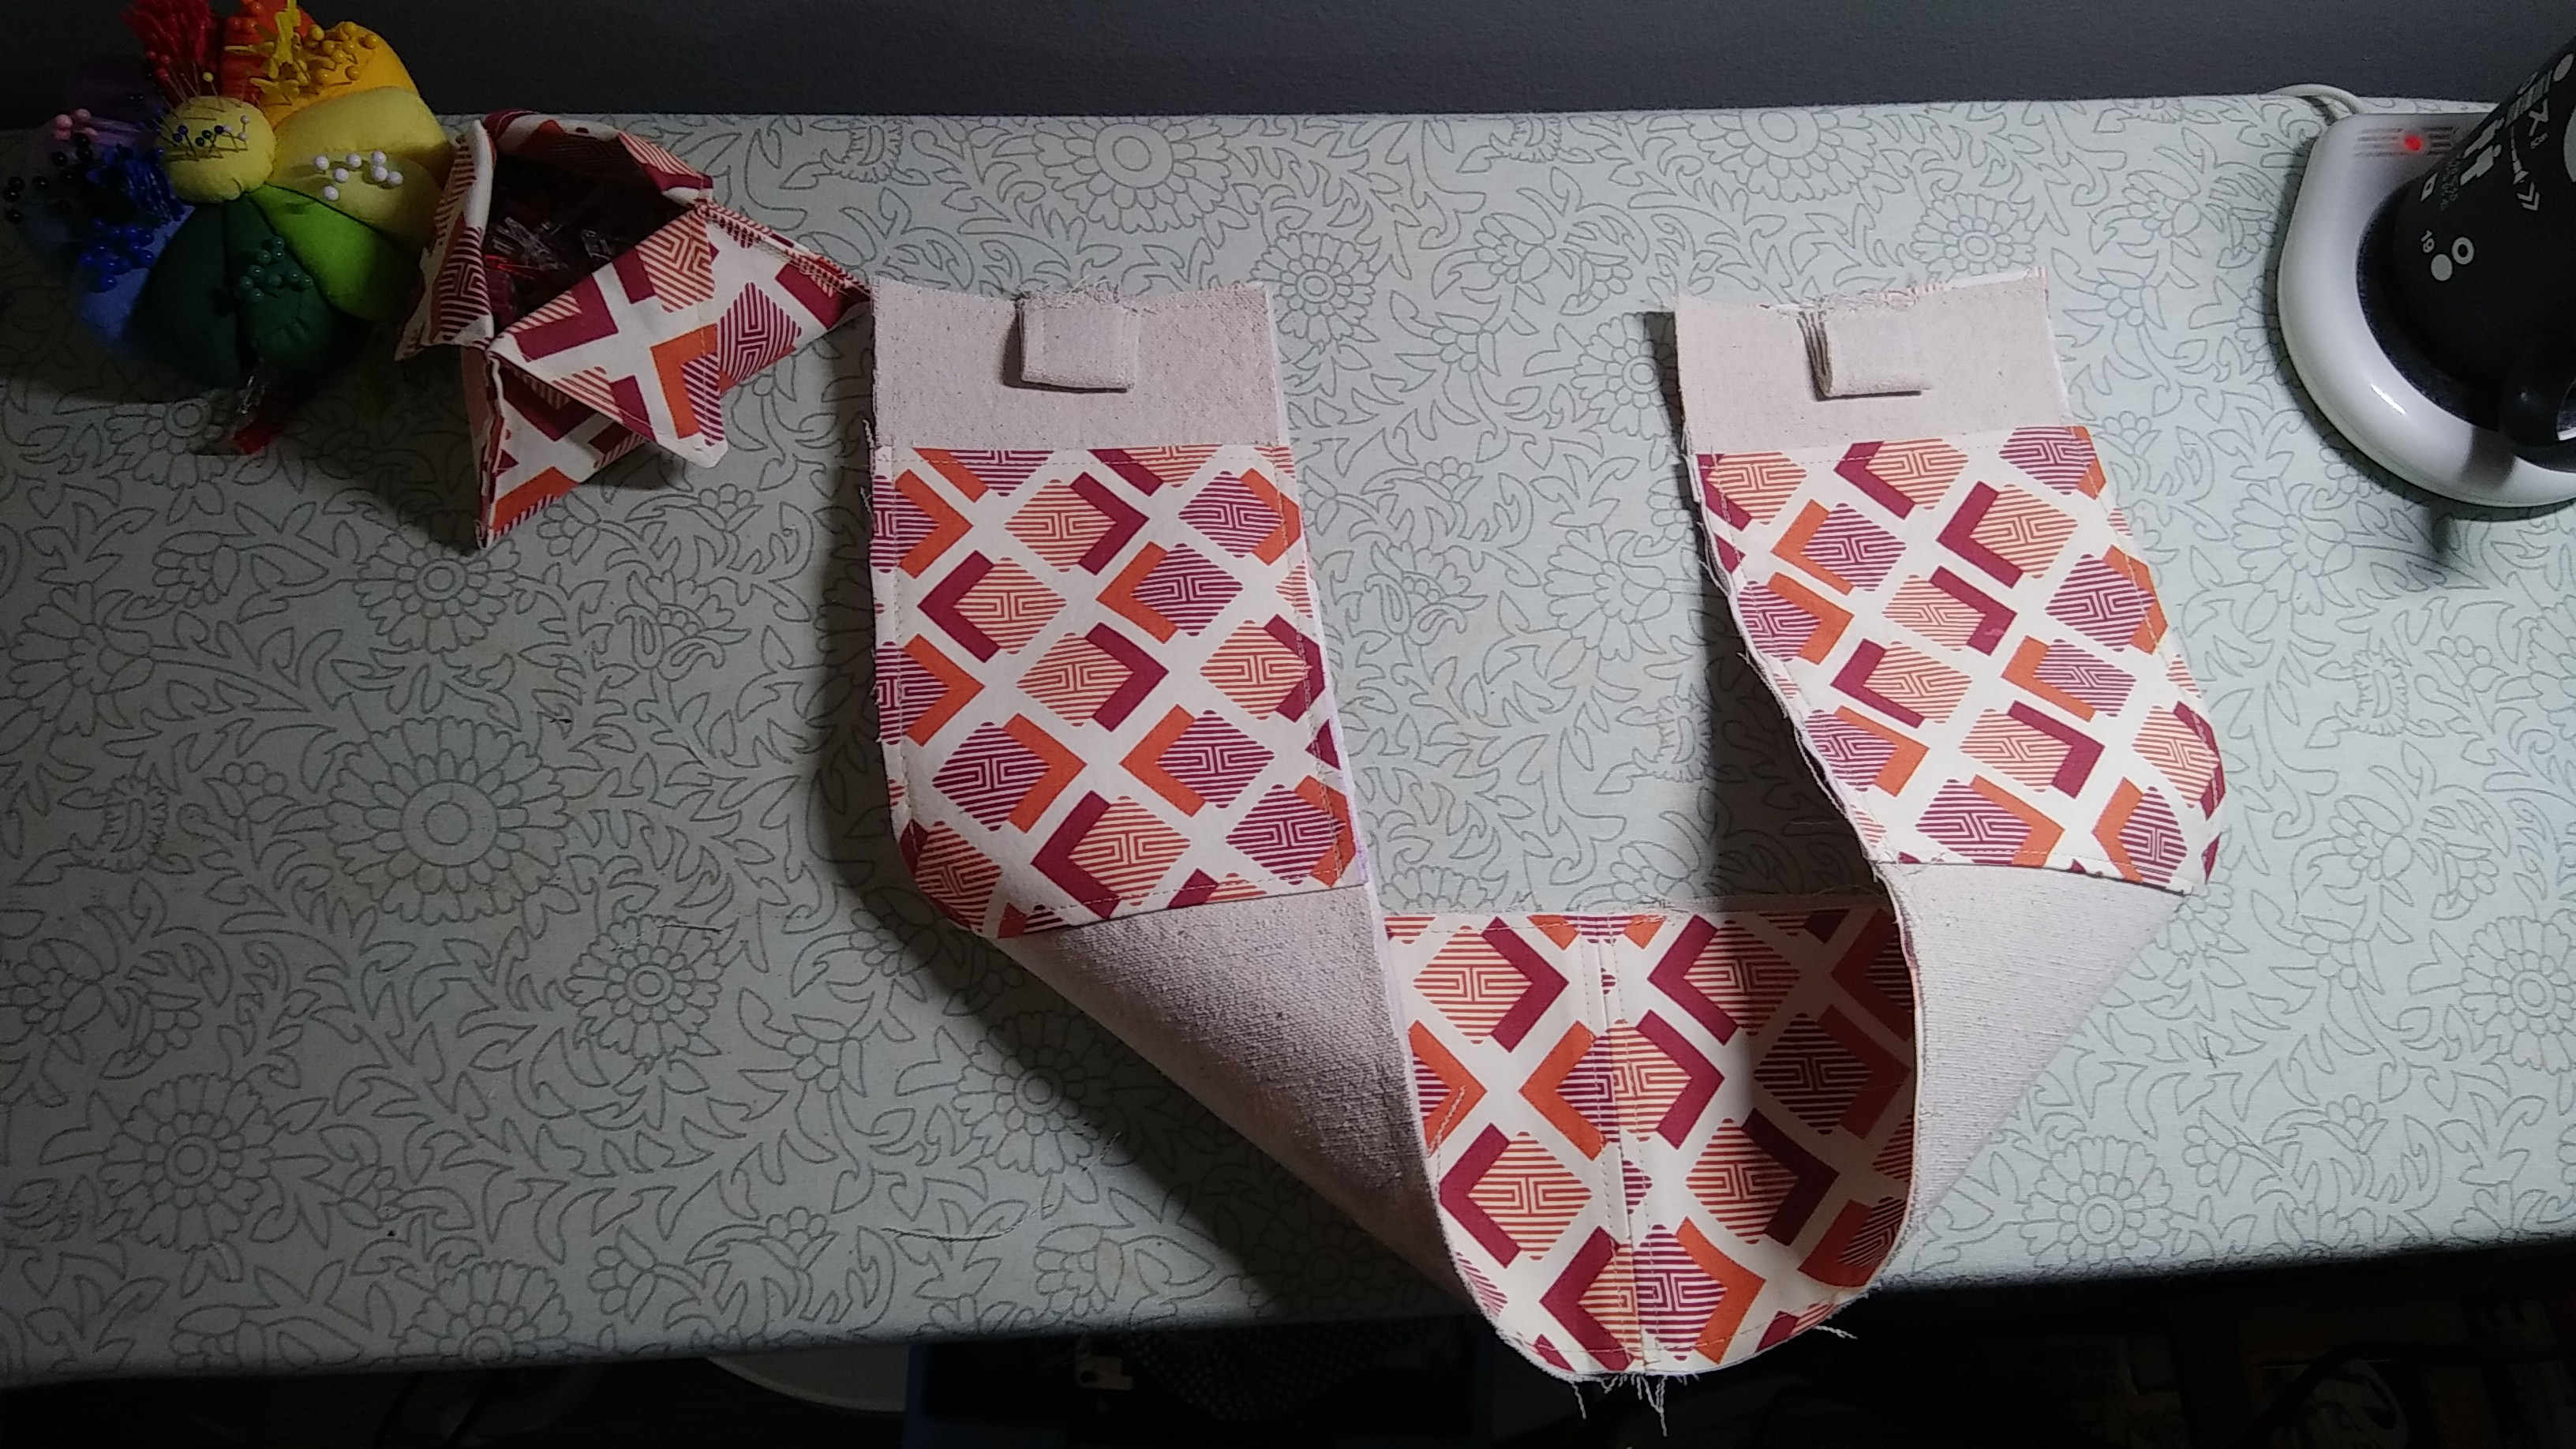
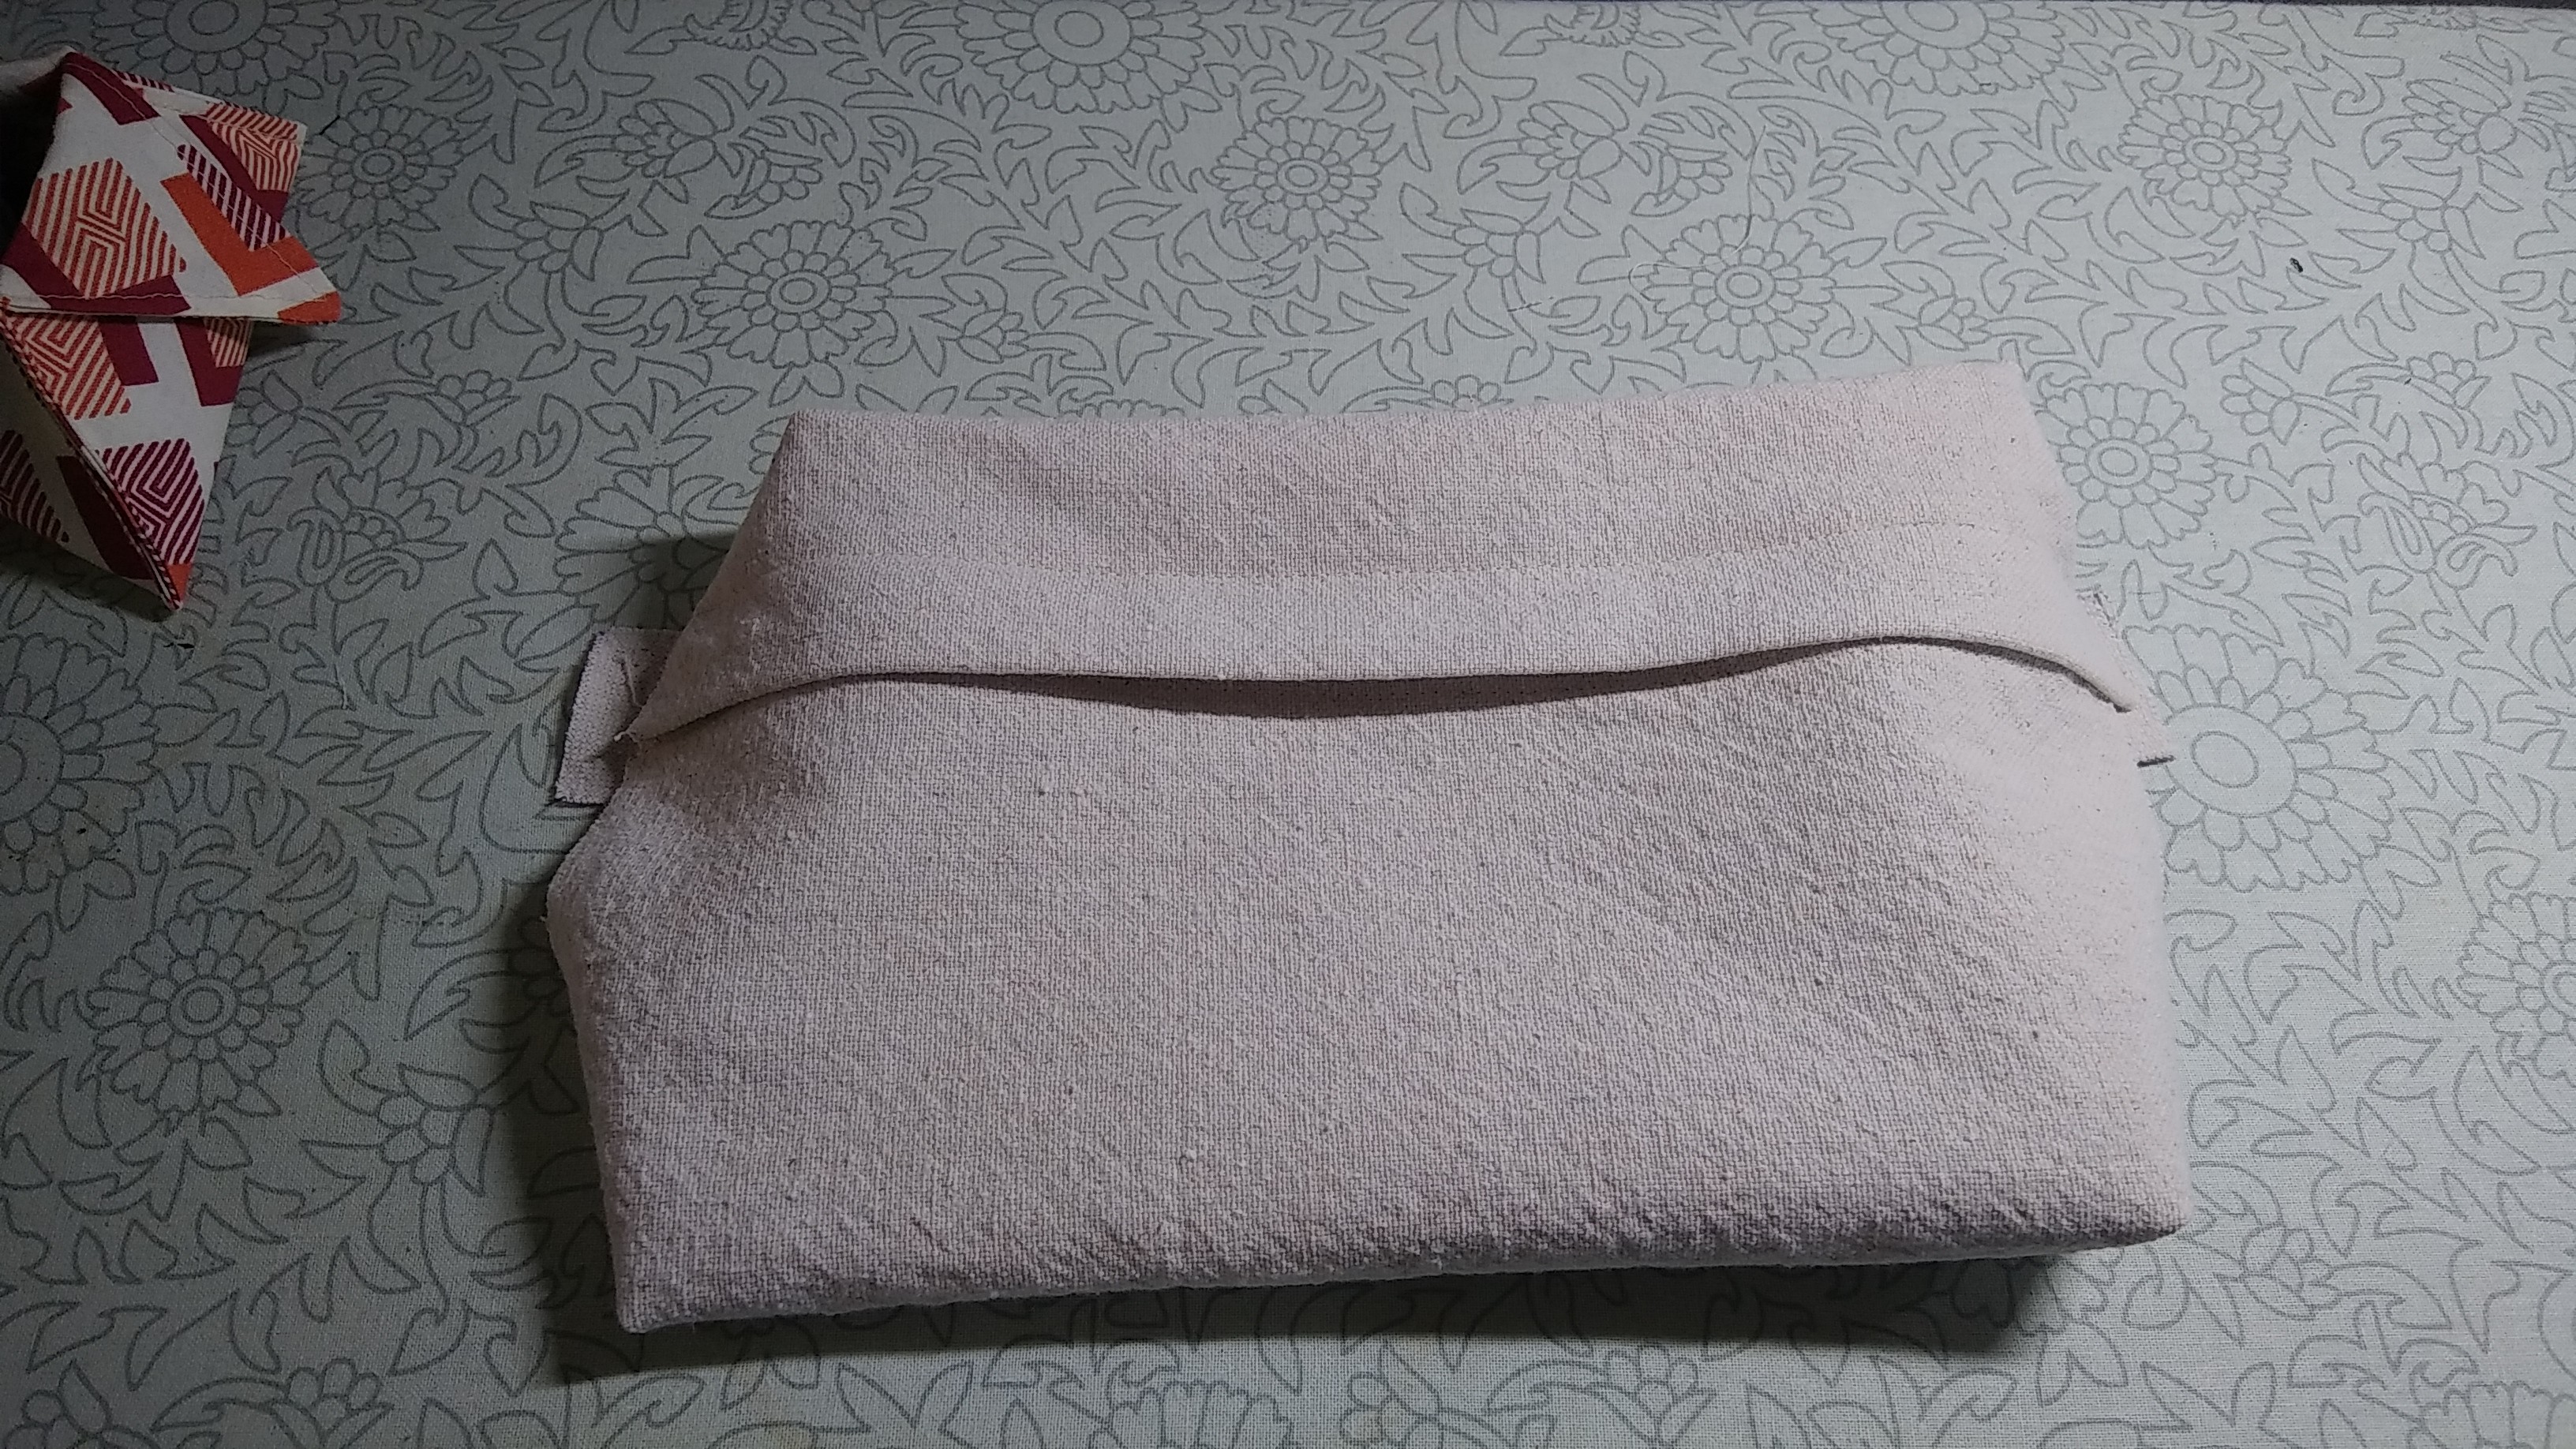
Now we have a lined zipper panel that's ready to be sewn to the completed gusset. Together, these pieces make up the top, sides, and bottom of the backpack.
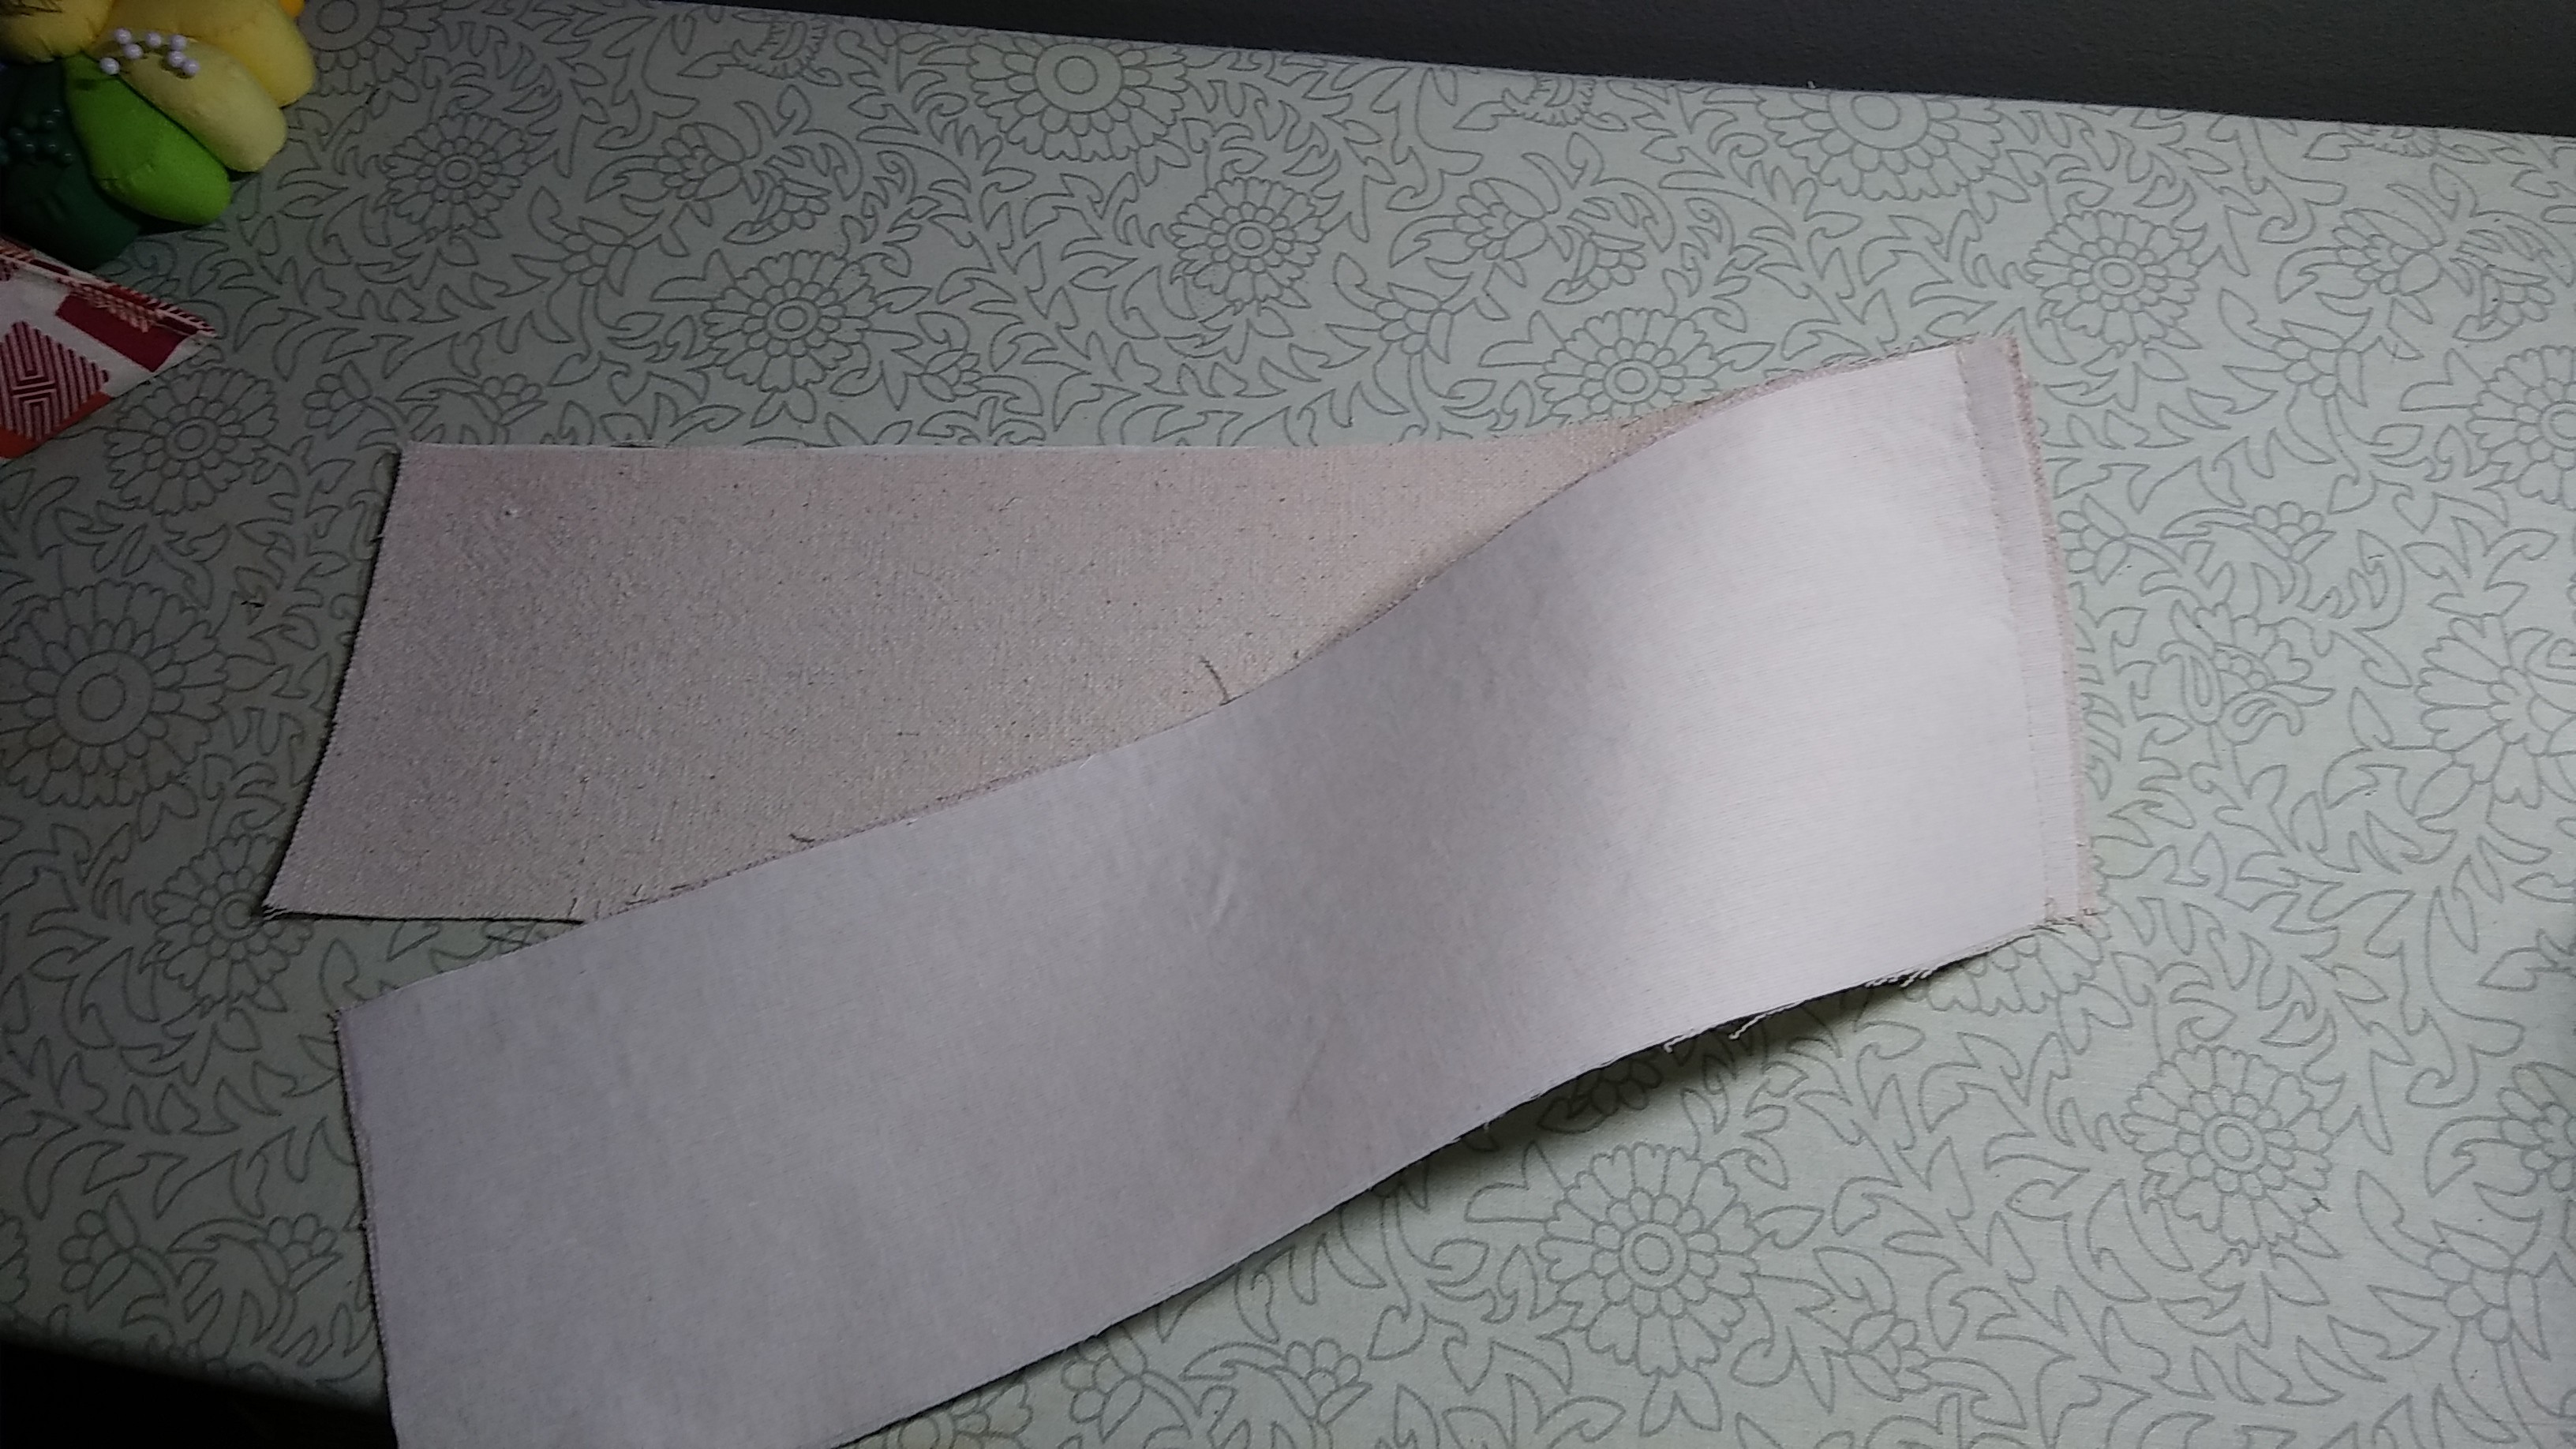
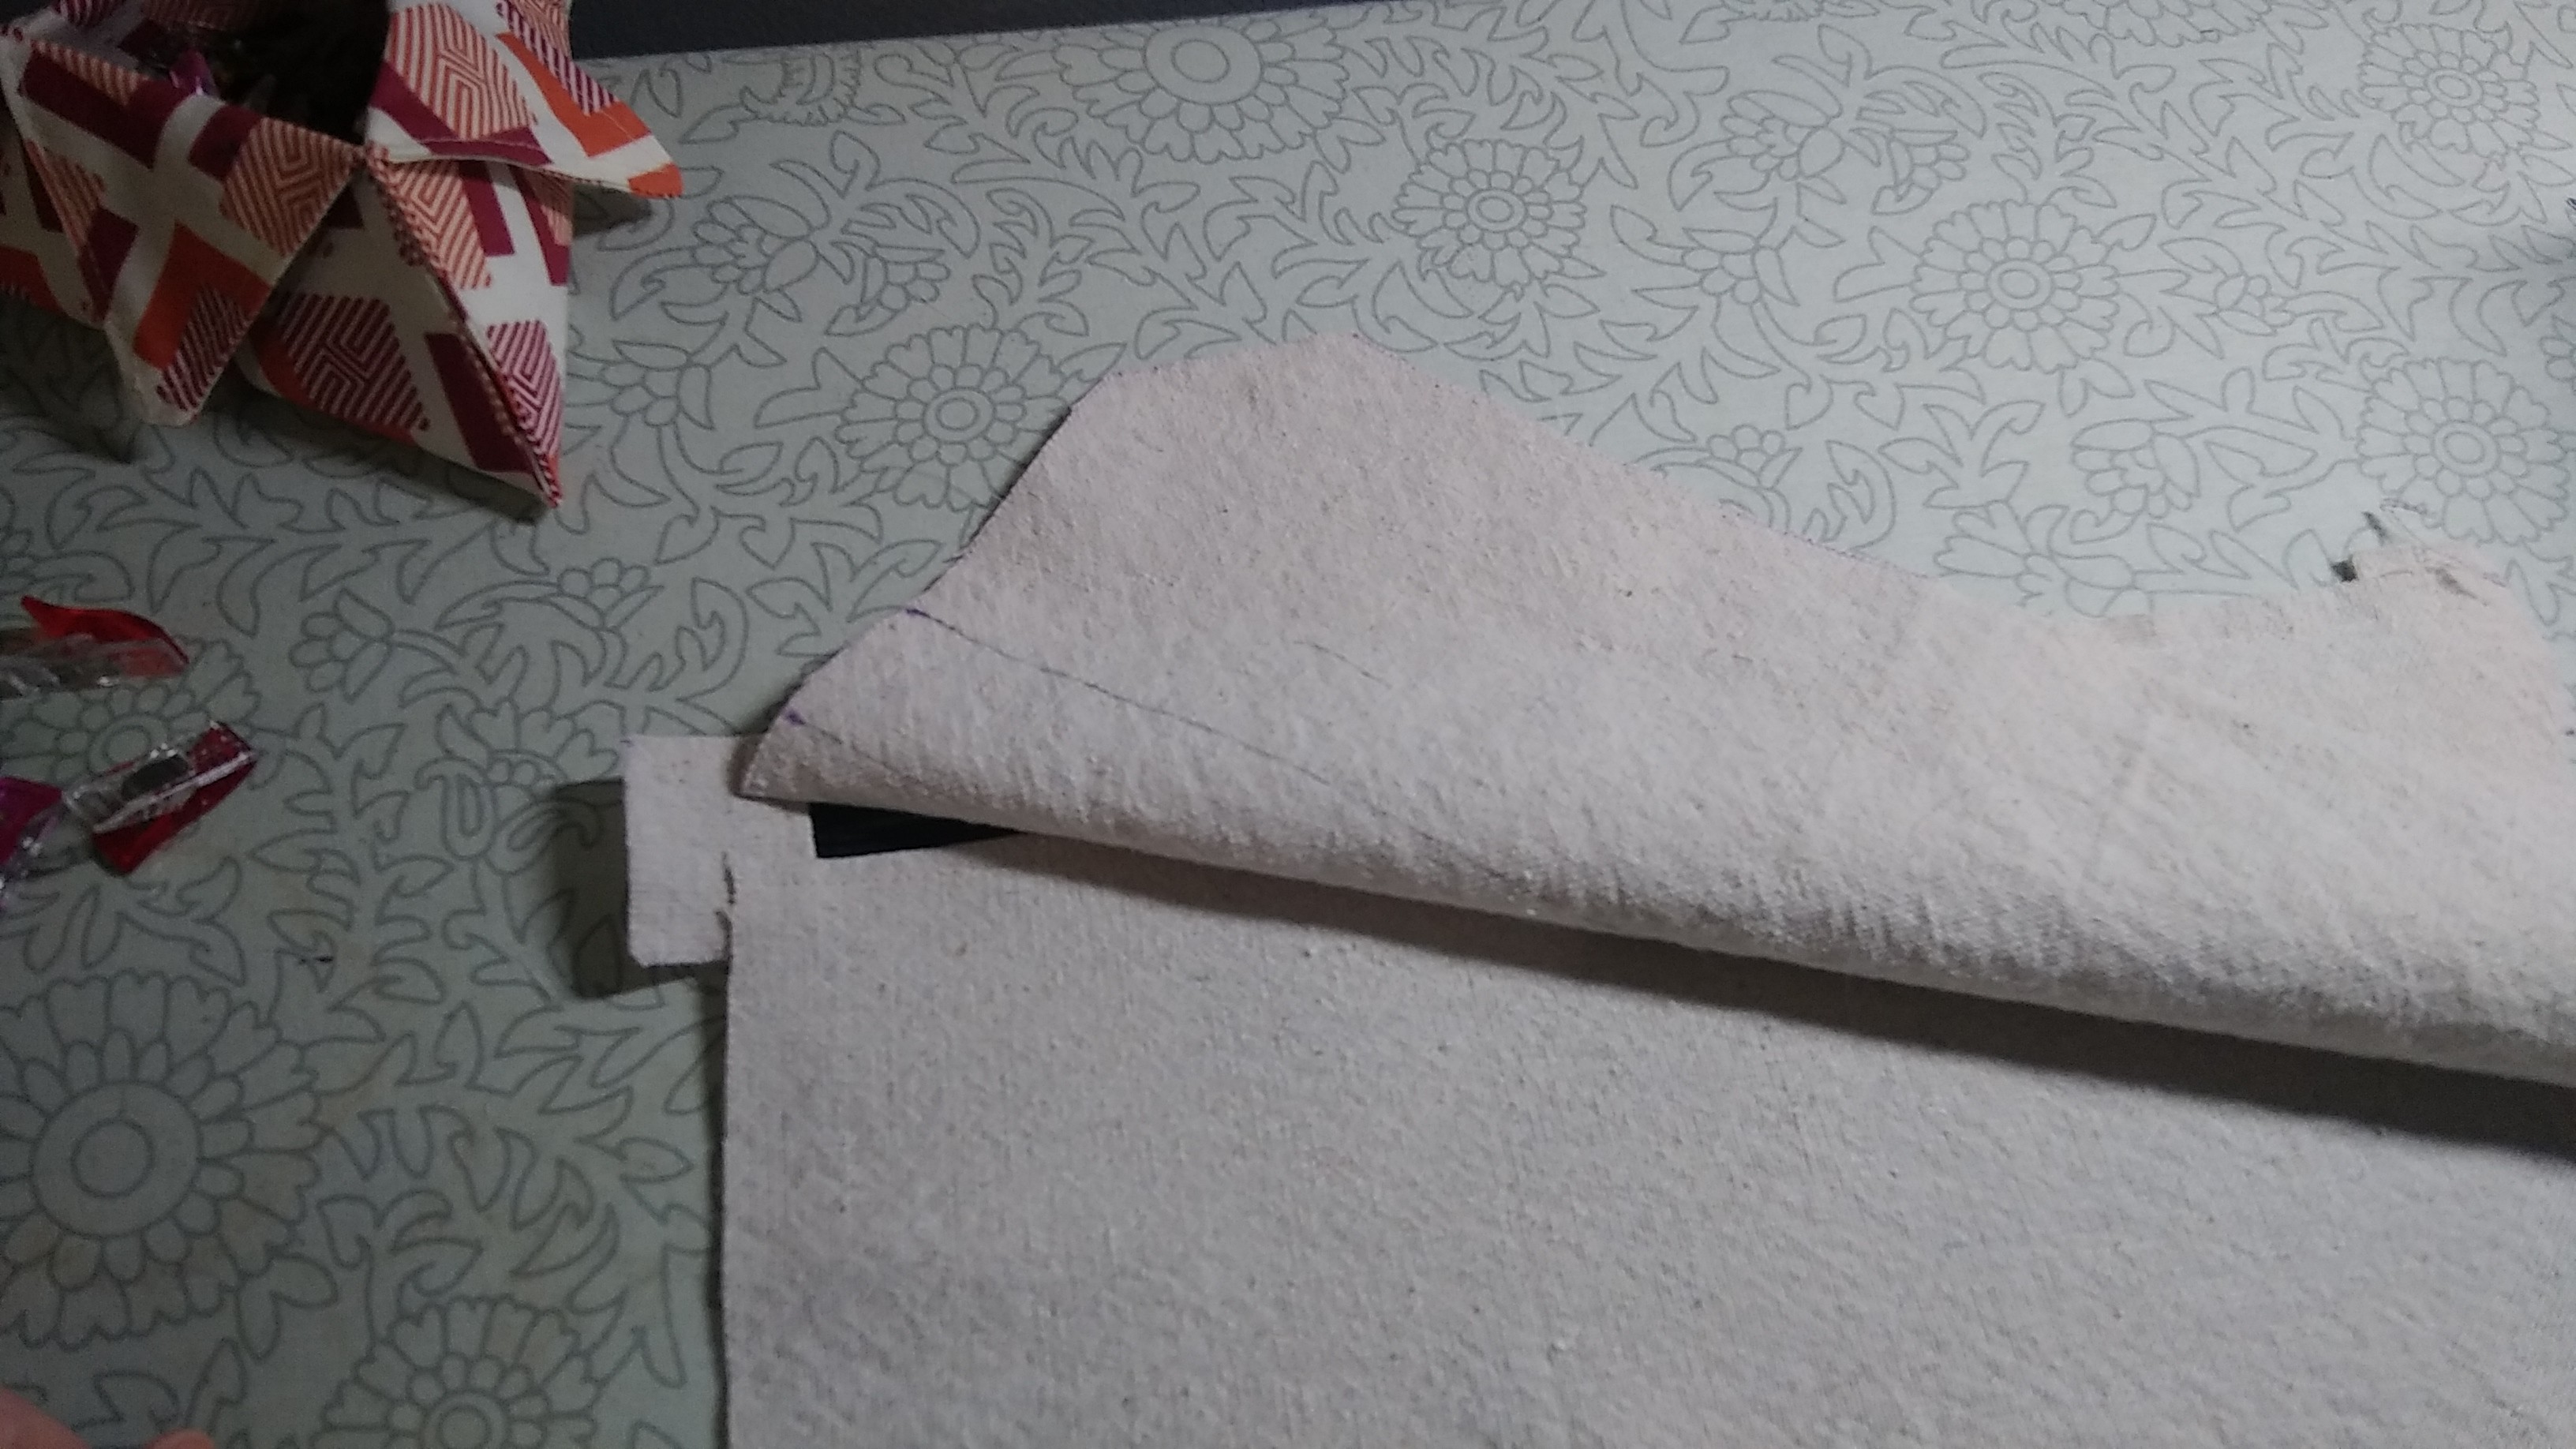
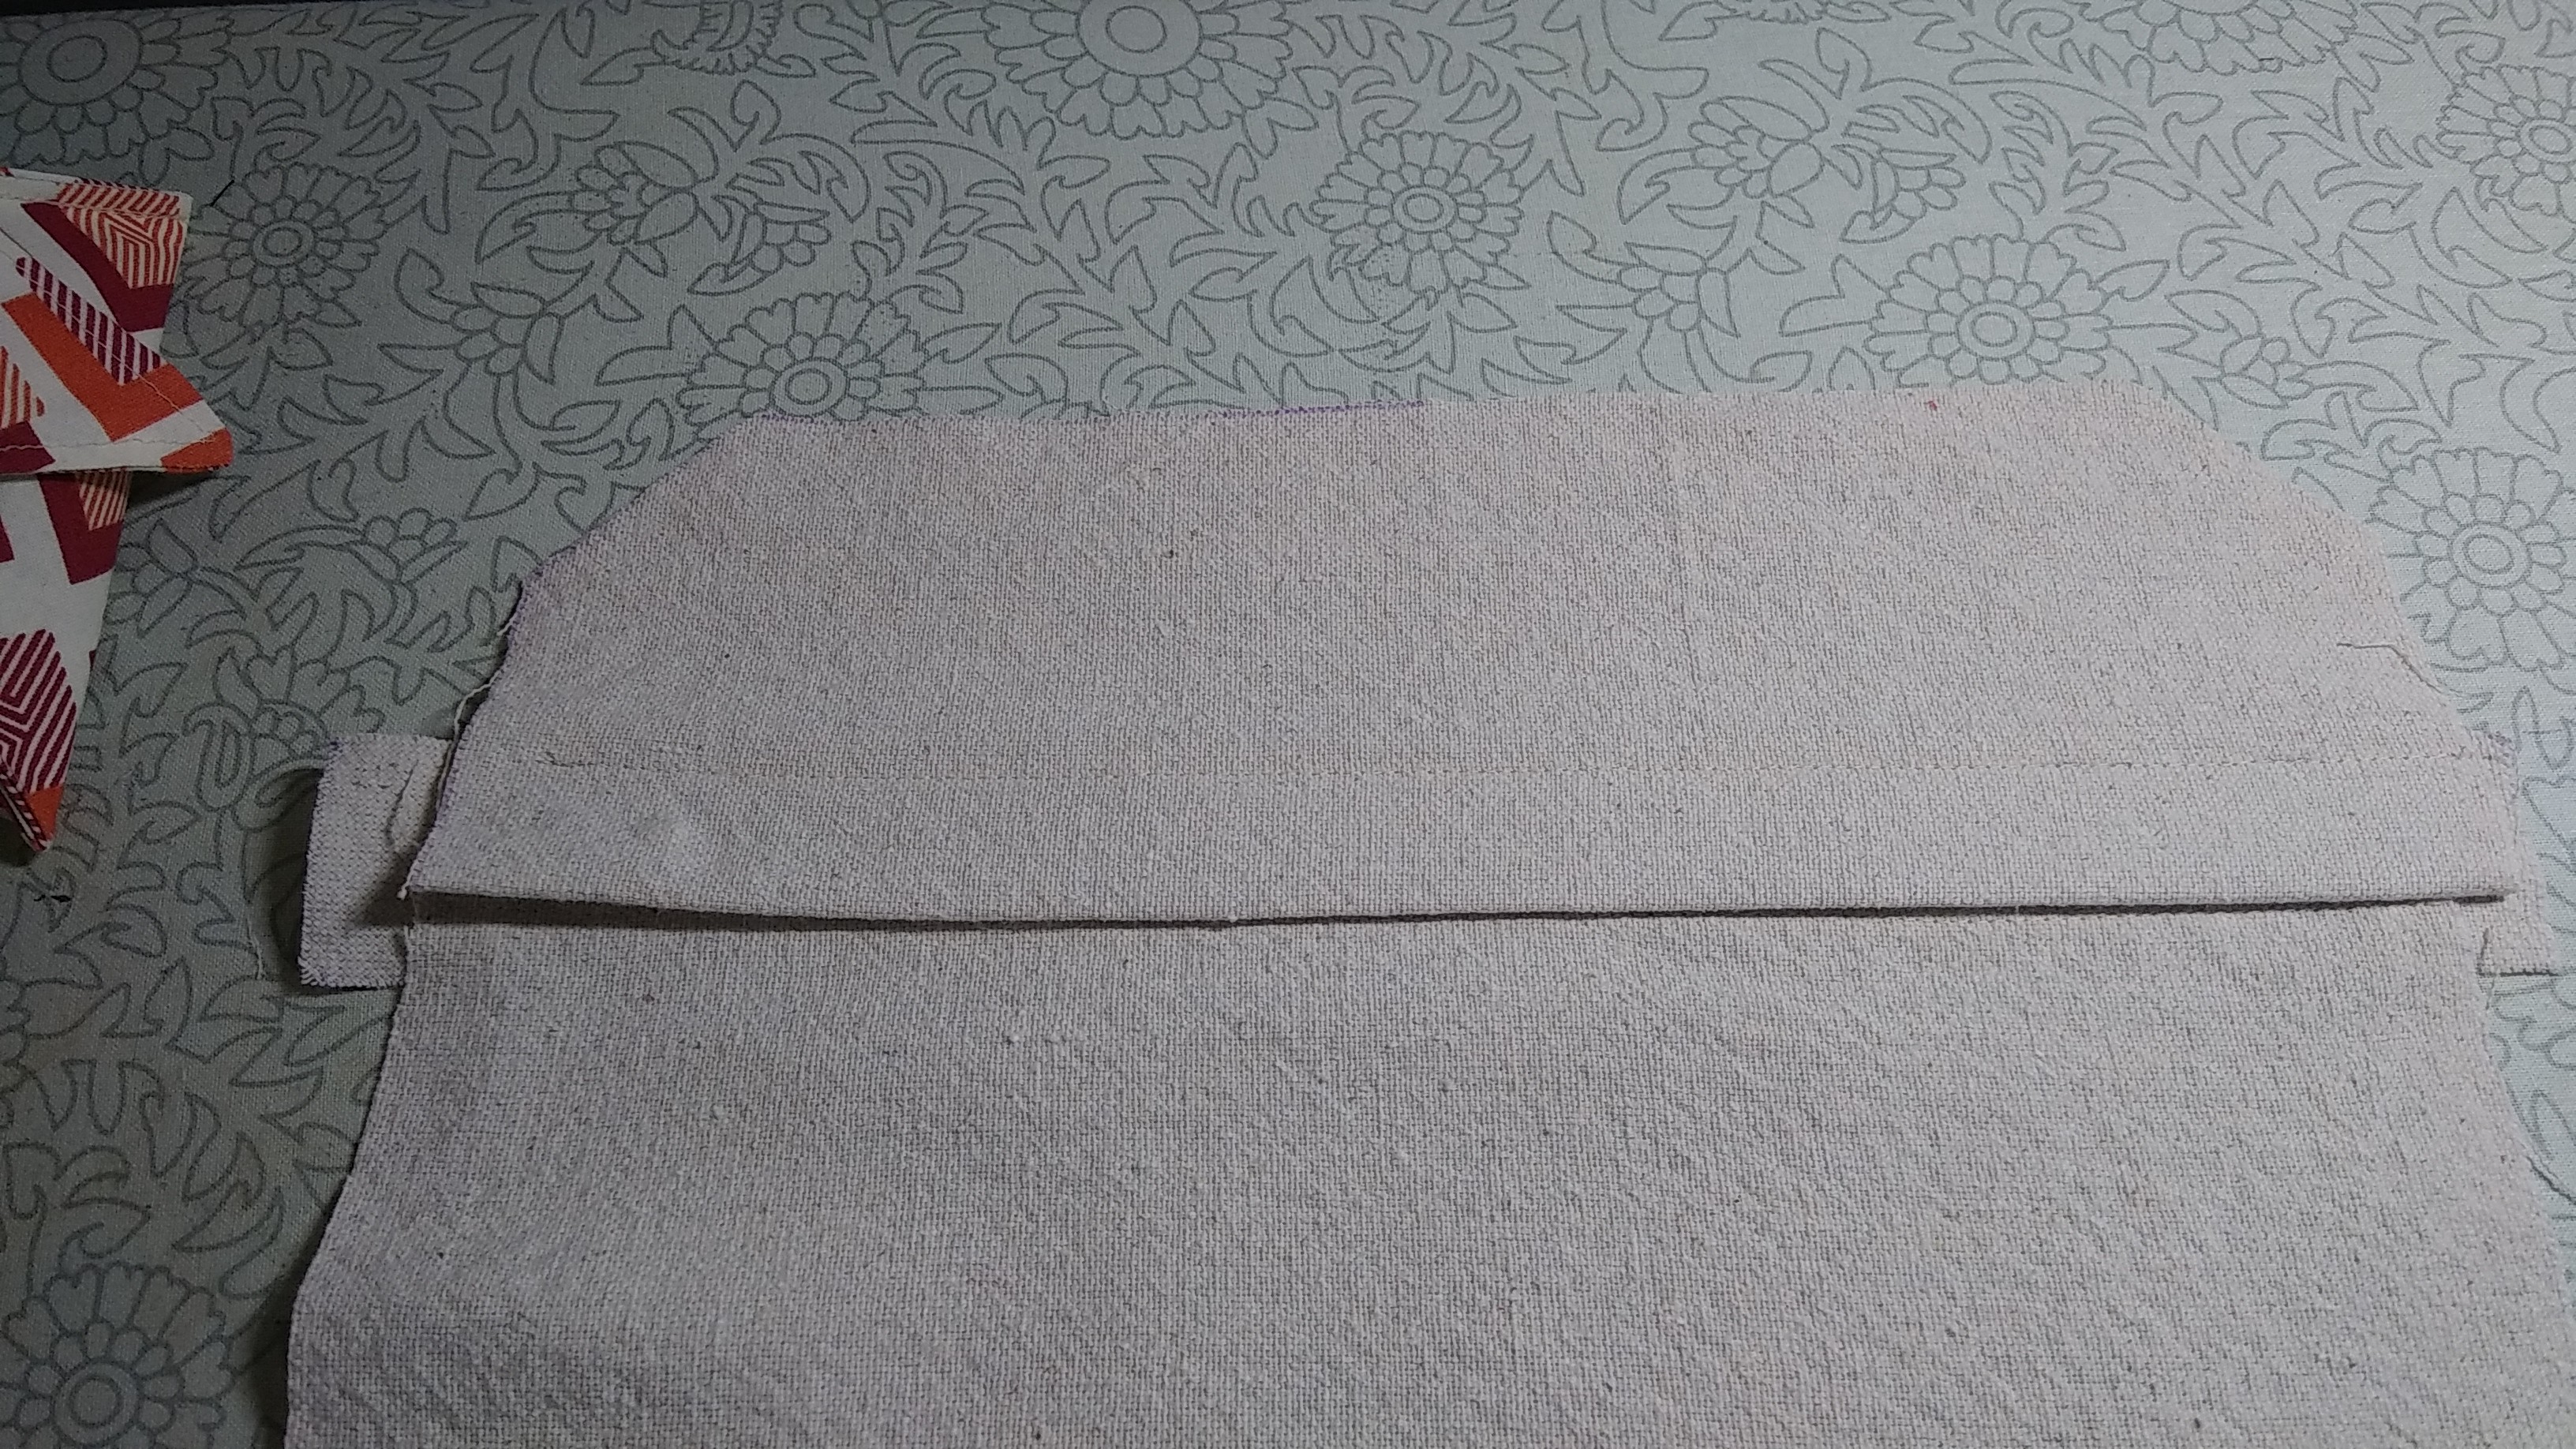
Last night I made the gusset, which includes the bottom and part of the sides. The top and the rest of the sides are called the zipper panel.
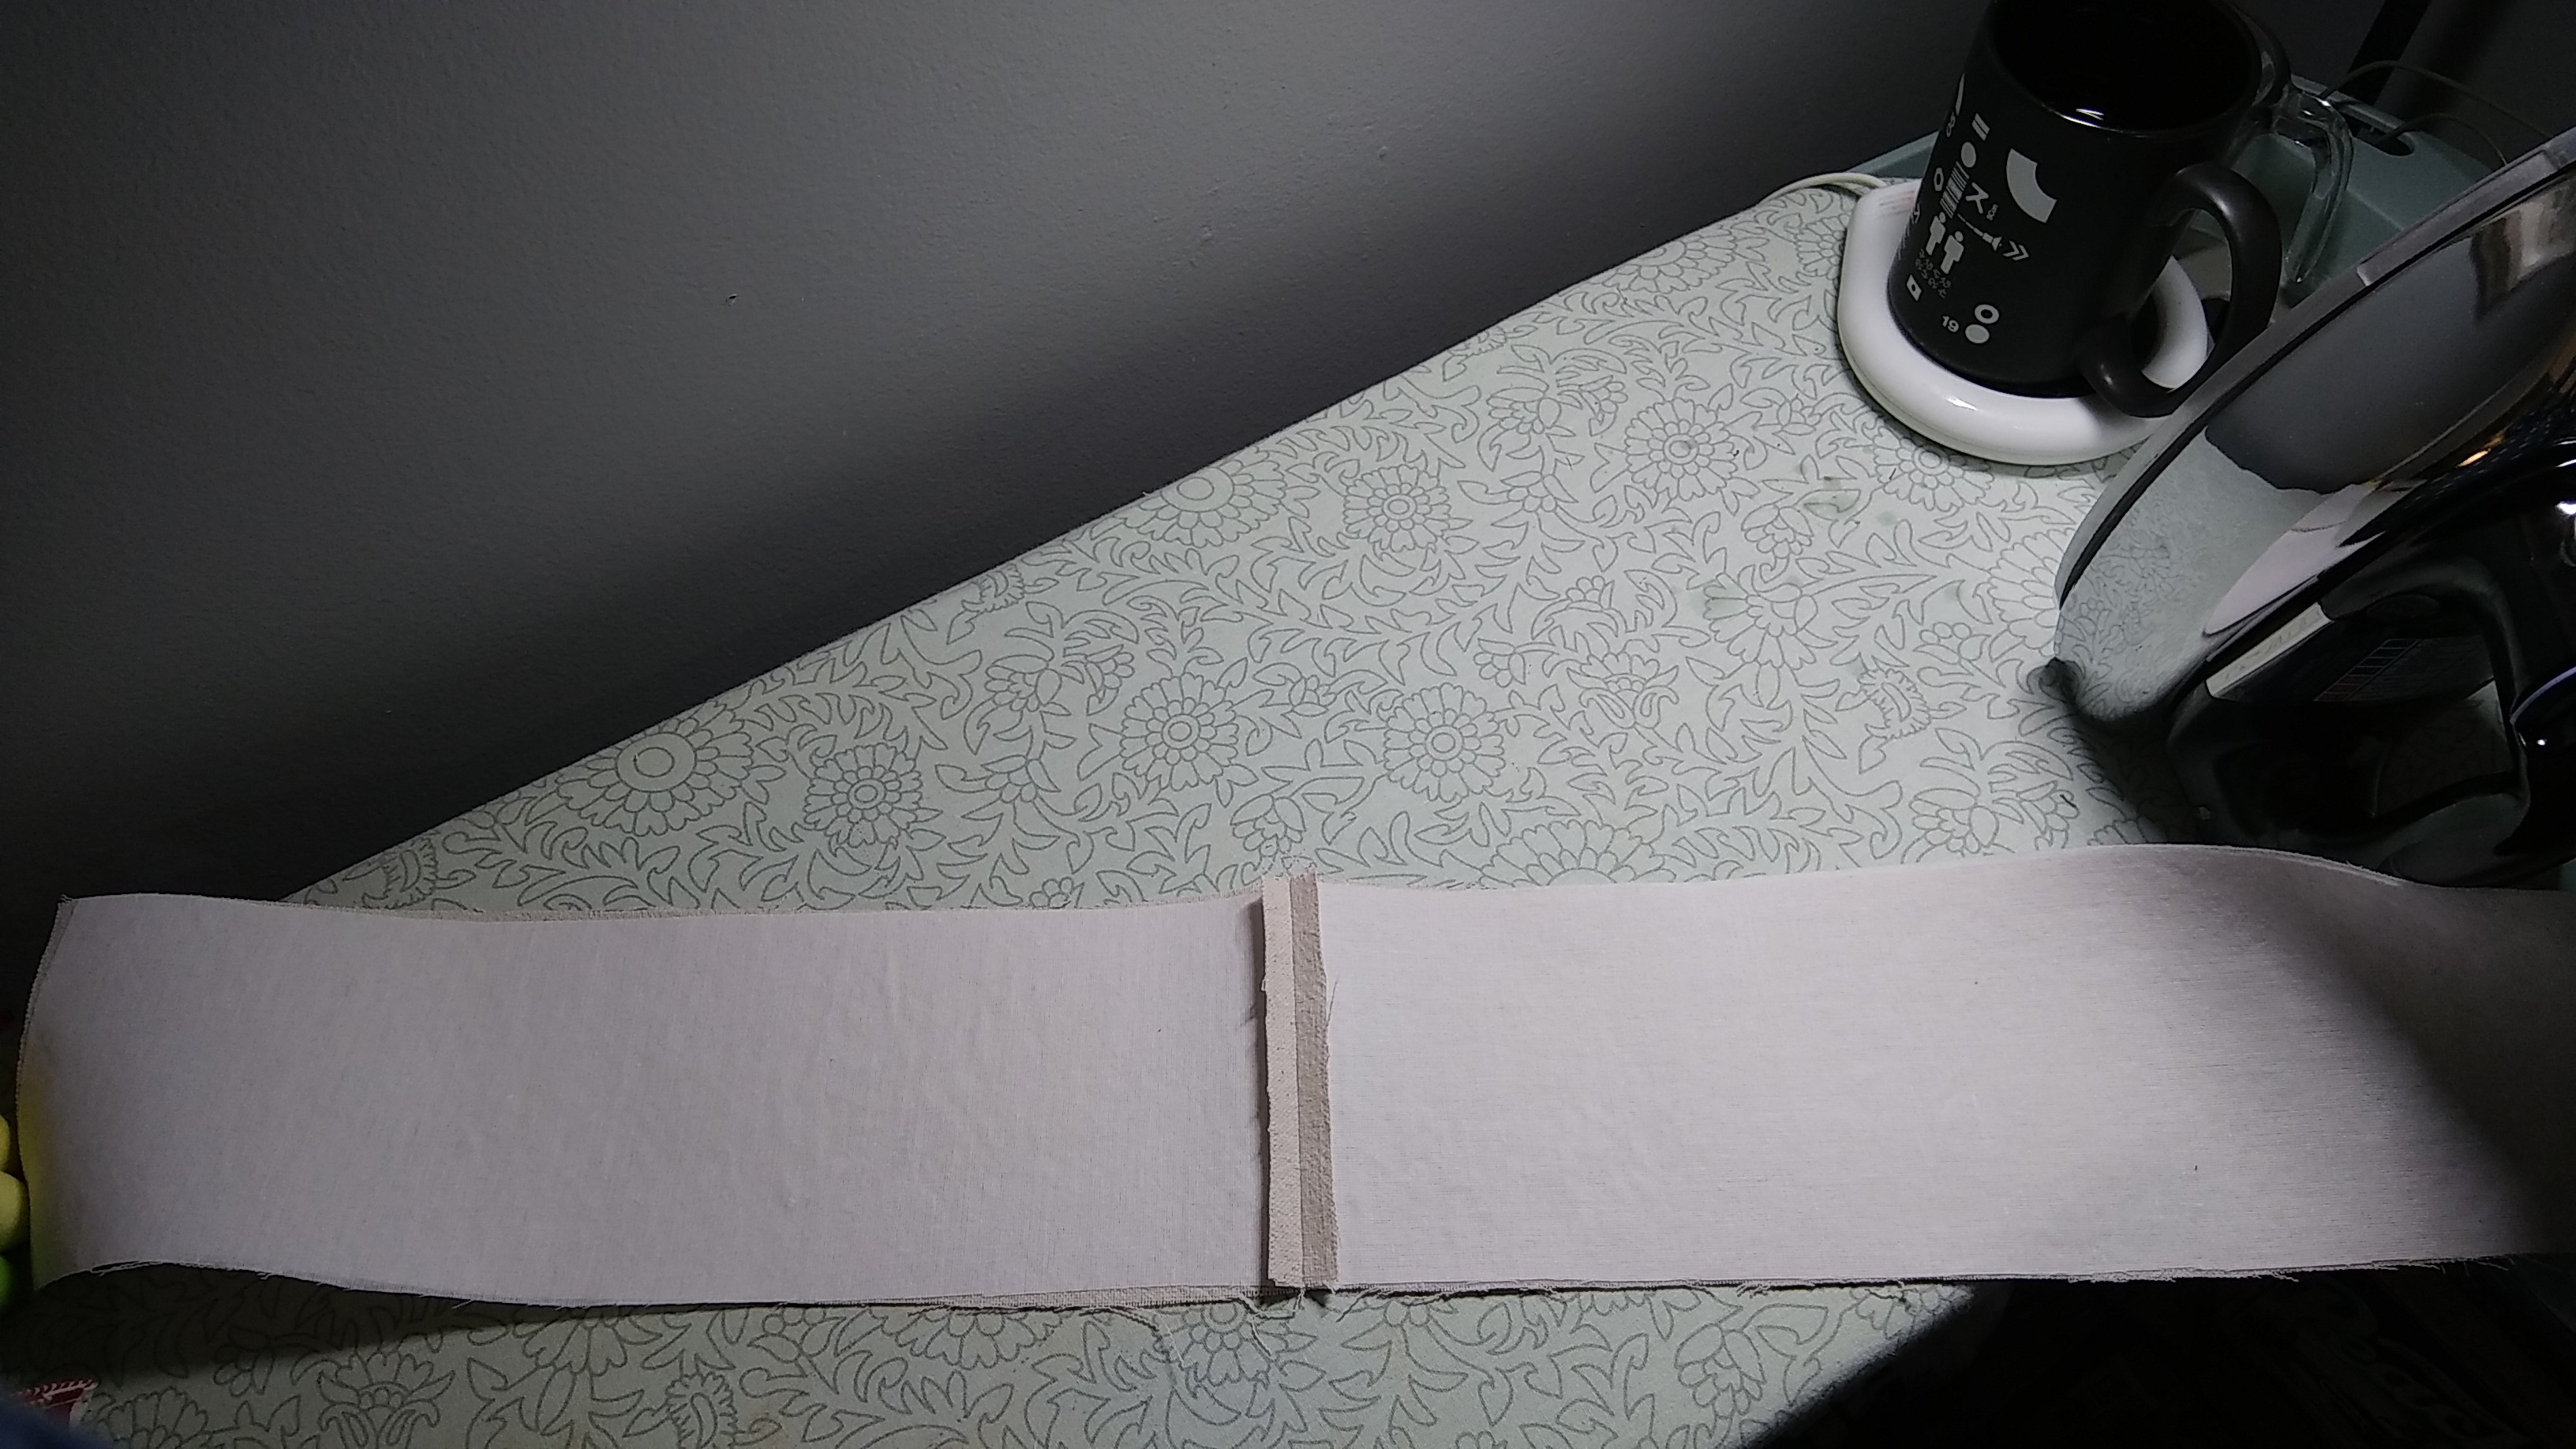
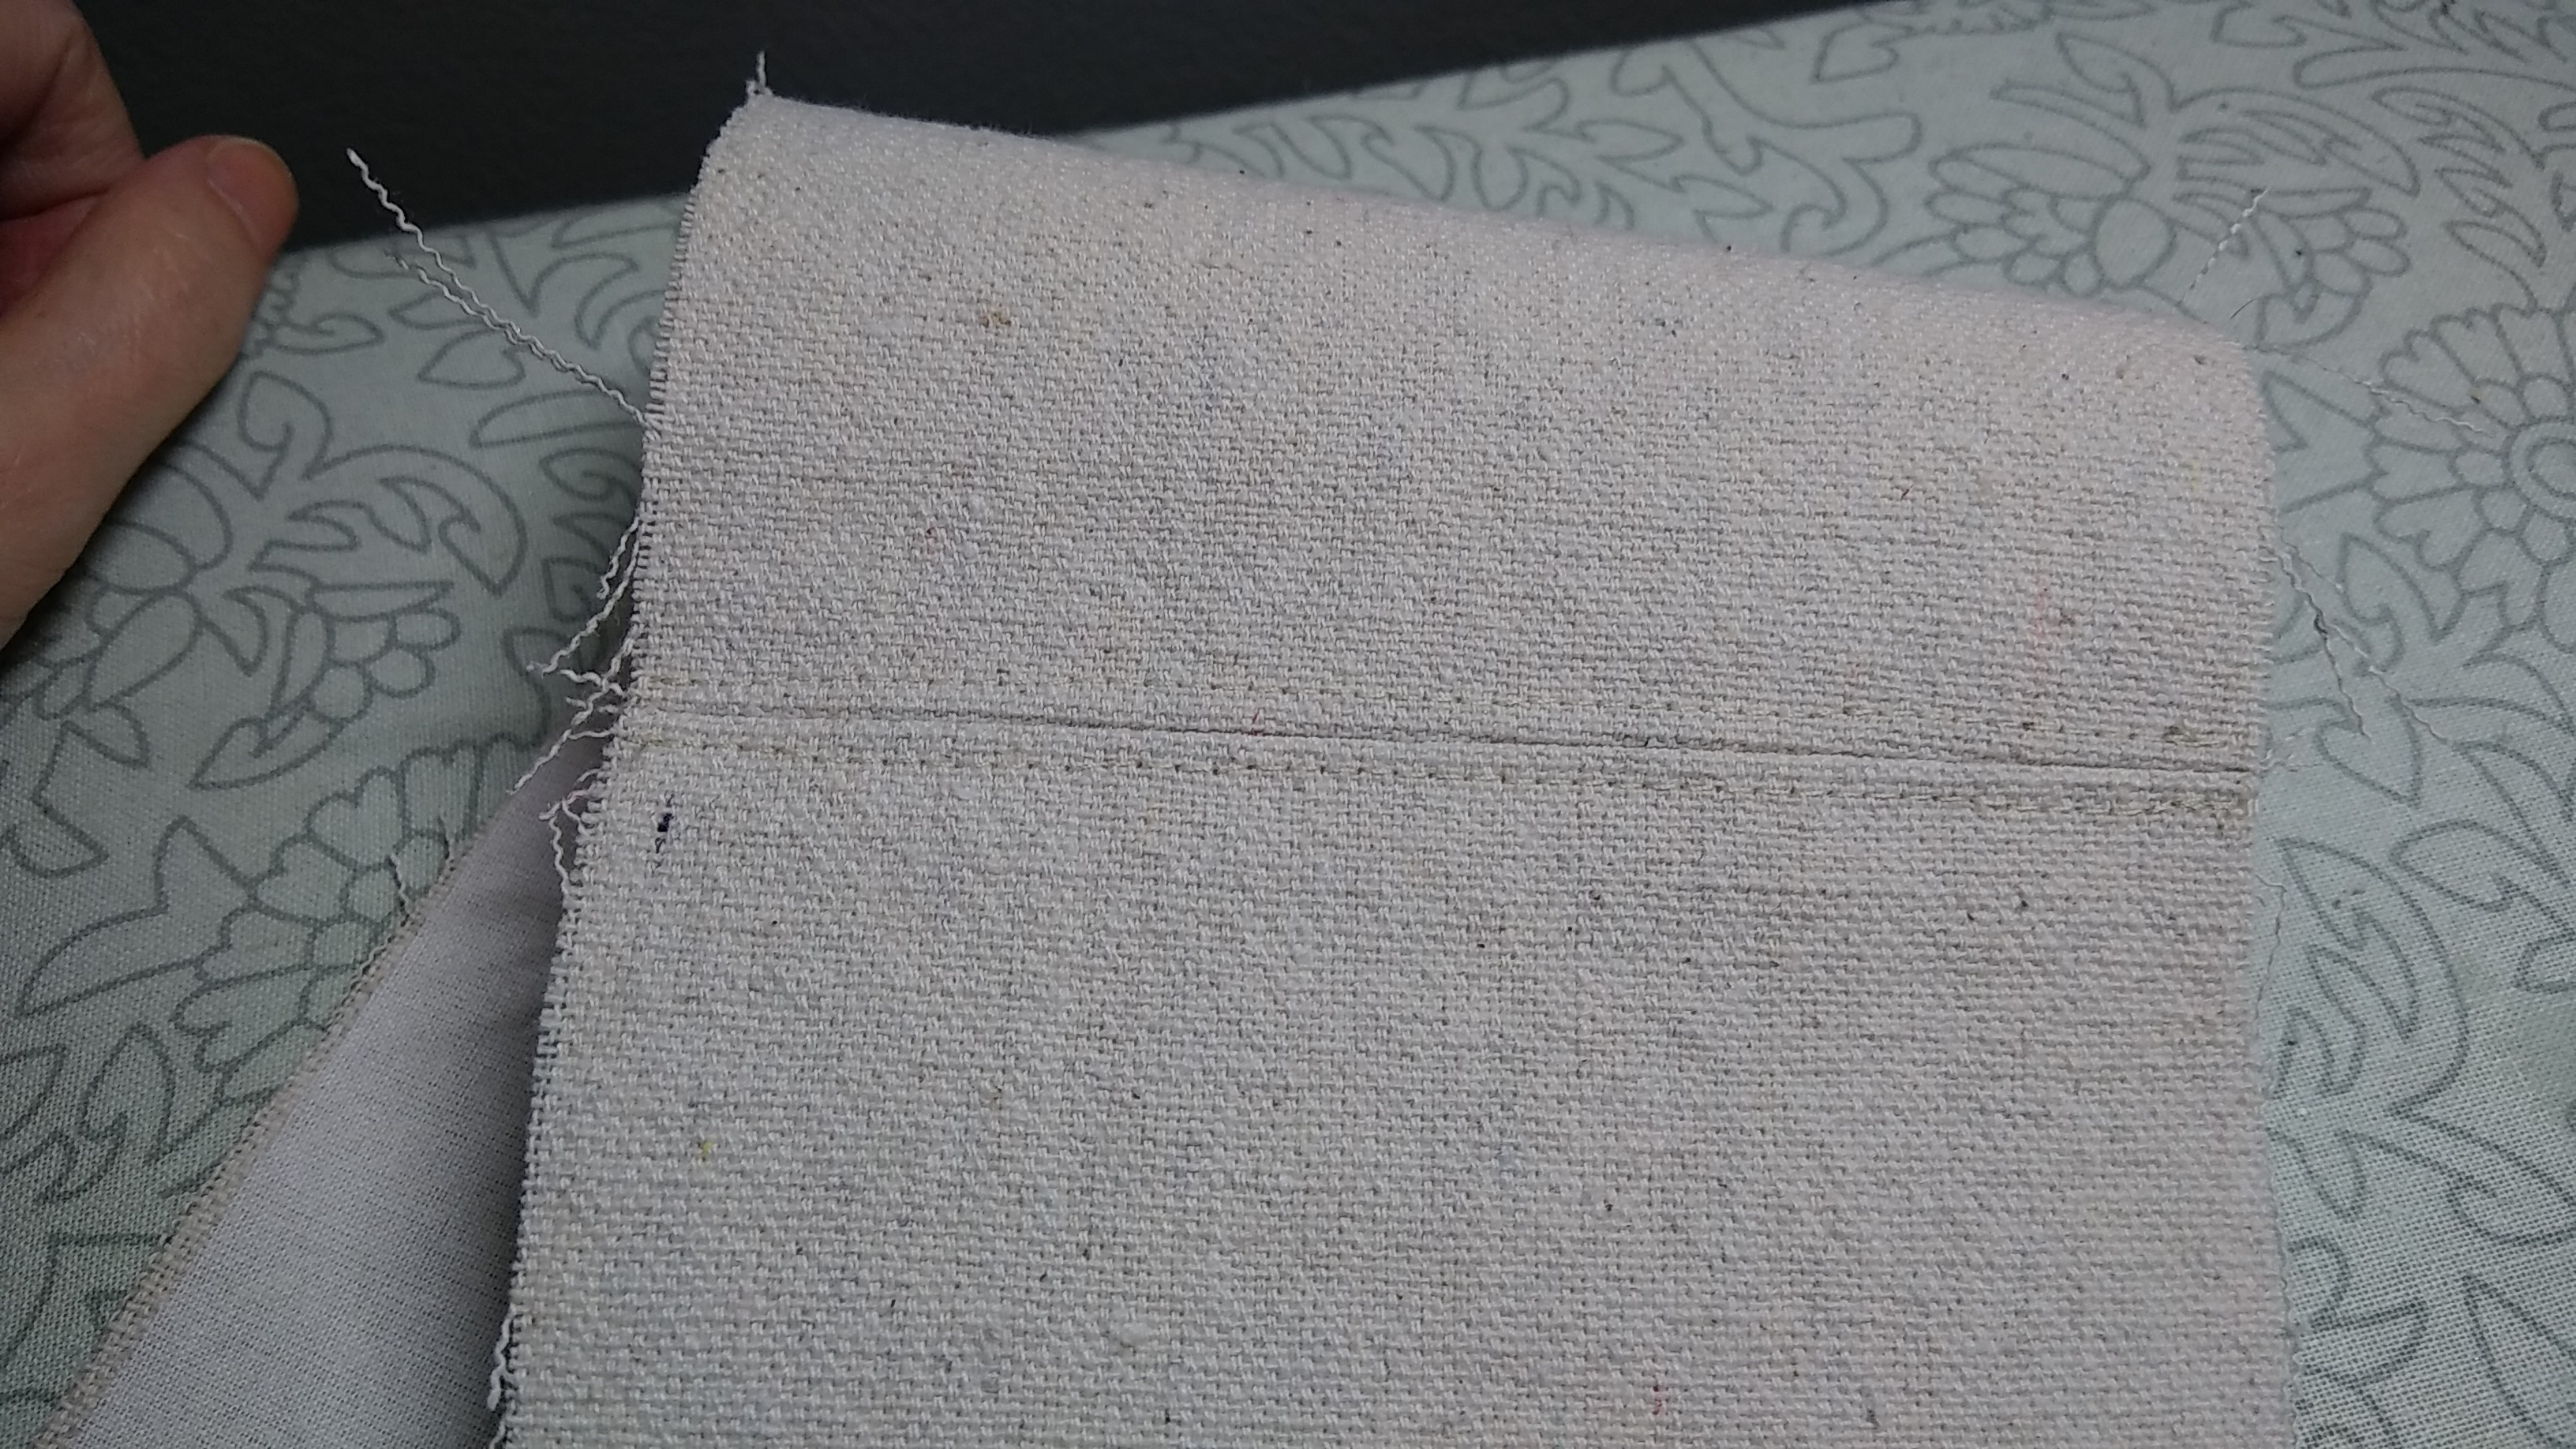
First I sewed the two exterior gusset pieces together.
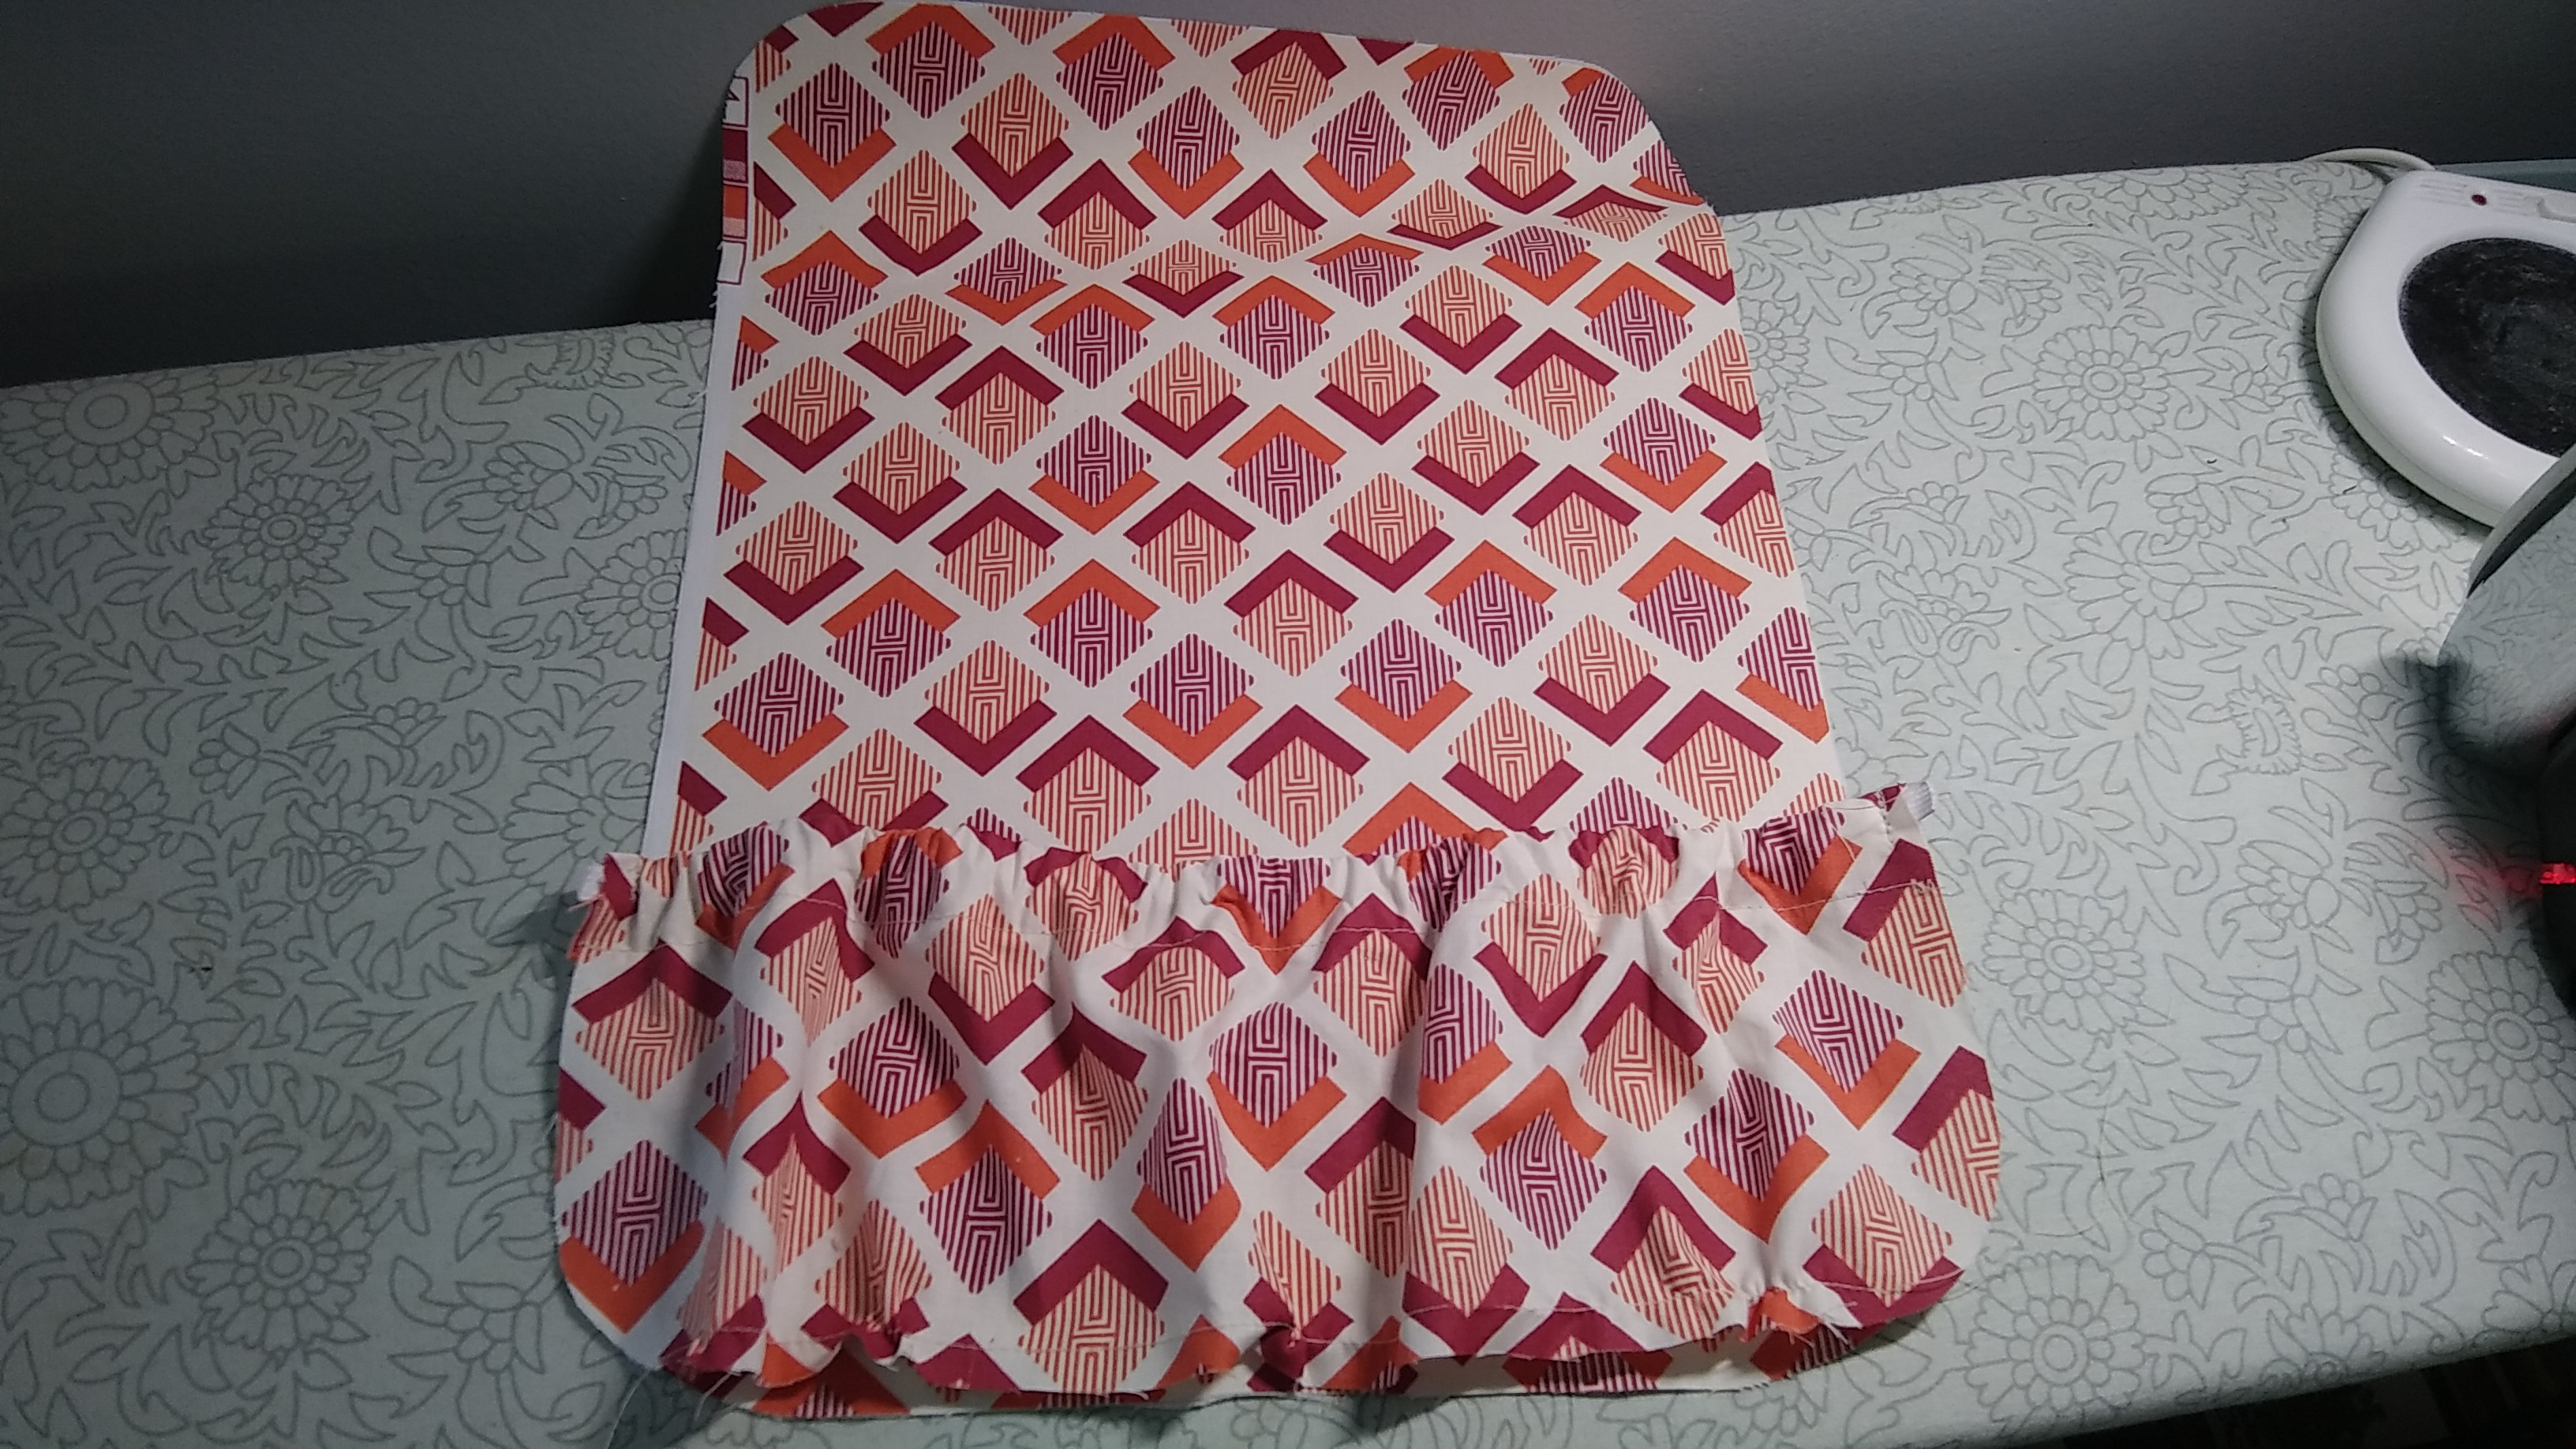
Then I pressed the seam and topstitched it on either side.
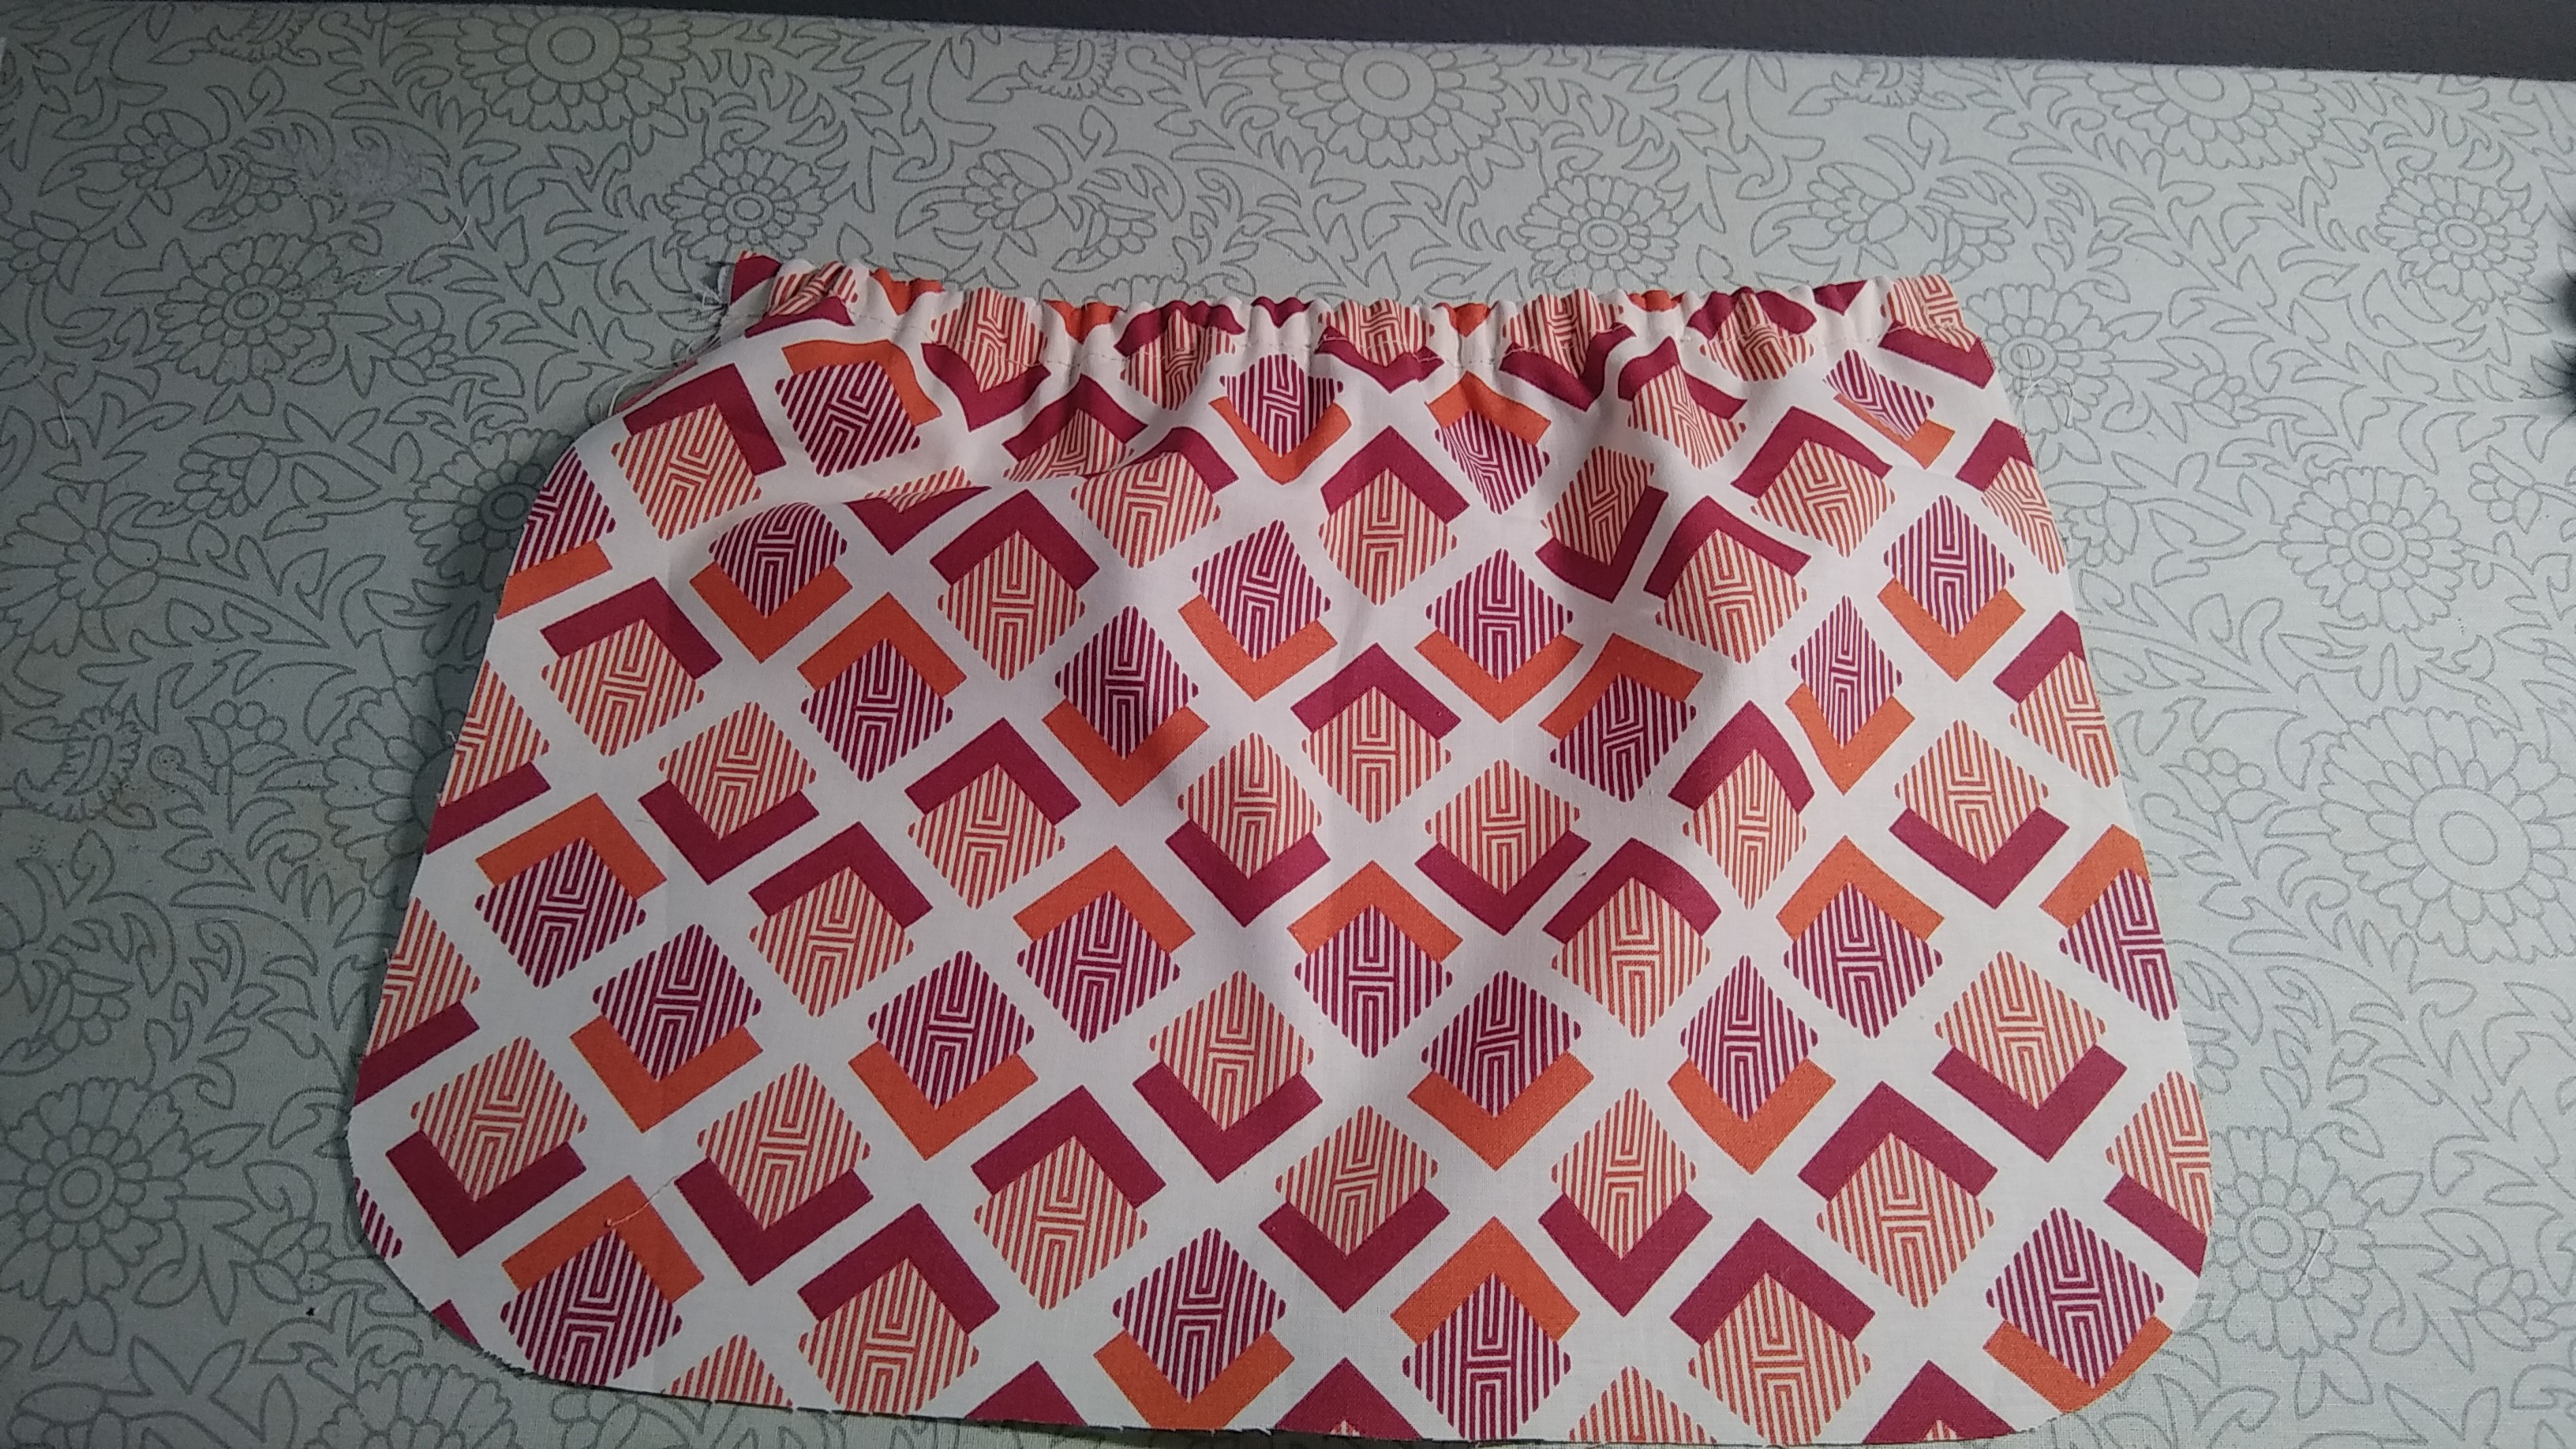
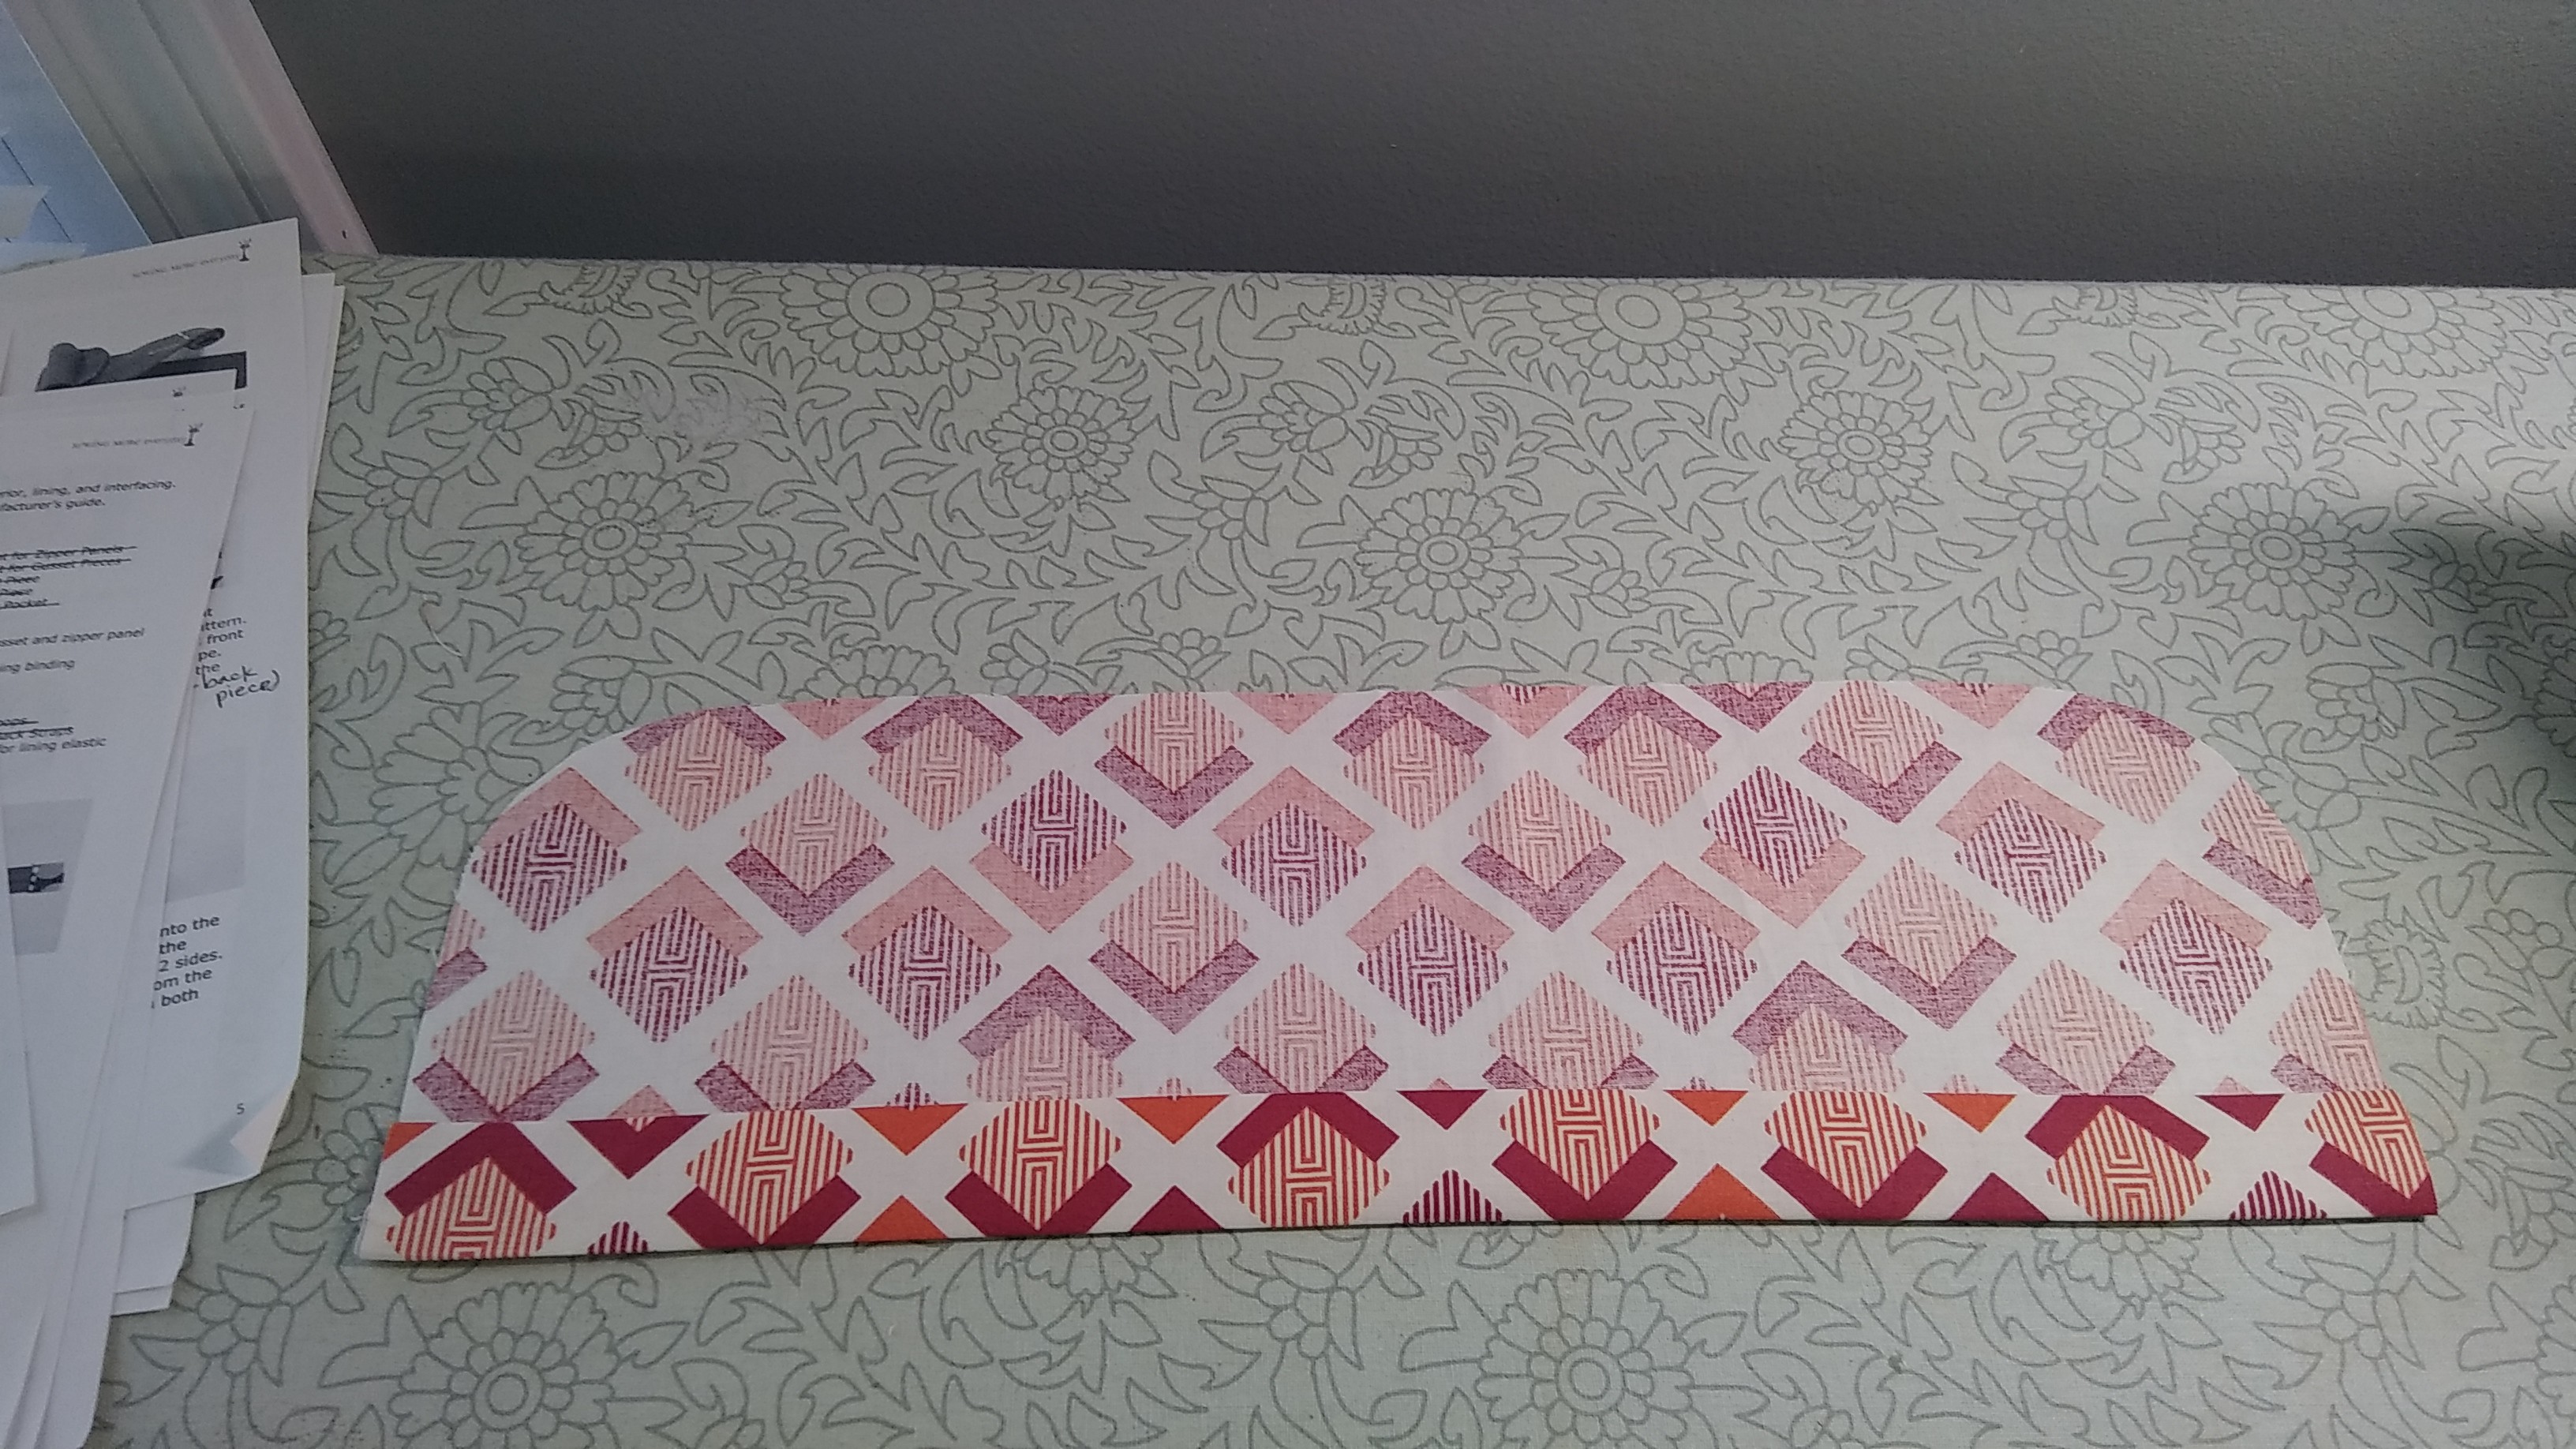
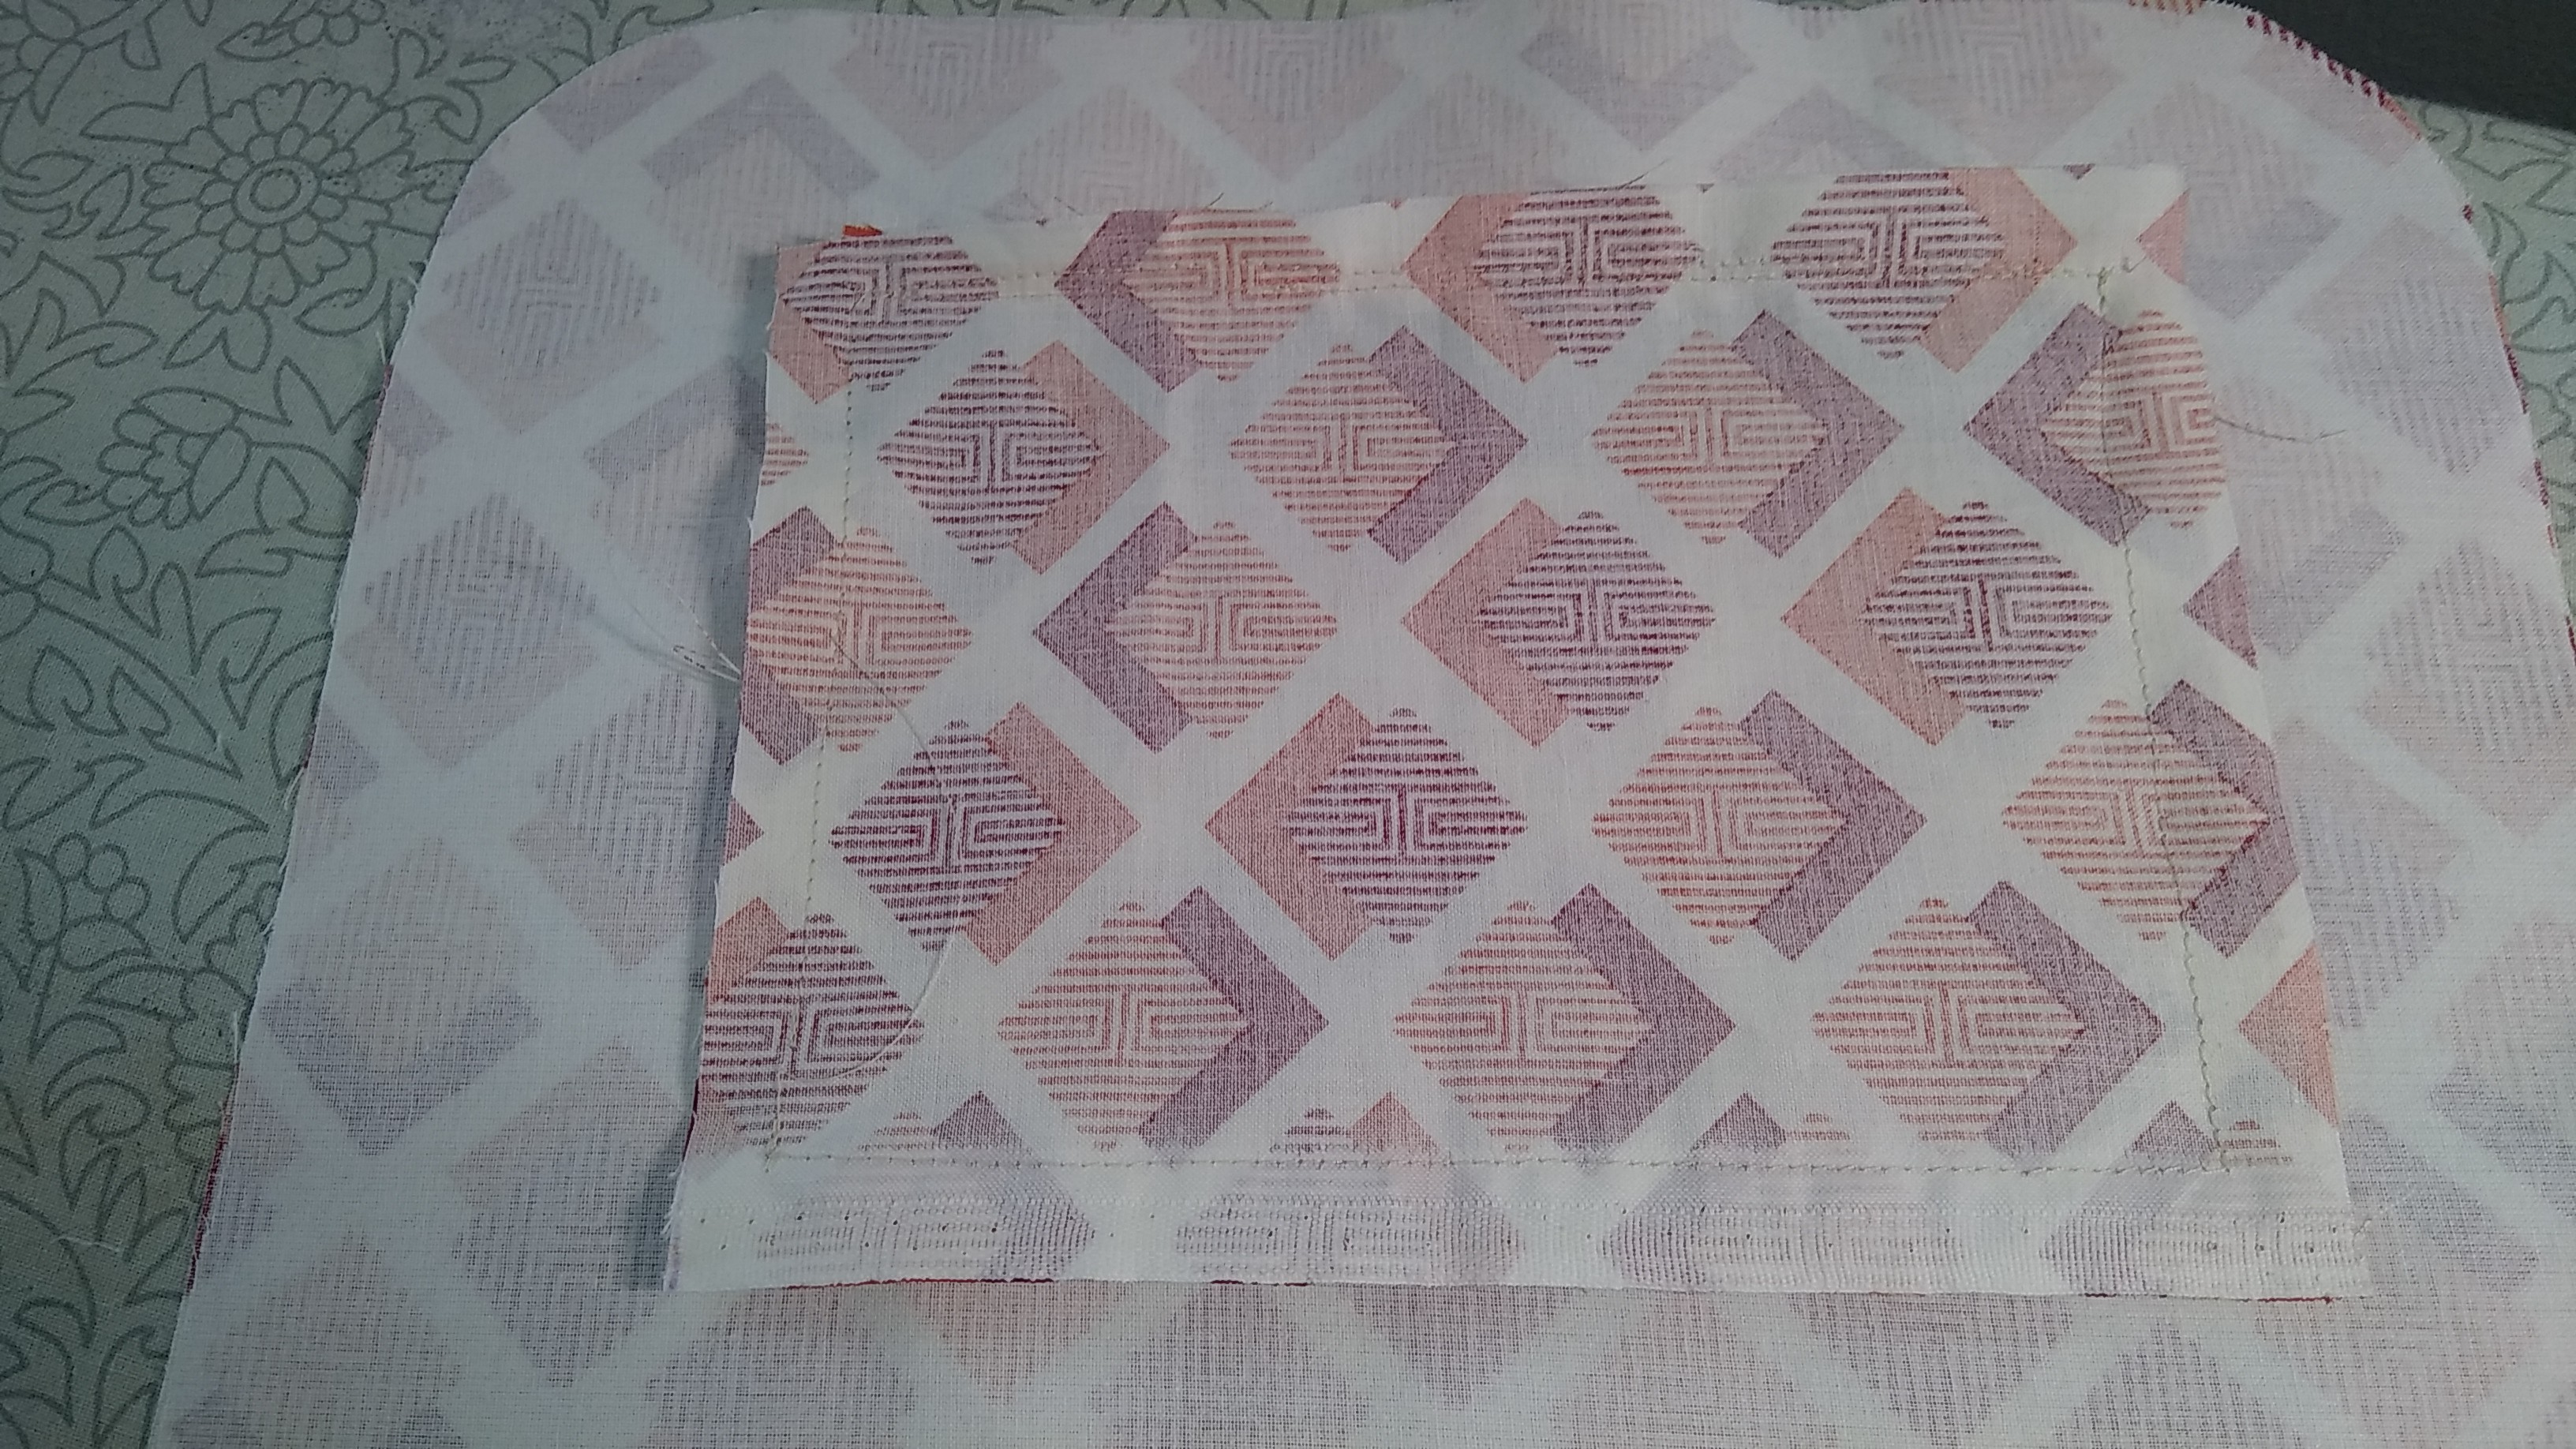
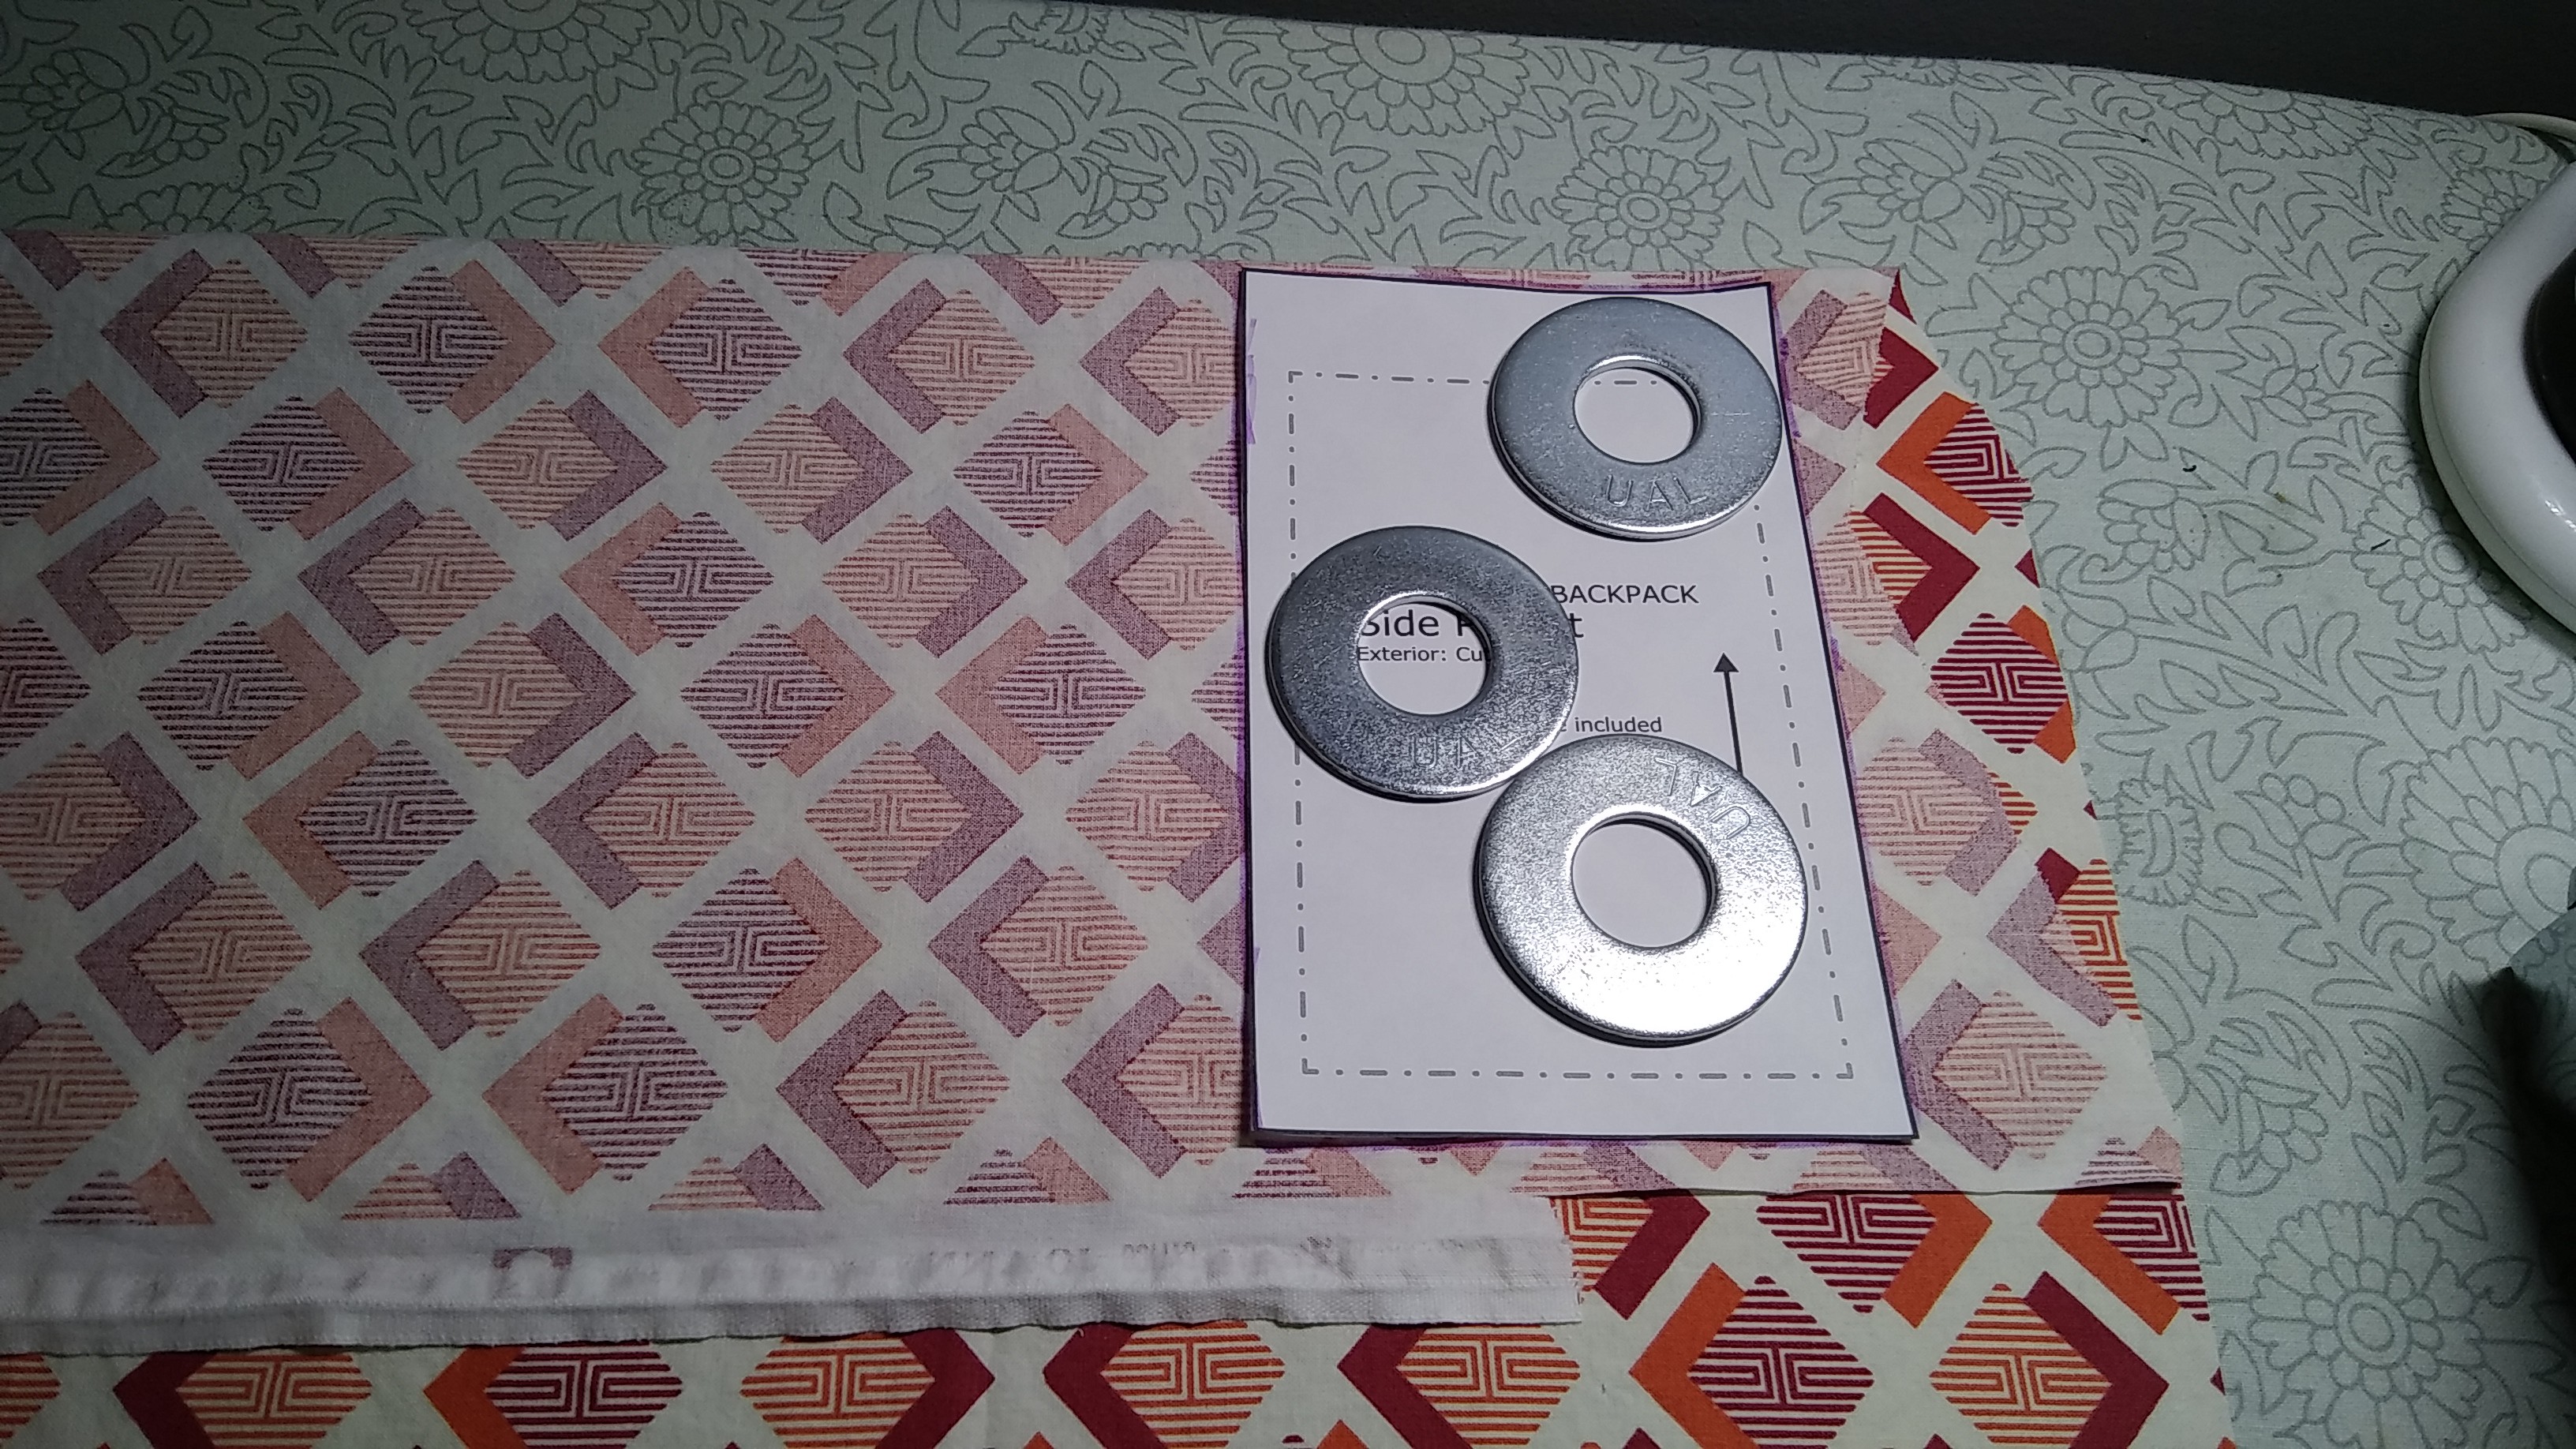
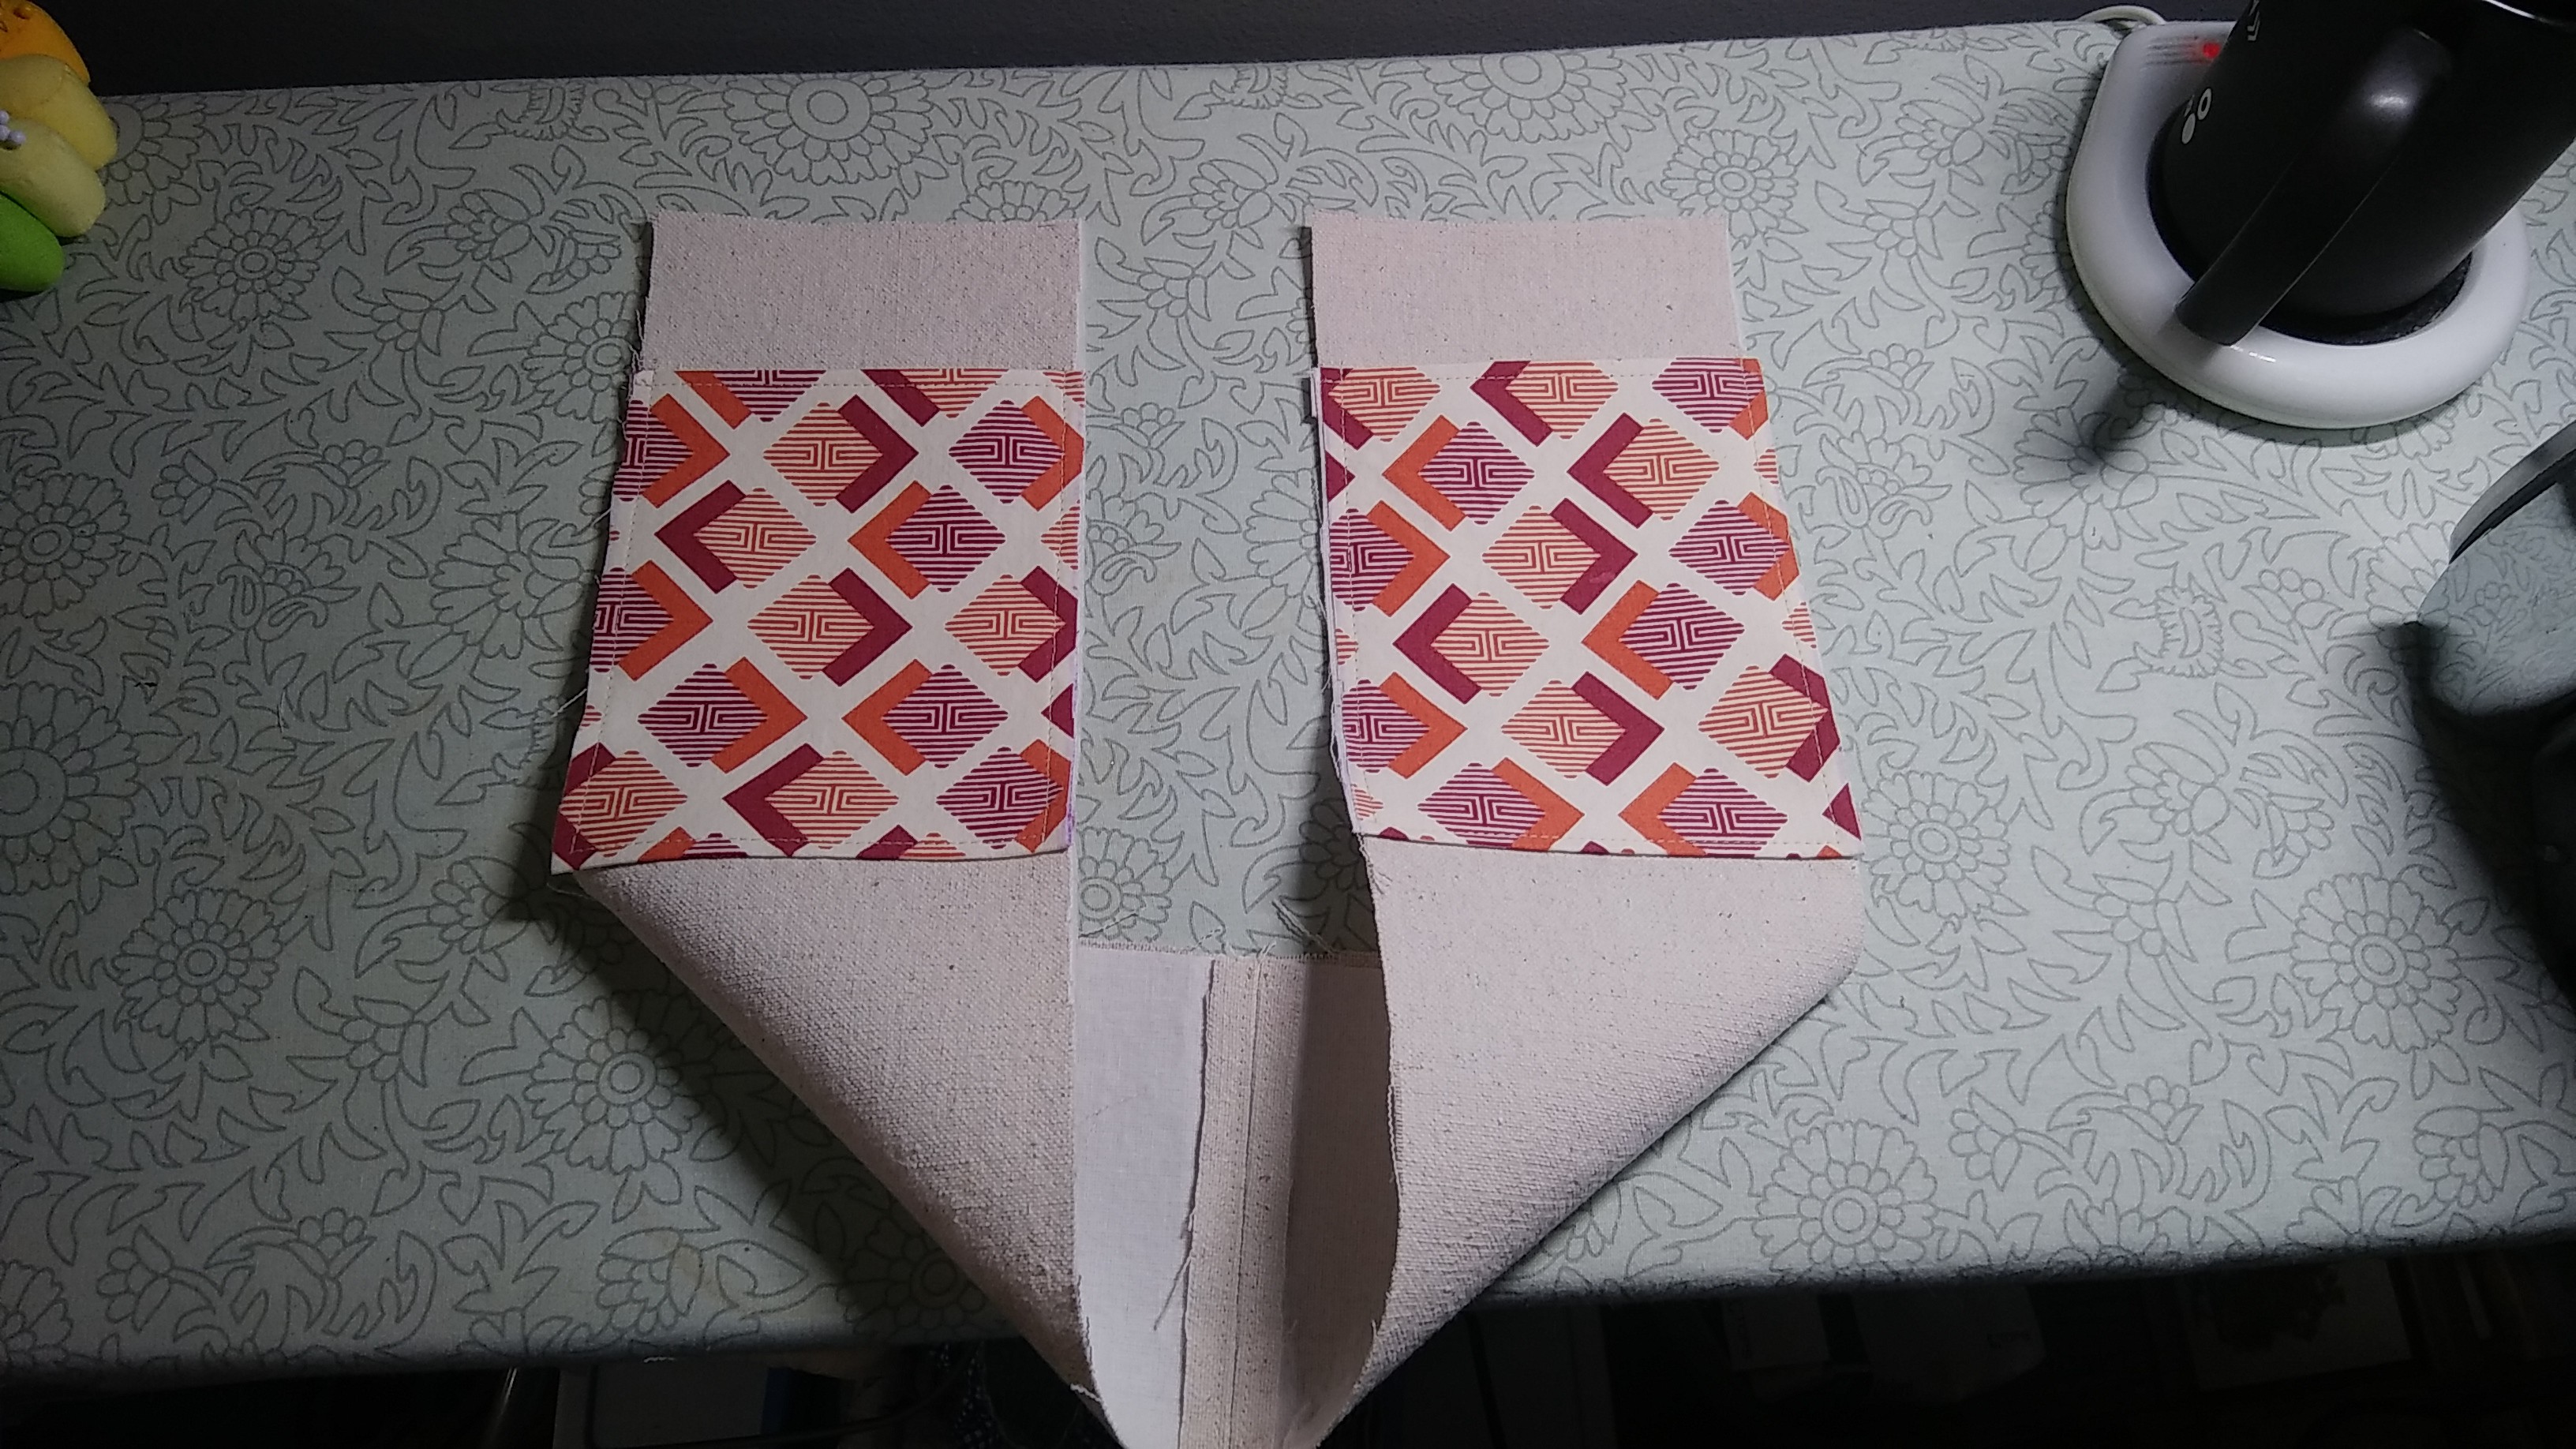
Then I cut out the side pockets from the interior fabric and interfaced them. I found a perfectly-sized scrap of interfacing in my stash!
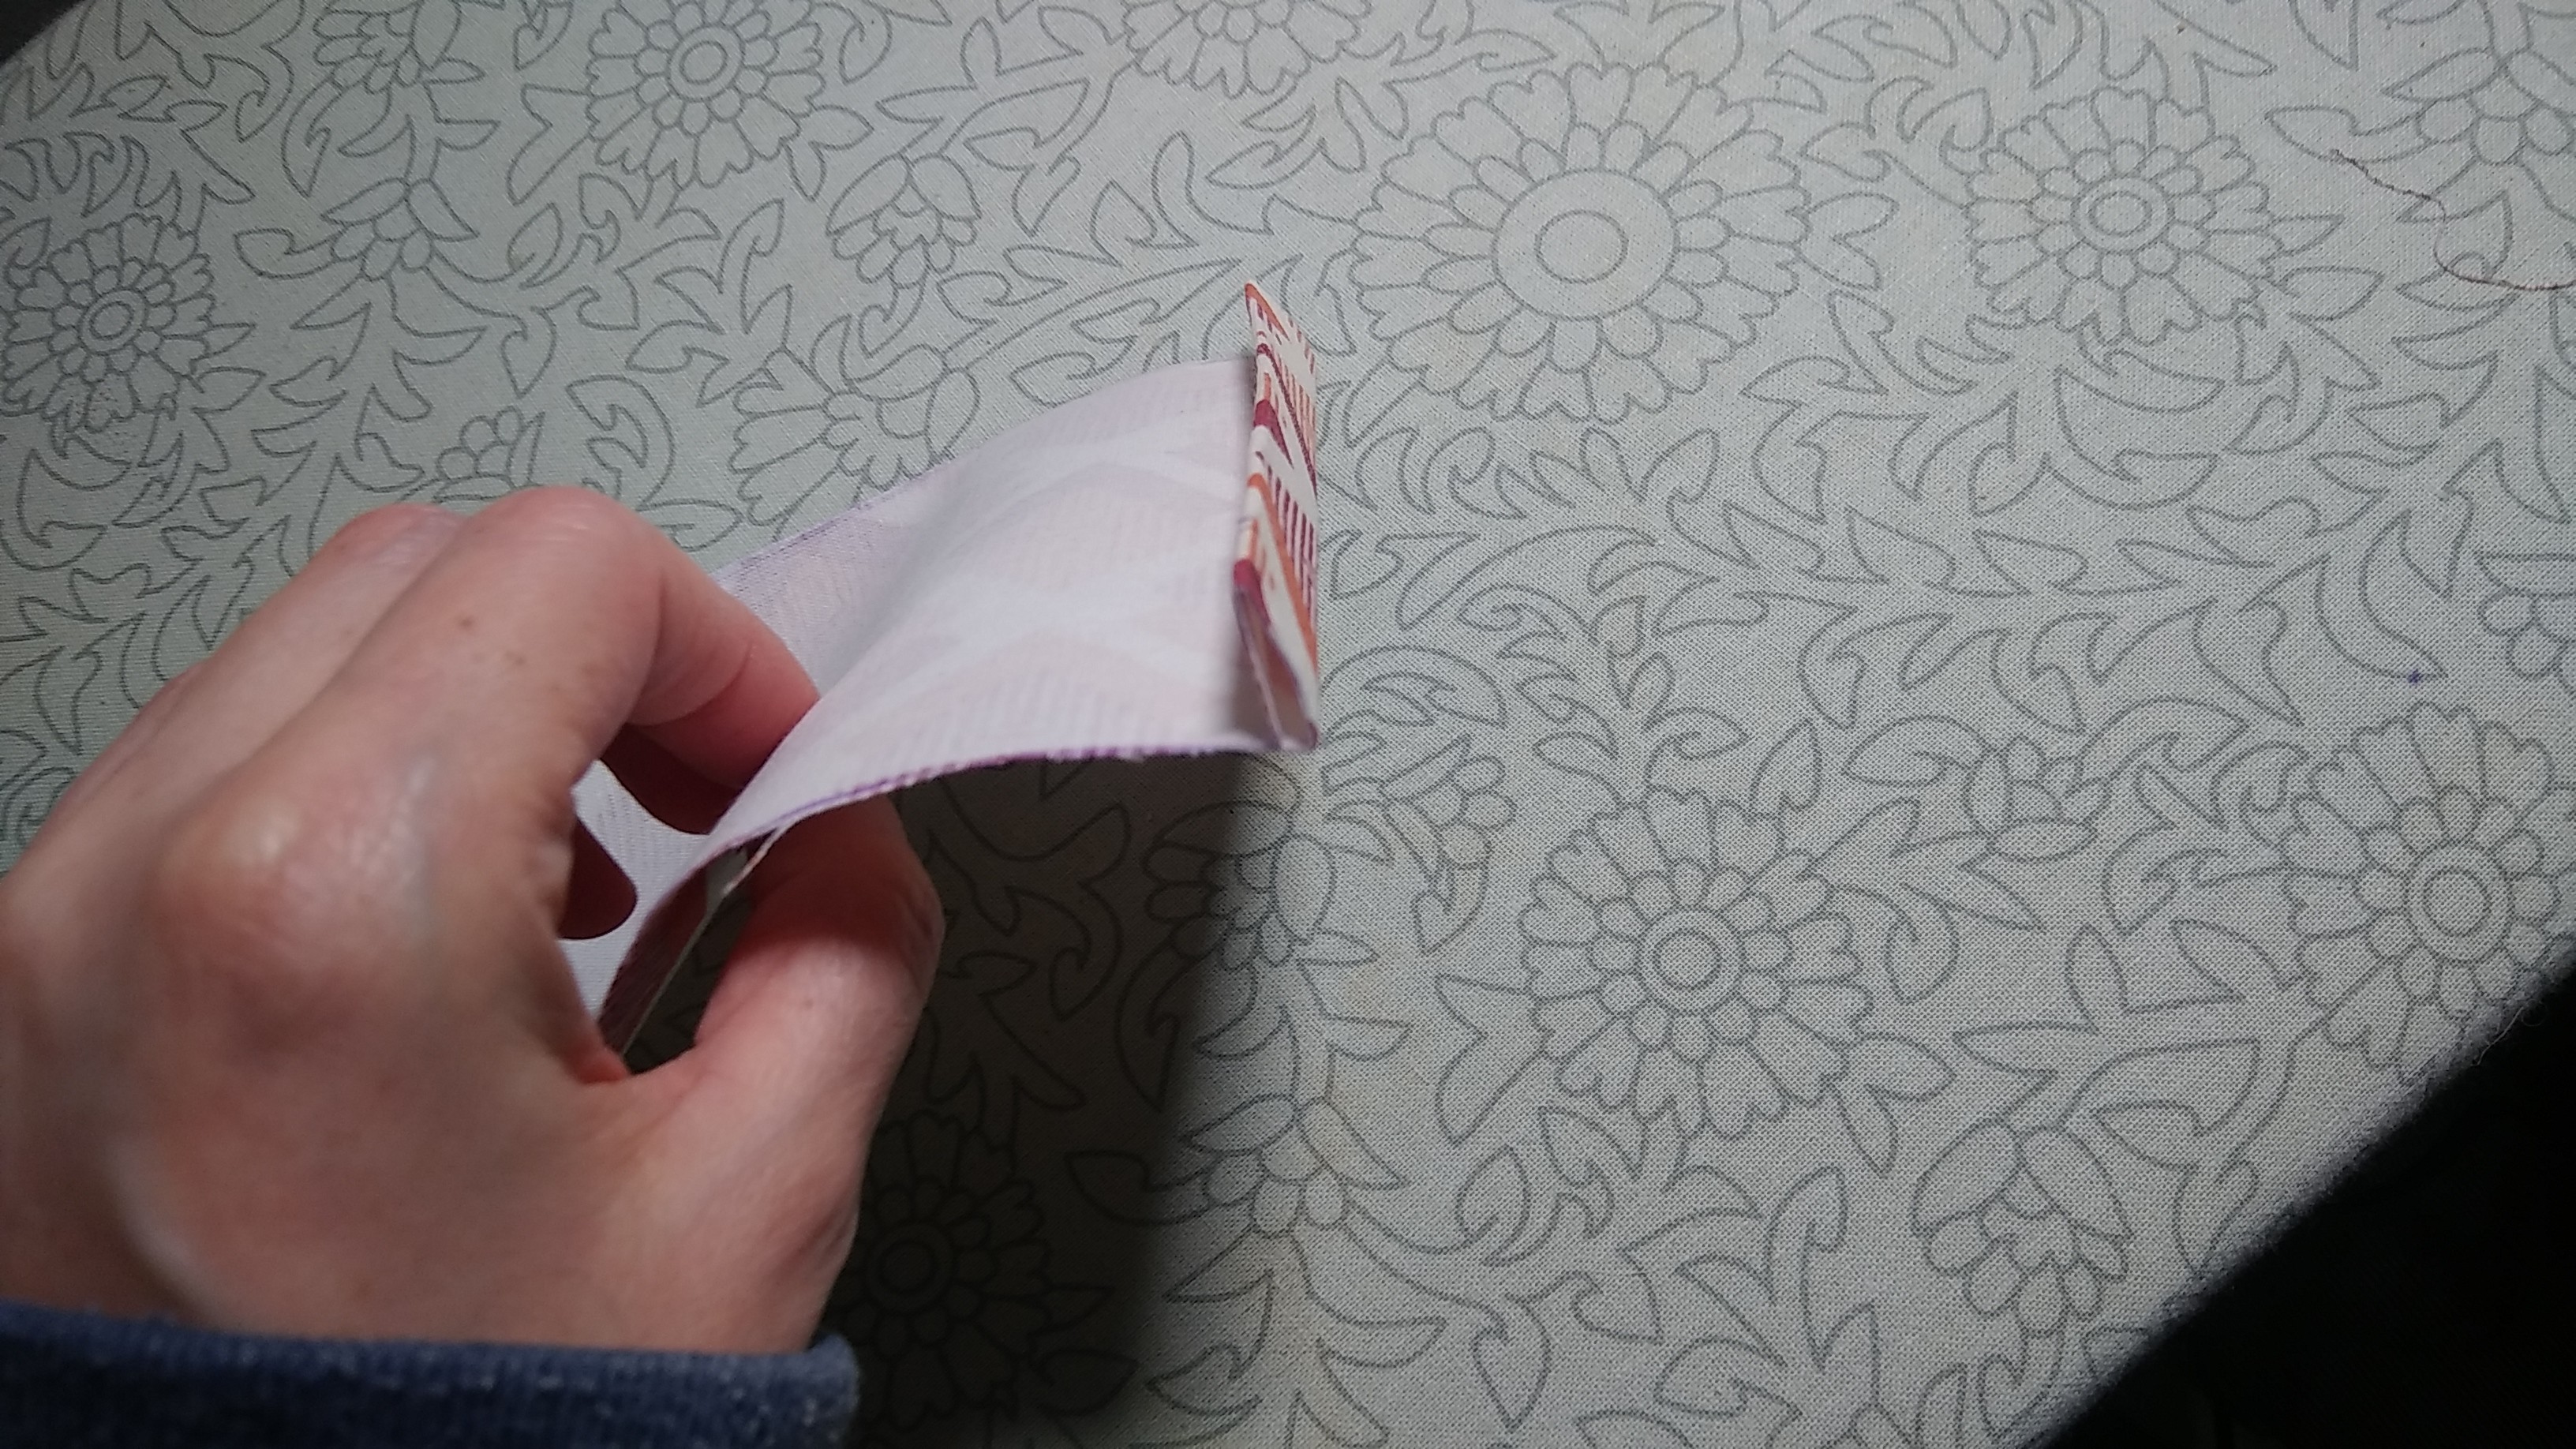
Next I folded the raw edges of the short sides under and topstitched along the top of the pocket.
Then I sewed the pockets on to the gusset.
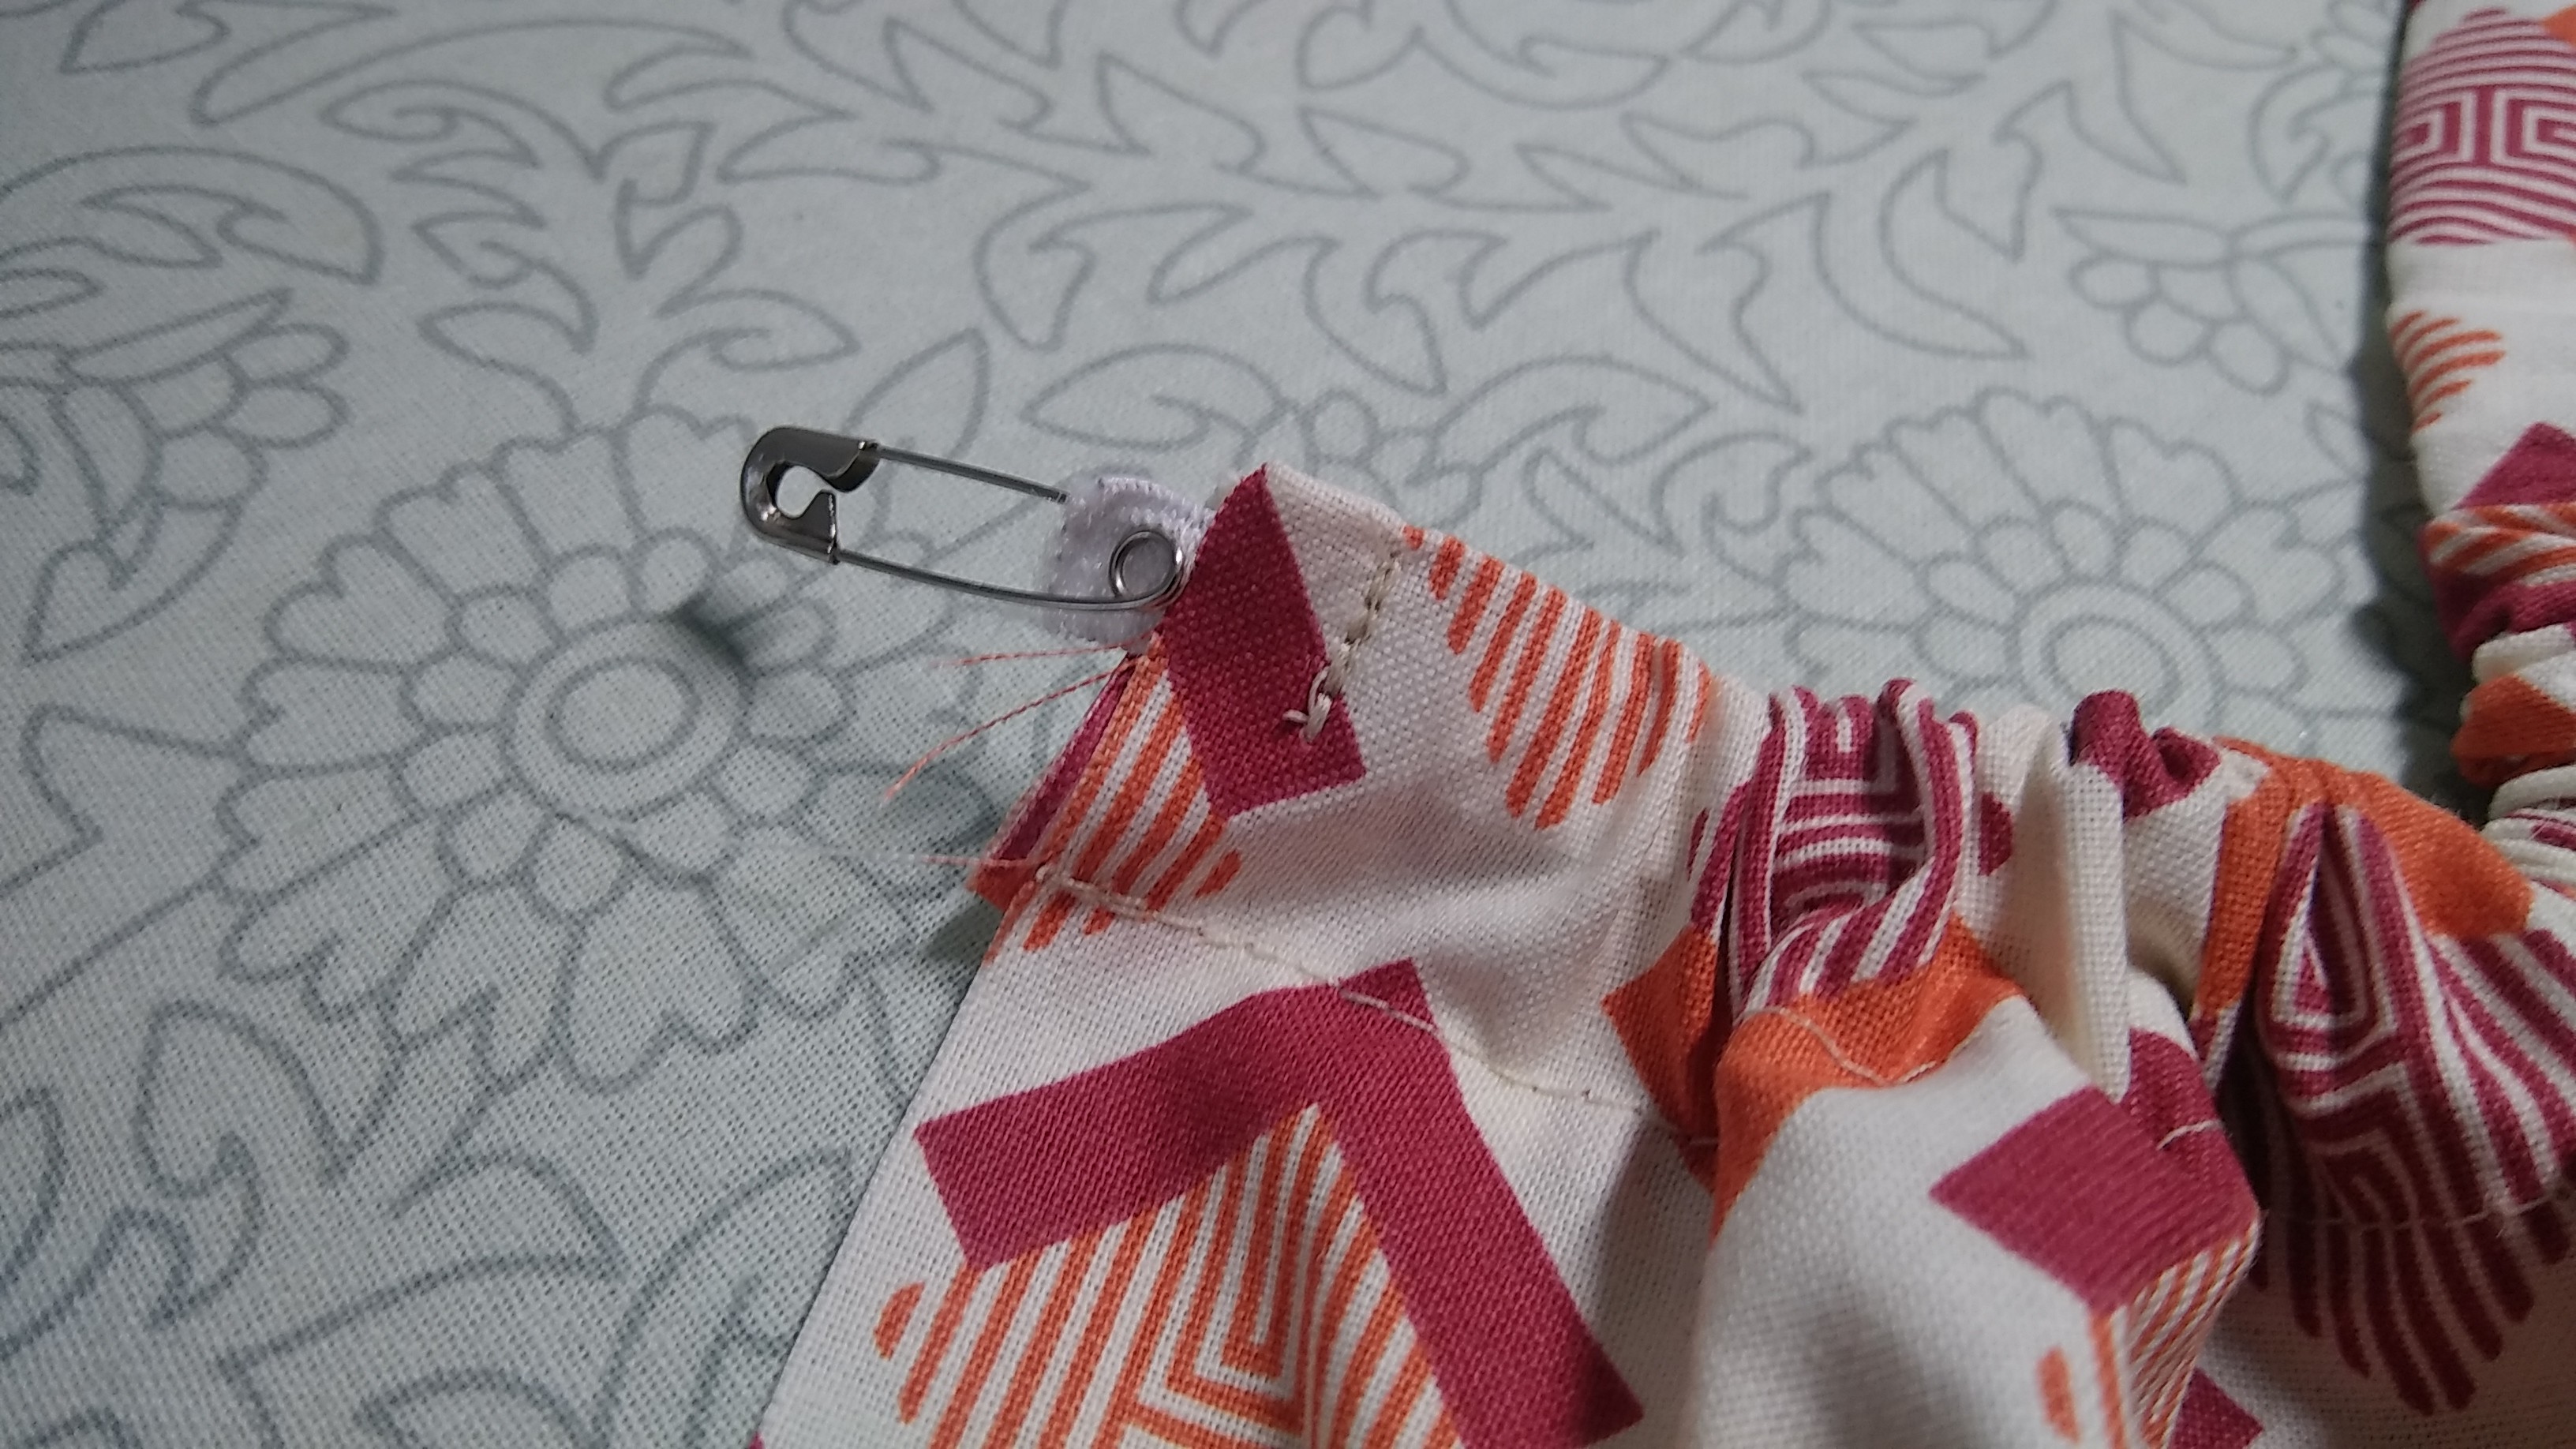
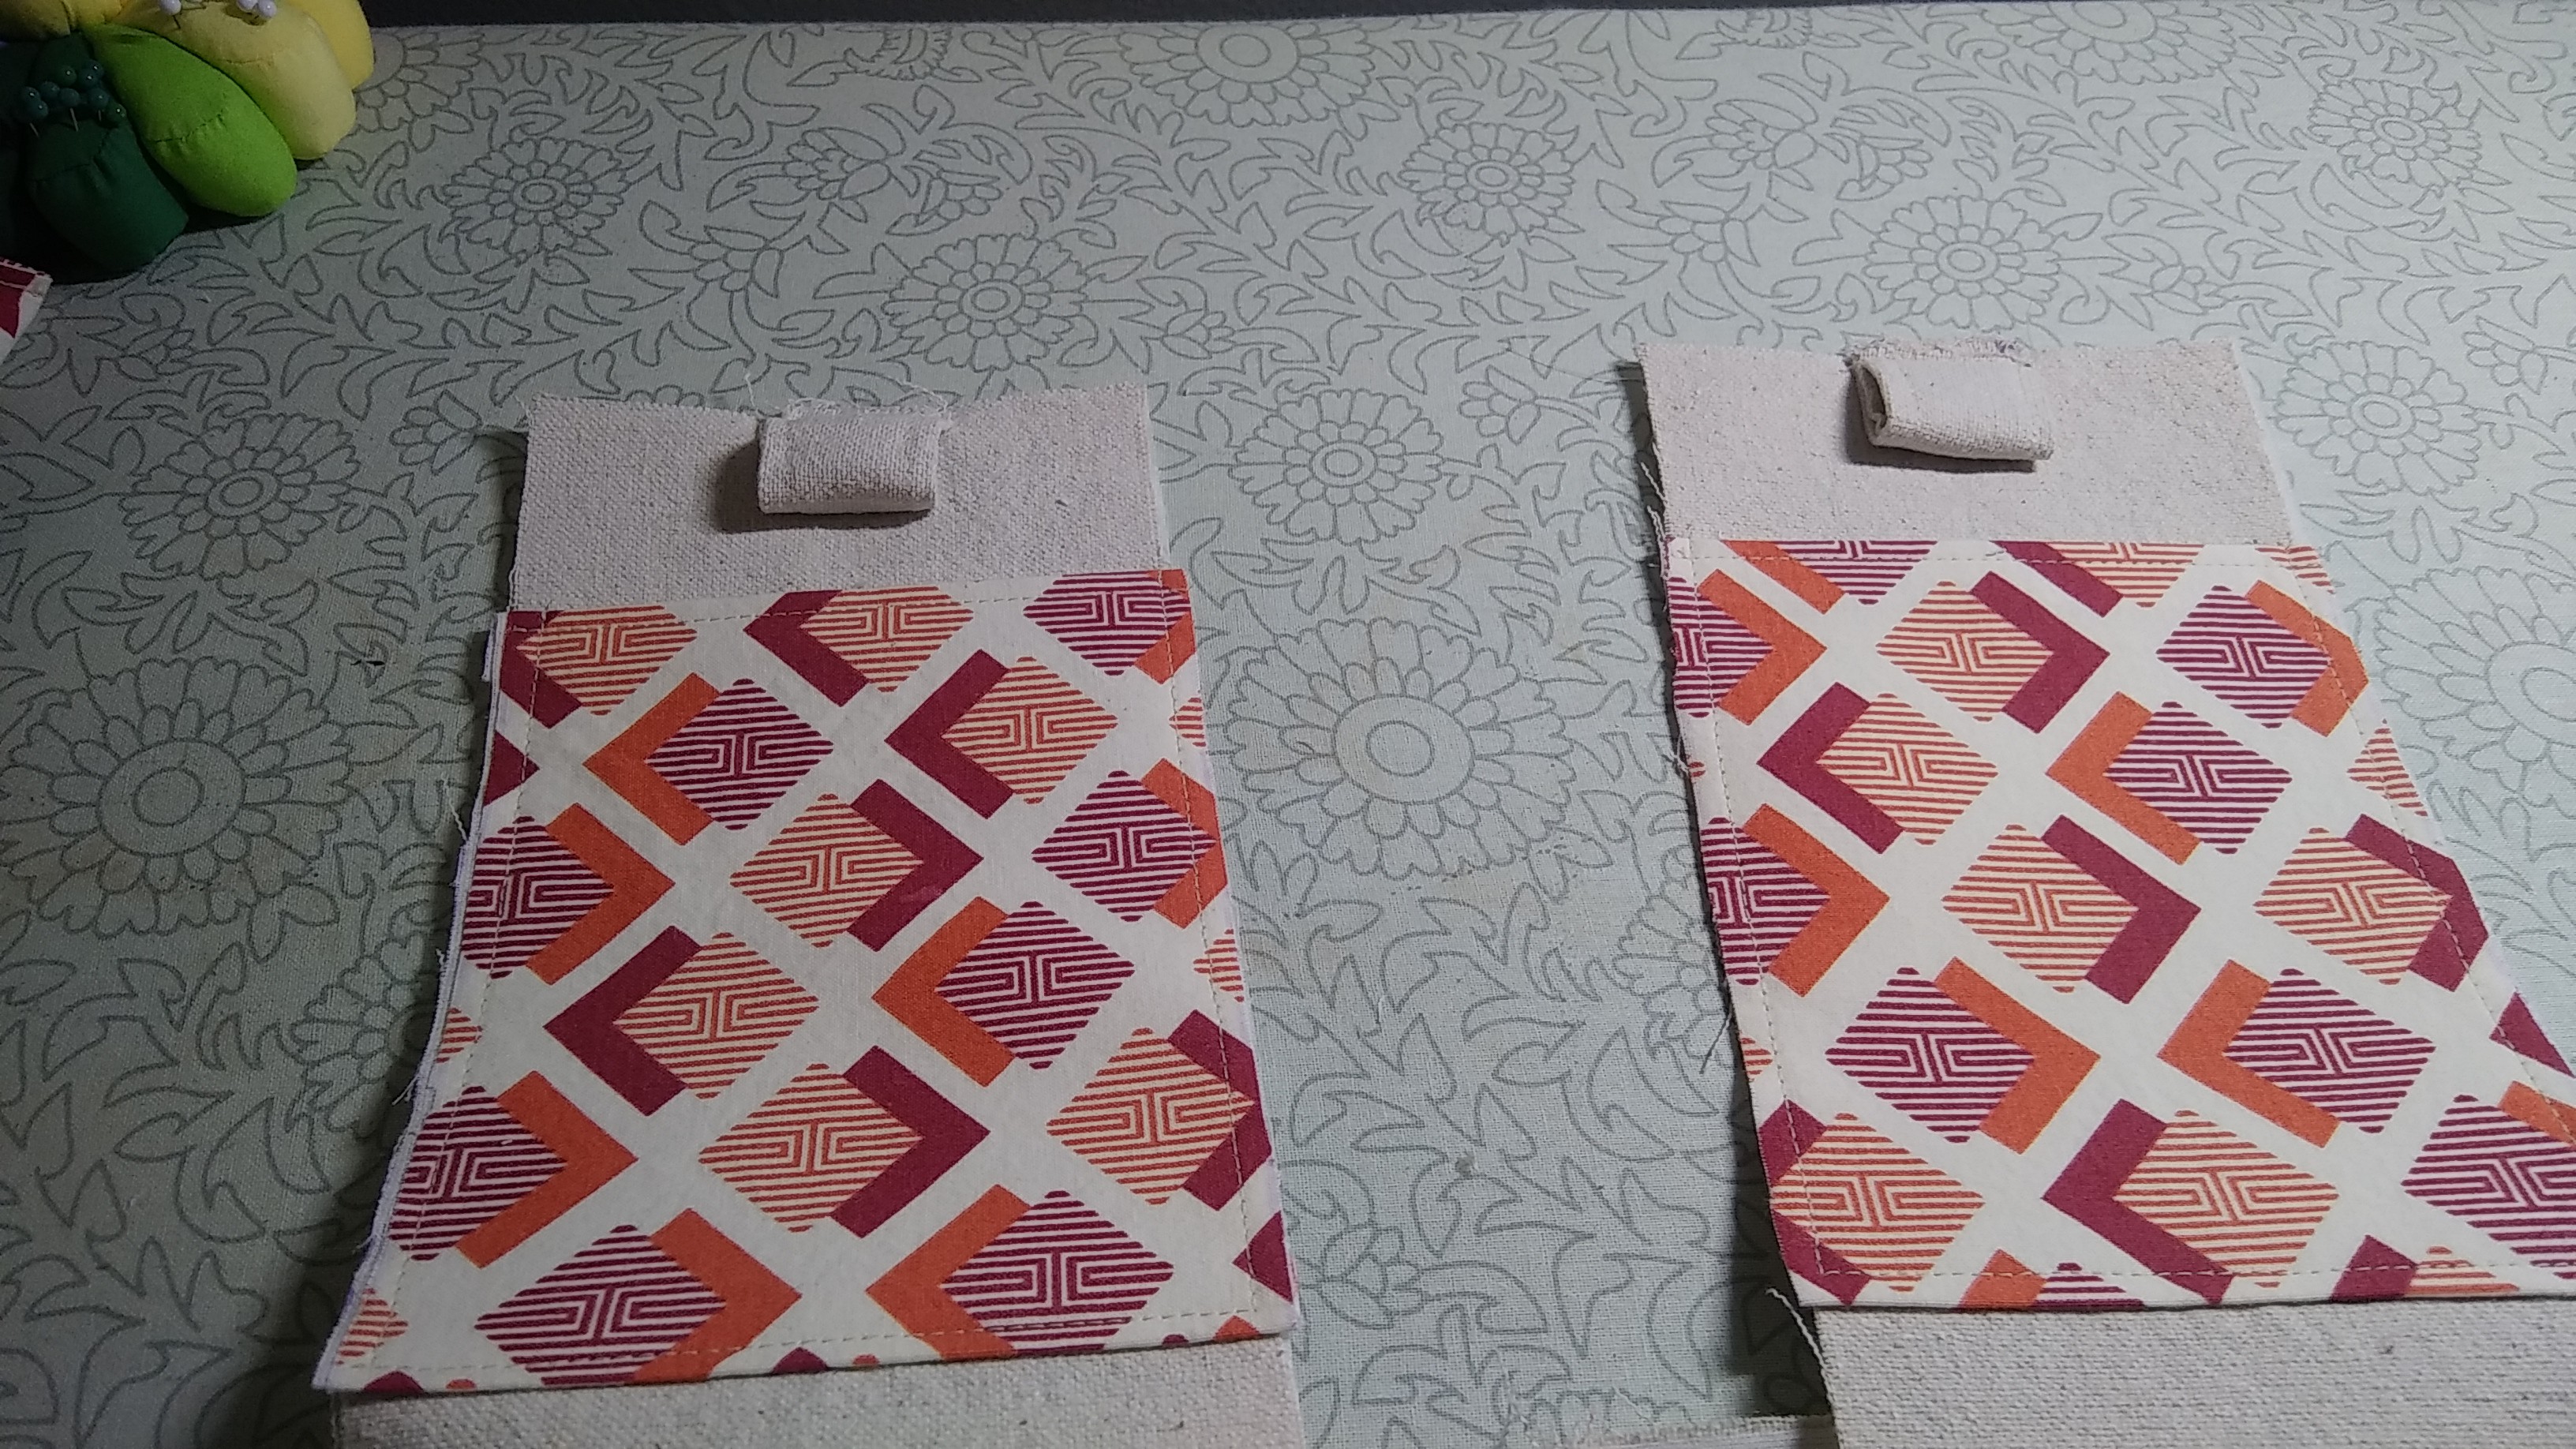
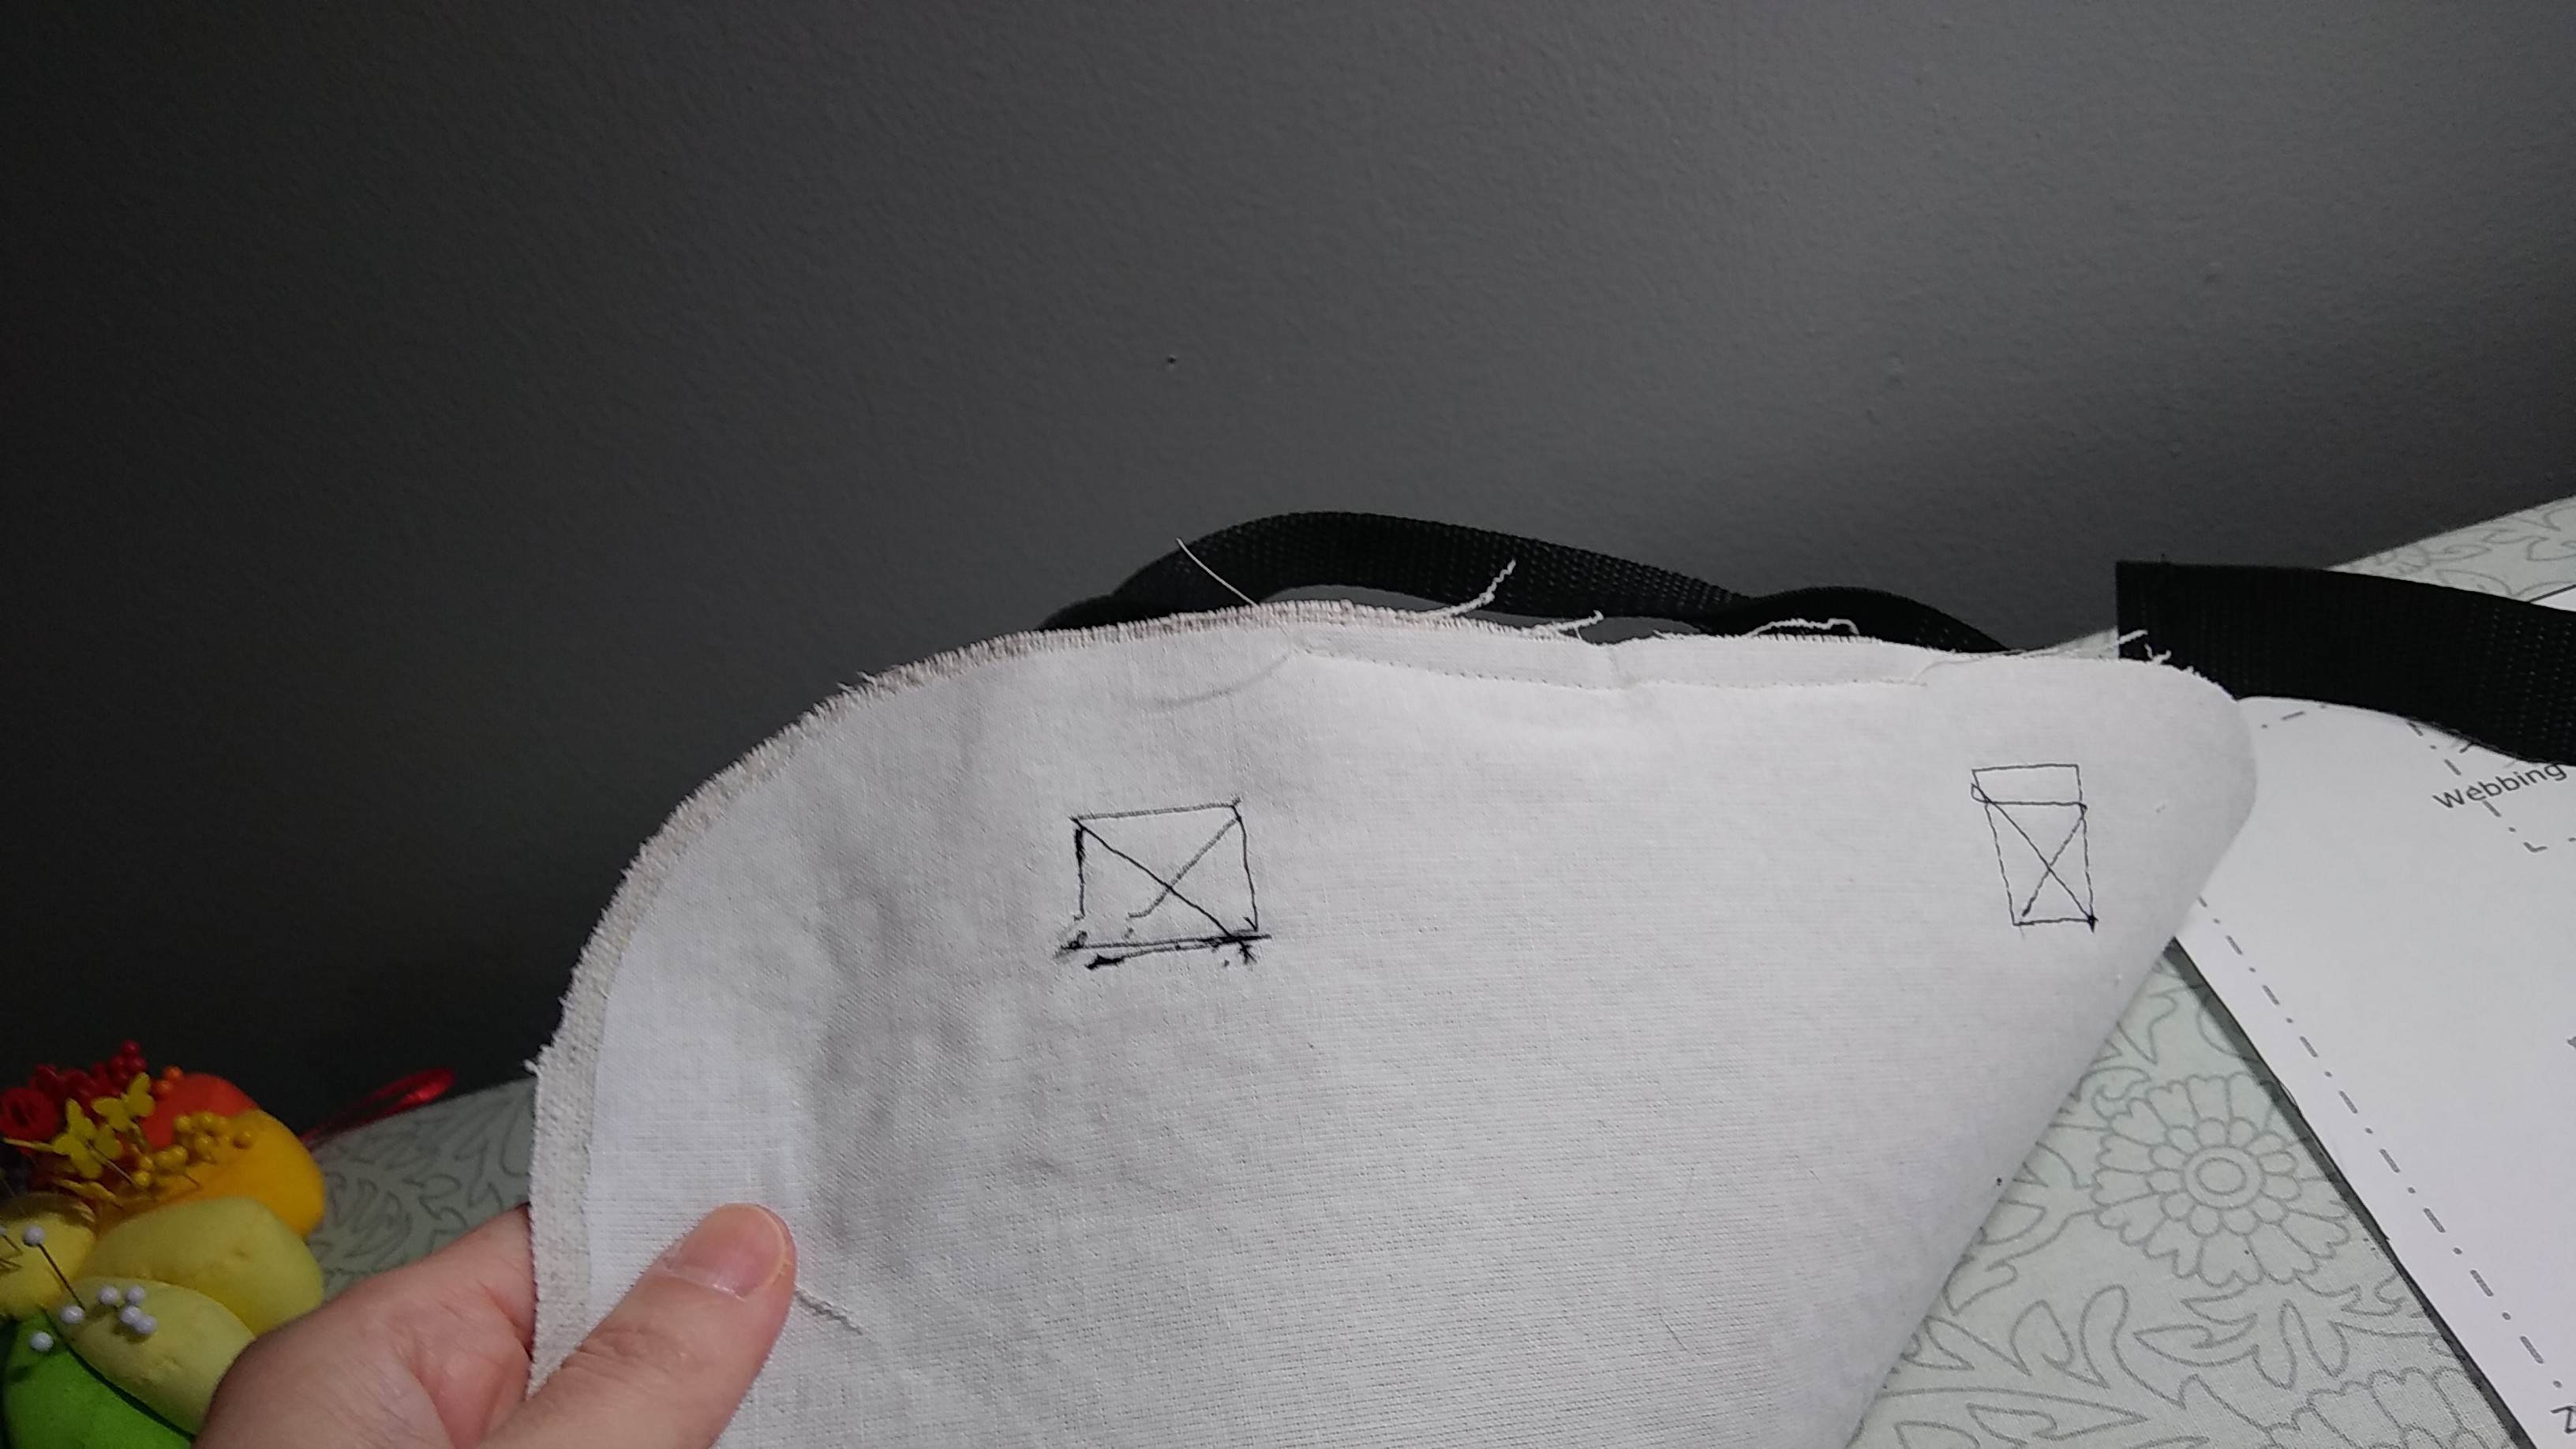
Next I made the weird little loops that serve no purpose but add visual interest.
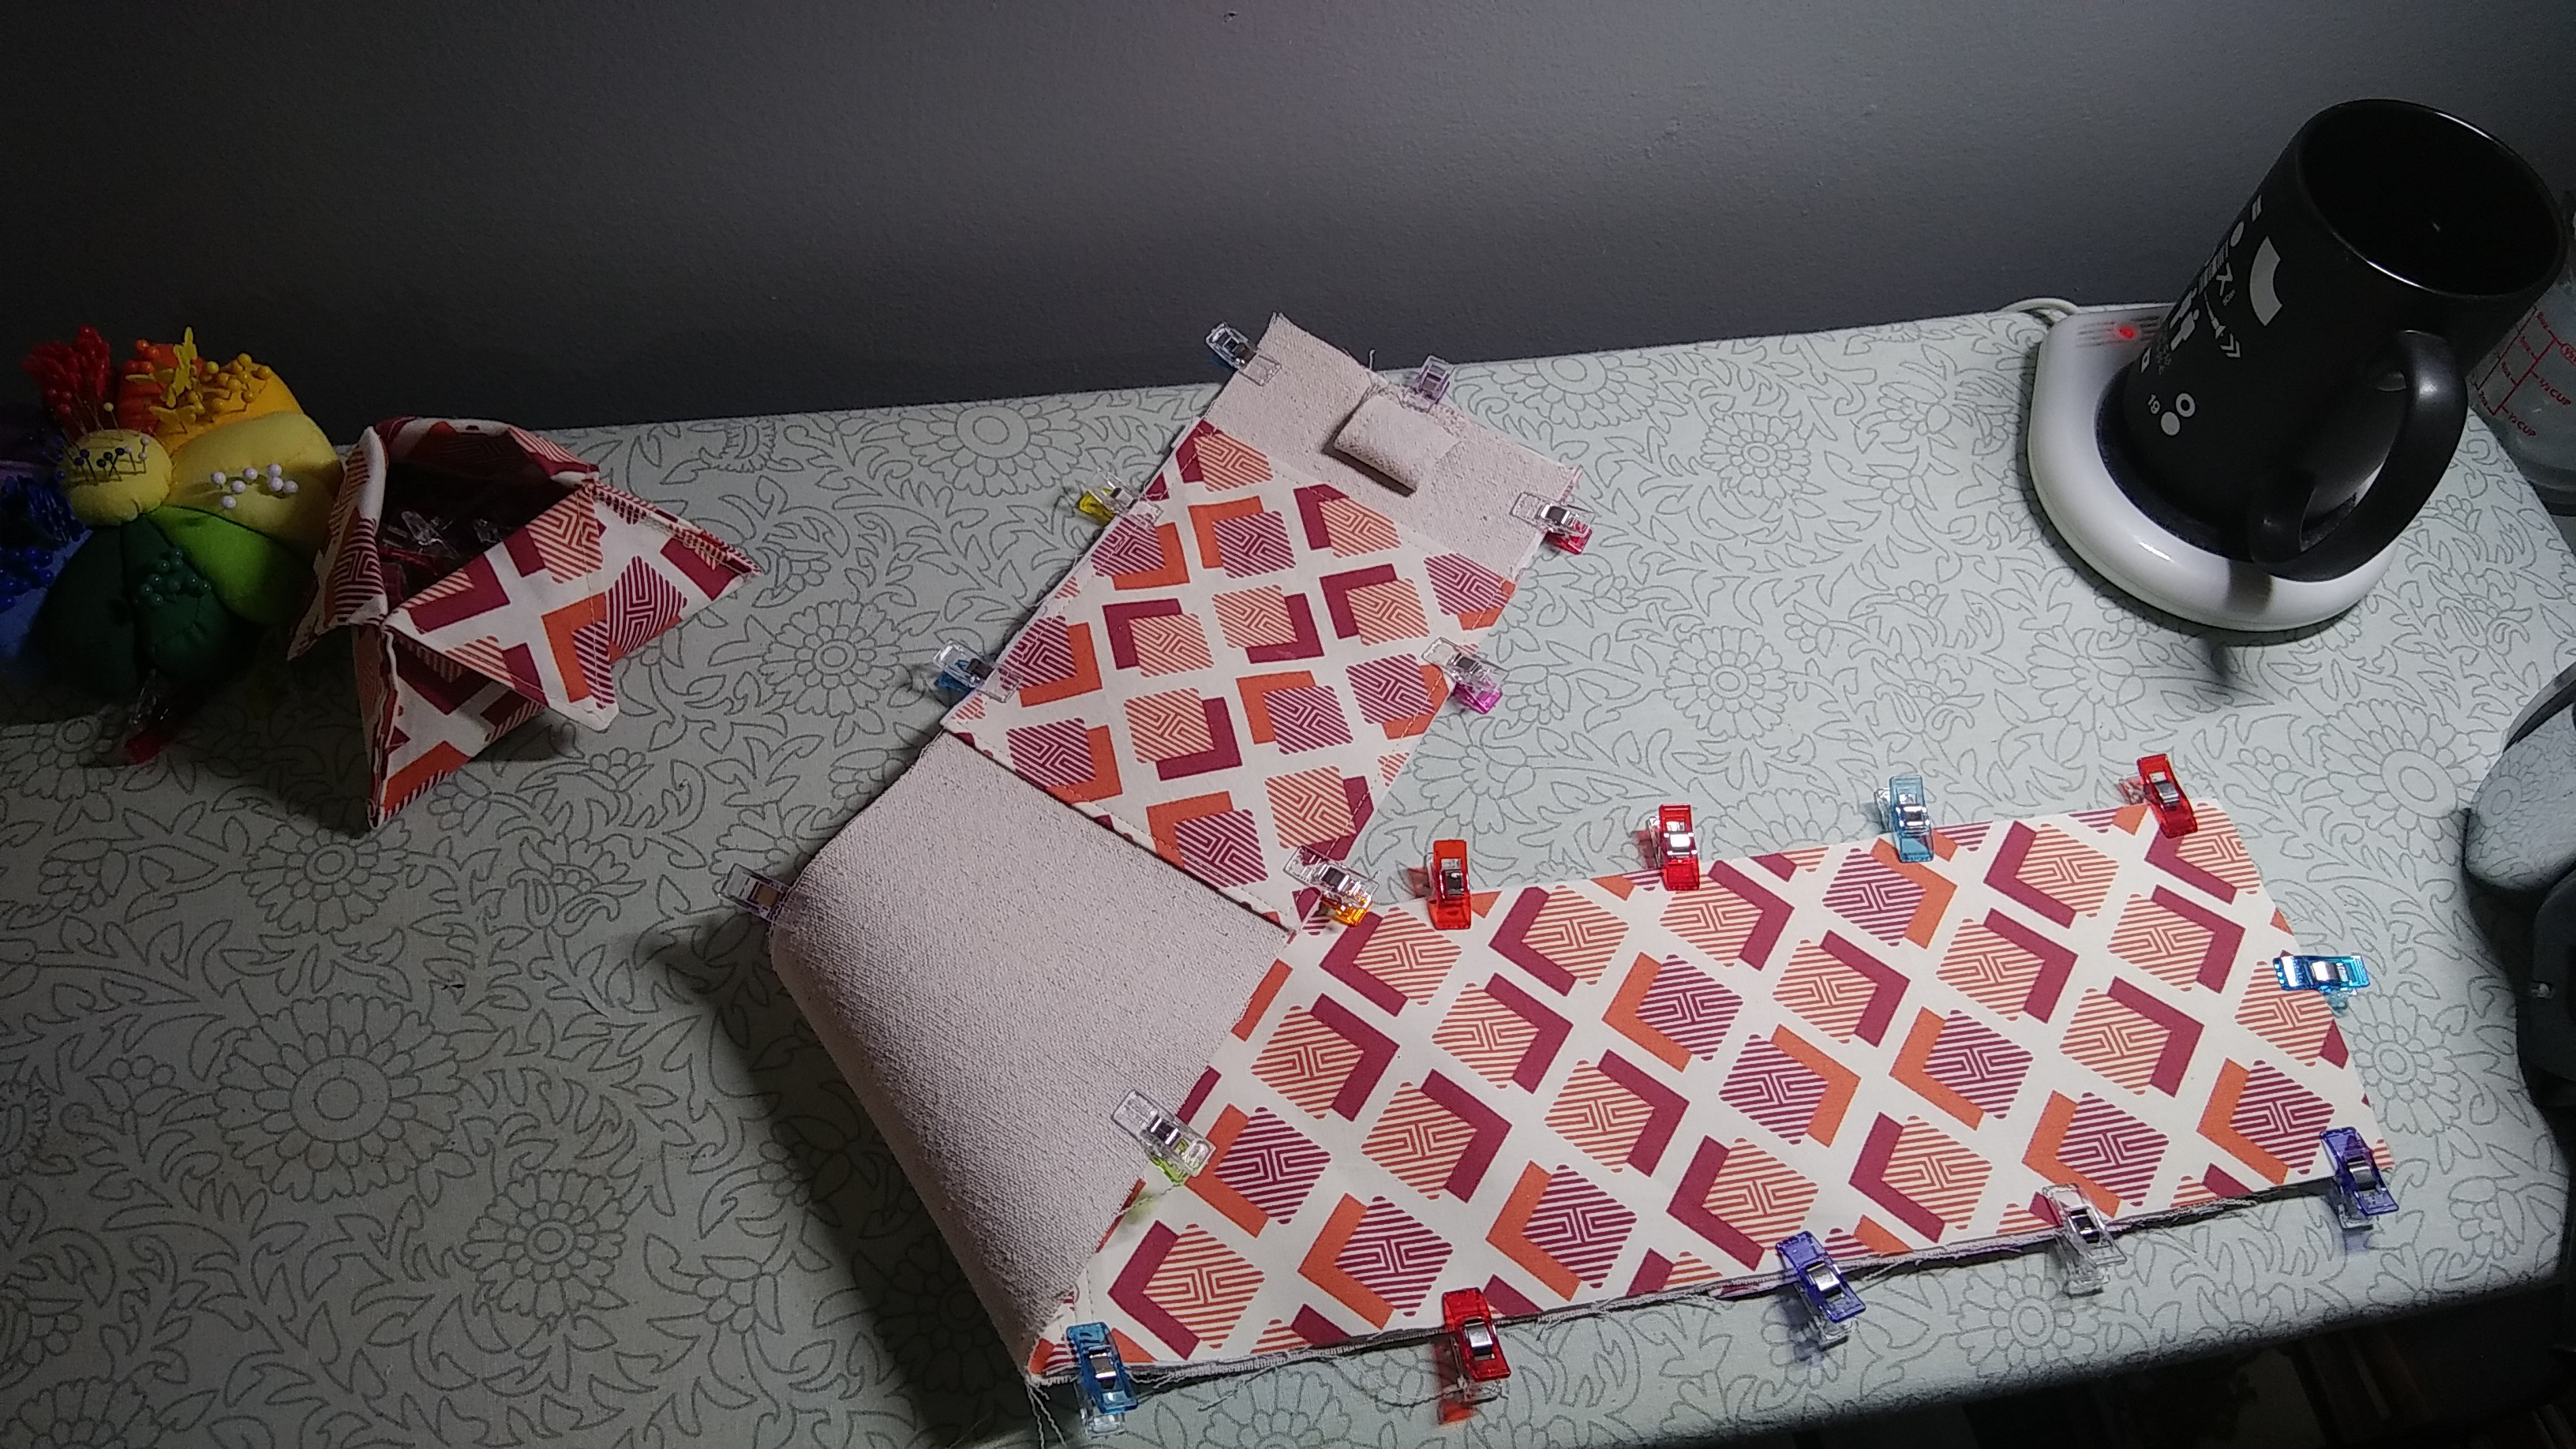
Finally, I sewed the two interior gusset pieces together, topstitch on either side of the seam, and sewed the completed lining gusset piece to the completed exterior gusset piece.
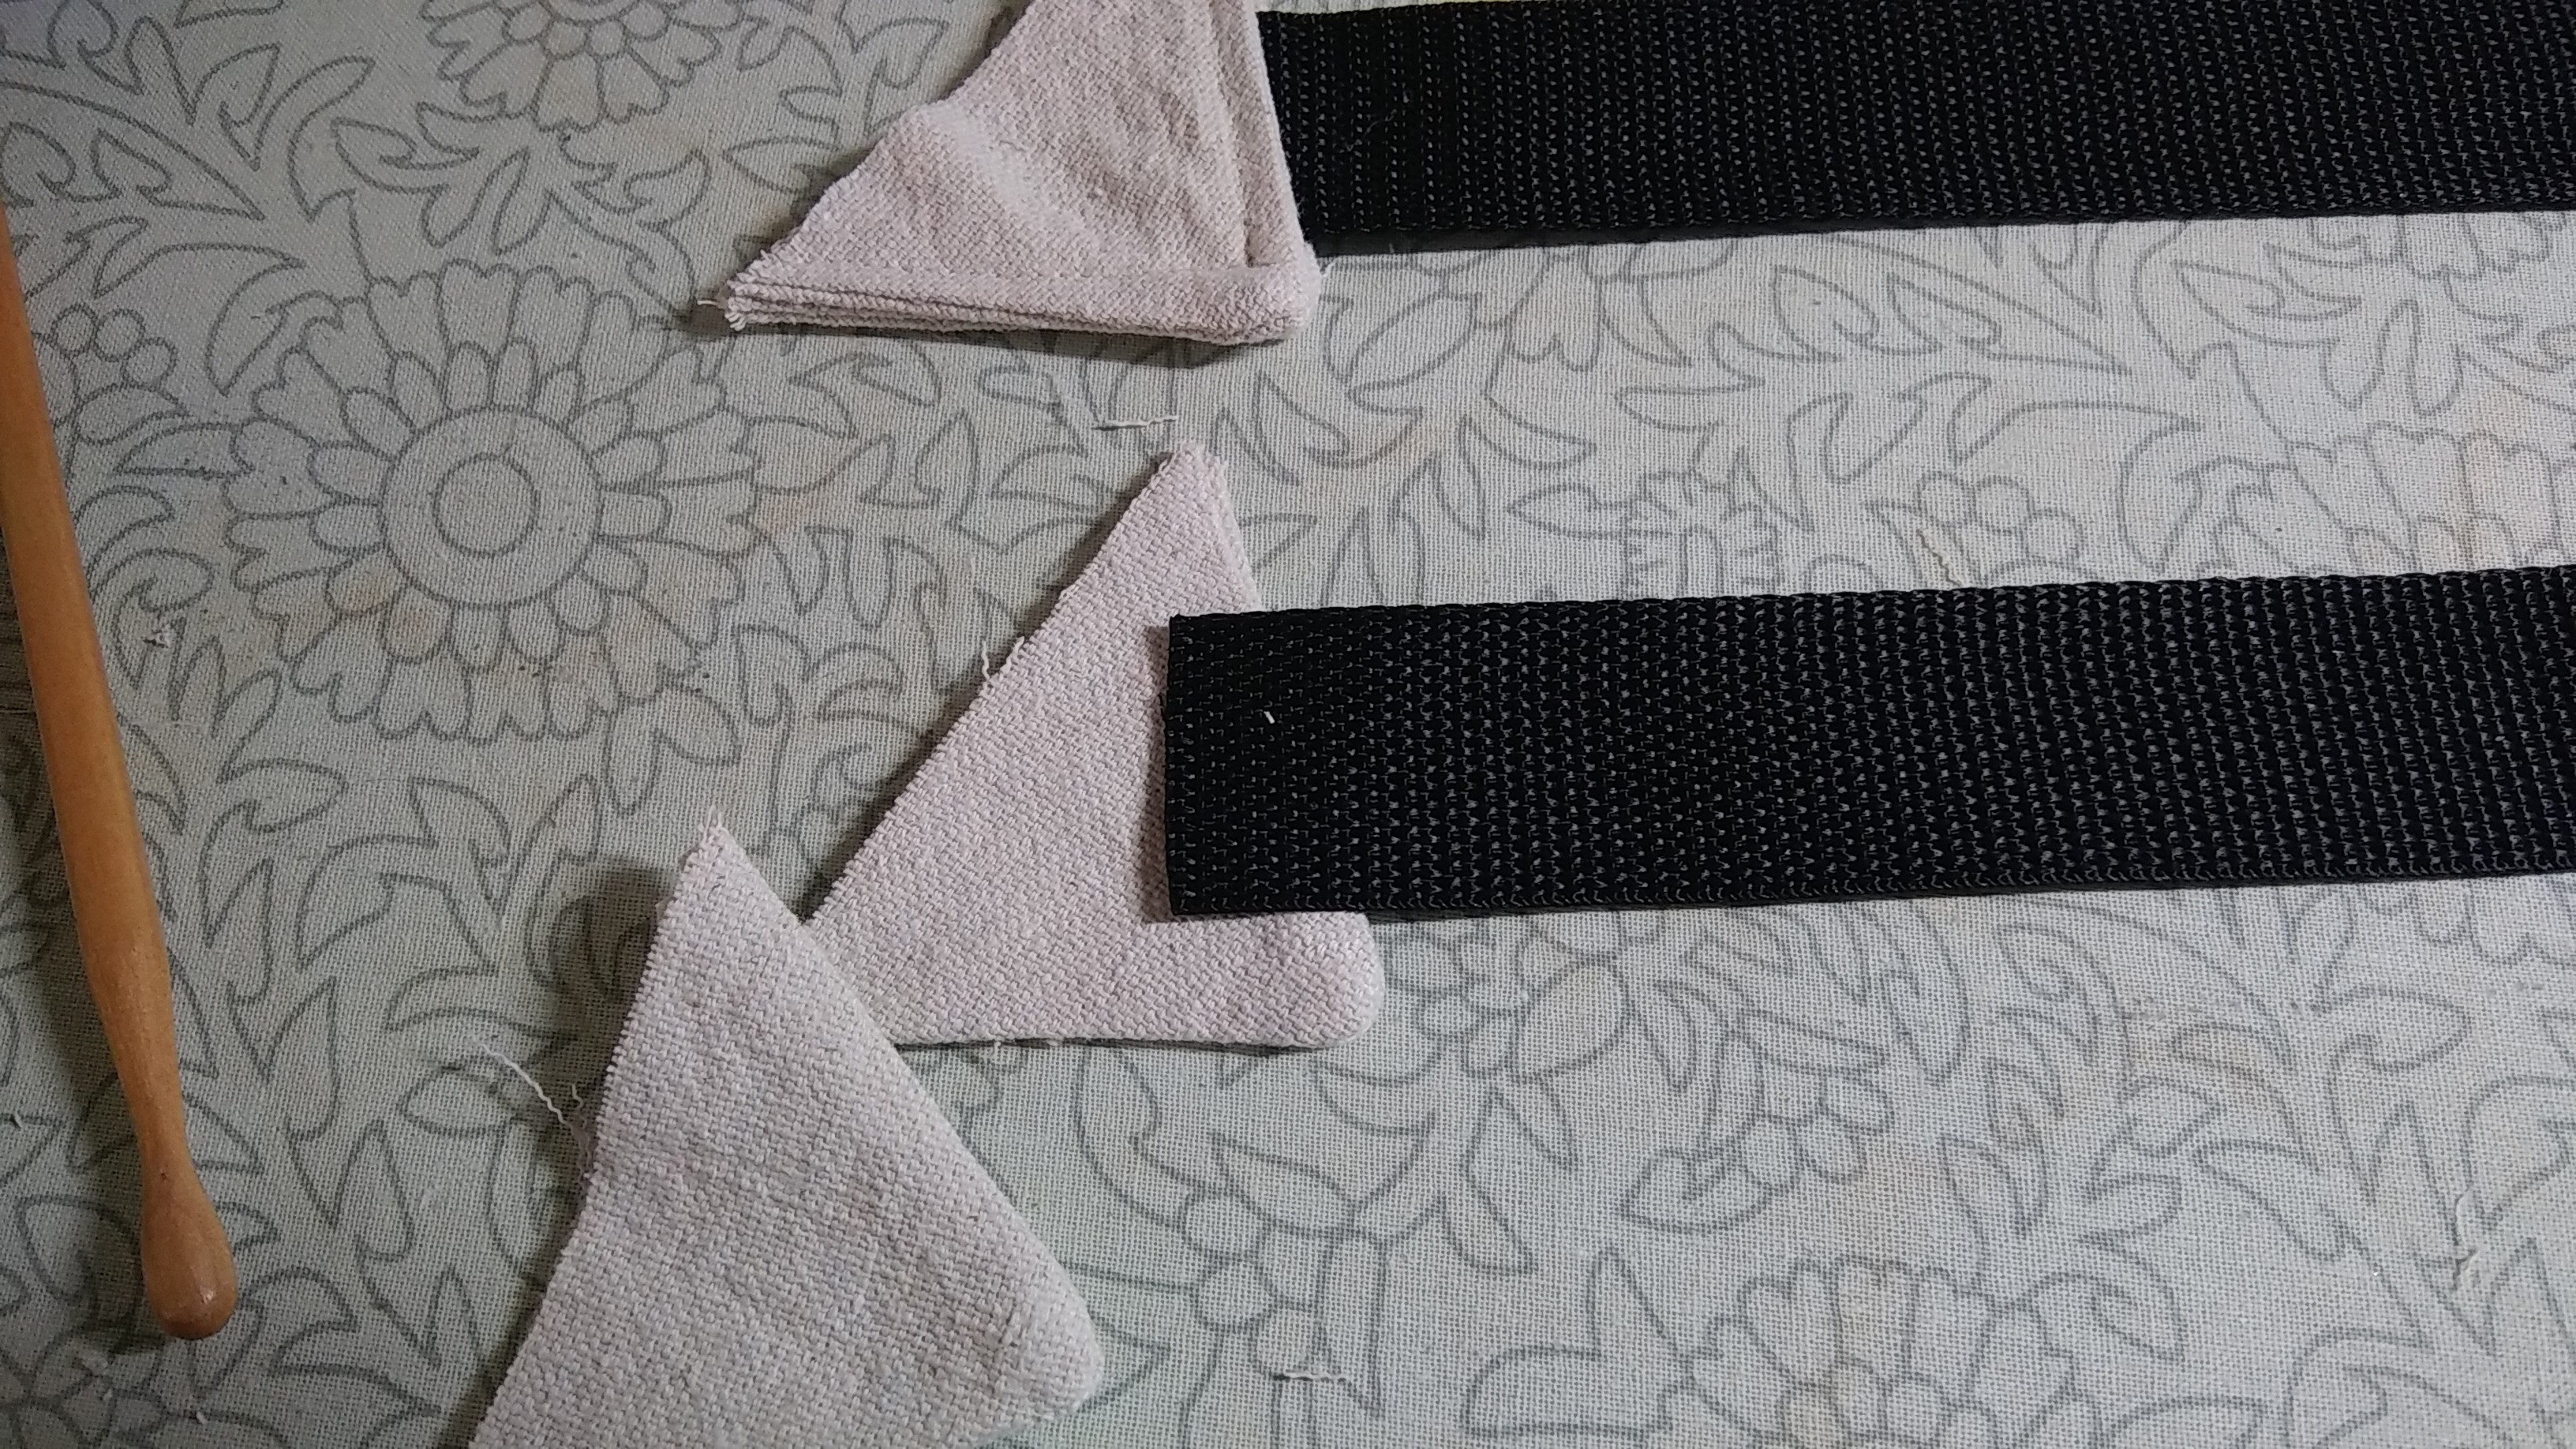
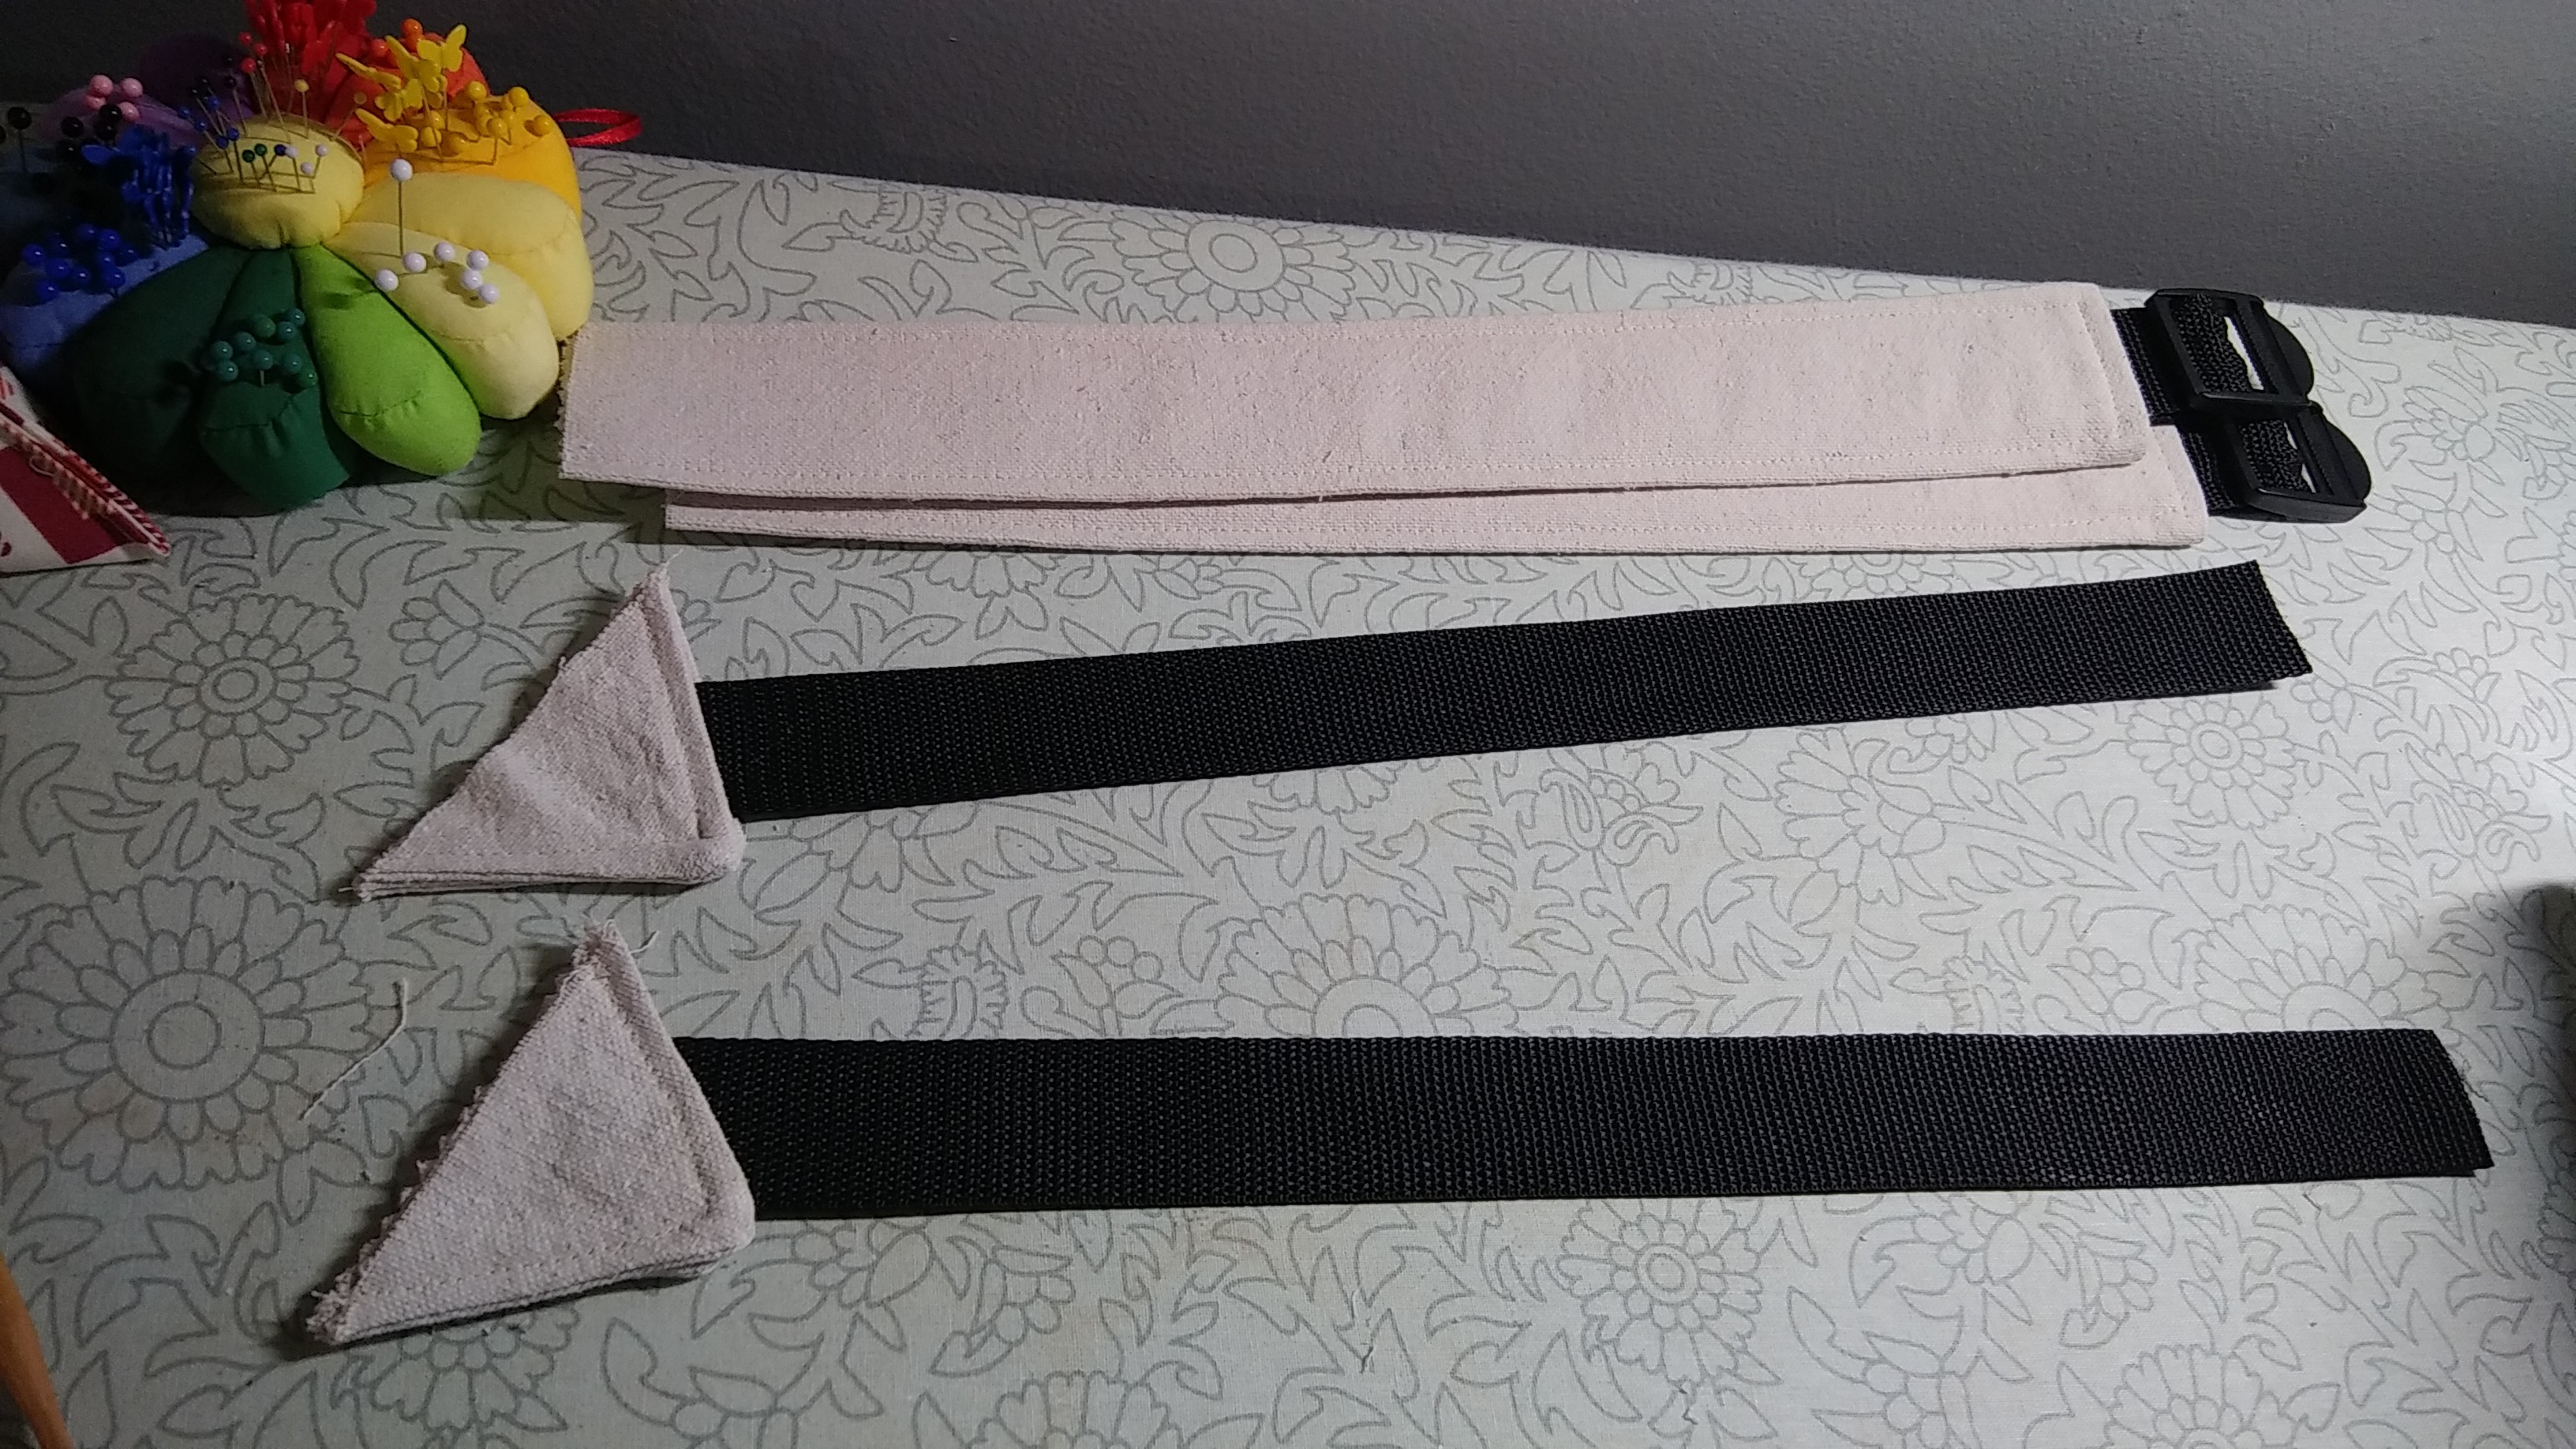
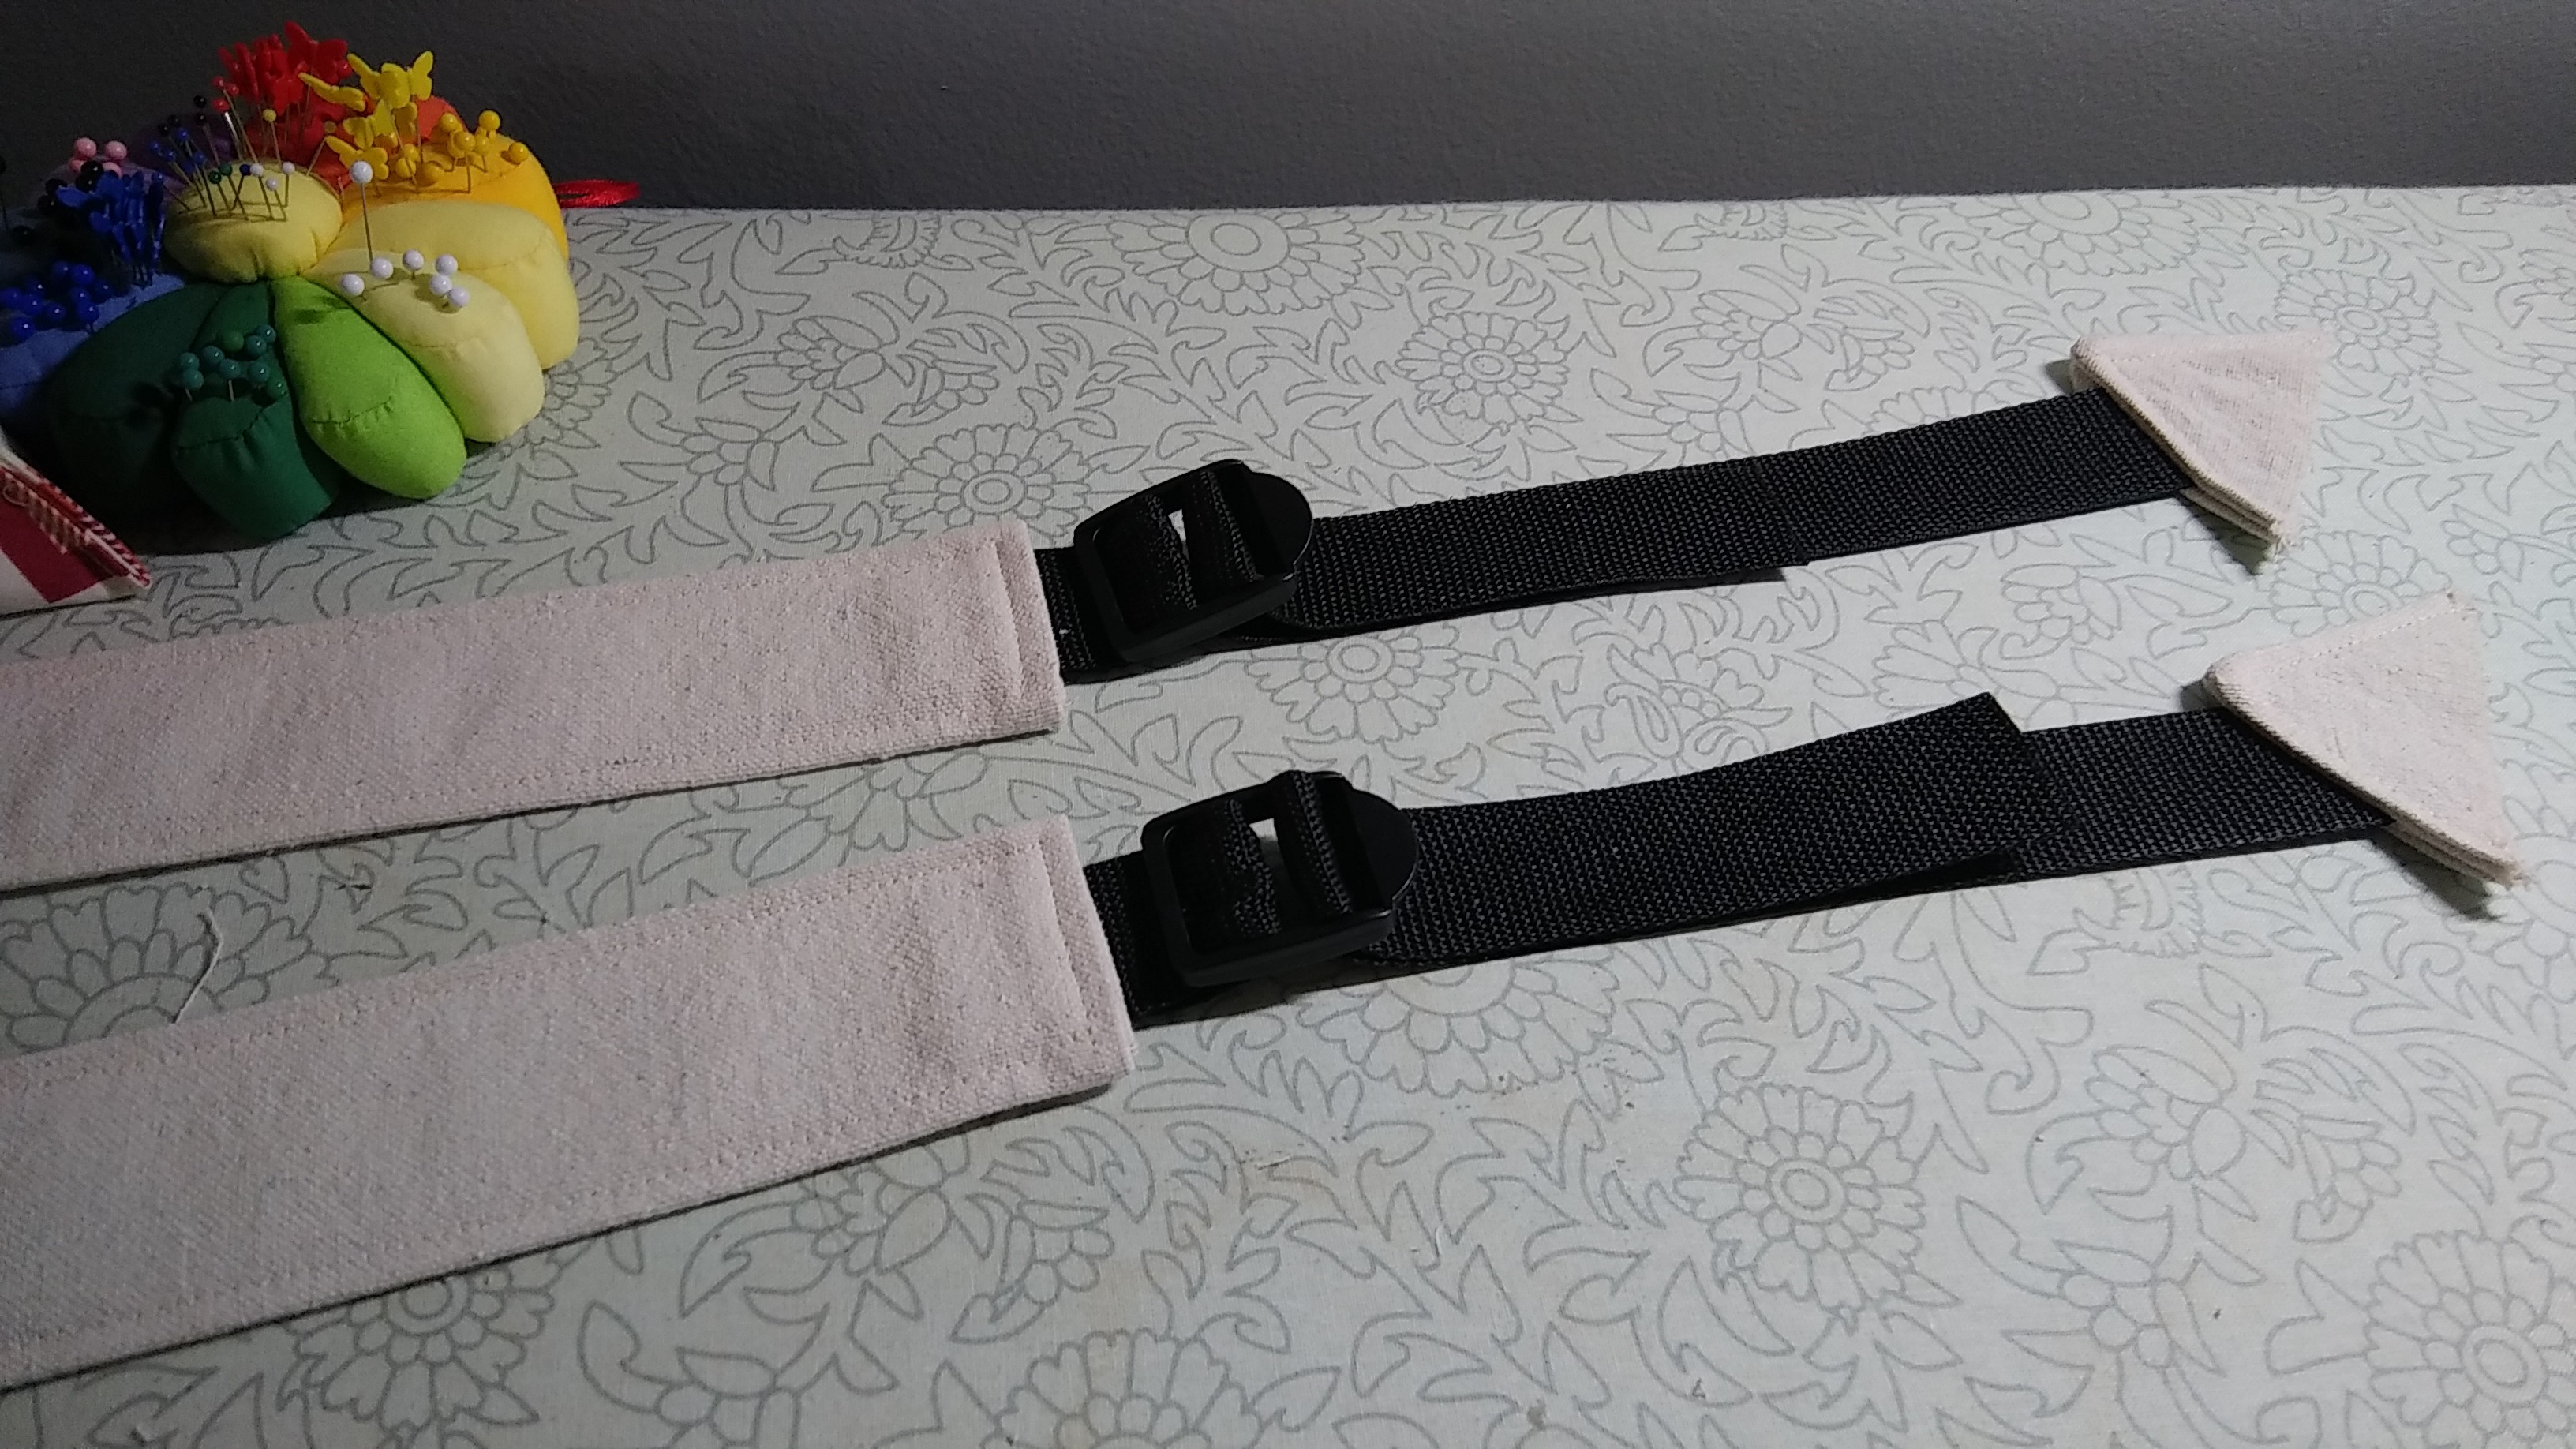
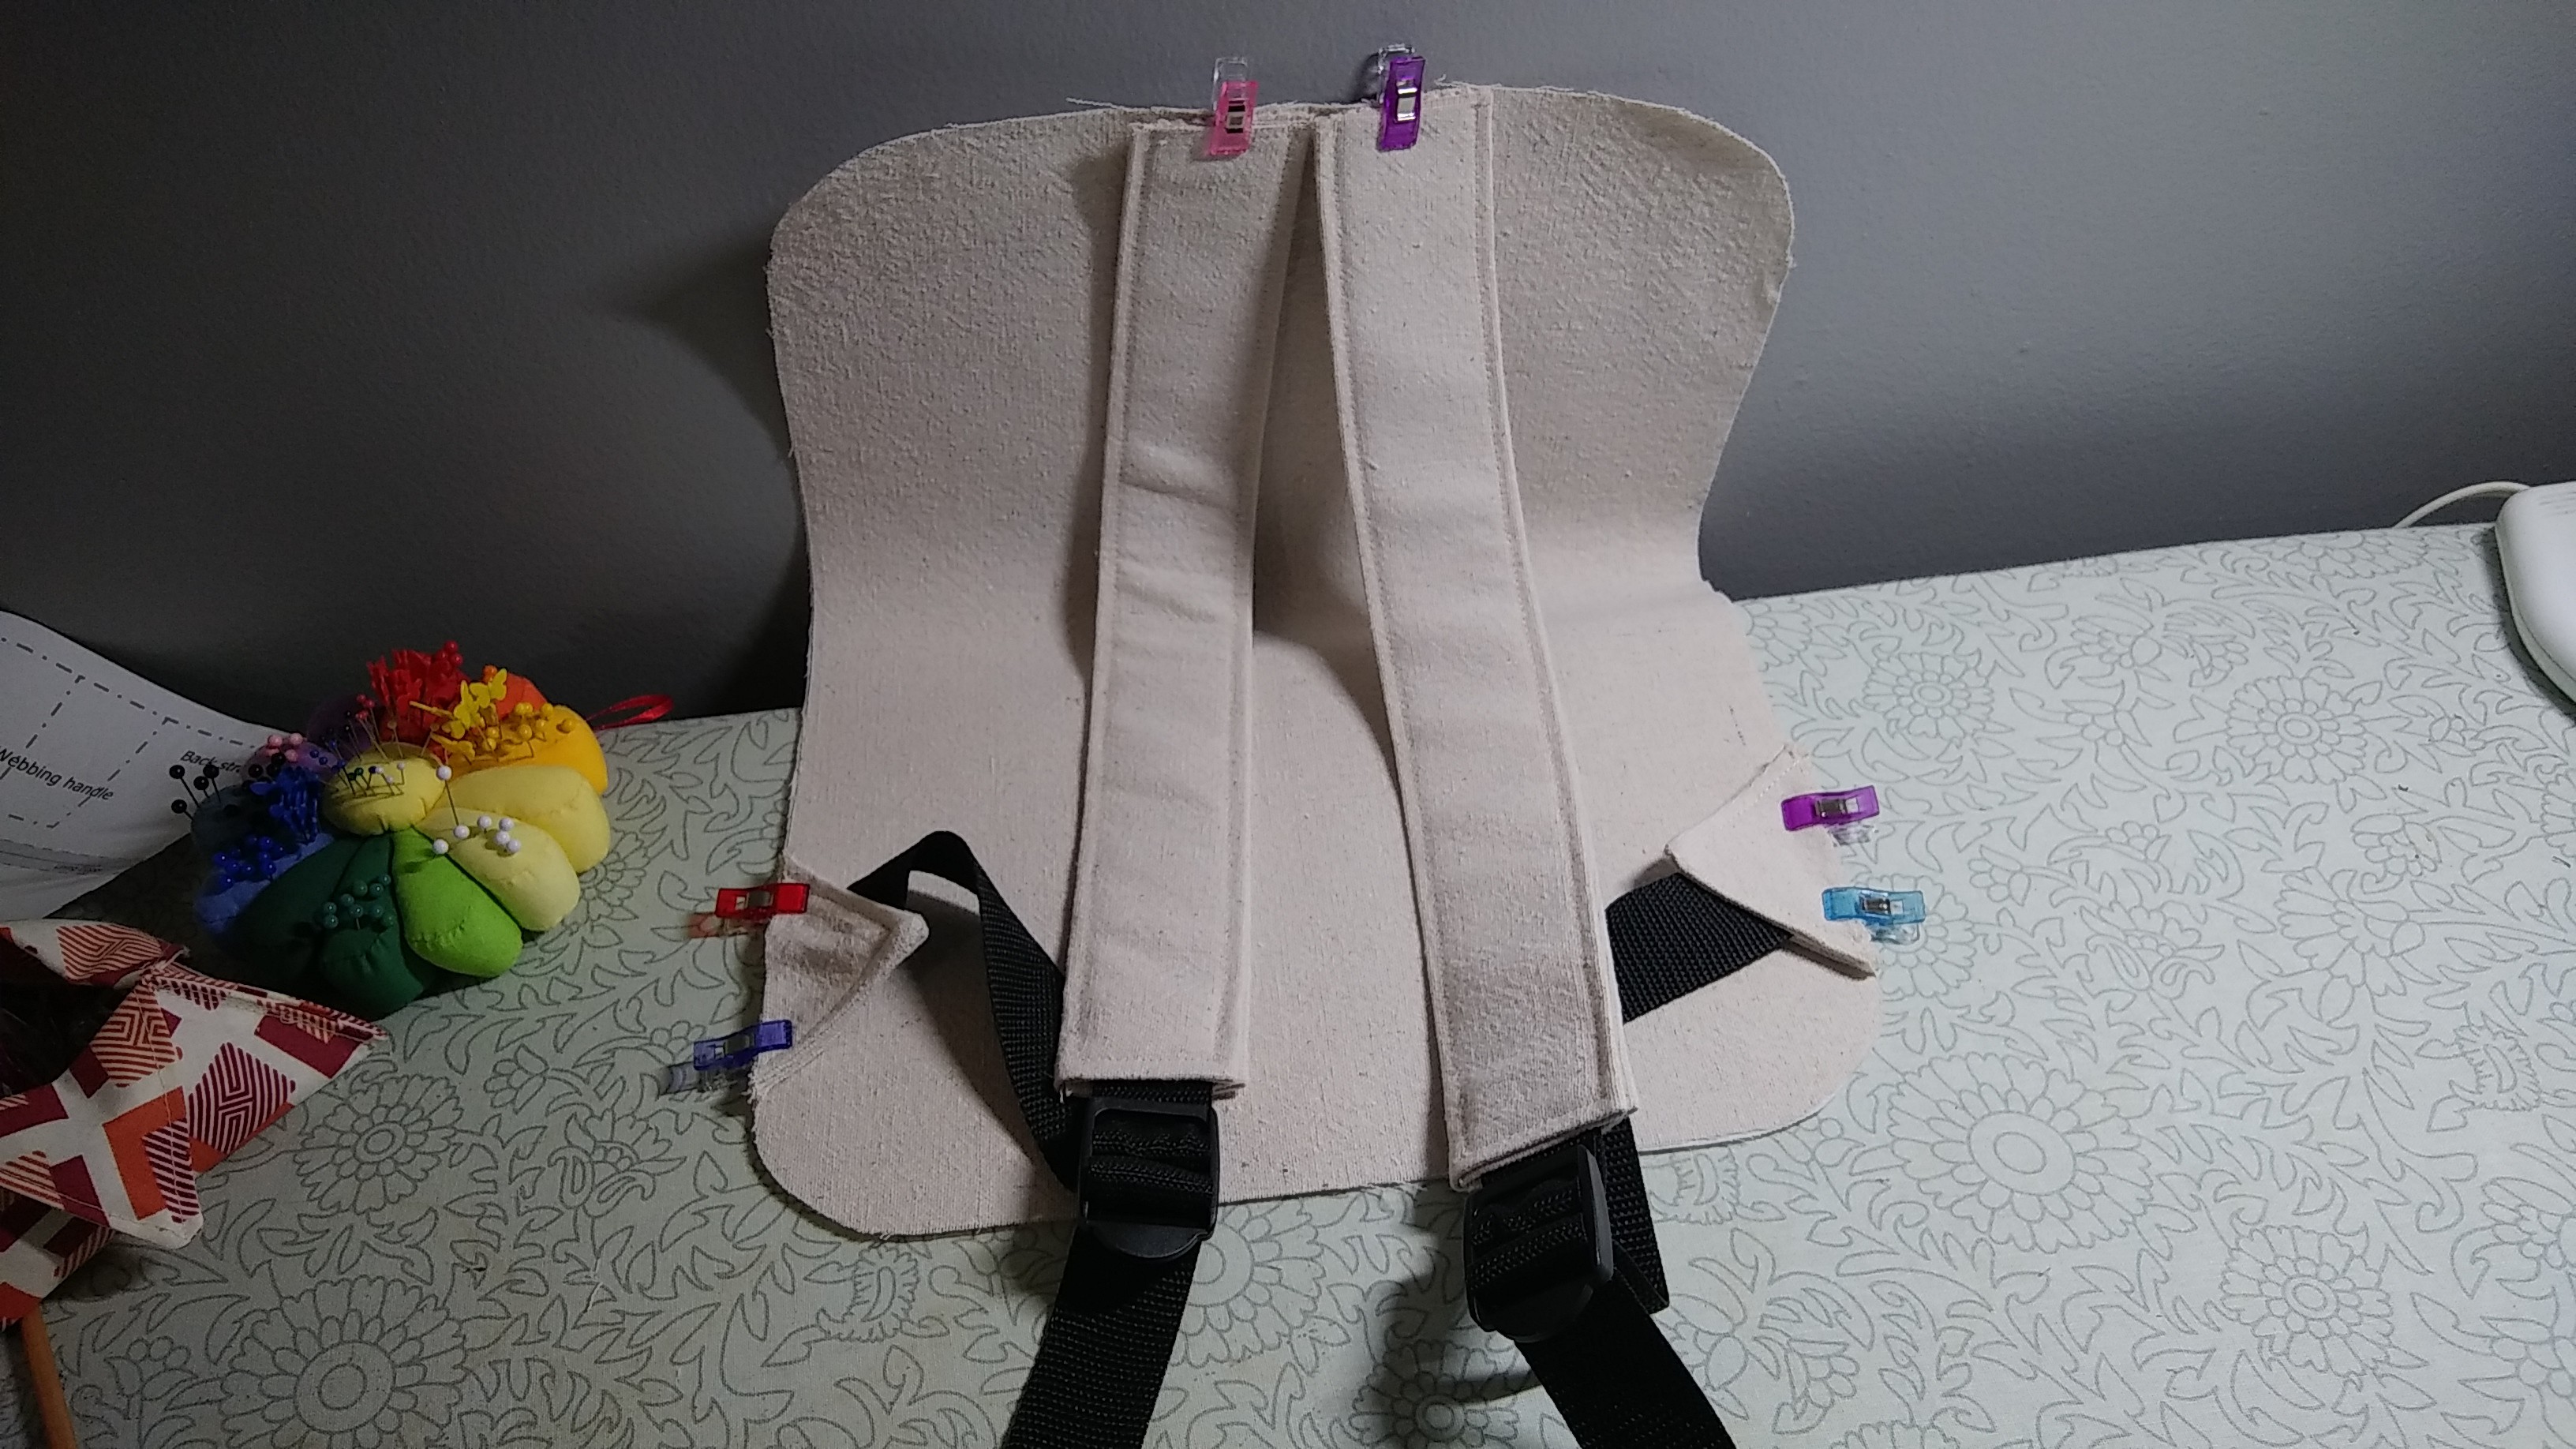
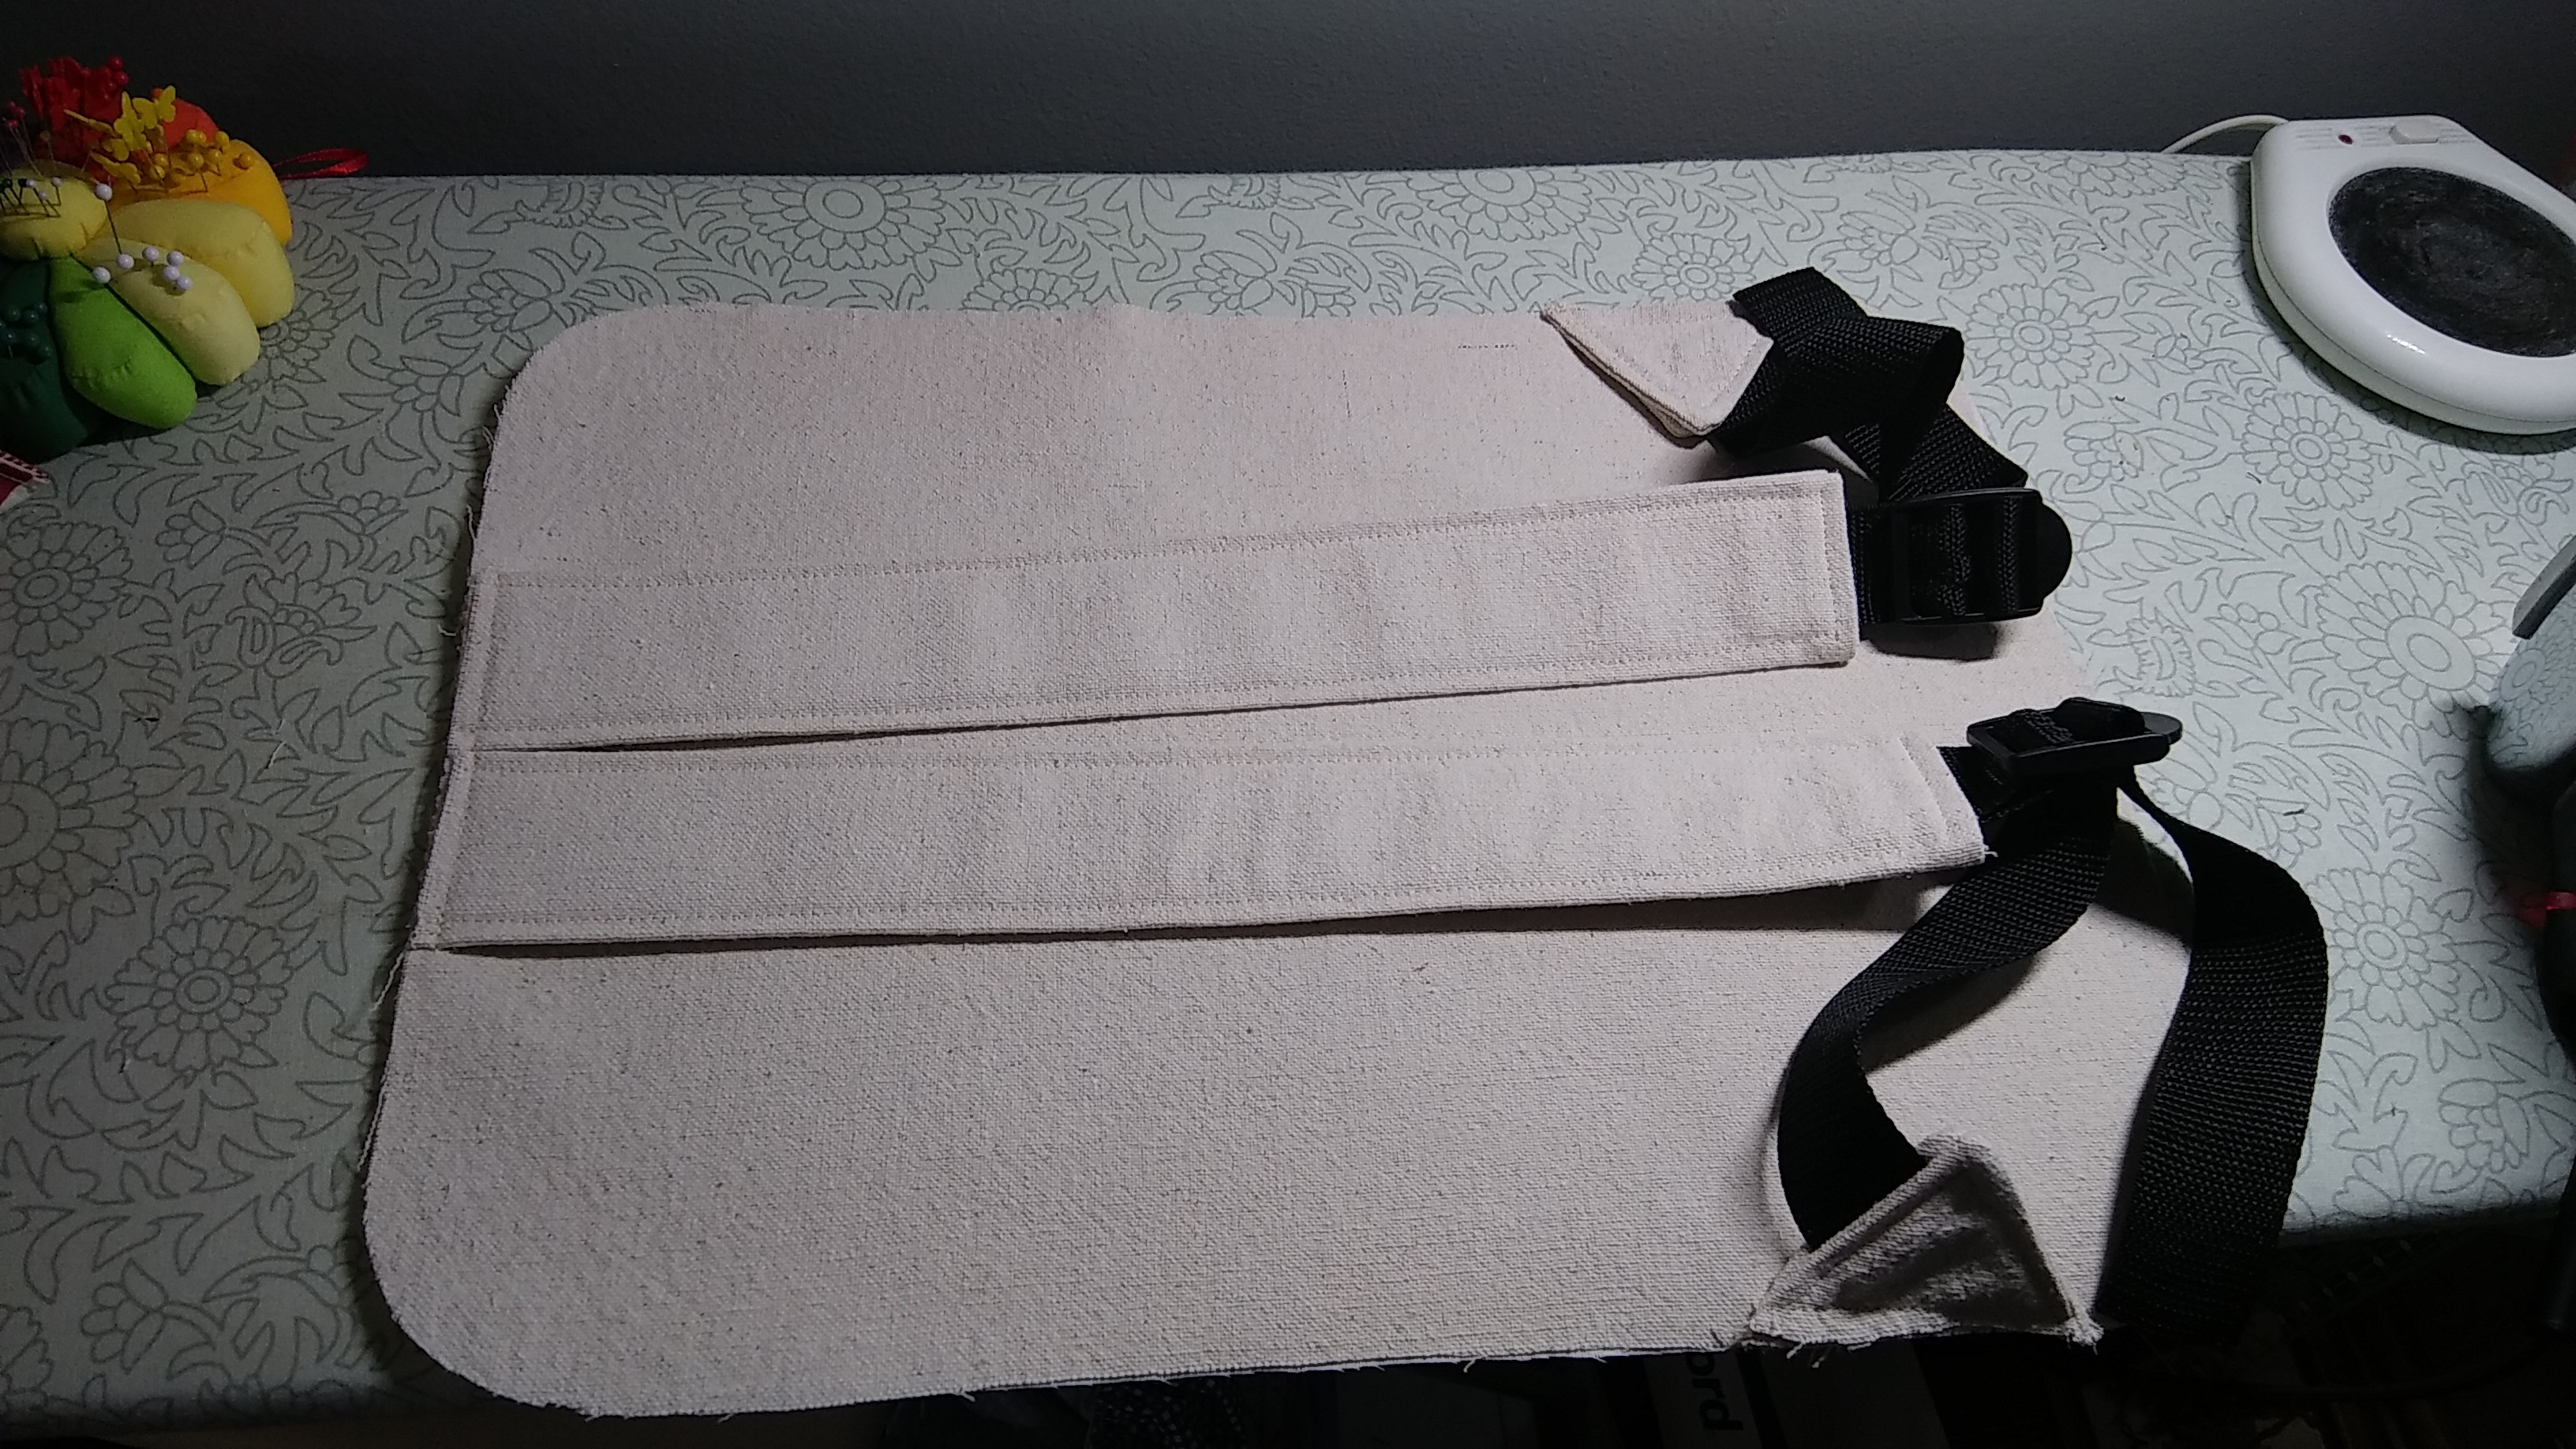
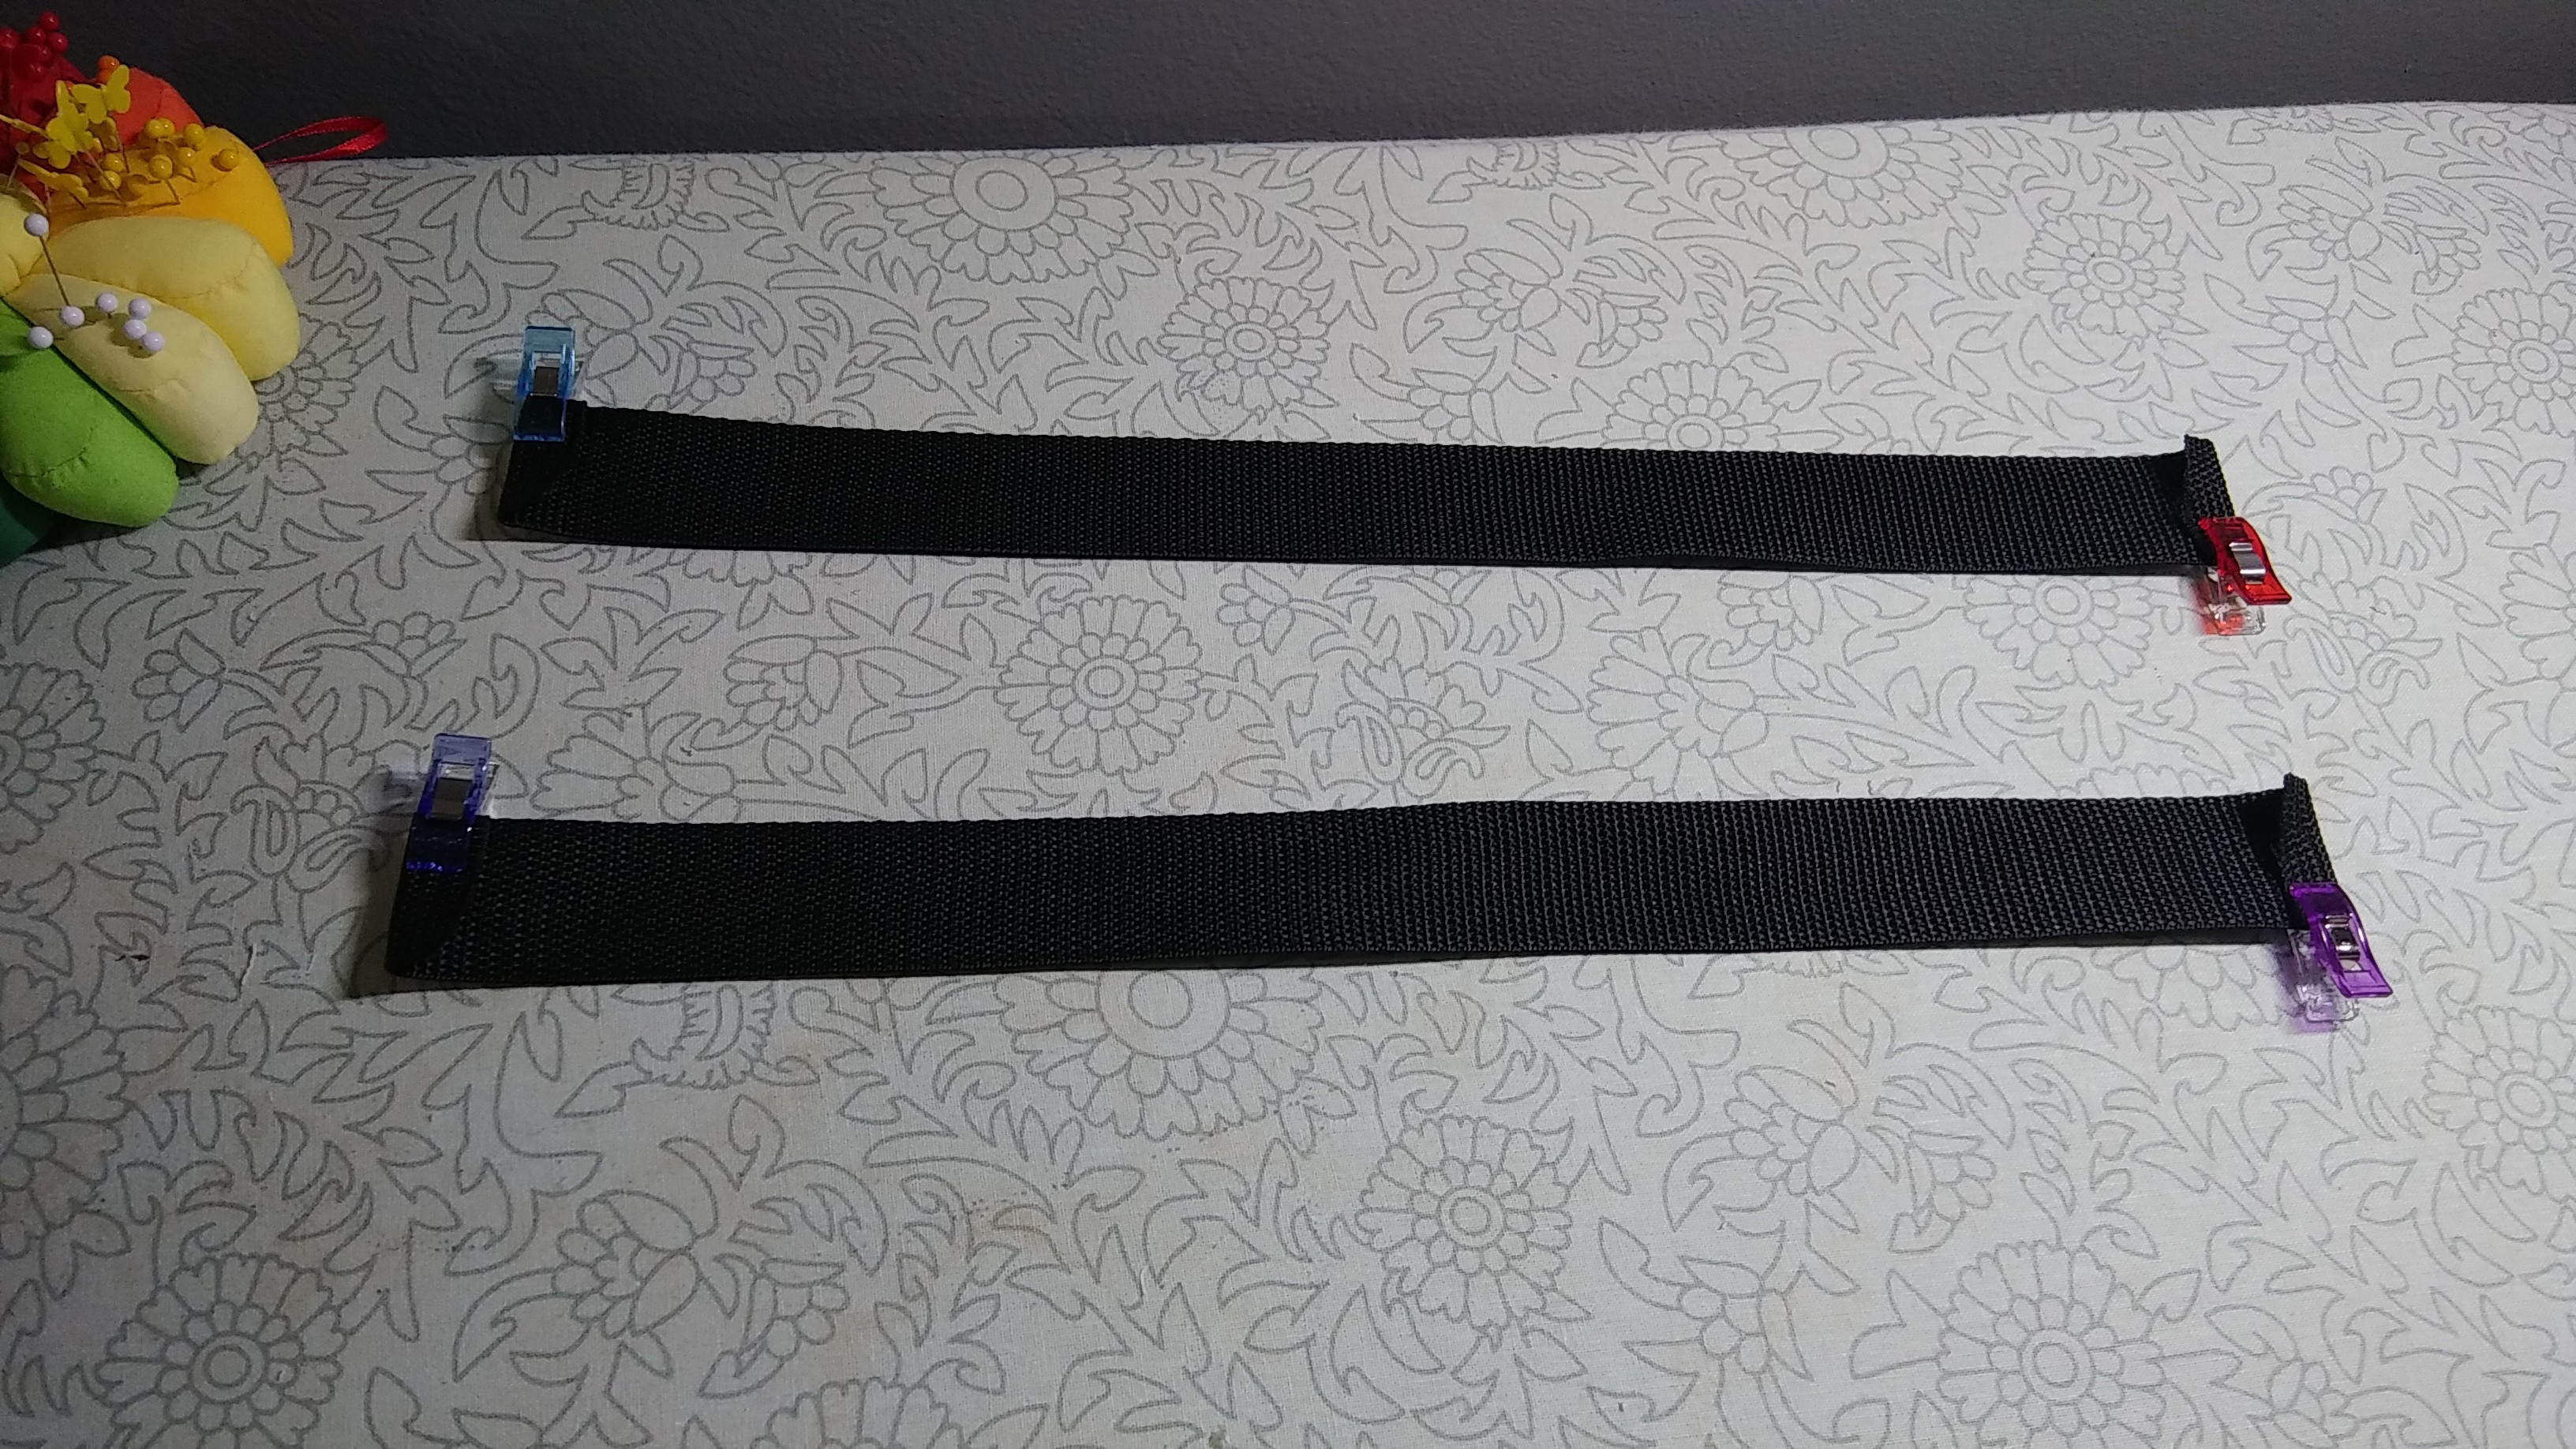
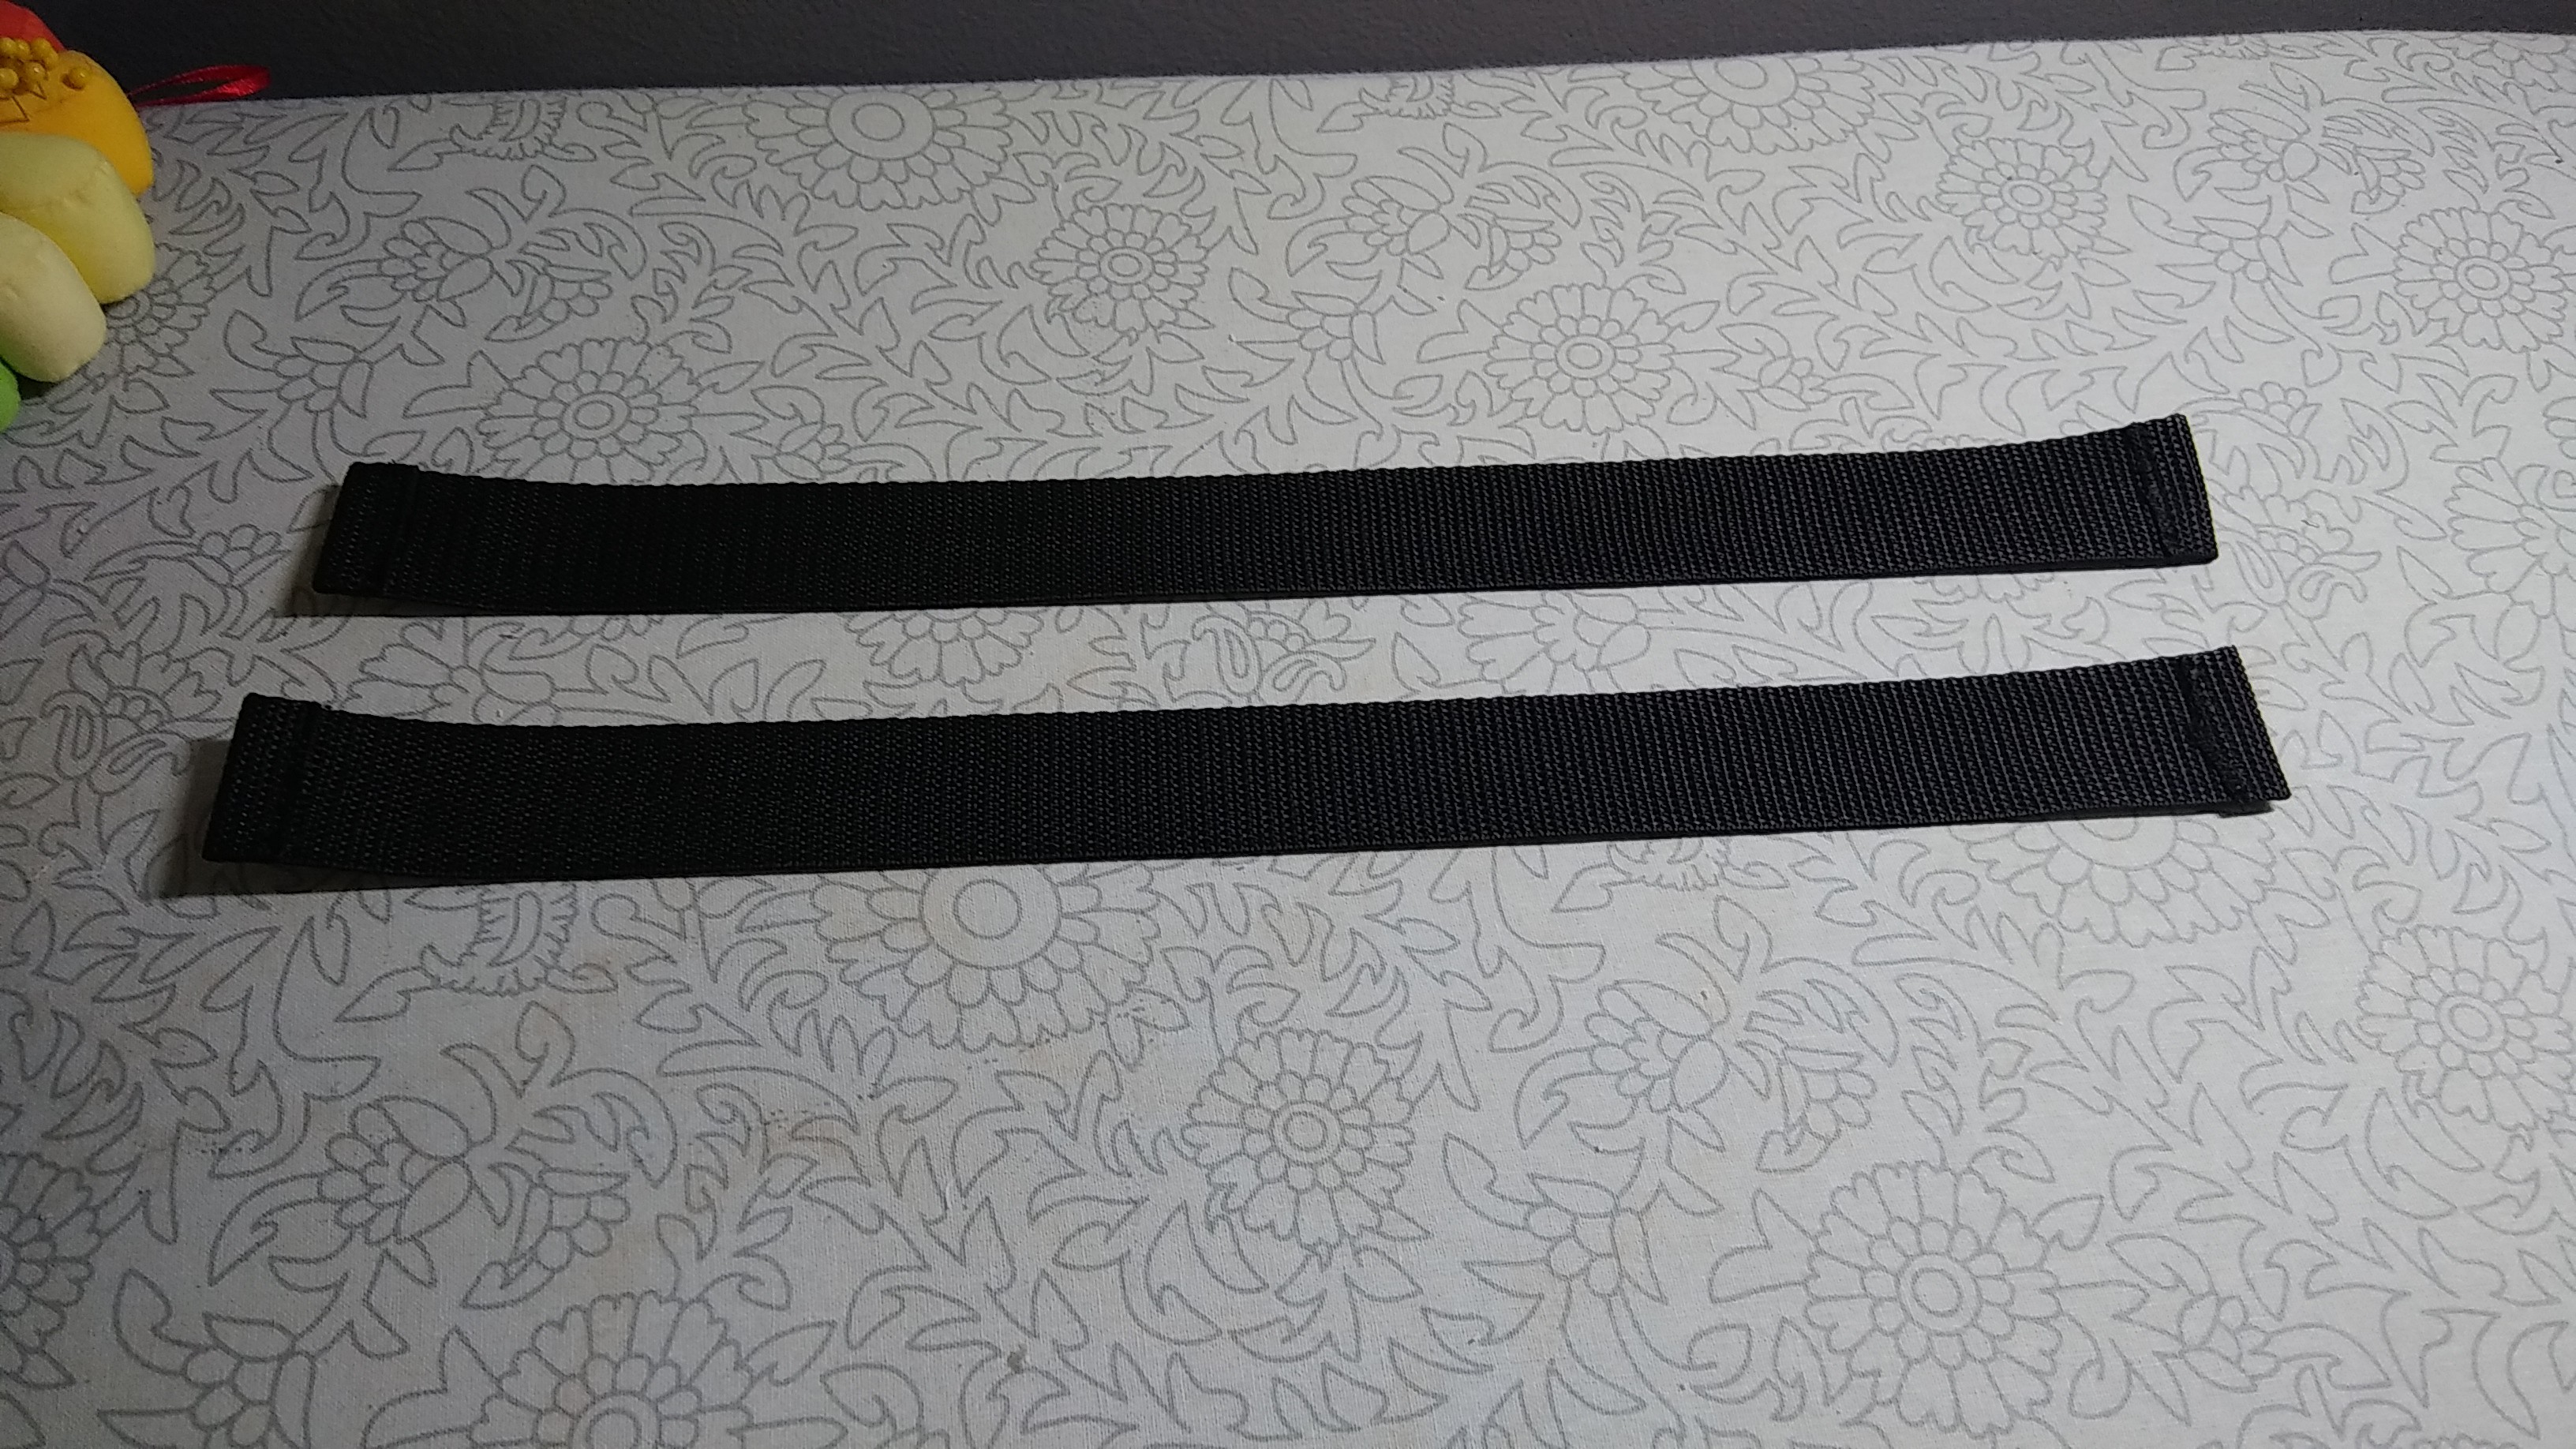
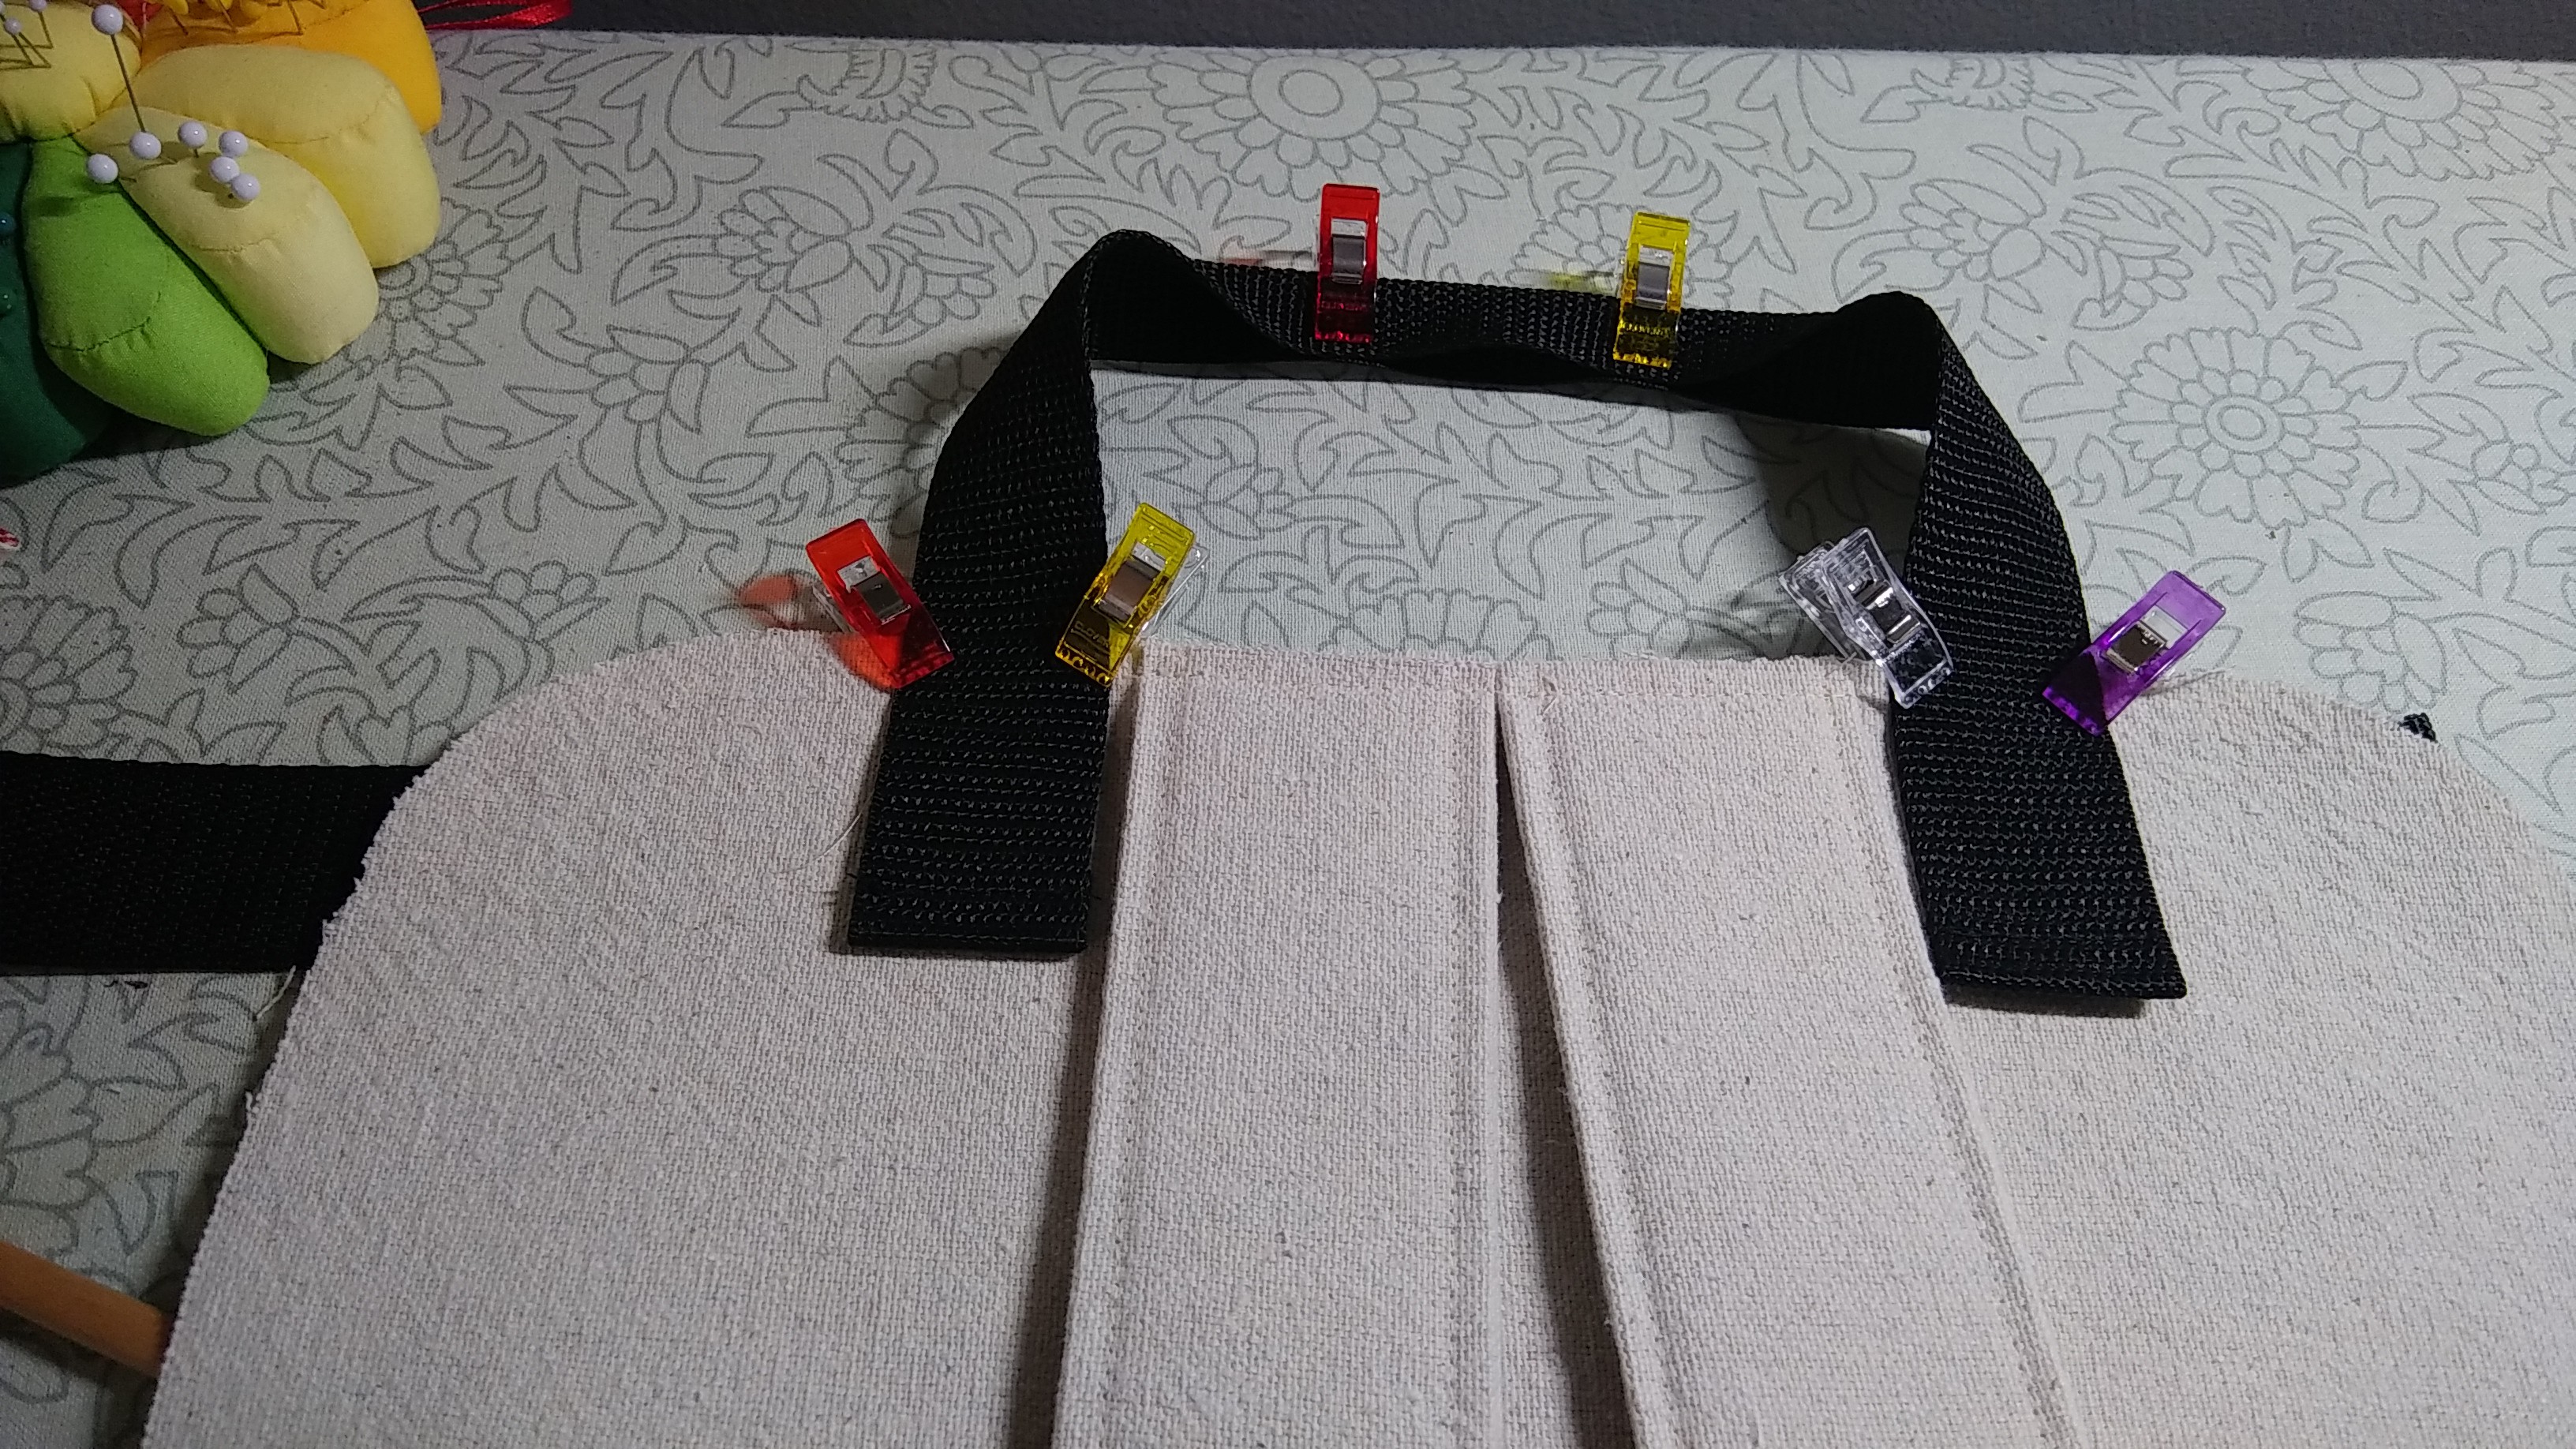
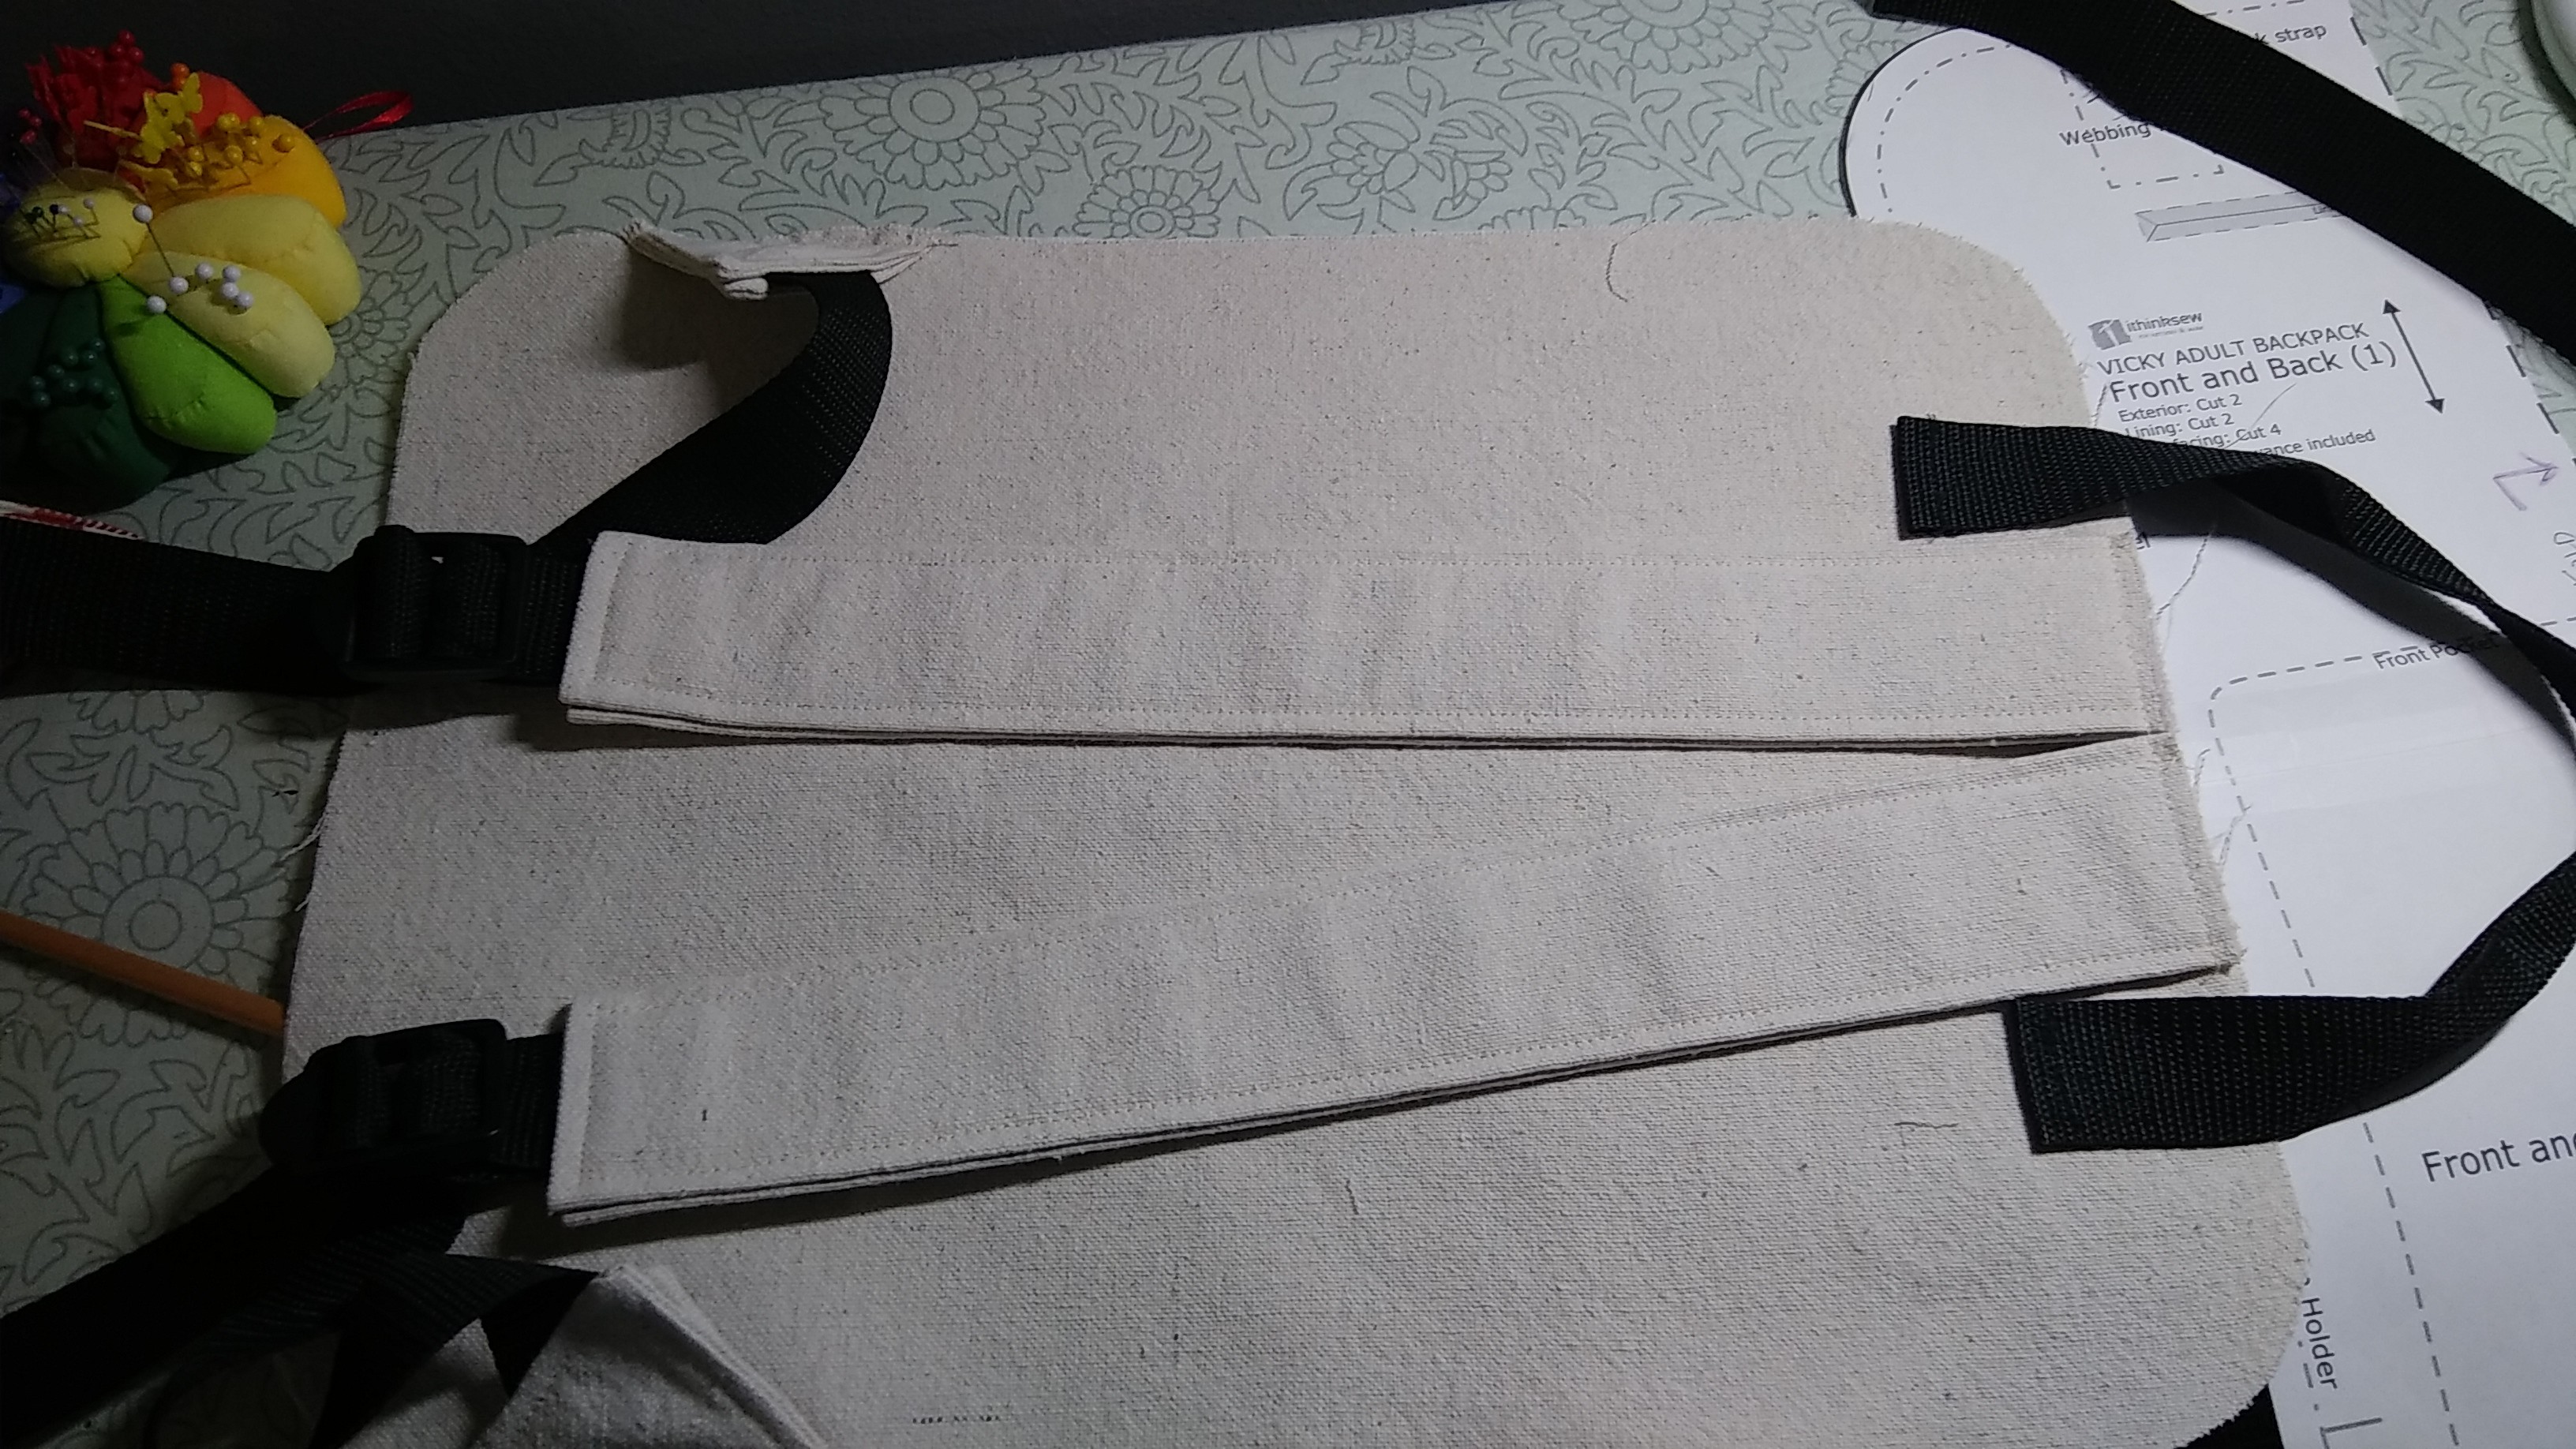
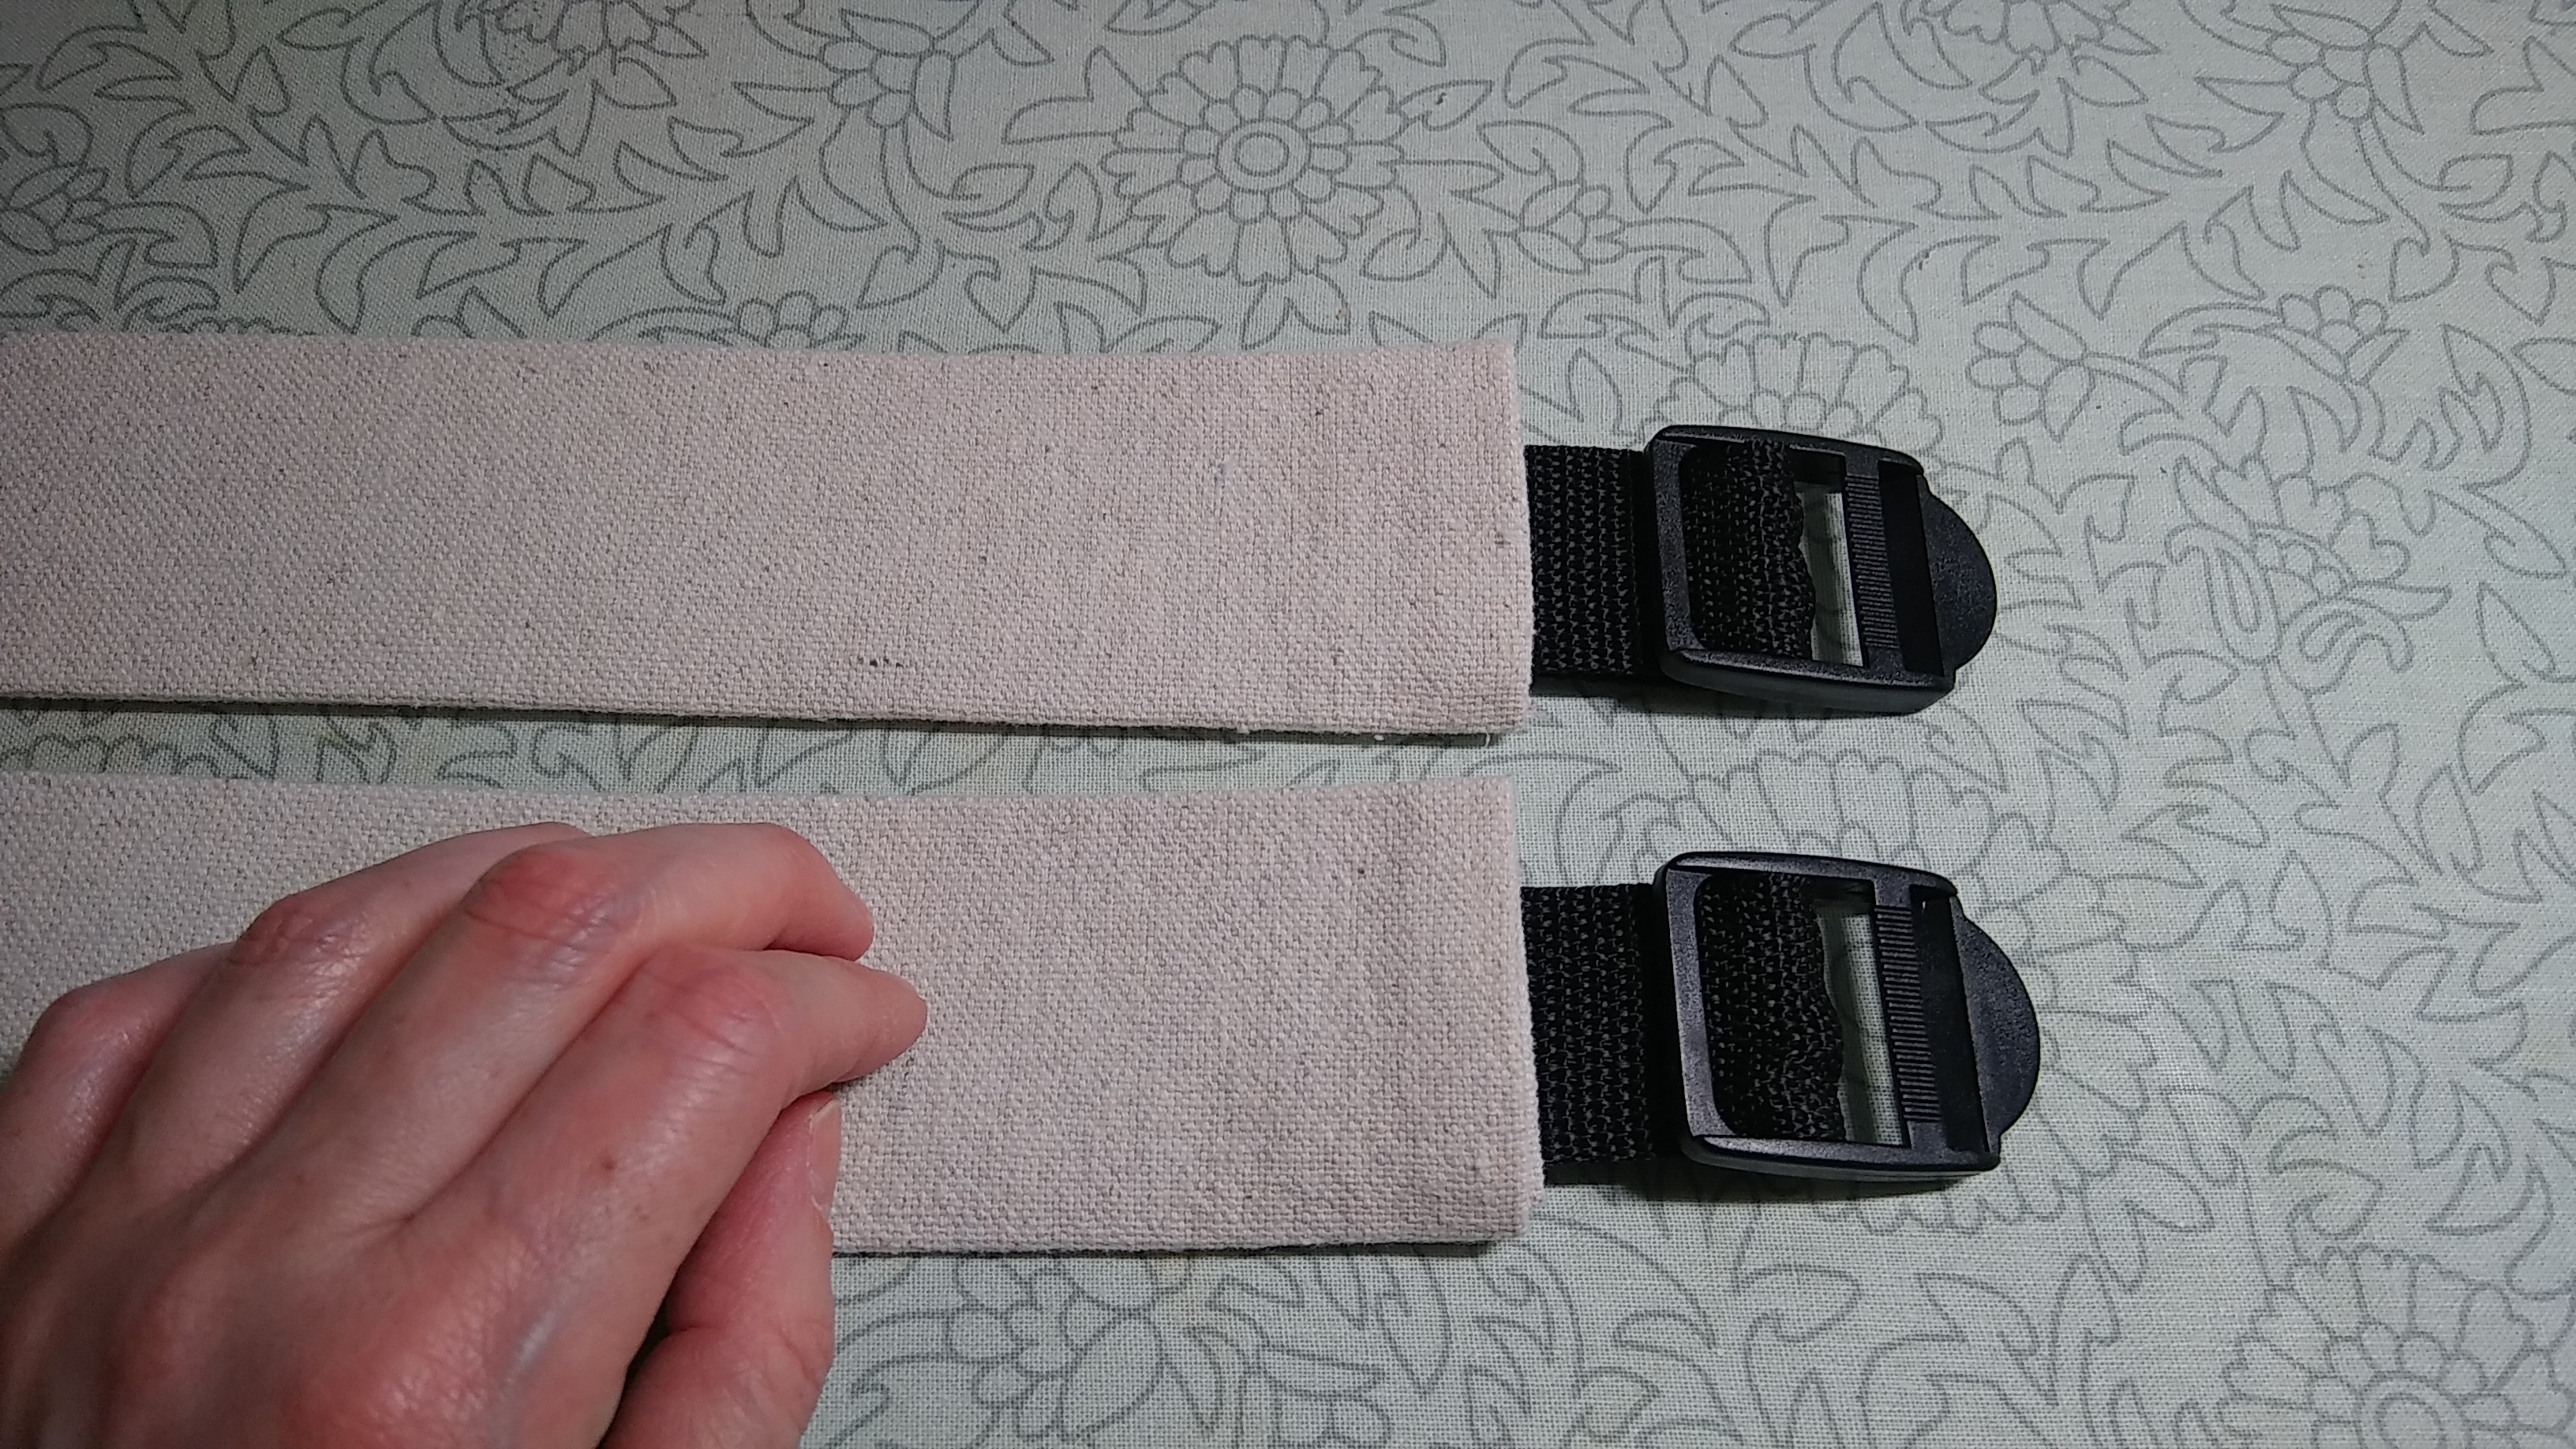
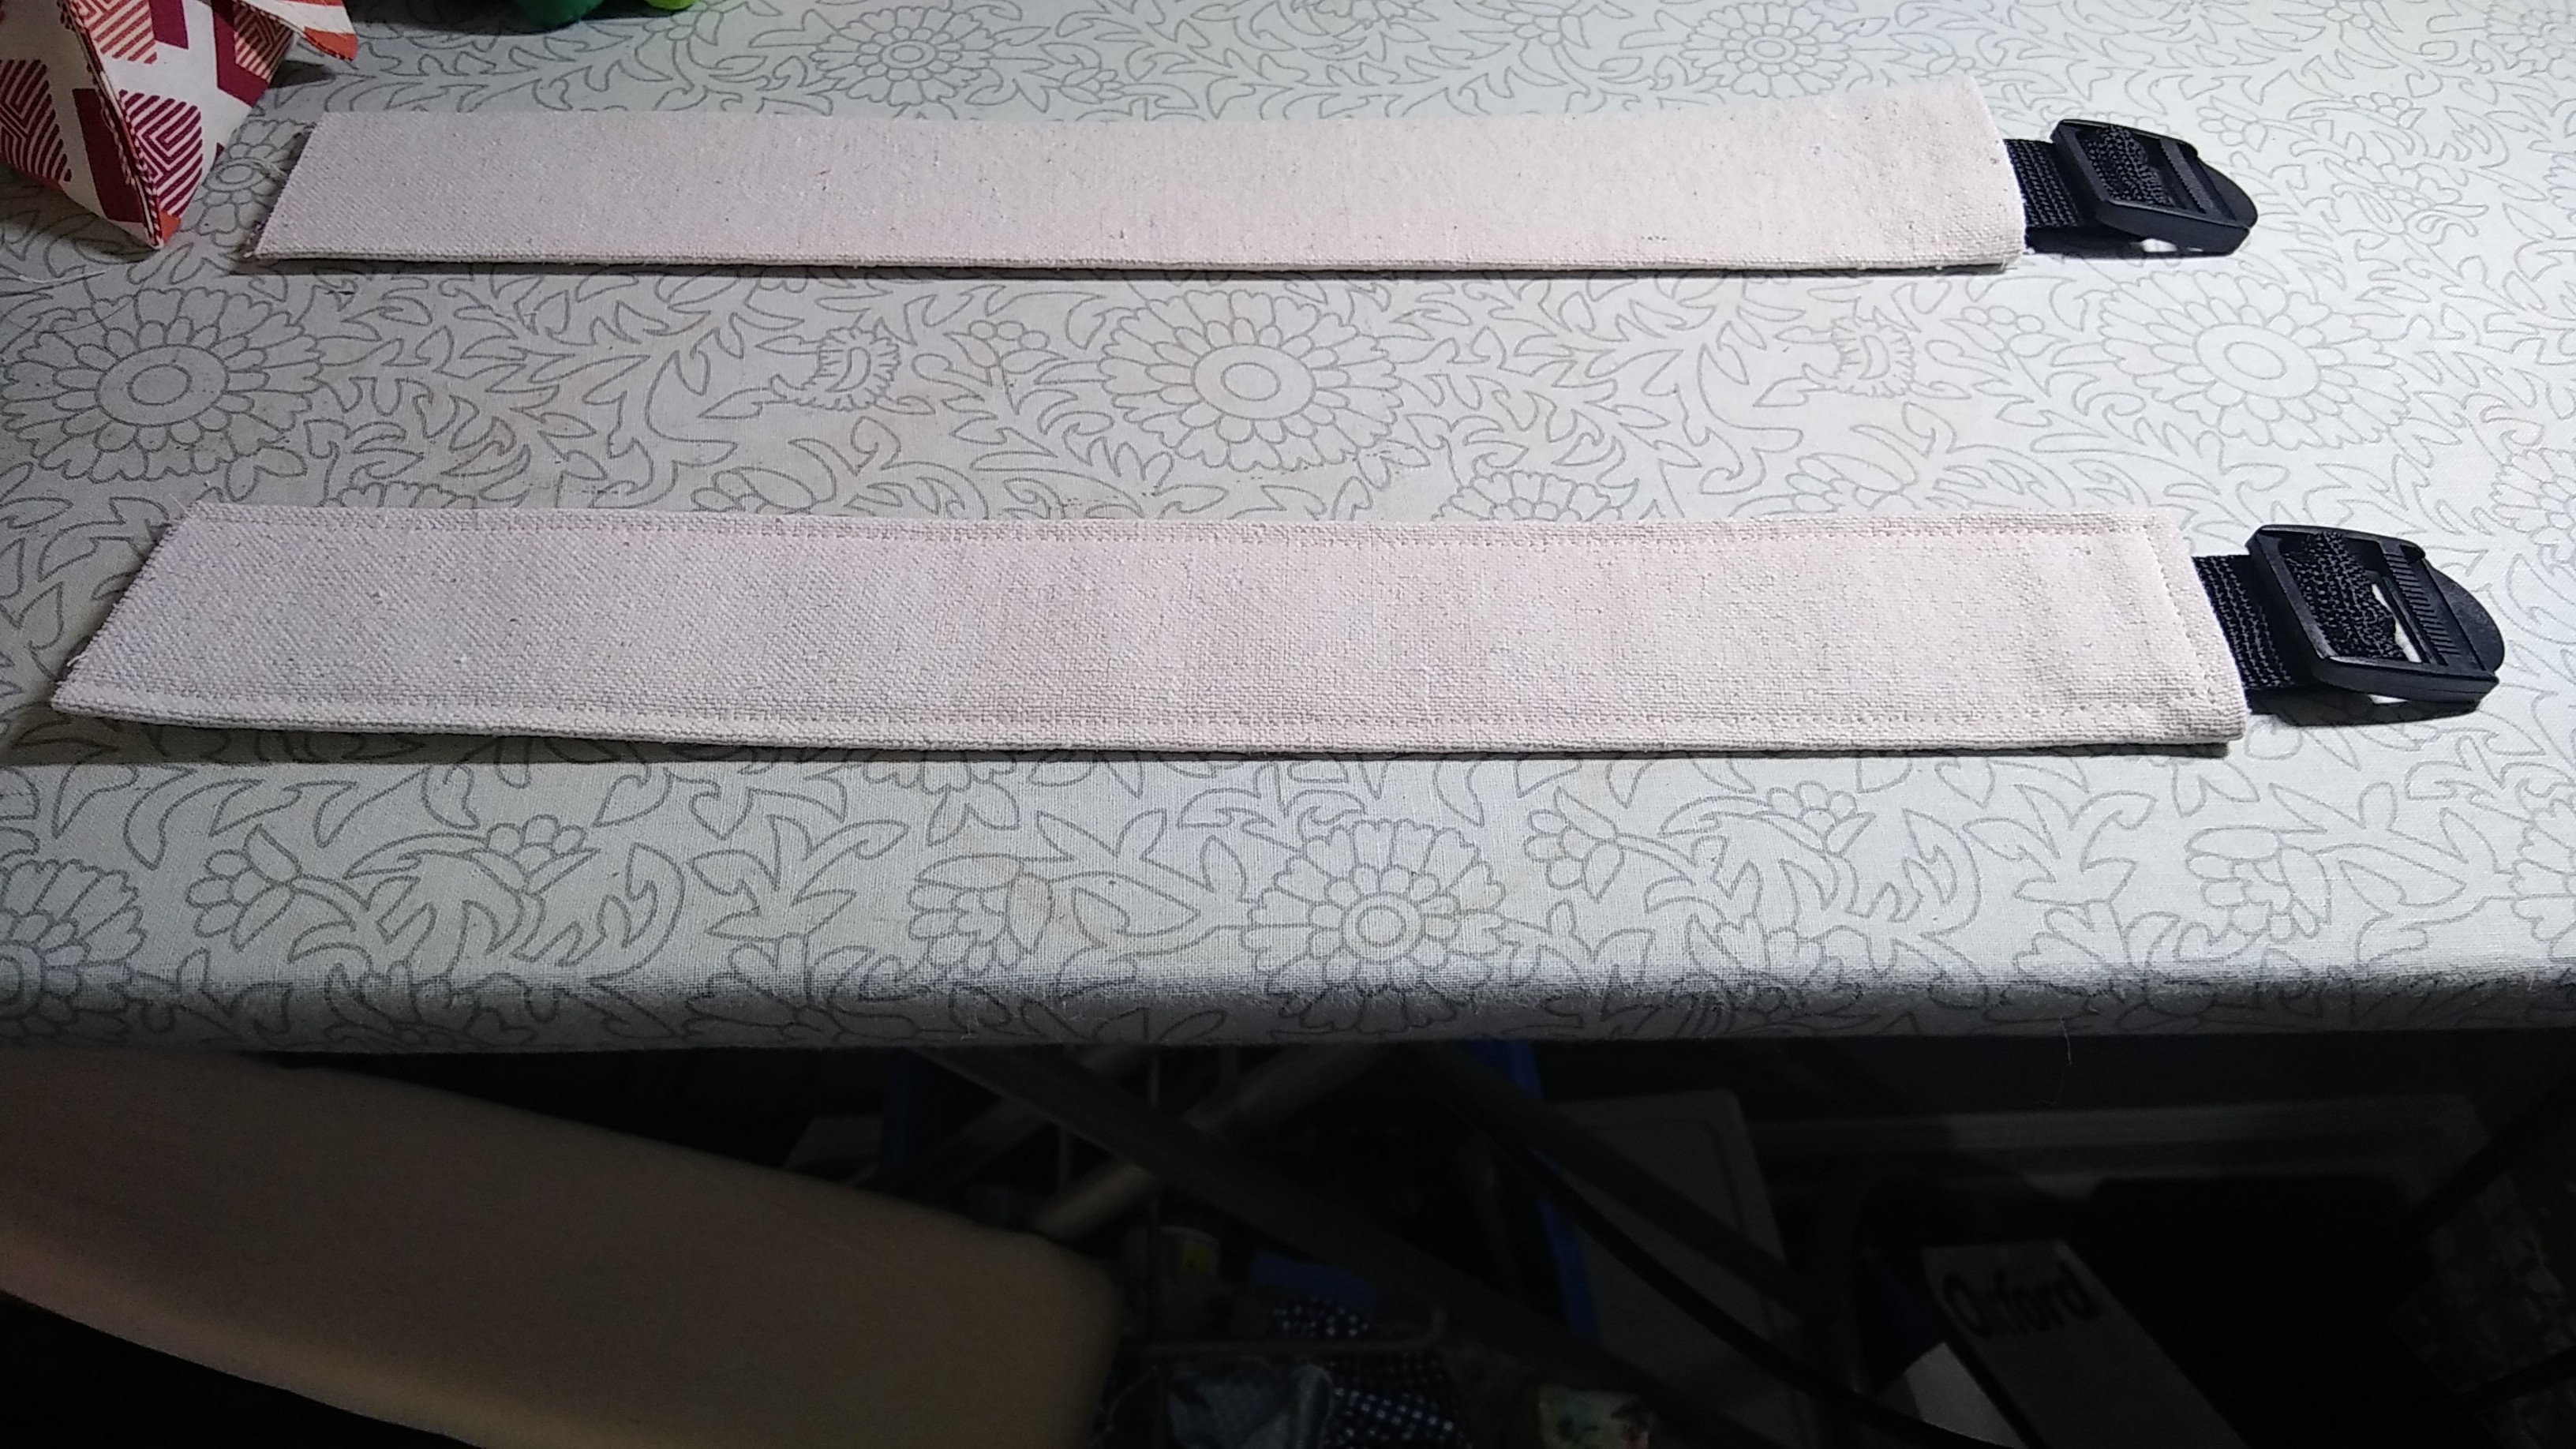
Last night I finished the straps and handles and sewed them to the main pieces. Now I'm almost out of coordinating thread.😥
Last night I made the front pockets, but I also started on the straps. I would have sewn both, but my bobbin was close to running out and I didn't feel like refilling it.
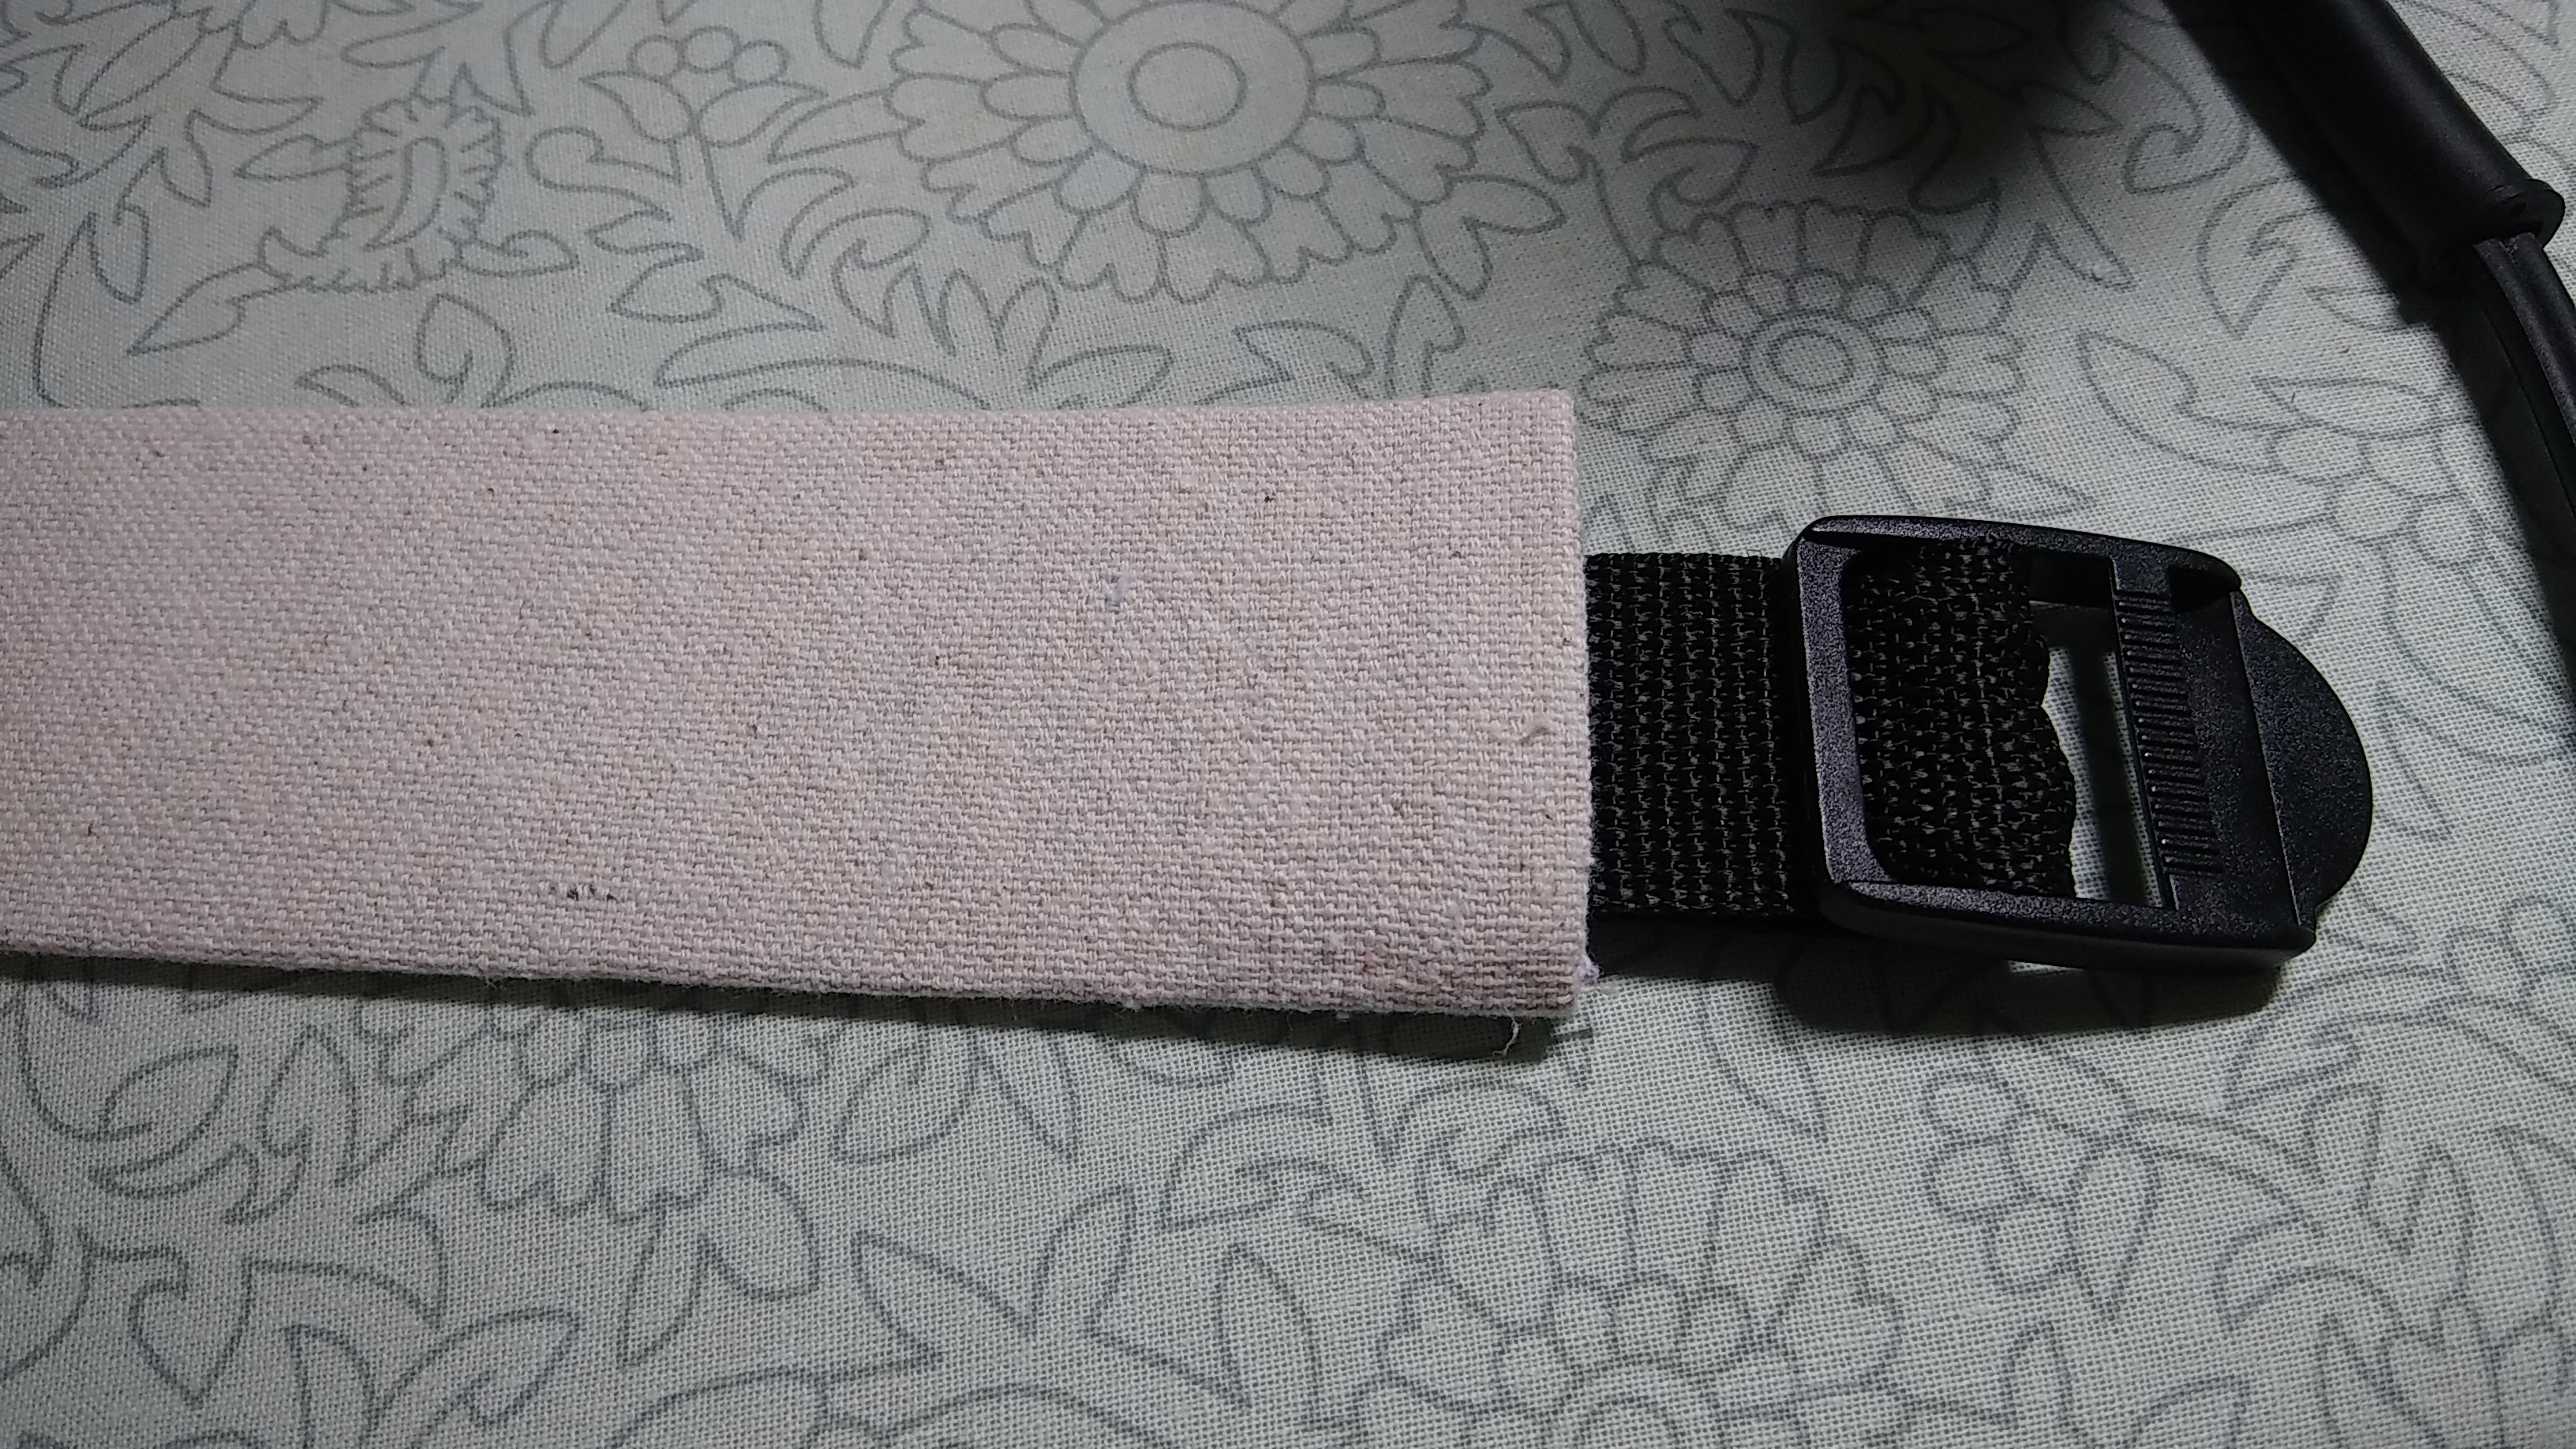
This is only half of the strap story -- a second piece of webbing will connect to the bottom part of the backpack. That will be the adjustable bit.
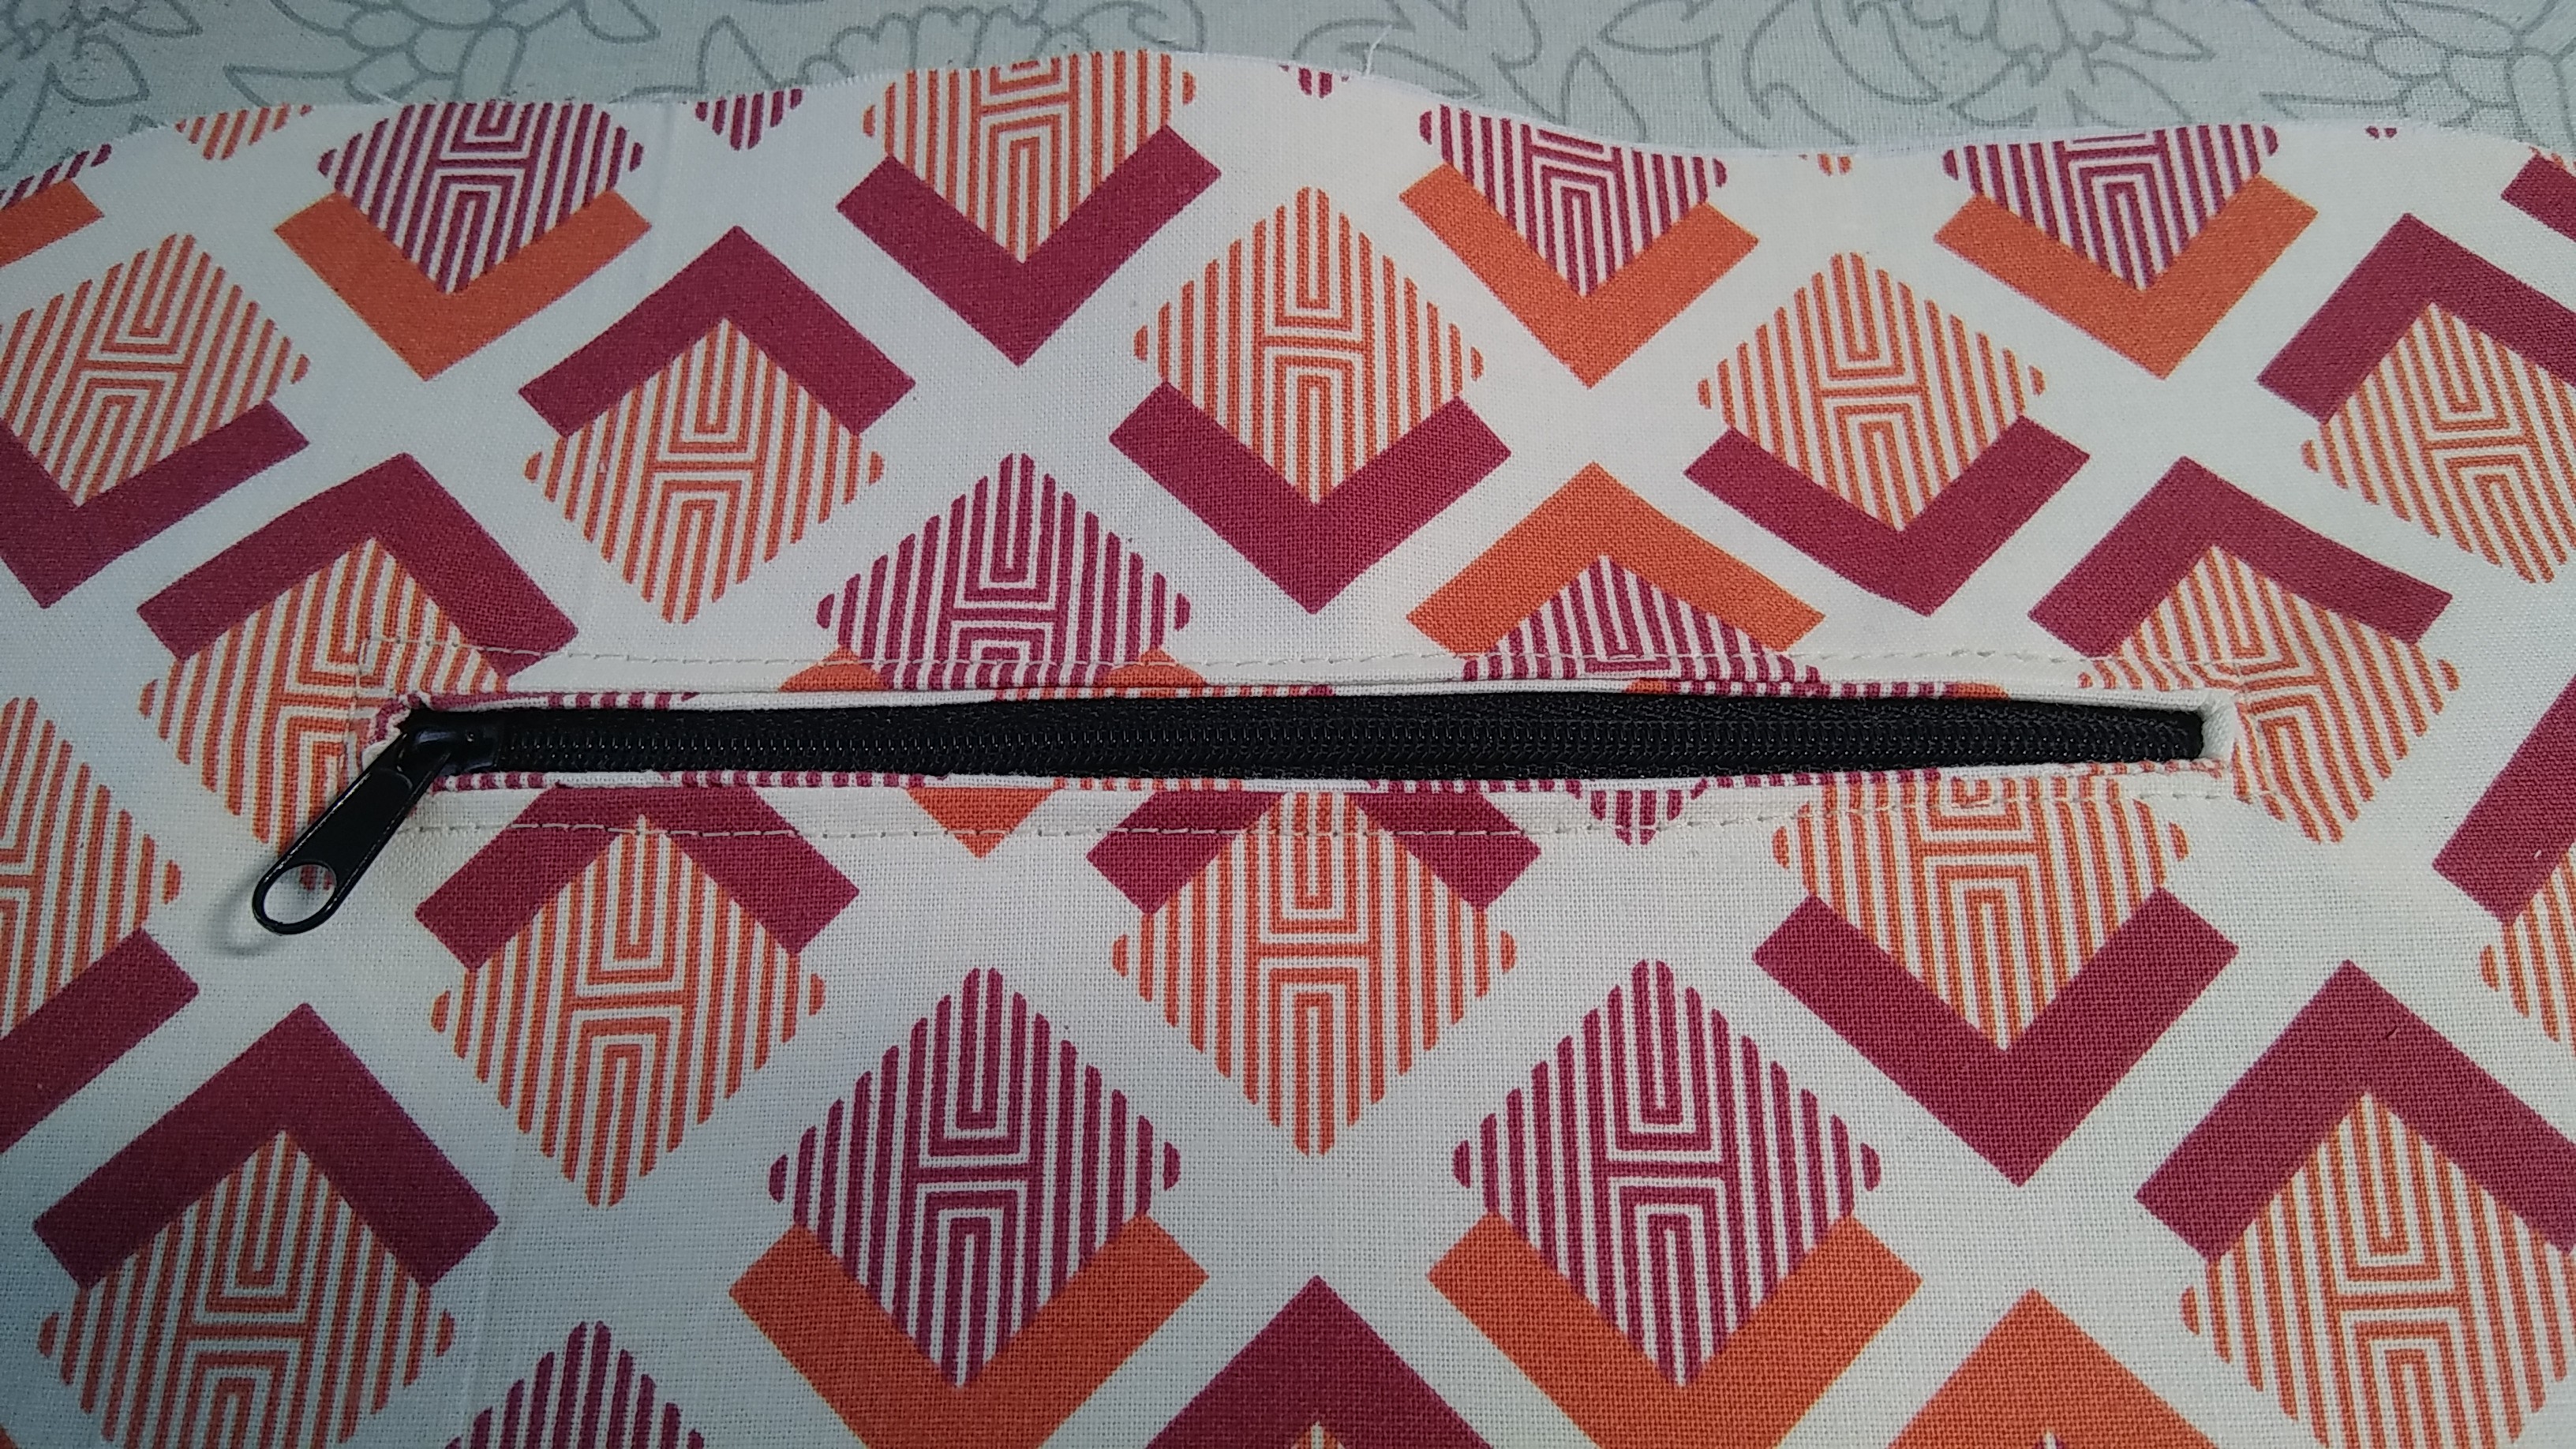
First the zipper tabs go on the ends of the zipper. They are stitched RST with the zipper, and then folded back, ironed, and topstitched.
Then we sew the zipper to the bottom part of the front pouchy zippered pocket that goes on the front of the backpack.
Fold it back, press, and topstitch.
Add the top part of the pocket to the zipper in the same way. RST, then flip, press, and topstitch.
Fold down the top to make a flap that covers the zipper and topstitch it down.
I drew a stitching line with a Frixion erasable pen, then removed the mark with my steam iron.
Make the pocket three-dimensional by sewing the corners into darts.
Flip it over. Press the raw edge in by 1/2" and sew with a zig-zag stitch to overlock the raw edge. I didn't take a picture of this step, sorry.
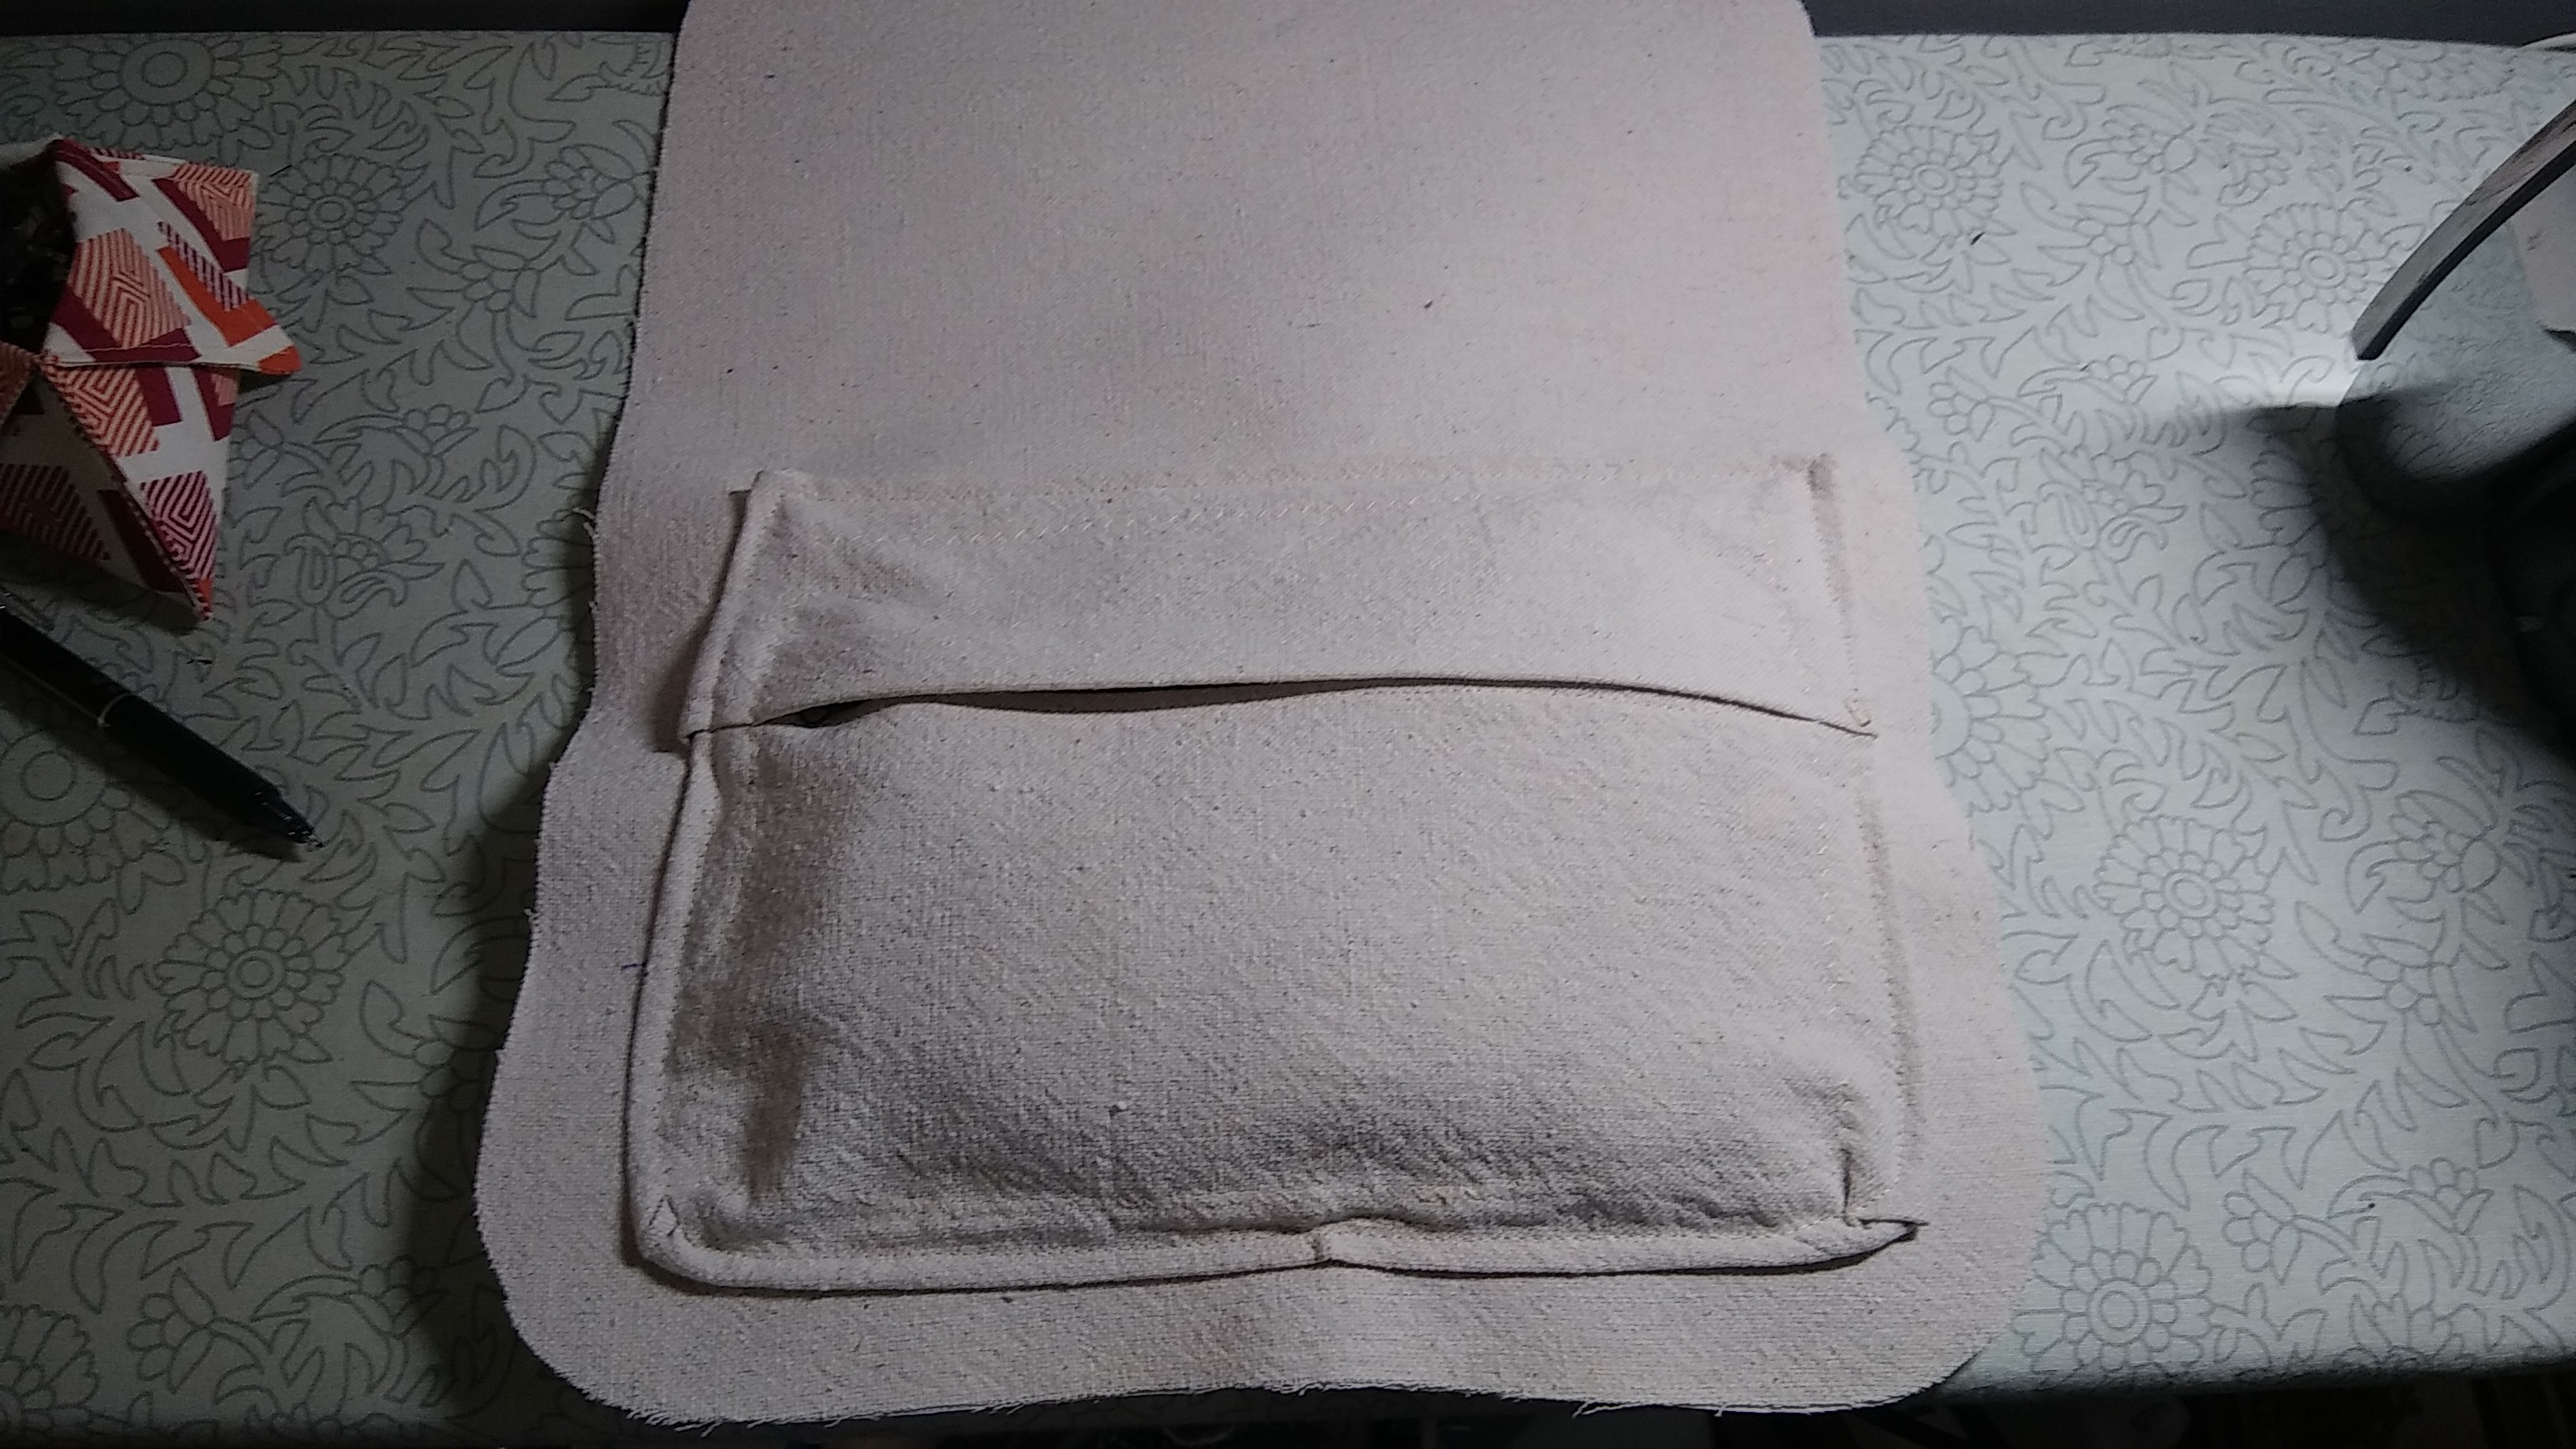
Sew the front pocket to the front of the backpack.
Stuff it with fabric scraps to check out how much it will hold.
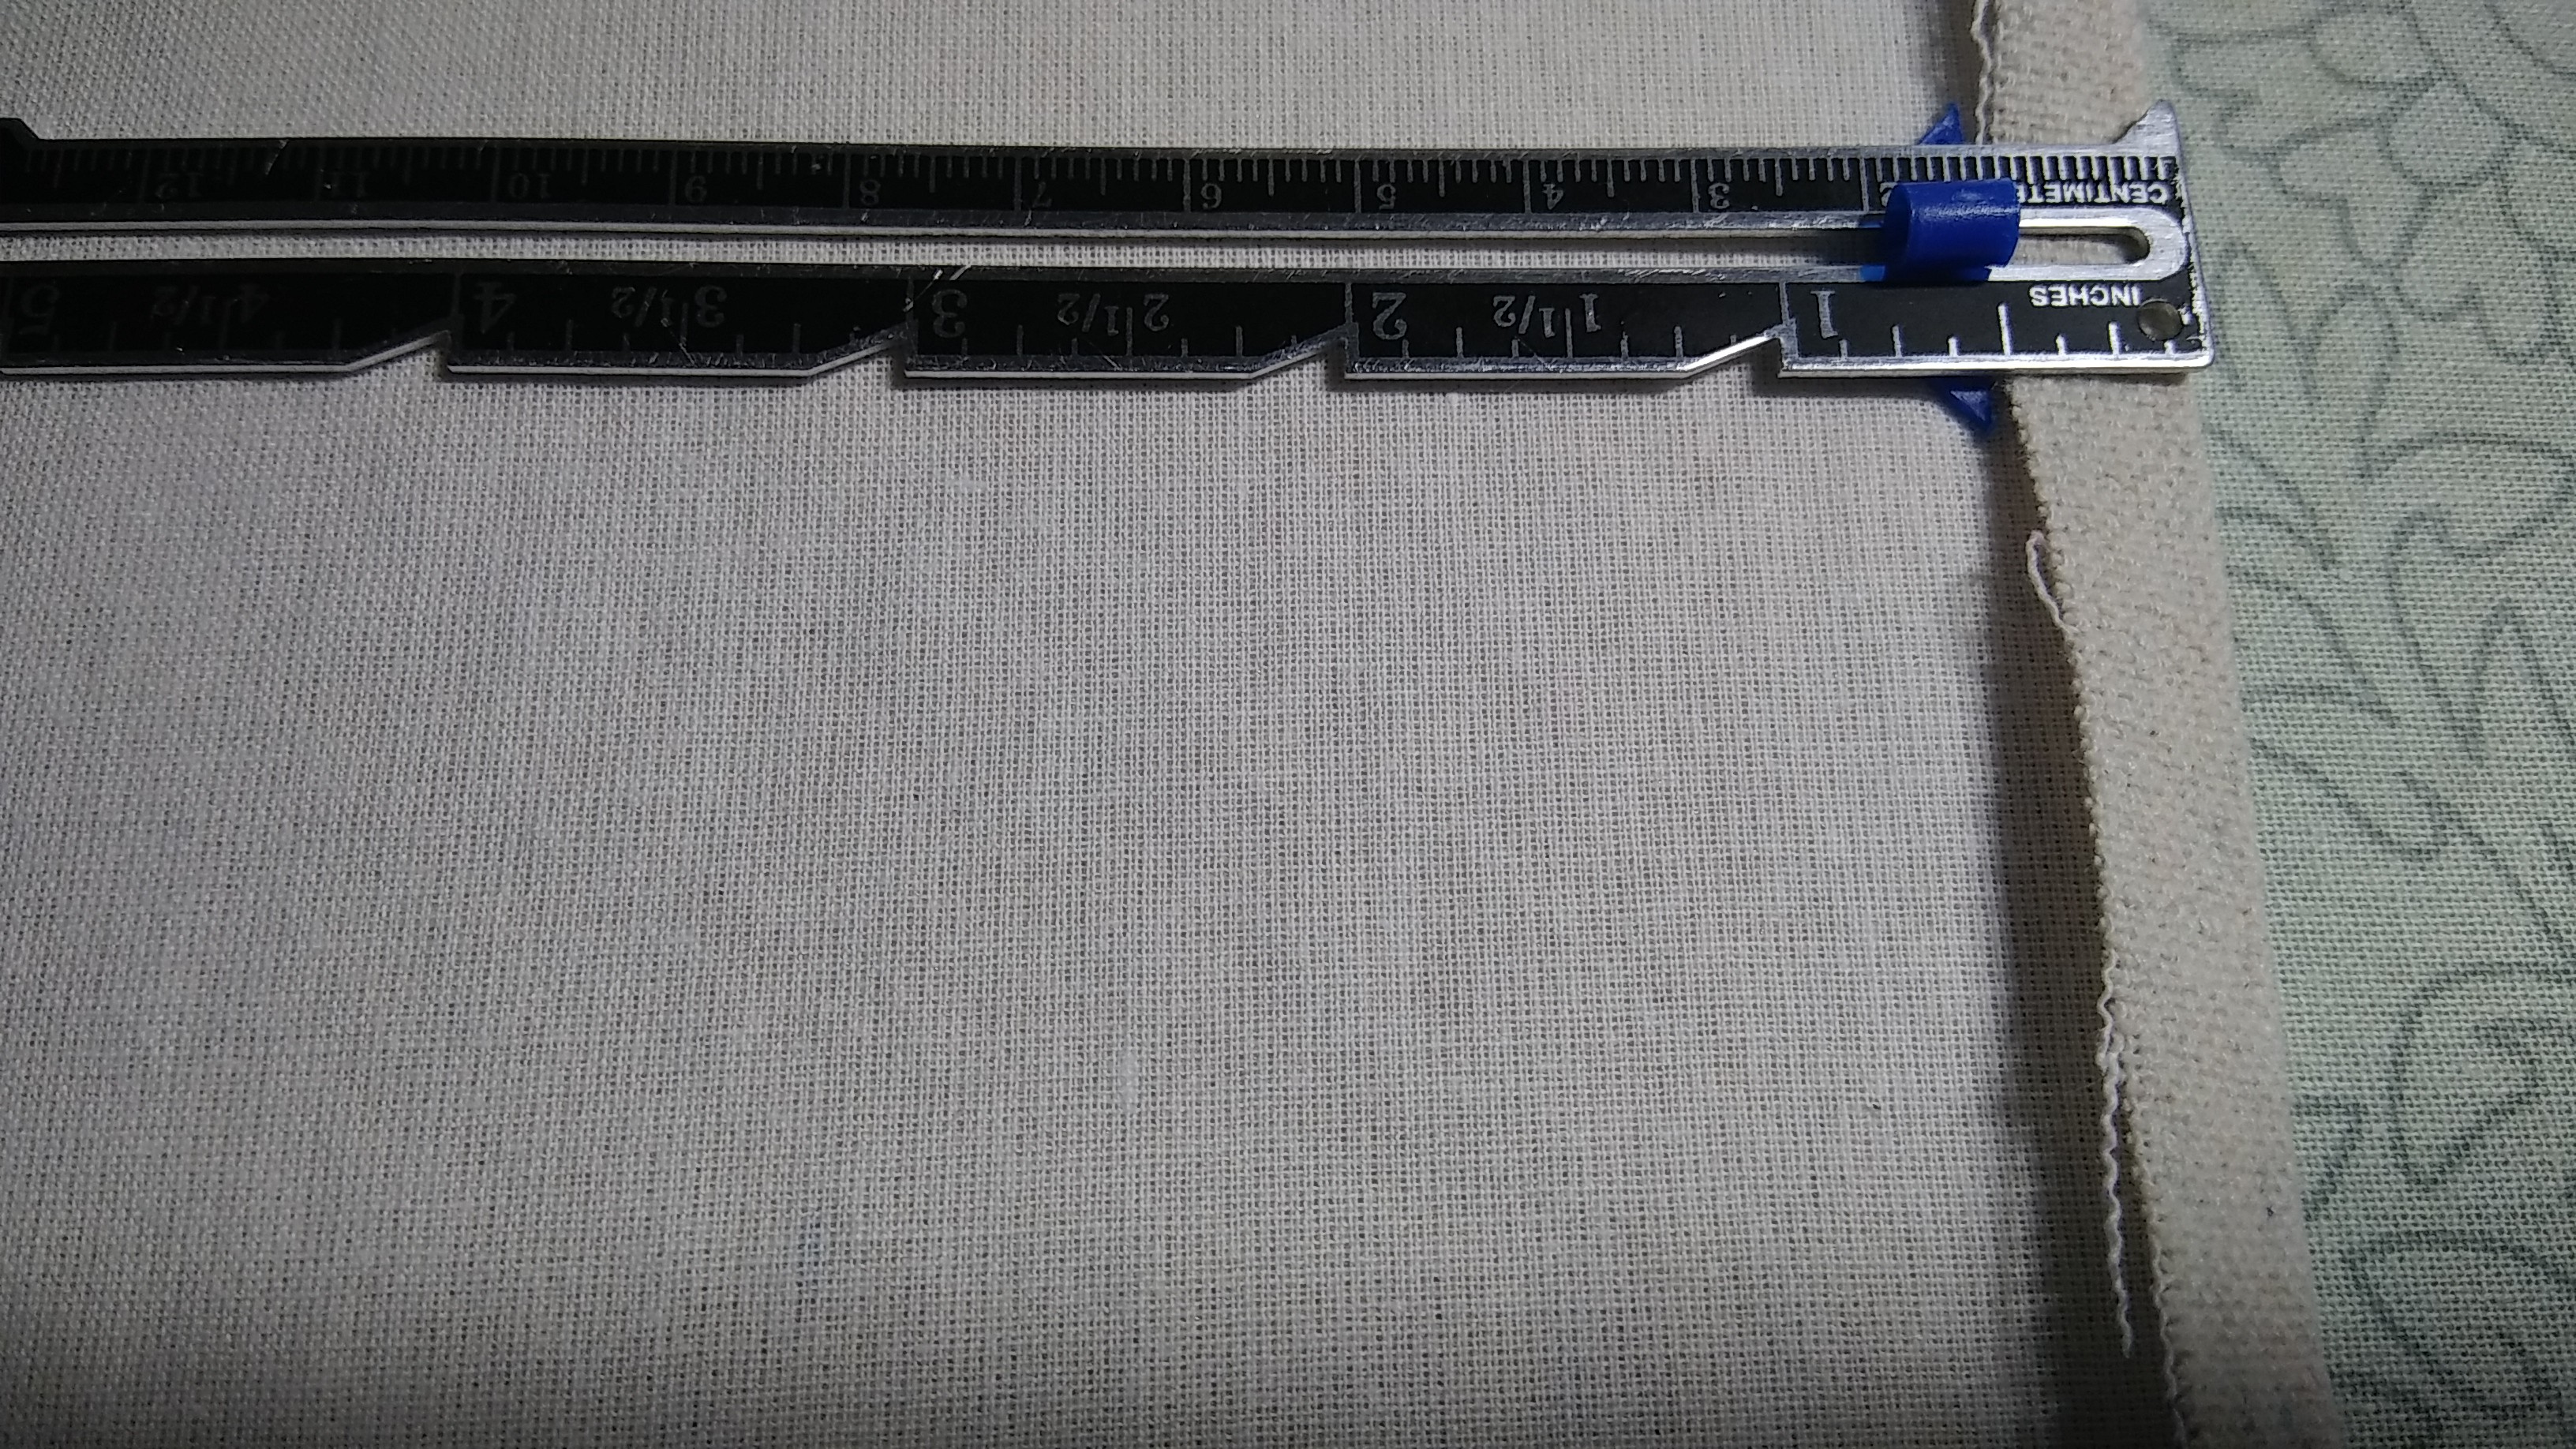
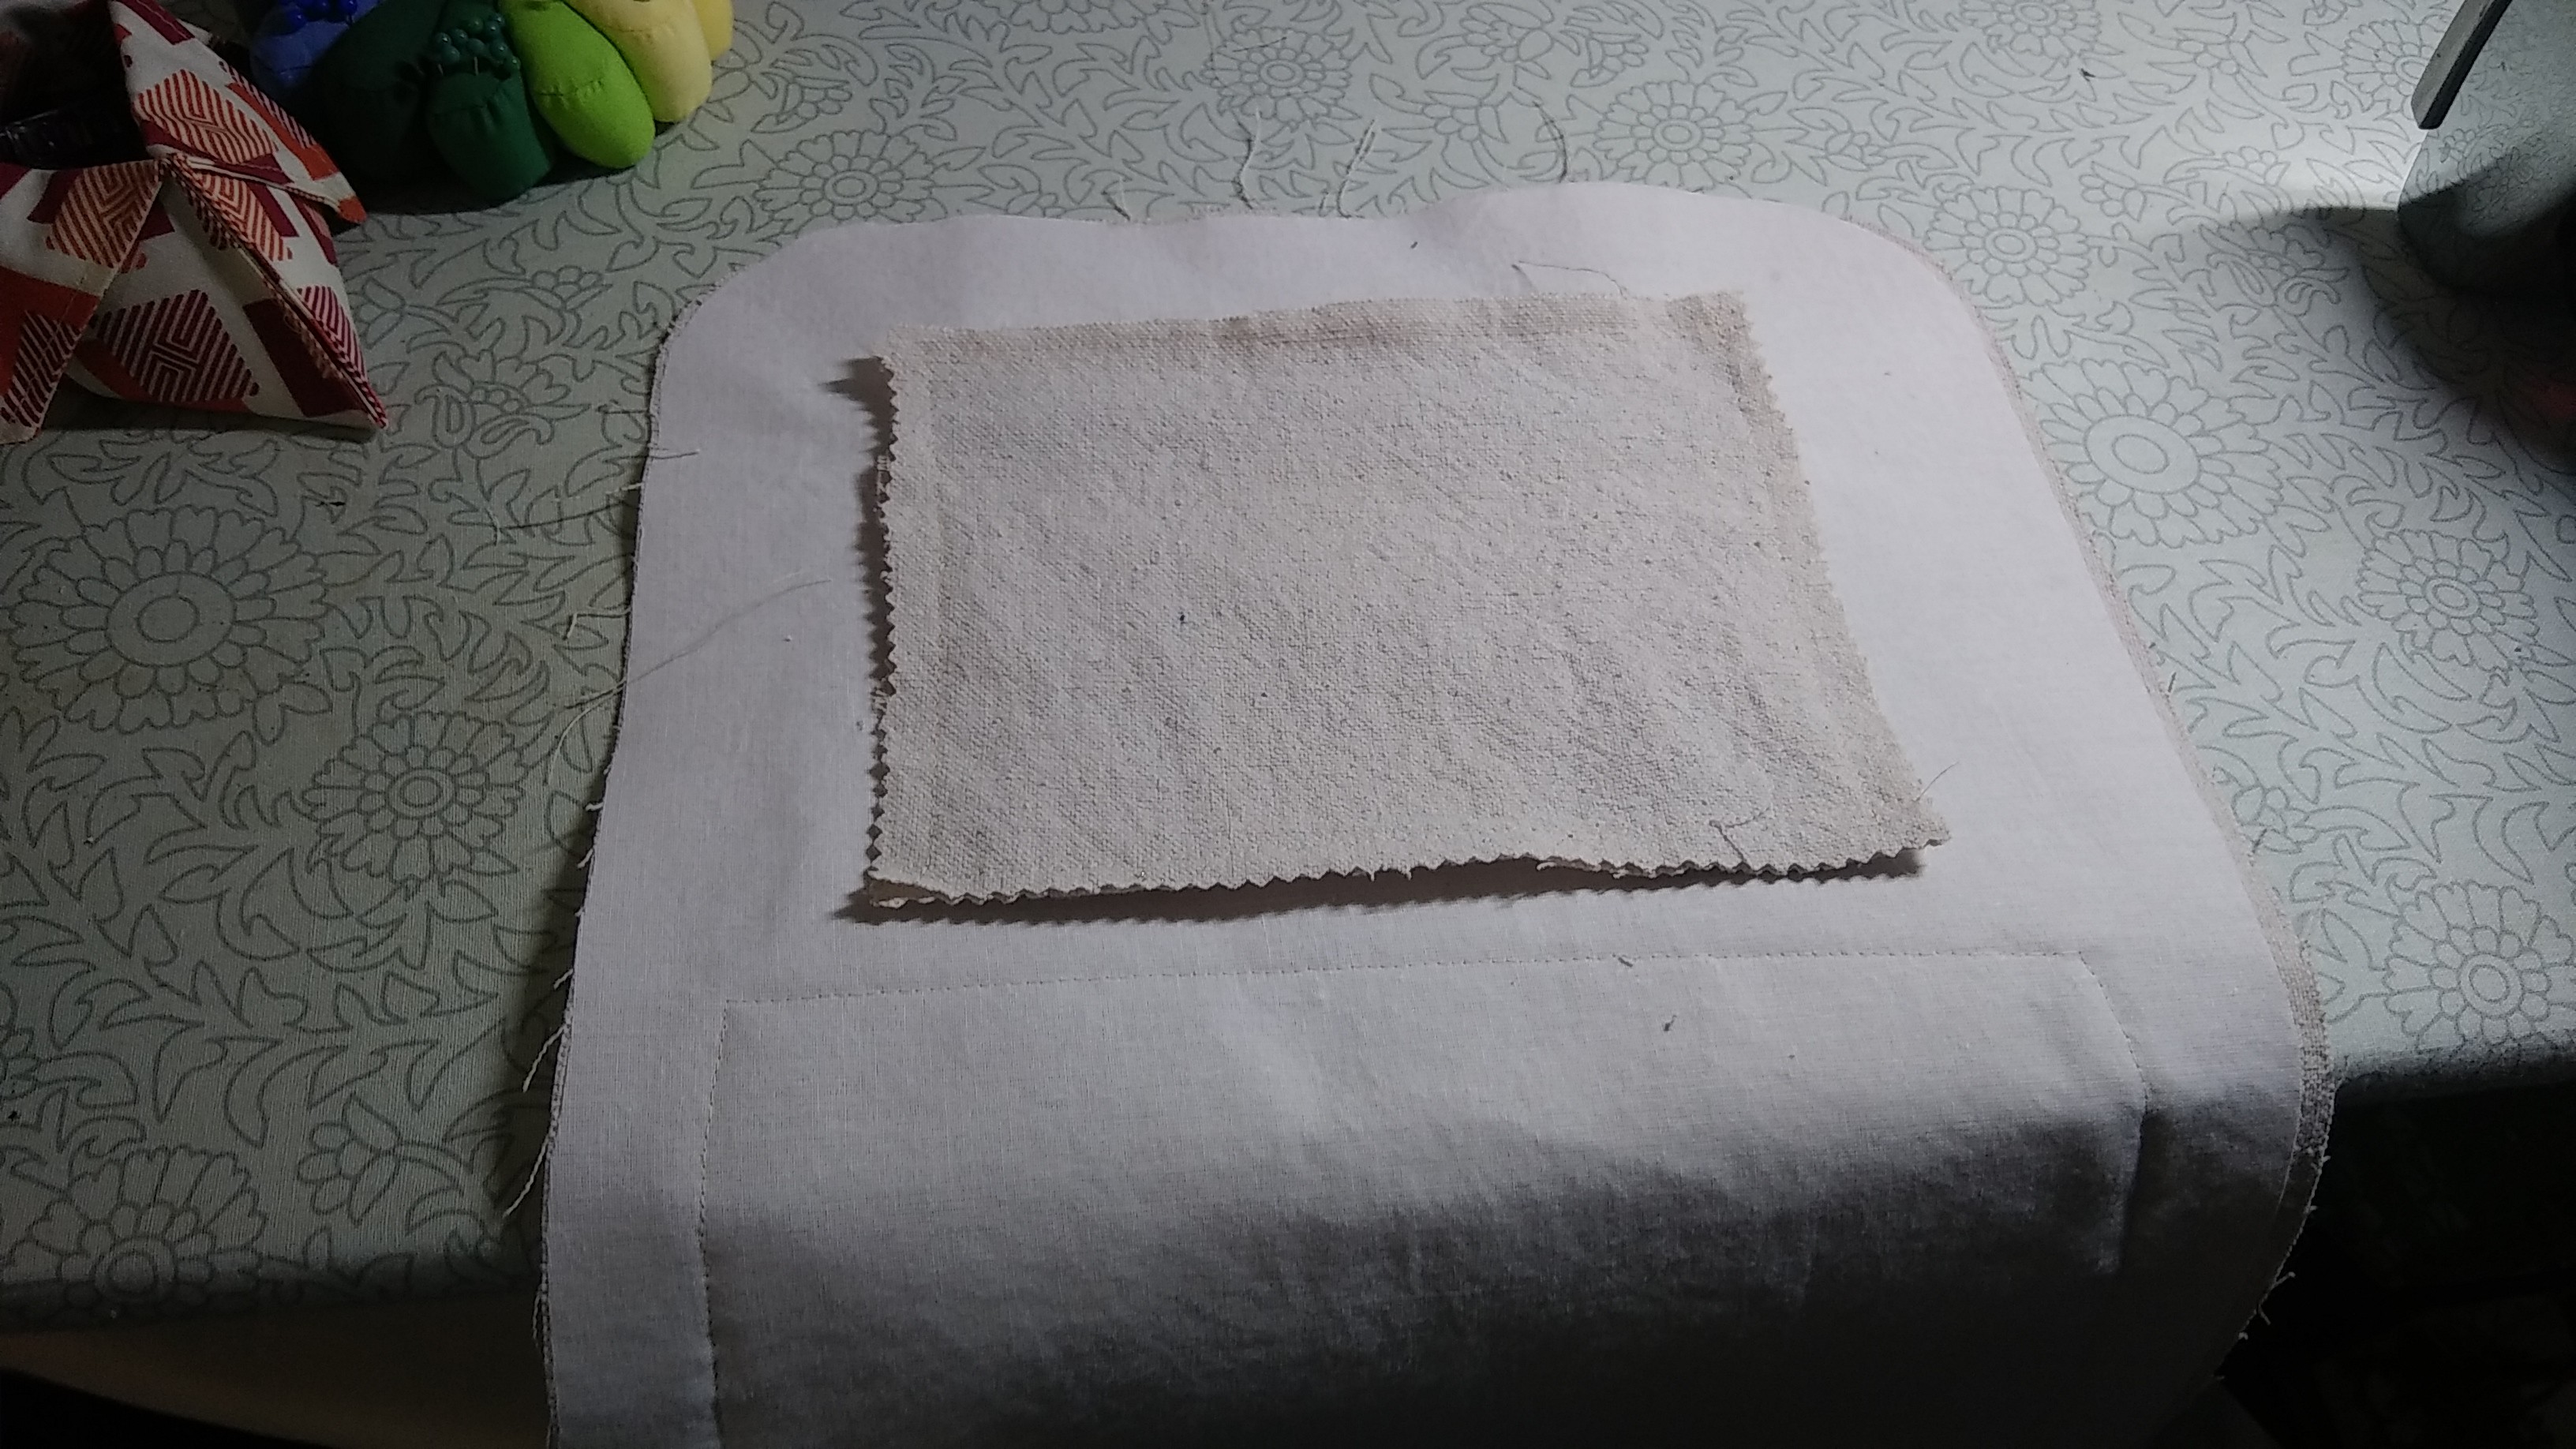
Put your notebook in there for scale (3.5" x 5.5").
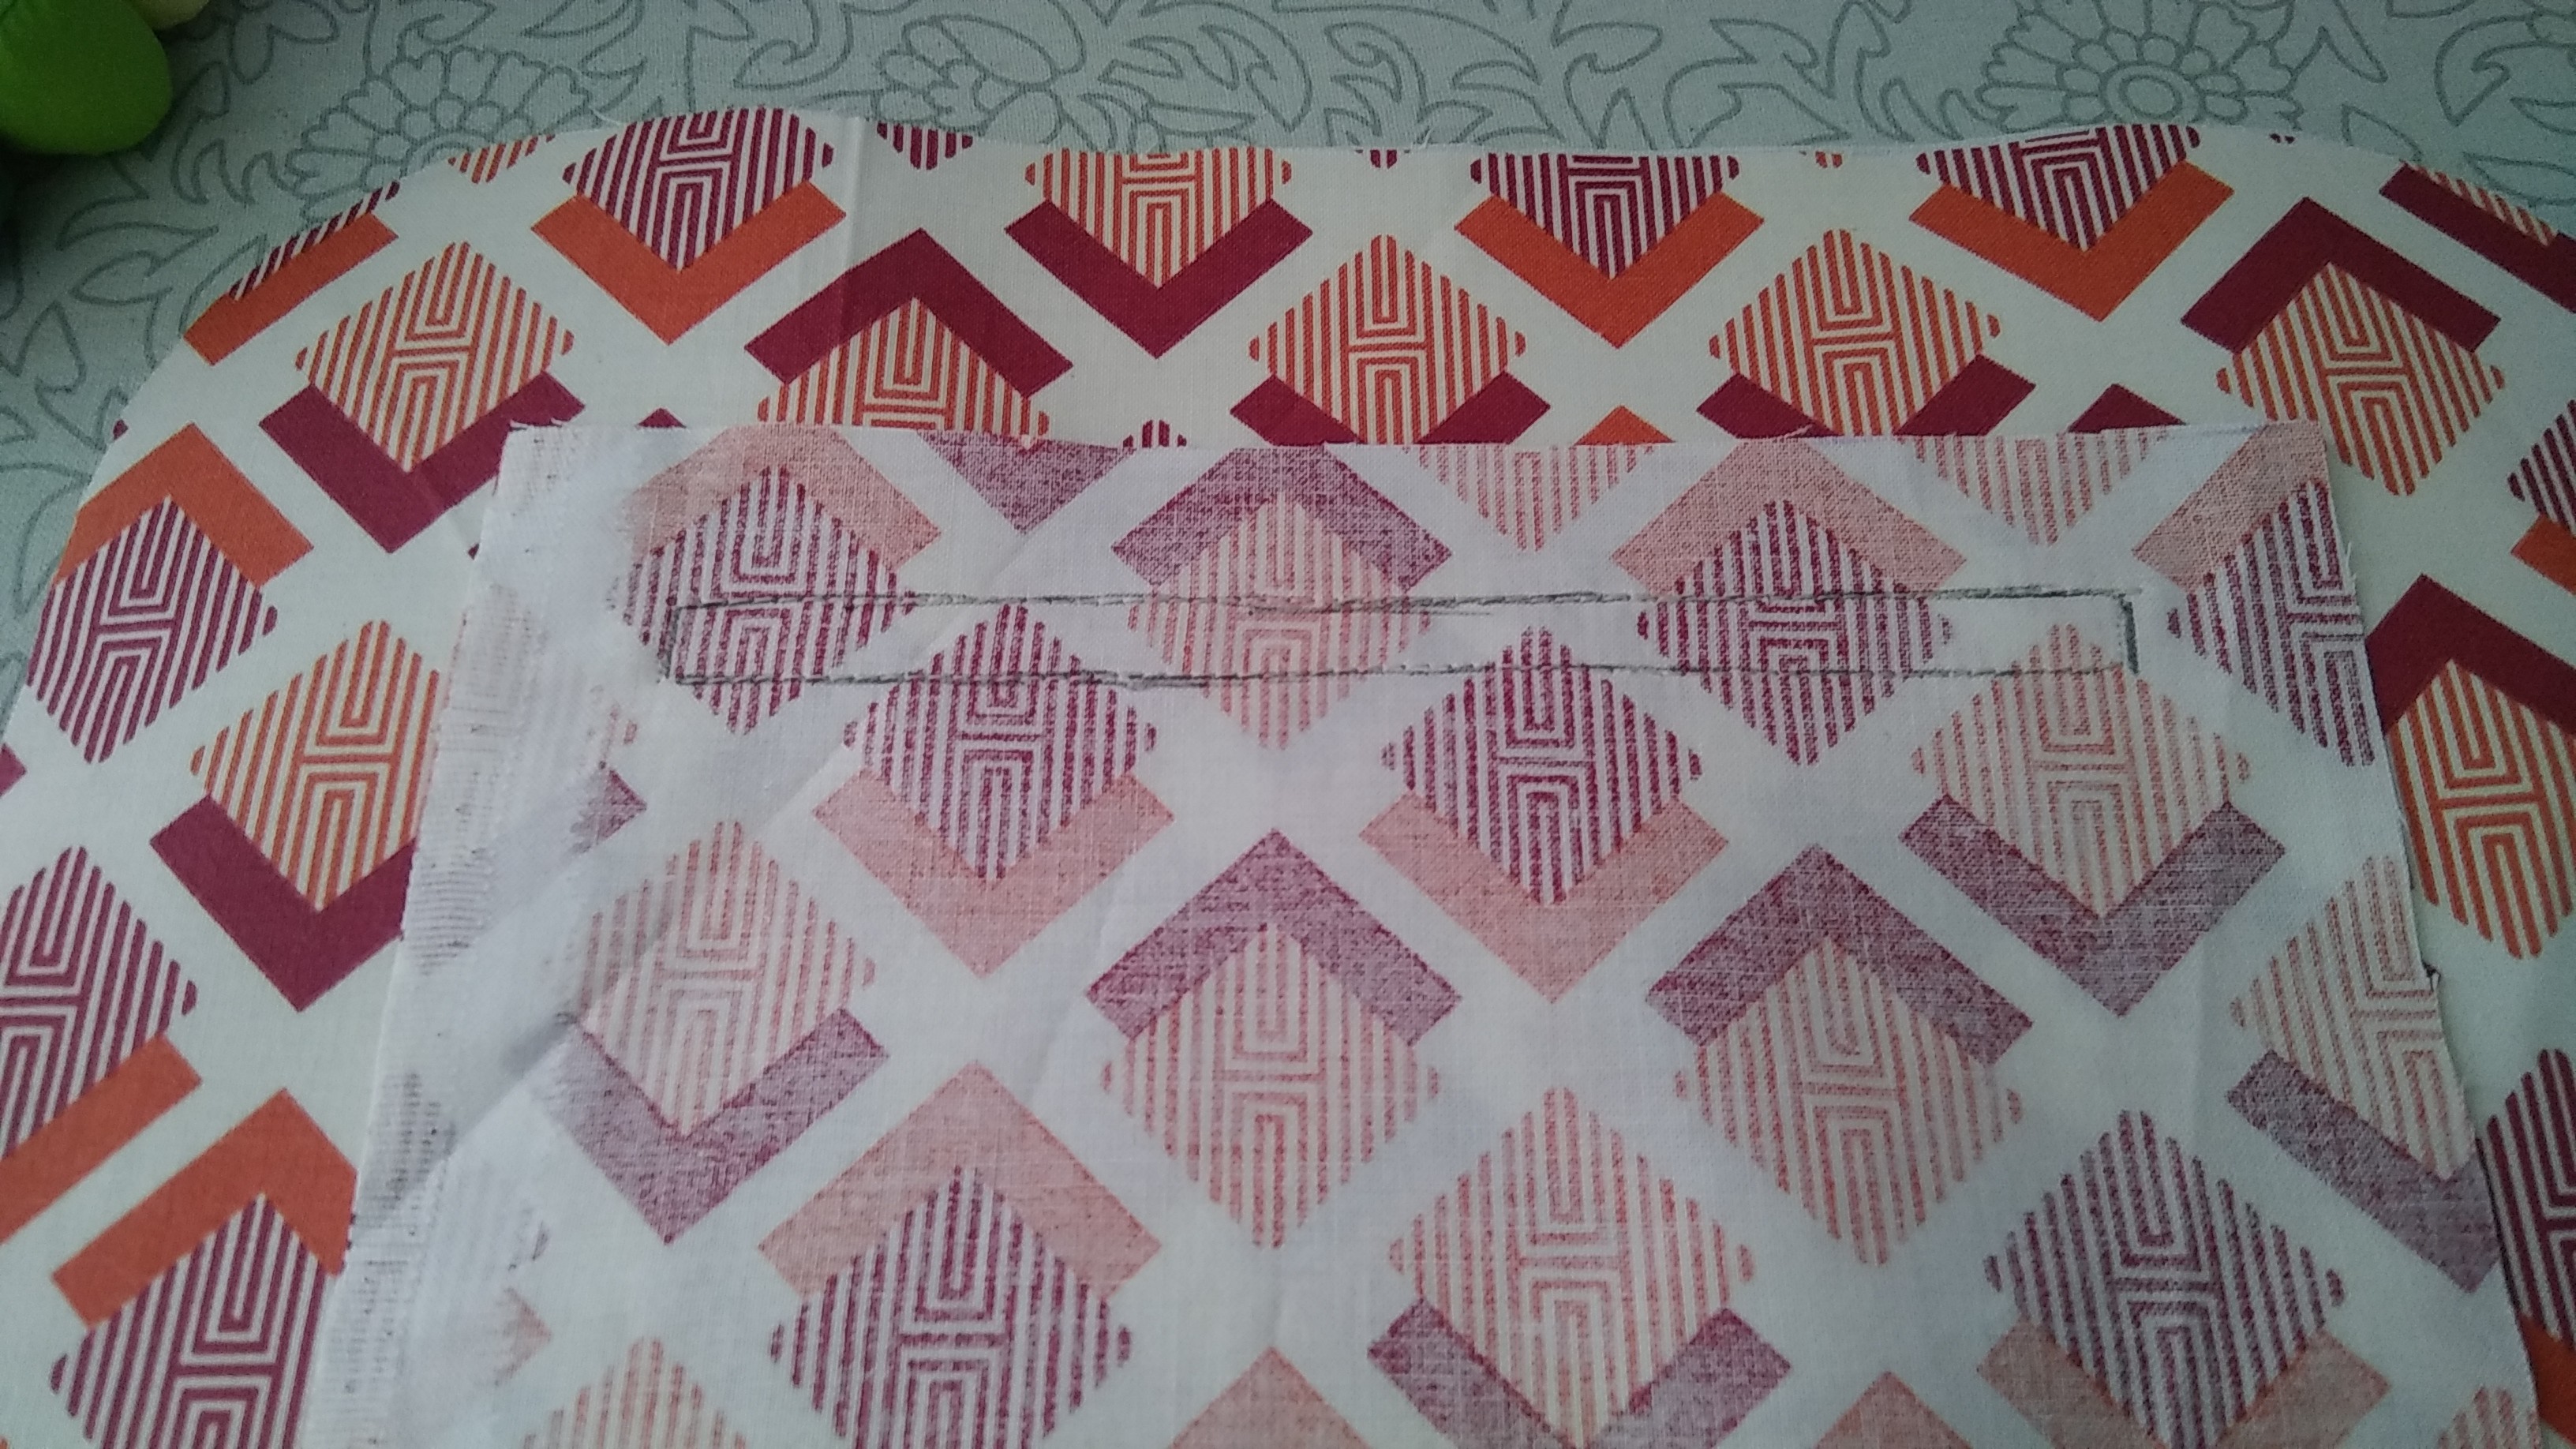
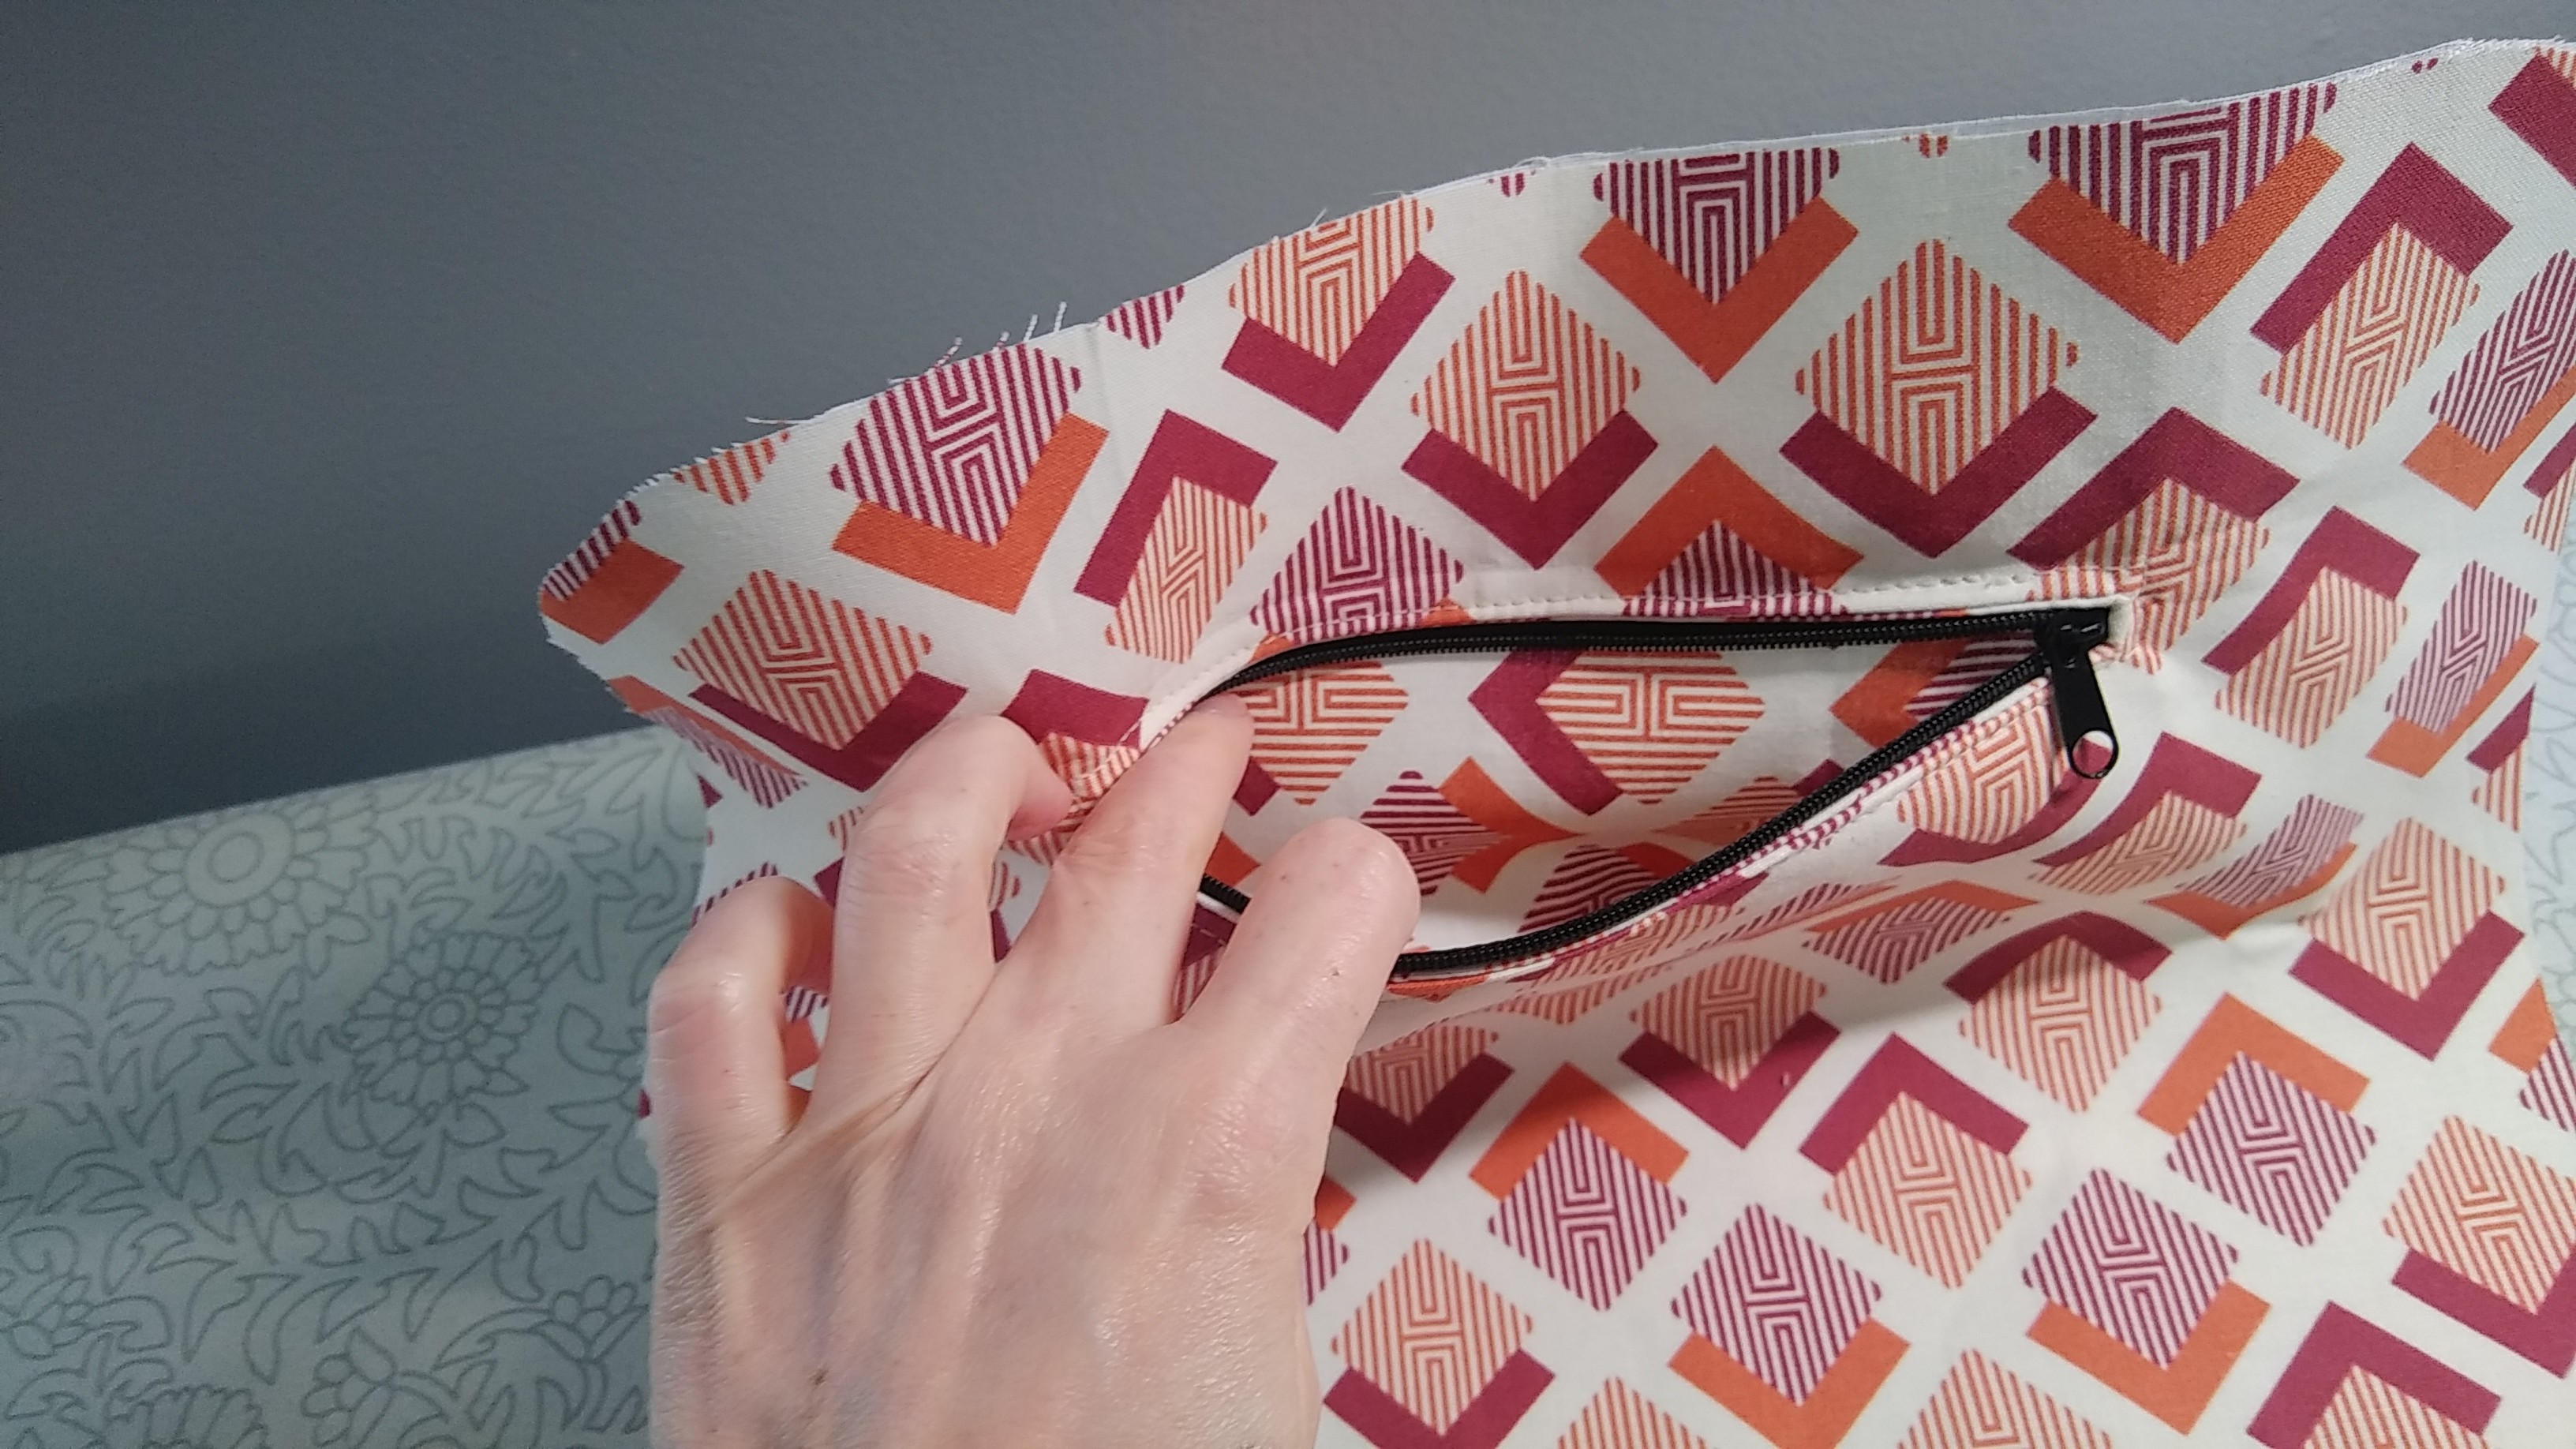
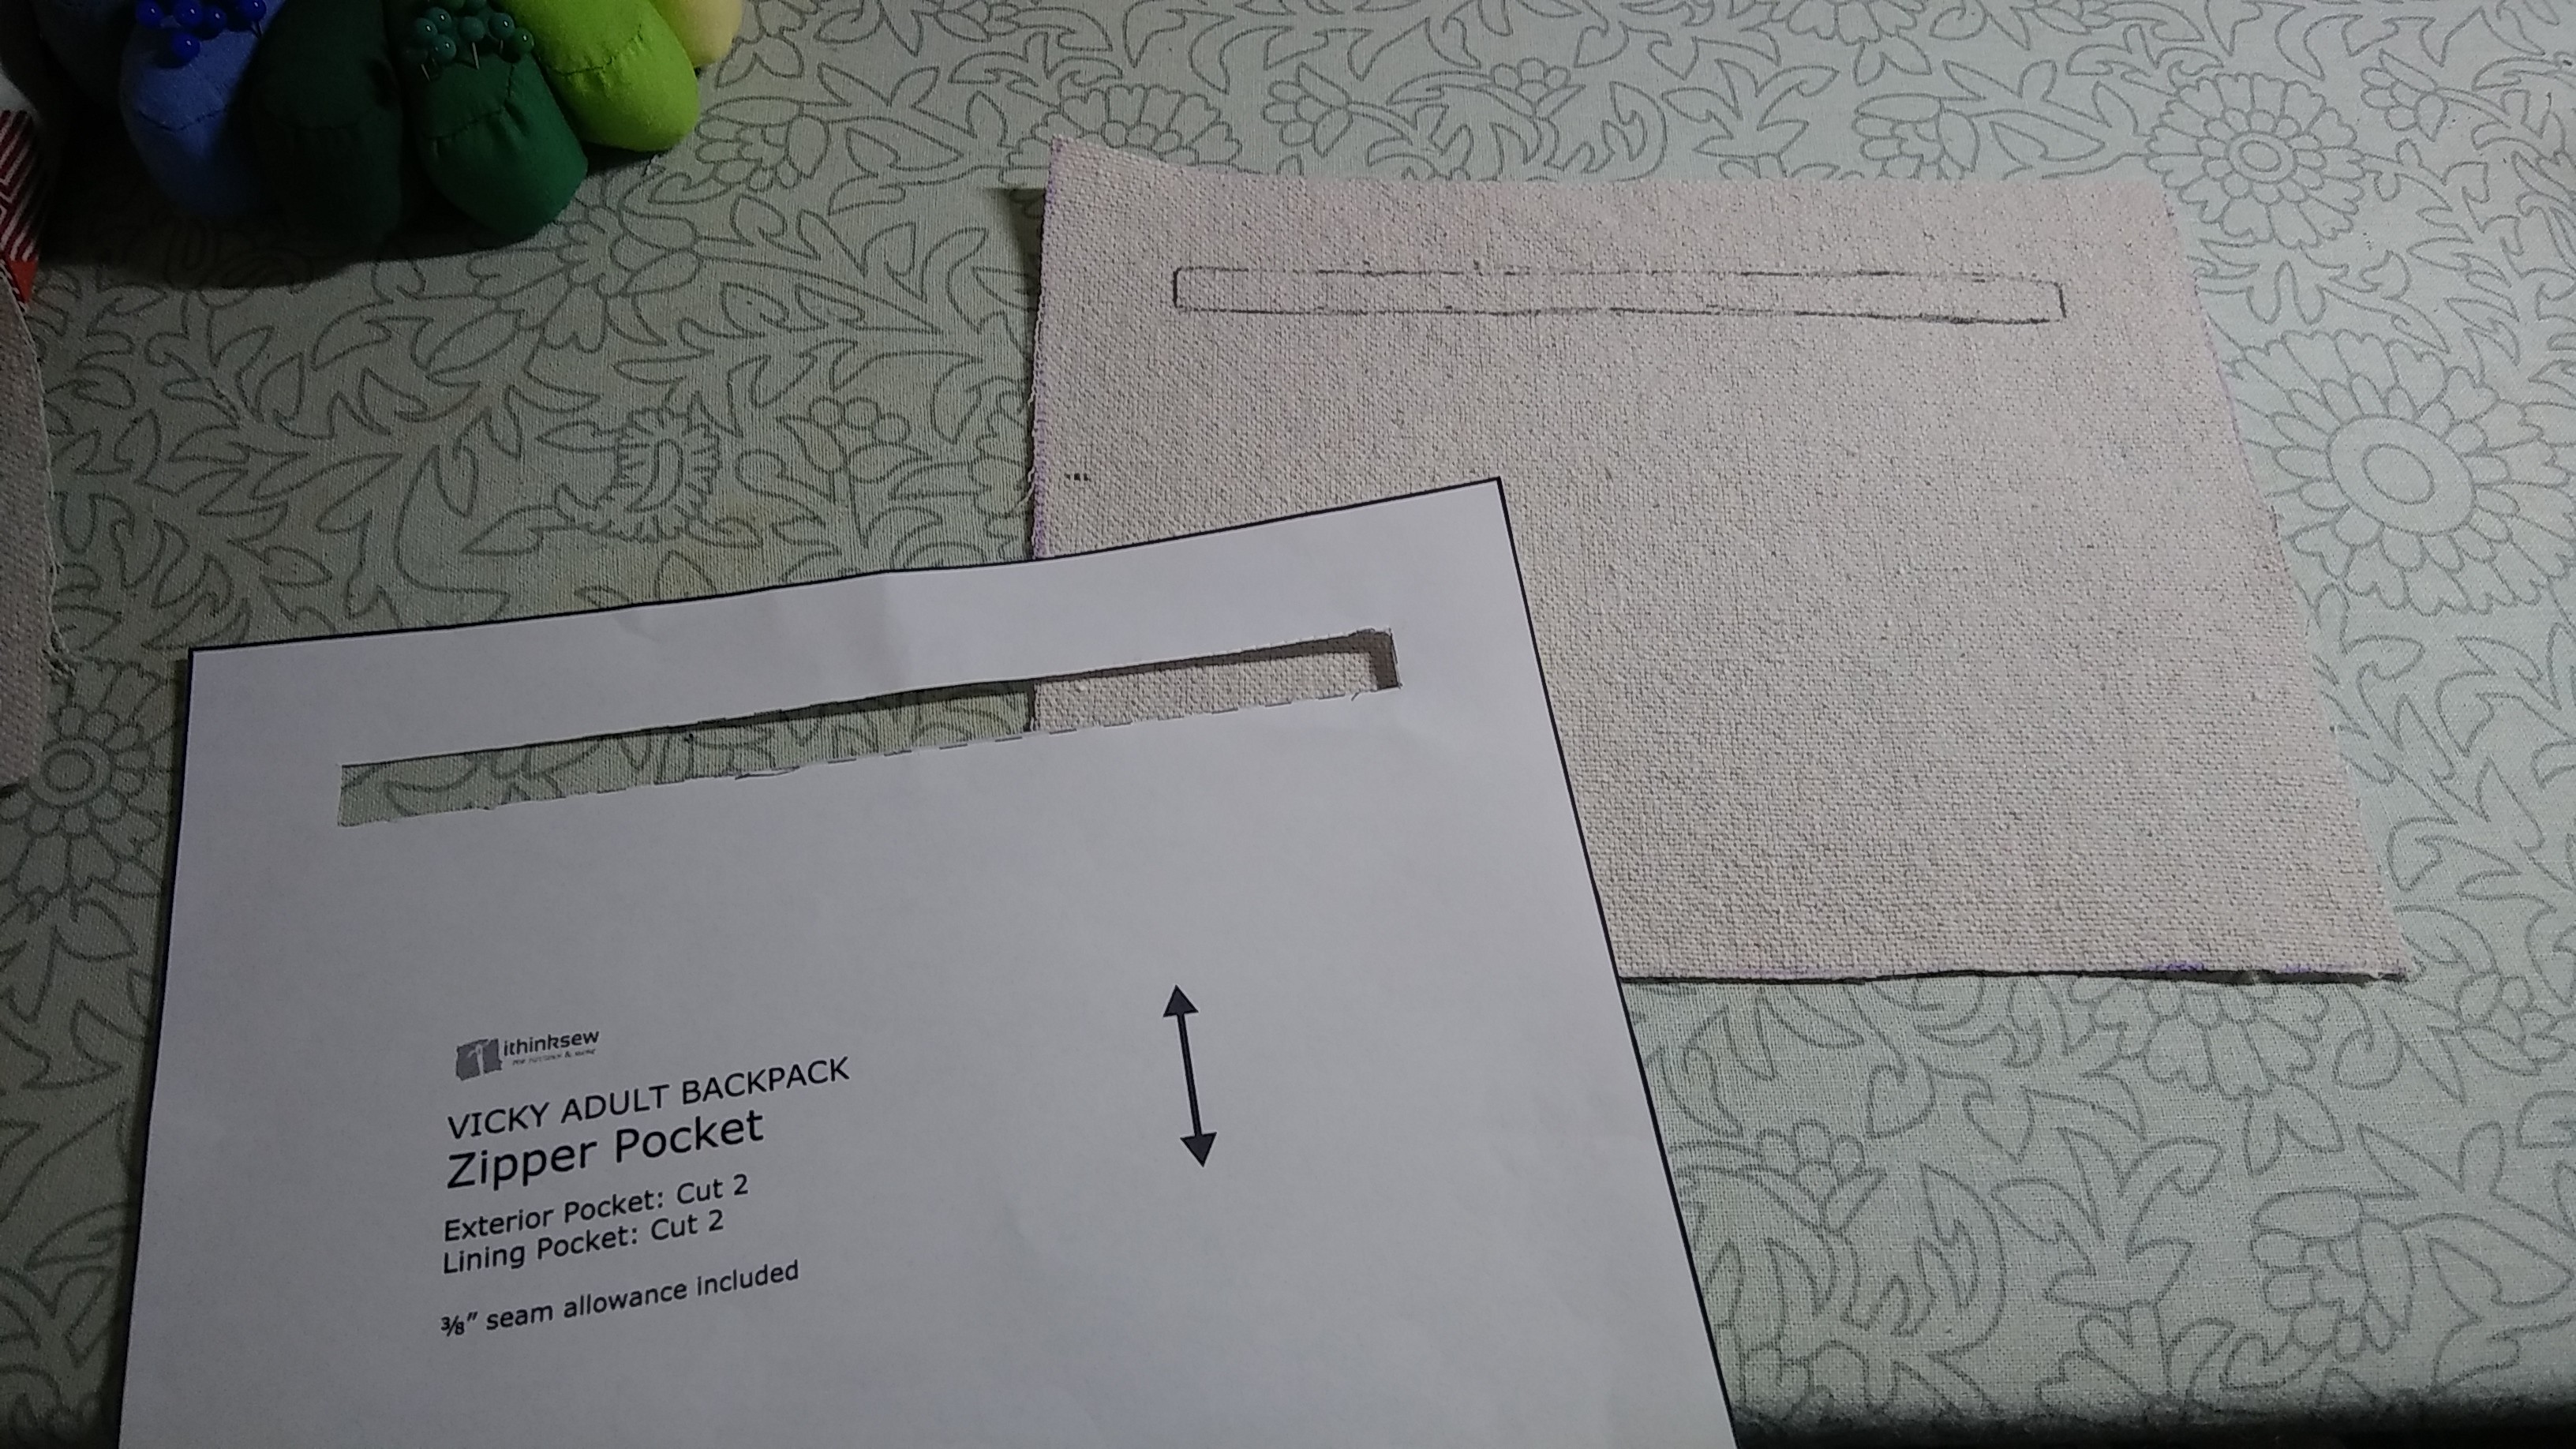
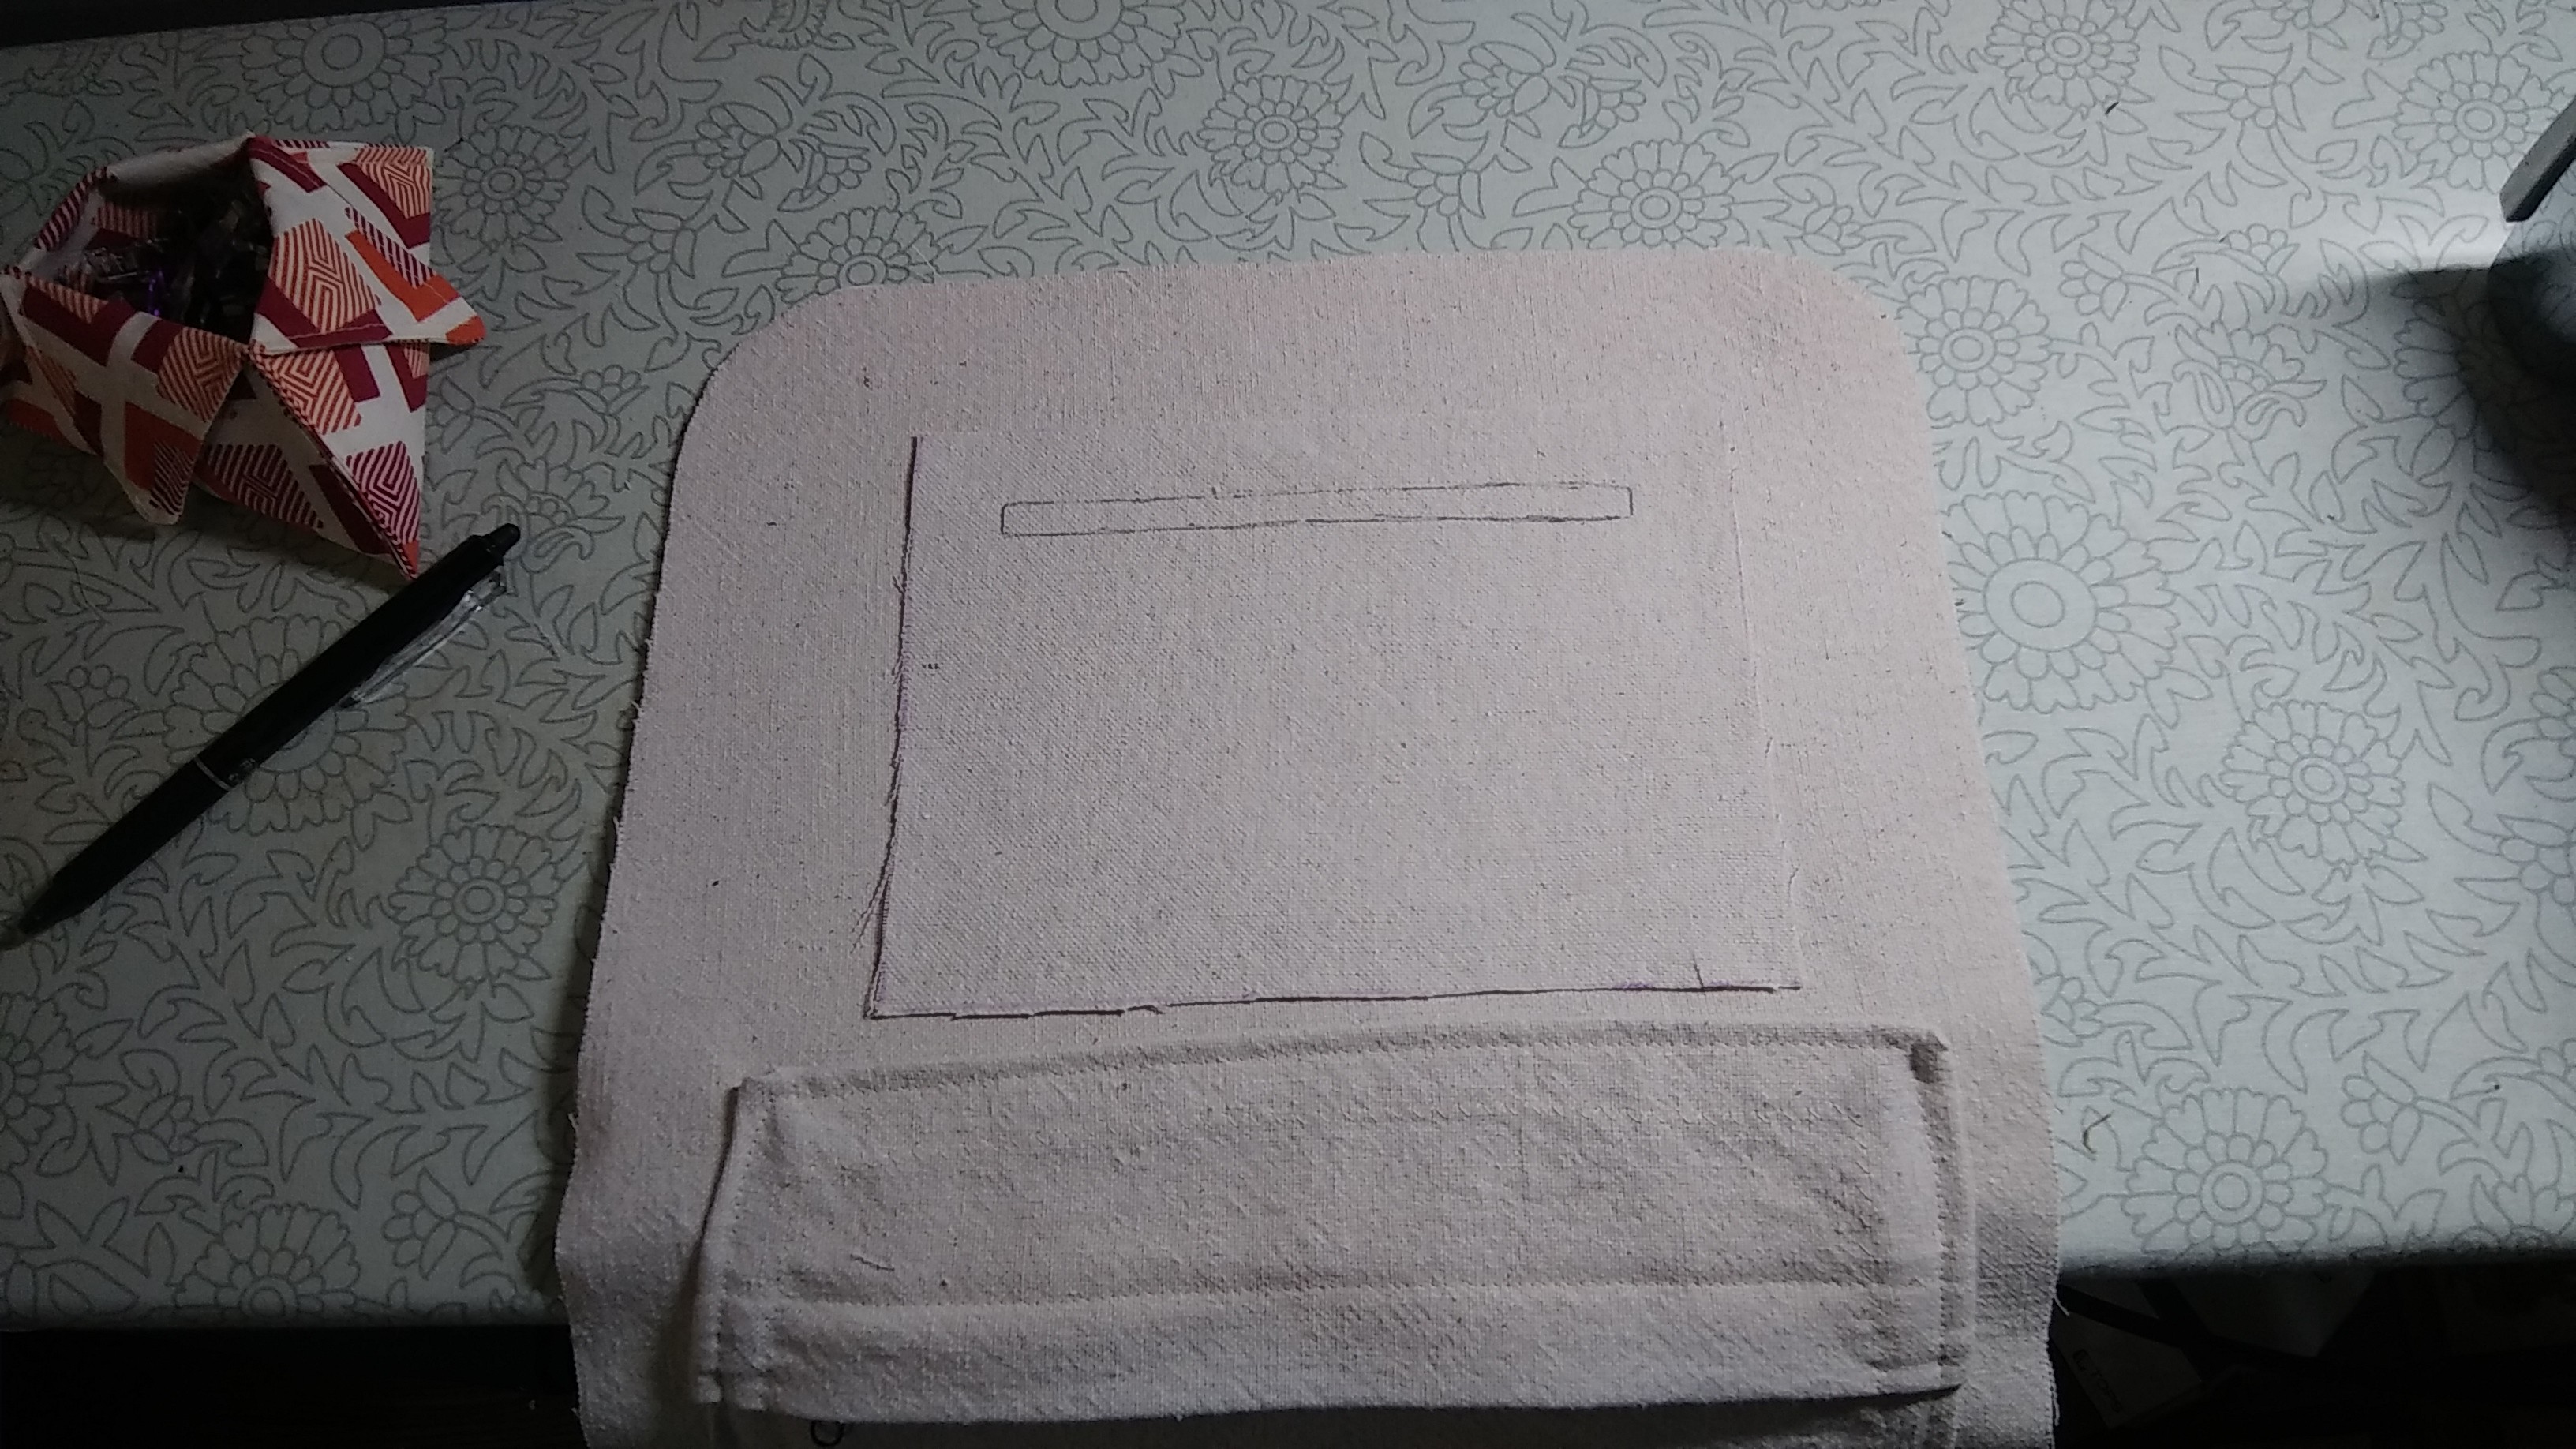
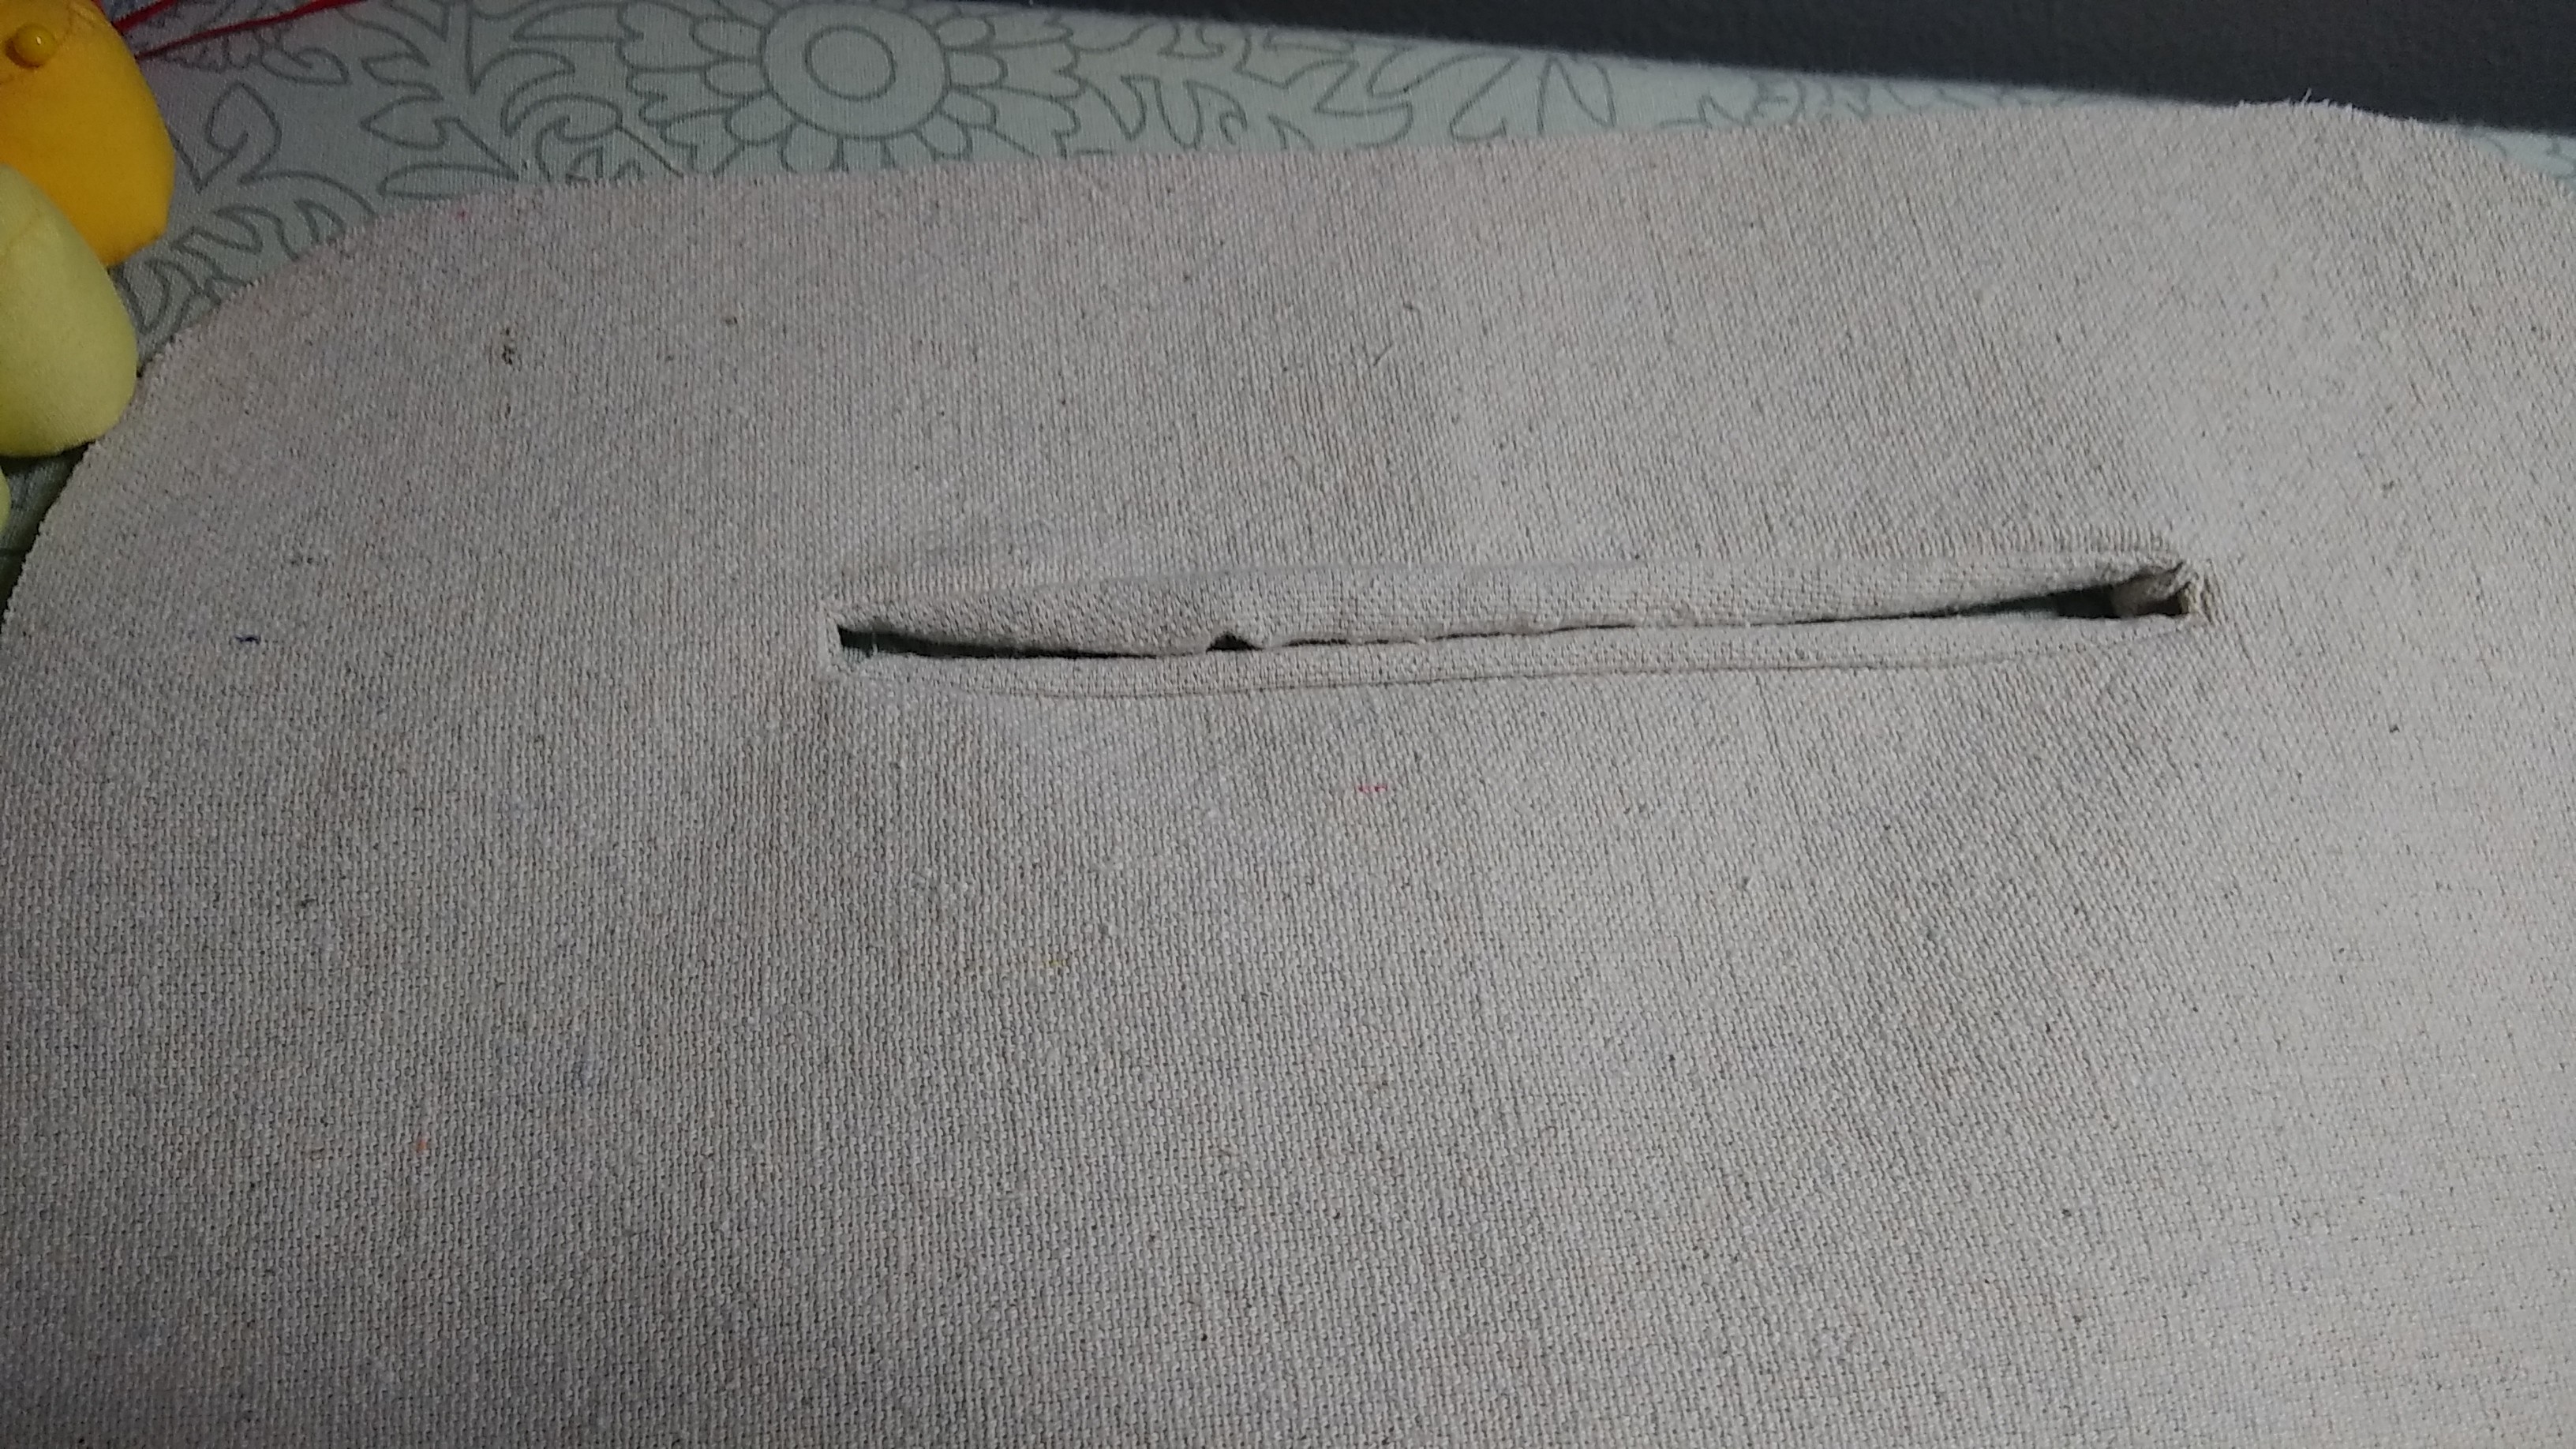
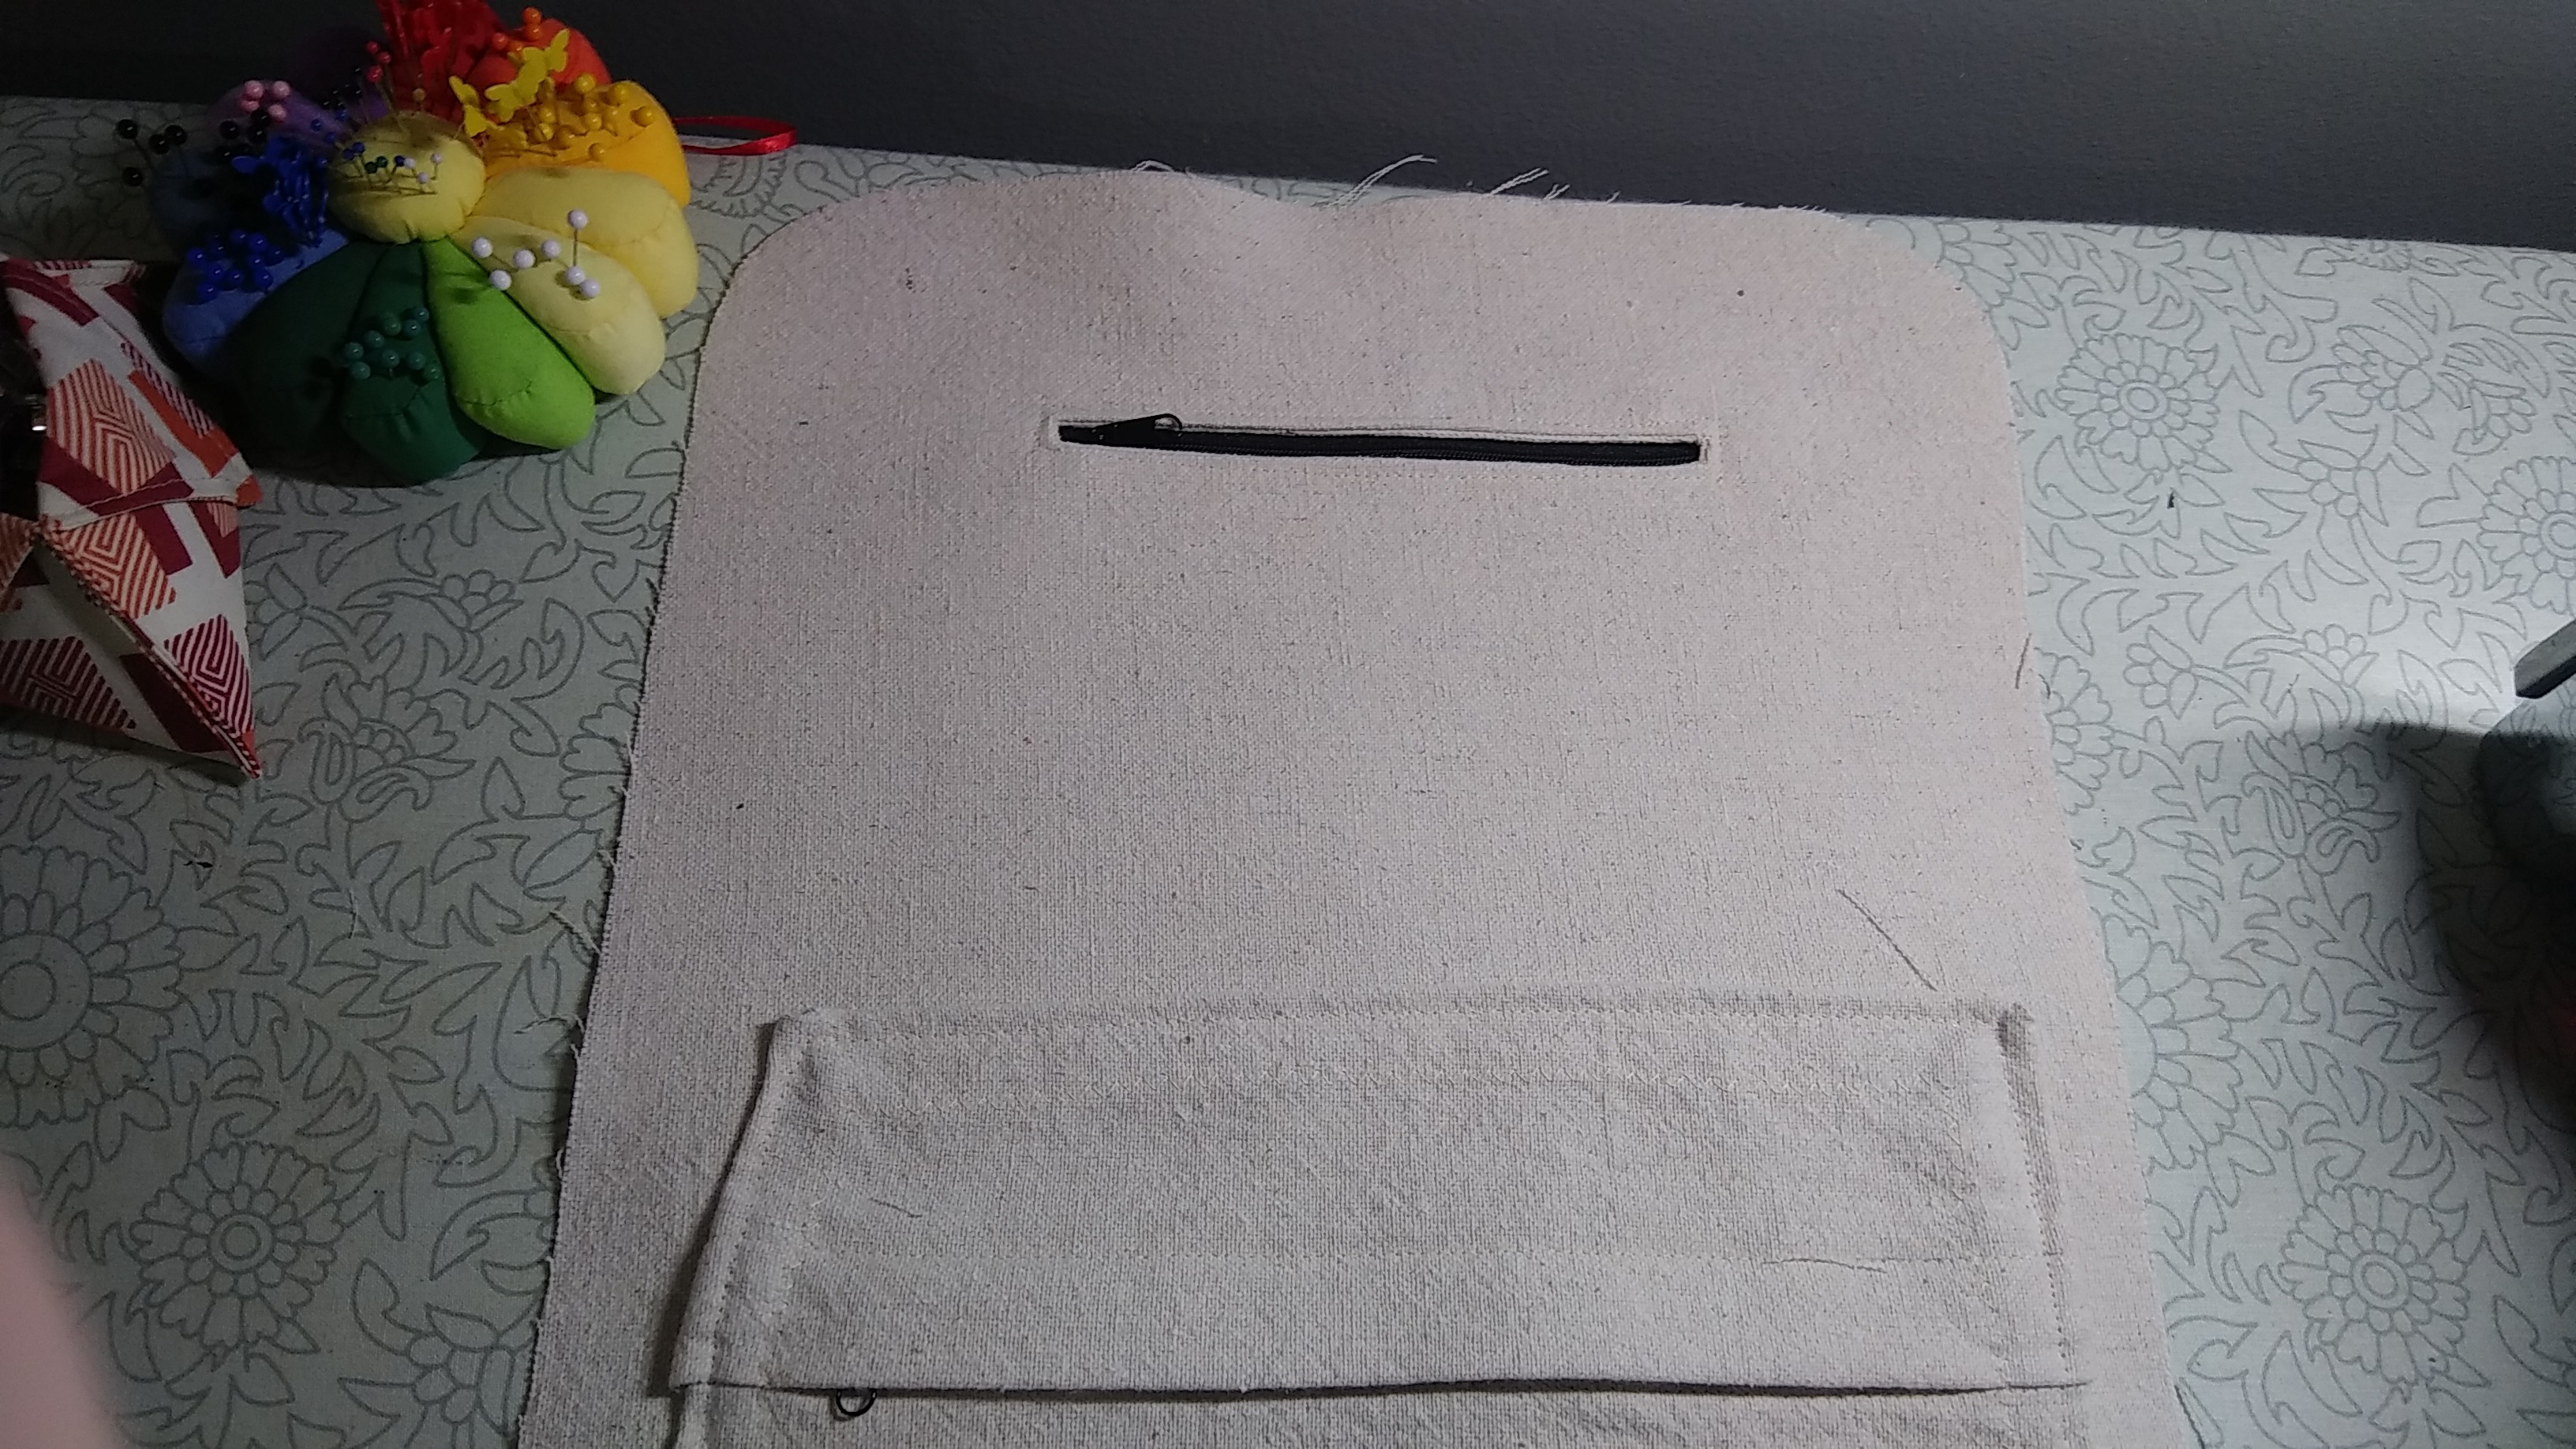
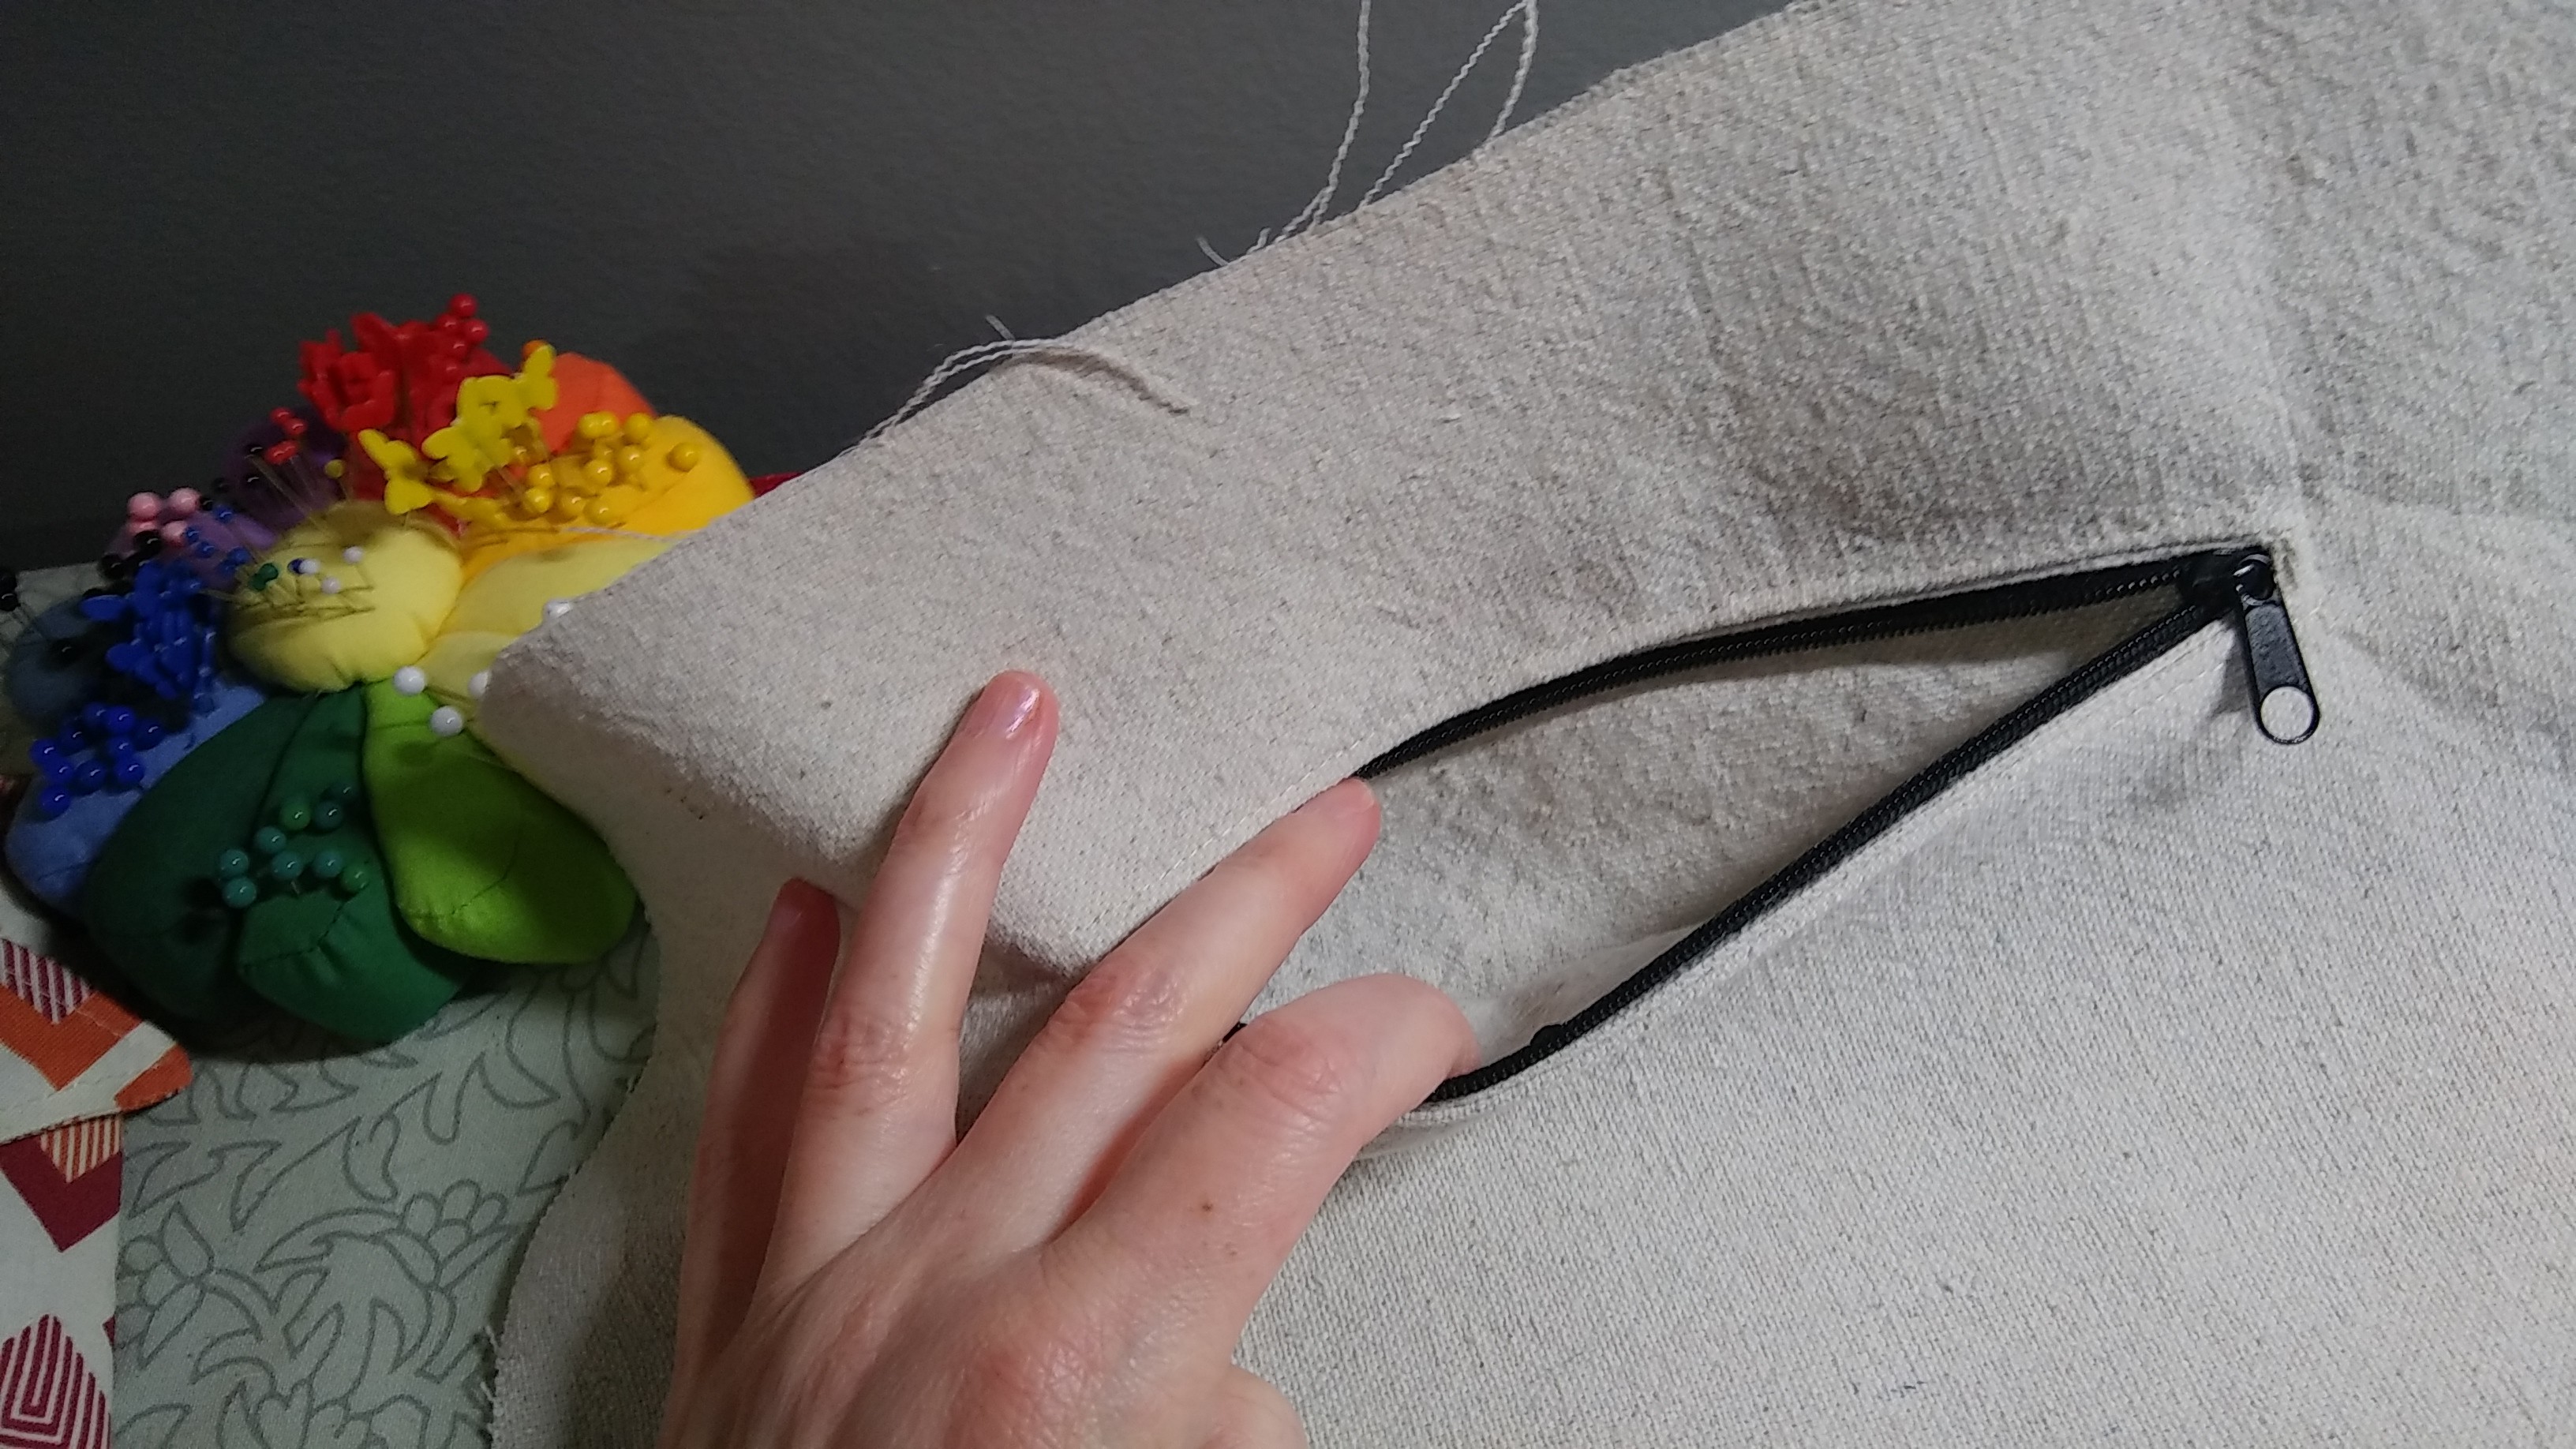
Time to make the interior zippered pocket that goes above this patch pocket. Draw the zipper box on the wrong side of one of the pocket pieces, then sew it to the front of the backpack RST along the rectangle. This part is magical, so hold on to your butts.
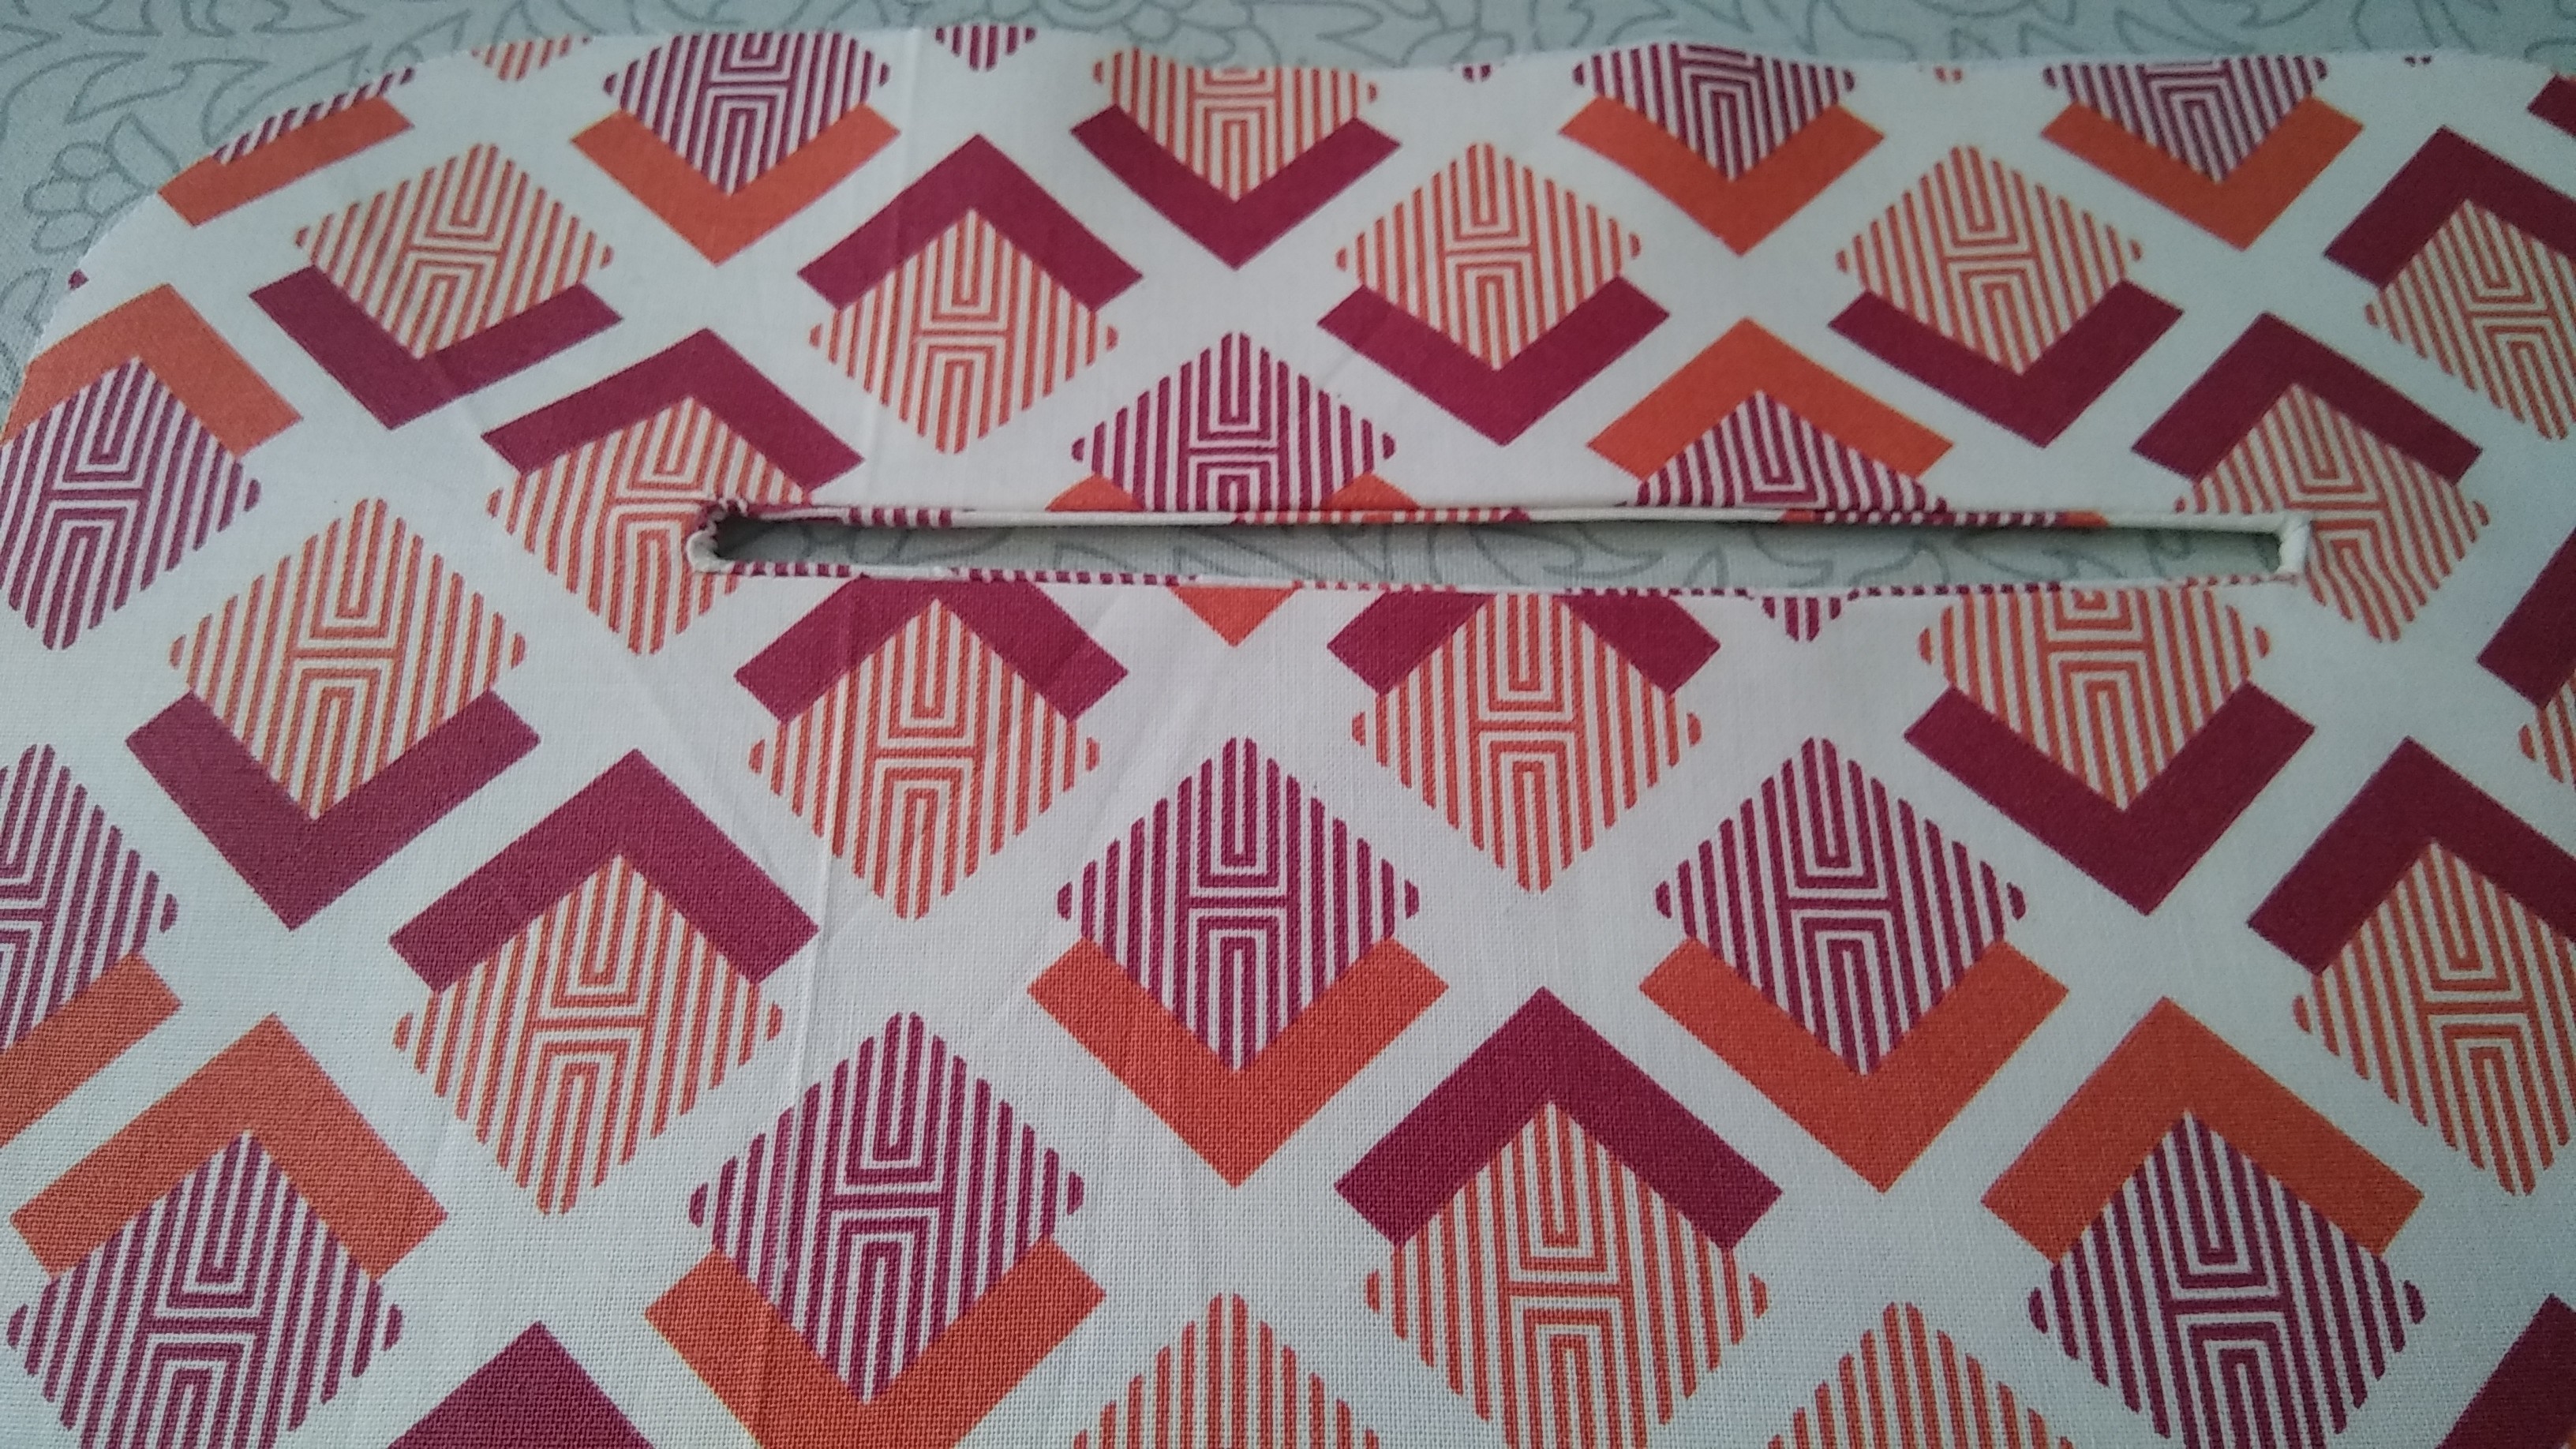
Cut a slit longways in the middle of the rectangle, stopping 1/8" from the short sides. Cut into the corners without clipping stitches. Yep, it's weird and scary.
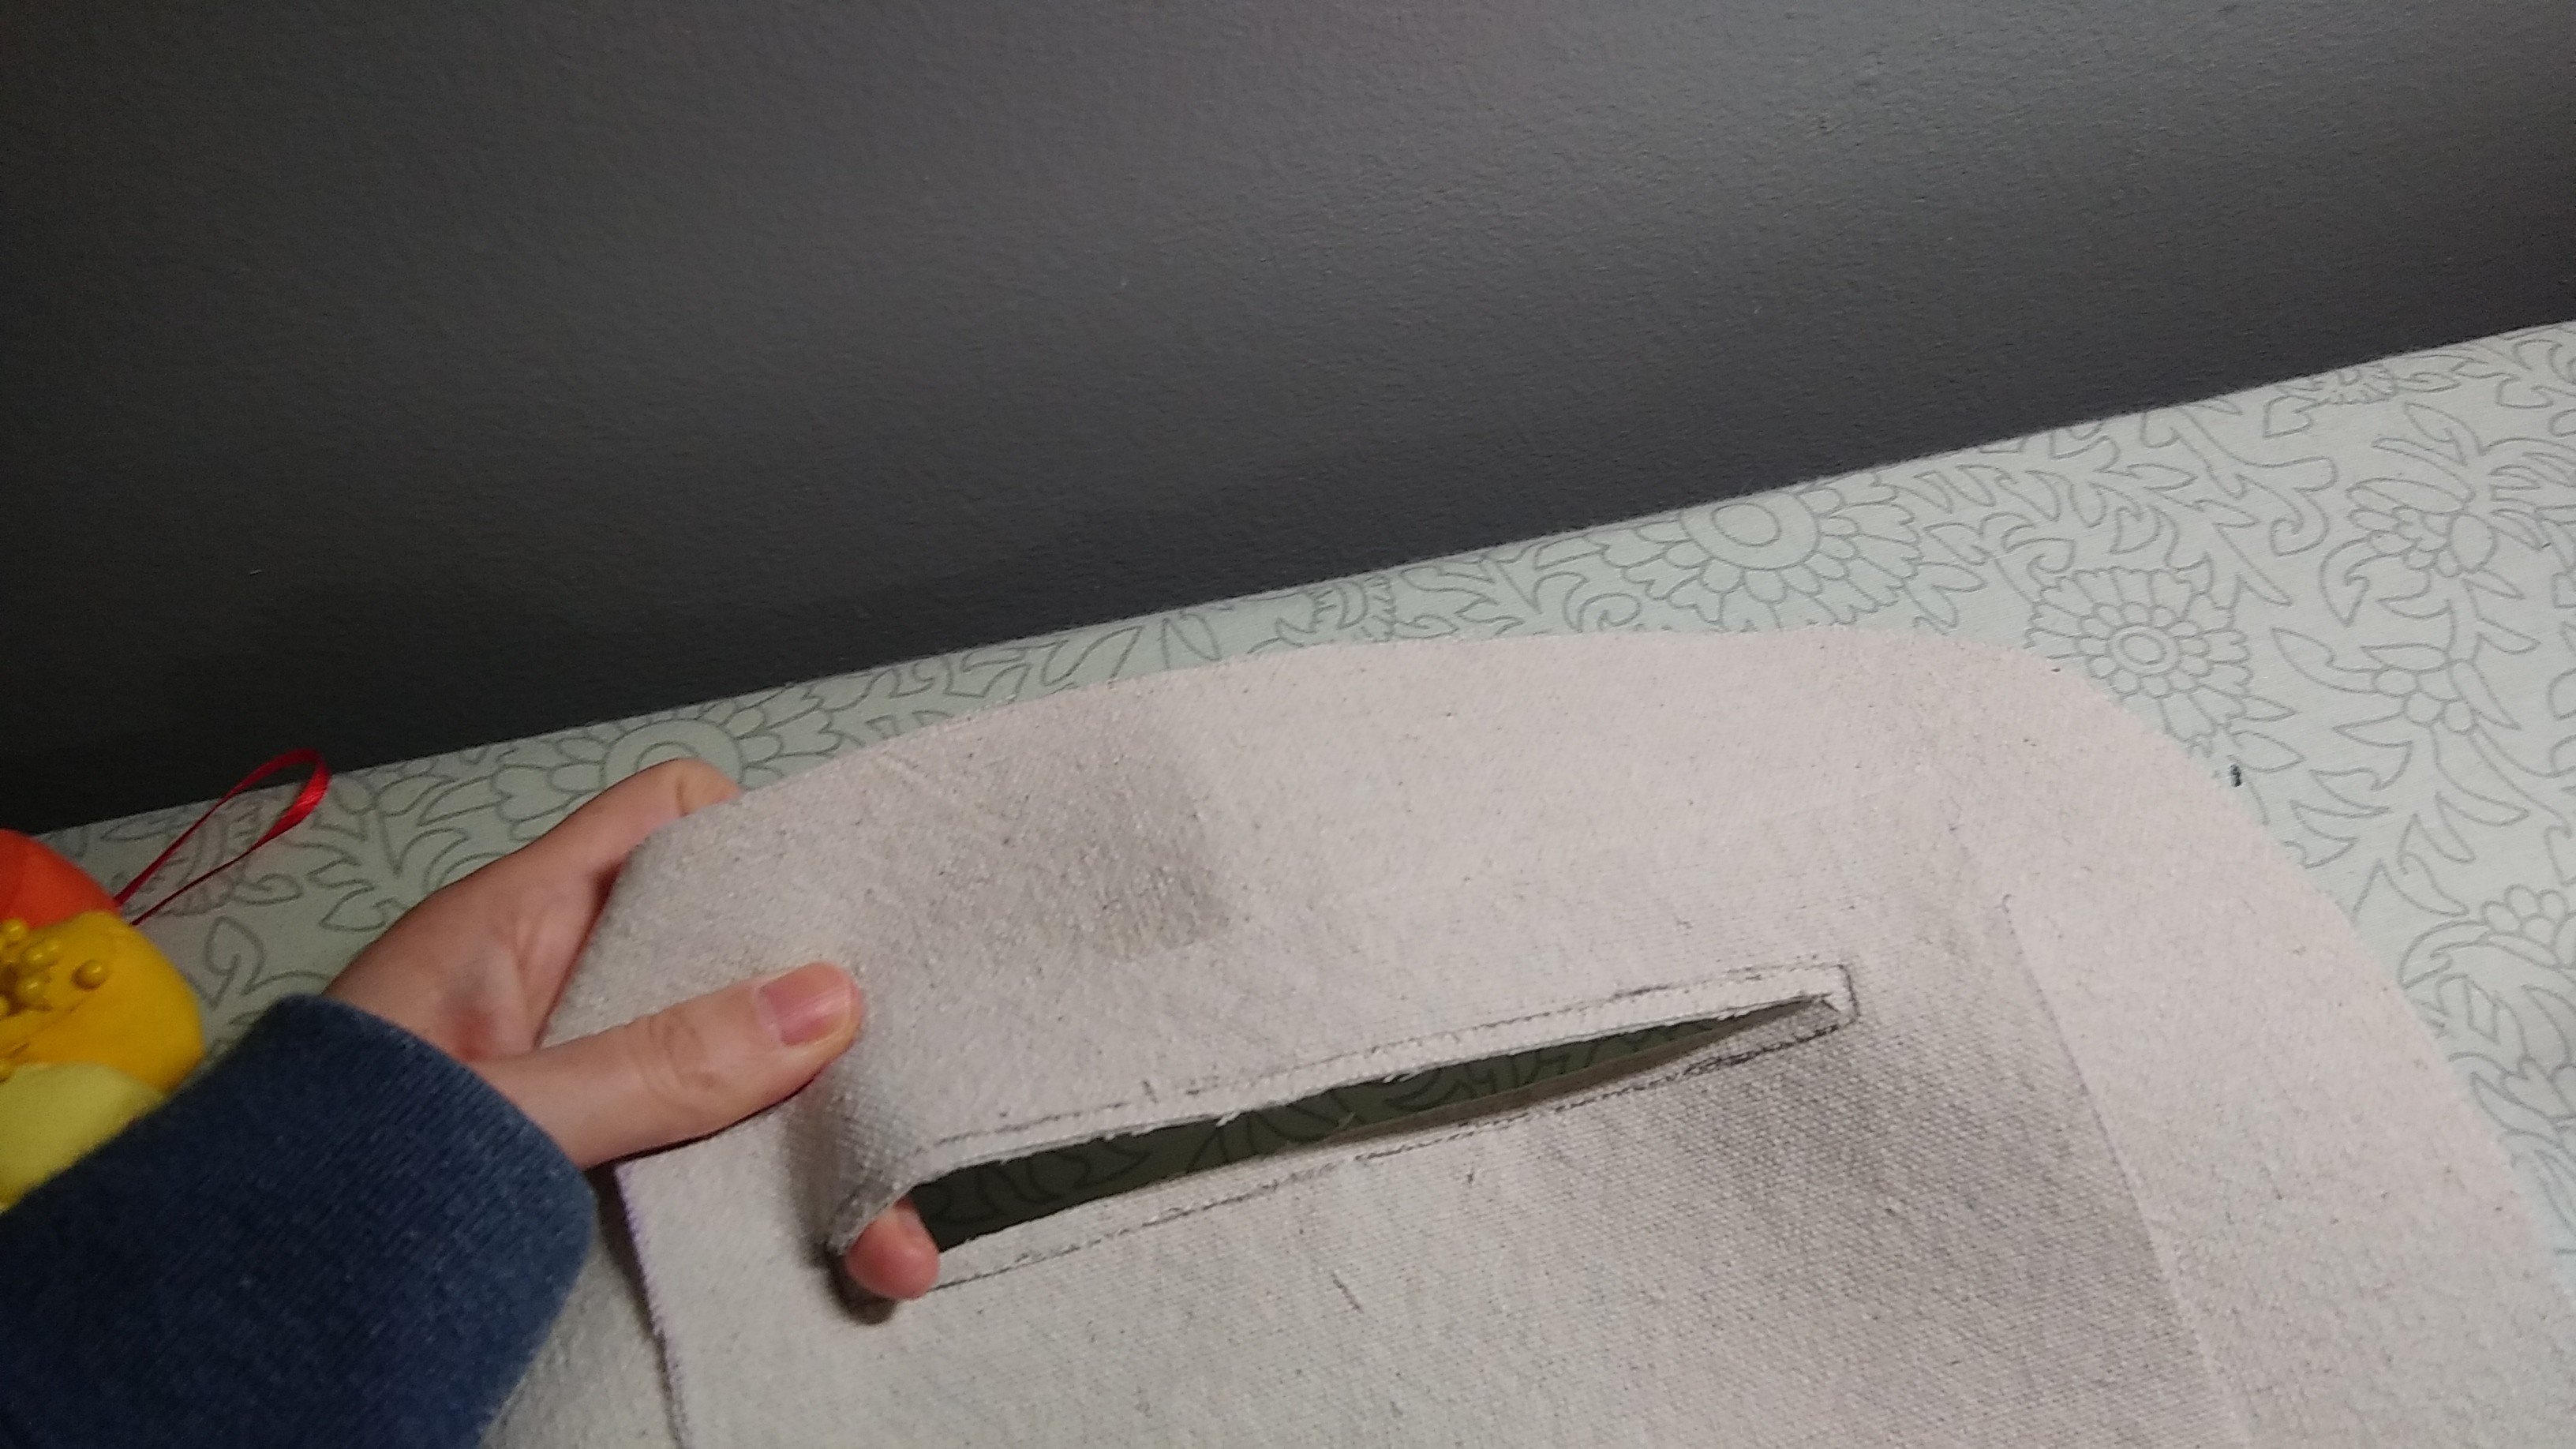
Push the fabric through the slit to the other side.
Finger press it and then steam iron it really nicely.
Now you have a zipper hole. Time to add the zipper. I like to glue baste this type of zipper using Fabri-Tac. Add zipper from behind and topstitch a rectangle around the zipper hole.
Flip it over. Line up the other pocket piece and sew around the edges to complete the pocket. I pinked the edges because this drop cloth is fraying like a son of a bitch.
The front is mostly done now. We will add a loop of webbing at the top later on.
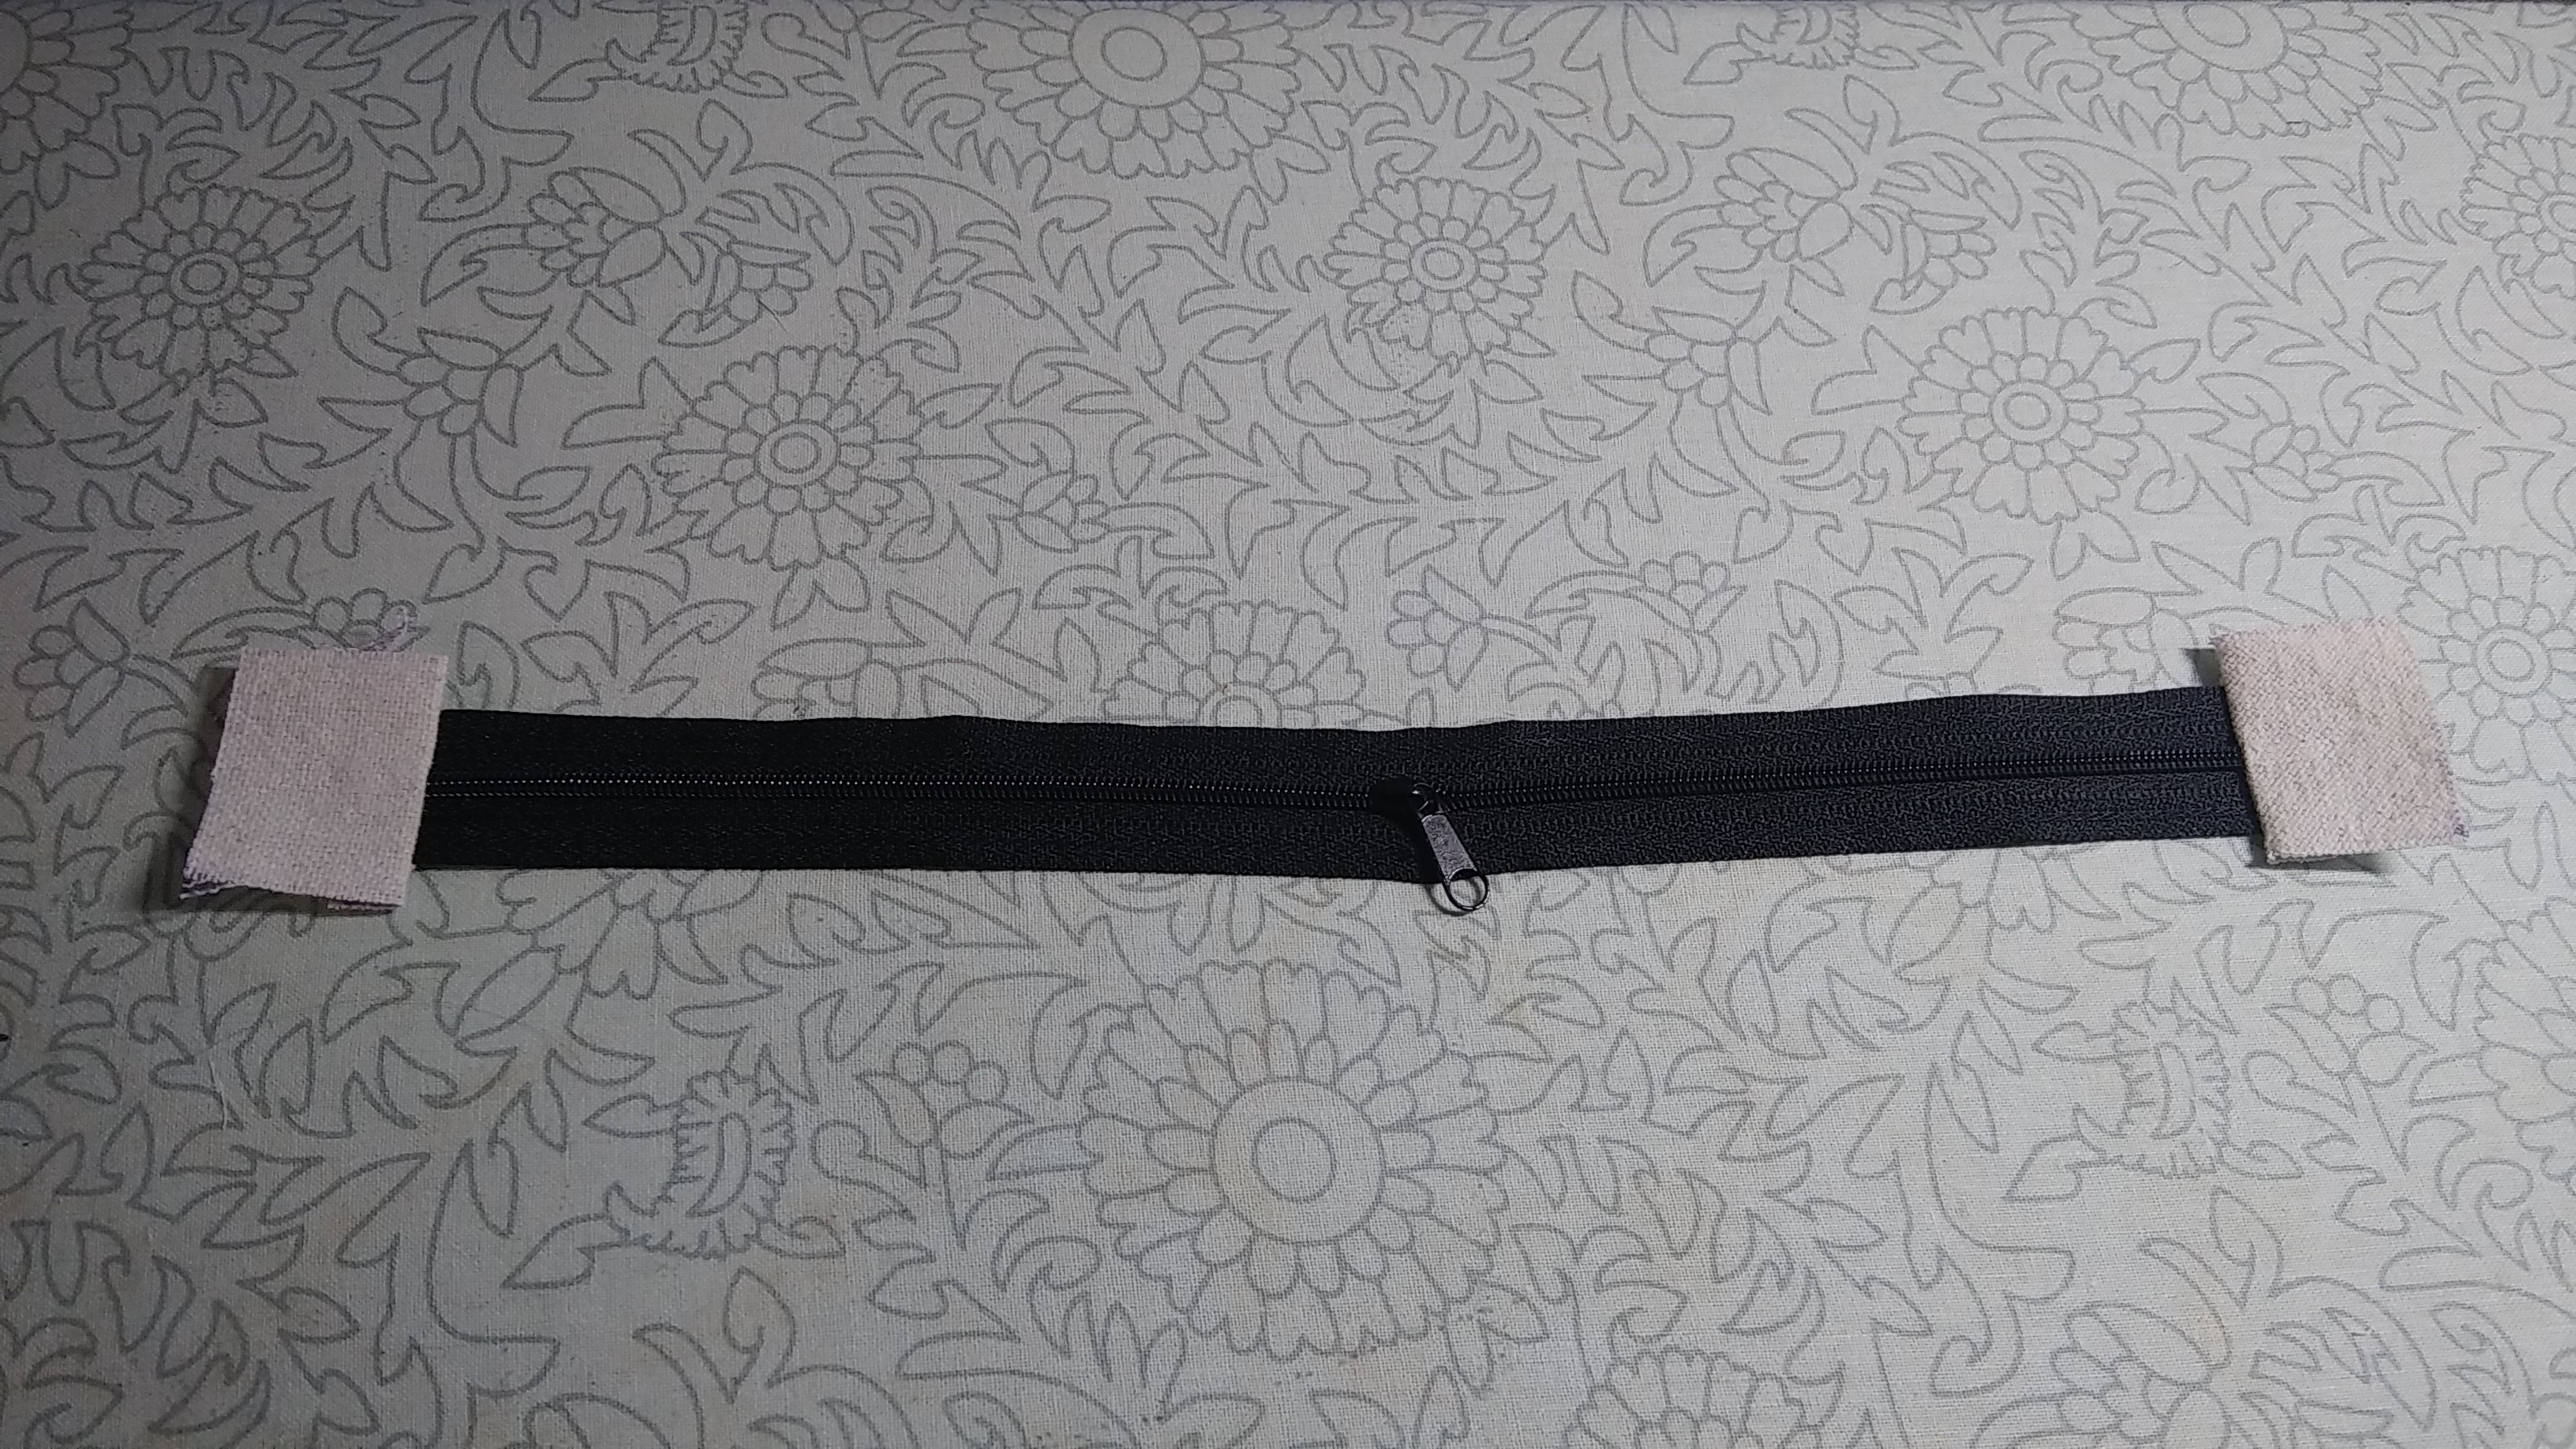
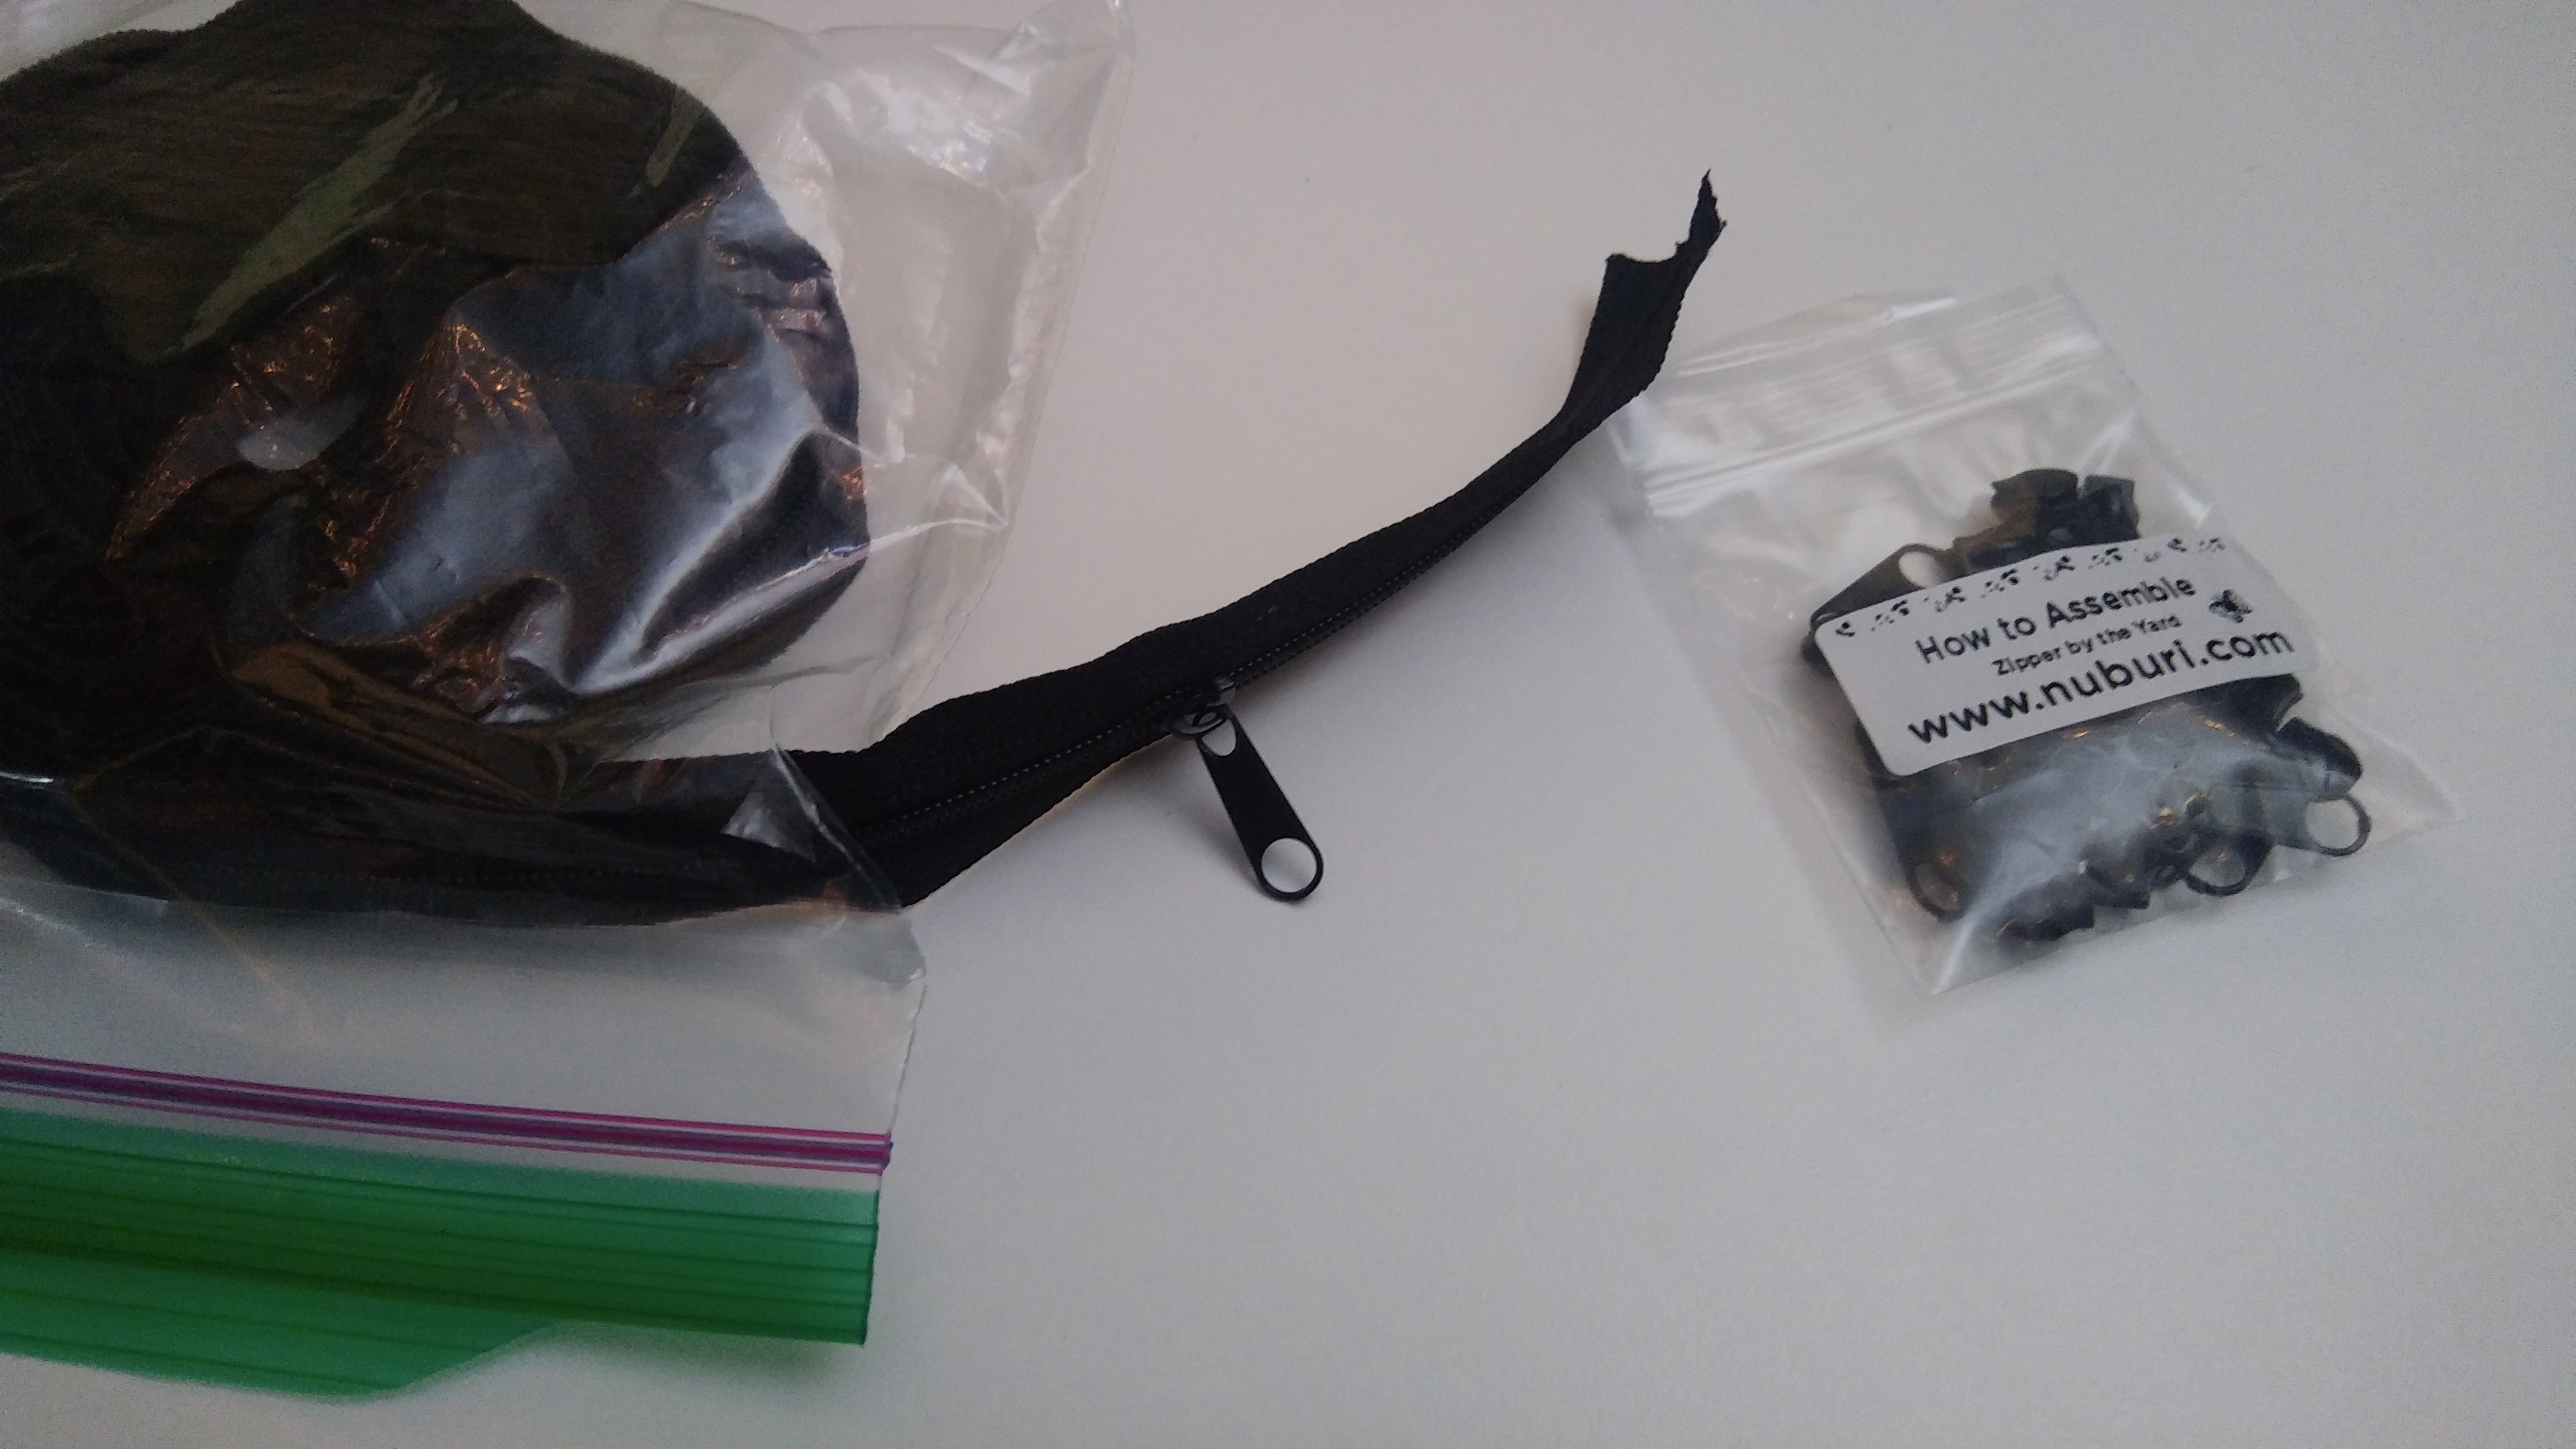
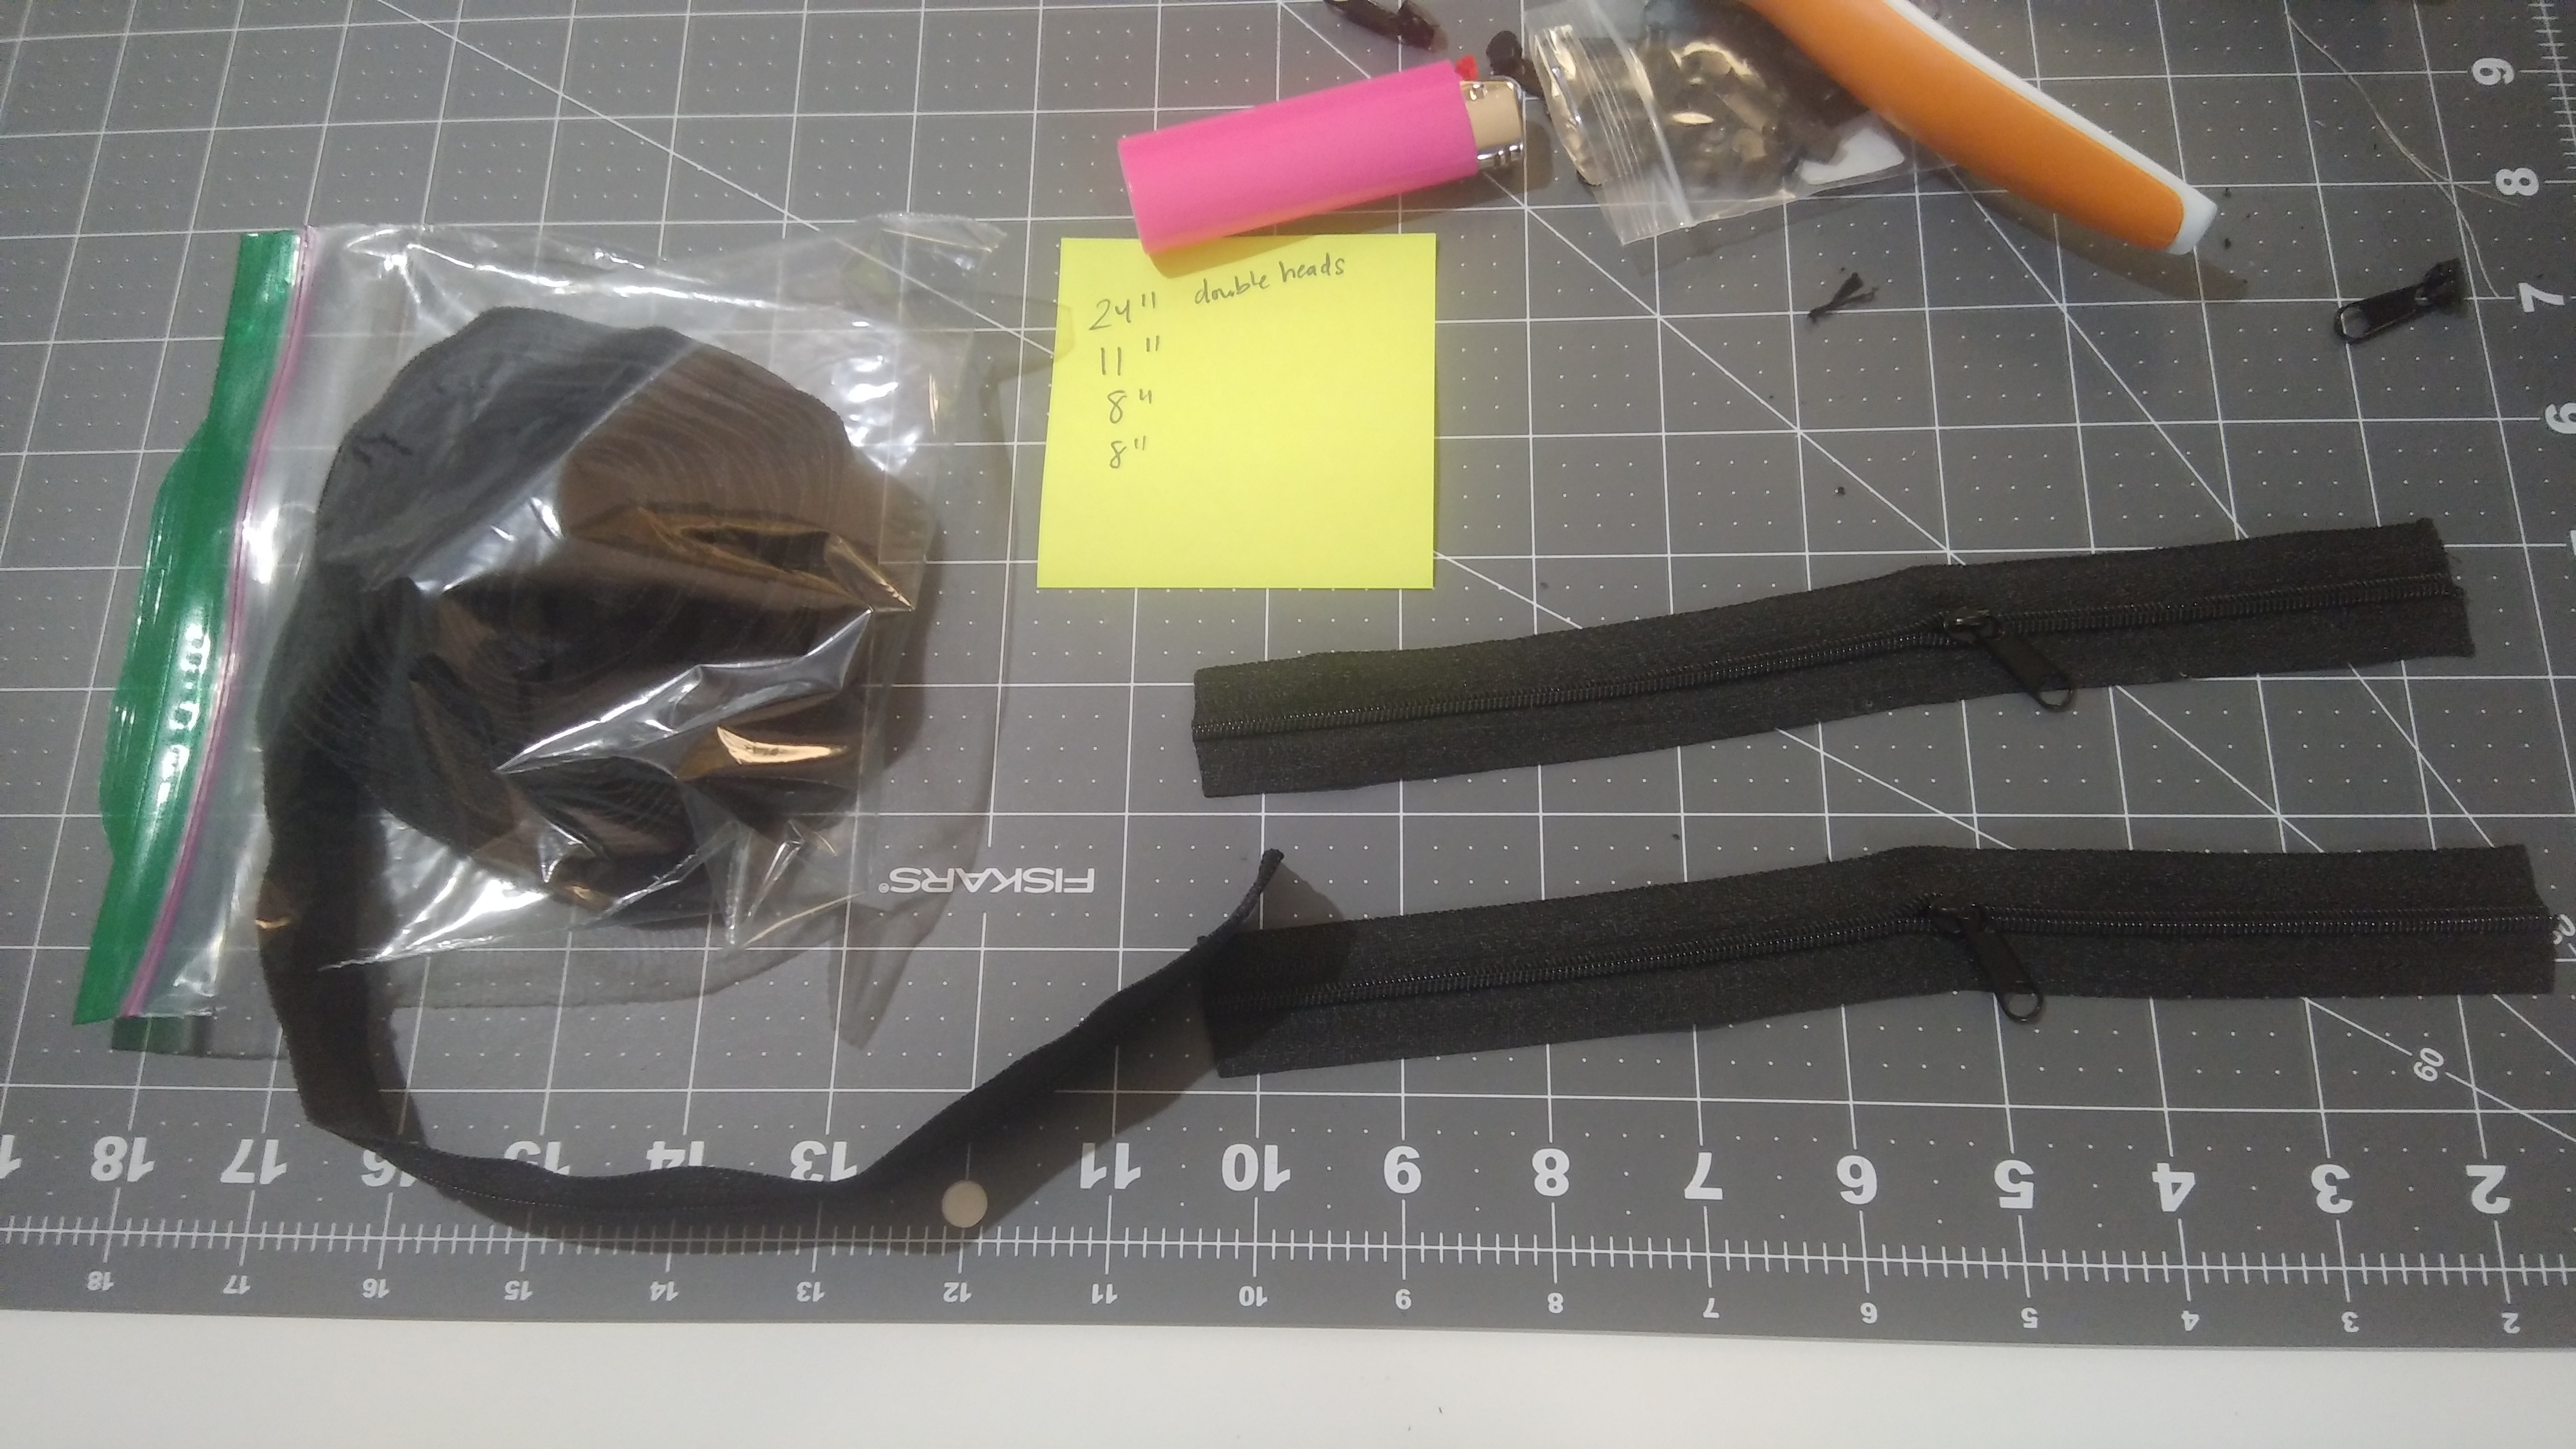
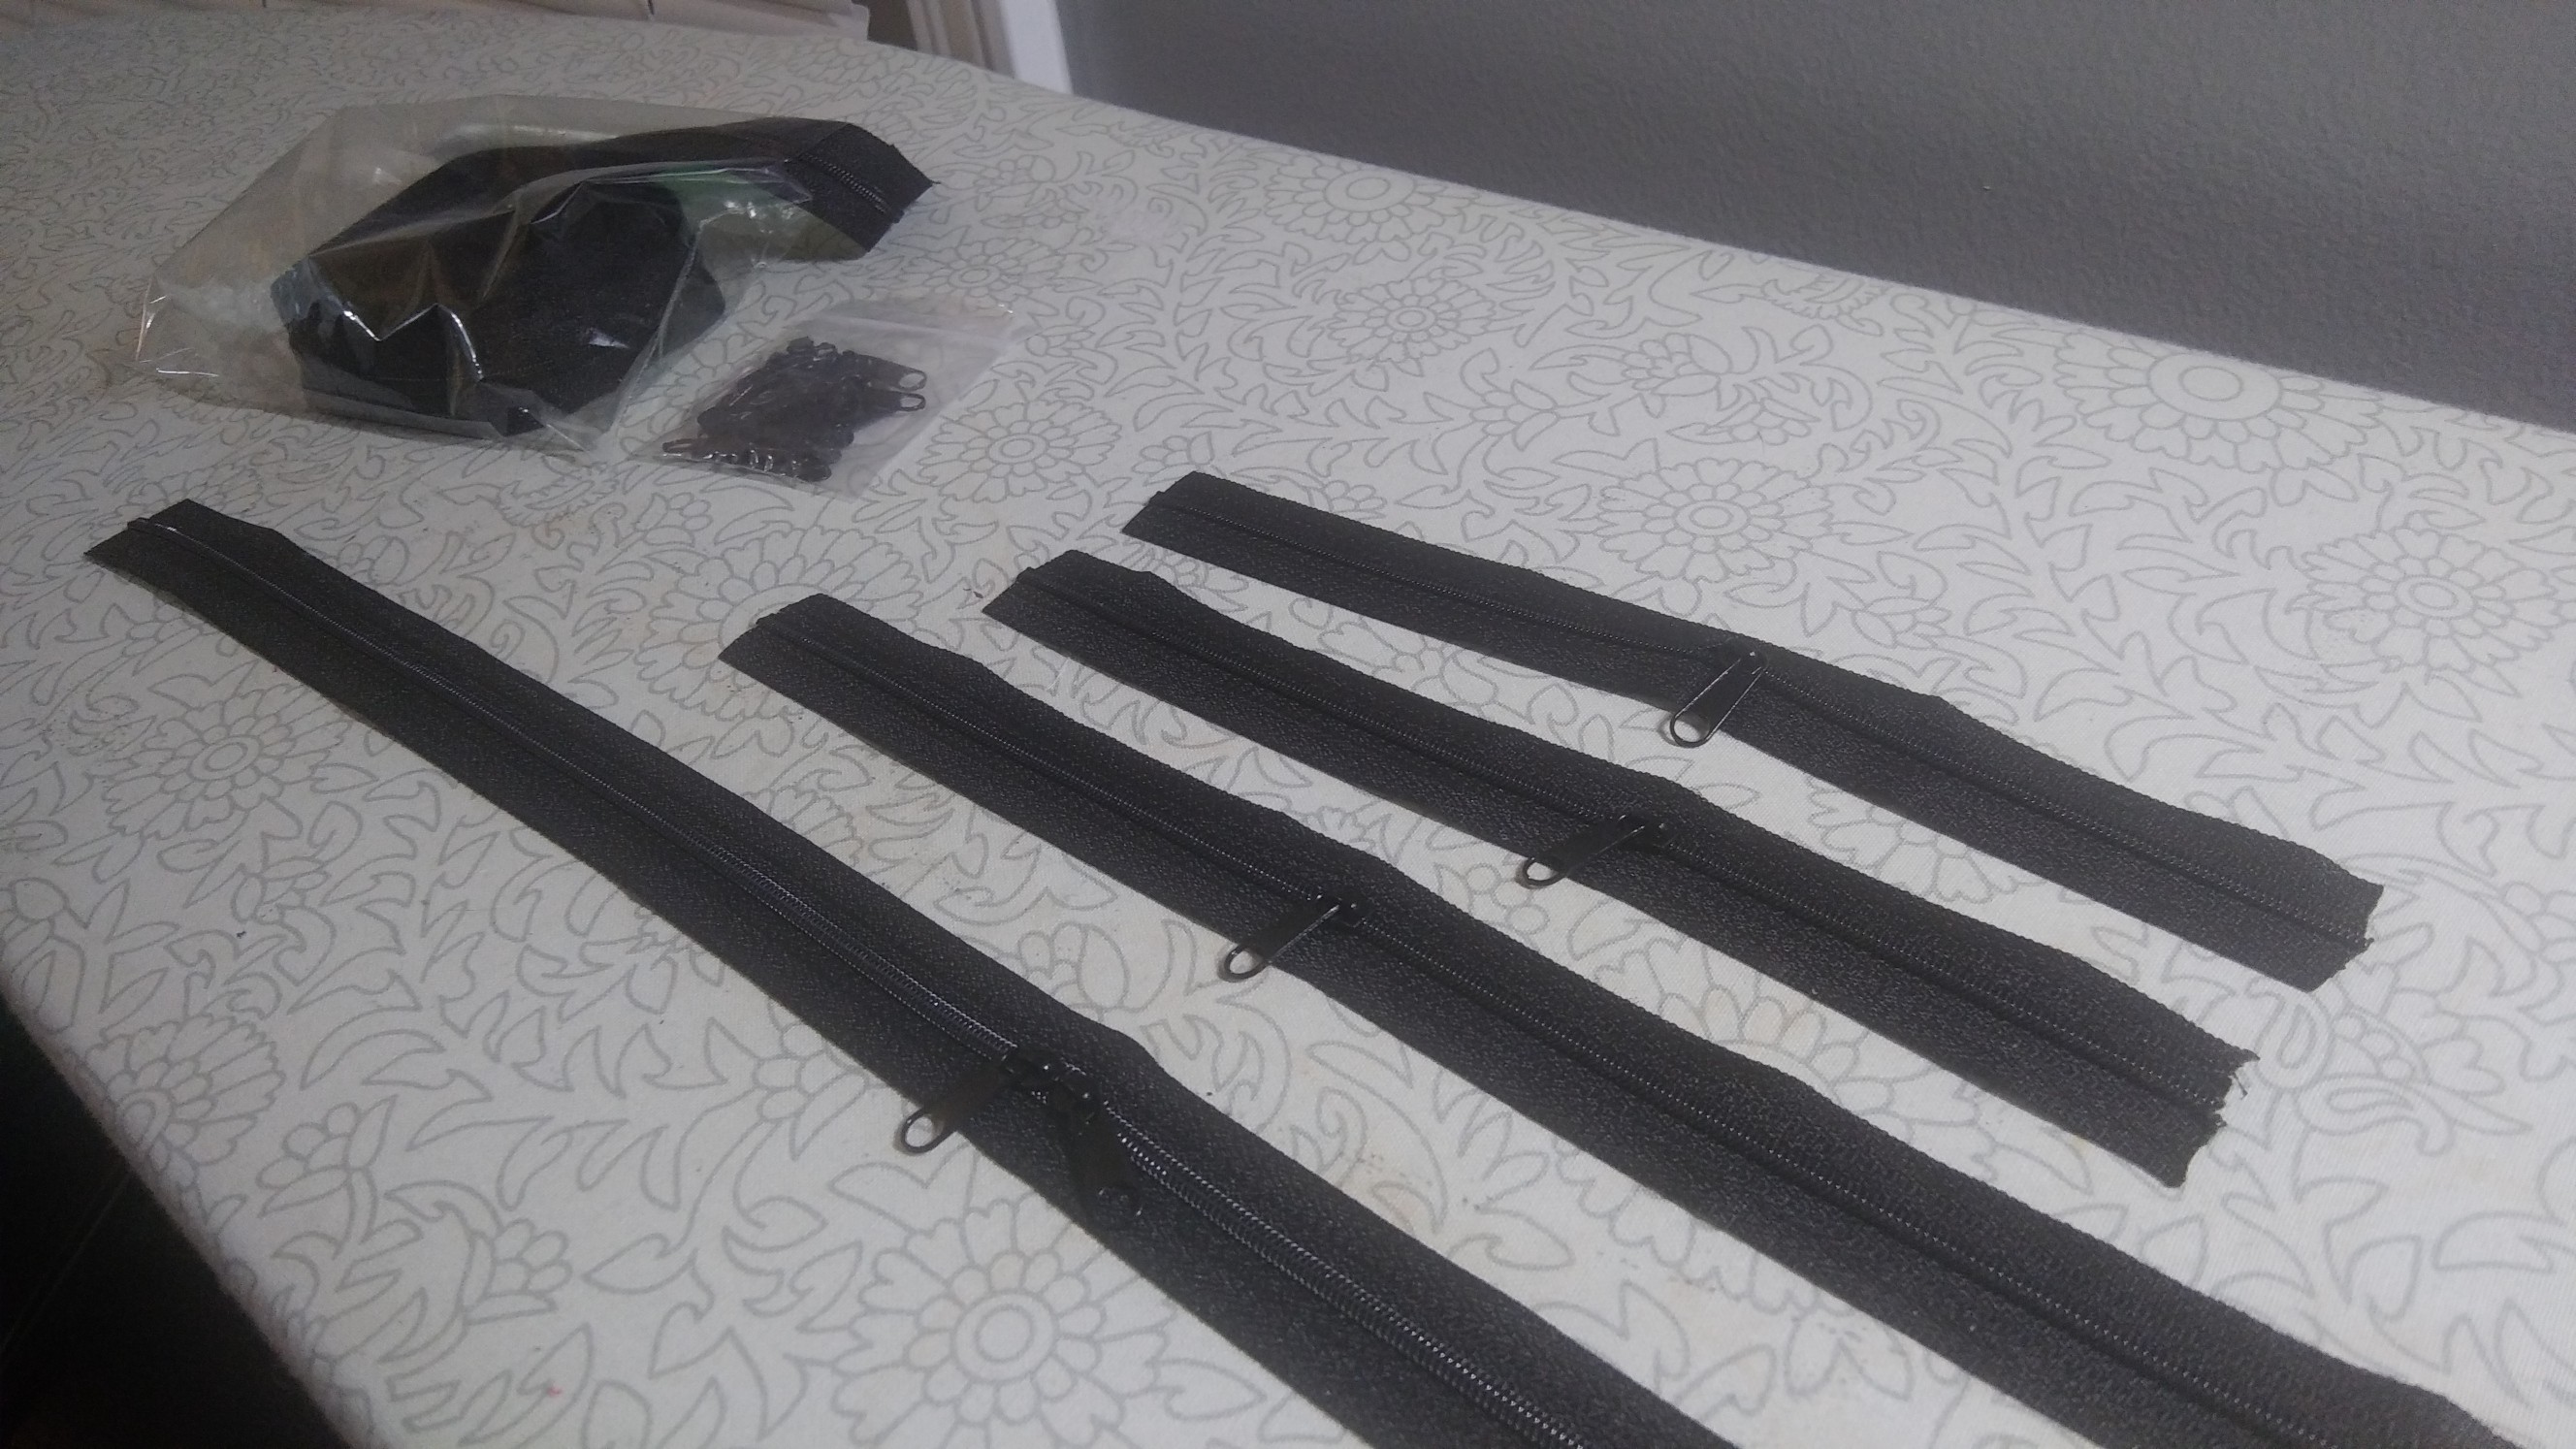
My zipper tape with pulls, strap webbing, and 3/8" elastic all showed up yesterday. All I really had time to do was make the zippers, but now I'm ready to start sewing.
I need two 8" zippers, one 11" zipper, and one 24" zipper with kissing zipper pulls for the main compartment. I put the pull on, and then measure them out an extra inch for seam allowances. The lighter is to stop the tape from fraying after it's cut.
I have made 15 bags in the last two months and I'm ready to make another one that I can't just finish in a couple of days. I thought about making a Fjallraven Kanken copy using WithWendy's tutorial, but it's for a mini backpack and not a full-size. I've already made one mini backpack, so I want to make a big one.
I've got a large canvas drop cloth that I used in conjunction with a PVC frame as a backdrop for pictures. I haven't used it for that in years, so I decided it would be great bag fabric. I might even dye some of it, who knows? It's not heavy enough to be used without interfacing, so I'll be adding Pellon Shape-Flex (SF101) to the front and back pieces, the gusset (the sides), and the two pieces of fabric that the main zipper is sewn to.
For the lining, I went with some fabric I already have because I need to bust my stash. I think it goes really well with the drop cloth. Only some of the lining pieces call for interfacing, but I might interface more of them as I go along.
Make sure it prints at 100%, unless you're #bag hacking or something. Every page in this pattern with pieces on it also has a 1" reference box for making sure it printed correctly. That is good patternmaking if you ask me.
yes its a nice idea I am in the same field and I have some new suggestions for you visit here https://sewways.com/
You can waterproof packs. For heavier canvas like fabrics there is canvas waterproofer - a thick milky liquid (and pretty cheap).
For nylon, leather, and probably everything (but can be expensive for big things), "Silicone Water Guard", Atsko #1336 is really effective. (super solventy - can take day/s for it to dry properly, so don't use at the last minute)
Regular waterproofing seems to make the fabric last longer too.


 Zipper sewn:
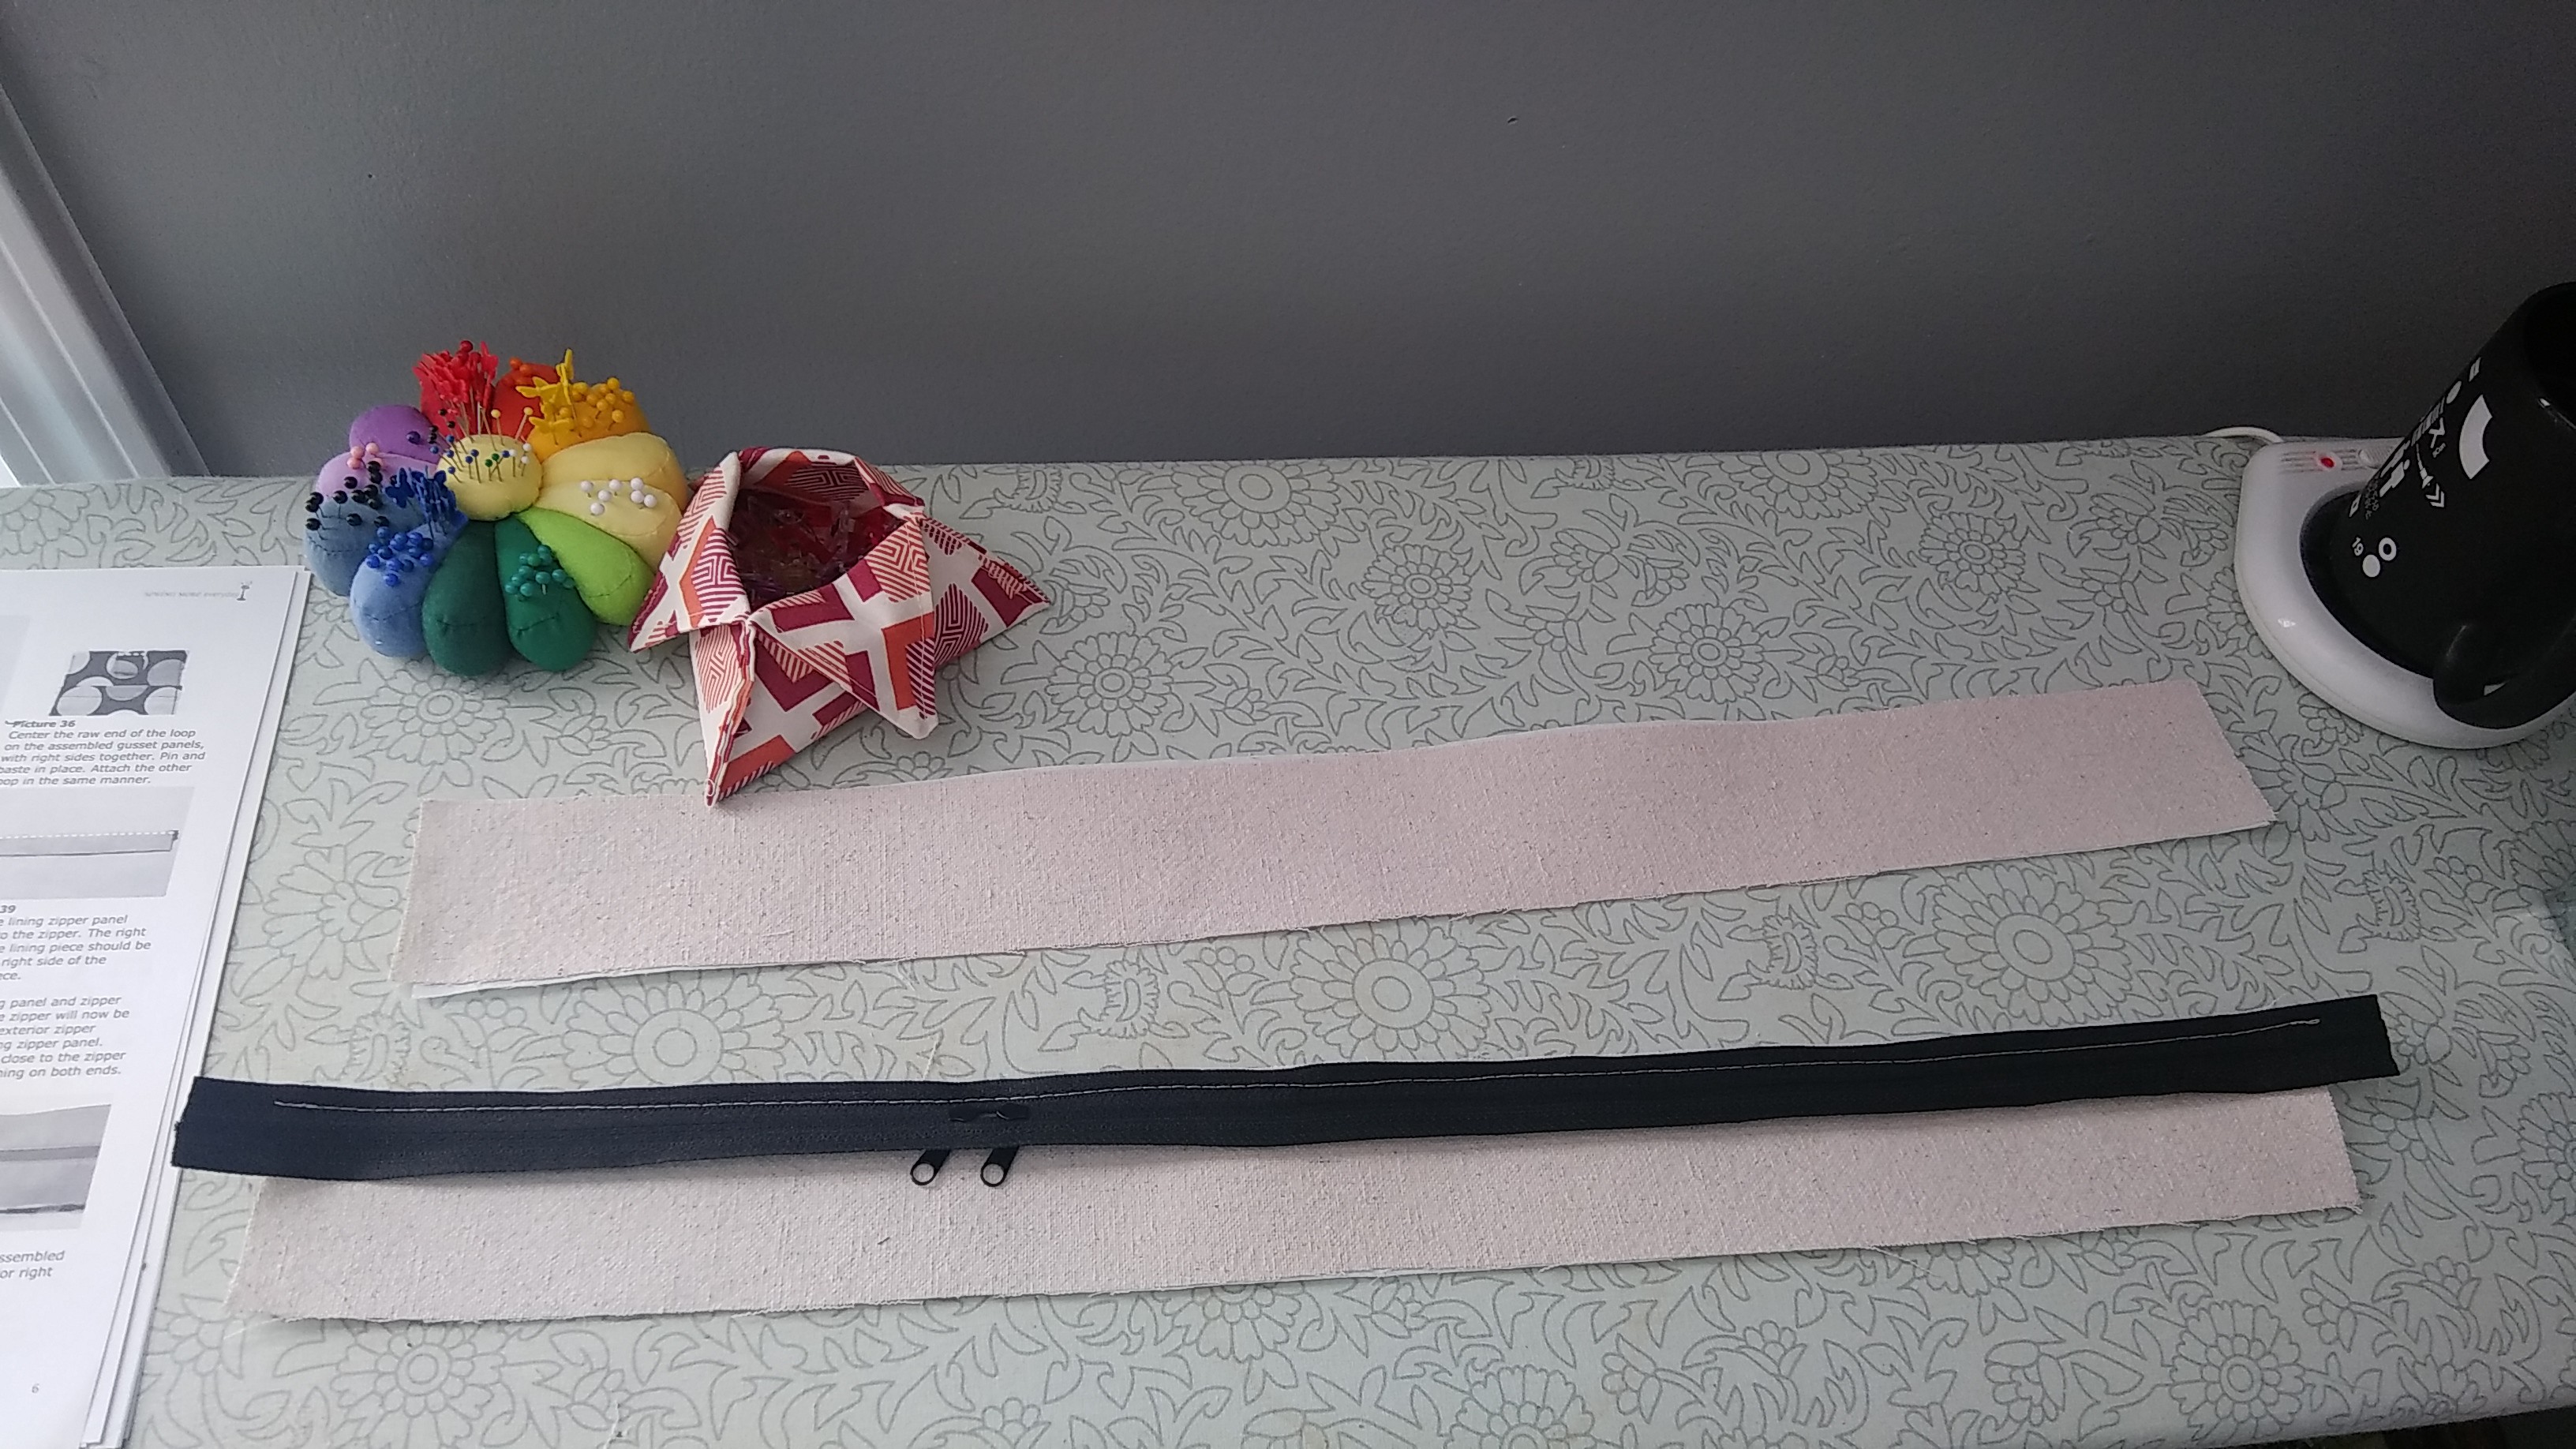


 Dr. Cockroach
 Scott G
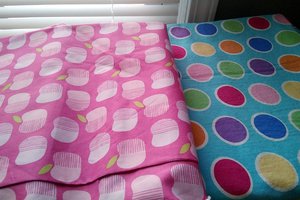

 WJCarpenter
The Osprey Ultralight Drysack Waterproof Backpack is great for those who need to keep their belongings dry while on the go. To see this must visit here. https://thebackpackworld.com/best-waterproof-backpacks-for-travel/