 Alpenglow Industries
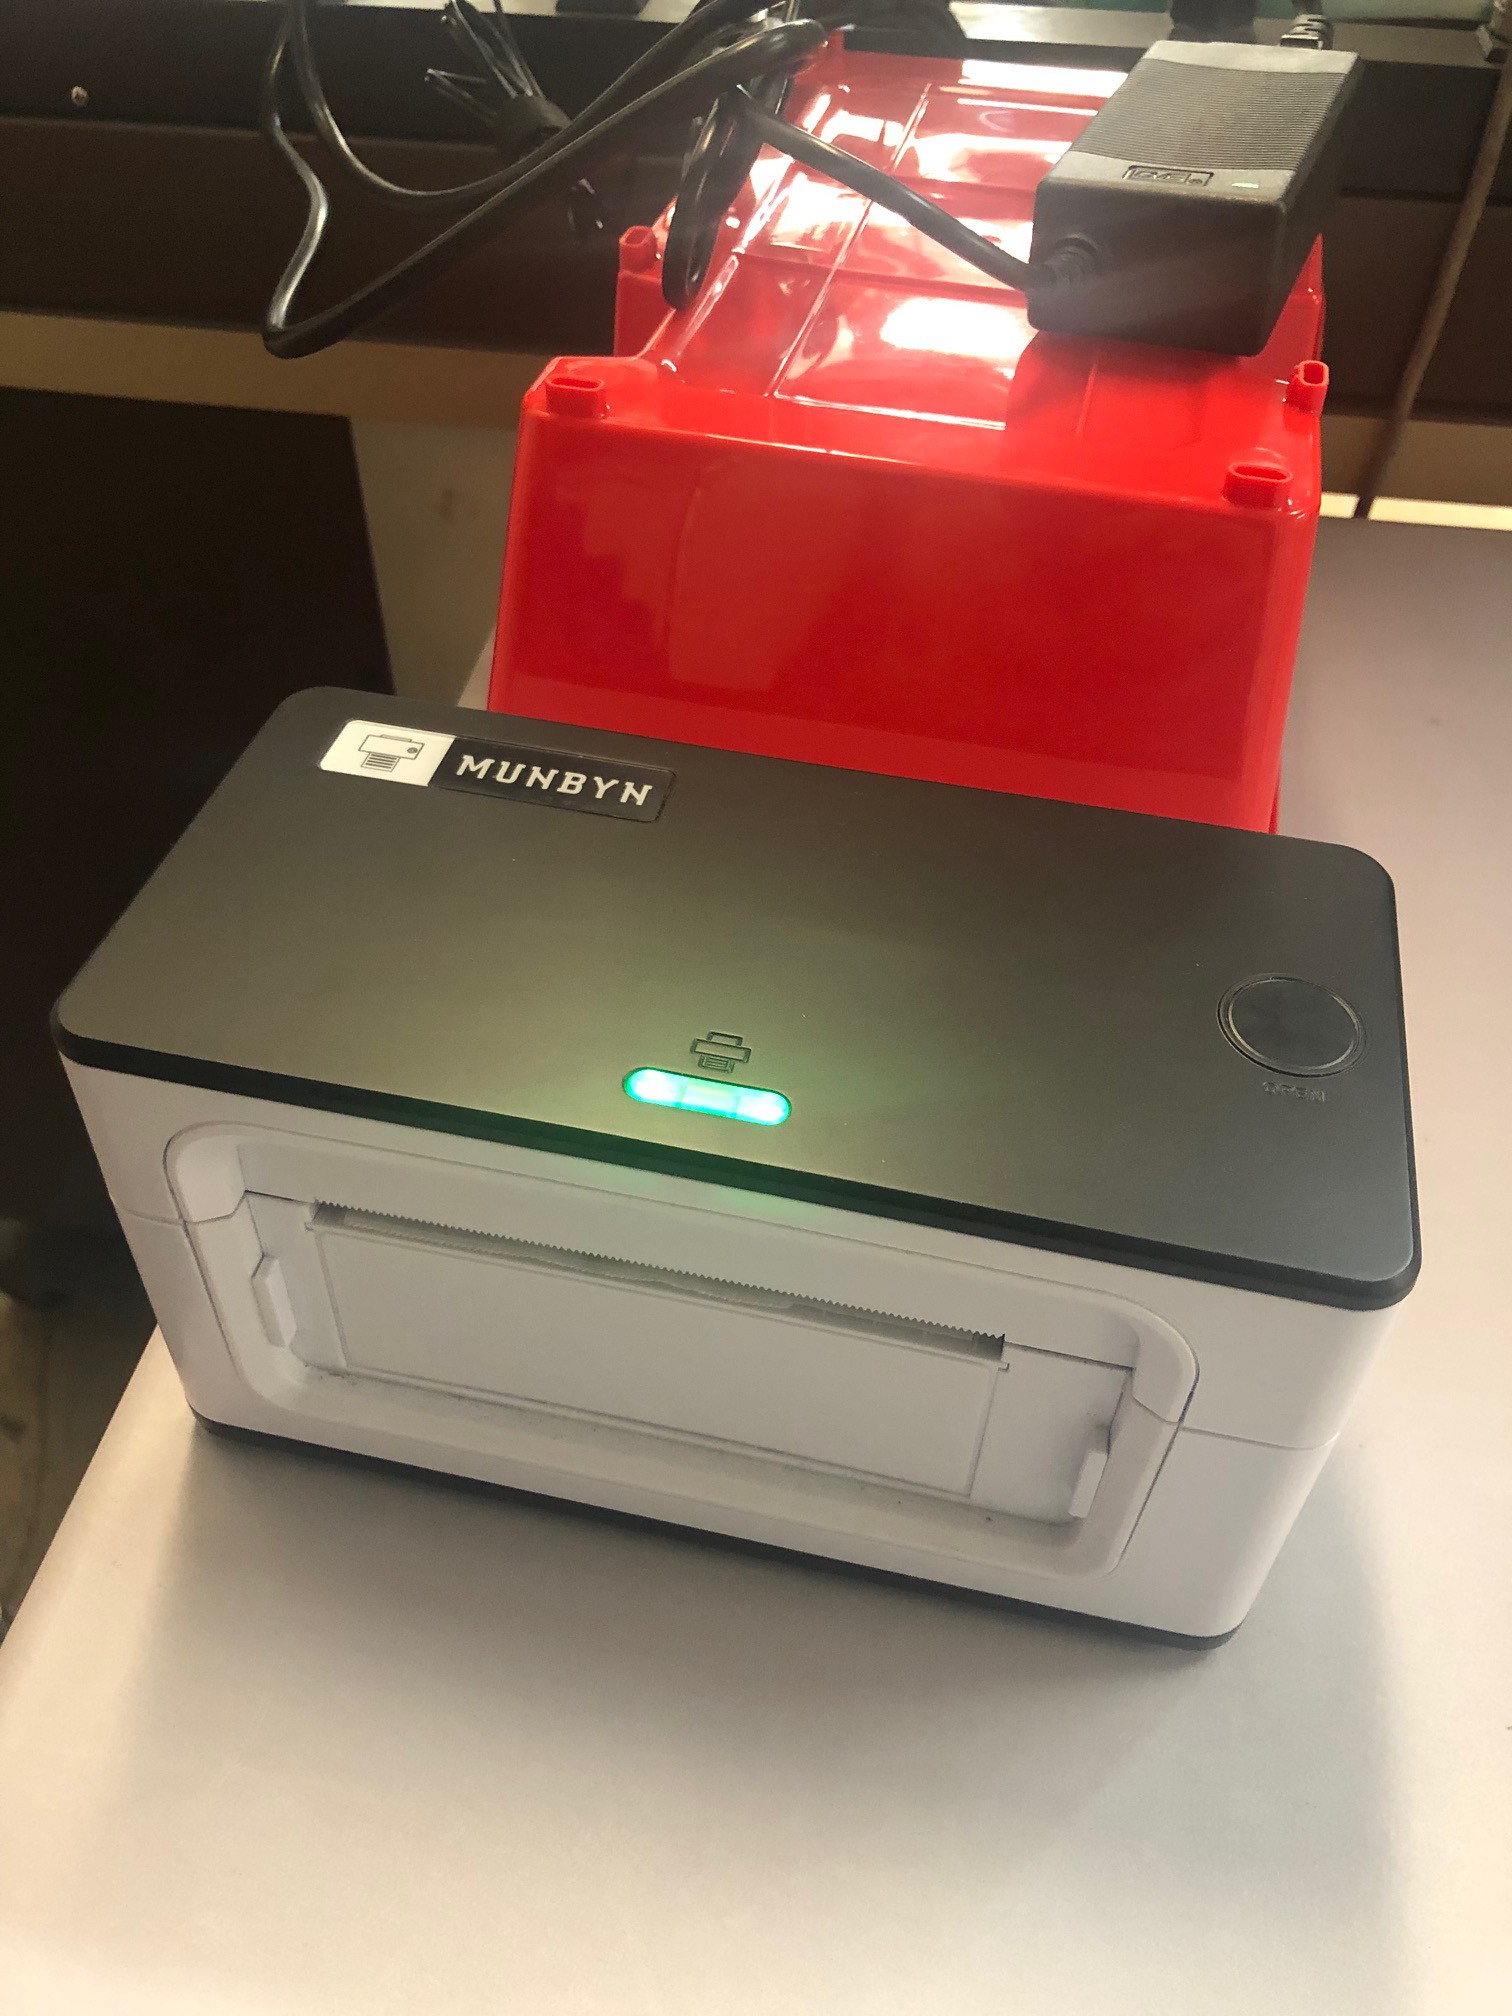
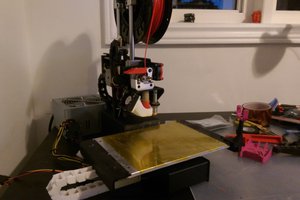
I bought a Munbyn ITPP941 thermal USB printer for shipping labels. These printers are reasonably expensive considering they're small format and relatively low quality black adn white - this one was $144 from amazon. But compared to a traditional laser printer, the savings in toner and the speed they print at make them totally worthwhile. Plus there's a lot less label/paper waste since the labels are exactly the size of all the info printed on them.
I wanted this printer to live in the shipping area, it just seemed a litlte more convenient there than on my desk (taking up valuable space). But I wanted to be able to send a print job to it from my computer, - it's still a bit of a complex routine to create labels (especially international ones) so I still do that job. Also, I didn't want to have to dedicate an entire computer to the shipping area, just for the printer.
You used to be able to find wireless print servers pretty easily, but I guess those days are gone. The only one I could find was the StarTech.com PM1115UW for $60 on amazon. I spent 2 days trying to get it to work with the Munbyn, every possible combination of installing the printer and the server, and never could get it up and running.
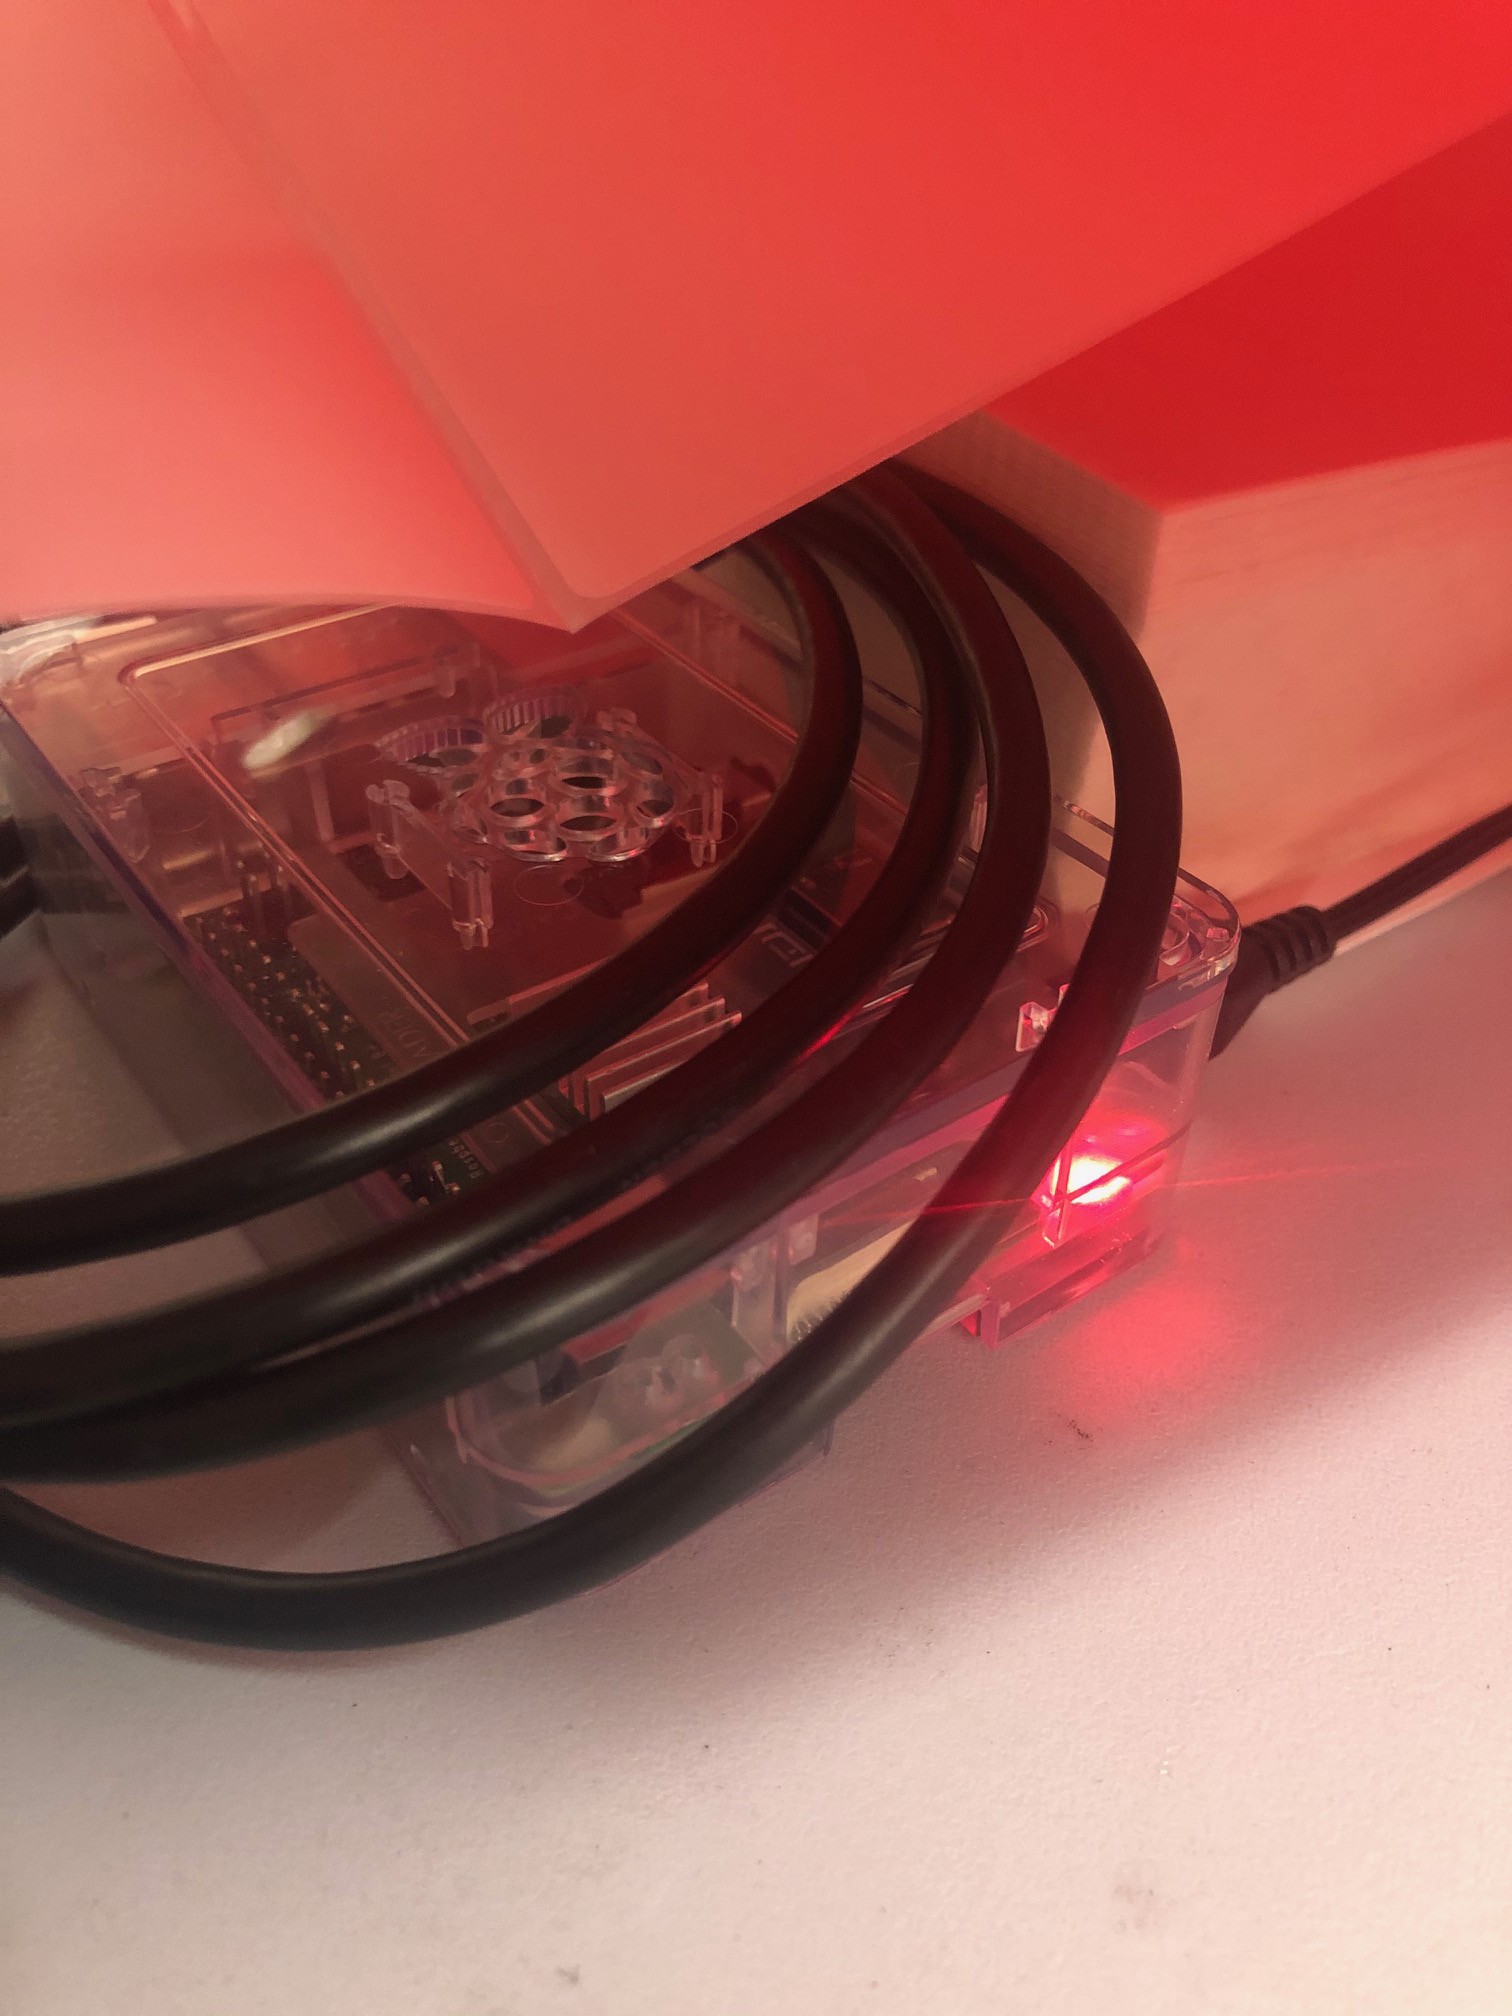
I figured this was a great excuse to play around with a Raspberry Pi, this should be exactly the kind of thing it's good at. Well, it does all work - finally, after 6 freakin hours! - and the worst part was (of course) getting 2 different Windows machines talking to it. Even though both were running Windows 10, one was Windows 10 Home and the other was Windows 10 Pro, and it took 2 different methods of installing the printers, and 2 different drivers, to get everything working.
My pain is your gain. Enjoy!
 perry levac
 Shivam Mehta
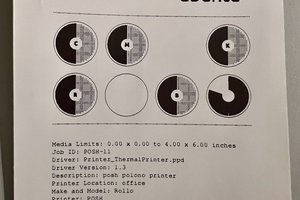
 Ralph Bacolod
So I'm good with this up until trying to configure the printer in the CUPS GUI. I have two HP printers, a redirected VNC printer (connecting to the RPI with VNC), and a "CUPS-BRF" Virtual Braille. None of those are correct, but the PDF instructions have the name blocked out. I'm not sure where to go. The install.run seemed to work correctly.
Thoughts?