 E/S Pronk
About polarimetric imaging
Here is some more info on the polarimetric sensor and how it works: Polarsens
The raw images from the sensor are transformed into color by calculating the angle and degree of polarization from the difference in luminance between filter angles, and using them as "hue". The resulting color is multiplied by the degree of polarization (maximum value - minimum value) which will remove both underexposed as well as overexposed pixels. A modified sobel filter detects edges which would otherwise result in false polarization values. The sobel filter creates the white lines in the pictures.
Alternatives
I really wanted to show off the mesmerizing images I get from this setup, but I realize that this project is too expensive for most people that don't have access to these cameras at their job. The good news is that:
- A) This project is also fun to do with a RPi and HQ camera. The microscope lens was one marketed as one for the RPi HQ camera.
- B) I've made my own polarimetric camera before and in a future project i will show you how to make one on a budget. (aiming for 100 - 200 euro, the Mako costs around 2500 euro)
This project uses a Jetson Xavier NX, but works equally well with a Jetson Nano or a laptop/desktop with a proper GPU and an ethernet connection. It doesn't work (yet) with a raspberry PI, because of GigE vision and UDP MTU restrictions in the kernel. I'm looking into this in another project, but might scrap that in favor of a homemade polarimetric camera based on the HQ camera for raspberry PI.
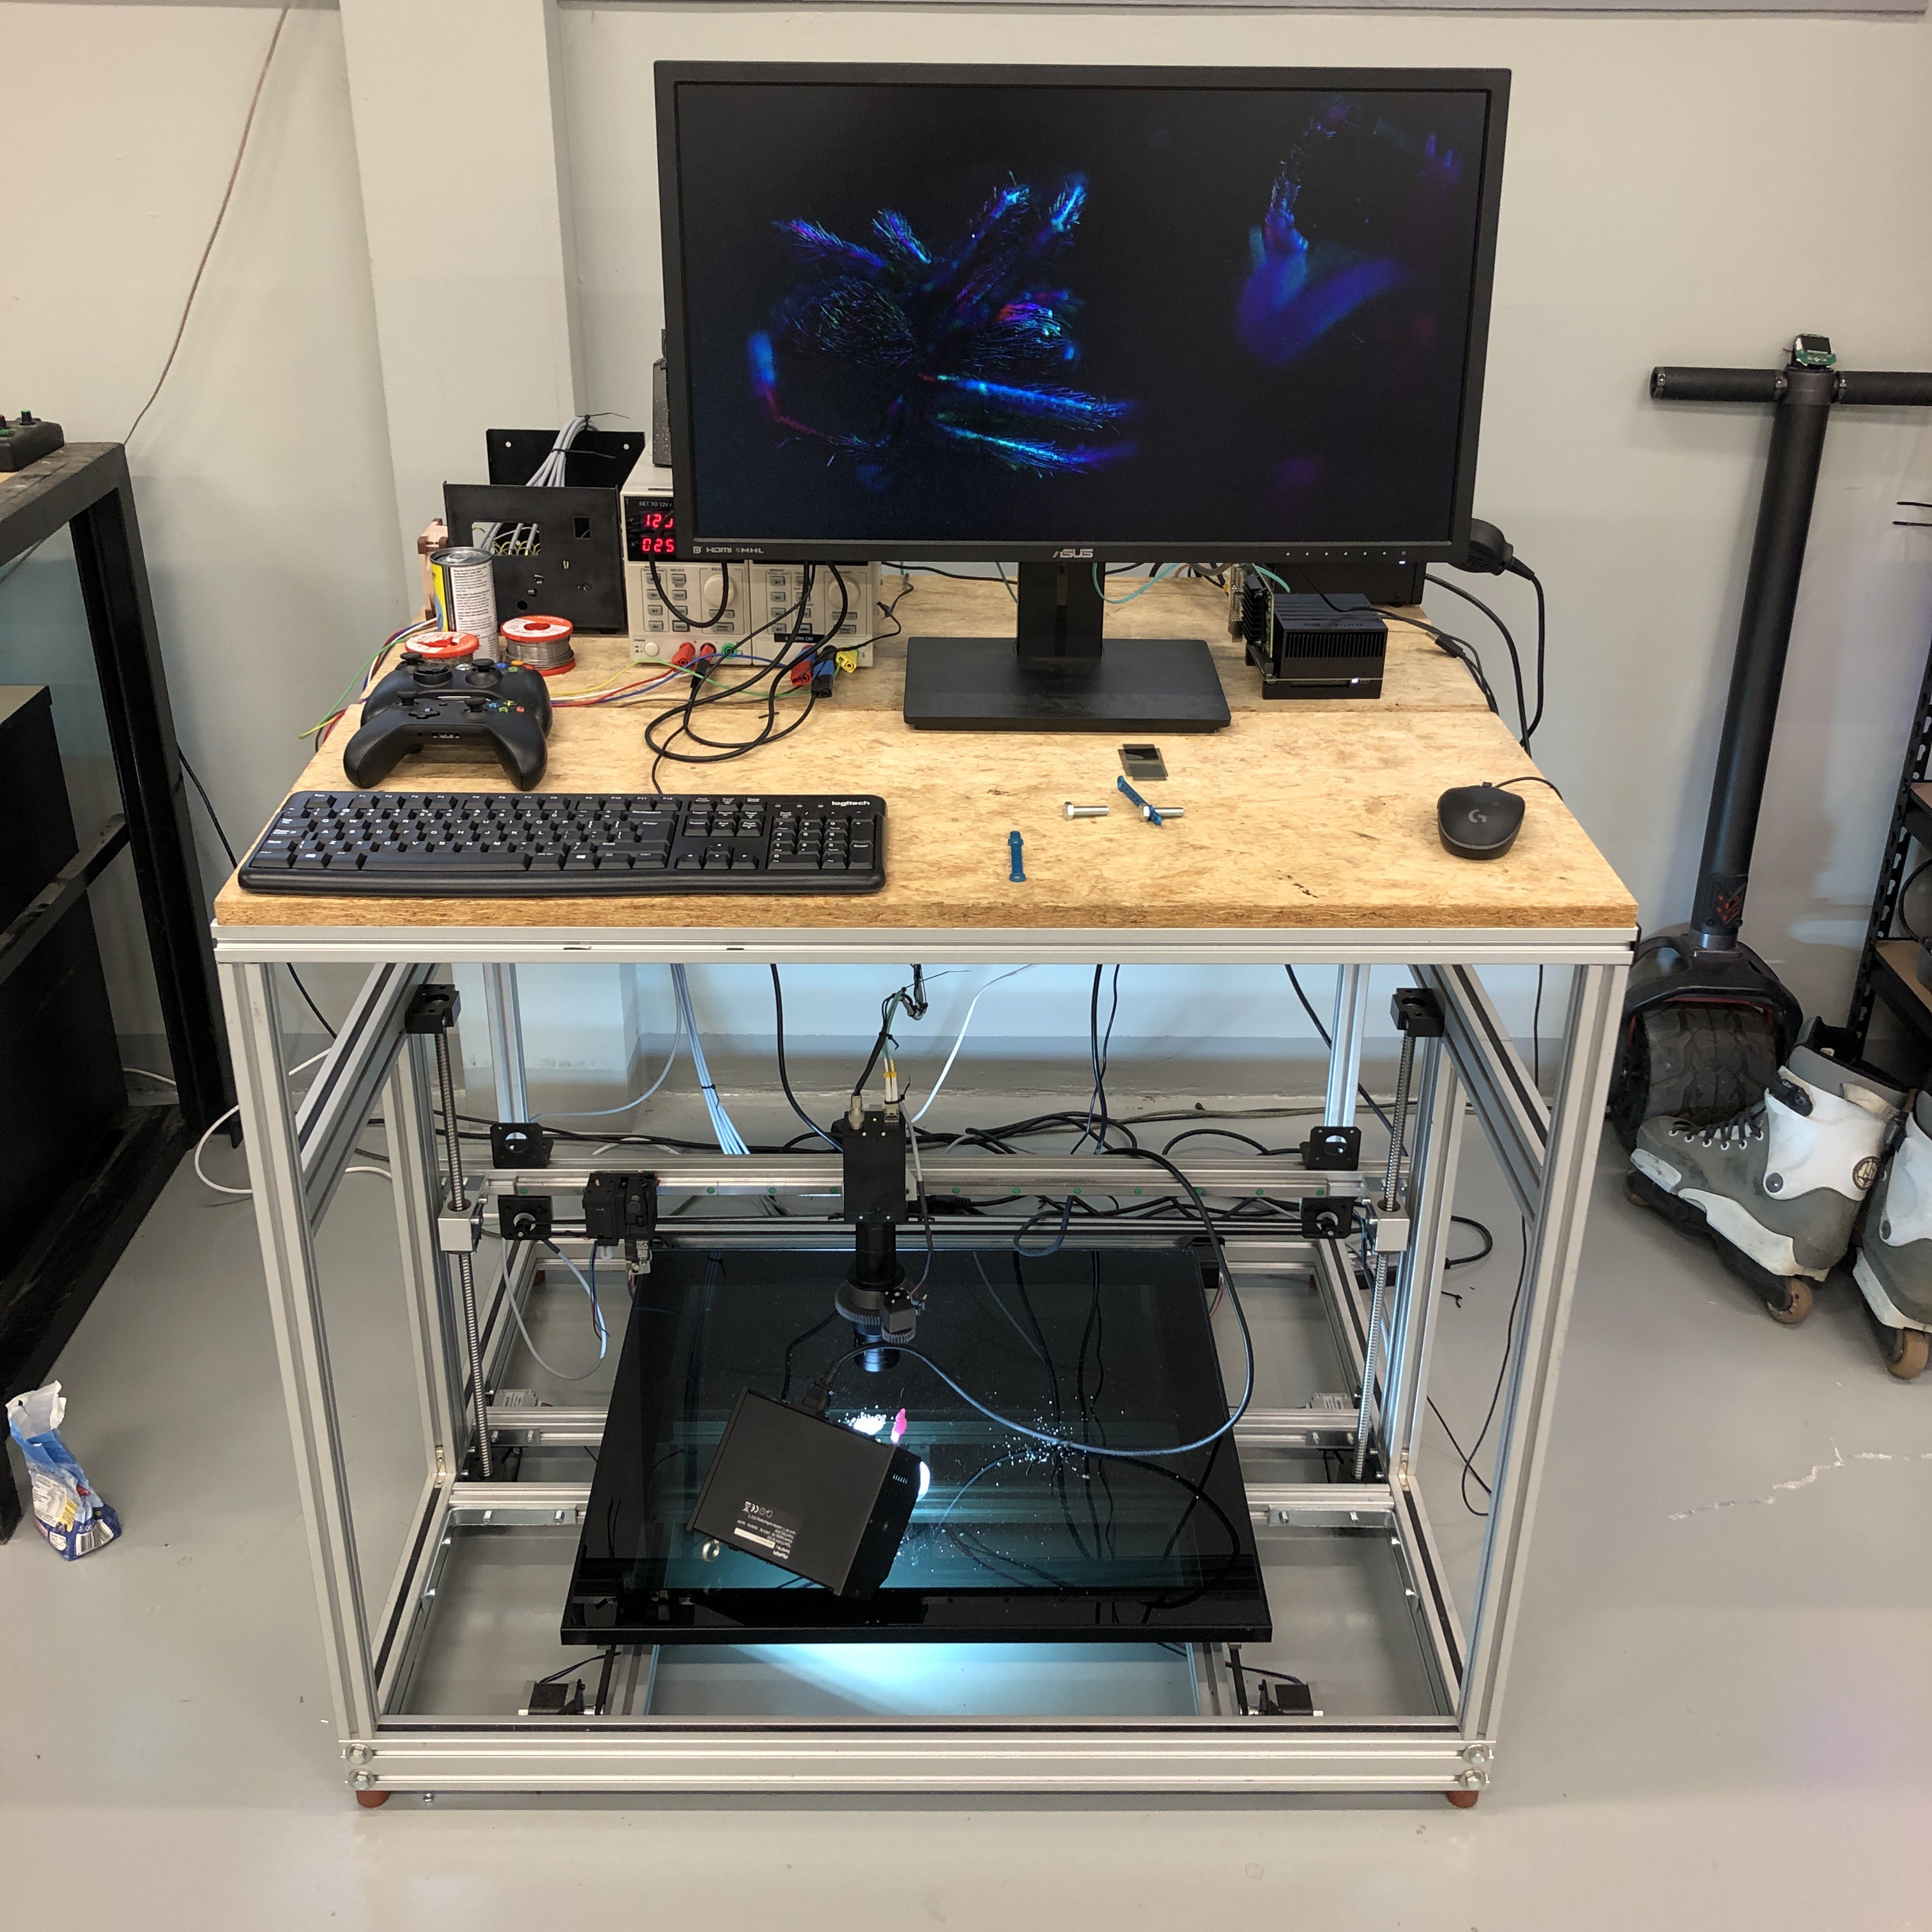
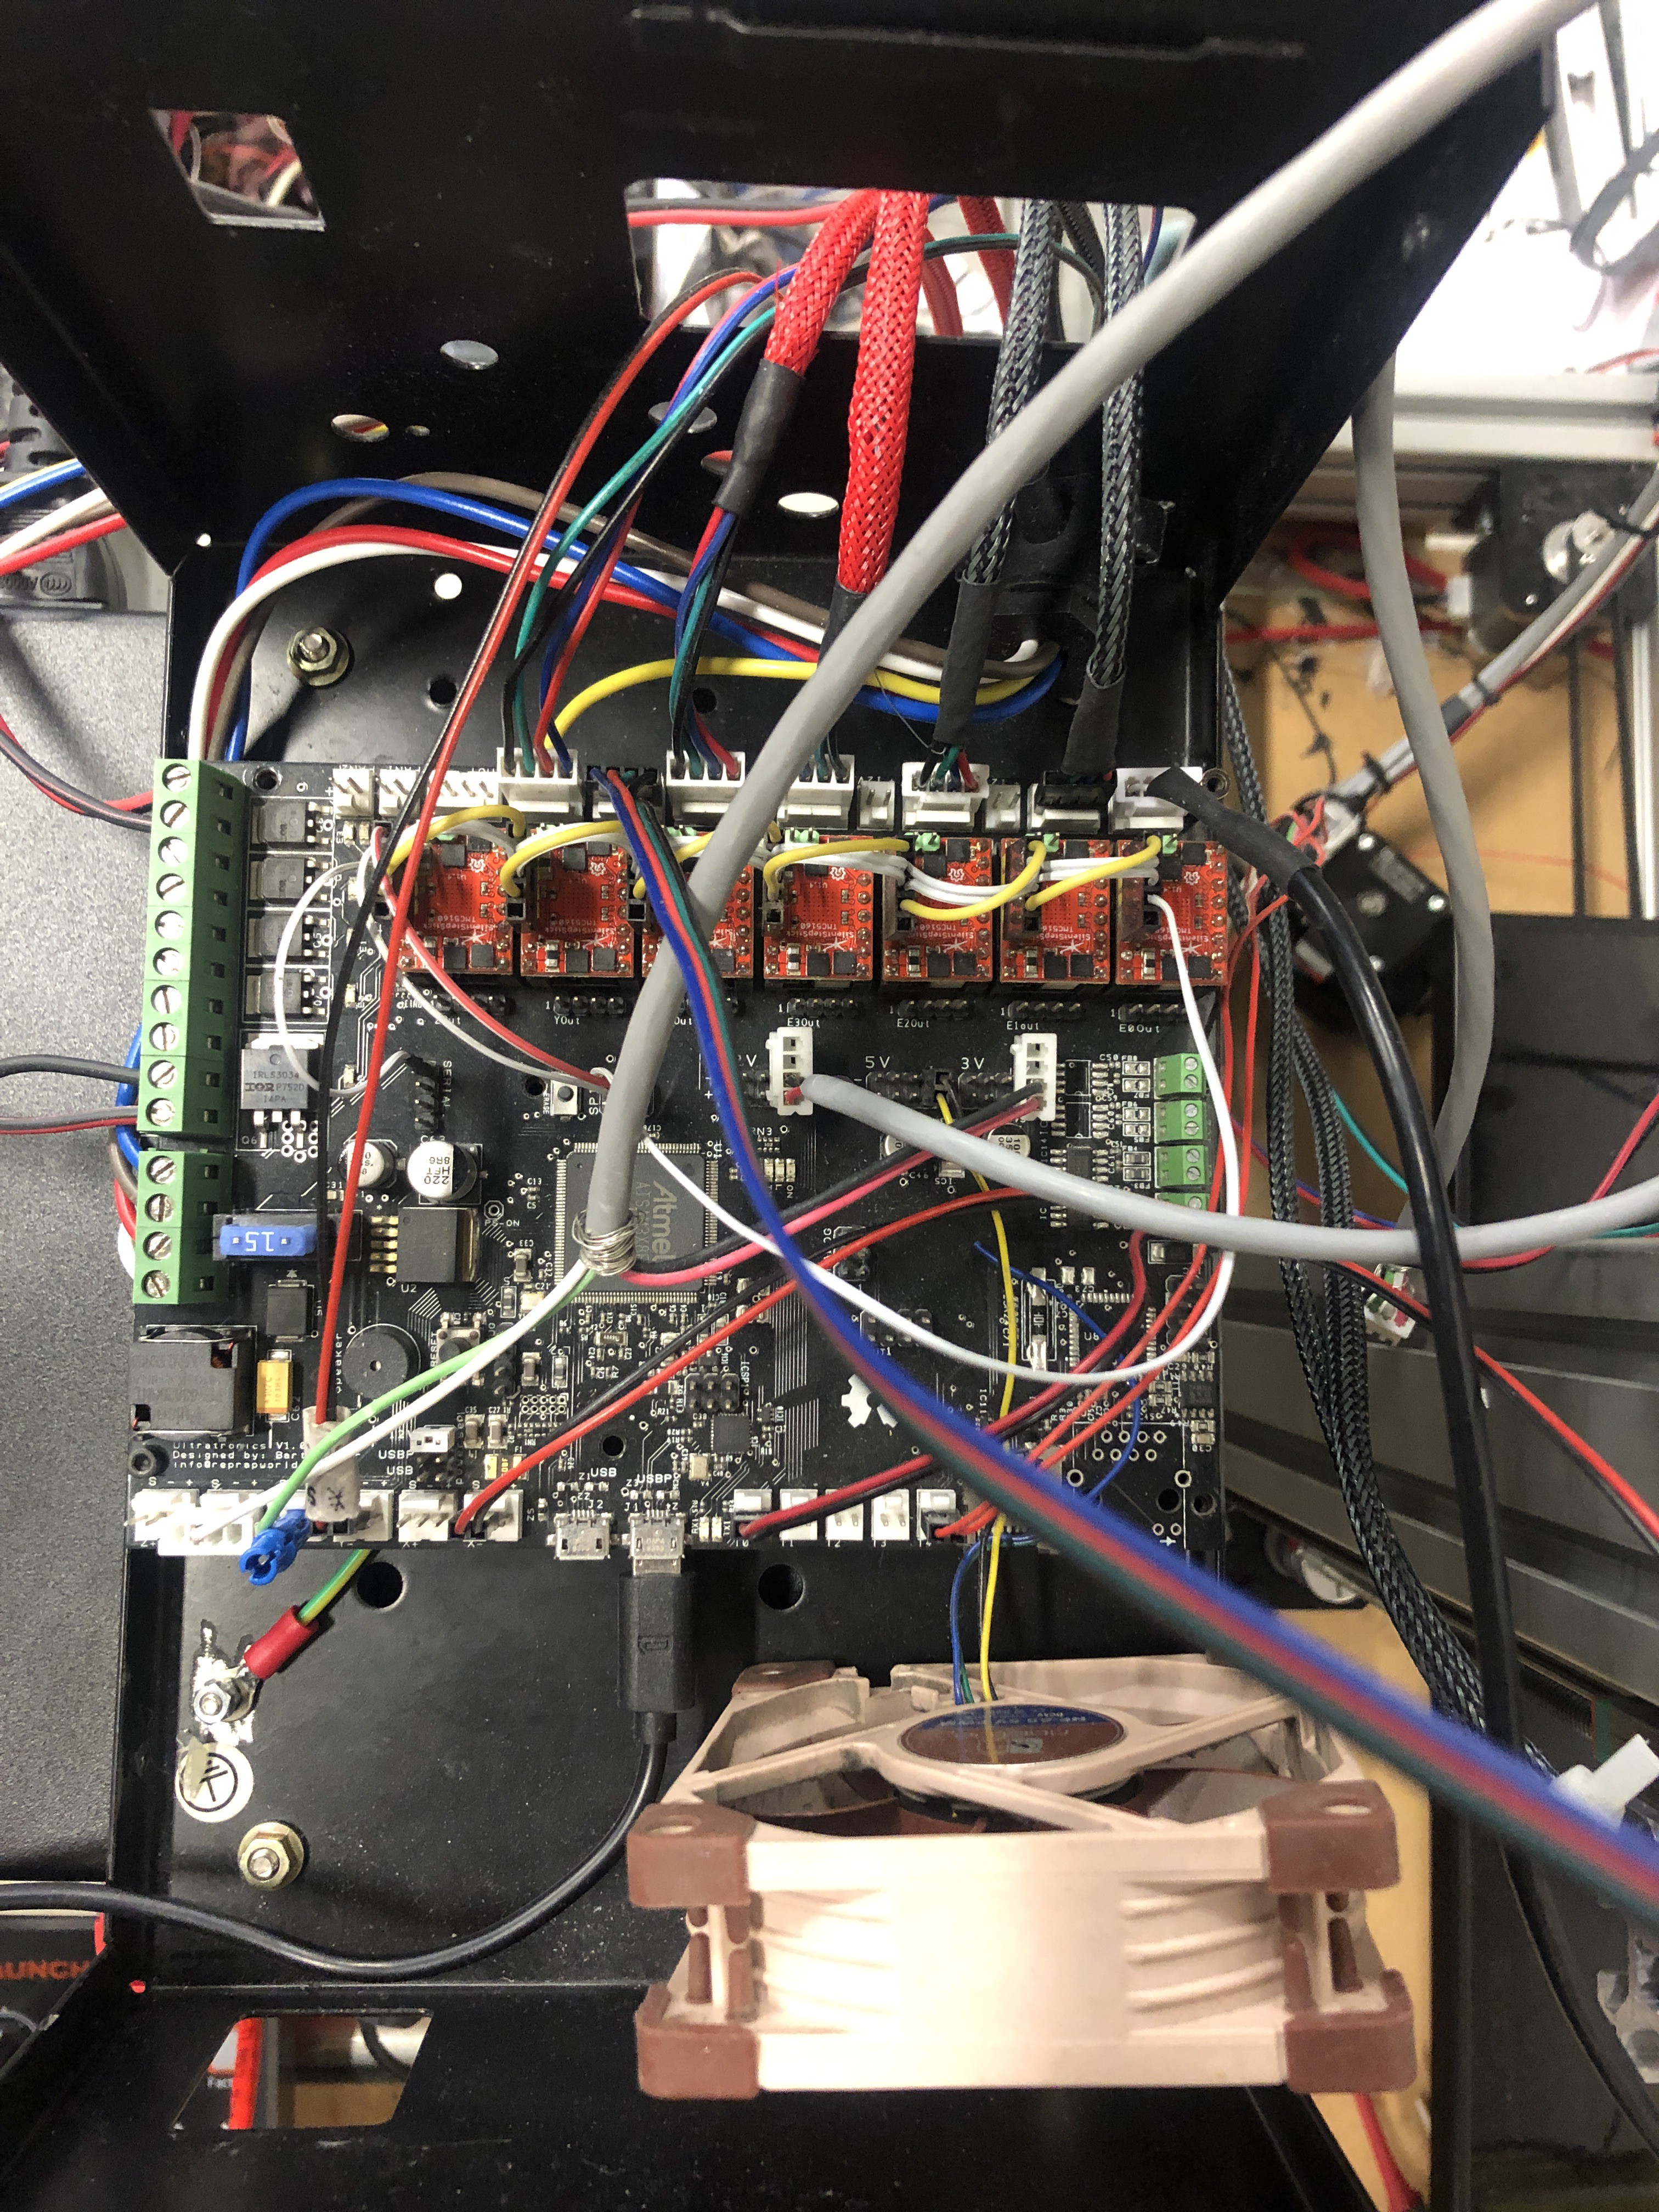
Moving the microscope
The microscope is moved by sending raw GCODE to the 3d printer. This may sound daunting, but it really isn't. There is only one real command, which is G0. This command will move to a certain location, defined by X,Y,Z and E (for pitch or zoom) in mm.
The E axis is a bit more tricky, E defines how many mm of filament is pushed into the extruder and depends heavily on your setup. You can use M92 to set the steps per mm to a lower value, like 10, which would mean that 10mm adds up to 100 steps is half a rotation of the shaft.
What about the images?
The first image is just plain sugar.
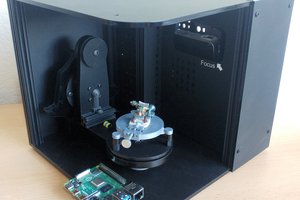
Second is the complete setup with angle controlled microscope lens, which has since been replaced by a fixed angle, variable zoom setup.
The initial prototype which proved that it is possible to see polarization through the microscope lens. The subject is a methcathinone crystal.
The blue-green one is a raspberry logo on a RPi.
The last one is the foot of a hamster skeleton.
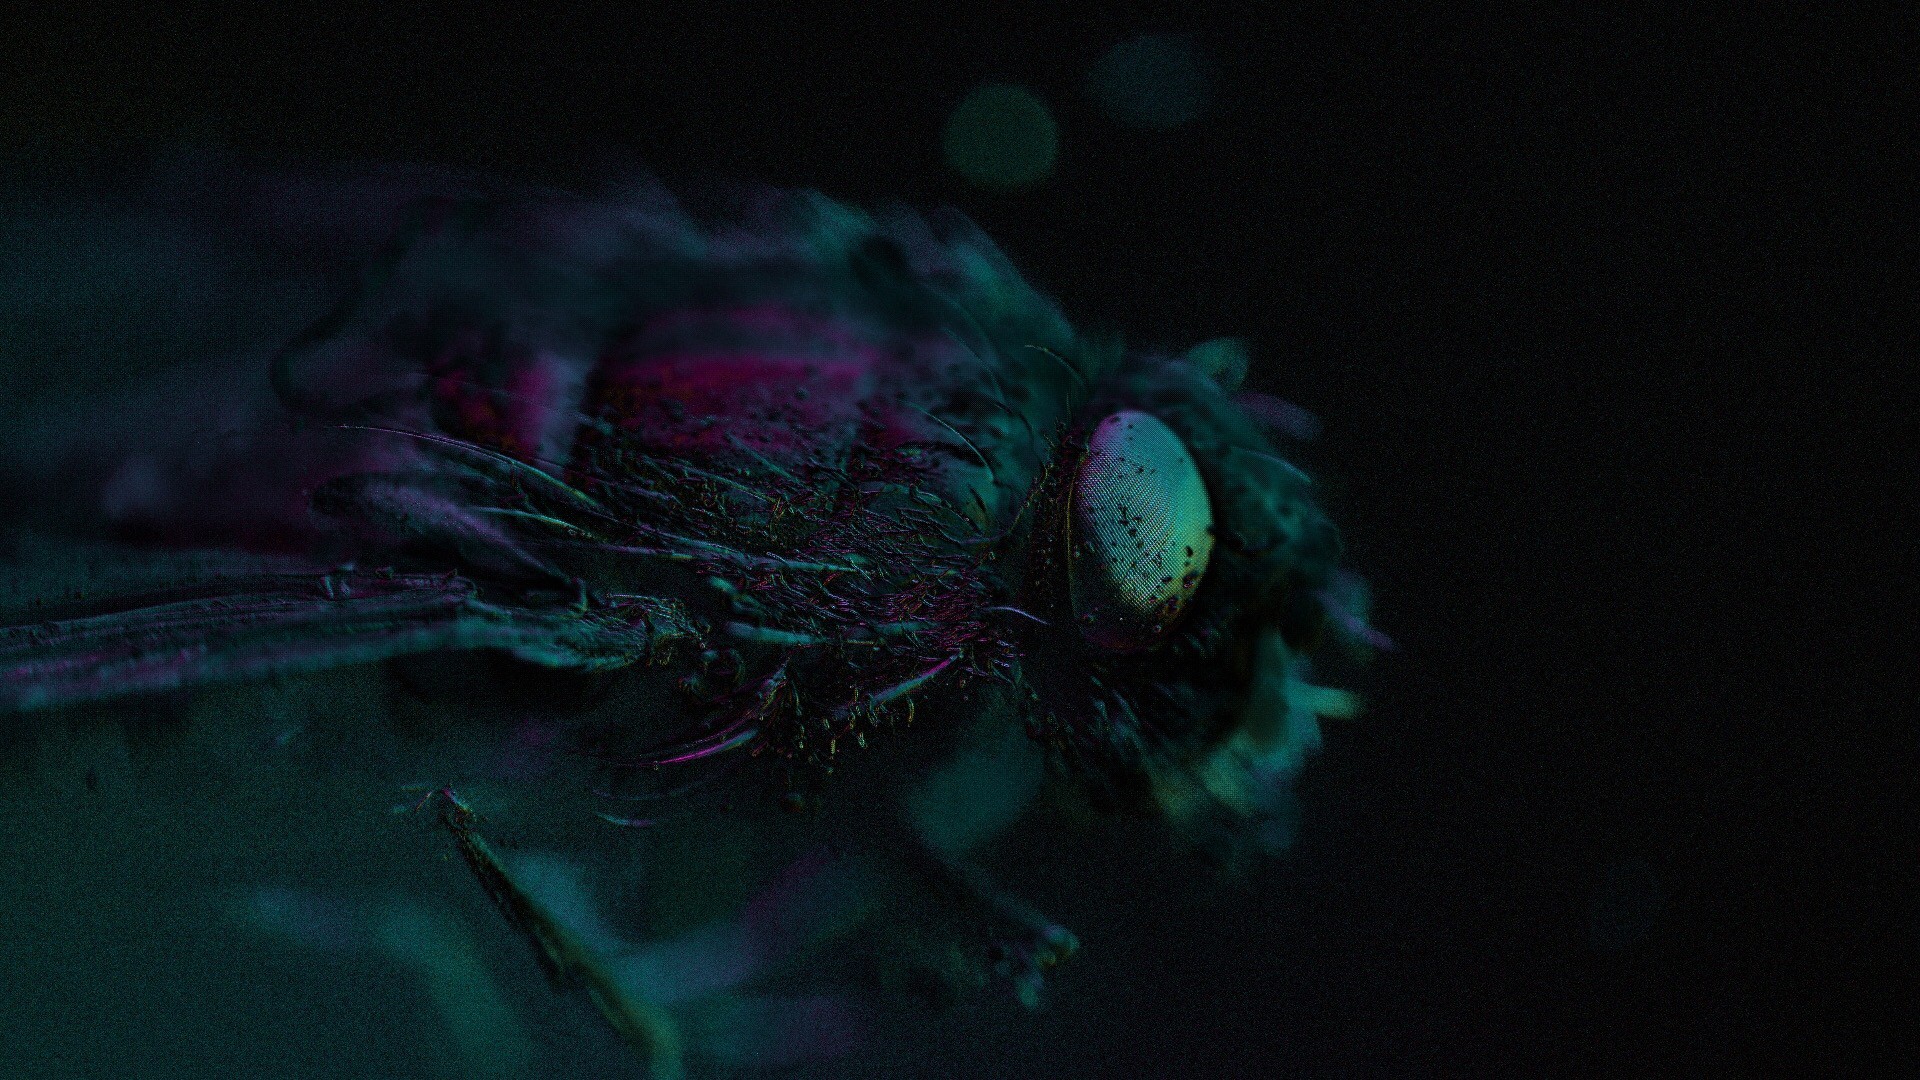
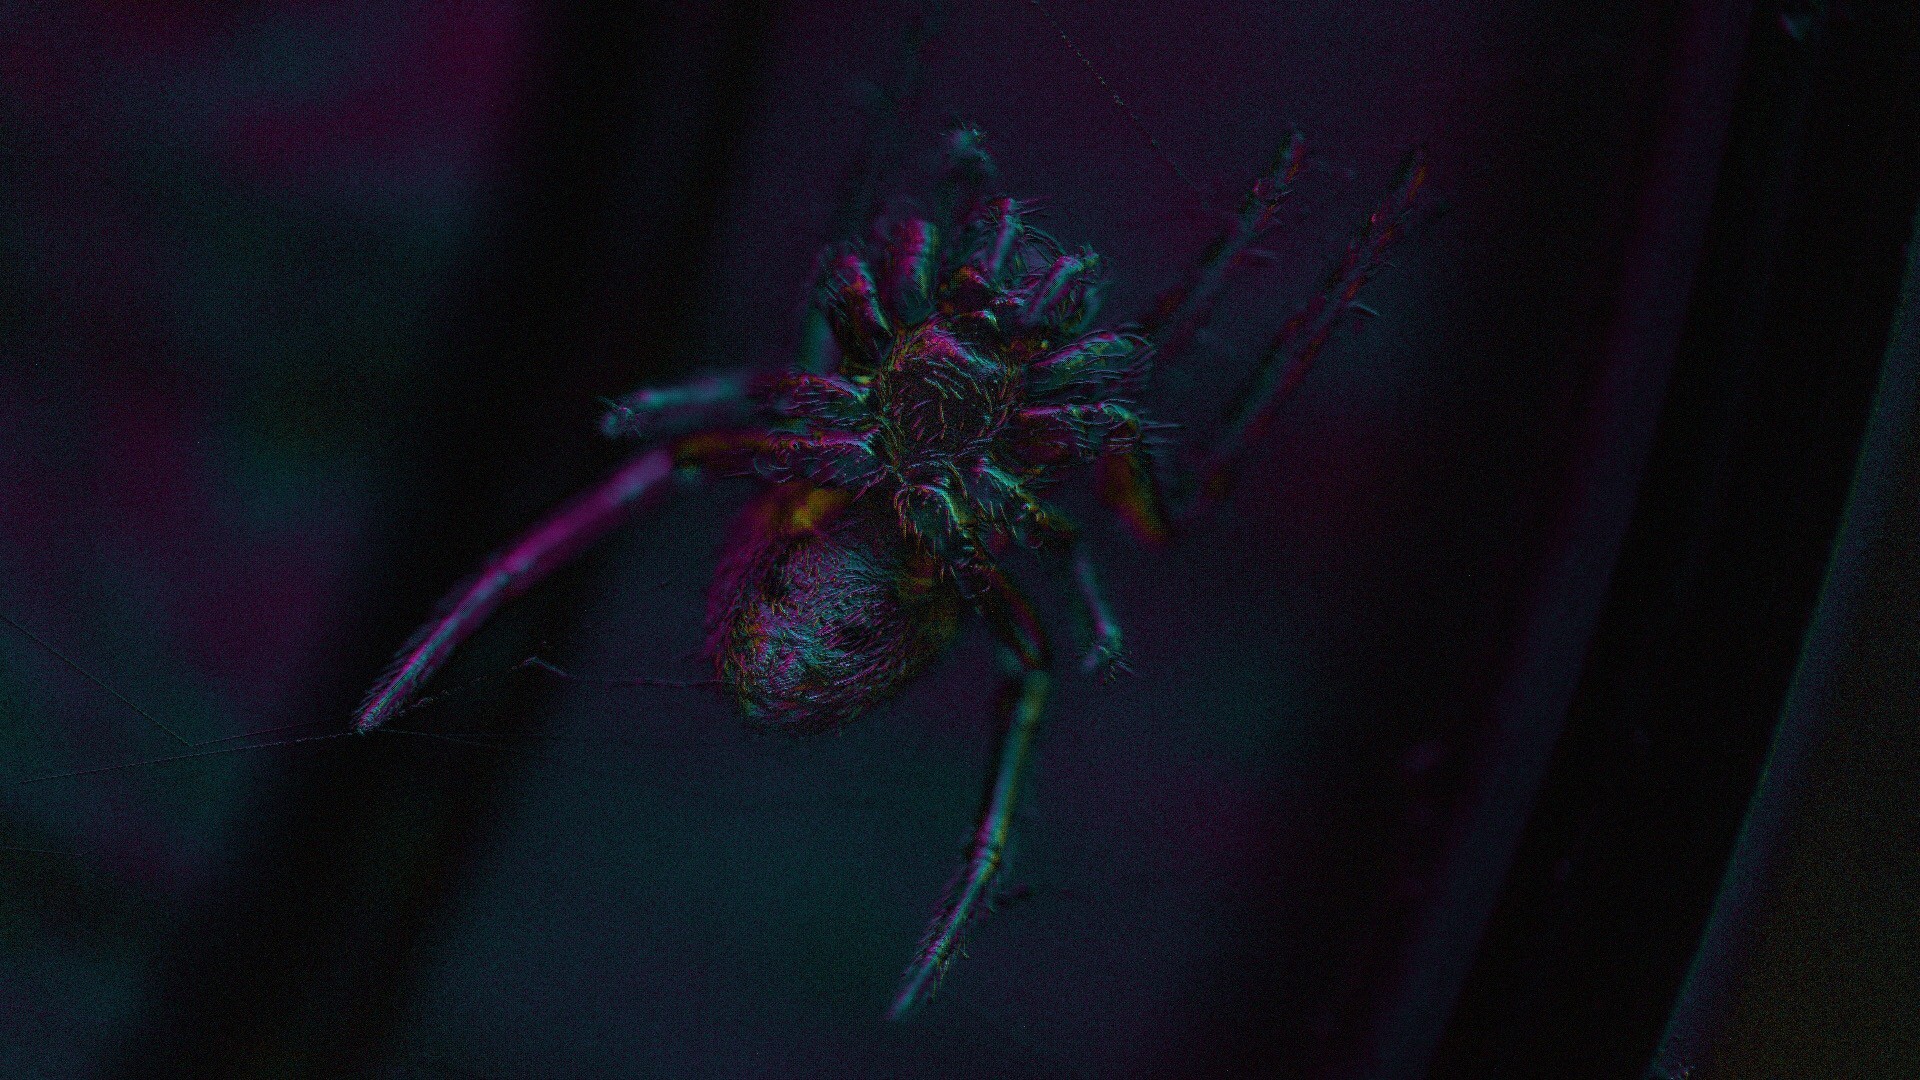
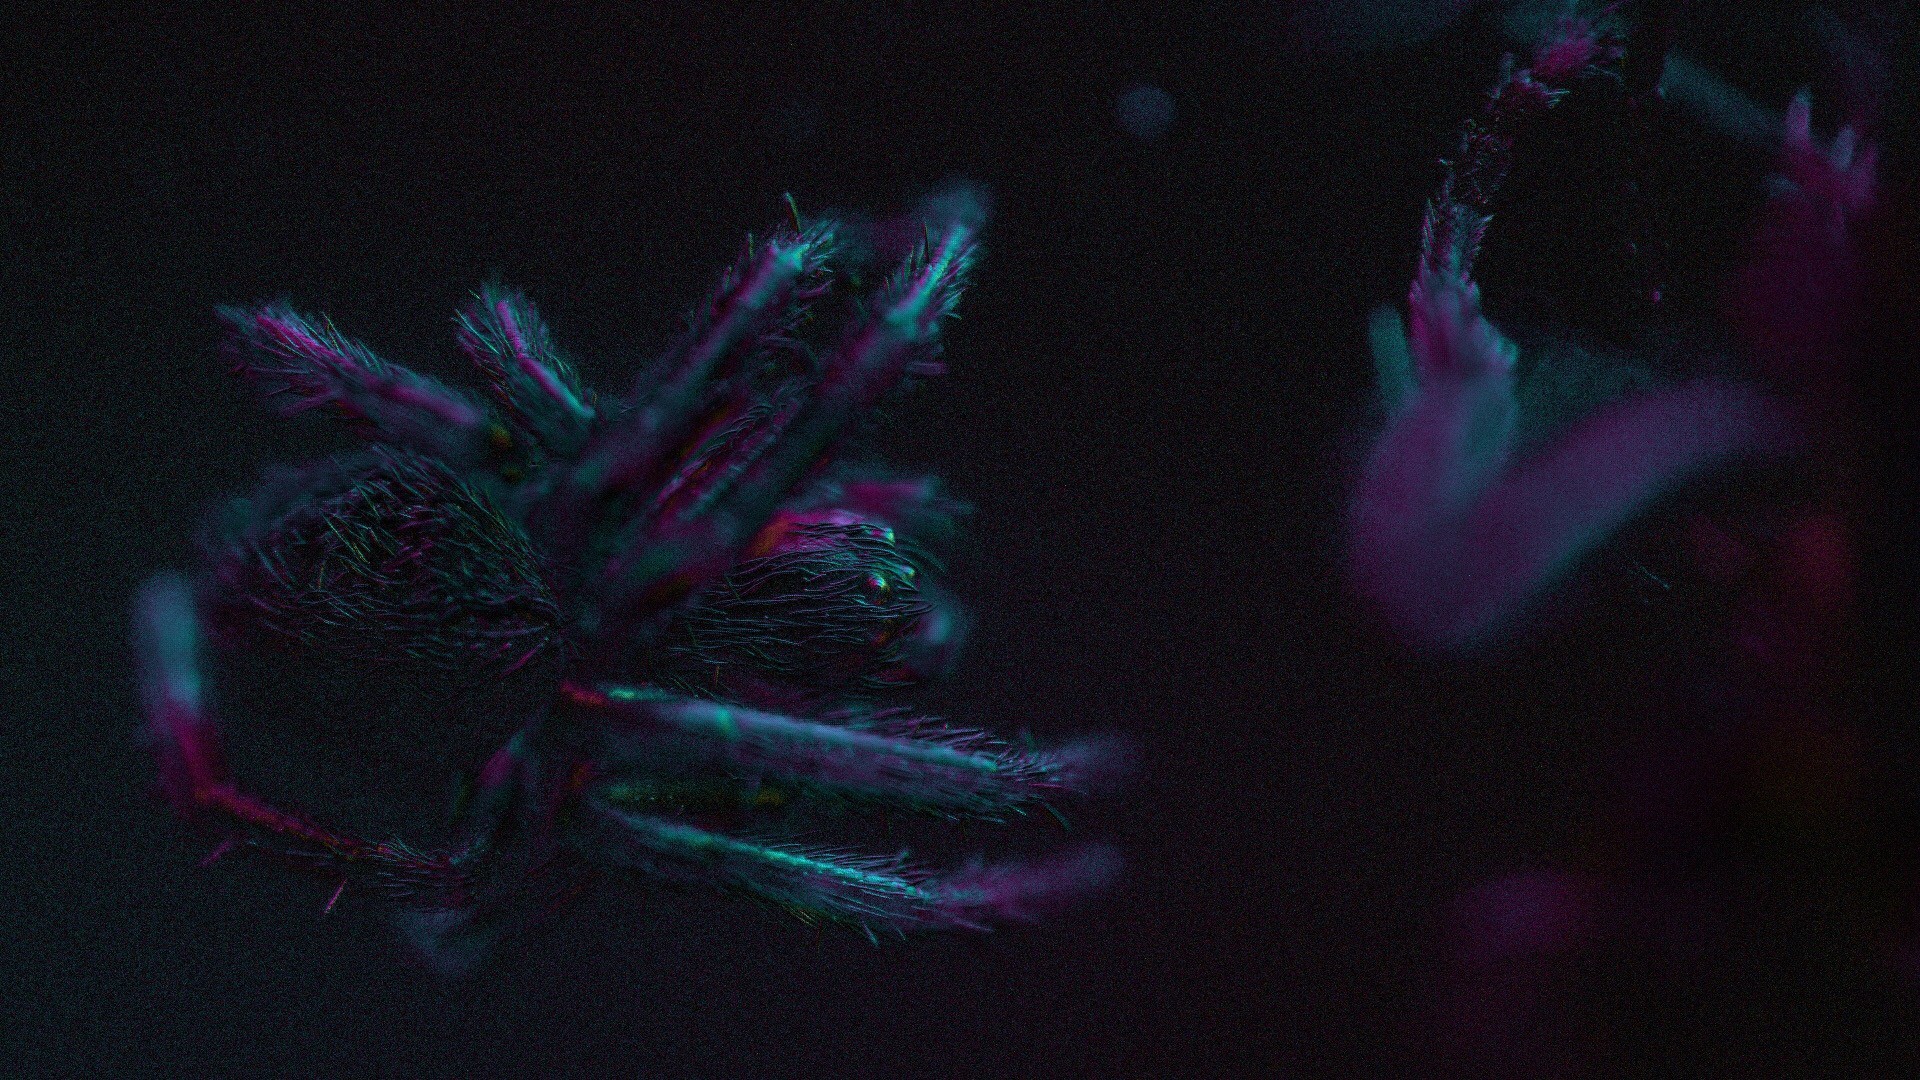
Random stuff under the microscope


 theschlem
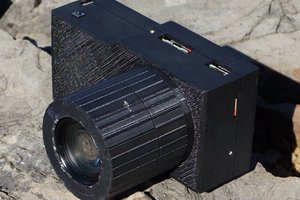
 Jacob David C Cunningham
Ive never seen polarimetric images like this but boy are they super cool! Have you been doing stacking/stitching at all? I'd love to see that with your hardware! Hope we can compare notes sometime.