 Leonardo Moreno
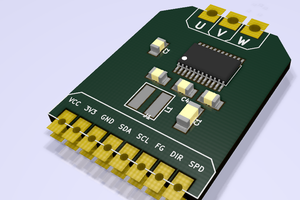
This is a handmade simple lightsaber,you can on/off LEDs manually,and it have s wooden clamp triggers plus a analog stick for general playing,comes with a mpu6050 gyro/accel for some additional movement based buttons
0%
0%
Motion Sensing Lightsaber Game Controller
A motion sensing controller for the "force sensitive"gamers,improve your gaming experience with this affordable gaming lightsaber.
Become a Hackaday.io member
Already have an account? Log in.
Just one more thing
To make the experience fit your profile, pick a username and tell us what interests you.
Pick an awesome username
hackaday.io/
Your profile's URL: hackaday.io/username. Max 25 alphanumeric characters.
Pick a few interests
Projects that share your interests
People that share your interests


 YJ Kim
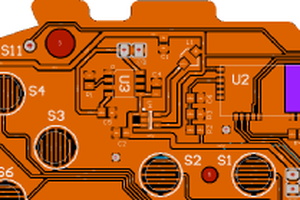
 Drew Tayman
 Josh Starnes
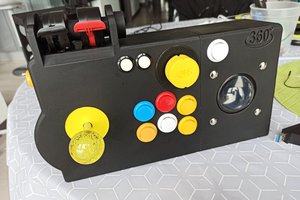
 SrBlonde