 techknight
So in order to make this system useful in any way and now that we are capable of assembling and running code, we need to come up with some method of booting the system into an initial state and running it.
Because the ROMs are only so large, and the running program would be very dynamic especially during the debugging stage, the current line of thinking would be keeping the ROM very simple in nature with basic self tests/checks, and downloading binary into RAM and executing it.
One method would be using a pre-made 68K ROM monitor that would have been made back in the 80s at least, and using the RS232 port on the back of the unit. But, i would have to modify the codebase for the architecture we are dealing with, and writing a driver for putchar, getchar, etc for this particular I/O card and protocol. That is certainly an option!
But... In typical me fashion, I decided to roll my own. The original ROM is very specific to the original data card and how it worked, plus there are other goodies in the original ROMs that we will get to later like VRTX-32.
The first part of this though is to do some basic stuff like testing RAM, spitting out characters from the RS232 port on the I/O card, things like this. So I wrote all the pre-startup and initialization code first.
This required a lot of debugging, and re-burning ROMs back and forth.
Because I needed to see each stage of the ROM startup process with some visual indicator, Remember the bargraph LED display I put onto the Data card? Yep! that came in handy...
For each routine I wrote, I bumped the LED indicator by one. this way, if something were to crash/die I knew where approximately, just not what...
It was time to start writing the framework of the ROM/Bootstrapper
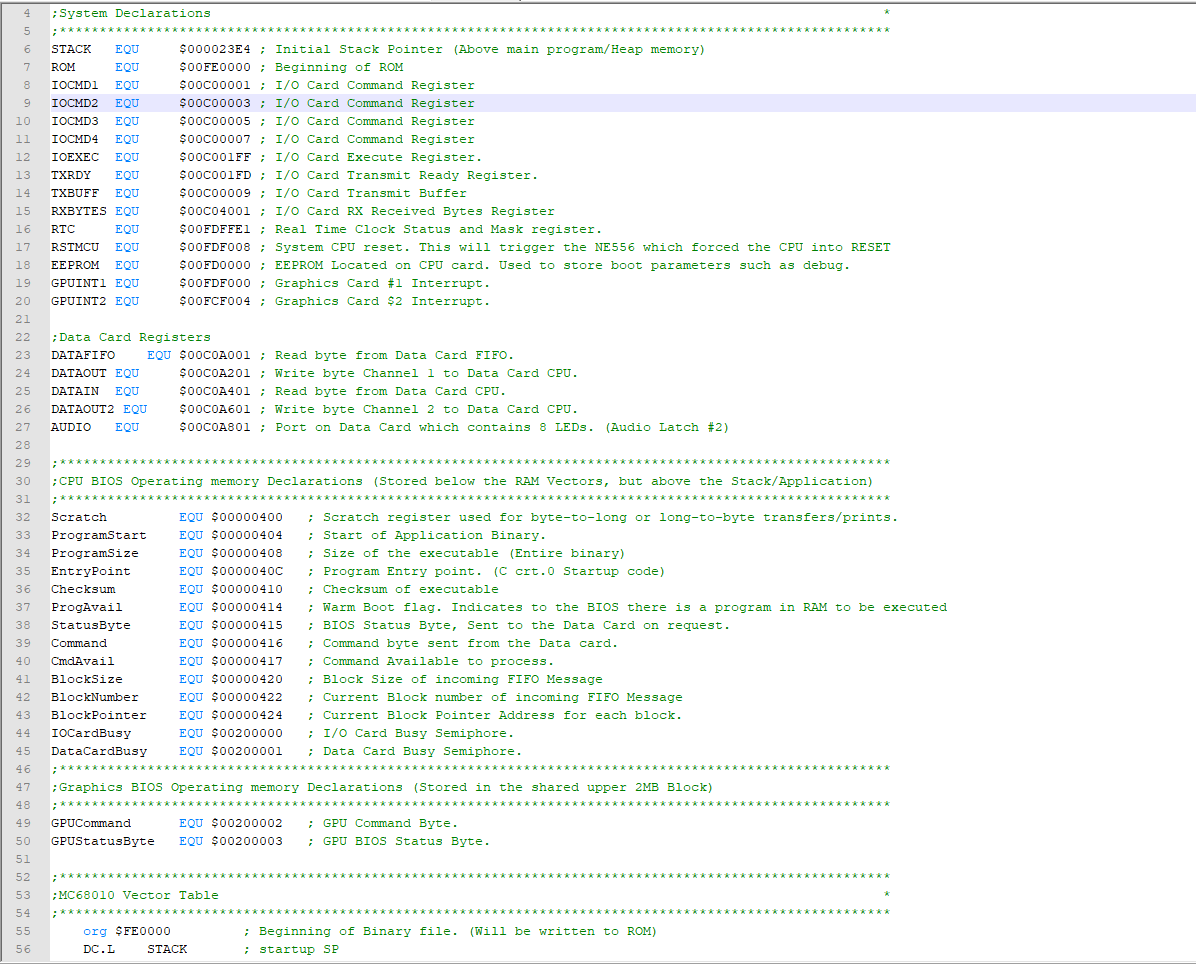
The beginning of the startup code for the CPU's ROM looks about like this:
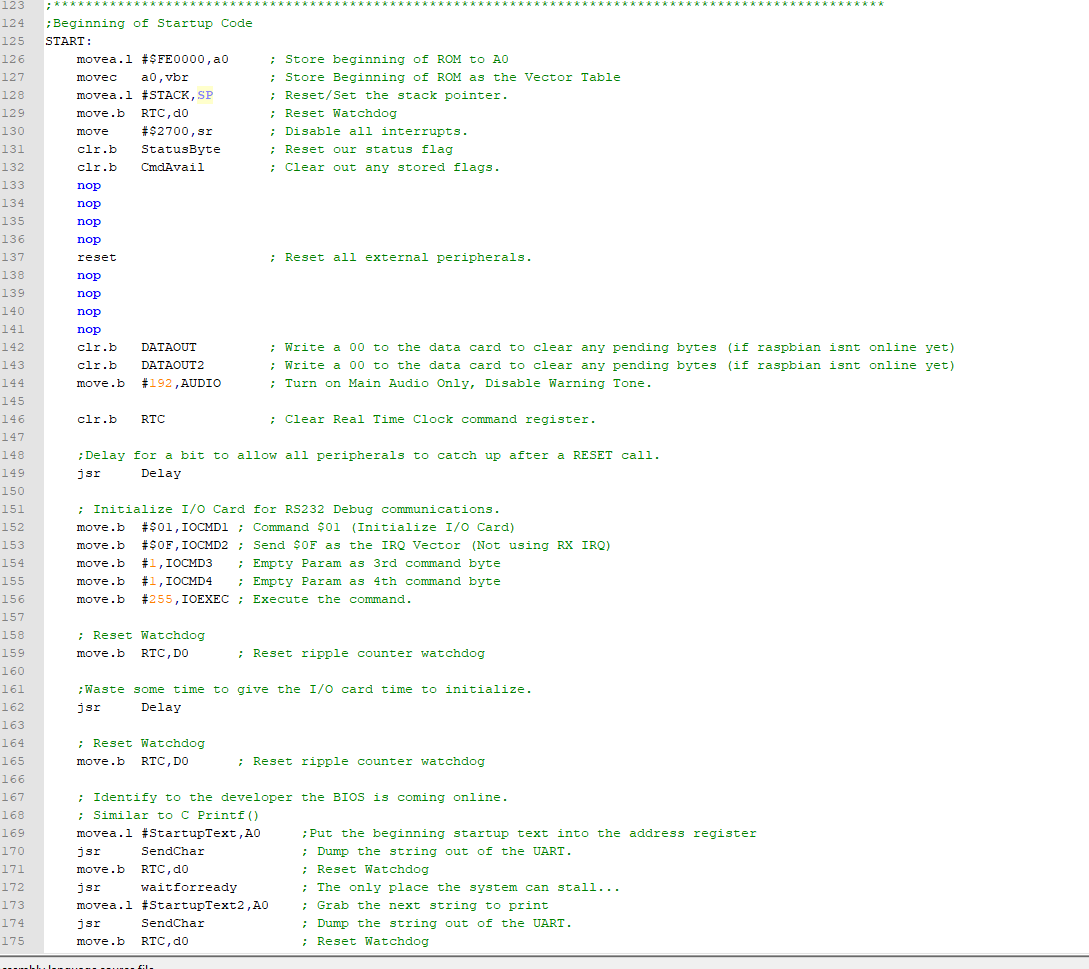
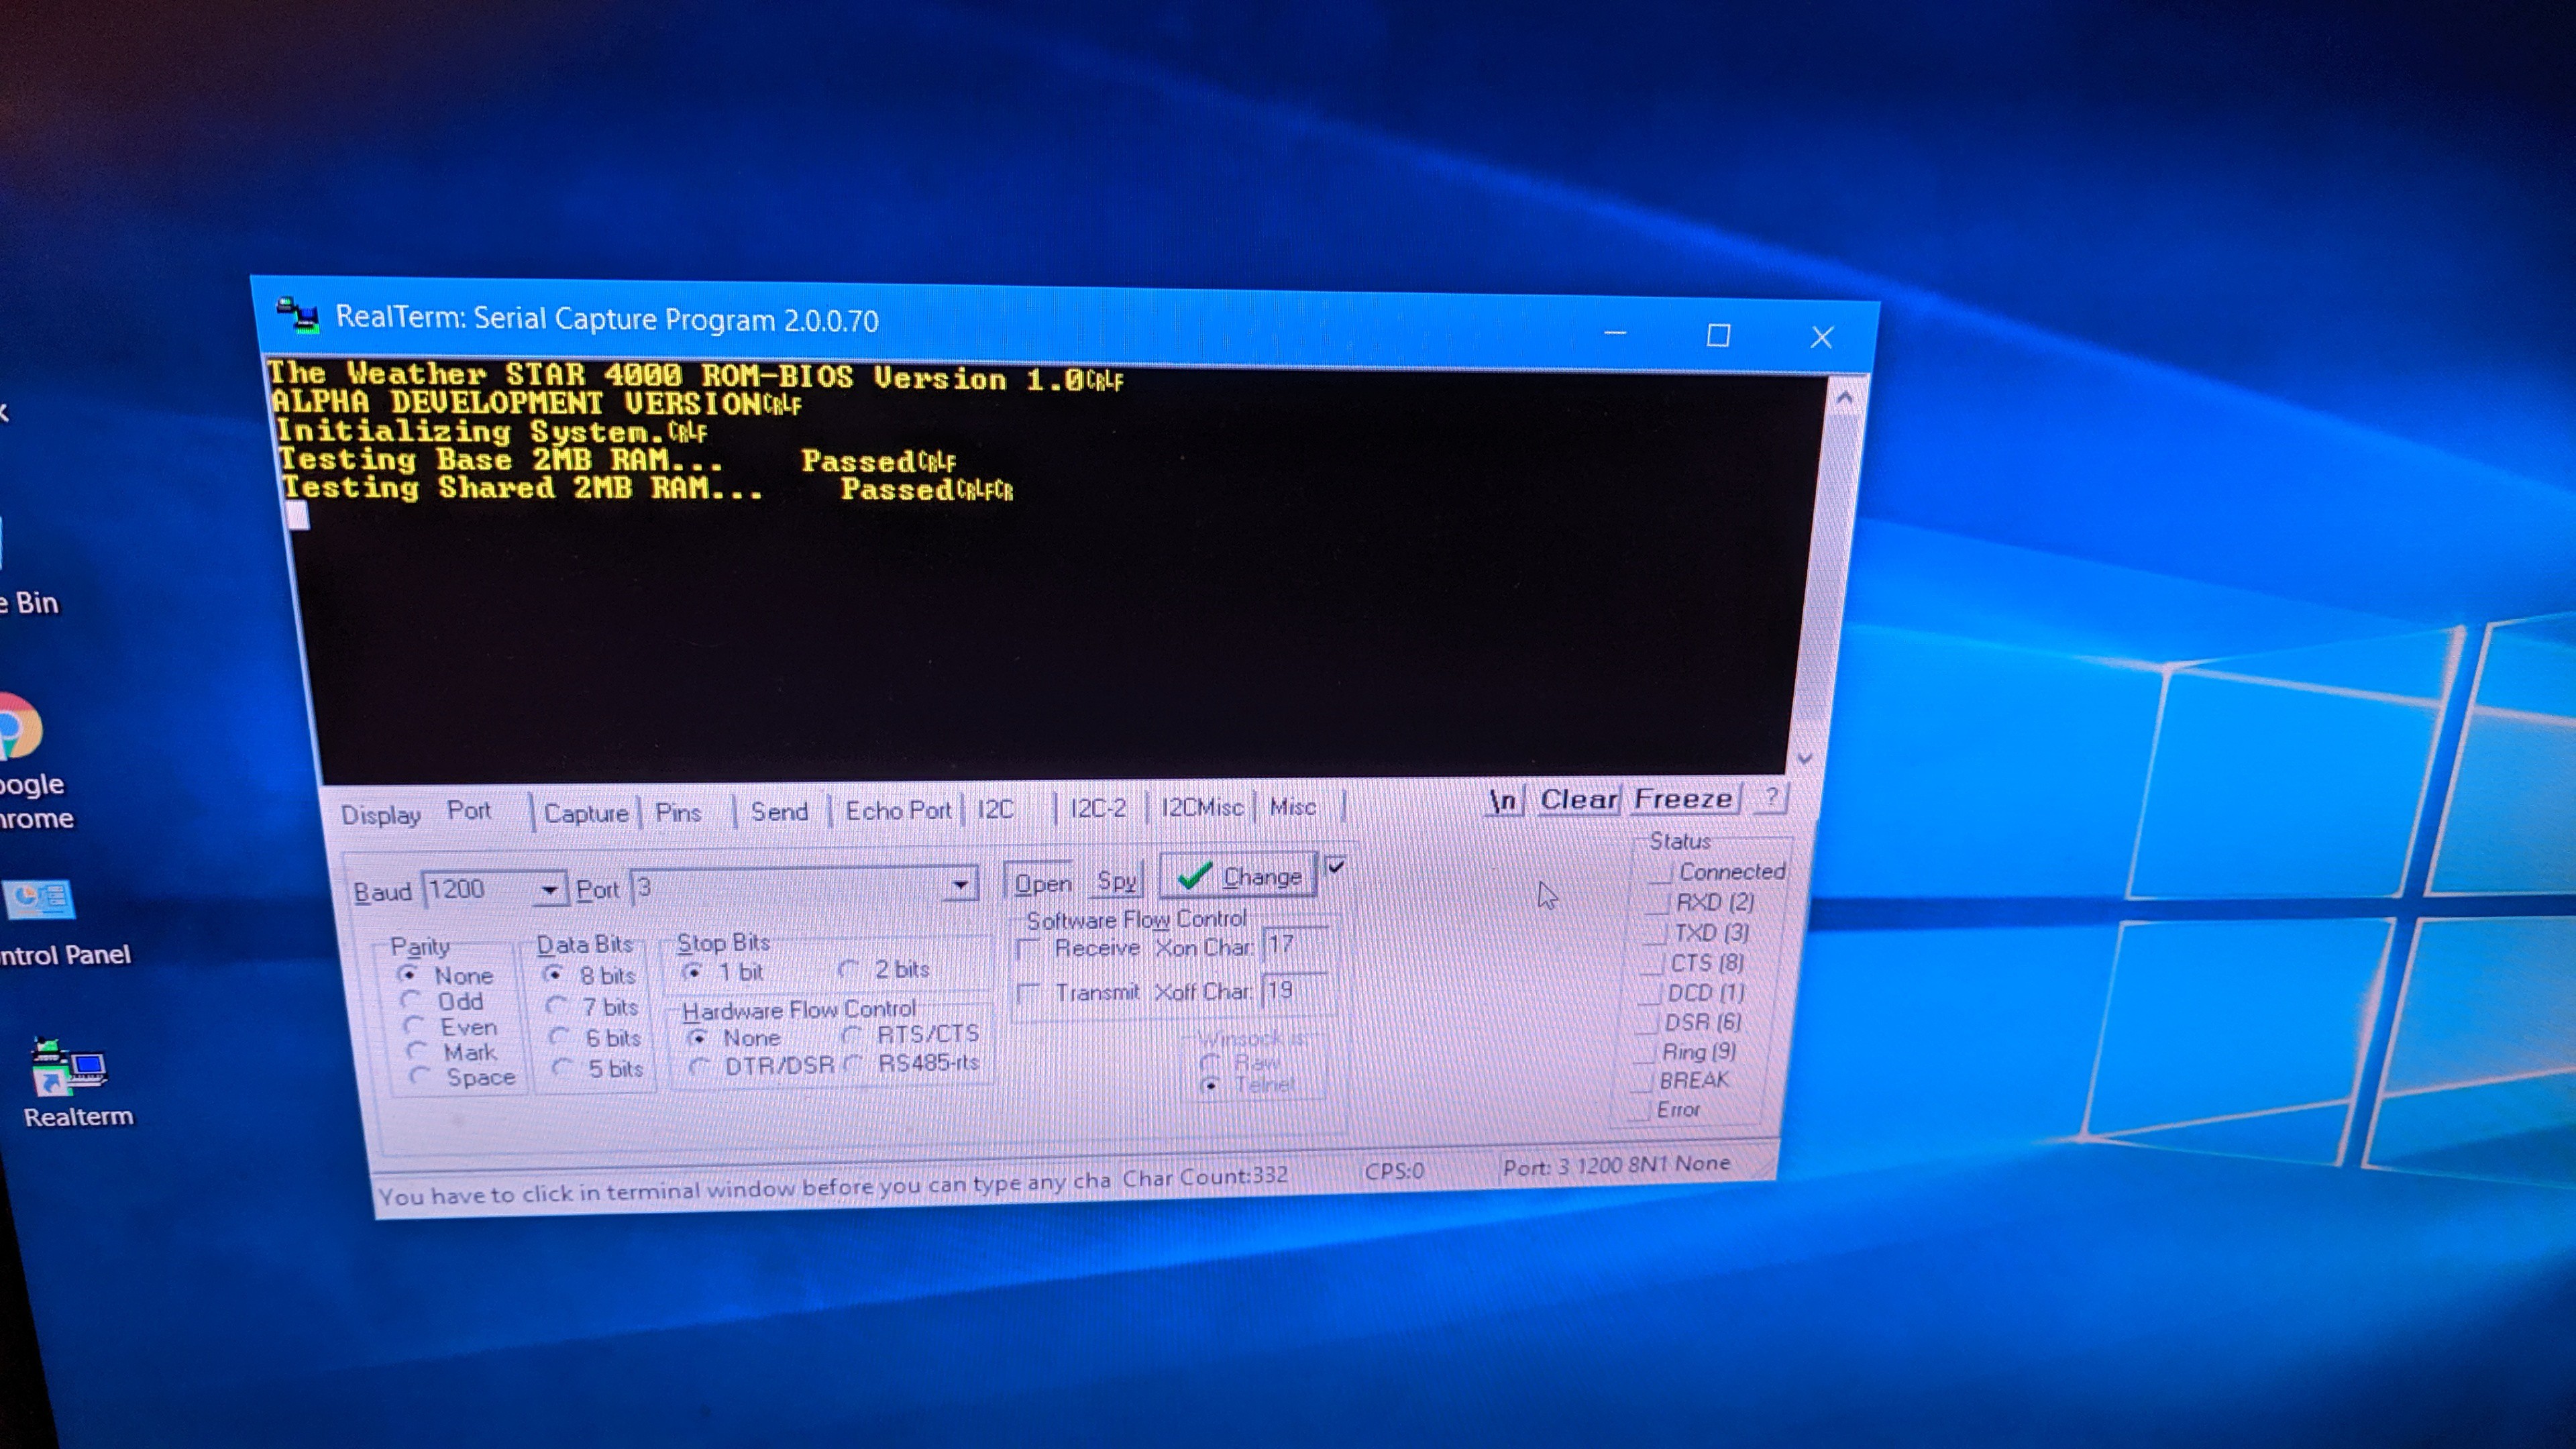
That is basically it. Now that we have the startup code written and lots of debugging over and over later, we get this:
Presto! we have a very primitive bootloader that is able to output to the RS232 port as well as indicate a status of where things are on the LED bargraph display.
Eventually I added RAM test routines which were a bit slow, but they worked:
And that's it for the first part of the ROM bootloader. Again, we have not working on the GPU side yet but that will likely be much of the same.
Next we need to write the handling protocol between the bootloader and the data card.
Discussions
Become a Hackaday.io Member
Create an account to leave a comment. Already have an account? Log In.