 Jorge Miar
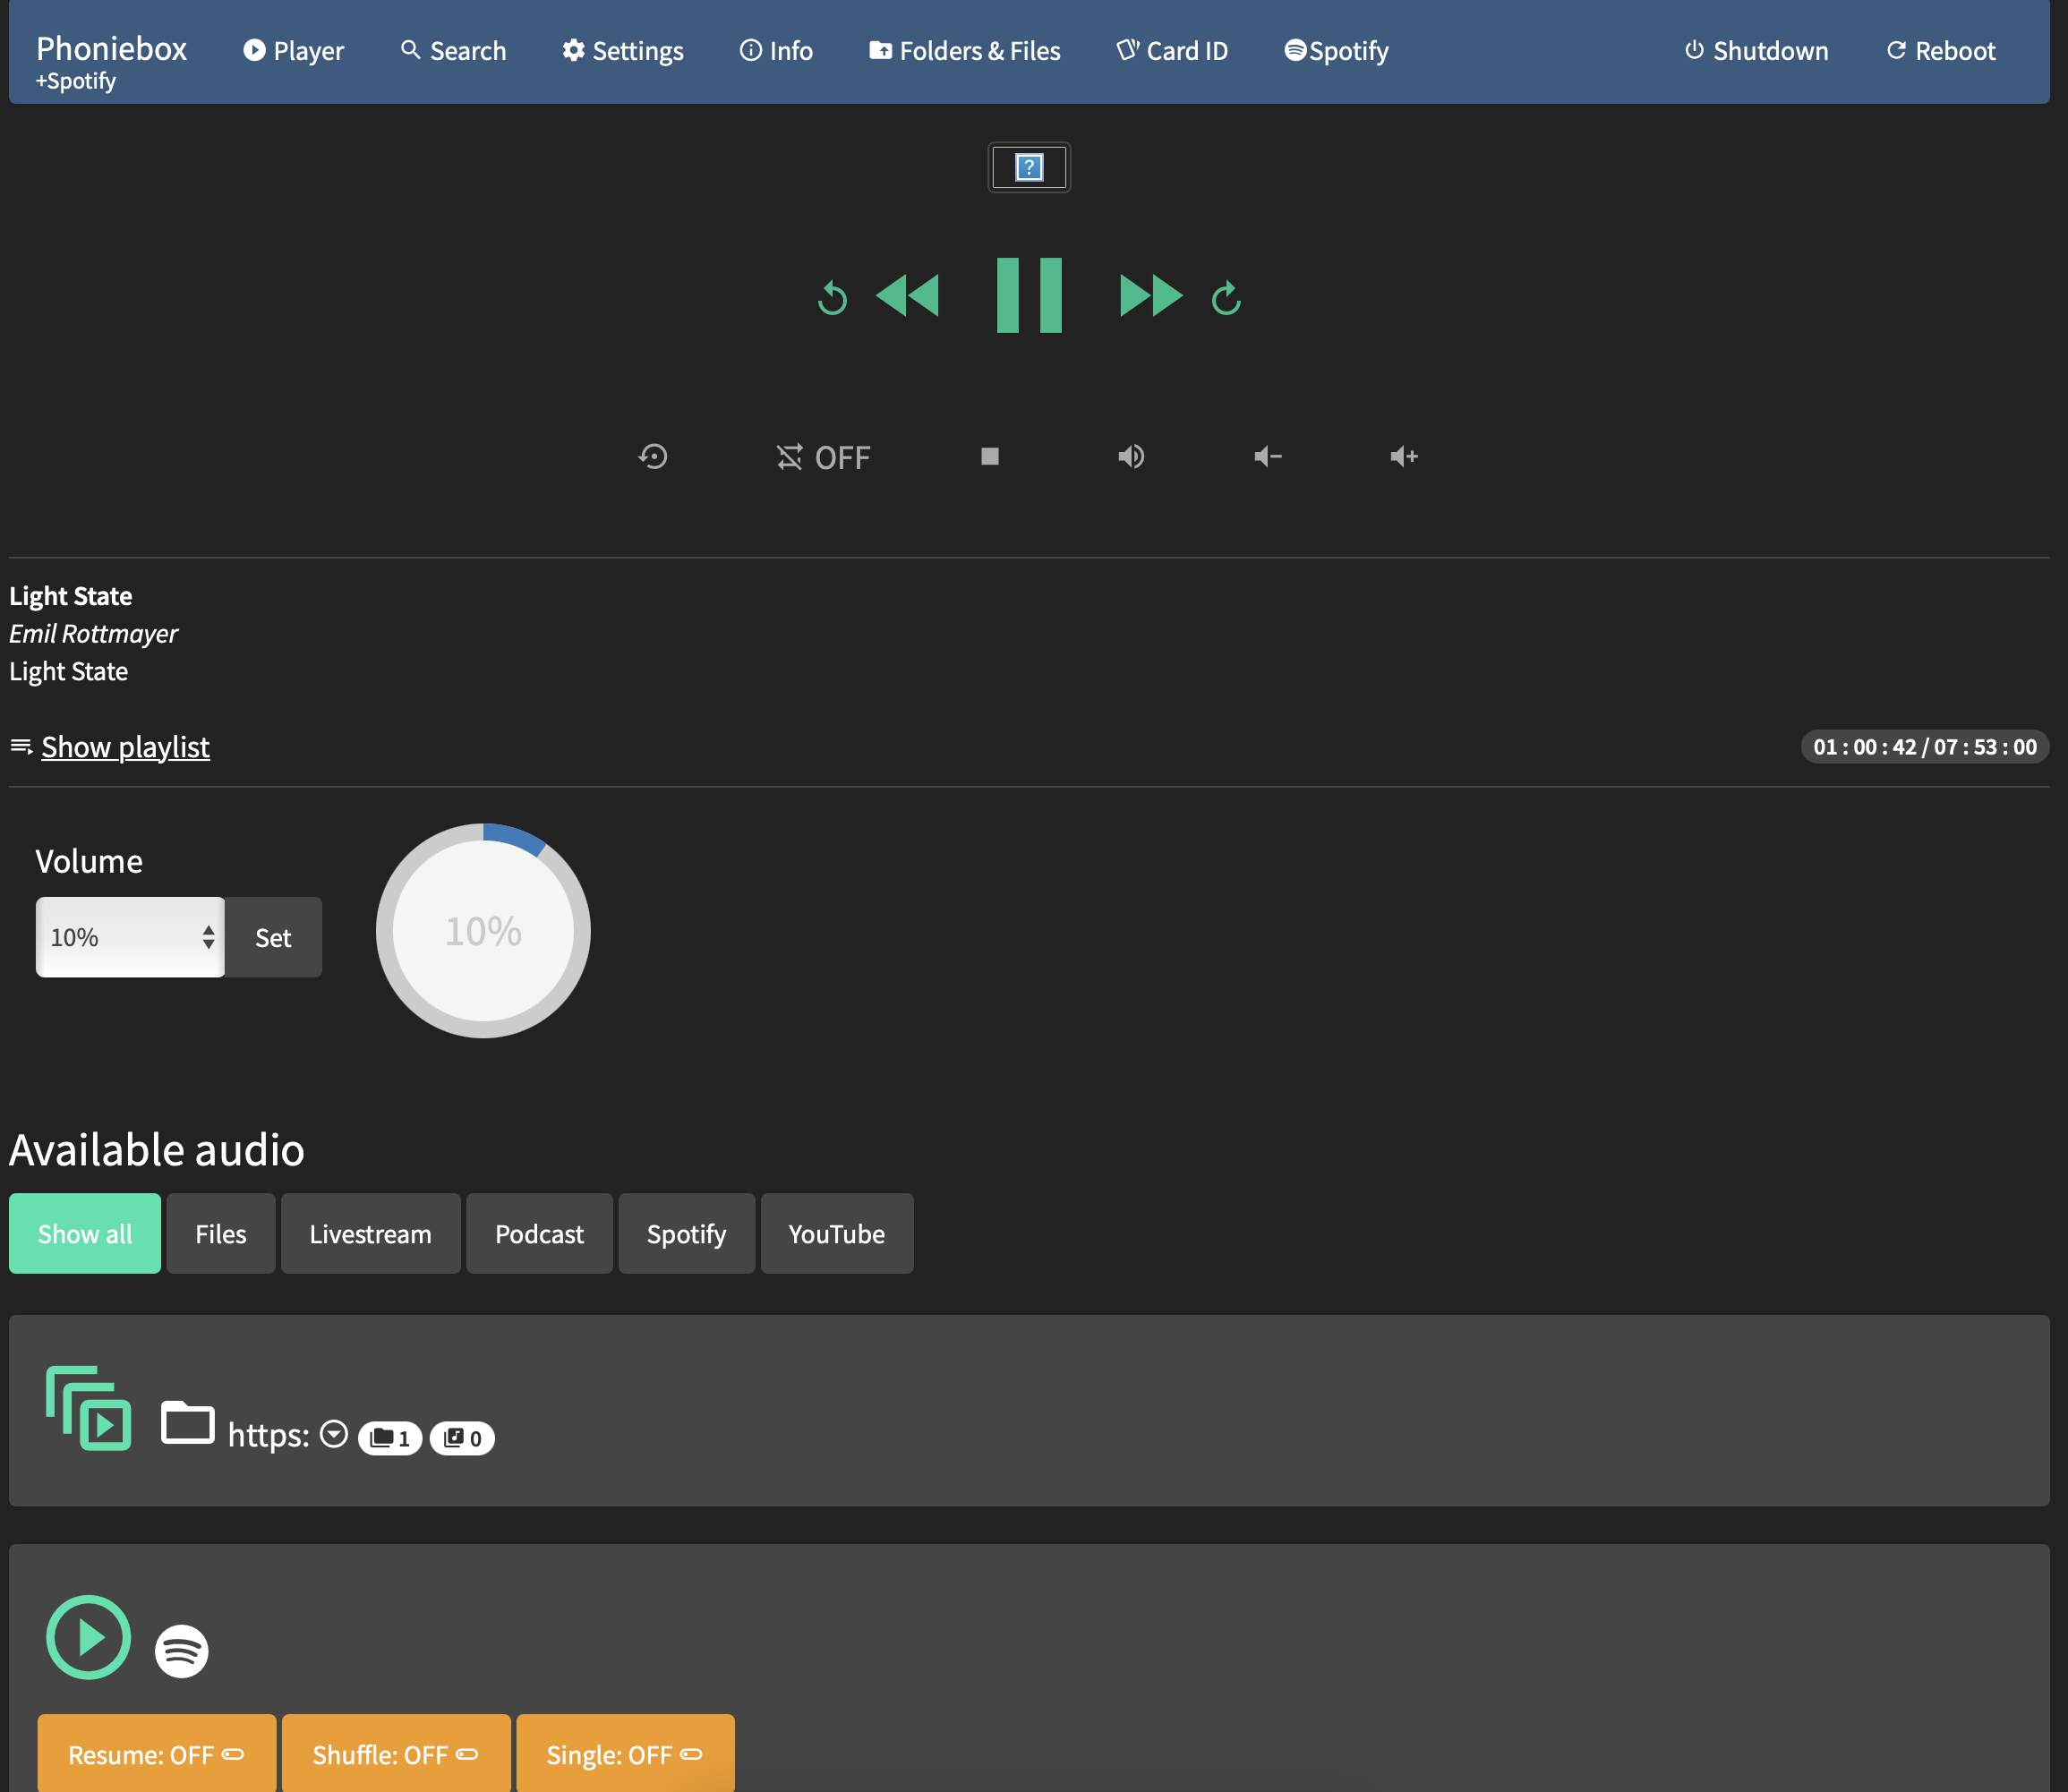
The boombox is running Raspberry Pi Os Lite with Phoniebox which streams songs directly from Spotify using mopidy (you will need a Spotify Premium account) and provides a convenient web interface that can be accessed through the Pi's IP address. The web interface allows you to monitor and control playback, change settings and register new cards!
Tools I used are: Soldering Iron, Glue Gun, Wire Cutters, Screwdriver, Dremel/Angle Grinder
Hardware
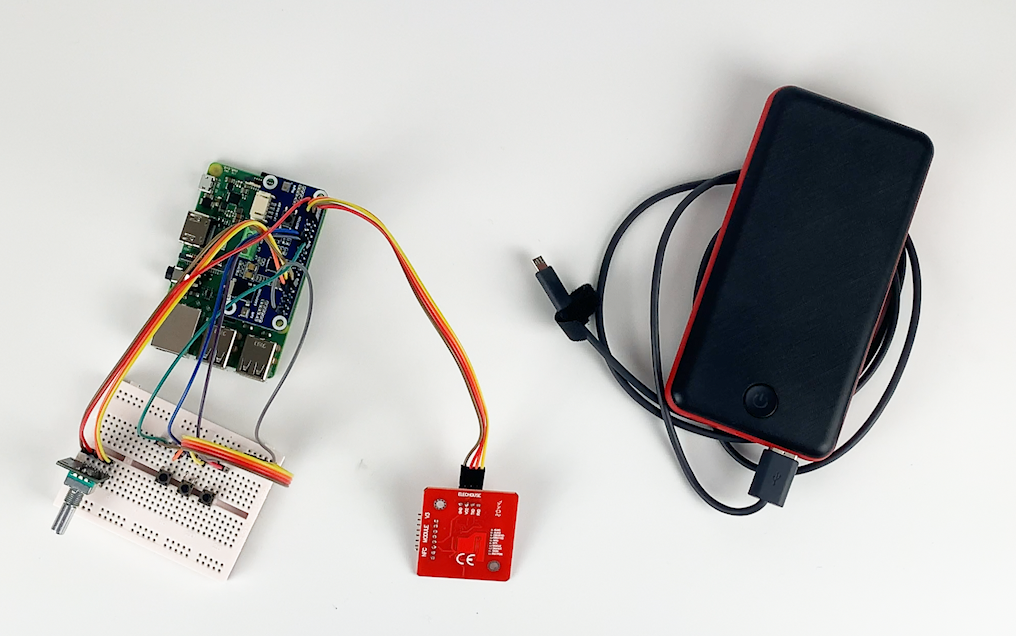
Check out the video above to see how I put everything together! For a wiring guide see my github wiki.
- I used a Raspberry Pi 3B+ because I was originally planning on using Pimusicbox (which said it didn't support the Pi 4)
- I got a WM8960 Audio HAT which plugs into the Pi's GPIO Pins to be able to wire the speakers up and get better sound output. It communicates using I2C. Check the rating of your speakers and amplifier when connecting them to make sure they're suitable for each other. In this case, the original speakers are 6Ω 2W and the Amp can supply 1W per channel for 8Ω BTL. I choose this amp because it was easy to connect, didn't require an additional power supply and had GPIO pins that I could still use.
- The PN532 NFC/RFID reader also uses I2C to communicate with the Pi. It doesn't seem to clash with the WM8960 even though they share some pins.
- To control the music, I used the available contacts on the boombox for the Play/Pause Function. Keep in mind that your boombox might have a different mechanism or electronics, so you might have to adapt your design. I also wanted to implement Previous & Next song buttons, however, the buttons on the cassette player were mechanical buttons as they are meant to be used for fast forward and rewind. Because of this, they aren't actually wired to anything and normally stay "latched" when you press them down. To go around this, I removed the little metal tabs that latch them in place and added some push buttons internally right below them, so that when you press the original buttons it pushes on the push button internally. The location and way I placed them was not ideal, but I didn't have a 3D printer or additional materials to design a better solution. All buttons are connected directly to the GPIO pins and GND on the Pi, which were set to "pull up=True" to use the embedded pull up resistors.
- There is currently no On/Off button but this can be added. I currently turn it off using a web interface.
- The volume is controlled using a rotary encoder I glued in place to replace the previous potentiometer.
- Everything is powered using a 27000mAh power bank which can output 5V at 2.1A or 3A.
- I cut out the old battery compartment using a small angle grinder to add additional space for the Pi and Power bank inside the housing.
Software
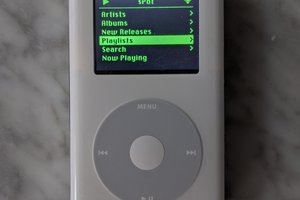
On the software side of things, I found an amazing project by MiczFlor called Phoniebox. Big thanks to him and other contributors which made the software quite easy to set up. The Phoniebox project uses Mopidy in the backend to stream music from Spotify, Soundcloud or other services whenever it detects a new RFID/NFC tag. You will need a Spotify Premium account to stream from Spotify. It already has everything required to support RFID/NFC Tag reading, GPIO buttons and rotary encoders, so you just need to configure some files to make it work with your set up! I had to modify some of the source code to work with what I was trying to do (eg. play music while button is held down instead of clicked) so check out my changes in my forked repo.
I'm working on a step by step guide in my repo's wiki, but the overall steps are:
- Consider which mopidy services you want to use (I only tried Spotify as that is the only officially supported one by Phoniebox). Get your personal API keys from https://mopidy.com/ext/spotify/ which you will need to use in your config...
Read more »
 Guy Dupont
 Idrees Hassan
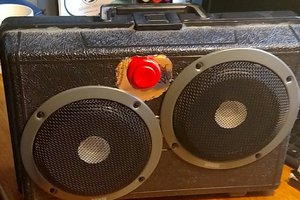
 Matthew Gorr
 Grégory Paul
You really did a great job by doing this. i want to do embed this for my webpage. You can see here https://spotifyvision.com/spotify-premium-apk/