Password Typer
...or perhaps the smallest, most portable macro keypad :)
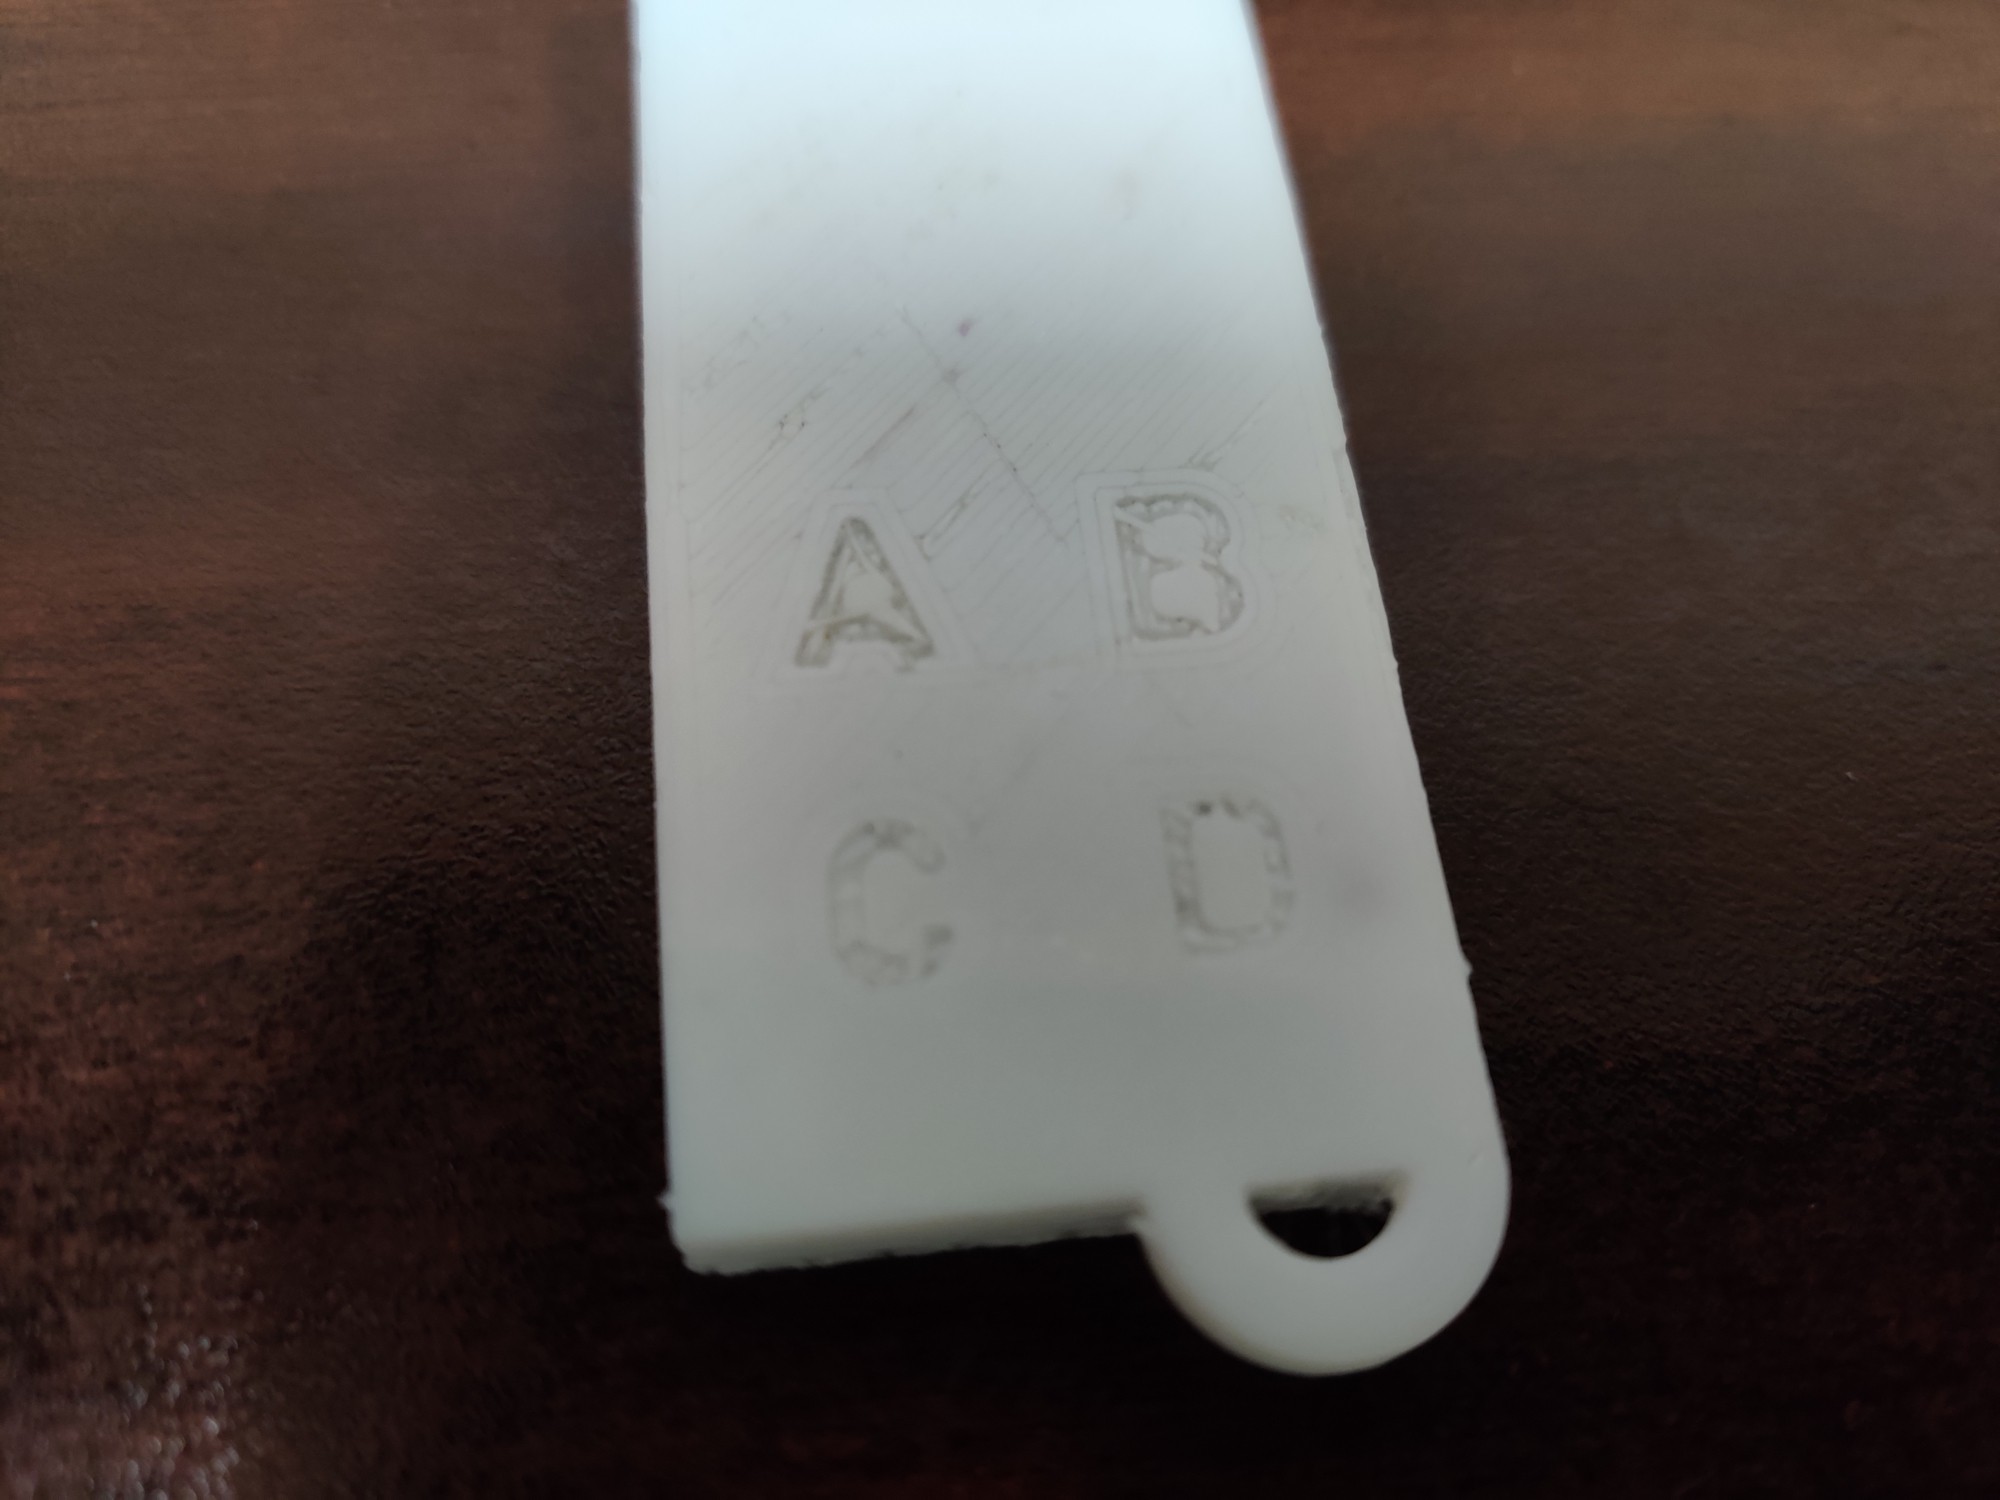
People in my department are complaining about the random-garbage passwords I had KeePass generate to secure our admin account. I've suggested that they get KeePass and learn how to use it (it's useful in plenty of other ways besides generating secure passwords and remembering them for you), but they haven't jumped on it just yet. I then came up with this idea: a small gadget that plugs into a USB port and types in the admin password for you. Since we have more than one, there's more than one button. Basically, you can set it up with up to four strings that it'll spew out on each keypress.
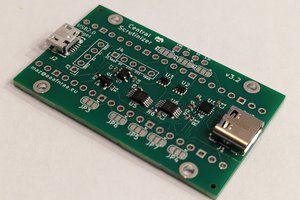
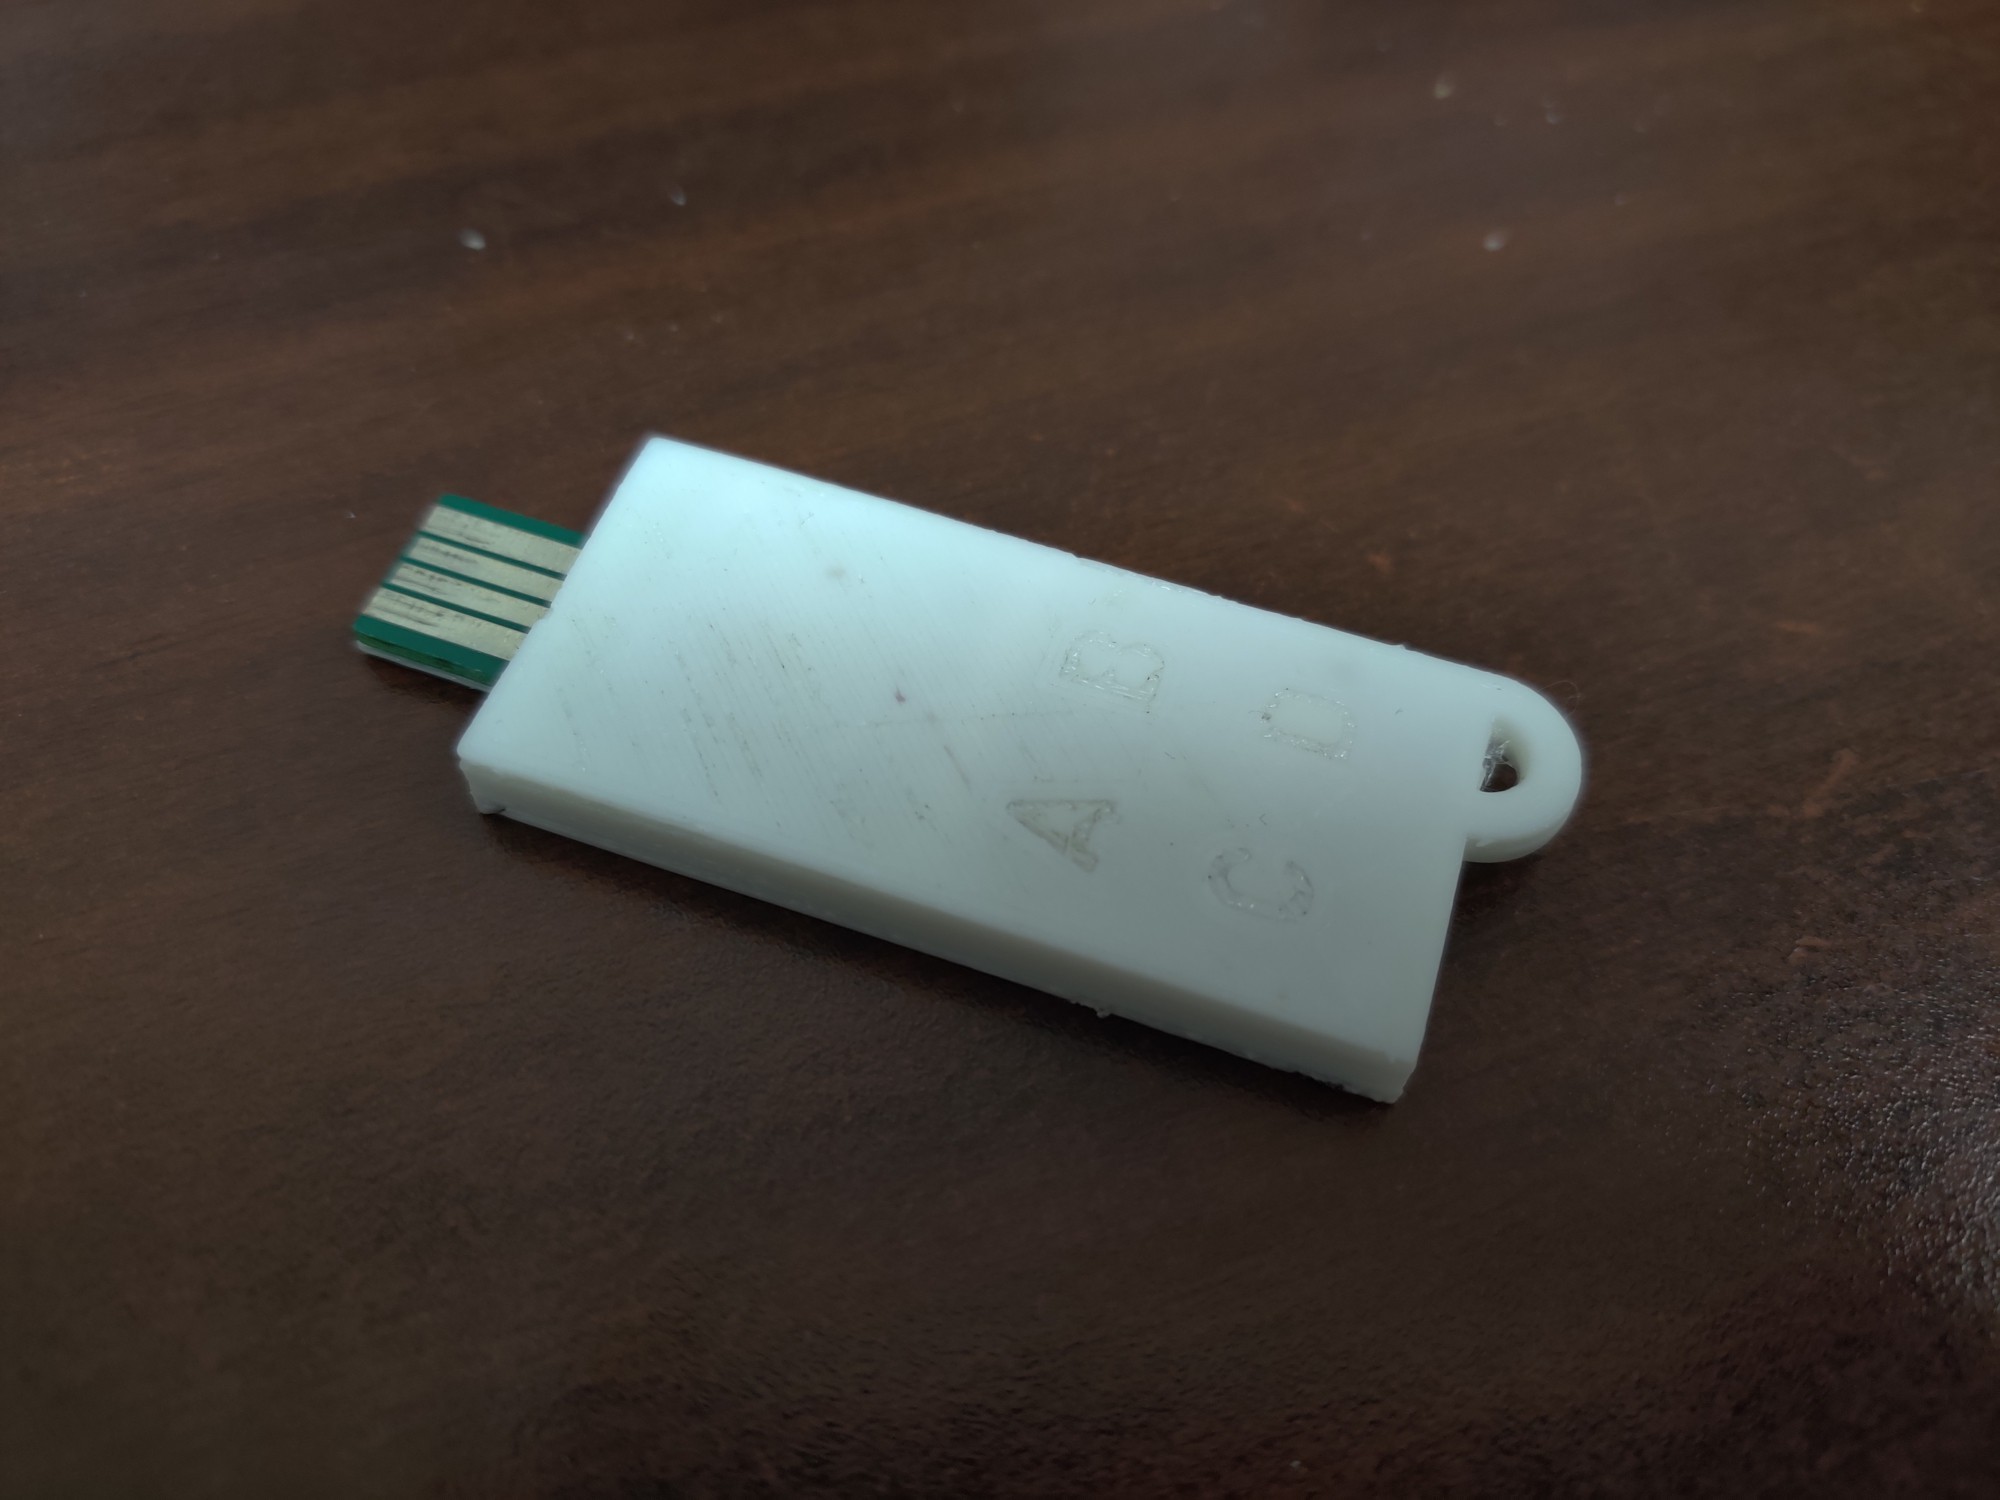
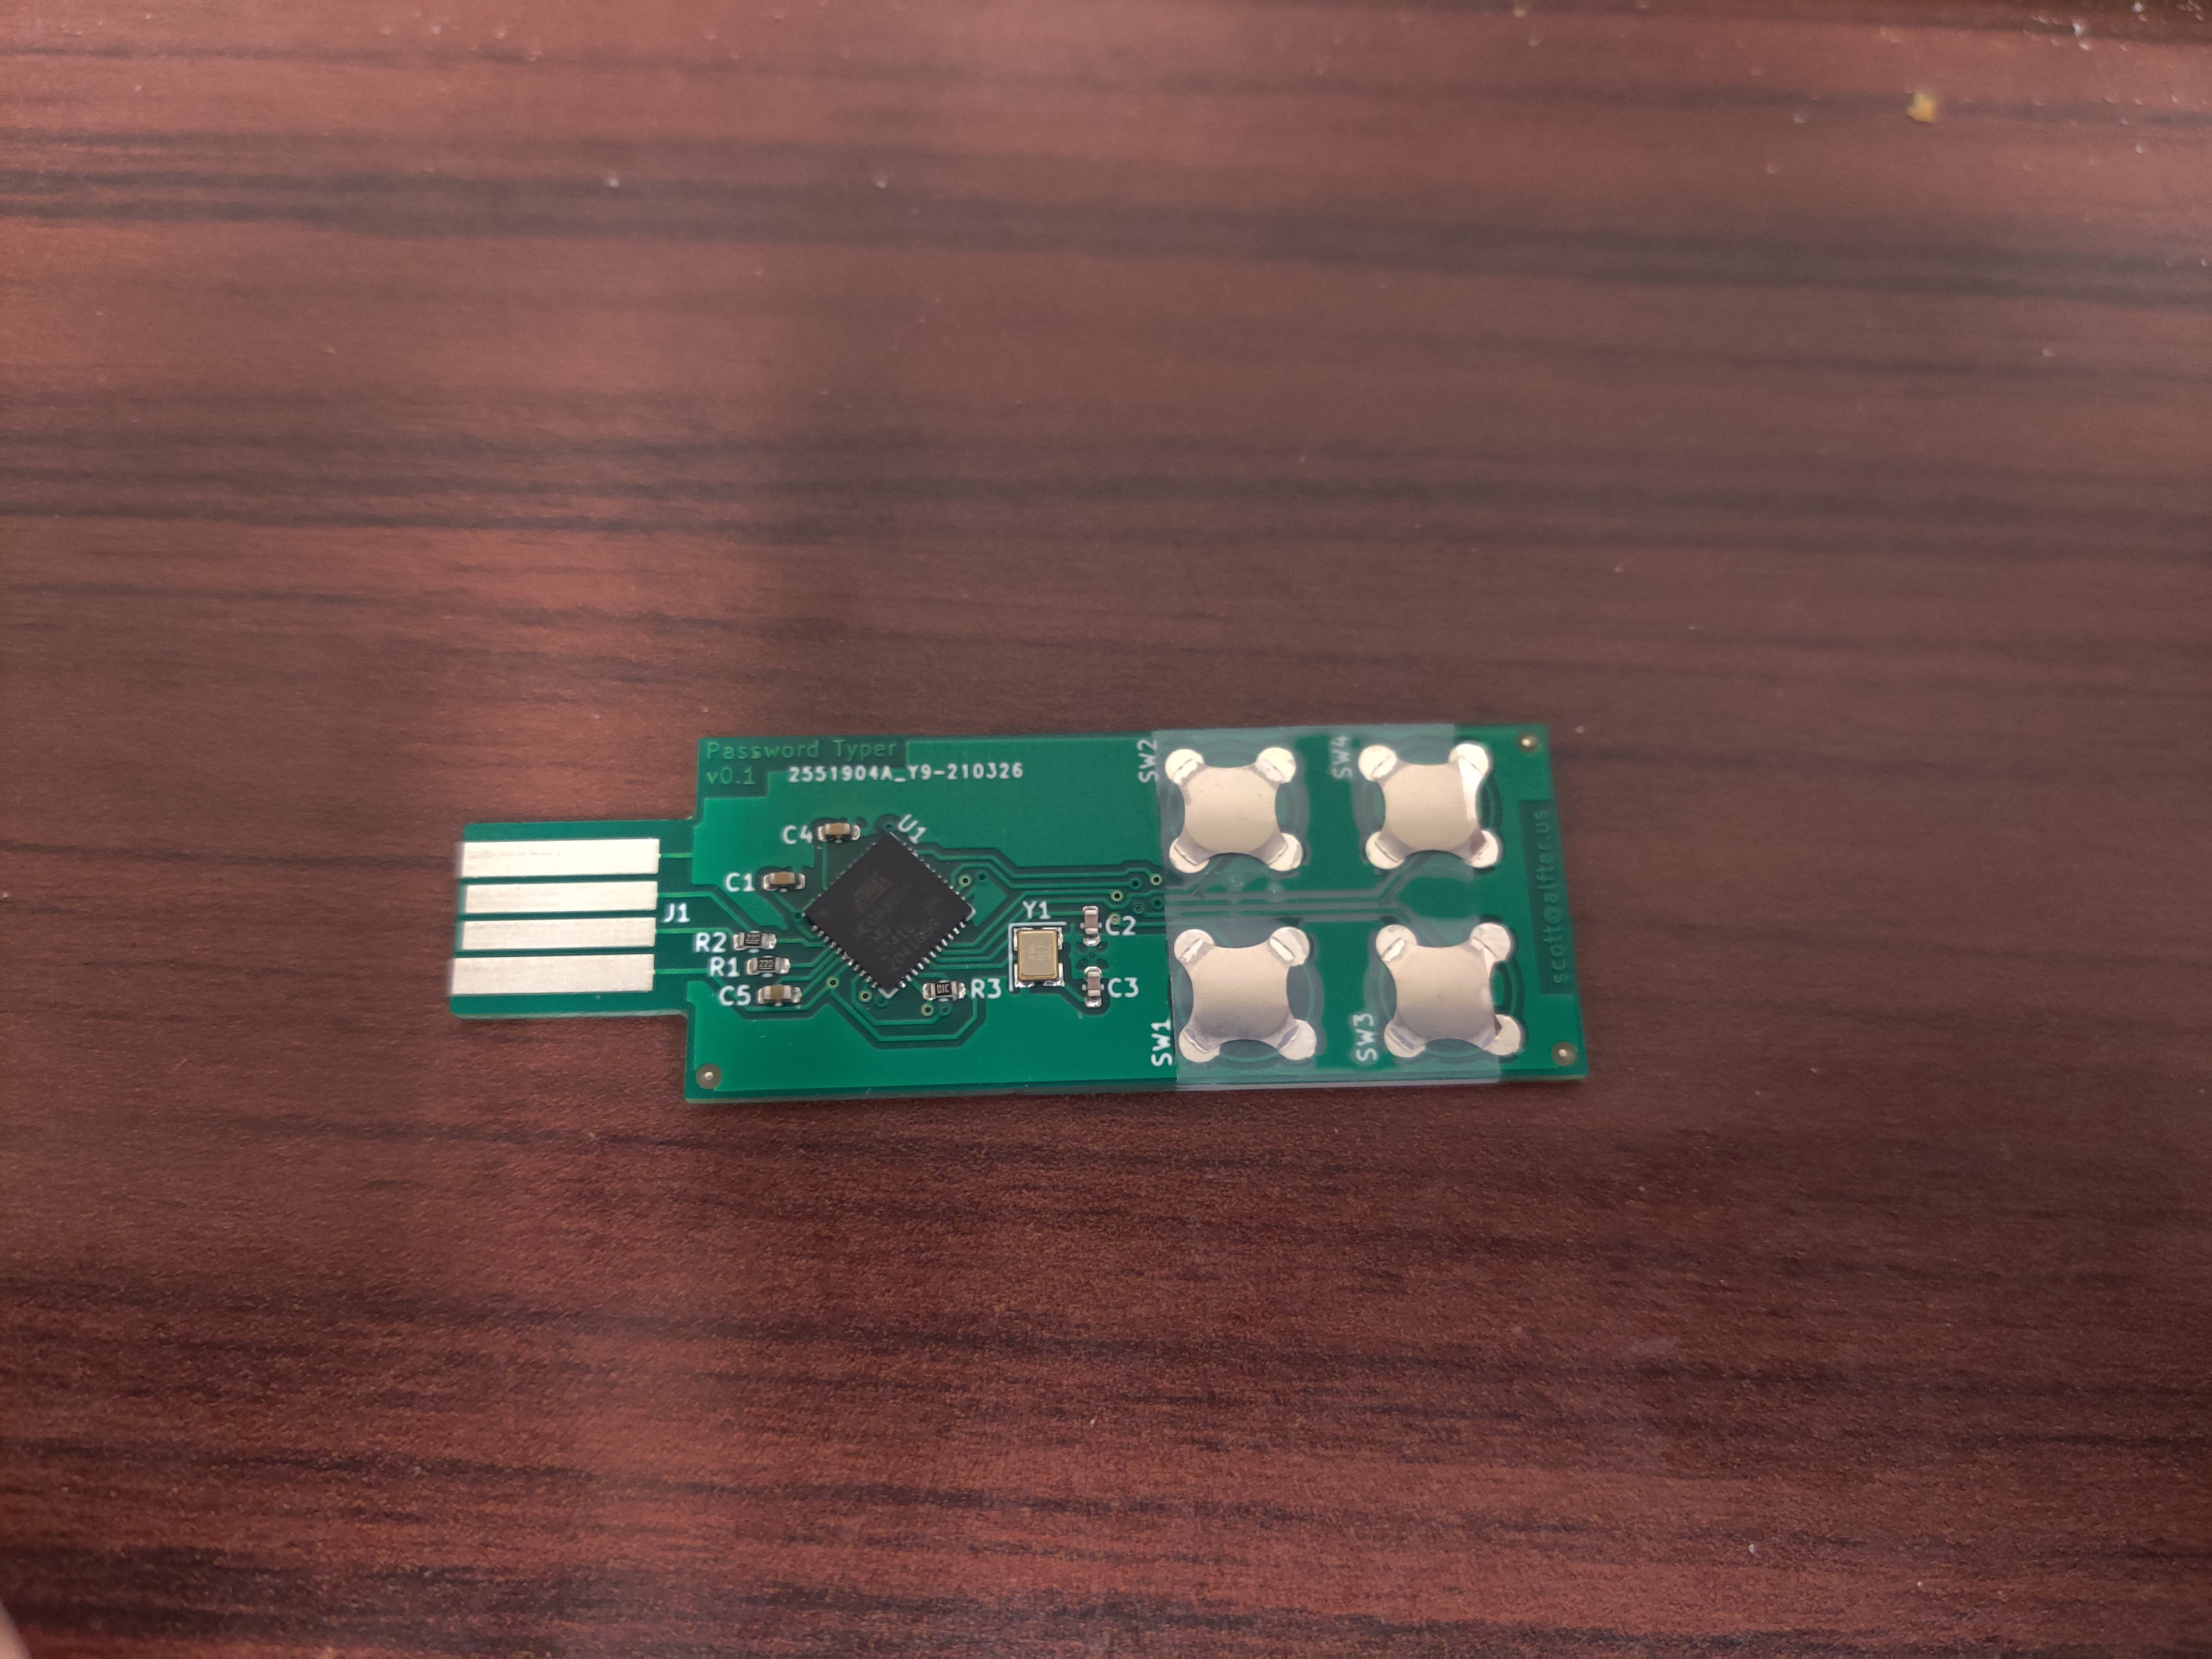
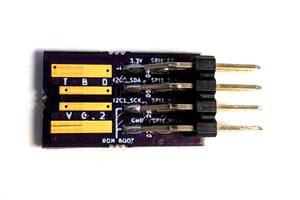
I'm trying to keep it as small as possible, so that it'll be easy to keep with you all the time. The USB plug is part of the PCB, so it adds no height. Metal dome tactile switches add hardly anything to the height. Even with a 3D-printed enclosure (yet to be designed), I'm expecting it to be just a few millimeters thick.
In addition to showing up on your computer as a USB keyboard, a serial port is provided through which you can configure the device with any terminal program. Set it to 9600 bps 8/N/1, hit Enter to show the help, and set it to type whatever you want it to type. I suppose a point-and-drool configuration tool could also be written to use this interface, but I don't personally have need for such a thing. :)
Technical Details
Board design is in the kicad directory, and pulls in my KiCad library as a submodule. Firmware is in the src directory and is built with PlatformIO, running under VSCodium. The source is easily adaptable to a greater or lesser number of keys.

 ajlitt