 Julie Barrett
This is the trickiest bit, and I got it done!
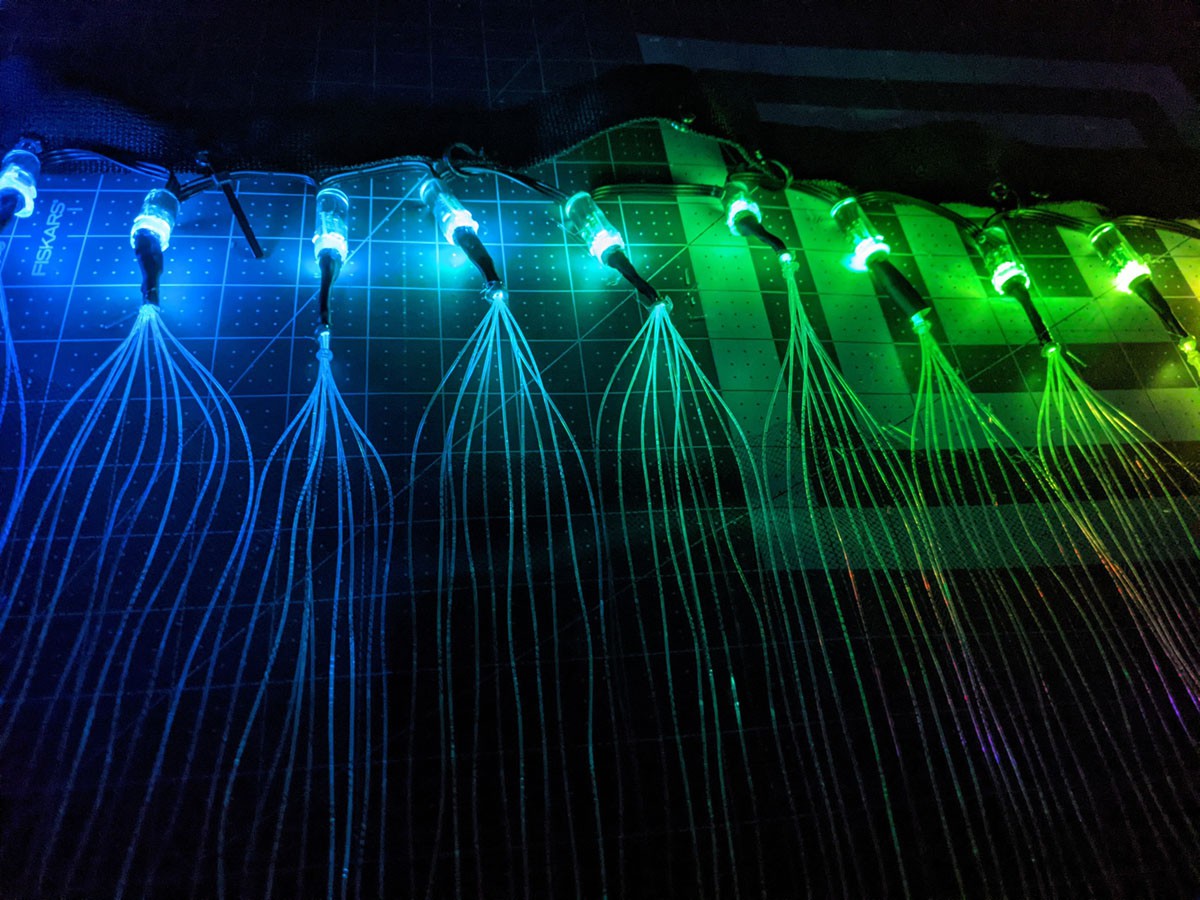
I made bundles of about ten fibers each. Some had a bit less, some more. These pictures are of a test piece I made with some short fiber optic cables and a single light. I wanted to be sure I could do this reliably before I potentially ruined something.
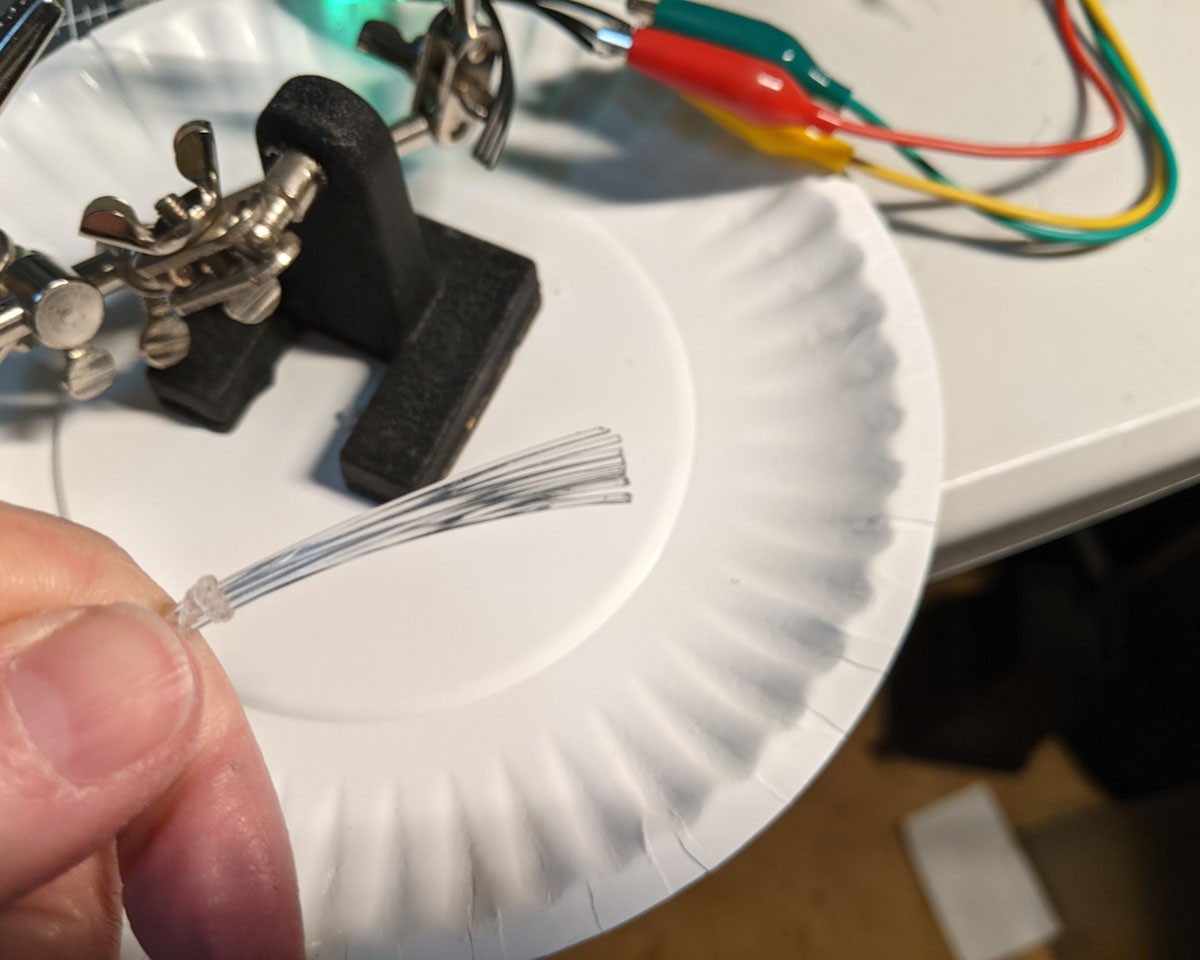
As you'll see in a moment, the diameter of the light is larger than the diameter of the bundle. What to do? The original instructions mentioned using electrical tape. I live in Texas, and can't imagine electrical tape holding all of this together. I expect it would get all melty.
The other option that came to mind was heat shrink tubing. But what to do with the different diameters? My husband and I sat down and came up with a solution. It's not pretty, but then, this is all hidden, so pretty is secondary to something that works.
The first thing I did was to expand one end of the heat shrink tubing using needle nose pliers.
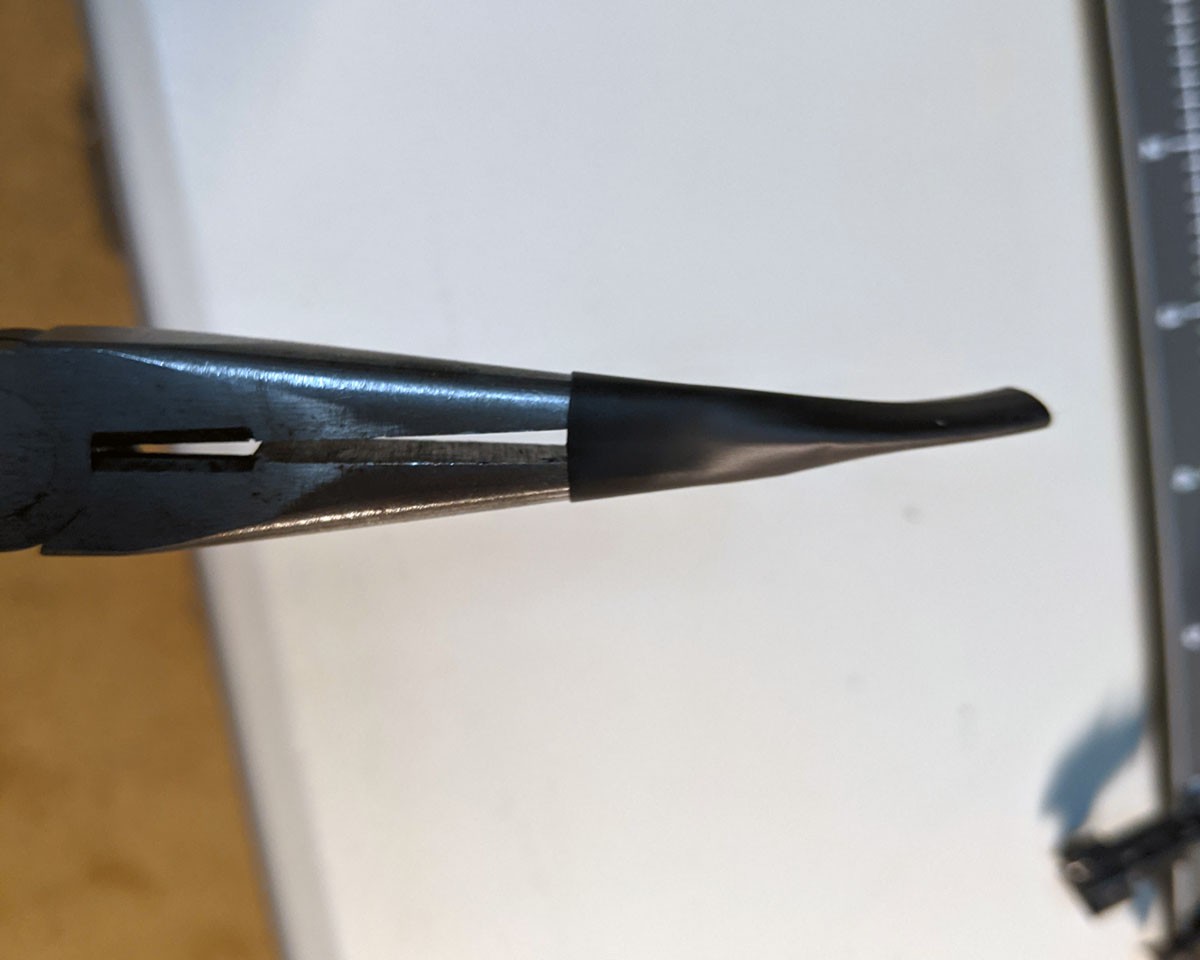
Now the tubing will just slip over the end of the bulb.
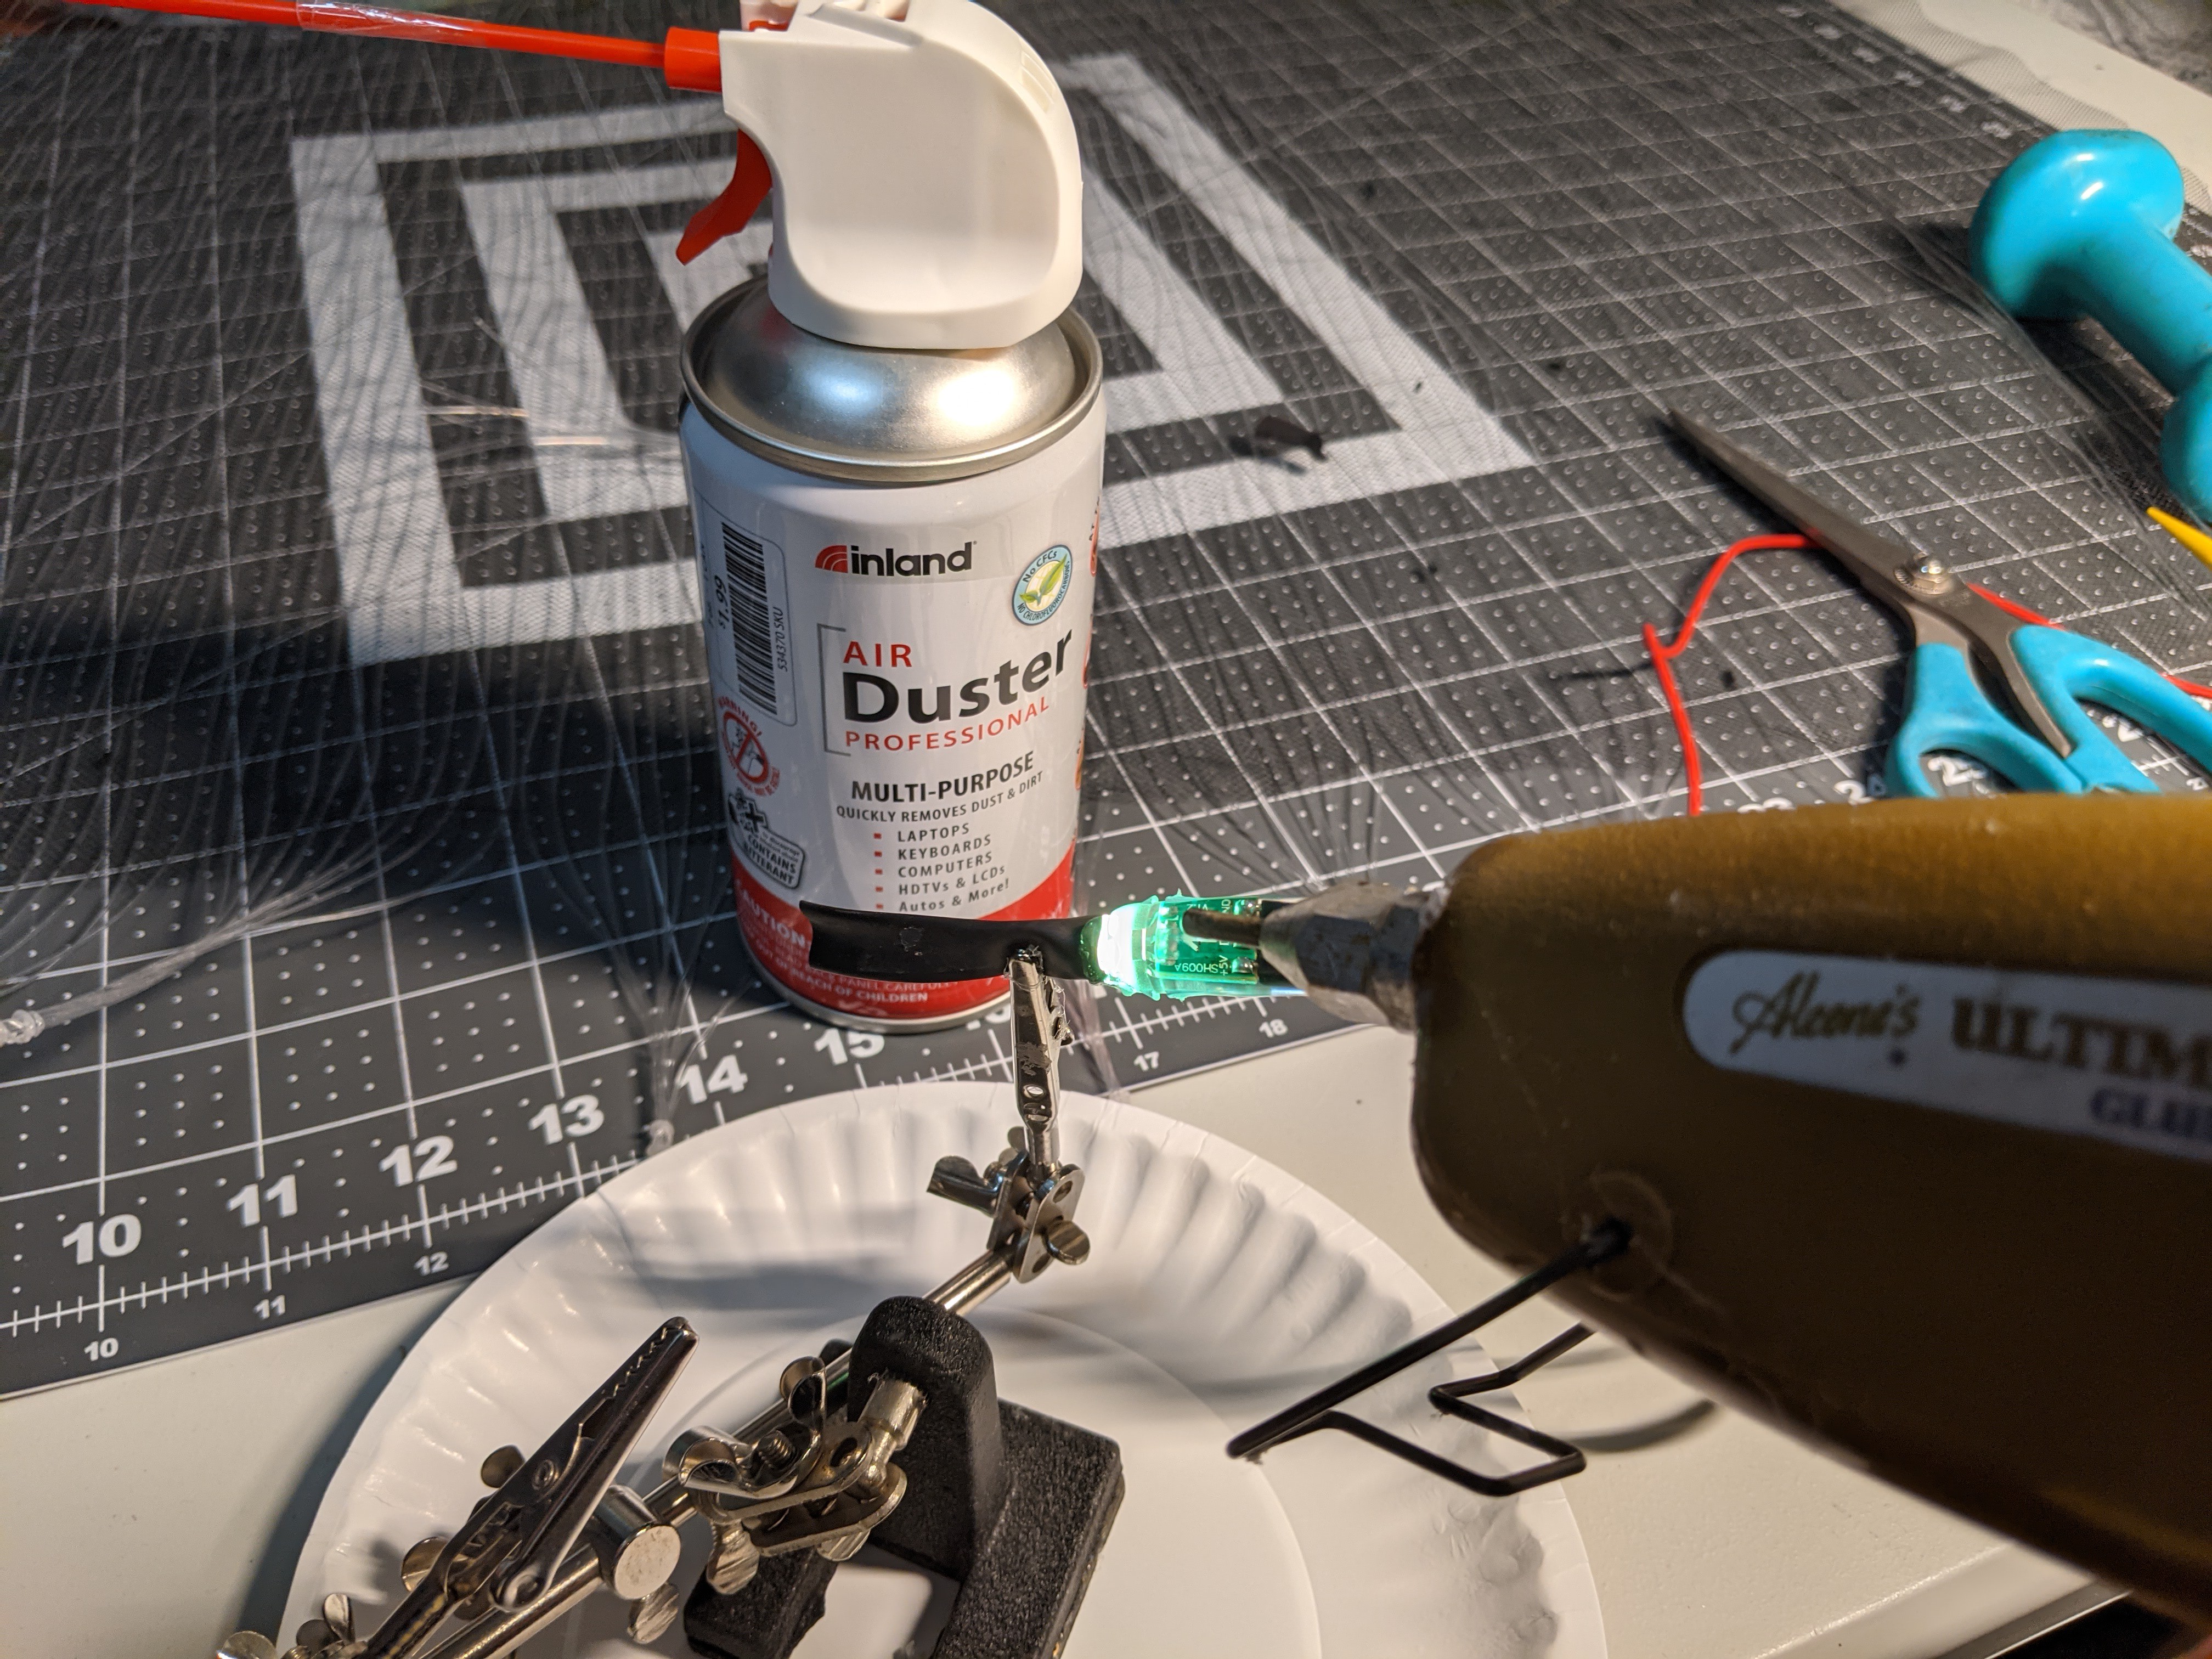
Next, I seal that end with some hot glue and then hit it with a shot or two from the duster cannister to help with the cooling.
(Pardon the messy work table. And yes, that is a small hand weight. They work great for holding fabric in place. As you attach the lights, things may get slippery, and a weight is useful. And yes, the alligator clips punched holes in the tubing. I just did this for the pictures.)
Then I double-checked that the ends of the fiber optic bundle were even, and then slipped the end of the bundle through the tubing and held it tight against the light as I shrank the tubing with a lighter. This has to be done with care, but it's worth the time it takes. When I was finished, I sealed the other end with more hot glue.
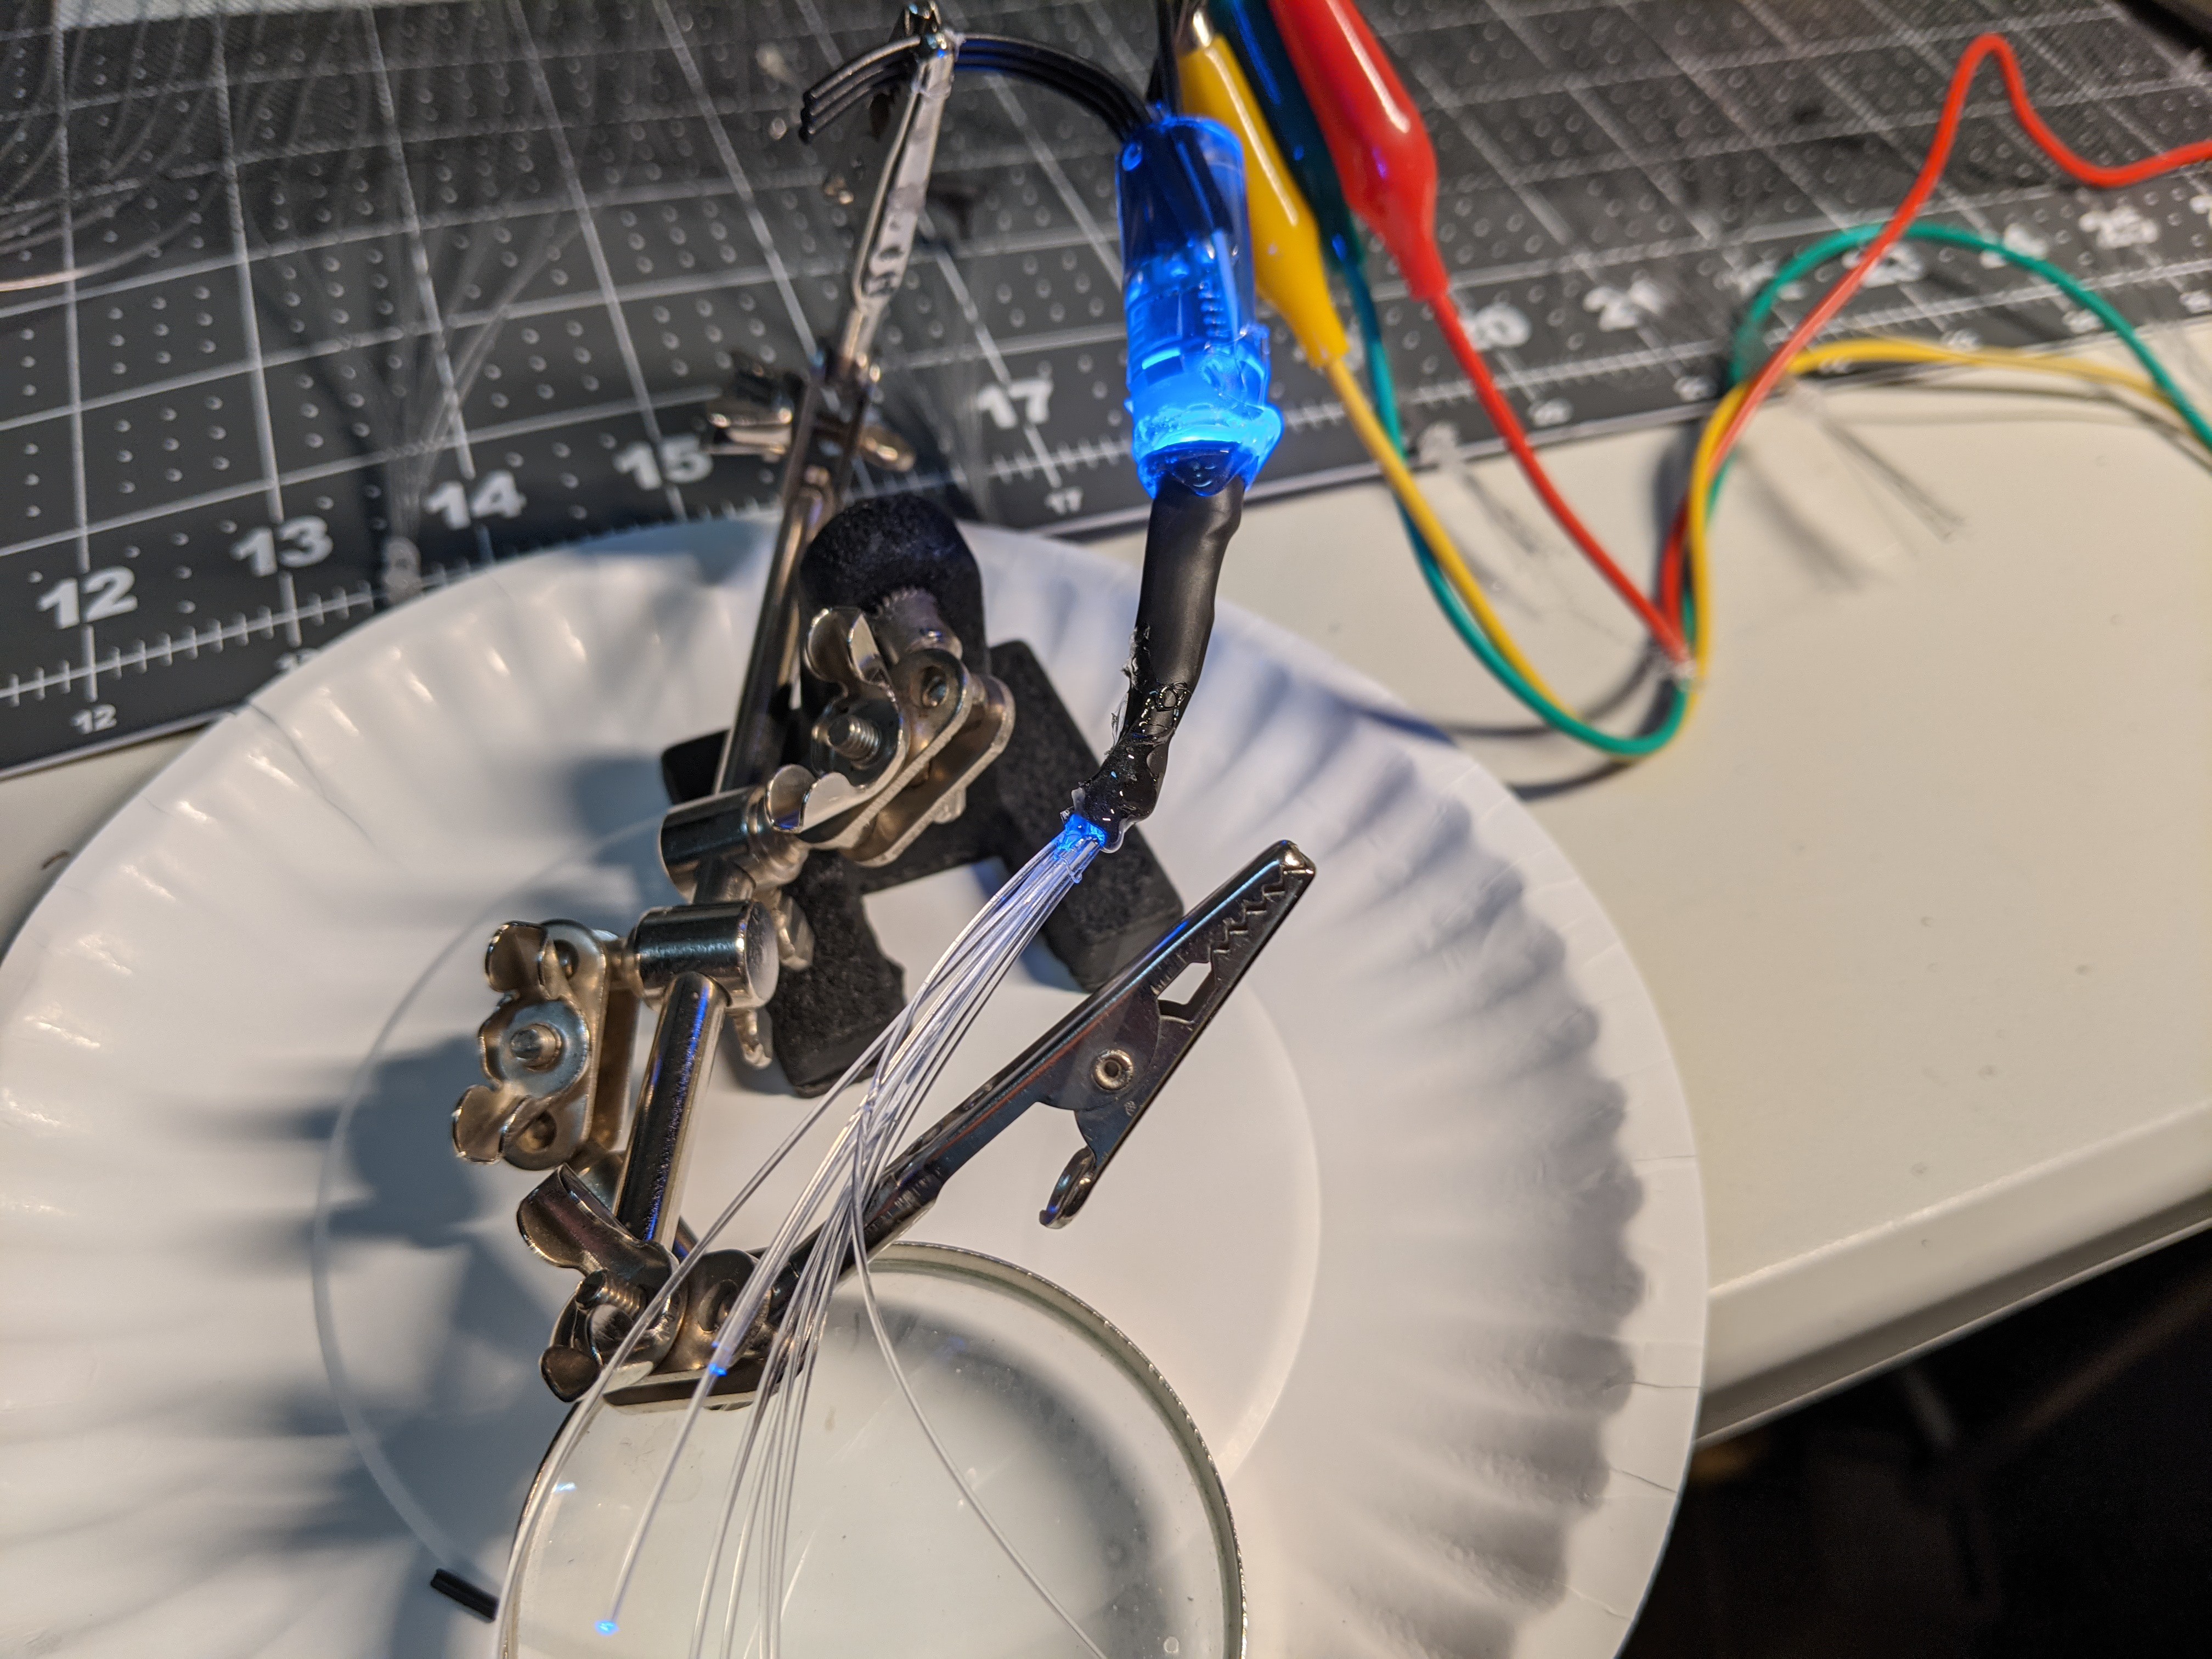
Hey, I told you it wasn't pretty! After everything dried I tugged on the fibers to test the connections. At this point I could shove a stray fiber back in and hit it with some more hot glue.
And here it is!
For those who prefer their pictures moving:
Next is distressing the fiber optics and finishing the overskirt.
Discussions
Become a Hackaday.io Member
Create an account to leave a comment. Already have an account? Log In.
Did you begin by filing a flat spot on the end of the bulb and putting a dimple in the flat spot with an awl or using a pointed file as an awl? (You drill in the dimple.)
Are you sure? yes | no
No. If I do this again, I'll keep that in mind.
Are you sure? yes | no
You could drill a hole in the bulb, dip the fiber bundle in crazy glue, and stick it in. However, you would lose the molded-in optics of the bulb that way; I don't know if that would be a problem.
Are you sure? yes | no
I did sacrifice some bulbs to try different methods. Drilling was the first thought. Maybe I used the wrong bit, but I just ended up with a mess.
Are you sure? yes | no
That was my thought as well.
Are you sure? yes | no
Hey, looks like it achieves light transfer quite well! I can't think of very many ways to do this that wouldn't be kind of messy. Possibly a solid adapter (3D printed, etc) with holes to receive individual strands of fiber, but I don't know that it would work any better and would take a lot more time to put together, add complexity and bulk.
Are you sure? yes | no