Tech Nuttiez
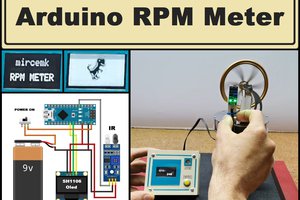
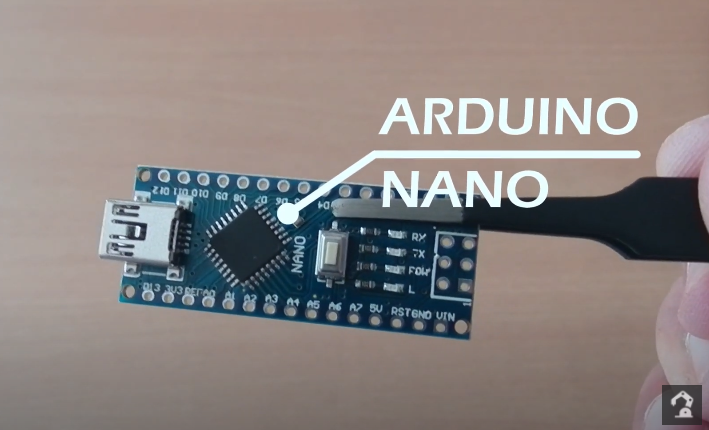
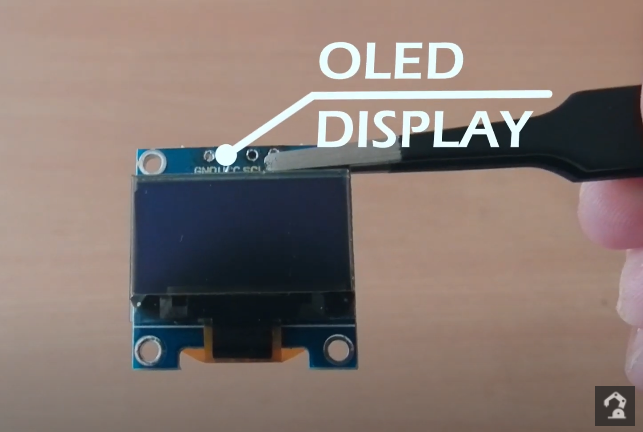
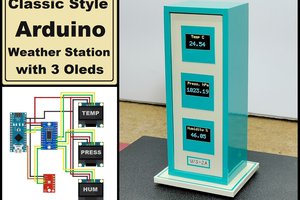
Hi, in this tutorial, you will learn to build a pocket weather station using an Arduino Nano board. It will be a compact device that you can carry anywhere around, right in your pocket and will be capable of displaying the live temperature and humidity on the OLED display present on it. This is a great self-care device as you will always know when to take an umbrella out with you, both for the rain and the scorching heat!
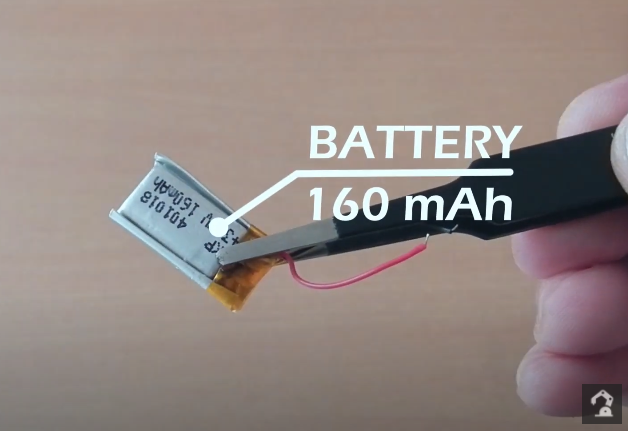
You can carry it around as it has an inbuilt rechargeable 160mAh lipo battery. It is a really great project for learning and is also really fun to make. It might come out really handy sometimes.
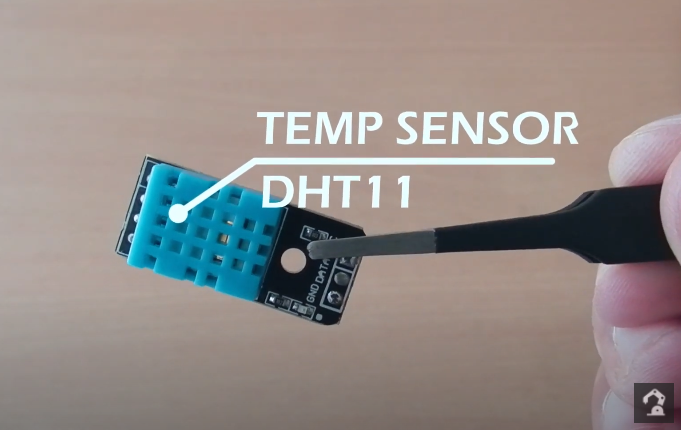
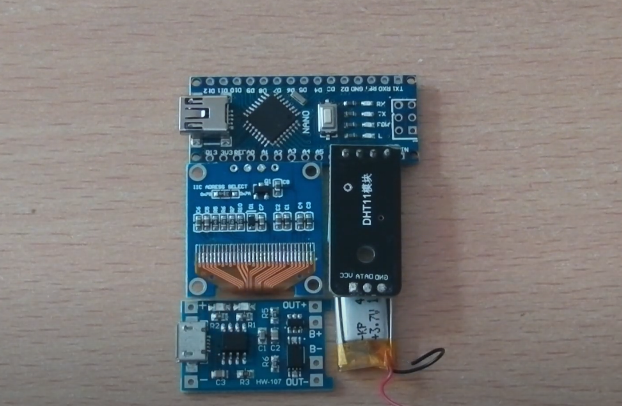
When we start experimenting with a DHT11 temperature sensor, what we do is take a breadboard and some jumper wires and some kind of a display and start experimenting with some random code. Instead of doing that, I gave the DHT11 module a professional and comfortable home and made a much more realistic project for learning.

 mircemk
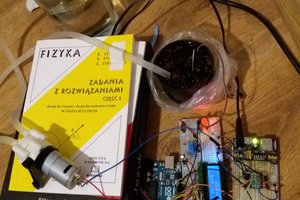
 Wiktor Gonczaronek
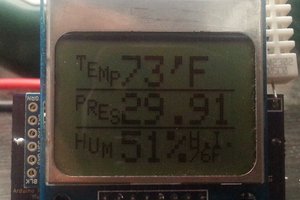
 Richard Cullen