0%
0%
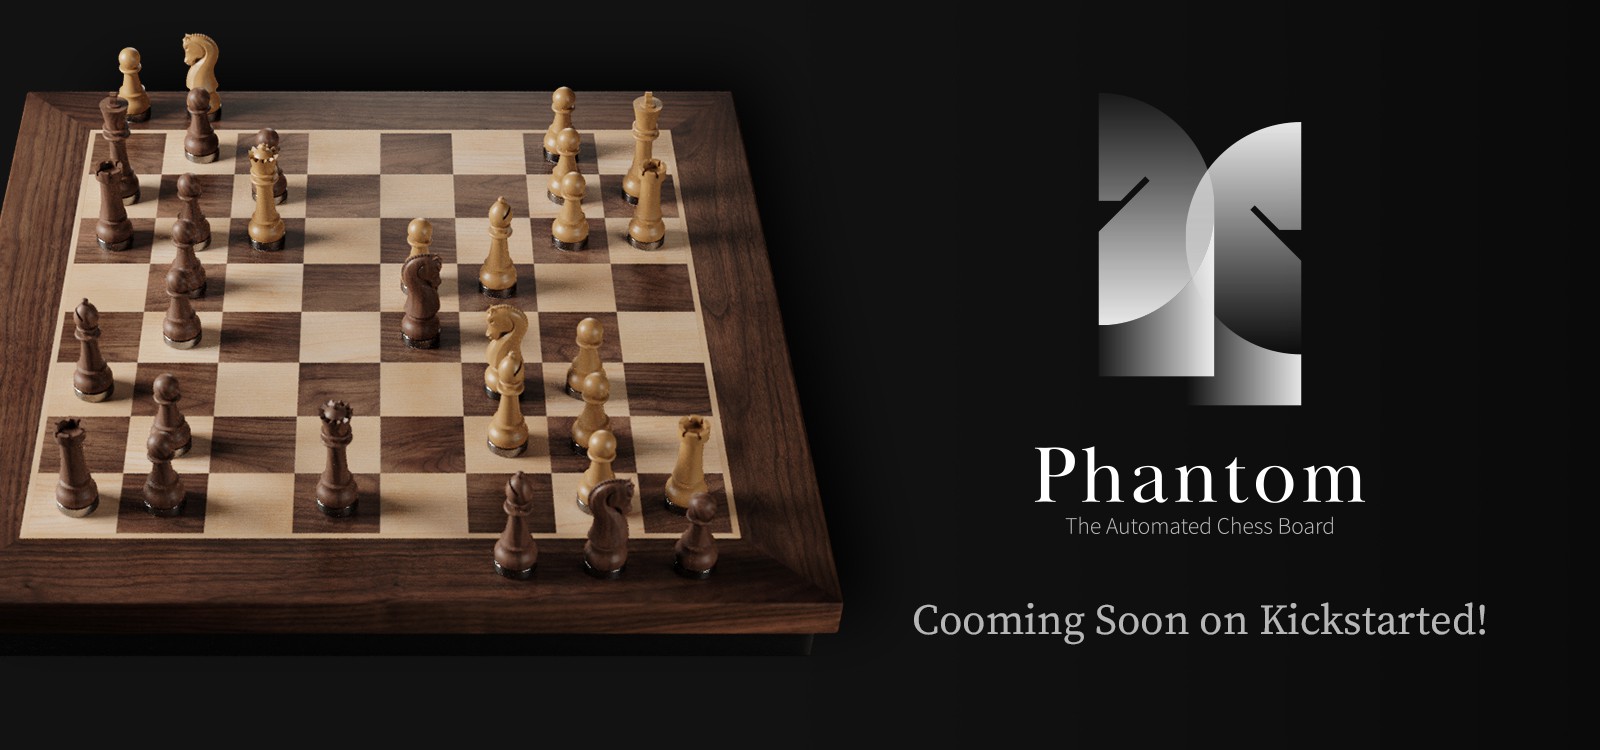
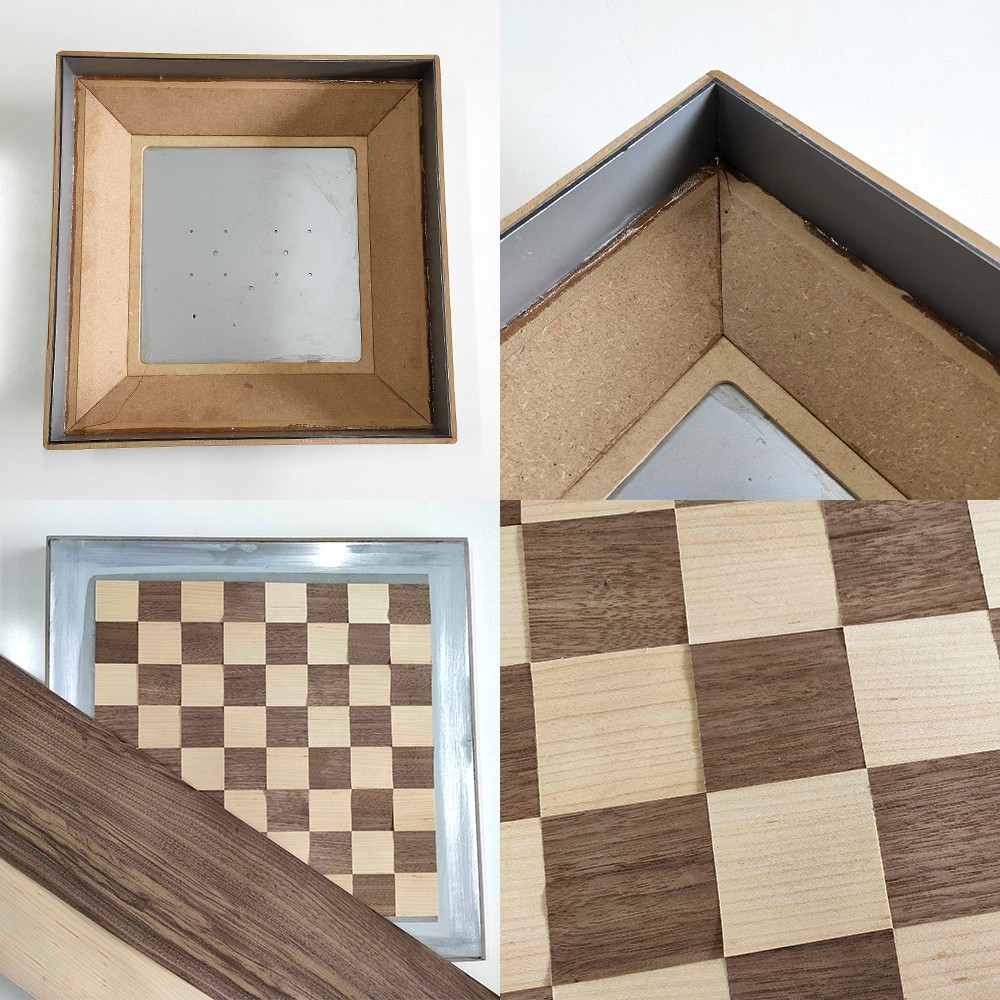
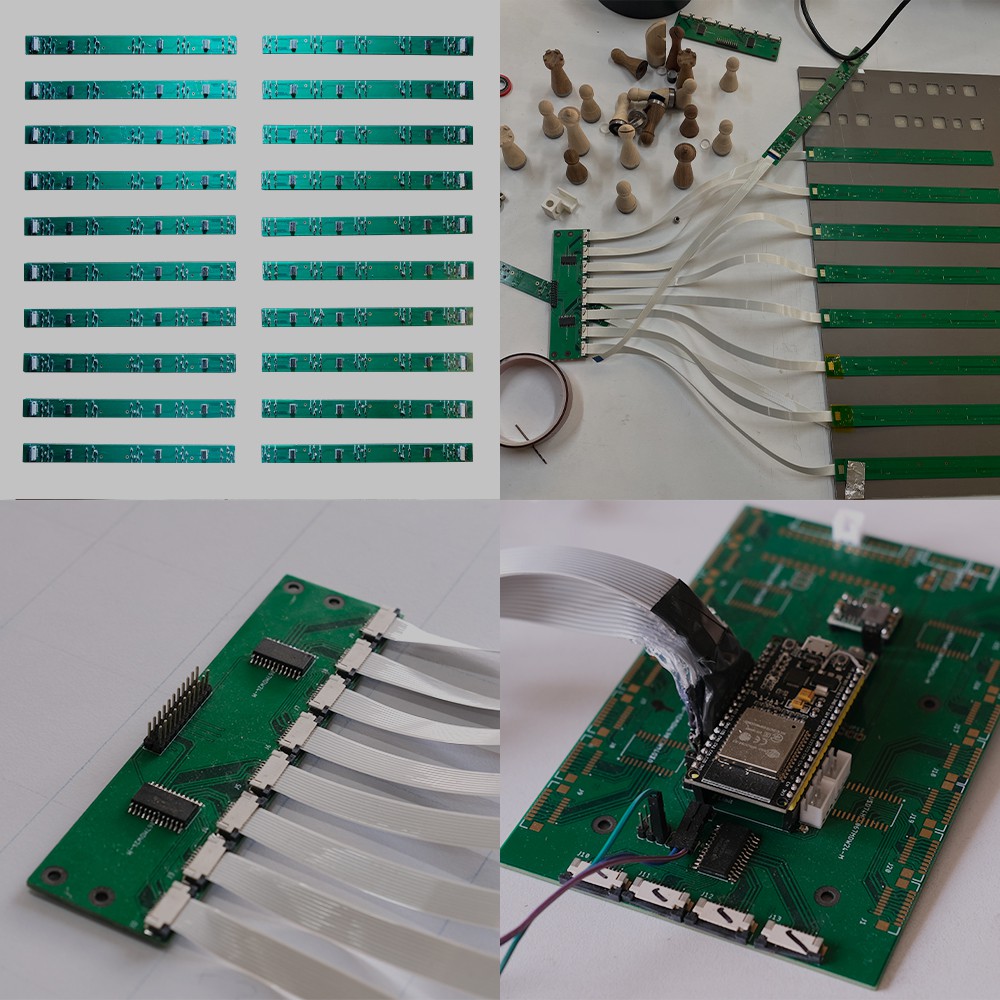
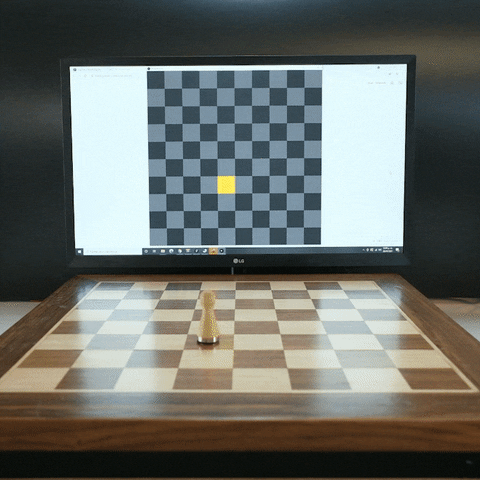
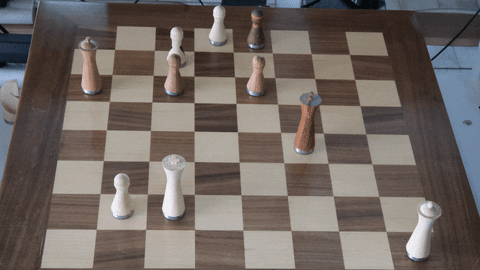
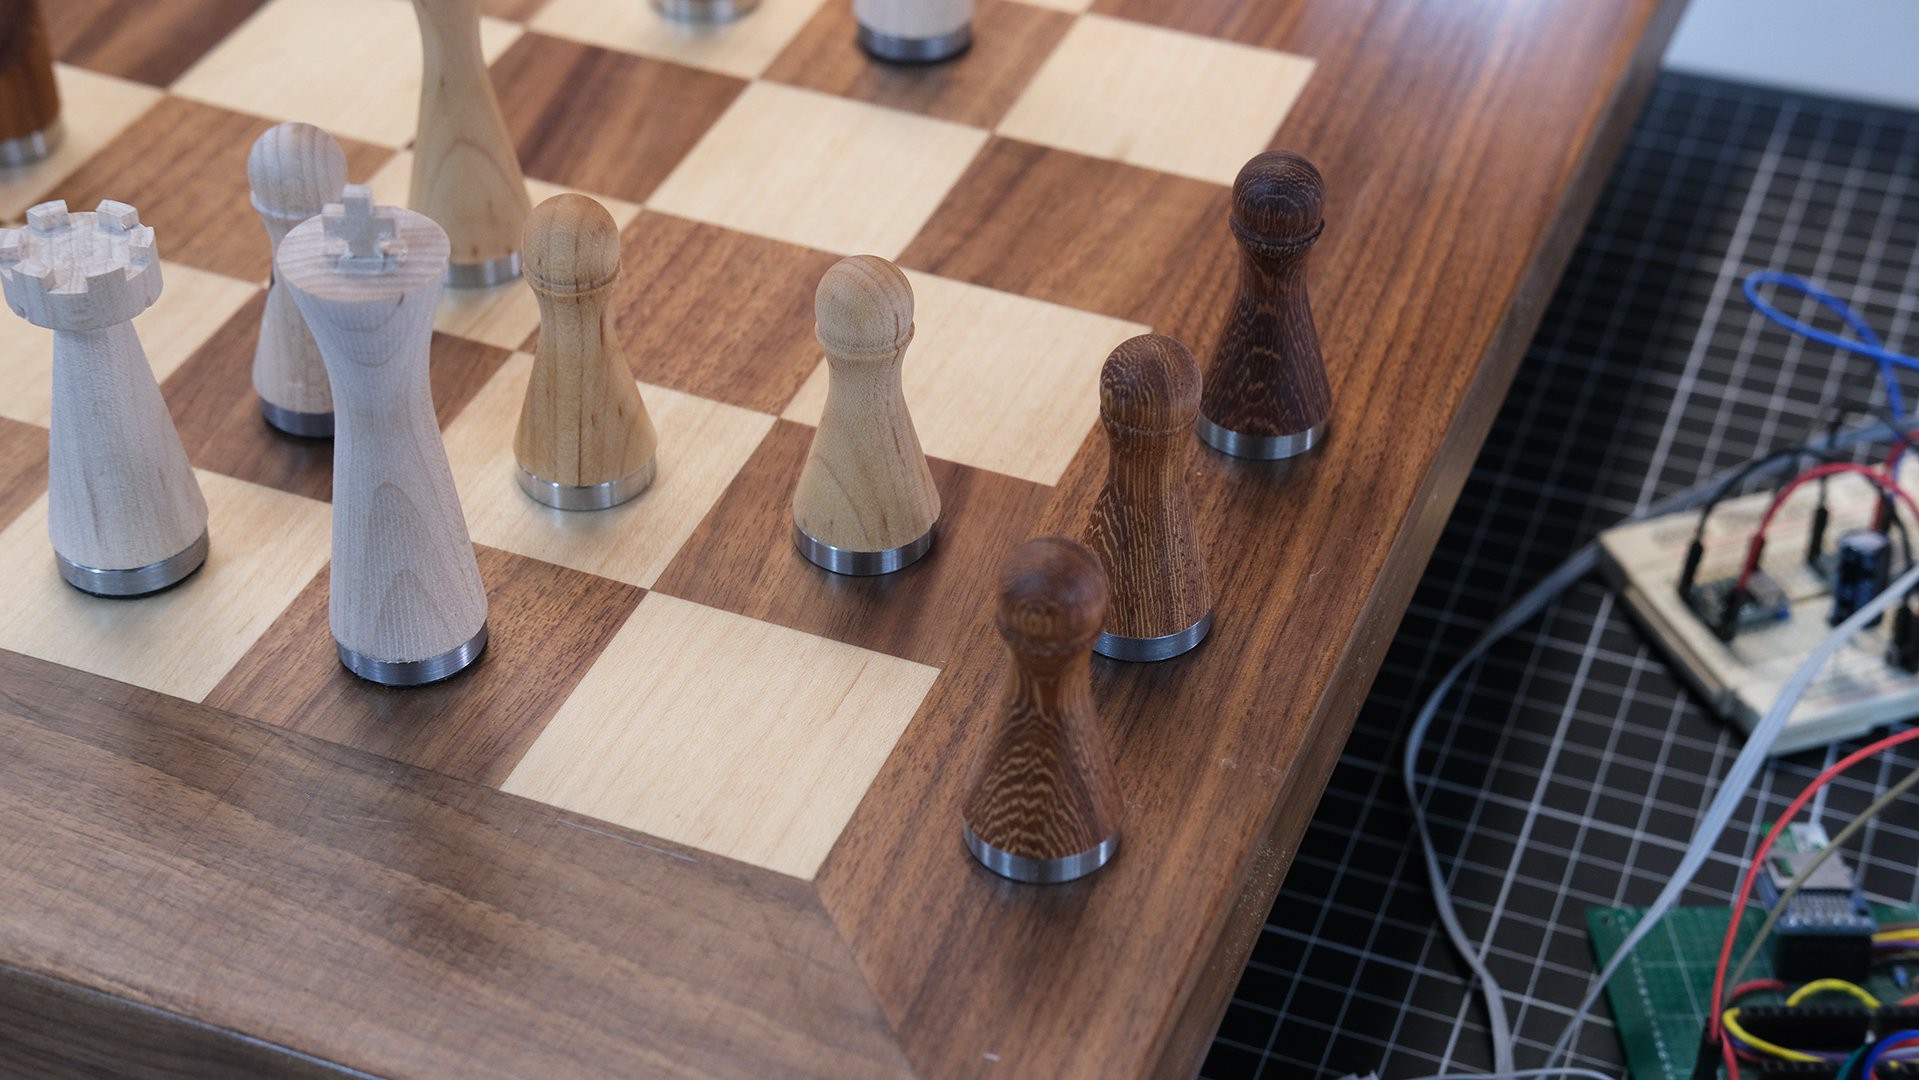
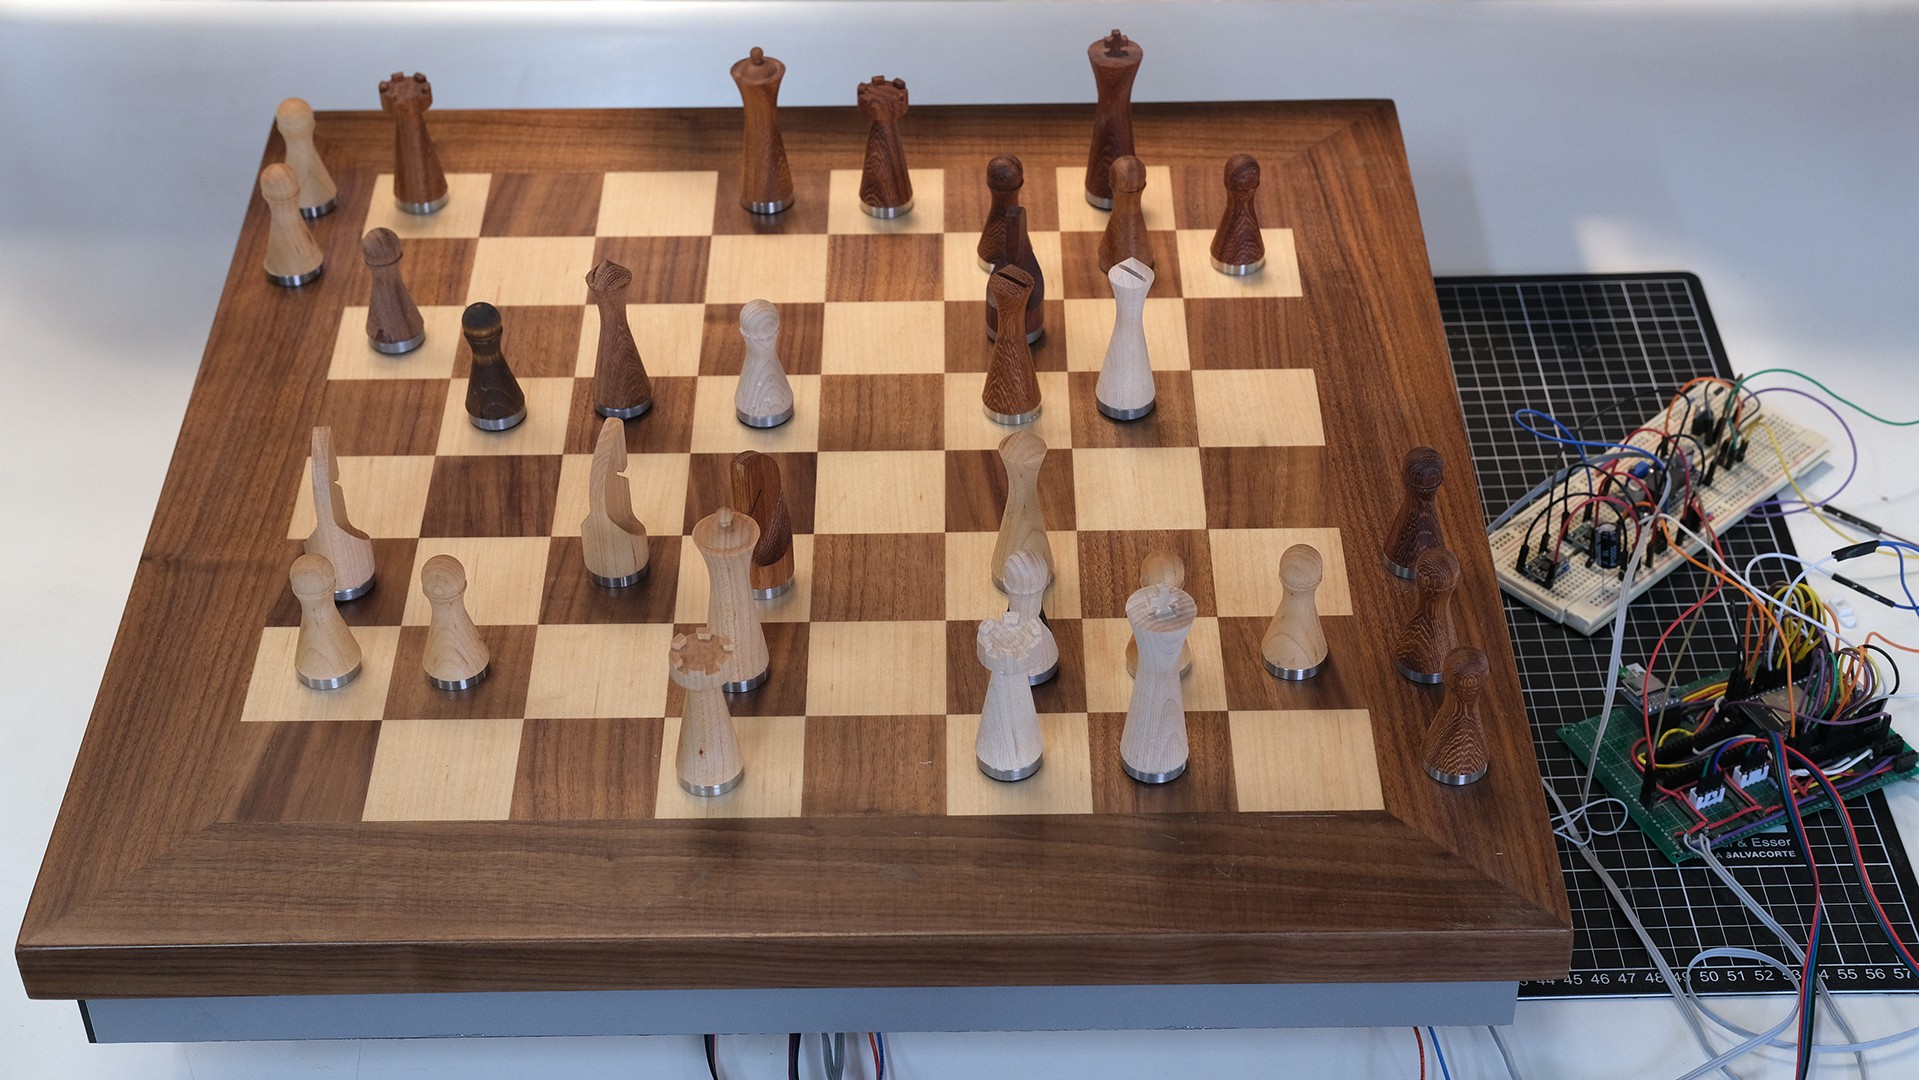
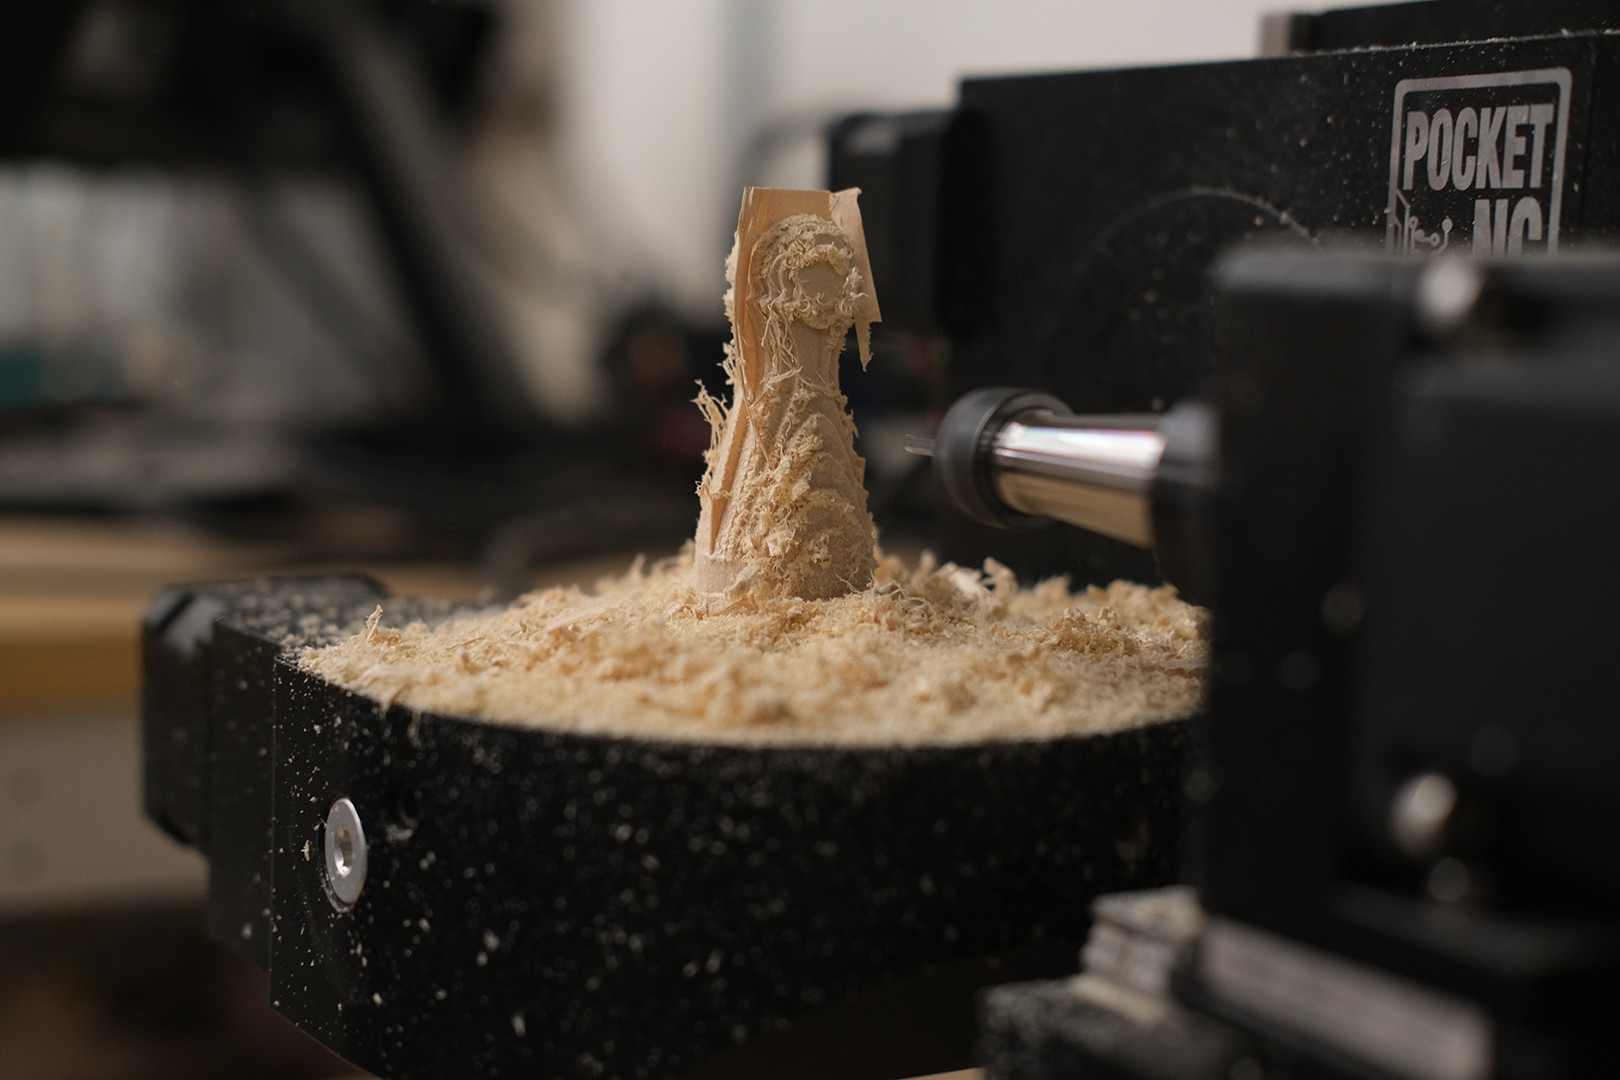
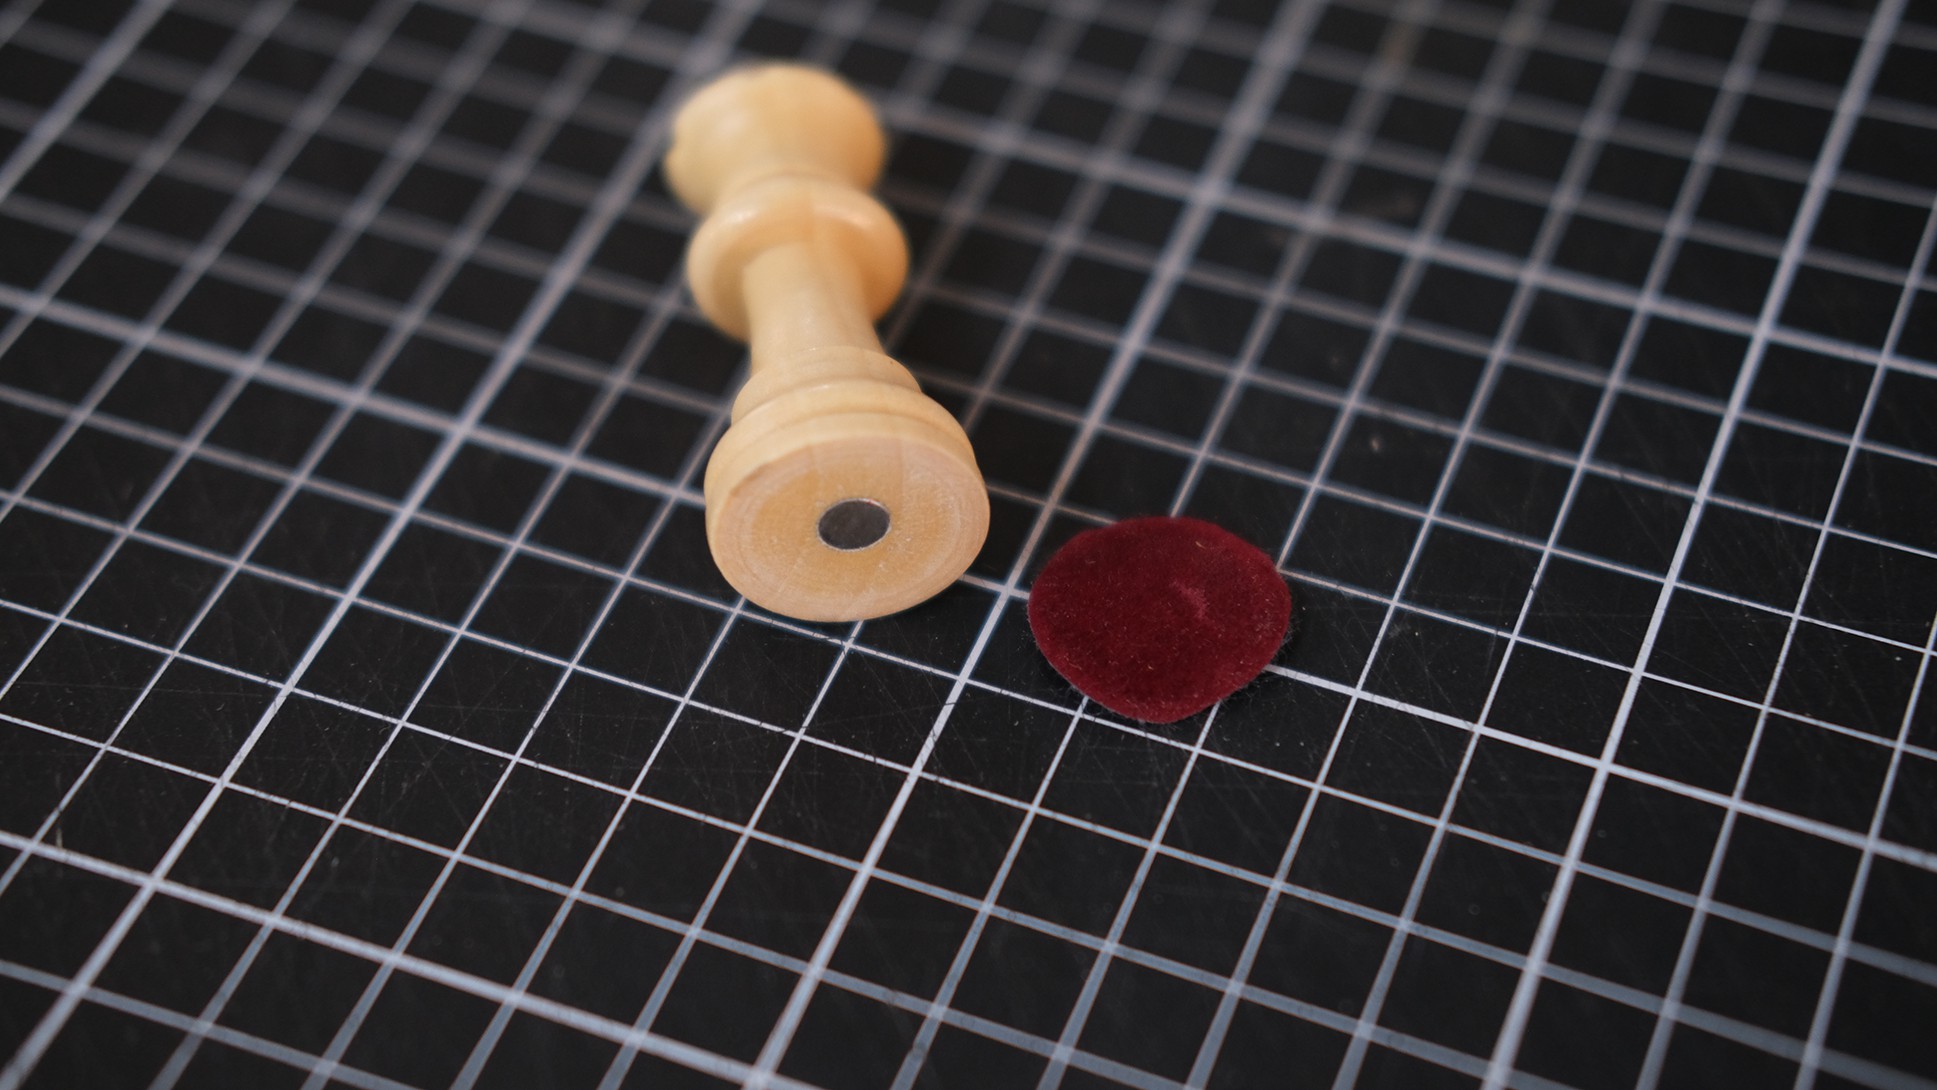
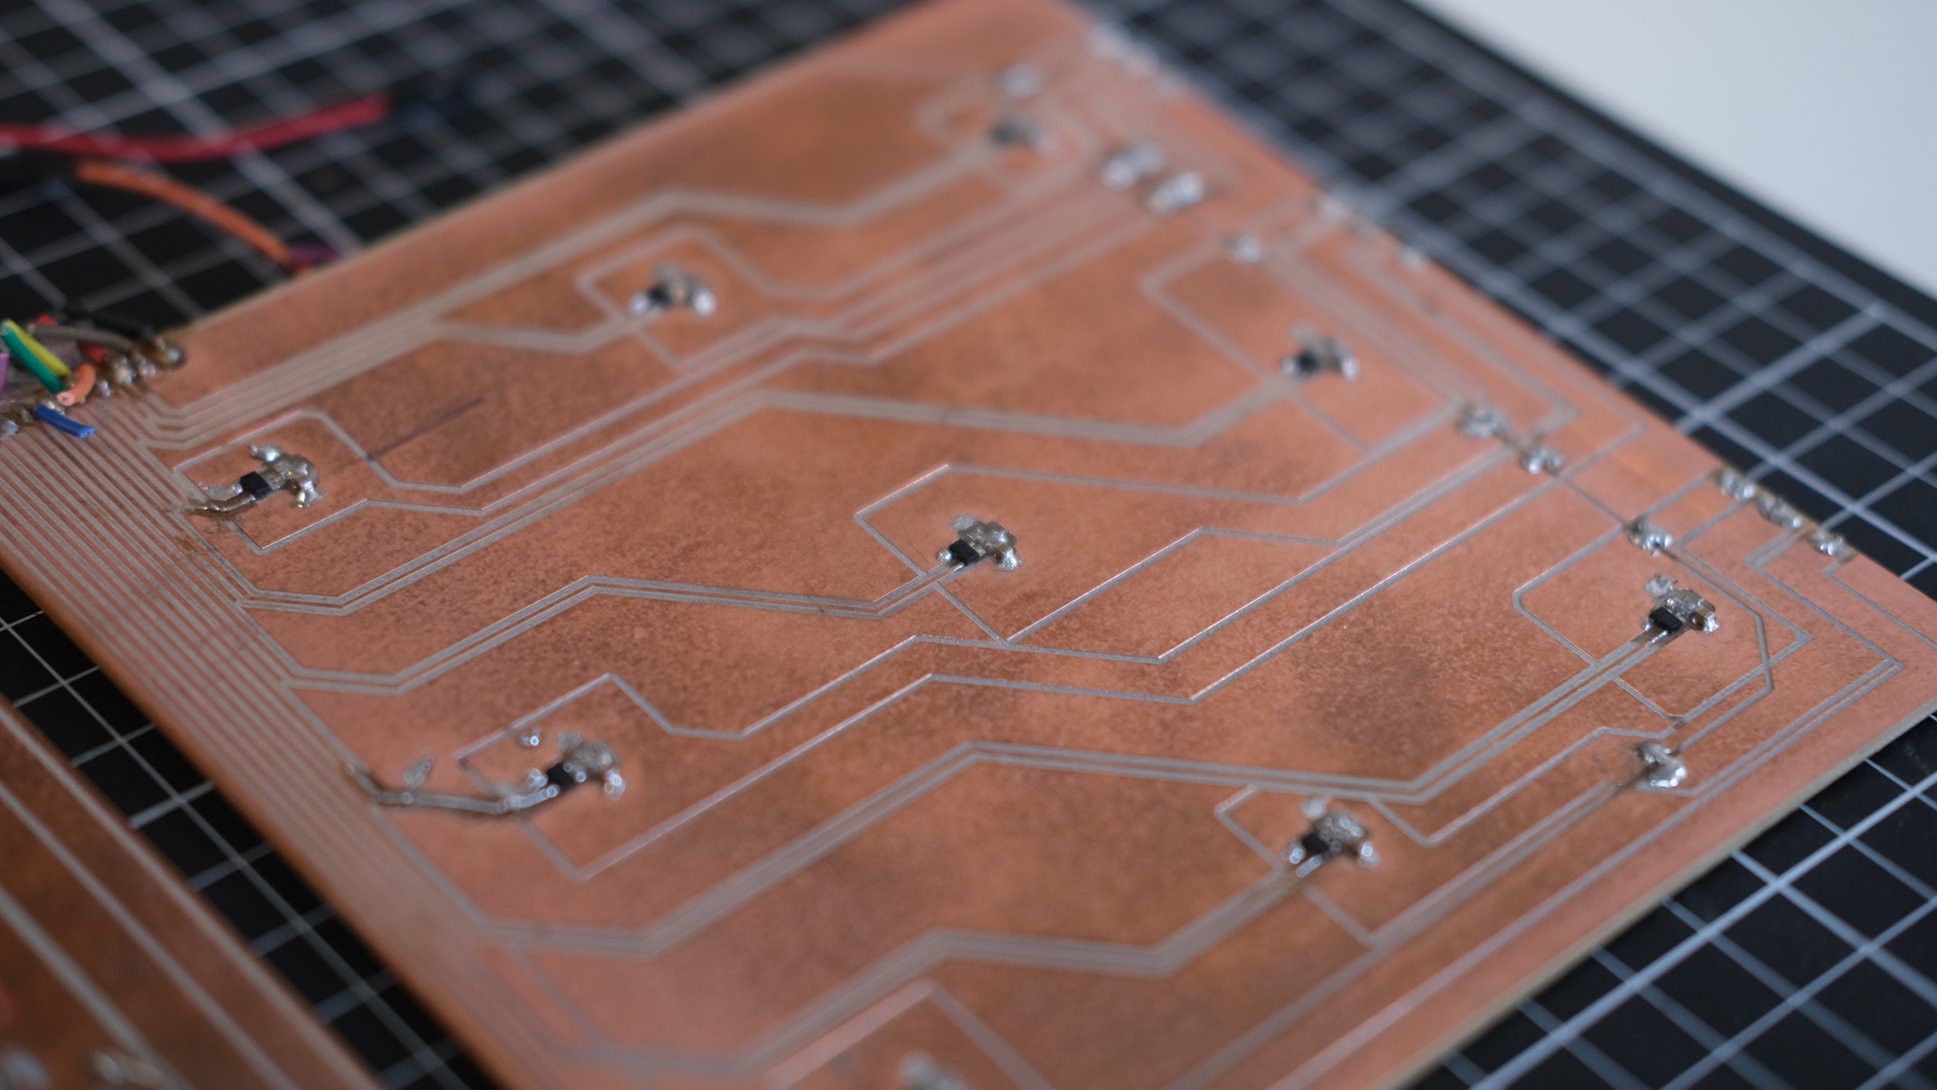
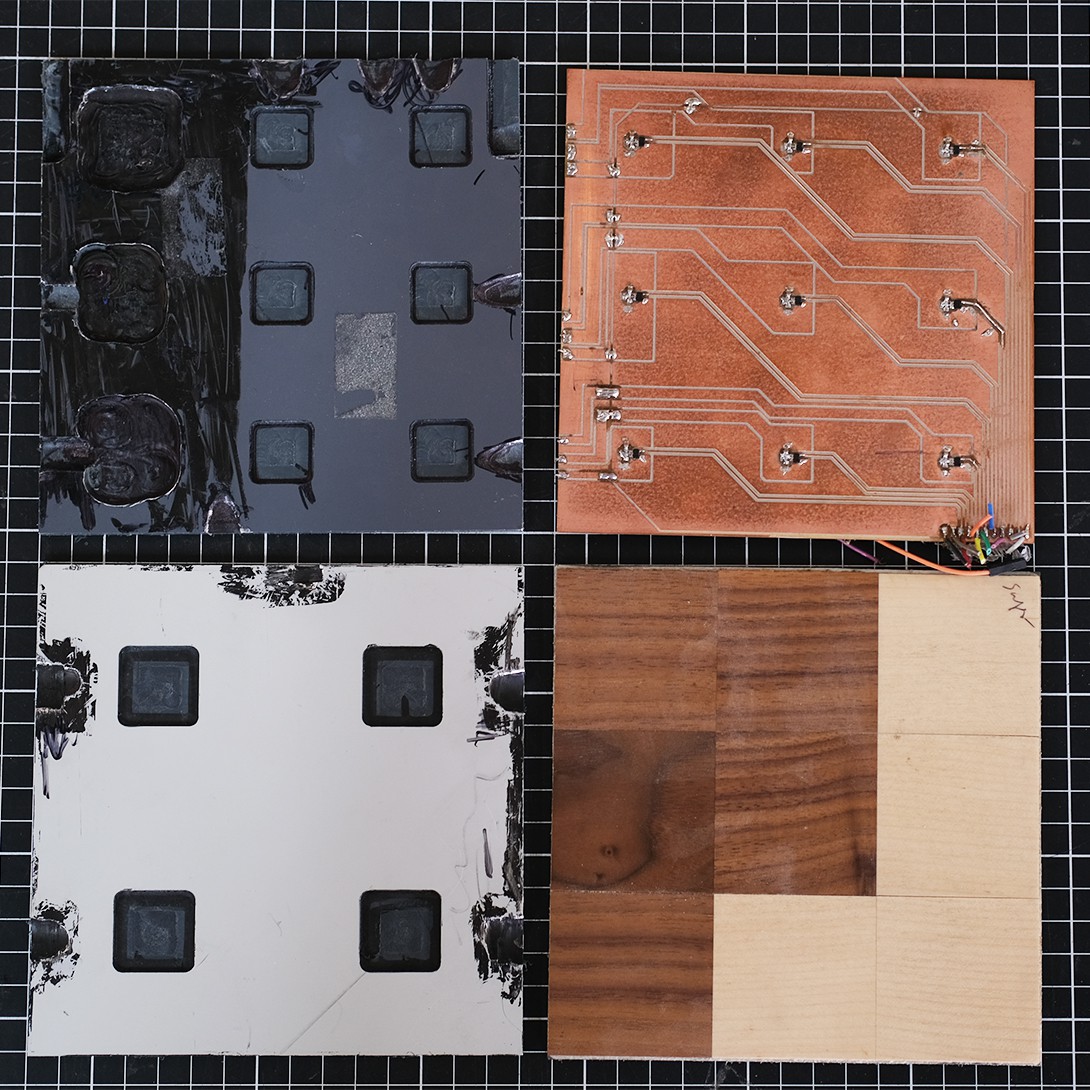
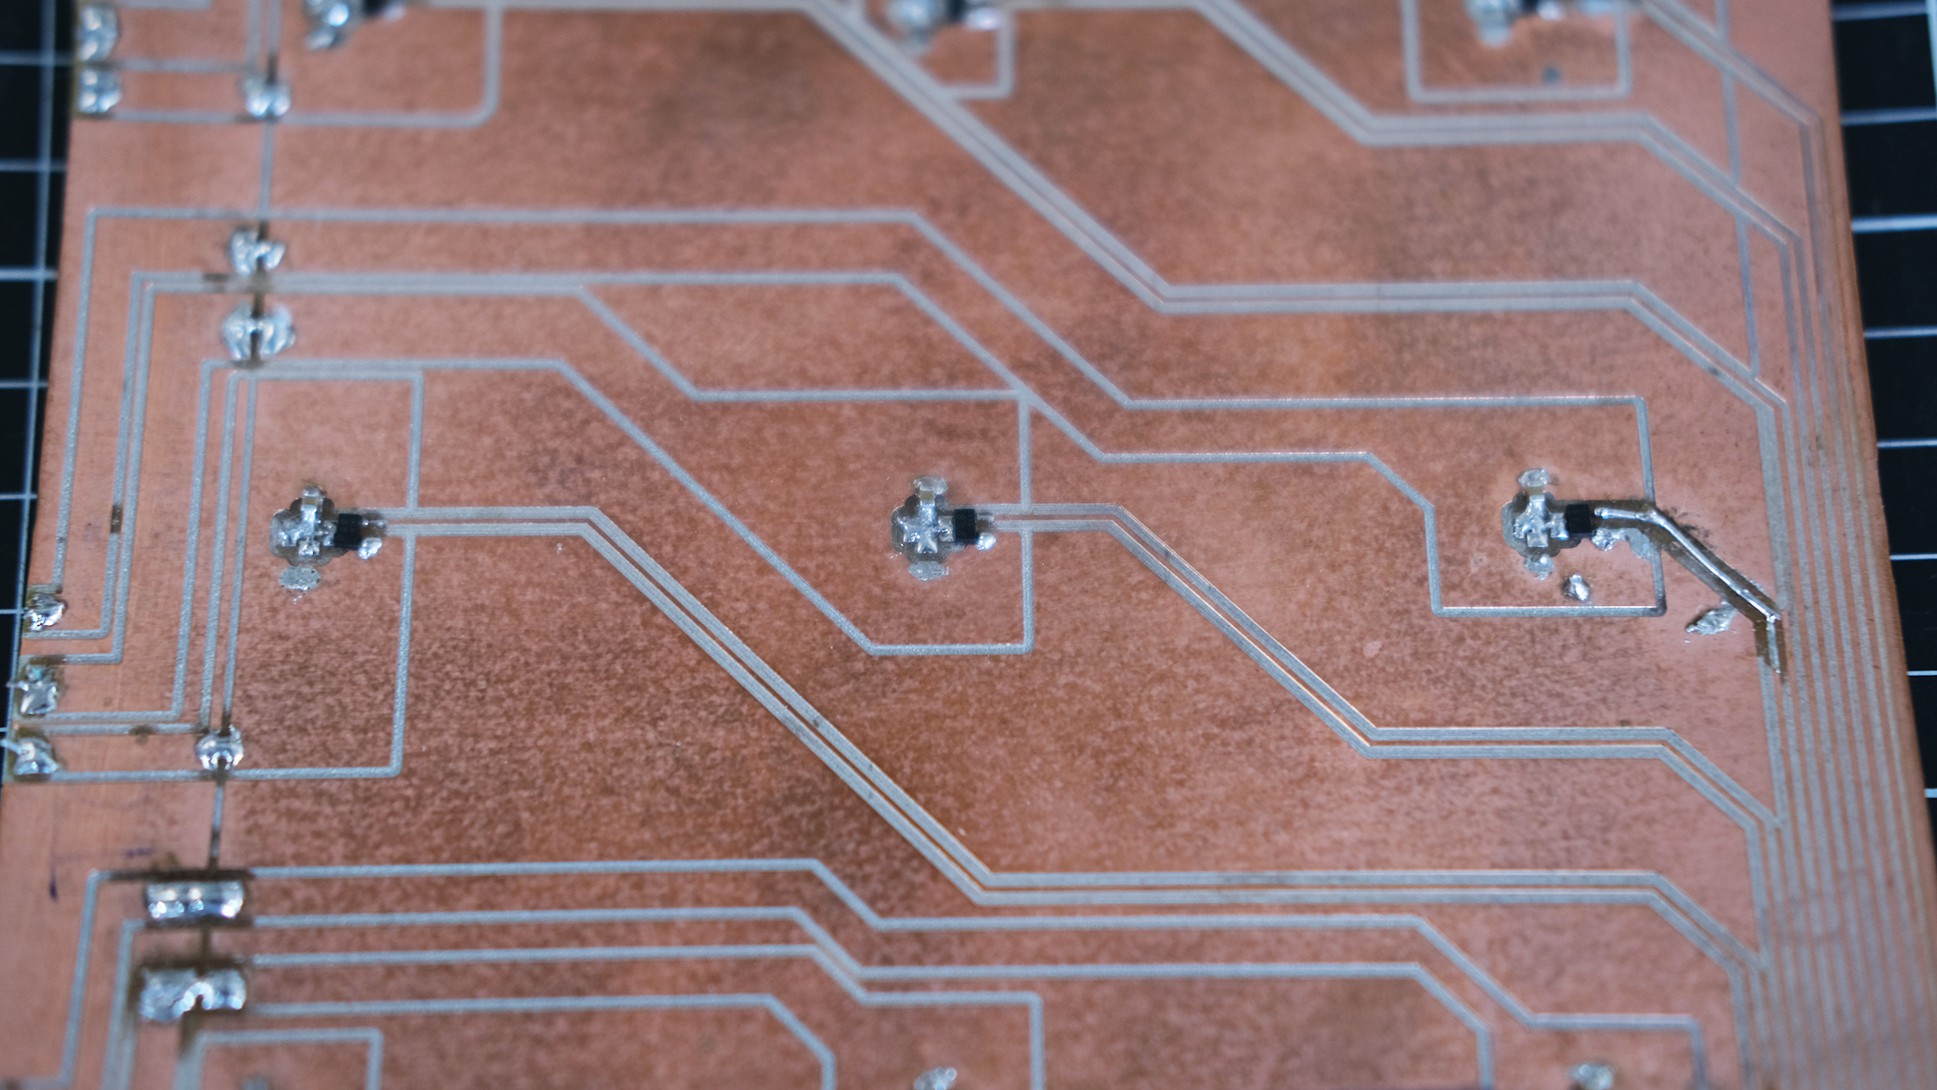
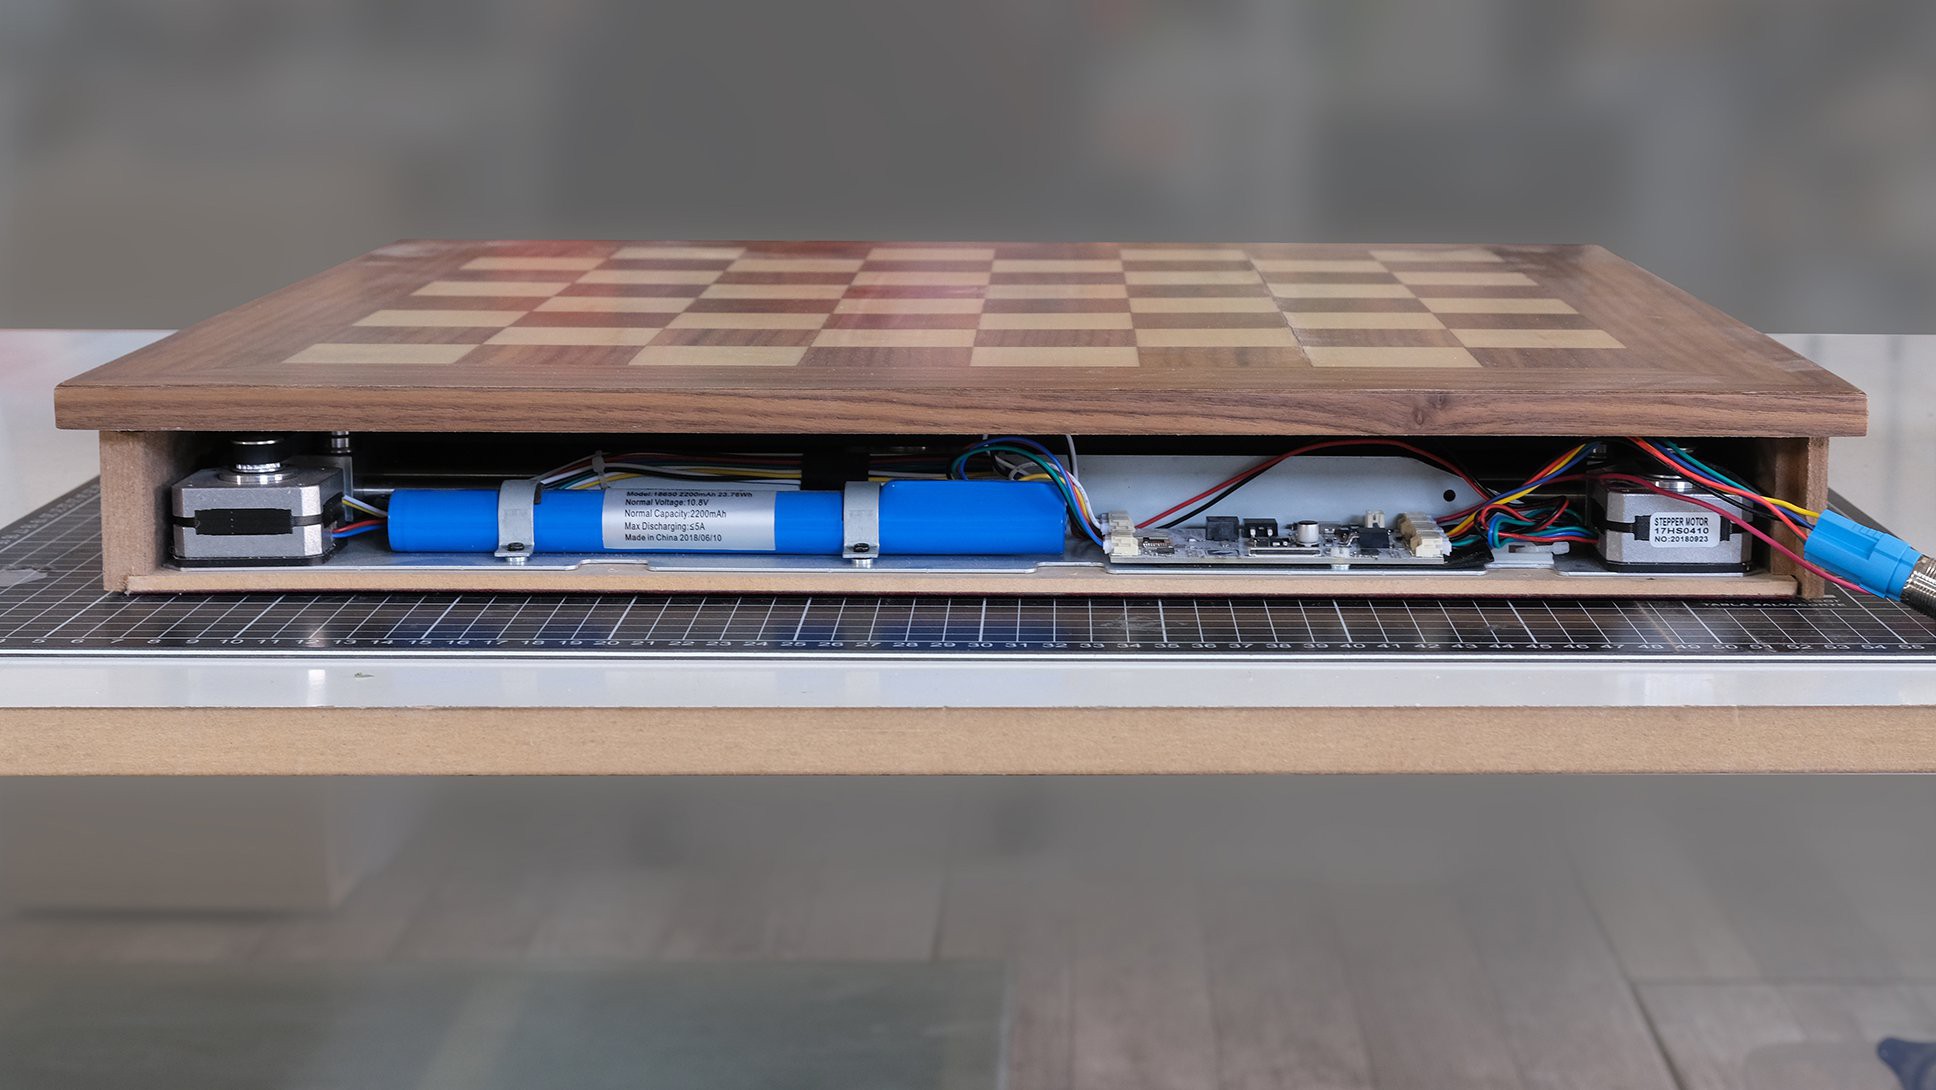
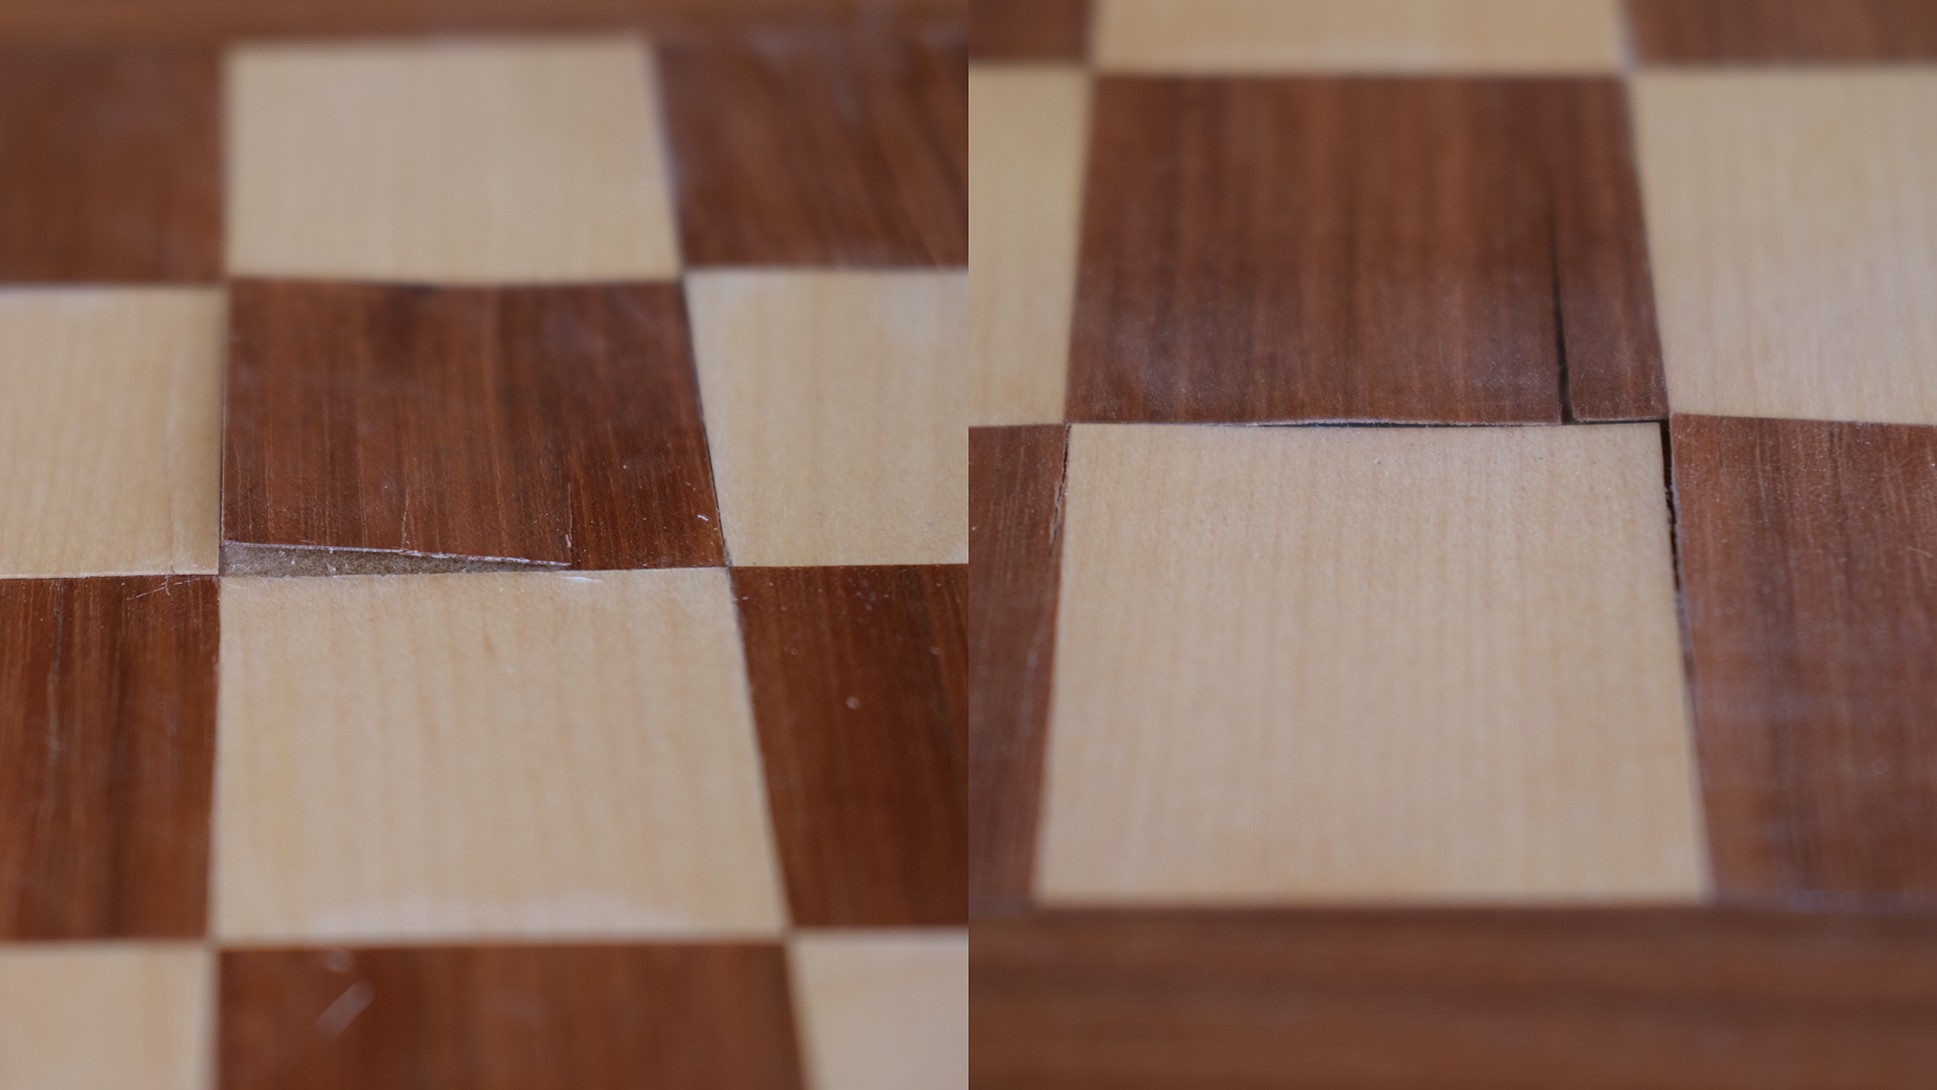
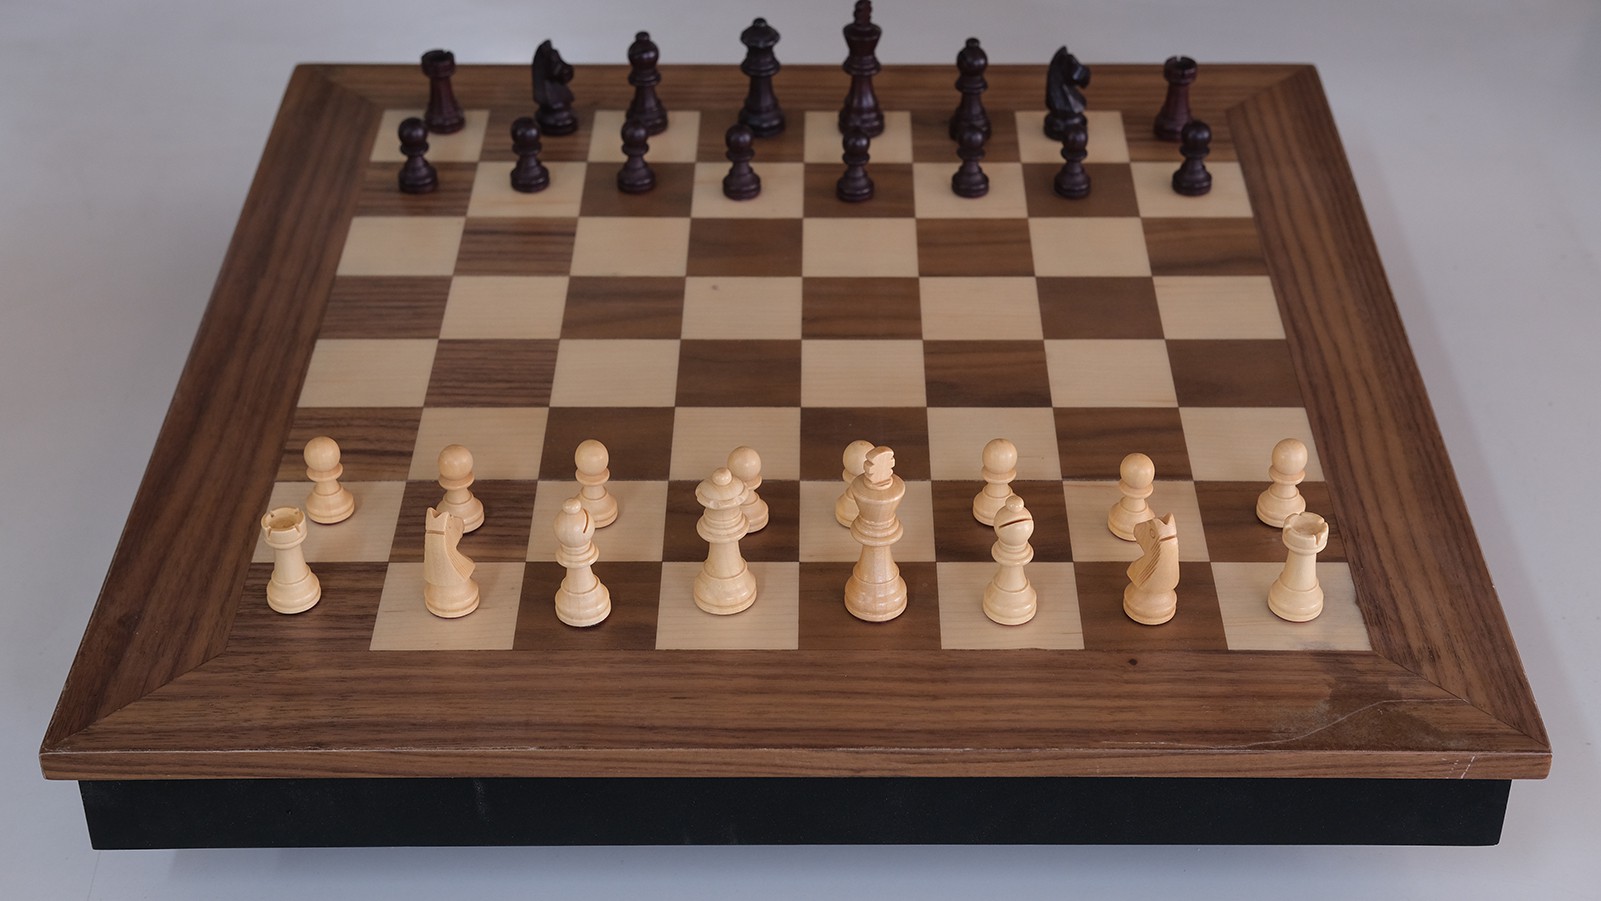
Automatic Chessboard
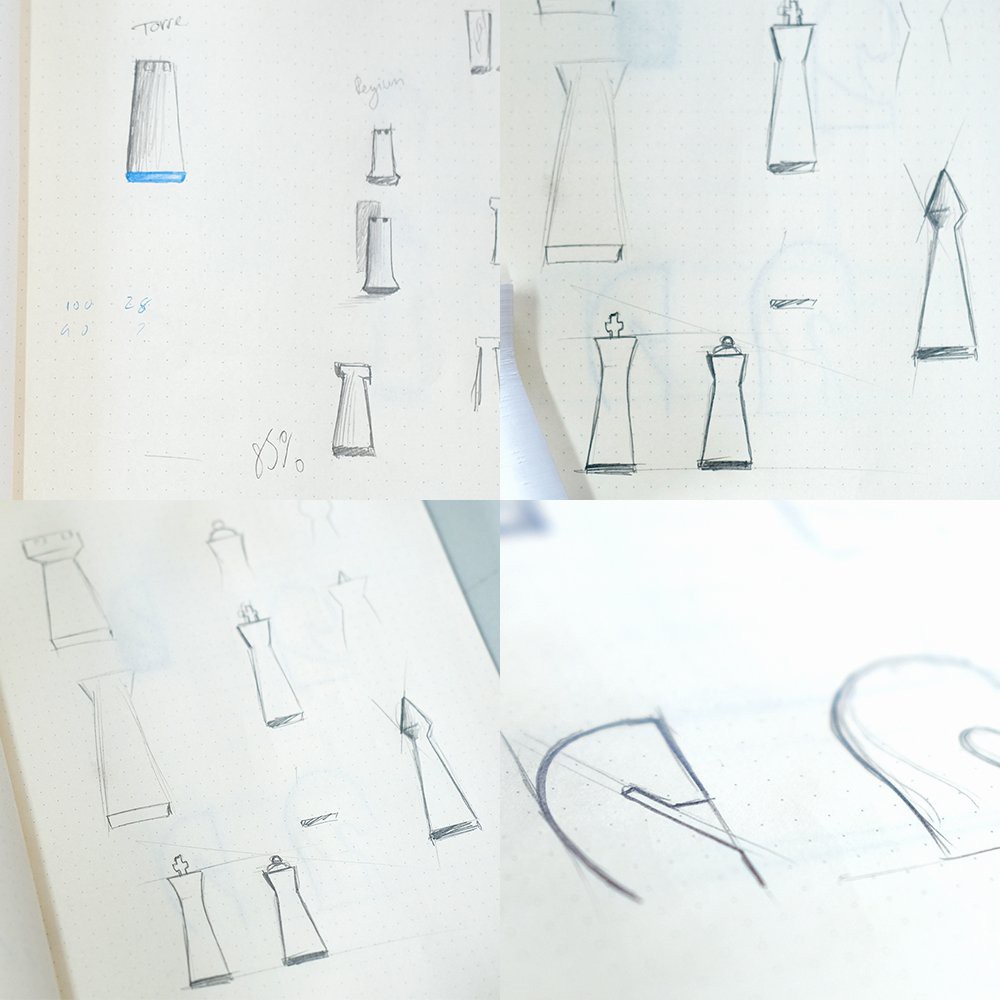
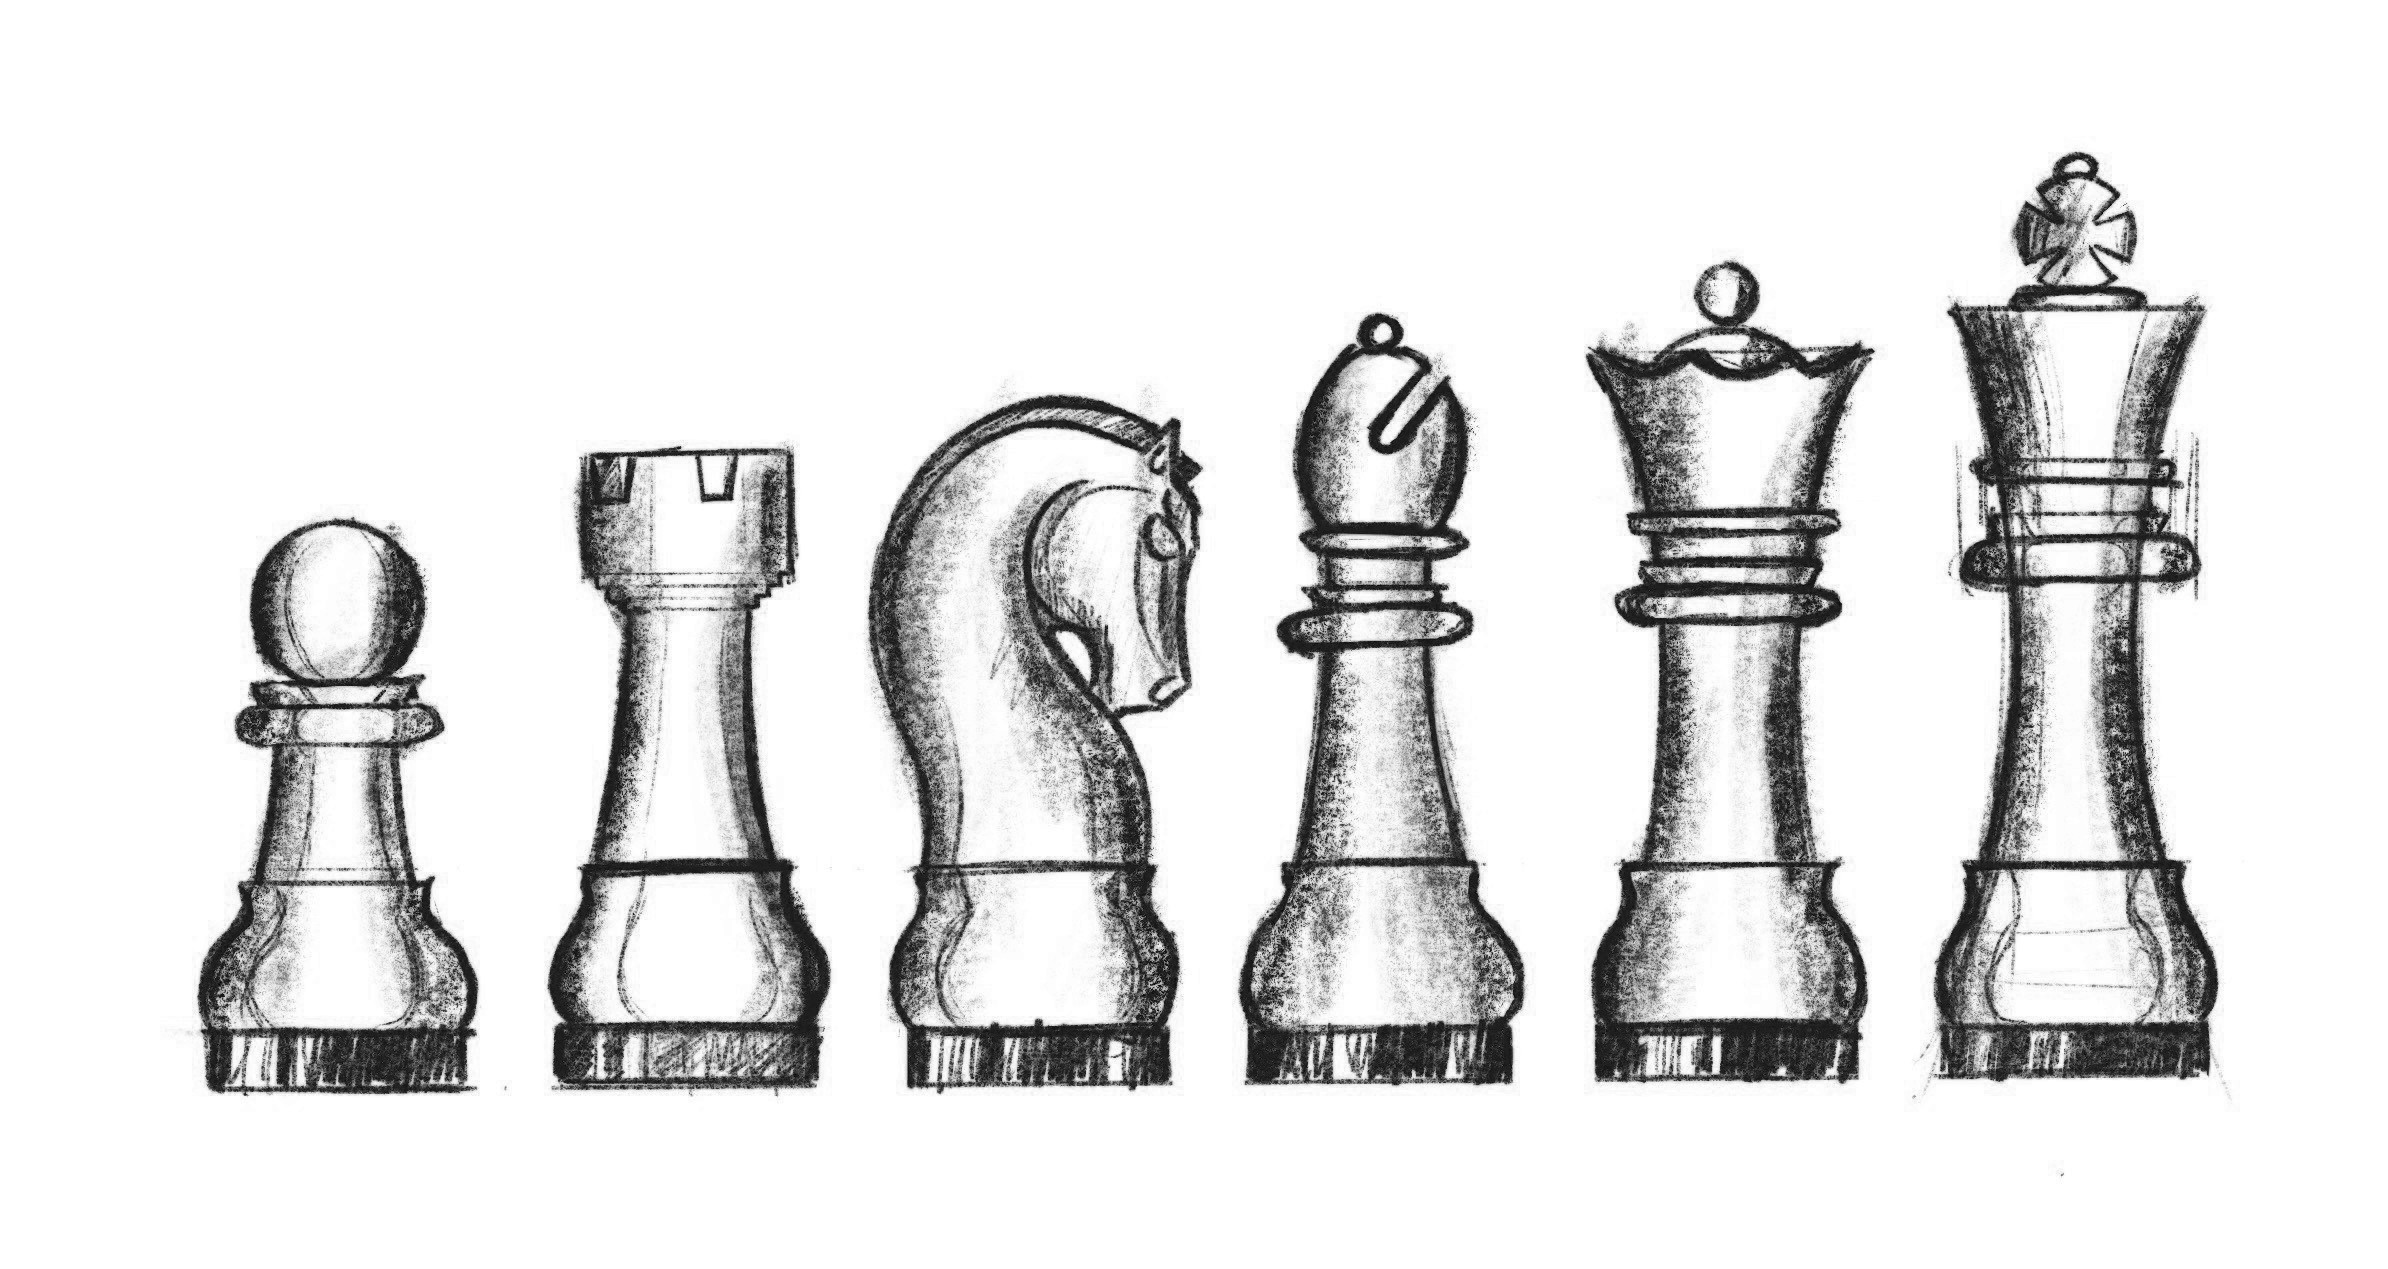
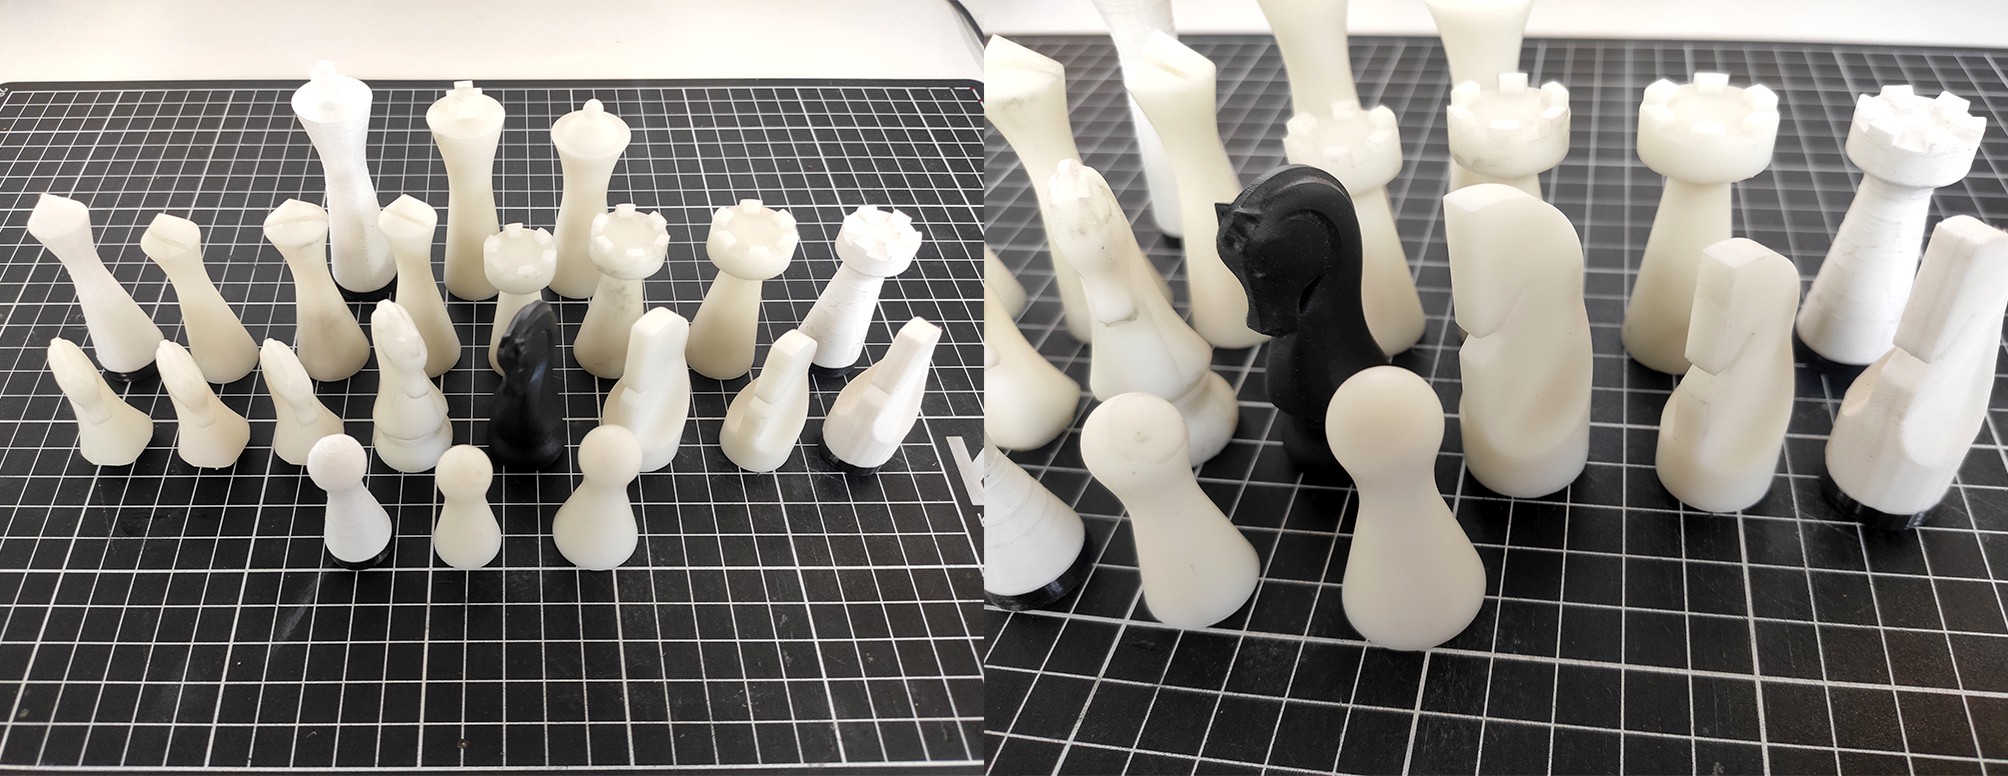
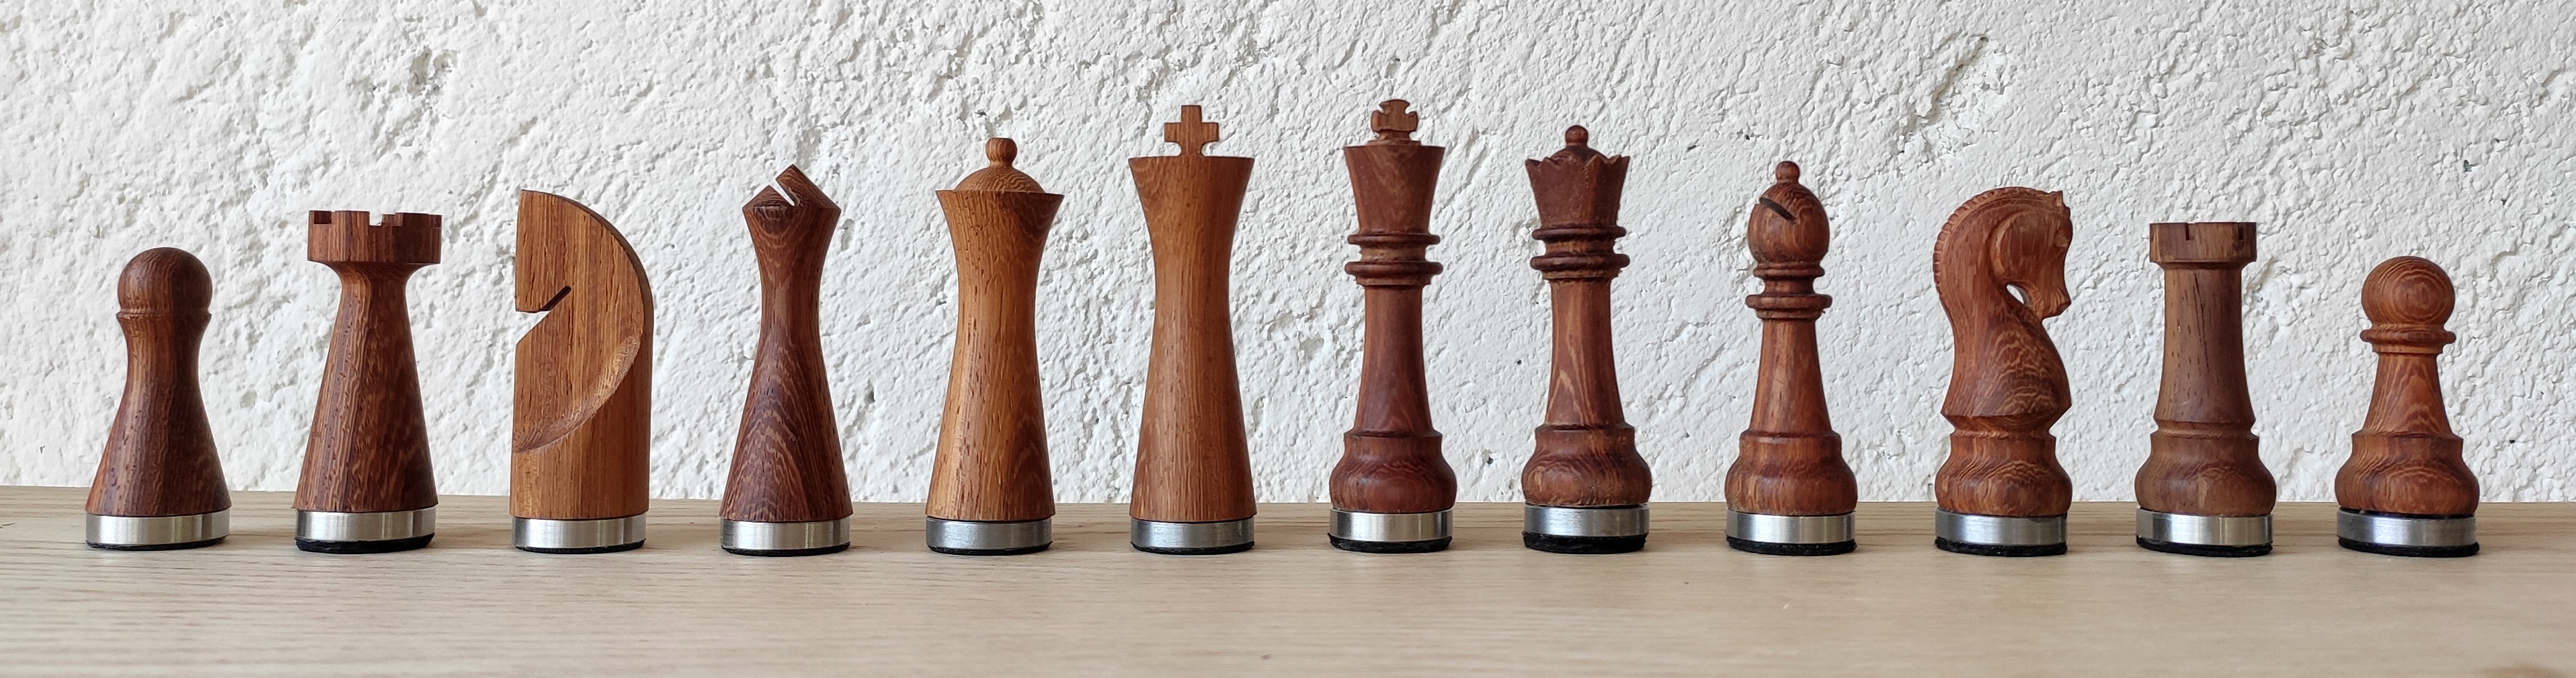
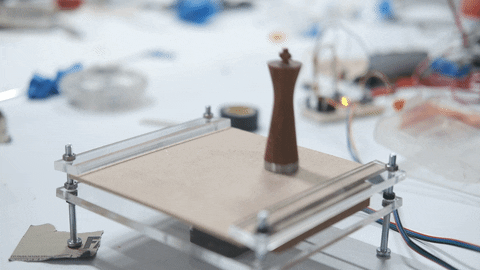
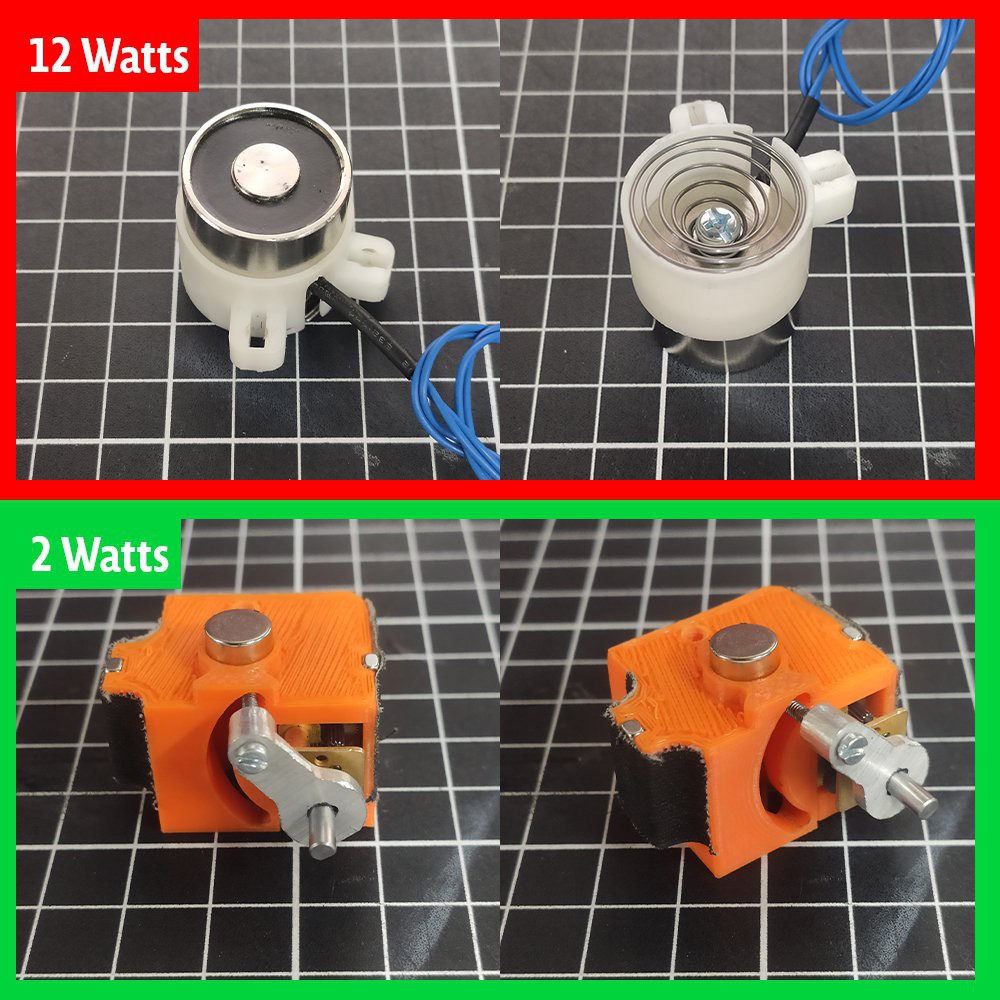
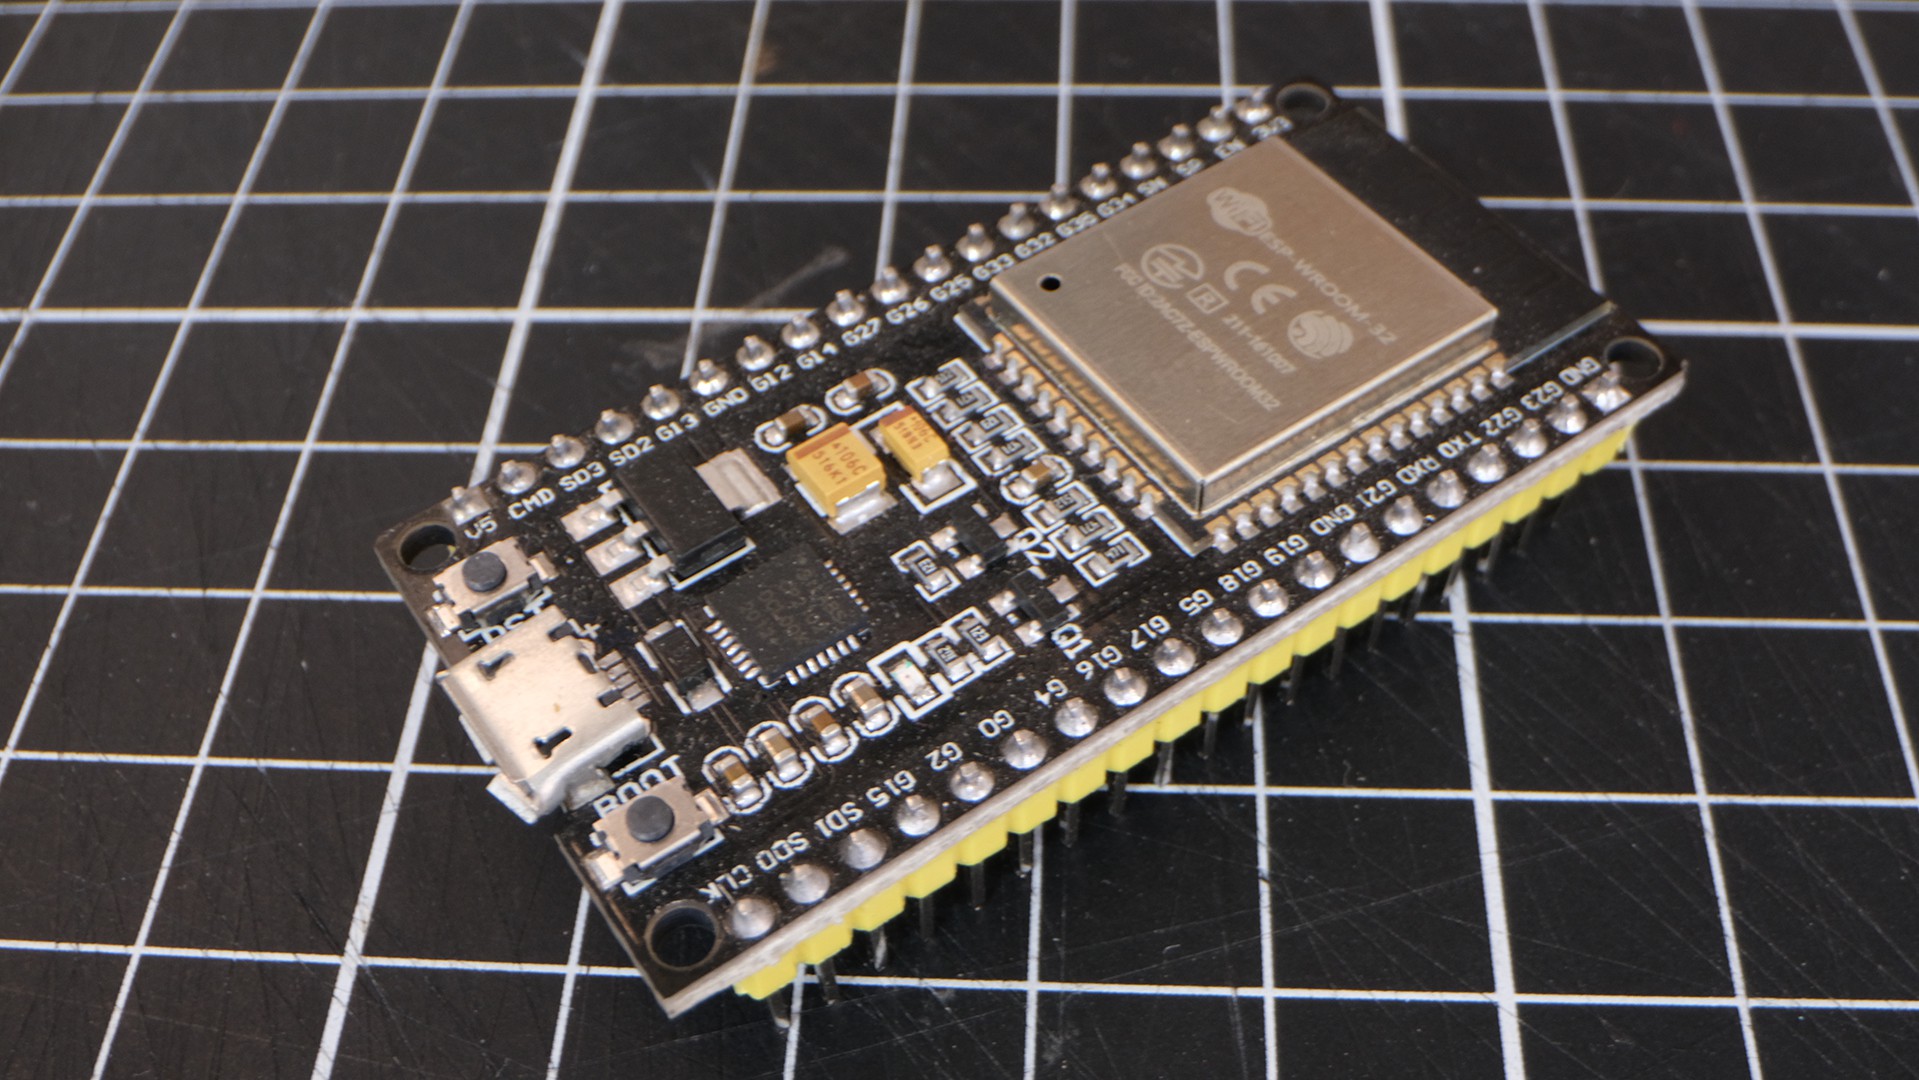
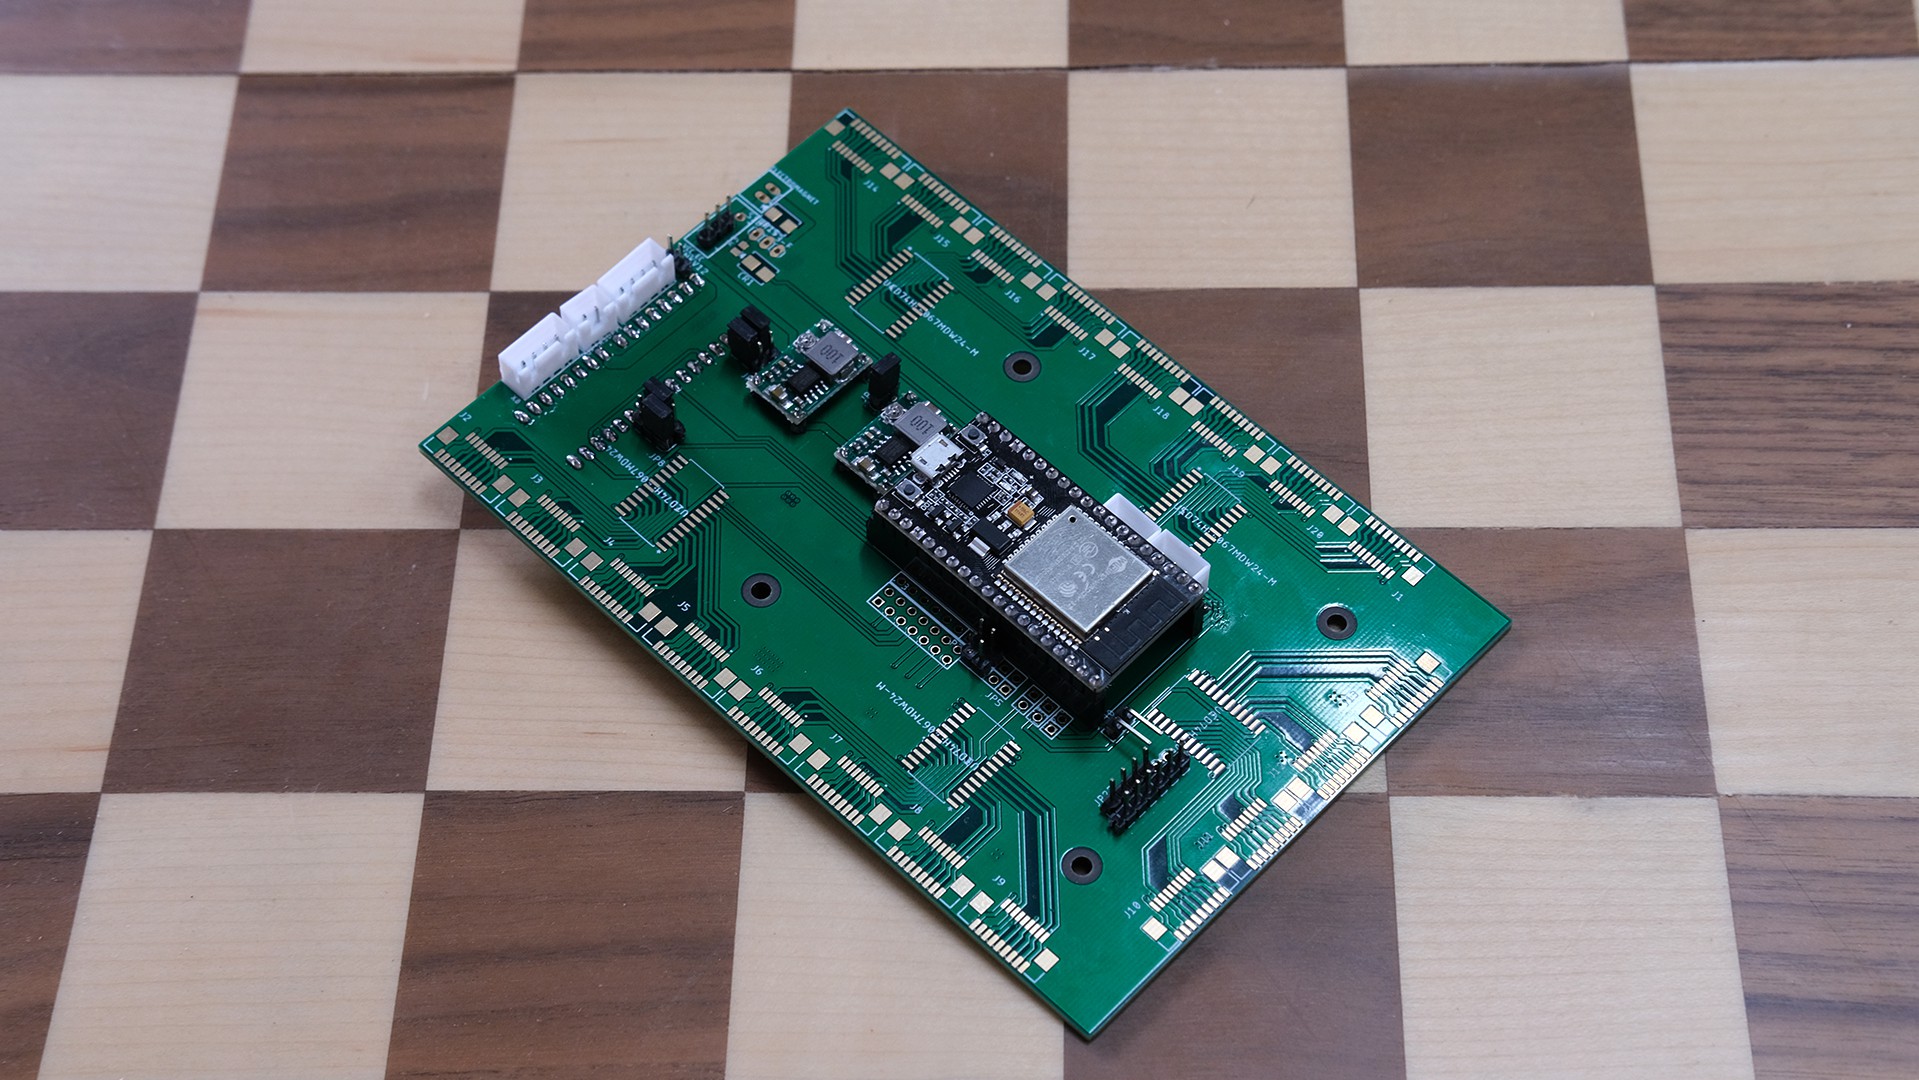
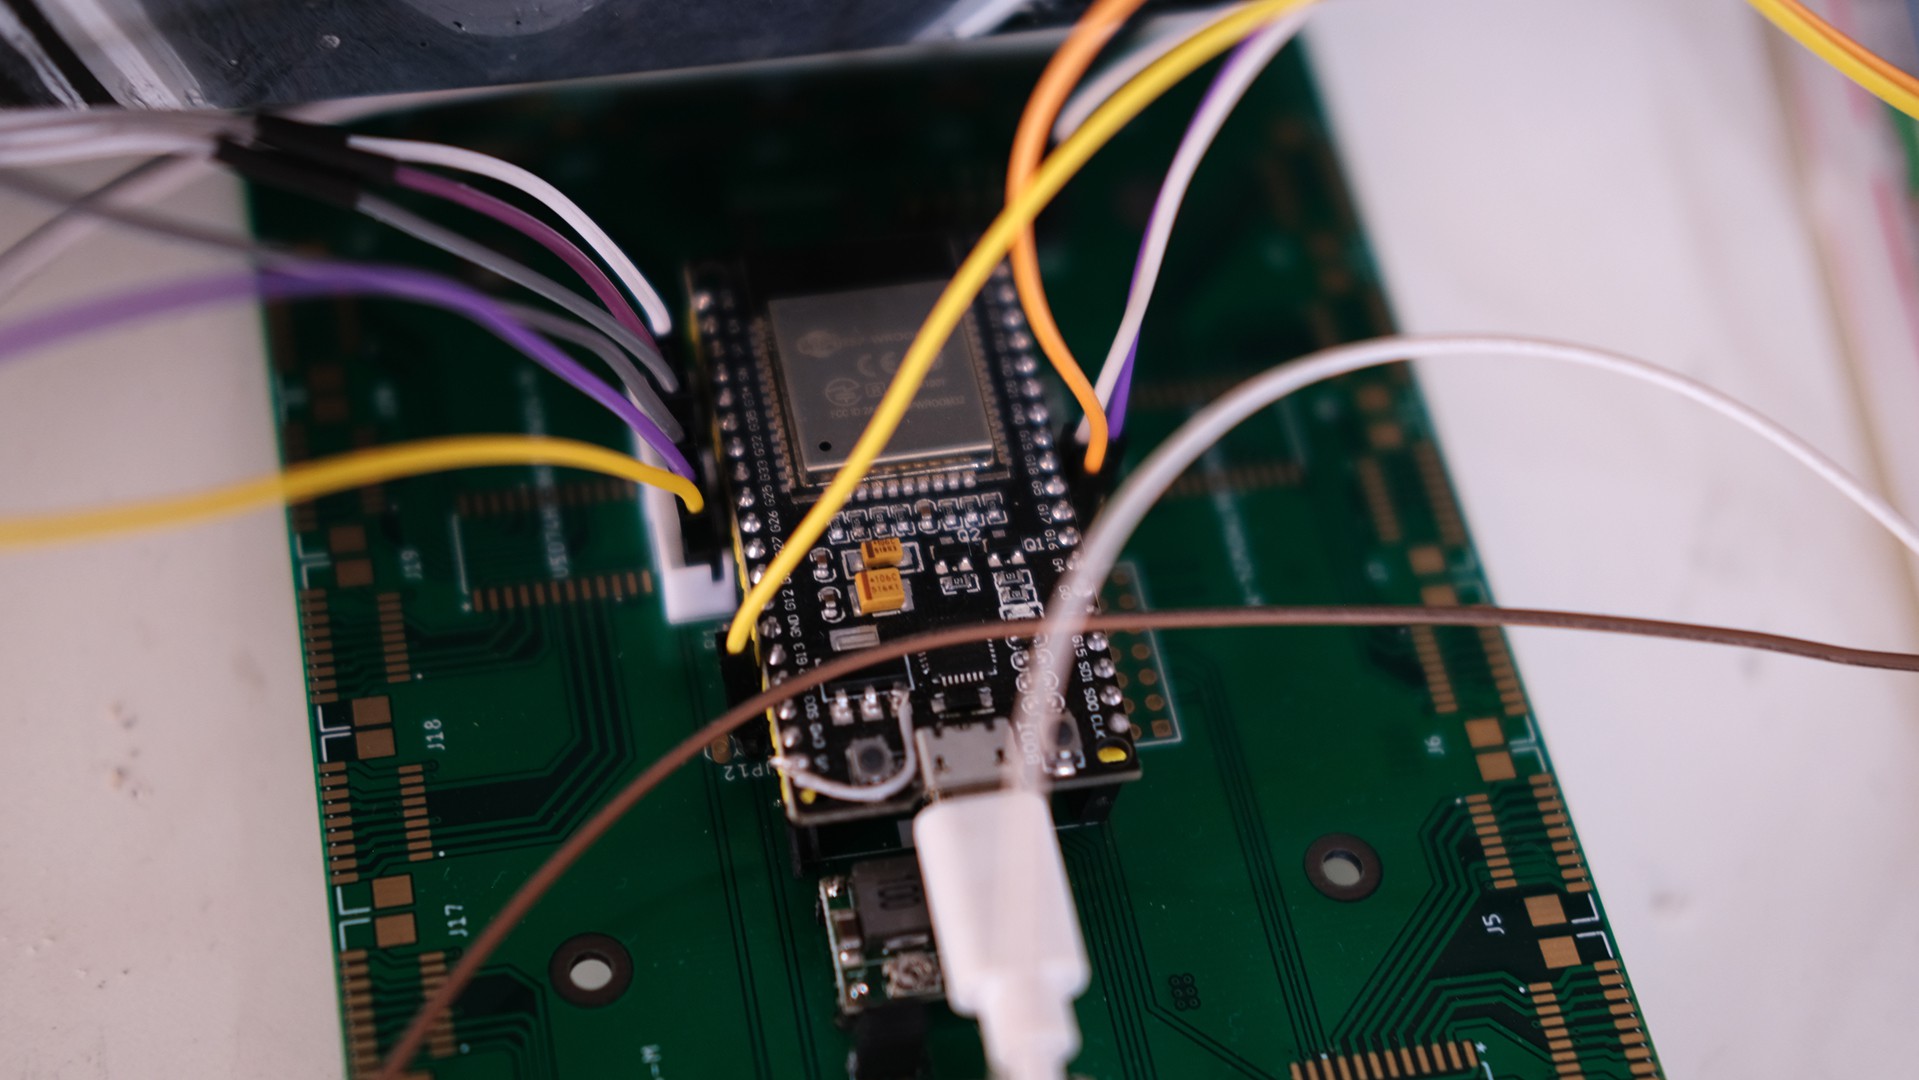
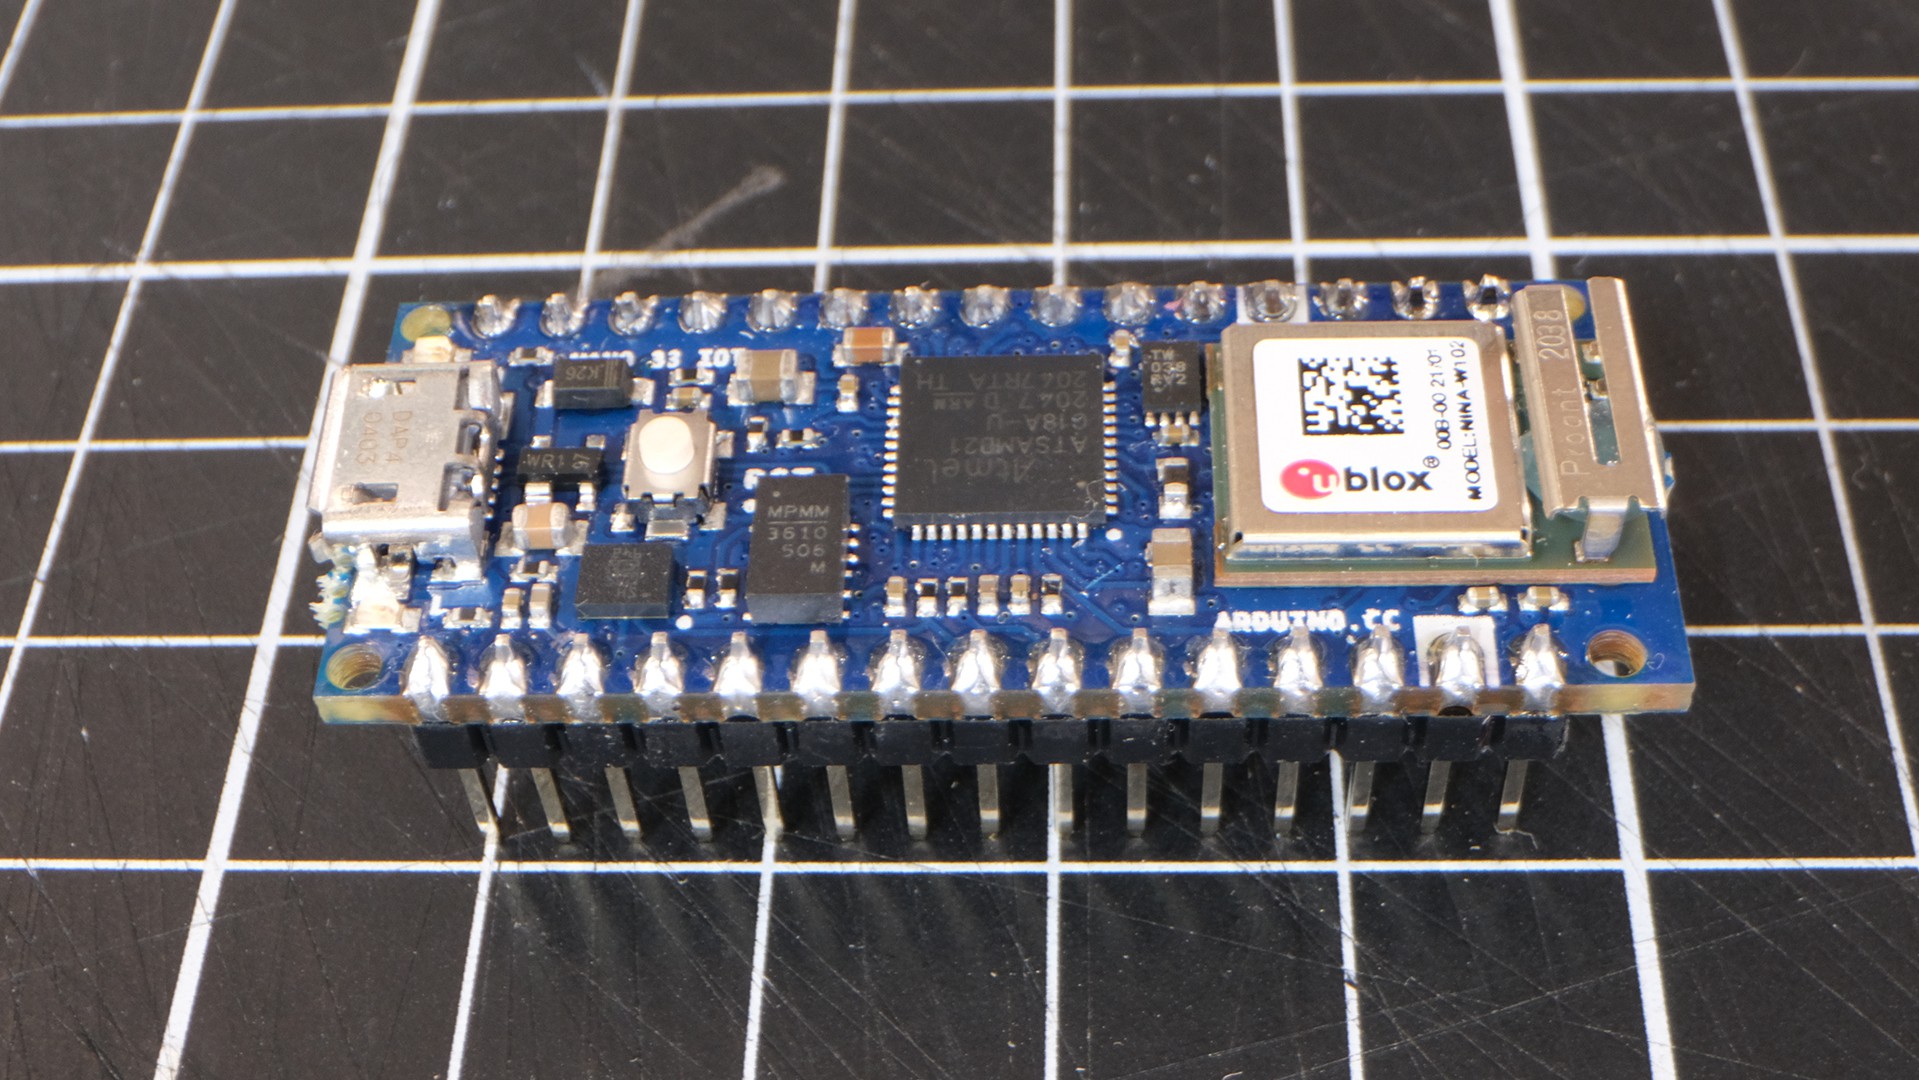
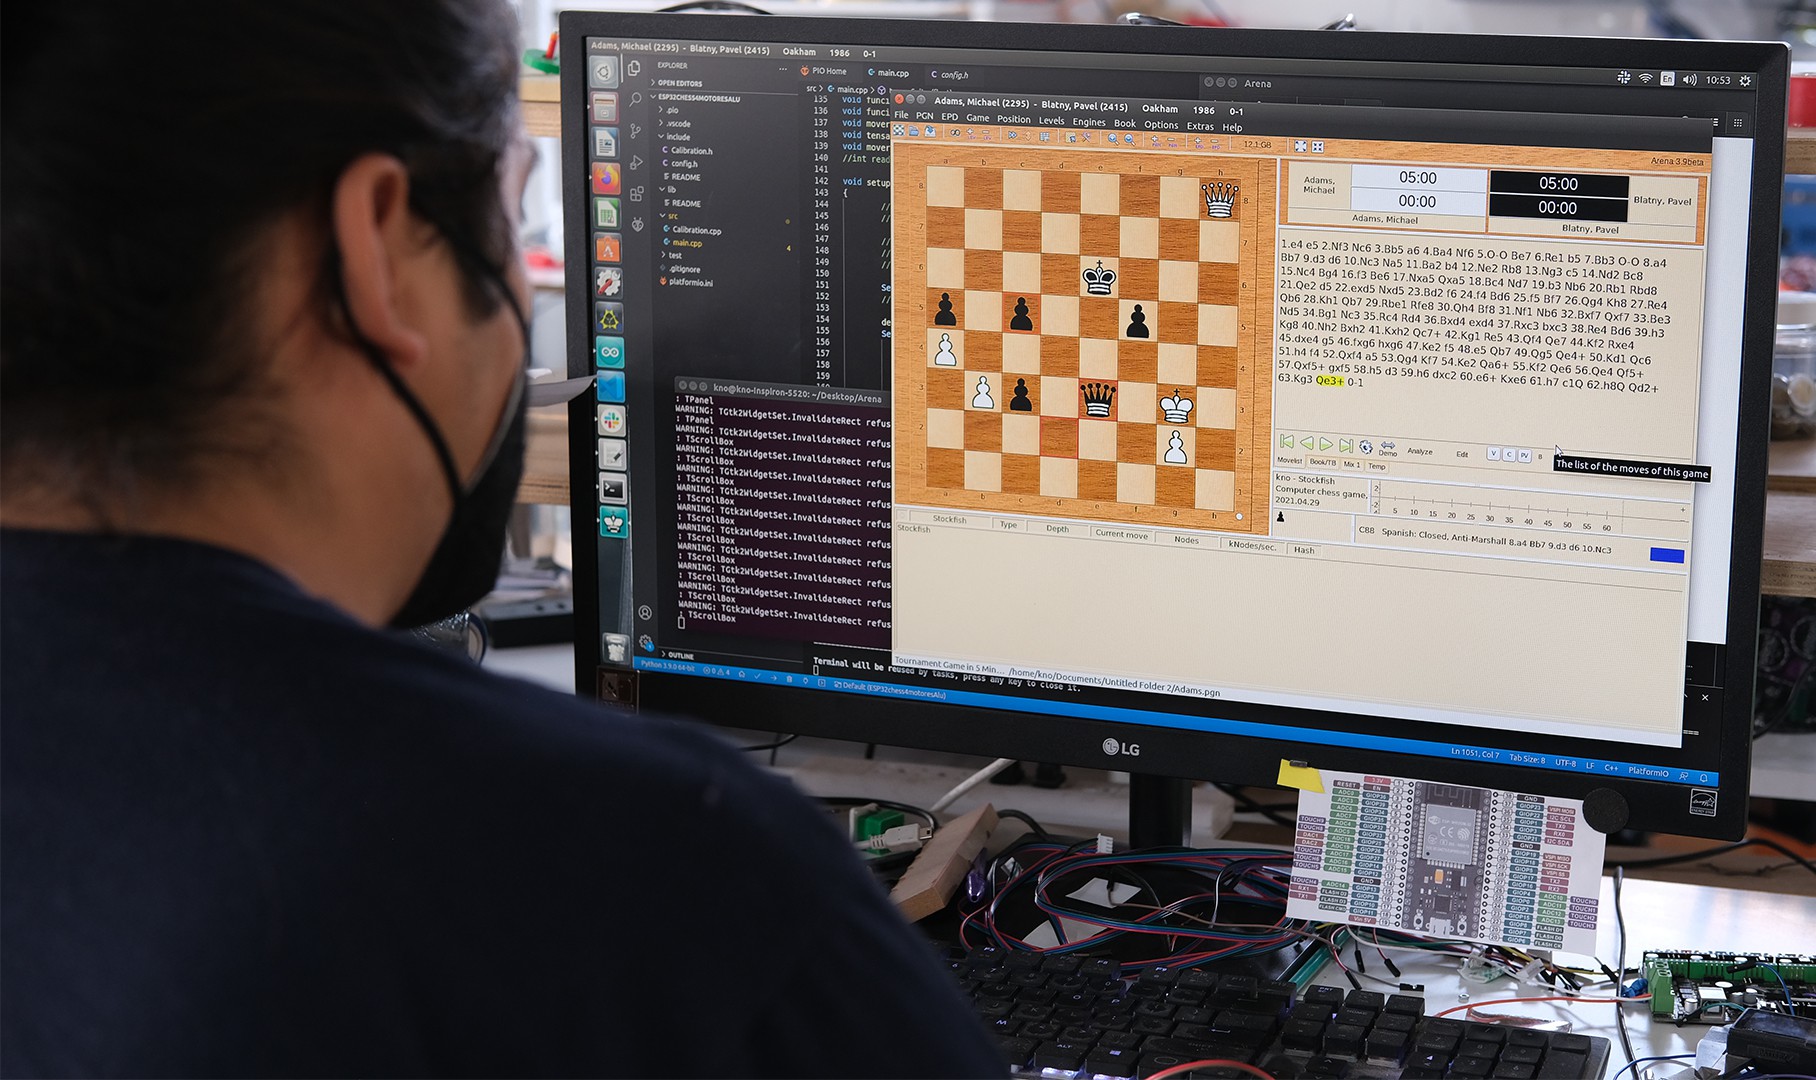
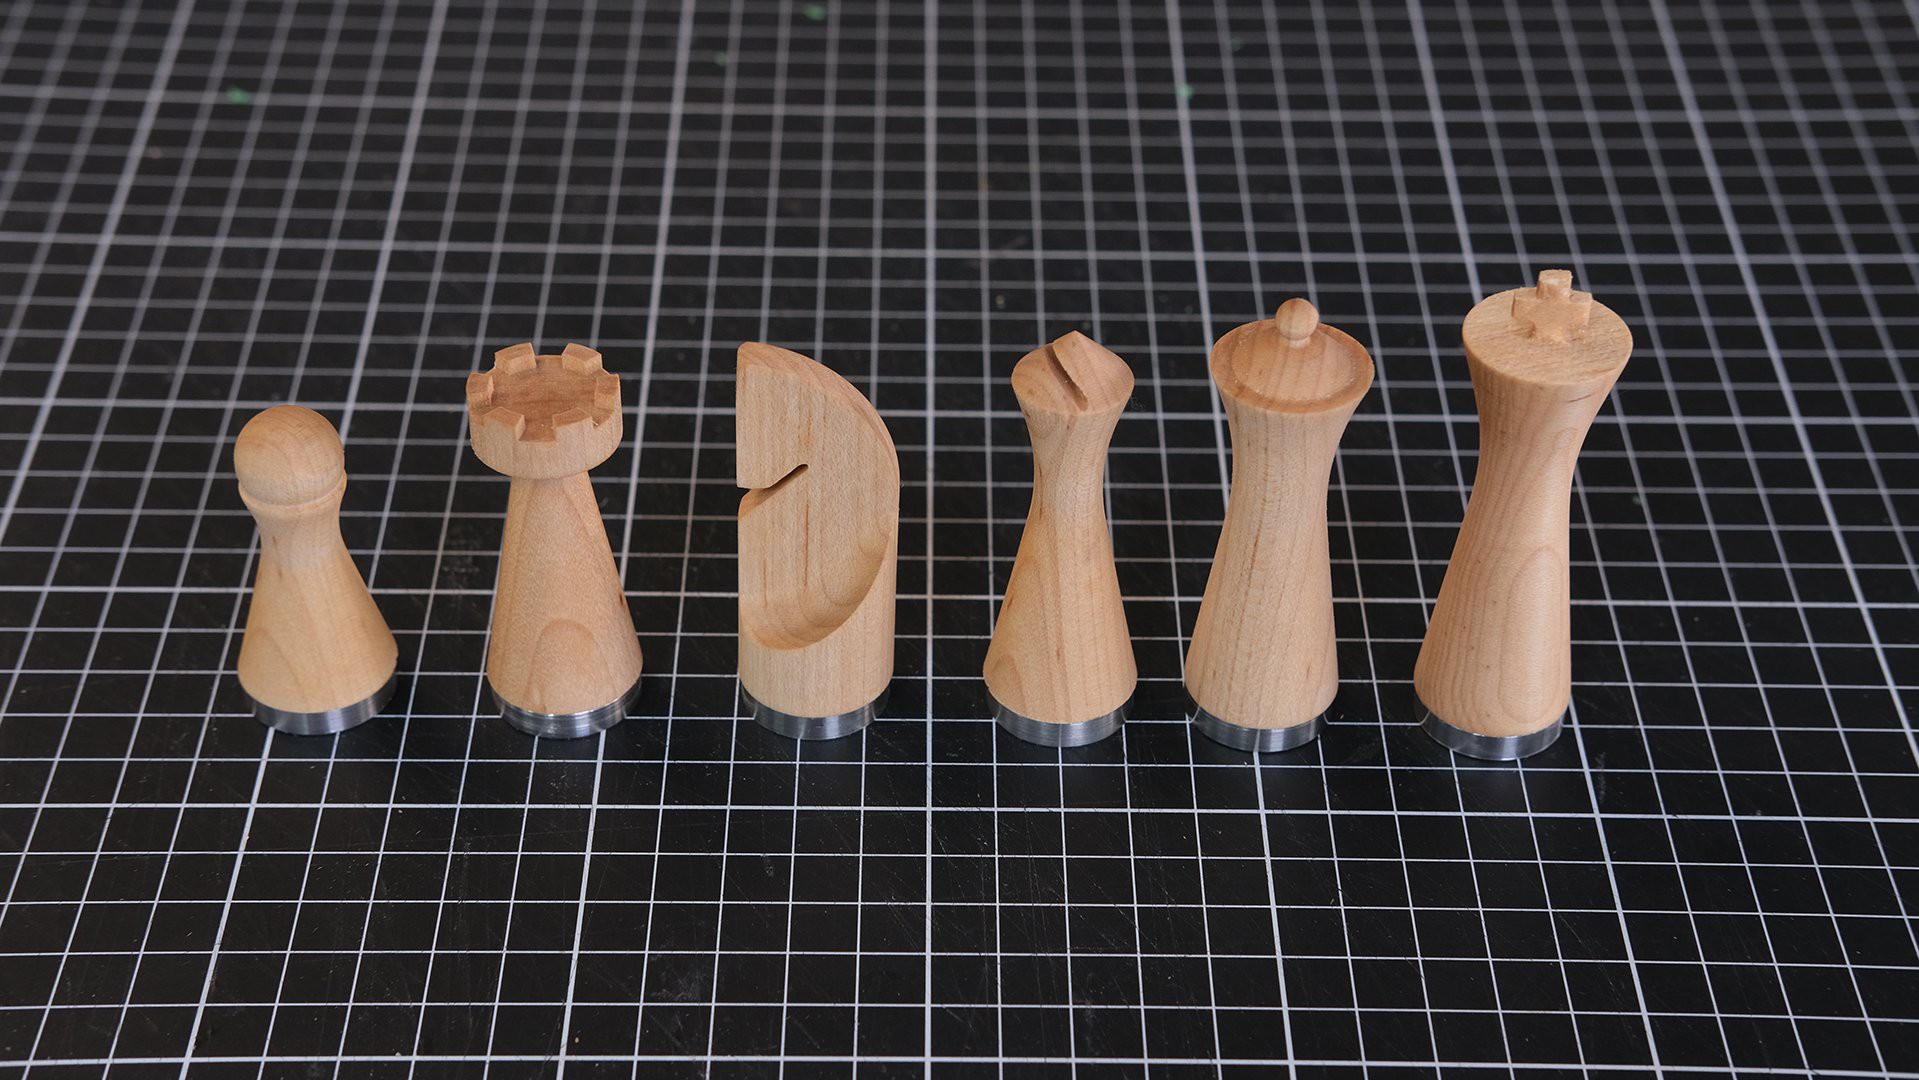
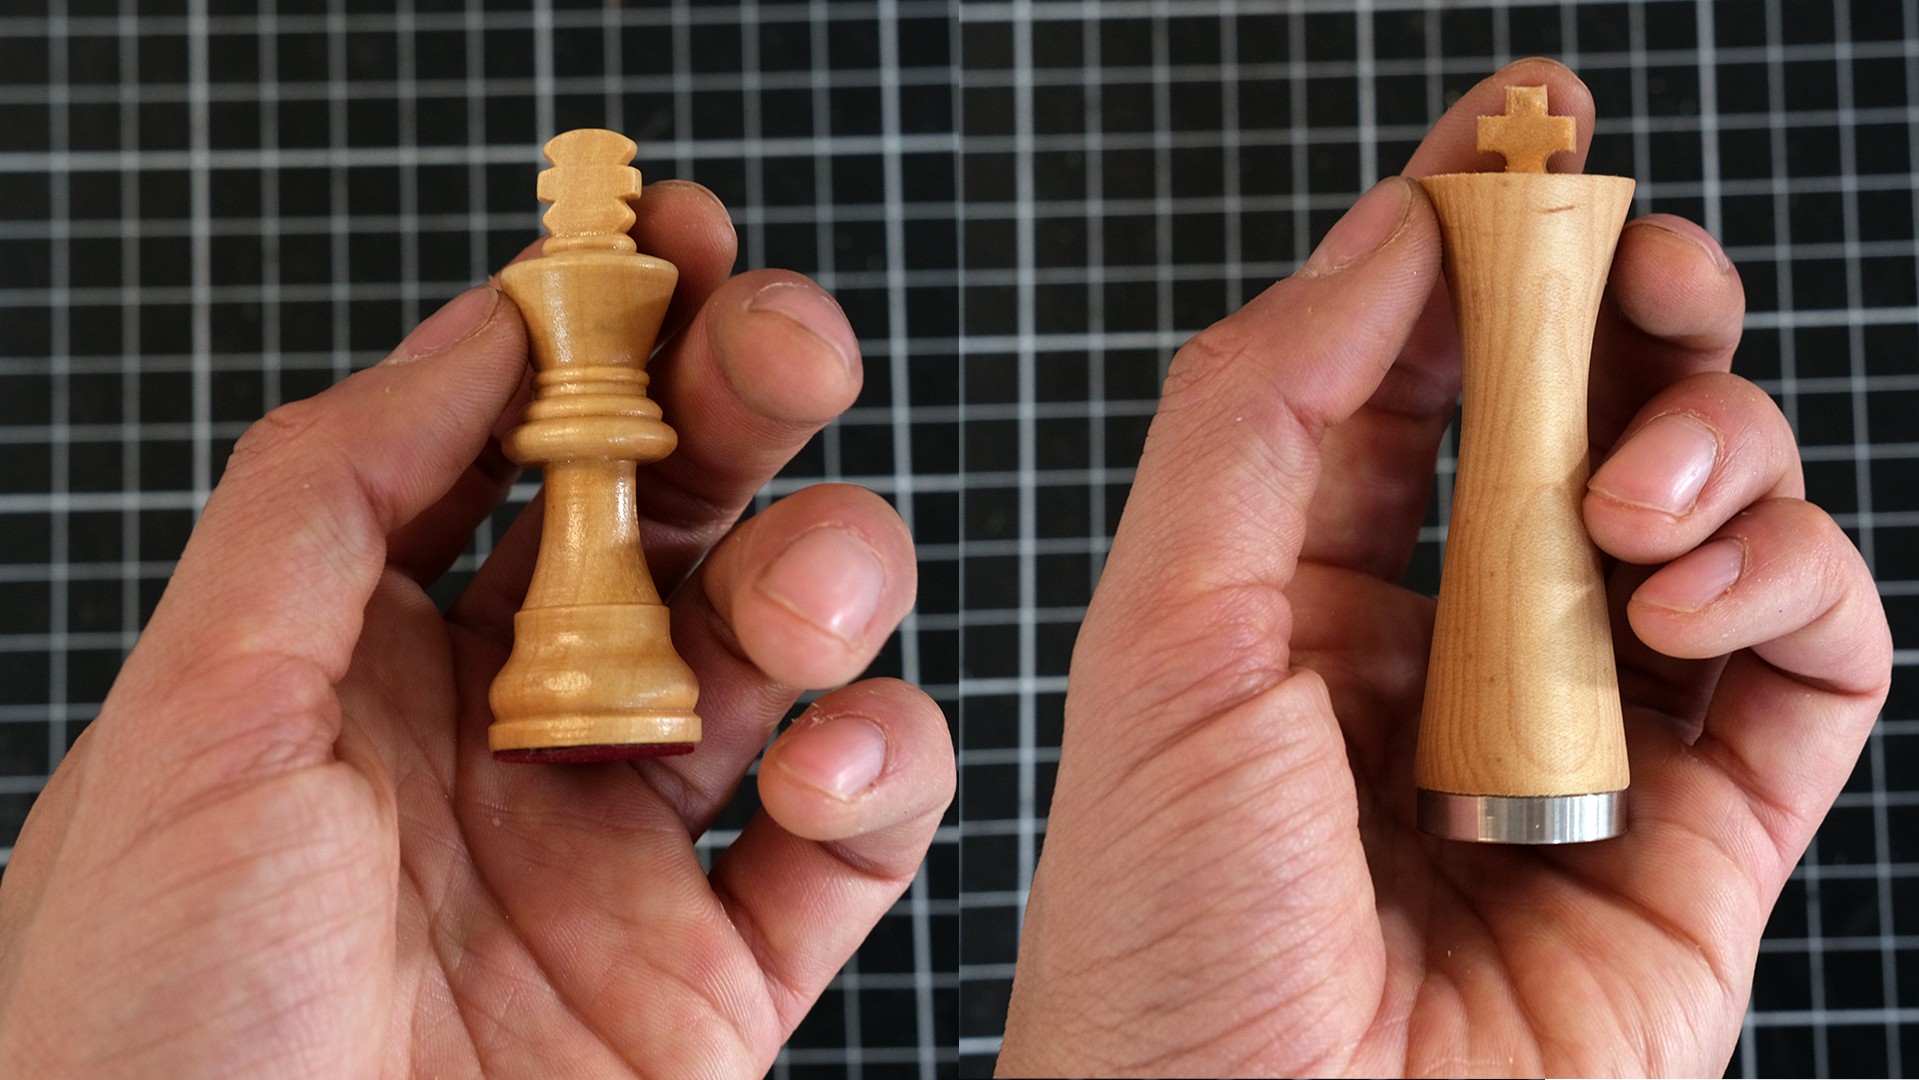
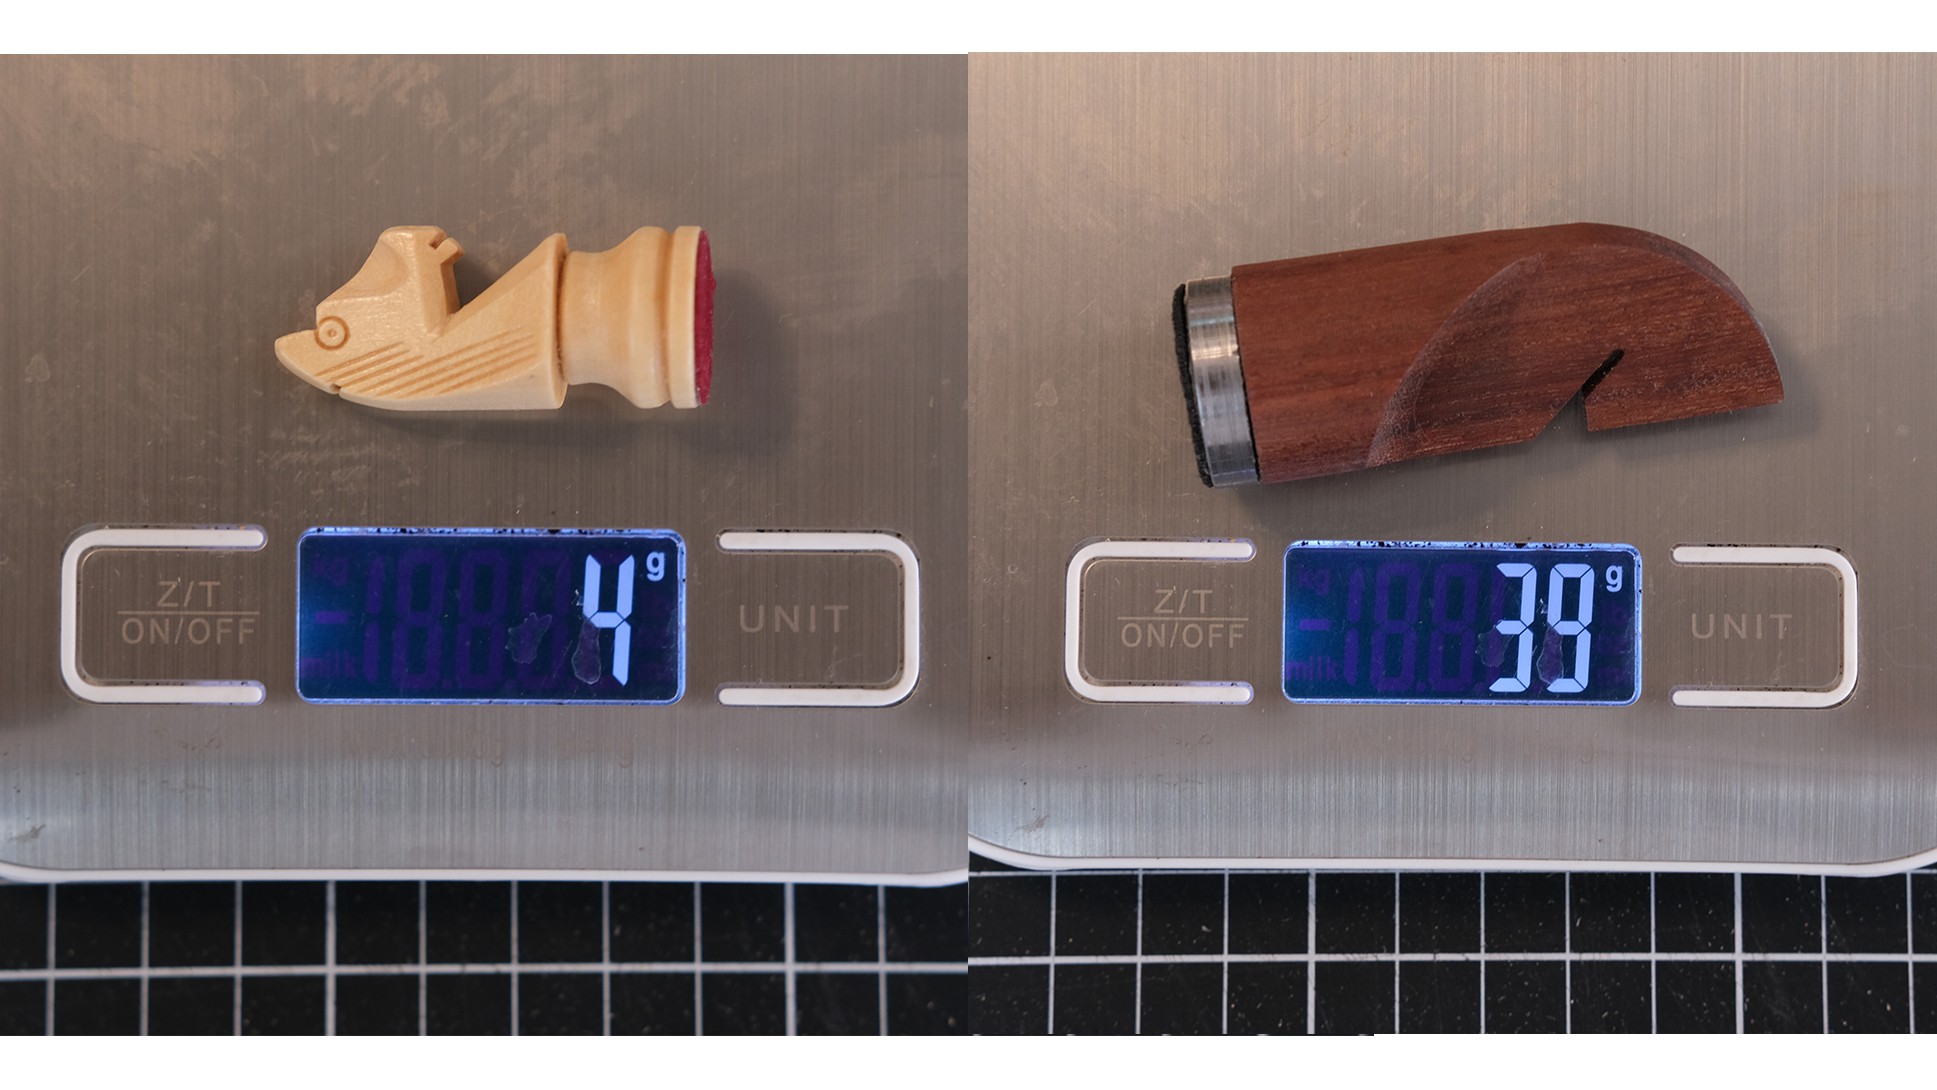
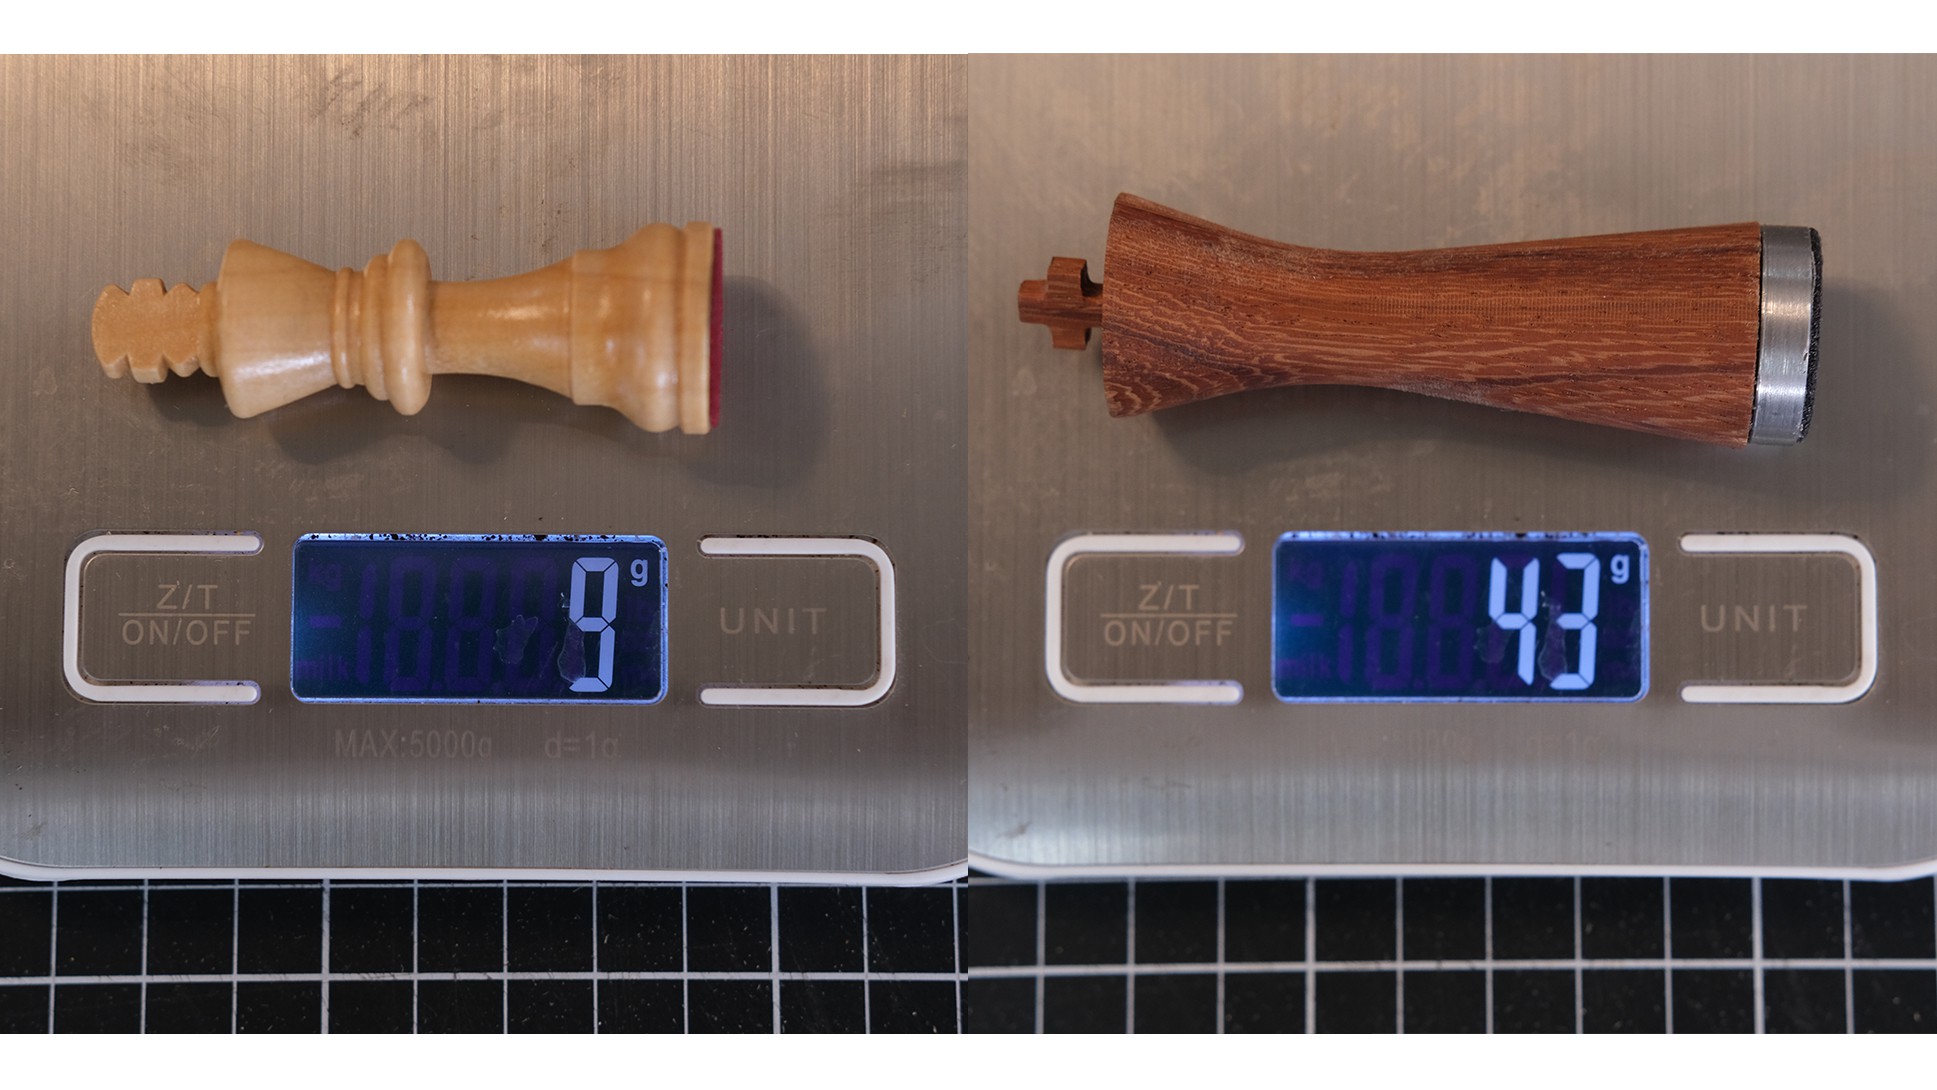
Making my own automatic chessboard
 Phantom Chessboard
Become a Hackaday.io member
Already have an account? Log in.
Just one more thing
To make the experience fit your profile, pick a username and tell us what interests you.
Pick an awesome username
hackaday.io/
Your profile's URL: hackaday.io/username. Max 25 alphanumeric characters.
Pick a few interests
Projects that share your interests
People that share your interests


 AKA
AKA
 Rodolfo
 Nolan Moore
 zacnotes
I see the comment about CedarHives being a scam (bummer I was really hoping it wasn't) but anyone know anything about Chessnut air? They claim to have a board for $199 but all plastic pieces? I was really hoping for a wooden board to gift my grandfather but if I have to settle for plastic to be affordable I might, but I don't want to get scammed if its crapy and fake.