setCREATE
Why?
I've been 3D printing for a few months now and since the beginning, printing at night was always a pain in my A. The problem was that I couldn't check on the prints when I was laying on my bed, I should have to go to the printer every time, turn on the room lights, and then I'd be able to see the print. So I decided to make this upgrade for my printer.
Main Parts
This LED lighting upgrade consists of 6 main parts.
- The light bar
- The left and right V-Slot adapters
- The left and right angle makers.
- The Switch box
The light bar is the long U-shaped part that will be holding the LED strip. it's designed for the standard 12mm aluminum LED strips but any smaller strip is also usable, just like what I did.
You can also use a commercial metal LED holder but you may need to customize the left and right angle maker.
The V-Slot adapter is used to connect the light bar to the top profile of the Z-axis.
The angle maker parts are used to hold the light bar and also make it able to rotate about 40°.
The switch box will be installed where the Z-axis V-slot is connected to the main frame V-slot.
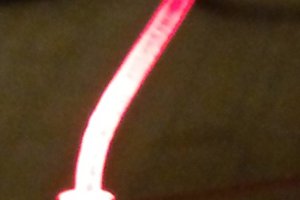
The LED Strip
For the LED strip, I chose an old LED strip that I had laying around. It has a nice warm color and most importantly, it's not very bright. As I said before, I didn't want to make my room light up when using this light bar, I just wanted to brighten the printer.
The Z-Axis Limit
One very important note while using this upgrade is to make sure that you pay attention to the Z-axis limit after installing the light bar.
In my case, my printer has a Z height of 400mm, but when I install the light bar, the Z height will reduce to 390mm, because the print head will ram into the light bar if it exceeds the 390mm limit. so make sure to keep that in mind.
 Addyson Carroll
 SimonXi