 Yi-Wei Chen

SayHOLO provide easiest way to generate 3D holographic from 2D images.
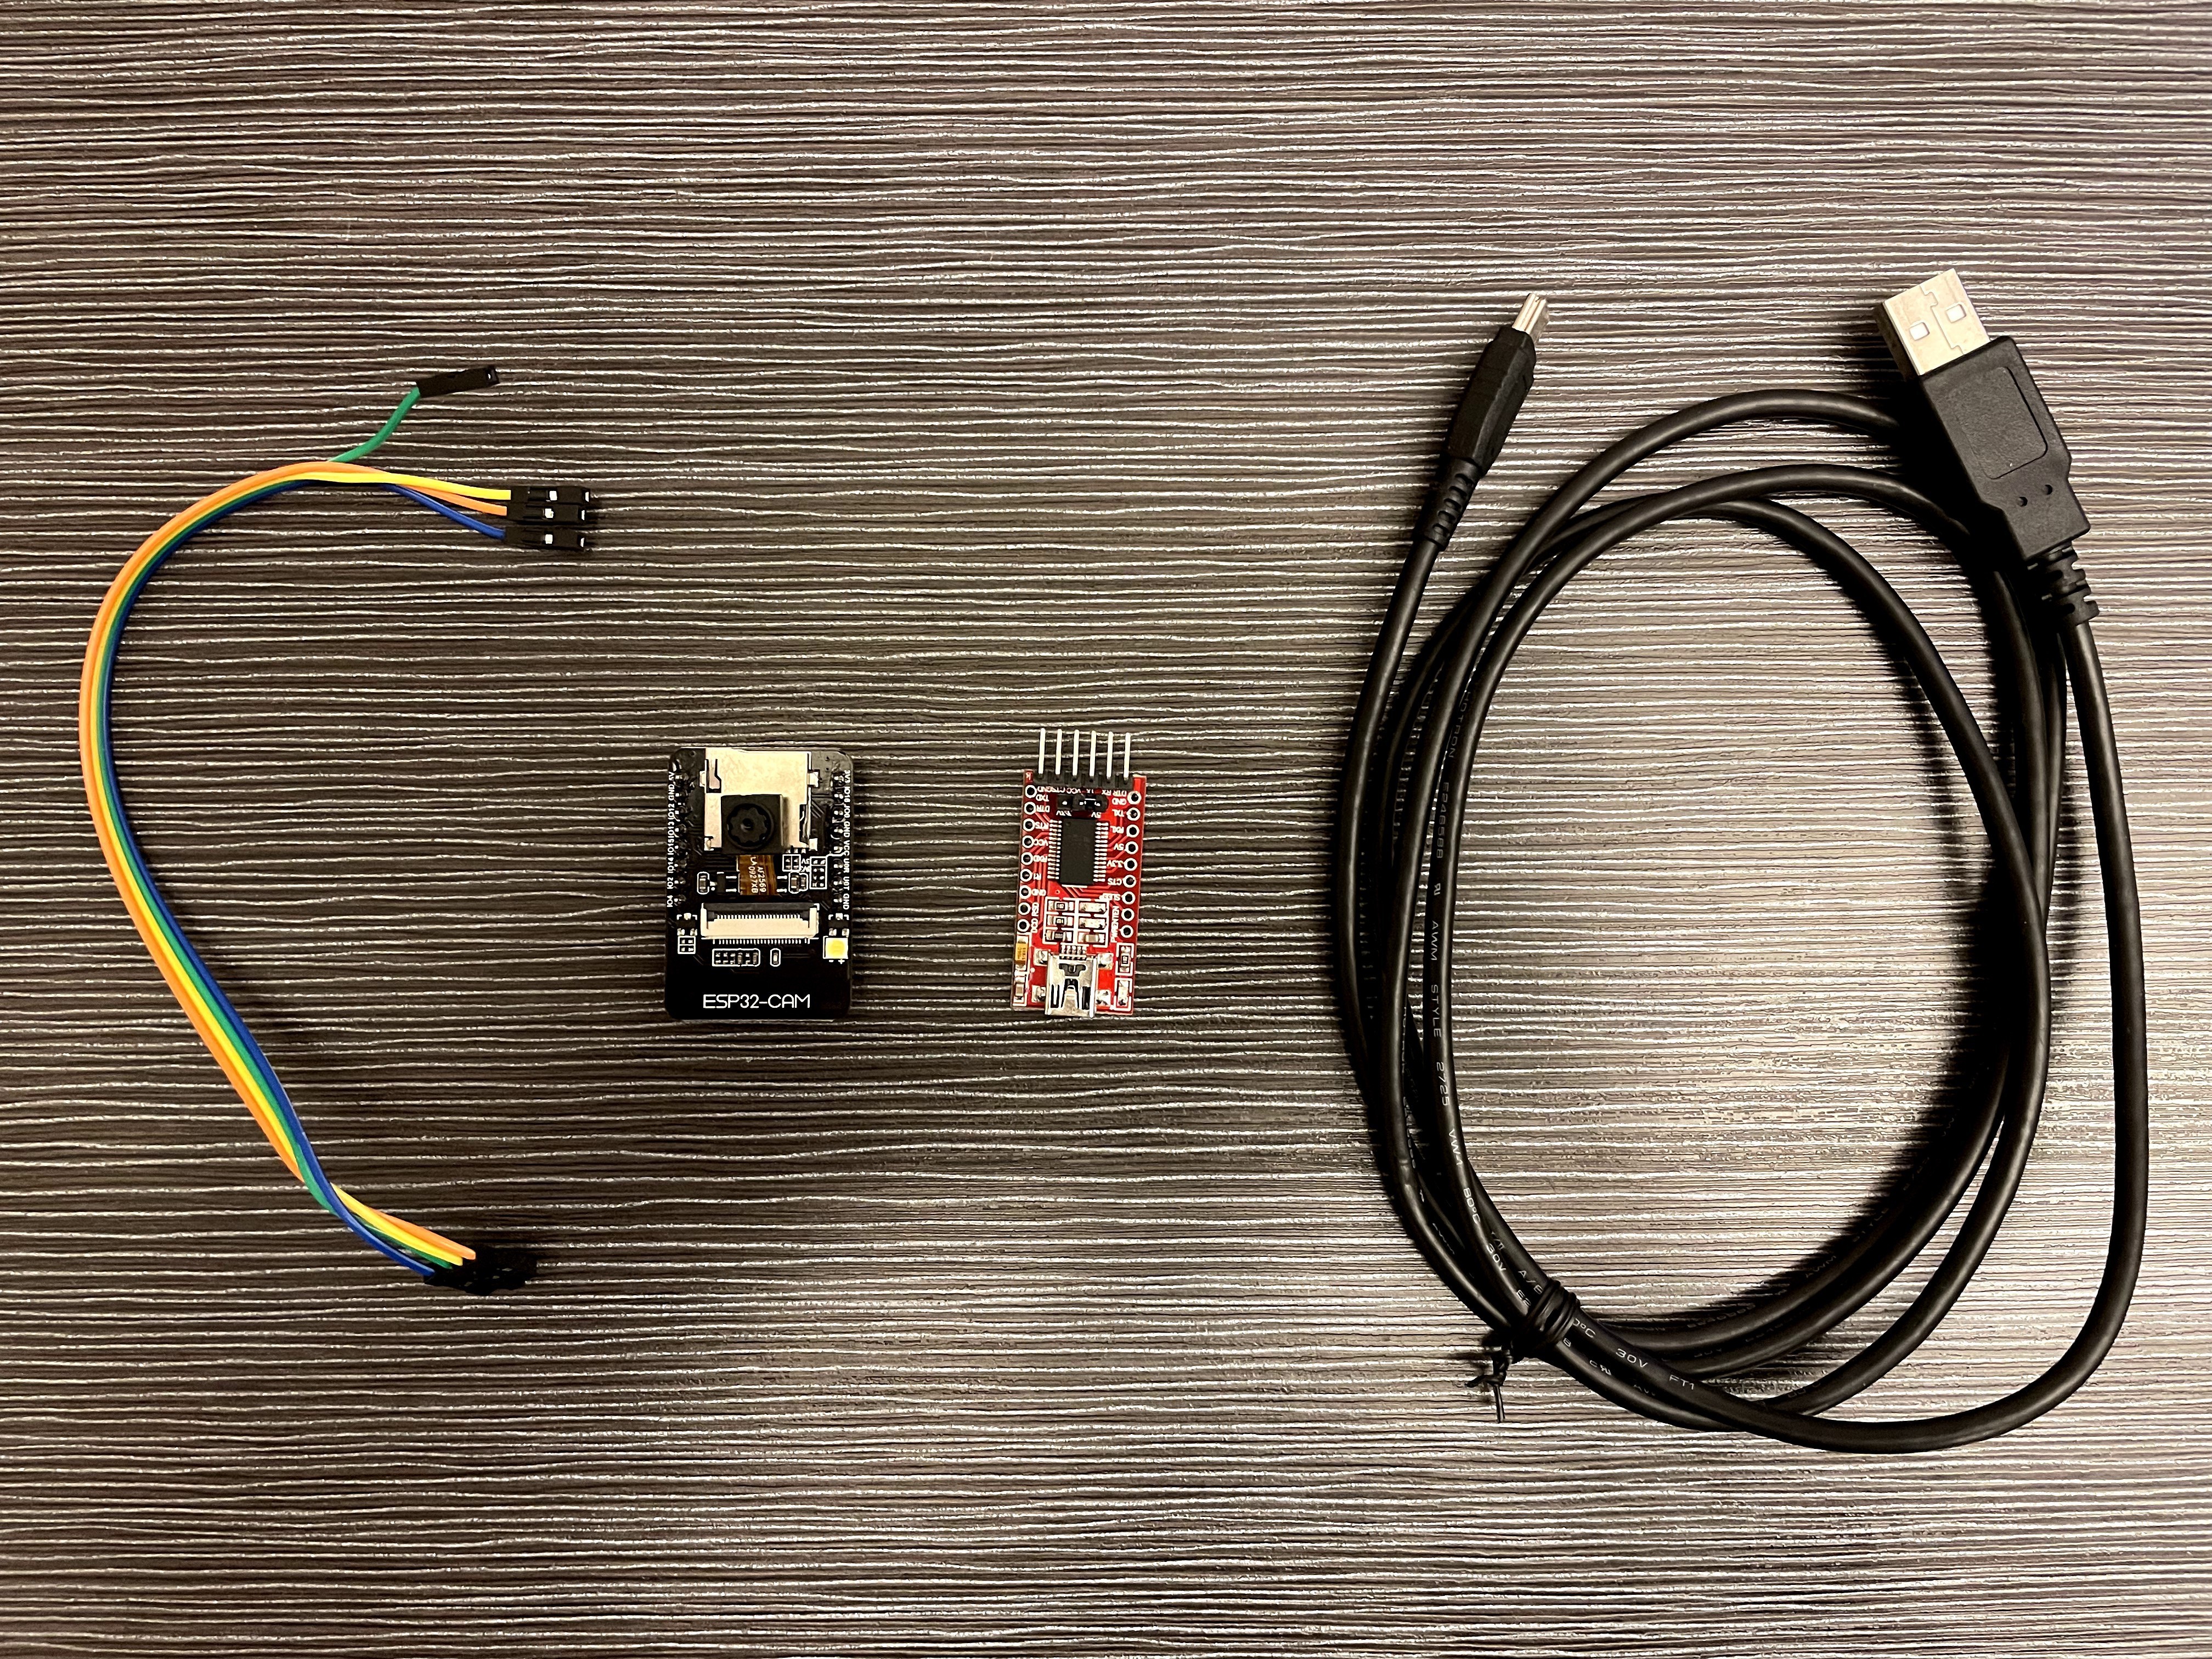
As we know the world has become more "digitalize" over the past few years. With more realistic virtual reality technology has been invented in area such as entertainment, military, and medical science, holographic technology becomes one of the major trend that researchers want to explore. In addition, starting from late 2019, our world has experience serious pandemic. Remote meeting become the major way that people communicate with each other. In order to make our live fill with entertainment, this project use the technologies that already existed to transform 2D images into 3D model. The device is called SayHOLO, a portable device that is easy to use for people to generate 3D human model from ESP32-CAM. Let's look at the technical components that are involved in this project:
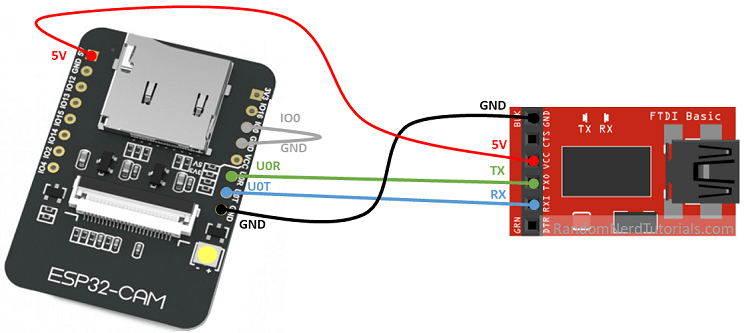
- Image Transferring to Google Drive
- In ESP32-CAM programming module, basically it calls a script deployed on Google APP Script which takes the images file from ESP32-CAM and transmitted to Google Drive. Since images content cannot be transfer via internet, I first of all convery the data into textual using Base64 encoding. In short, Base64 converts a binary representation into an ASCII string that is safe for plain text system. The downside is that resulting representation is around 1.3x larger in size than the original file such that my ESP32-CAM resolution cannot be higher than SVGA. That is something I will do to further improve the image file size limitation.
- U-2-Net
- The algorithm written in Python is a simple but powerful deep network architecture for salient object detection. This architecture is a two-level nested U-structure which is able to capture more contextual information from different scales and increase the depth of the whole architecture without significantly increasing the computational cost. With the newly designed RSU blocks, the nested U-structure enables the network to capture richer local and global information from both shallow and deep layers regardless of the resolutions.
- U-2-Net is used to filter out the background components from images taken by ESP32-CAM which the formation algorithm can provide higher quality 3D model.
* If you are interested in this algorithm, feel free to learn more in this paper >>> U-2-Net
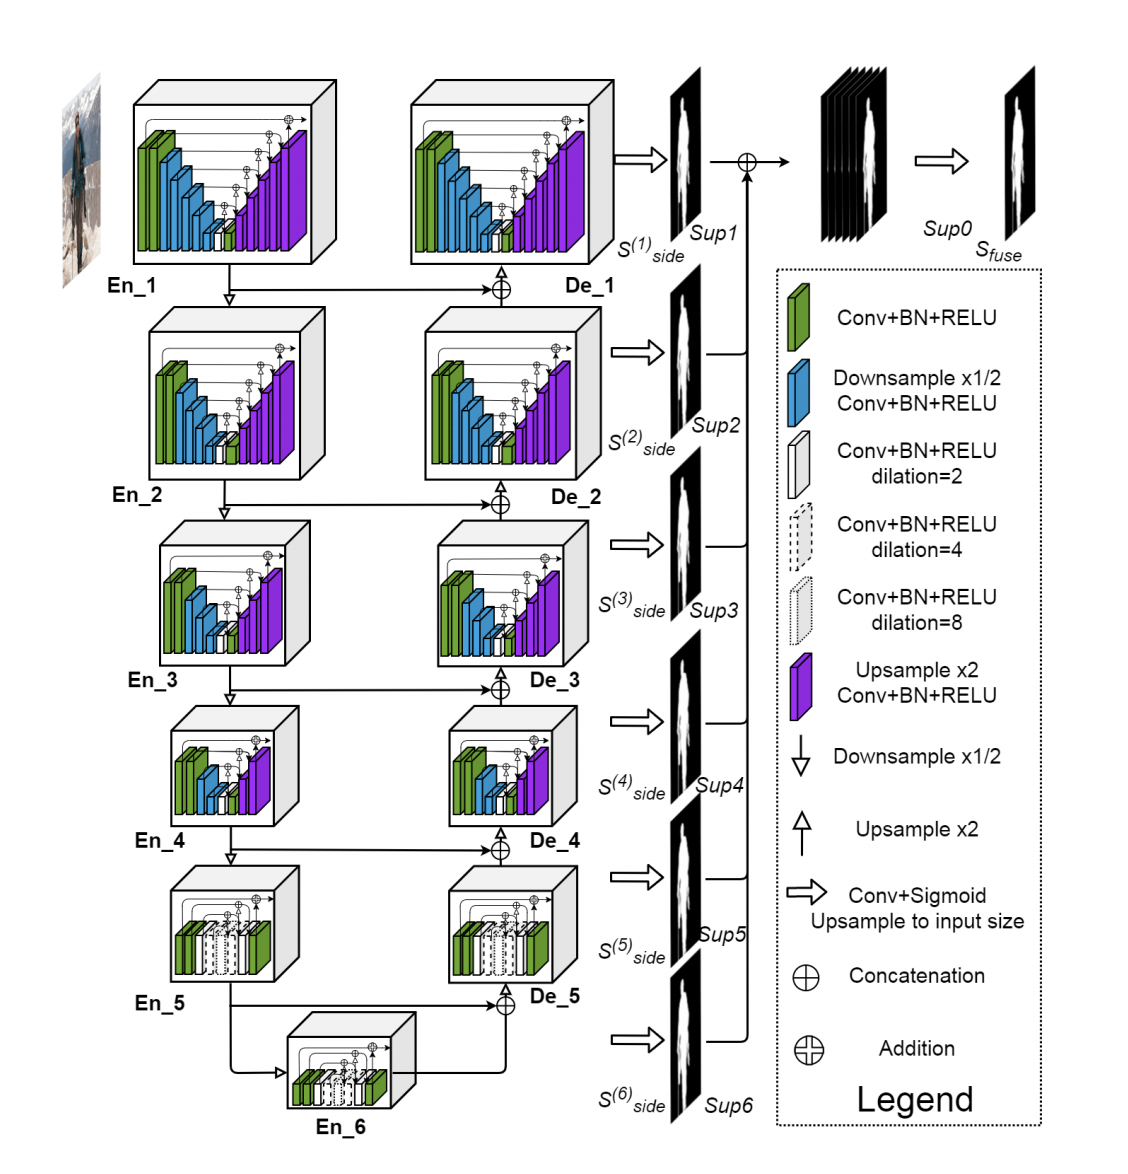
- PIFuHD
- Recent advances in image-based 3D human shape estimation have been drive nby the significant improvement in representation power afforded by deep neural networks. Due to hardware limitation stem in current technologies, two conflicting requirements occur: accurate prediction require large context but precise predictions require high resolution. PIFuHD address this limitation by formulating a multi-level architecture that is end-to-end trainable. A coarse level observes the whole image at lower resolution and focuses on holistic reasoning. This provides context to an fine level which estimates highly detailed geometry by observing higher-resolution images.
- This algorithm is the major thing that allows my pictures transforming into three dimensional. With the first layer of U-2-Net, a clearer images will be feed into PIFuHD such that the expected result contains higher quality.
* If you are interested in this algorithm, feel free to learn more in this paper >>> PIFuHD

- Three.js
- This library is a cross-browser javaScript and application programming interface (API) used to create and display 3D computer graphics in a web browser using WebGL. It allows the creation of graphical processing unit (GPU) accelerated 3D animations using the JavaScript language as part of a website without relying on proprietary browser plugins.
- I have designed a customize ReactJS website using Three.js such that the result object files generated by PIFuHD can display on the website.
* If you are interested in this library, feel free to learn more in this website >>> Three.js
After finished... Read more »
 Madaeon
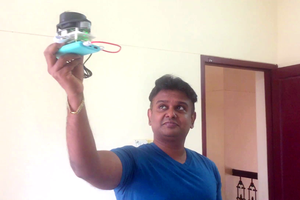
 Anand Uthaman
 Ben Hartmann
 kutluhan_aktar