 Canine Defense Technologi
What Makes Valor sUAS Different?
There are many drone systems out there, why make another one? What makes this one special?
Low cost: The whole system uses commercial off-the-shelf parts, it's much cheaper to build or repair compared to commercial solutions! The total R&D cost of Valor was less than a comparable commercial solution, and mass production of this system means the price can be dropped even further.
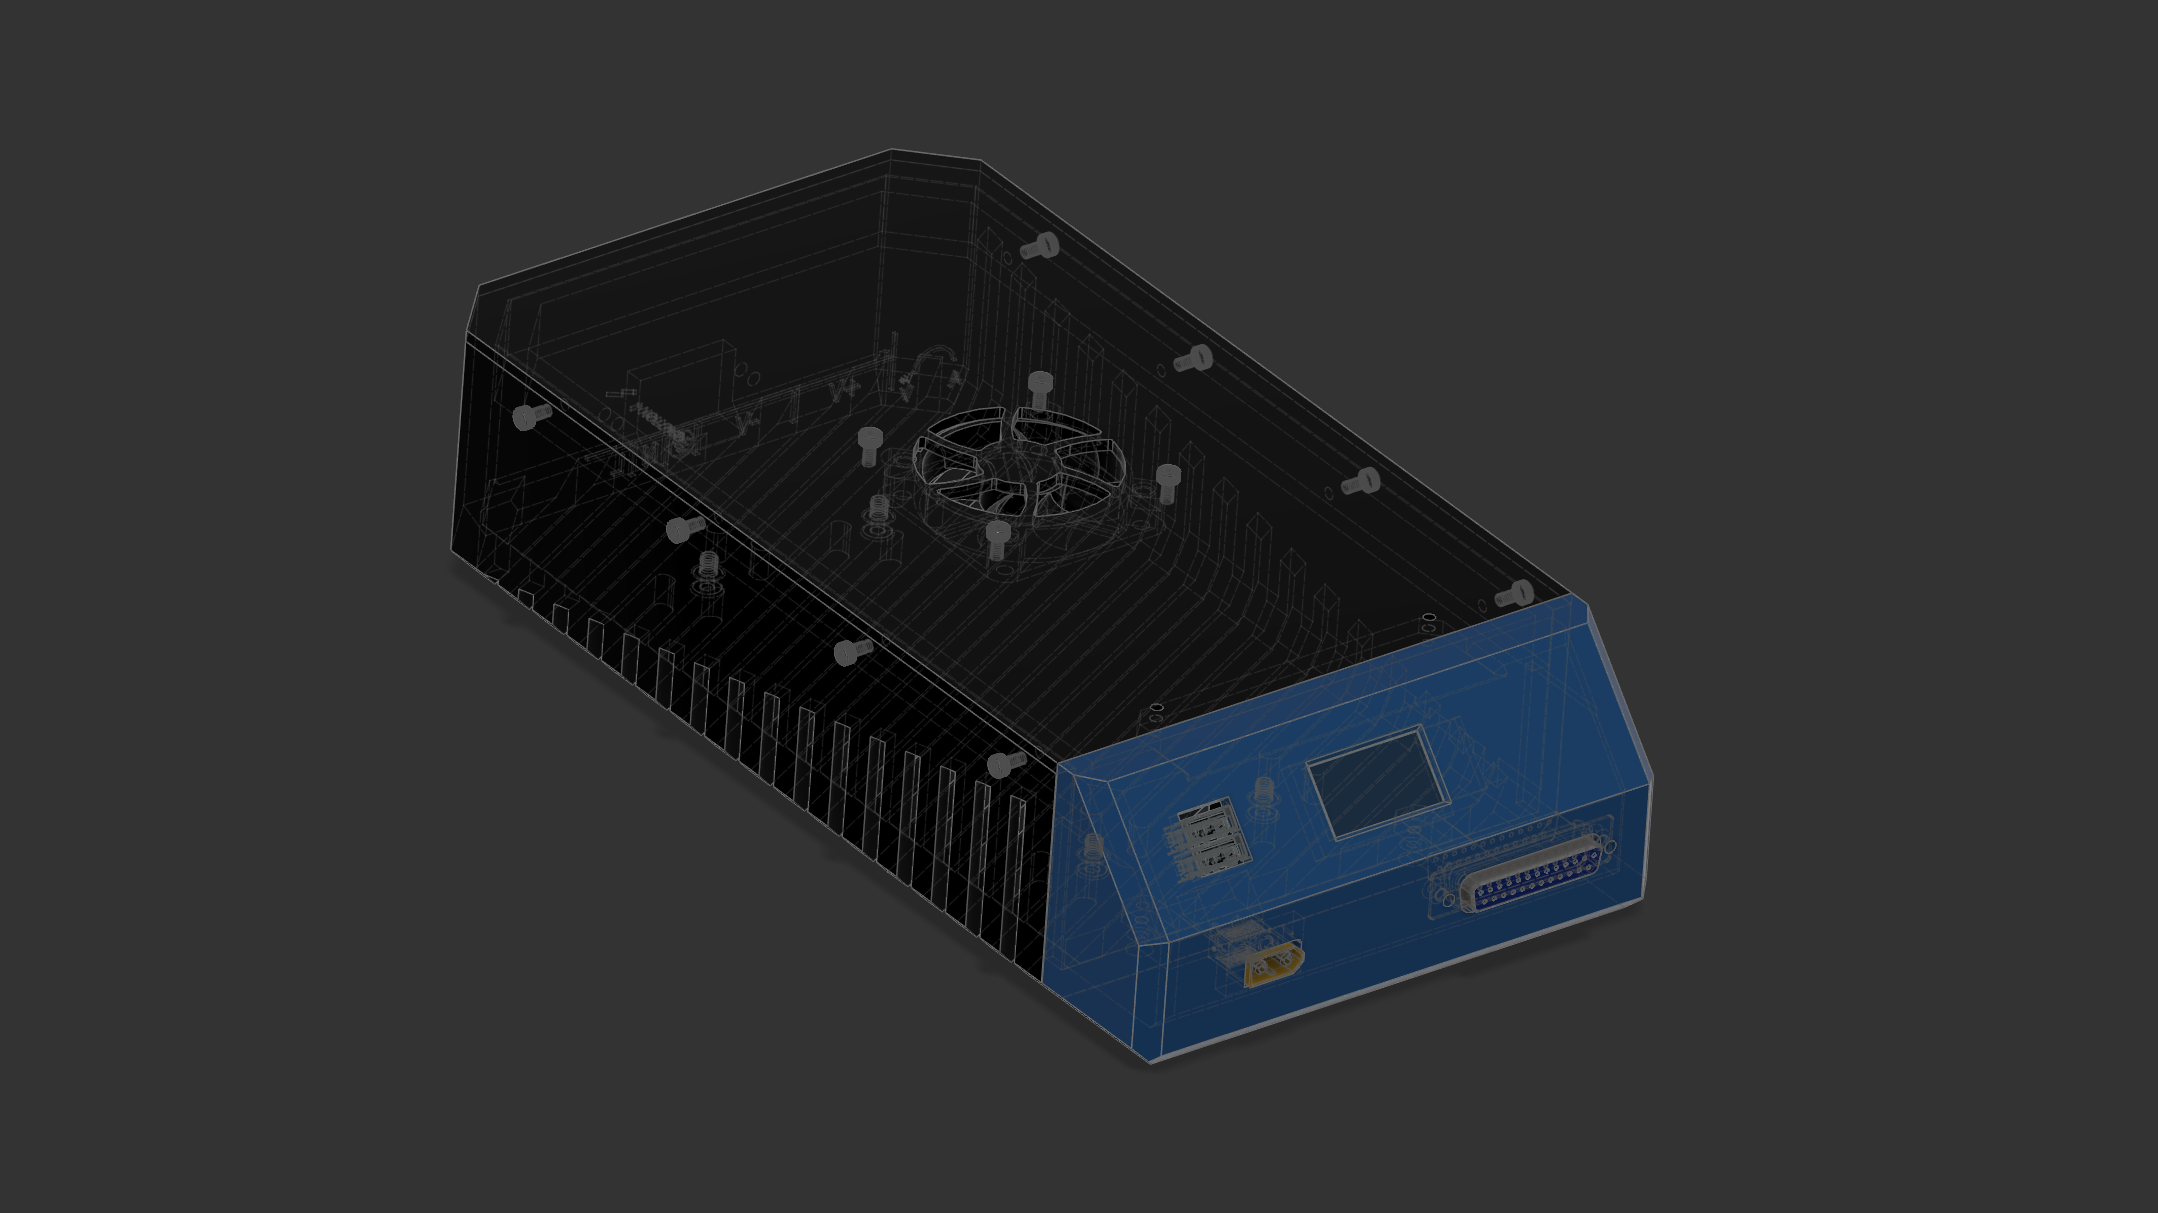
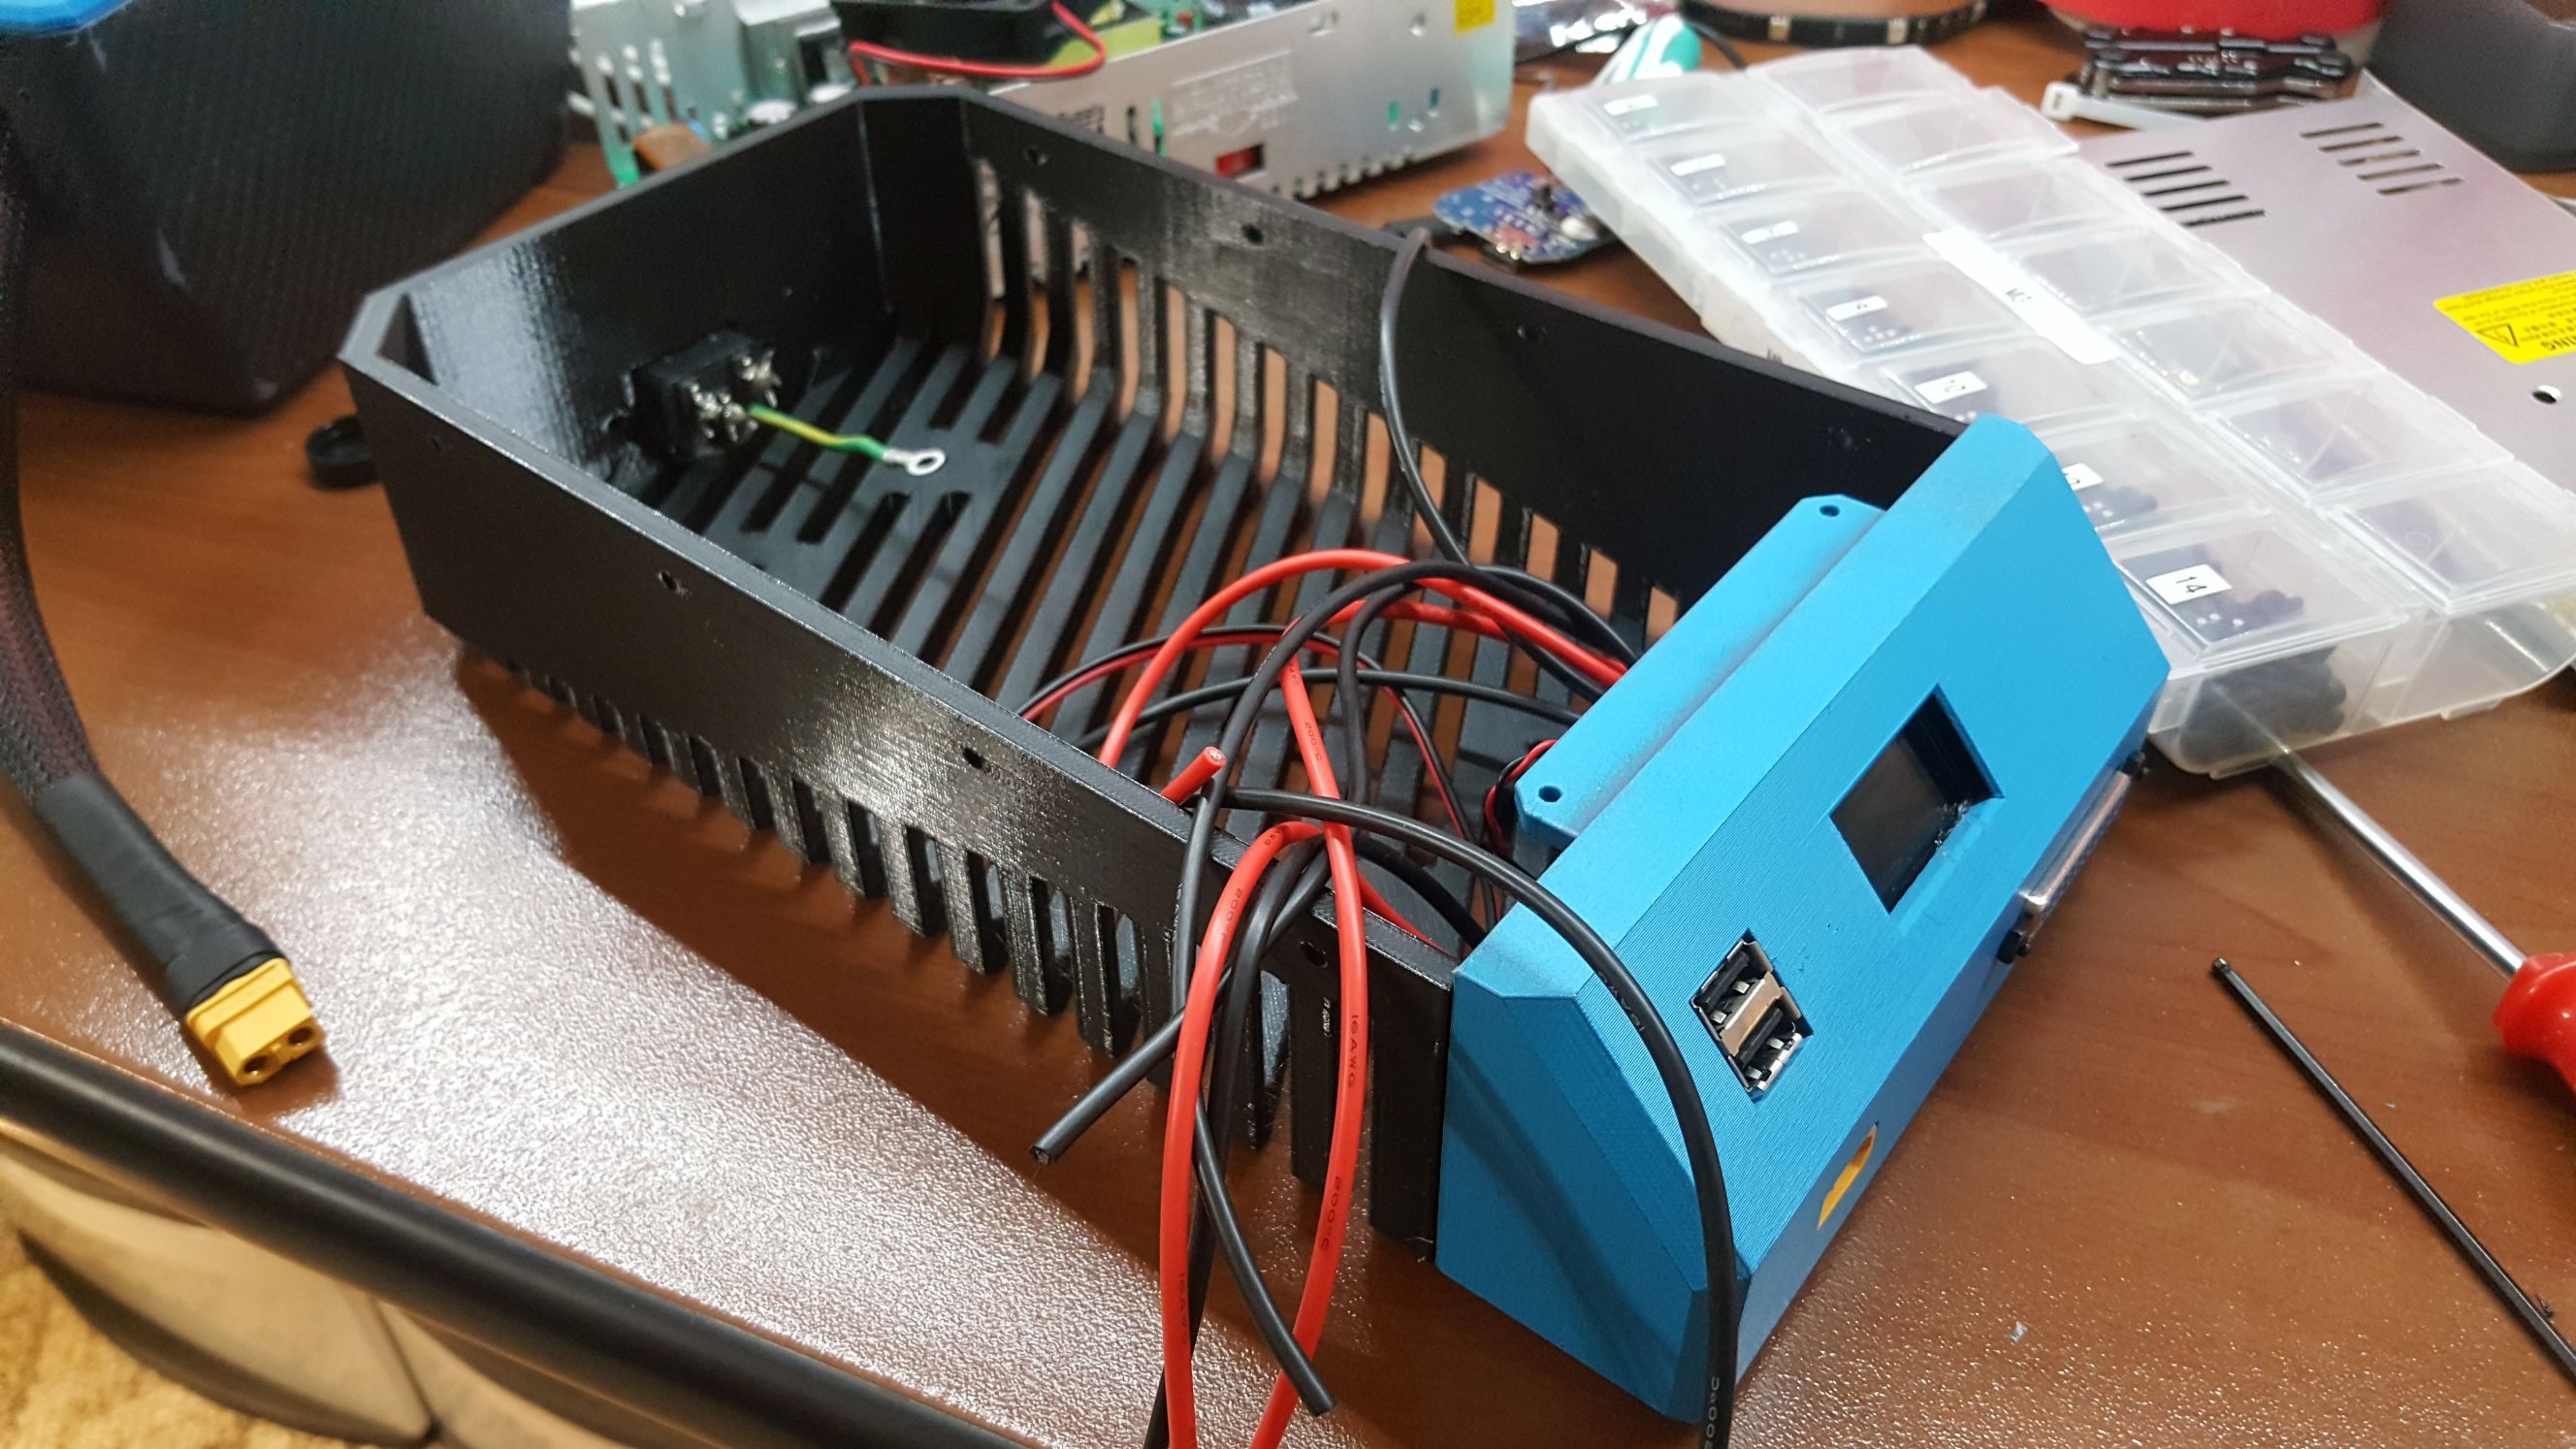
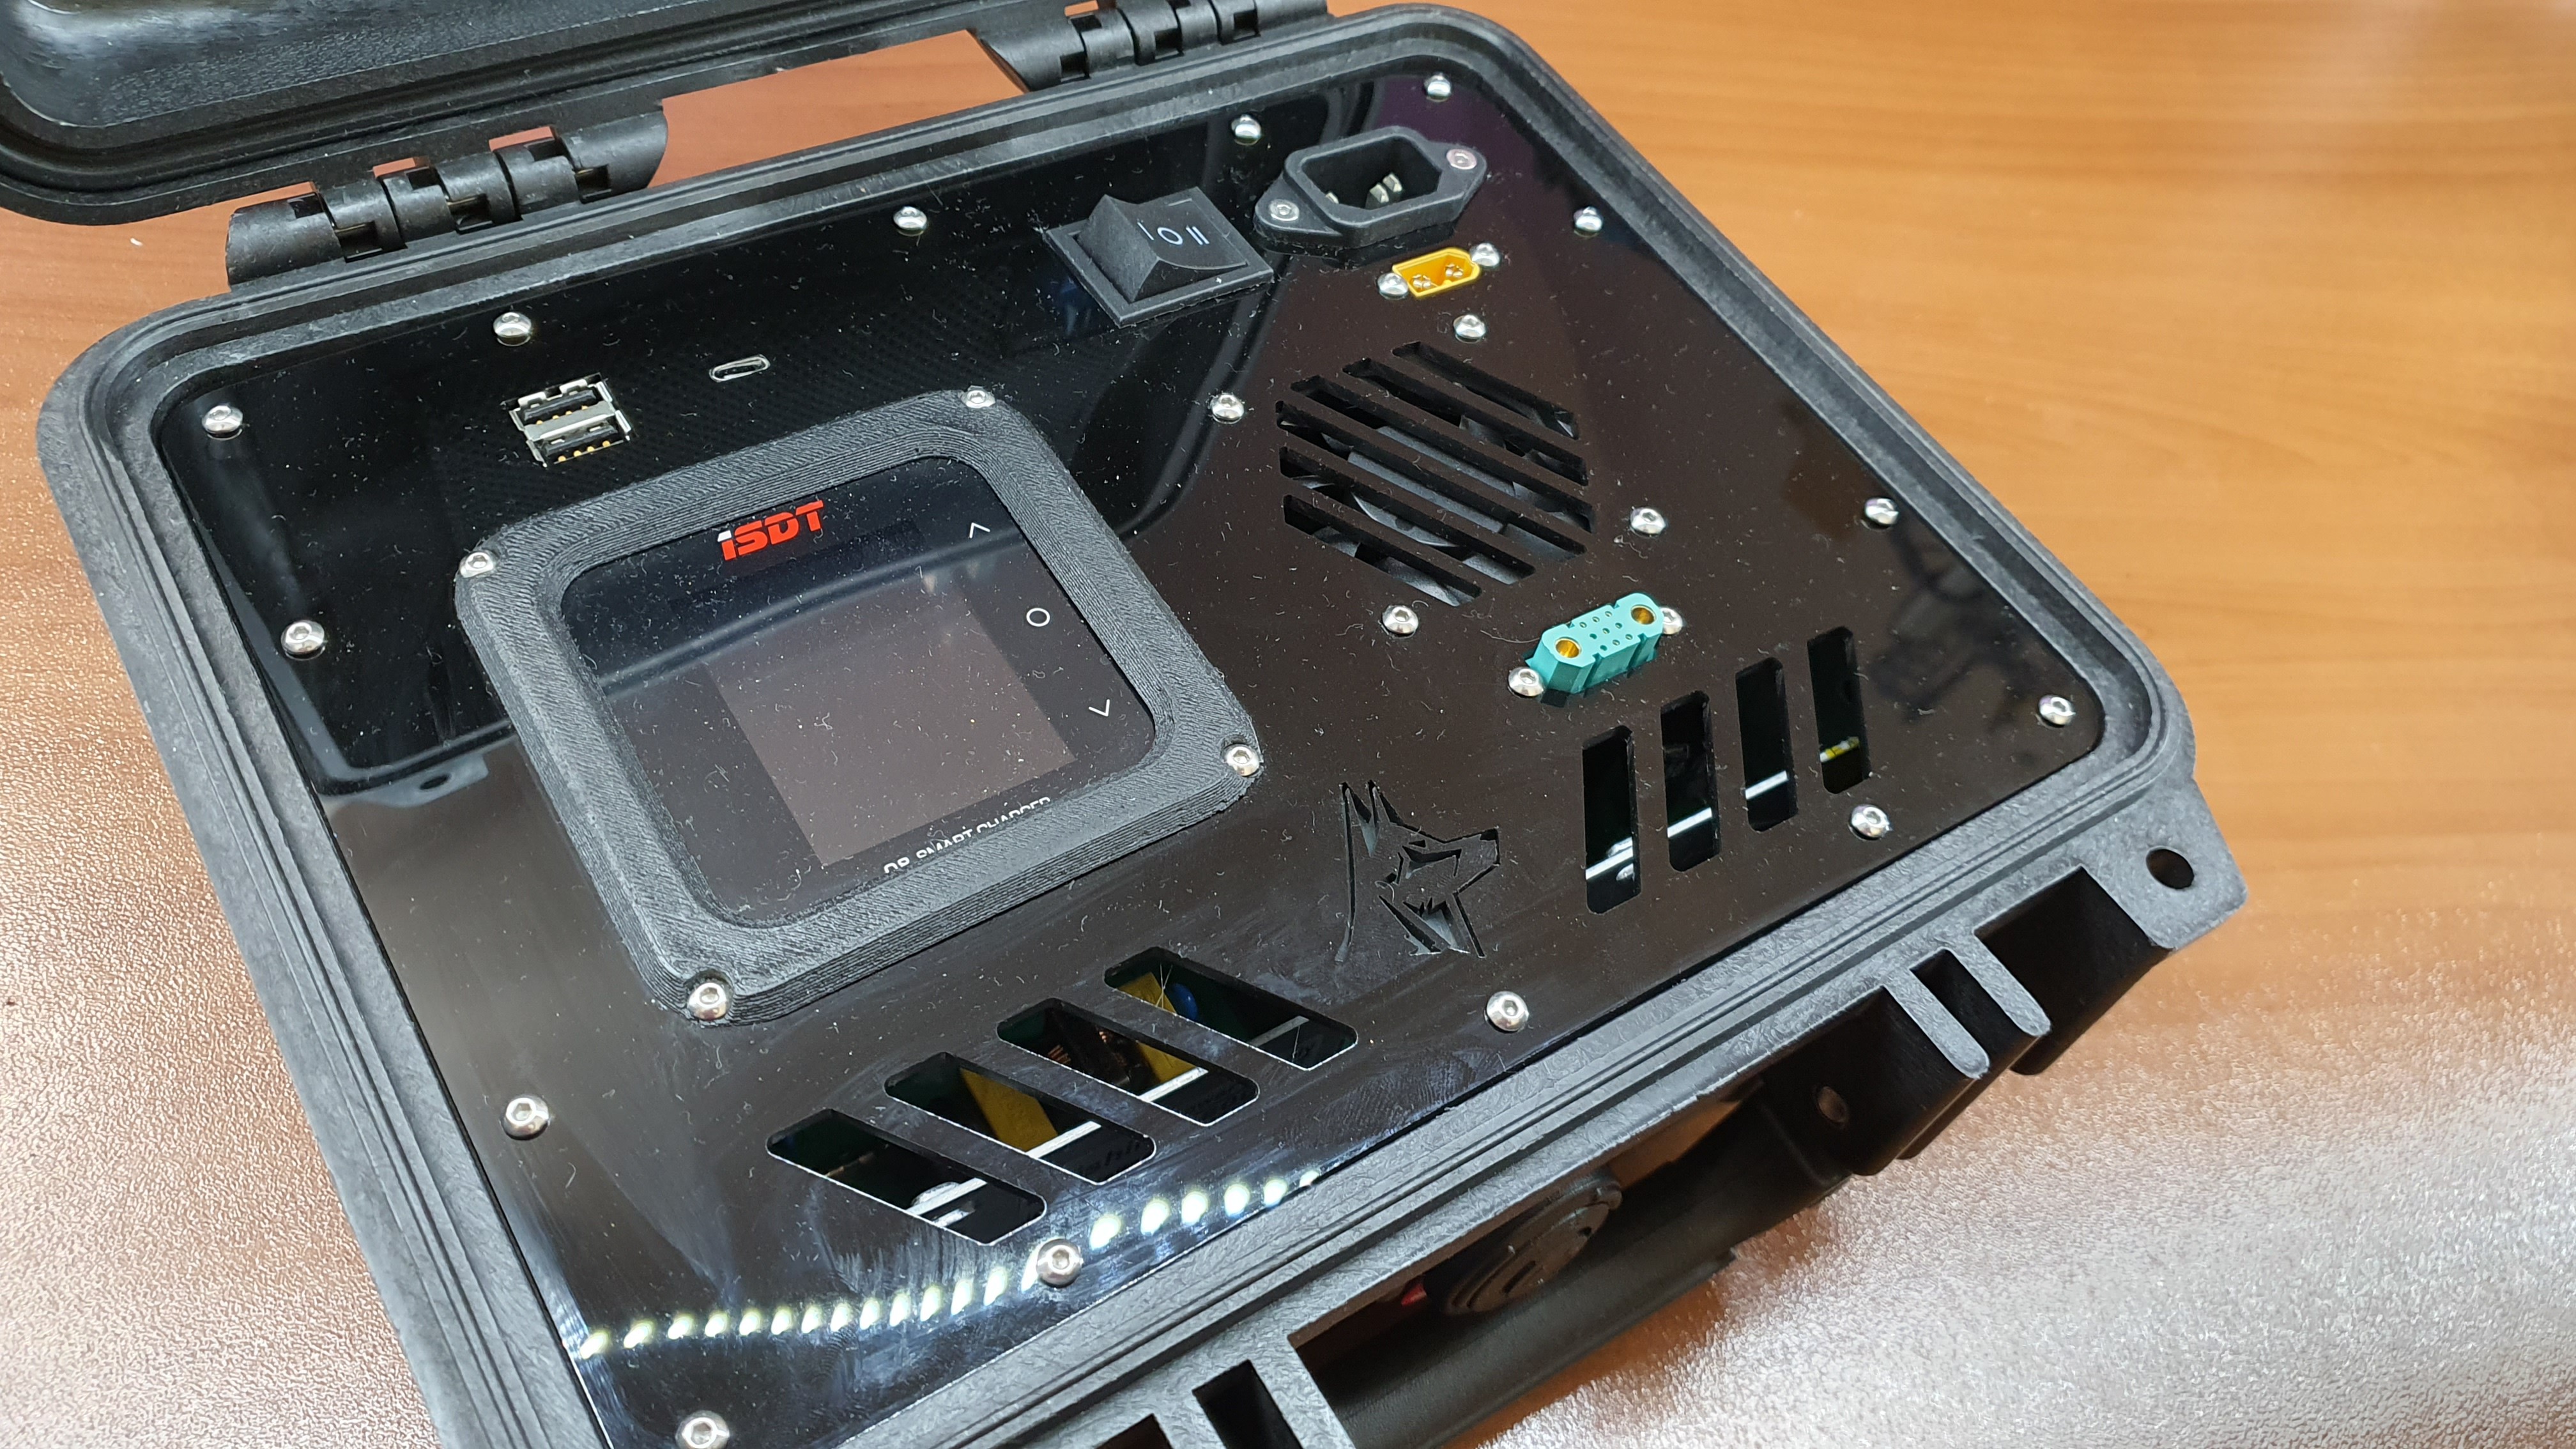
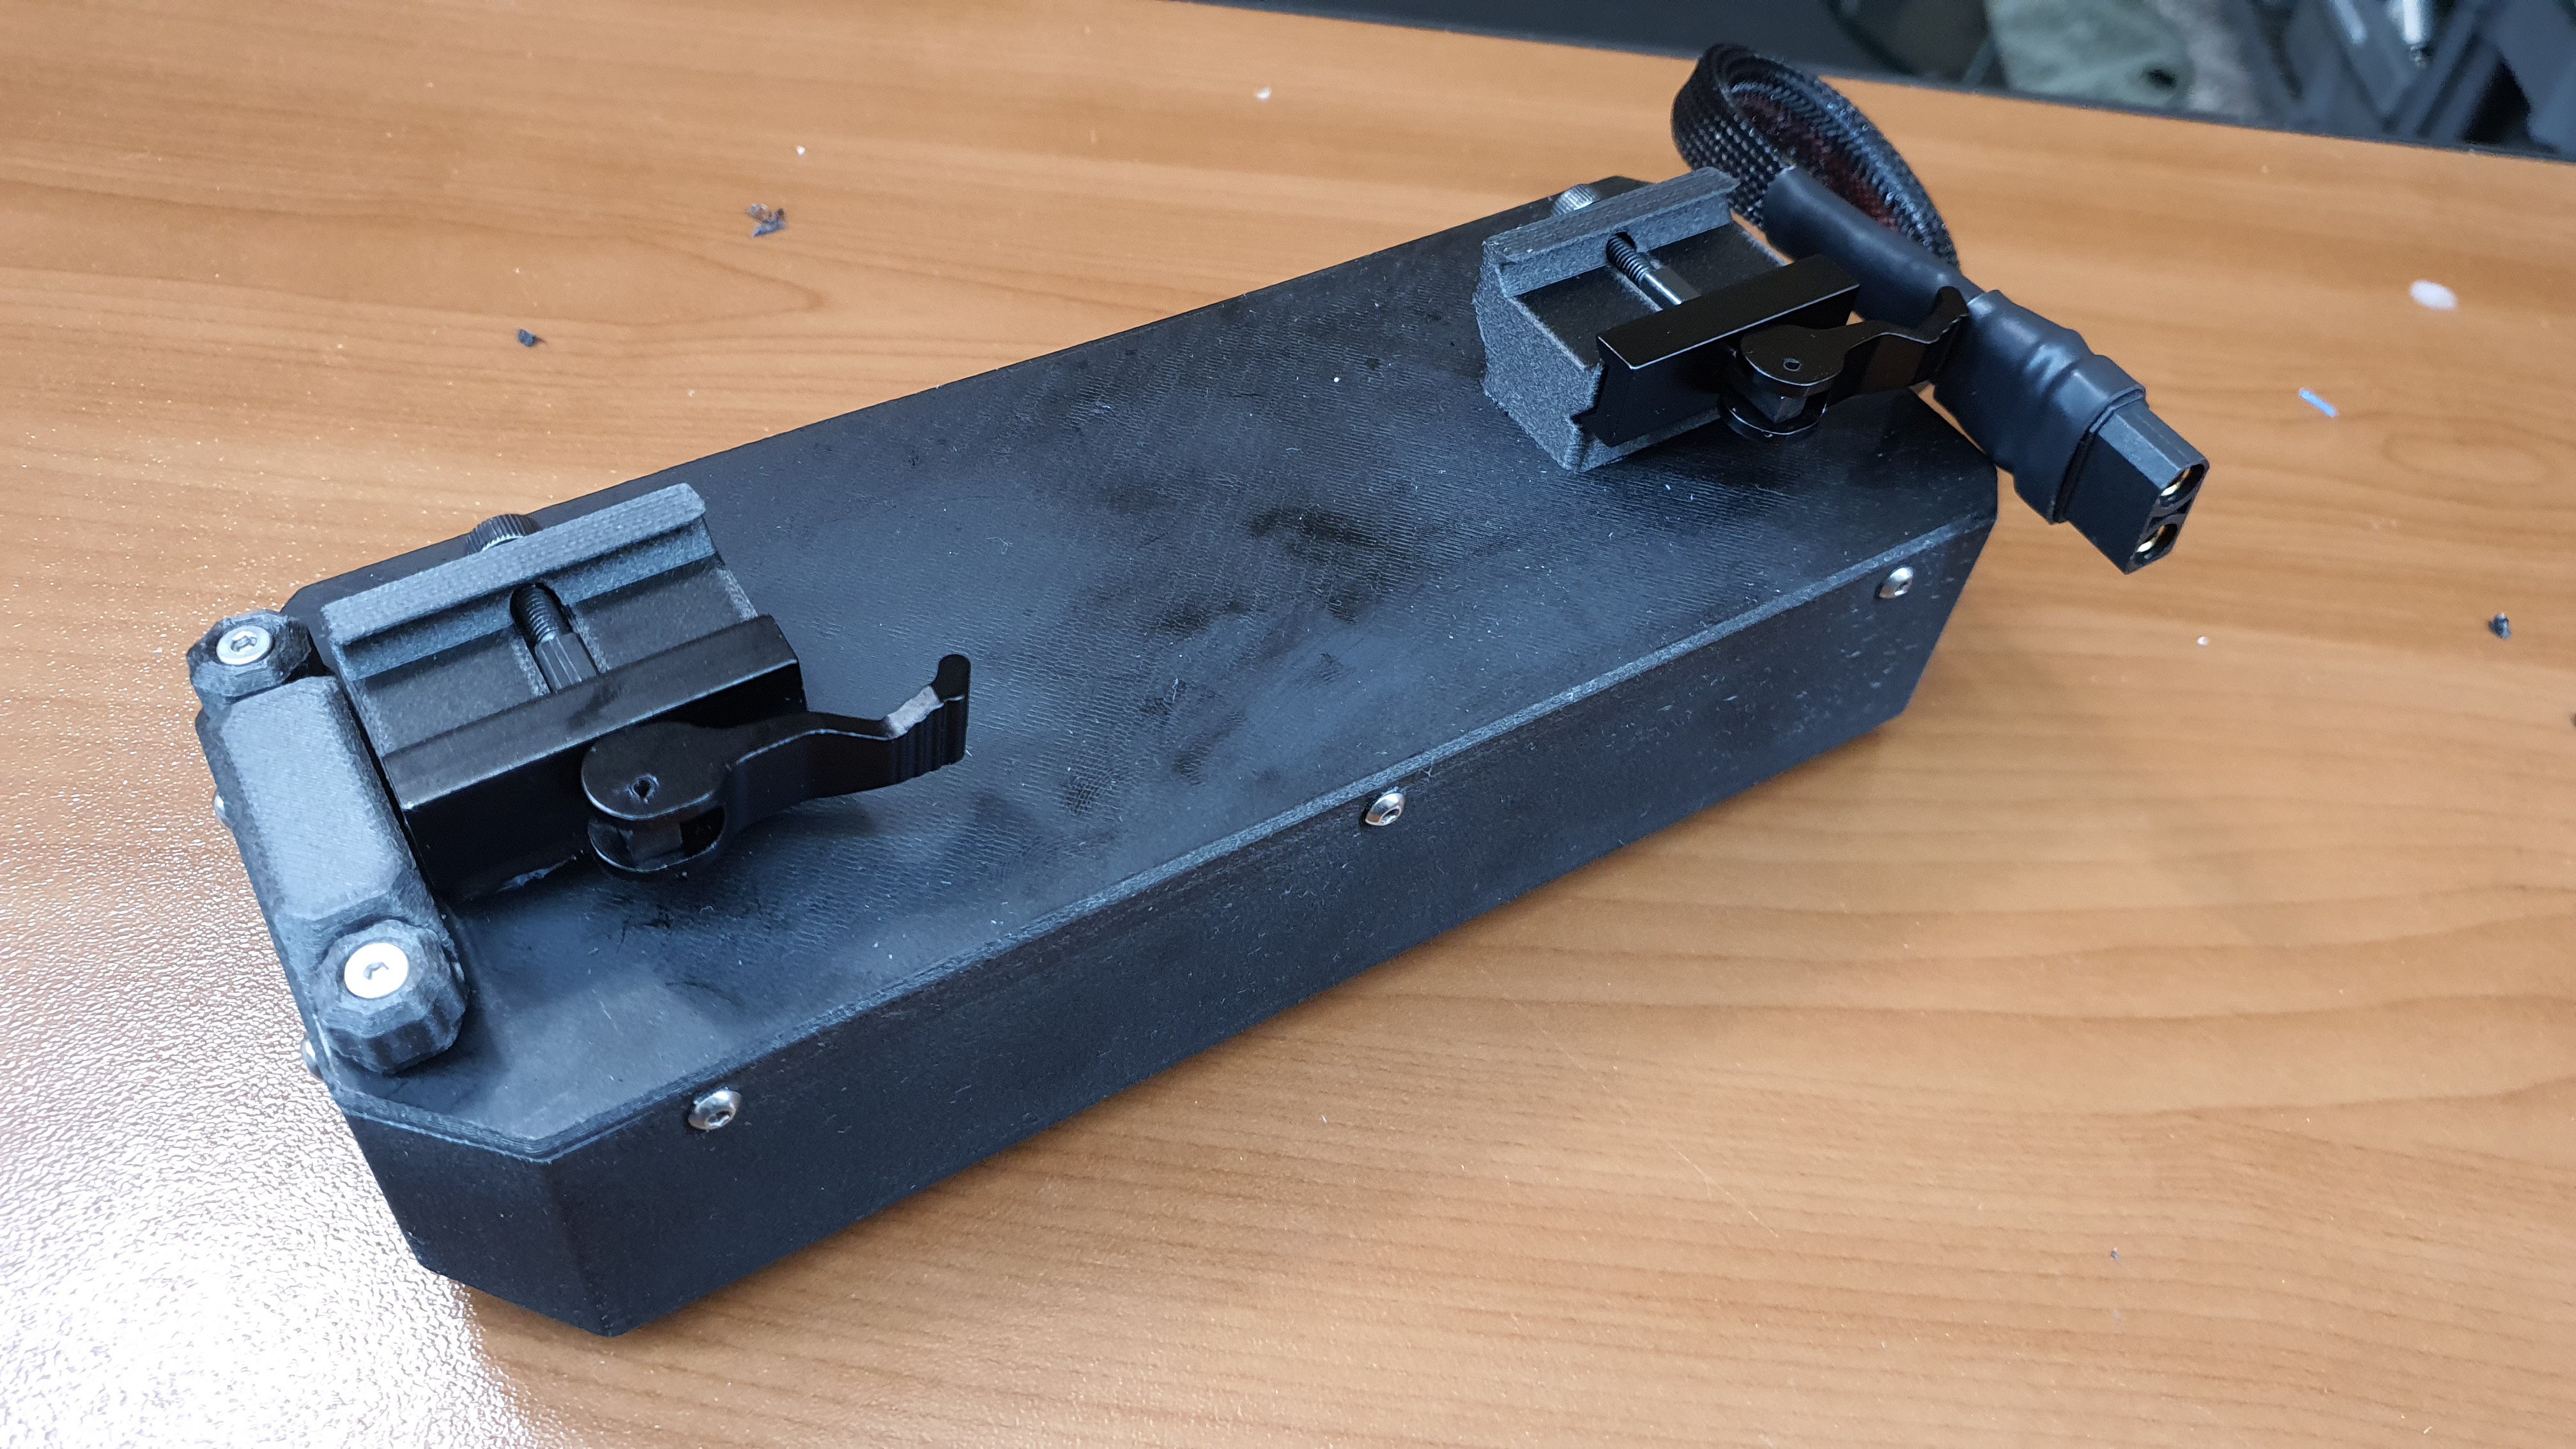
Ultra modular: Payloads can snap onto the outside of the UAV by common standard connectors and thumbscrews: all internal structural and electronic components are easily accessible and replaceable! Want to power Valor UAV with hydrogen fuel cells? Design a new pod that slides under its belly rail. Want Valor UAV to be tethered with power and data? Add a module to the integrated side payload rails! But this isn't just for the UAV, the ground support equipment all operates off of open standards and hardware, so designing new terminals and ground stations catered to specific missions is extremely easy to do!
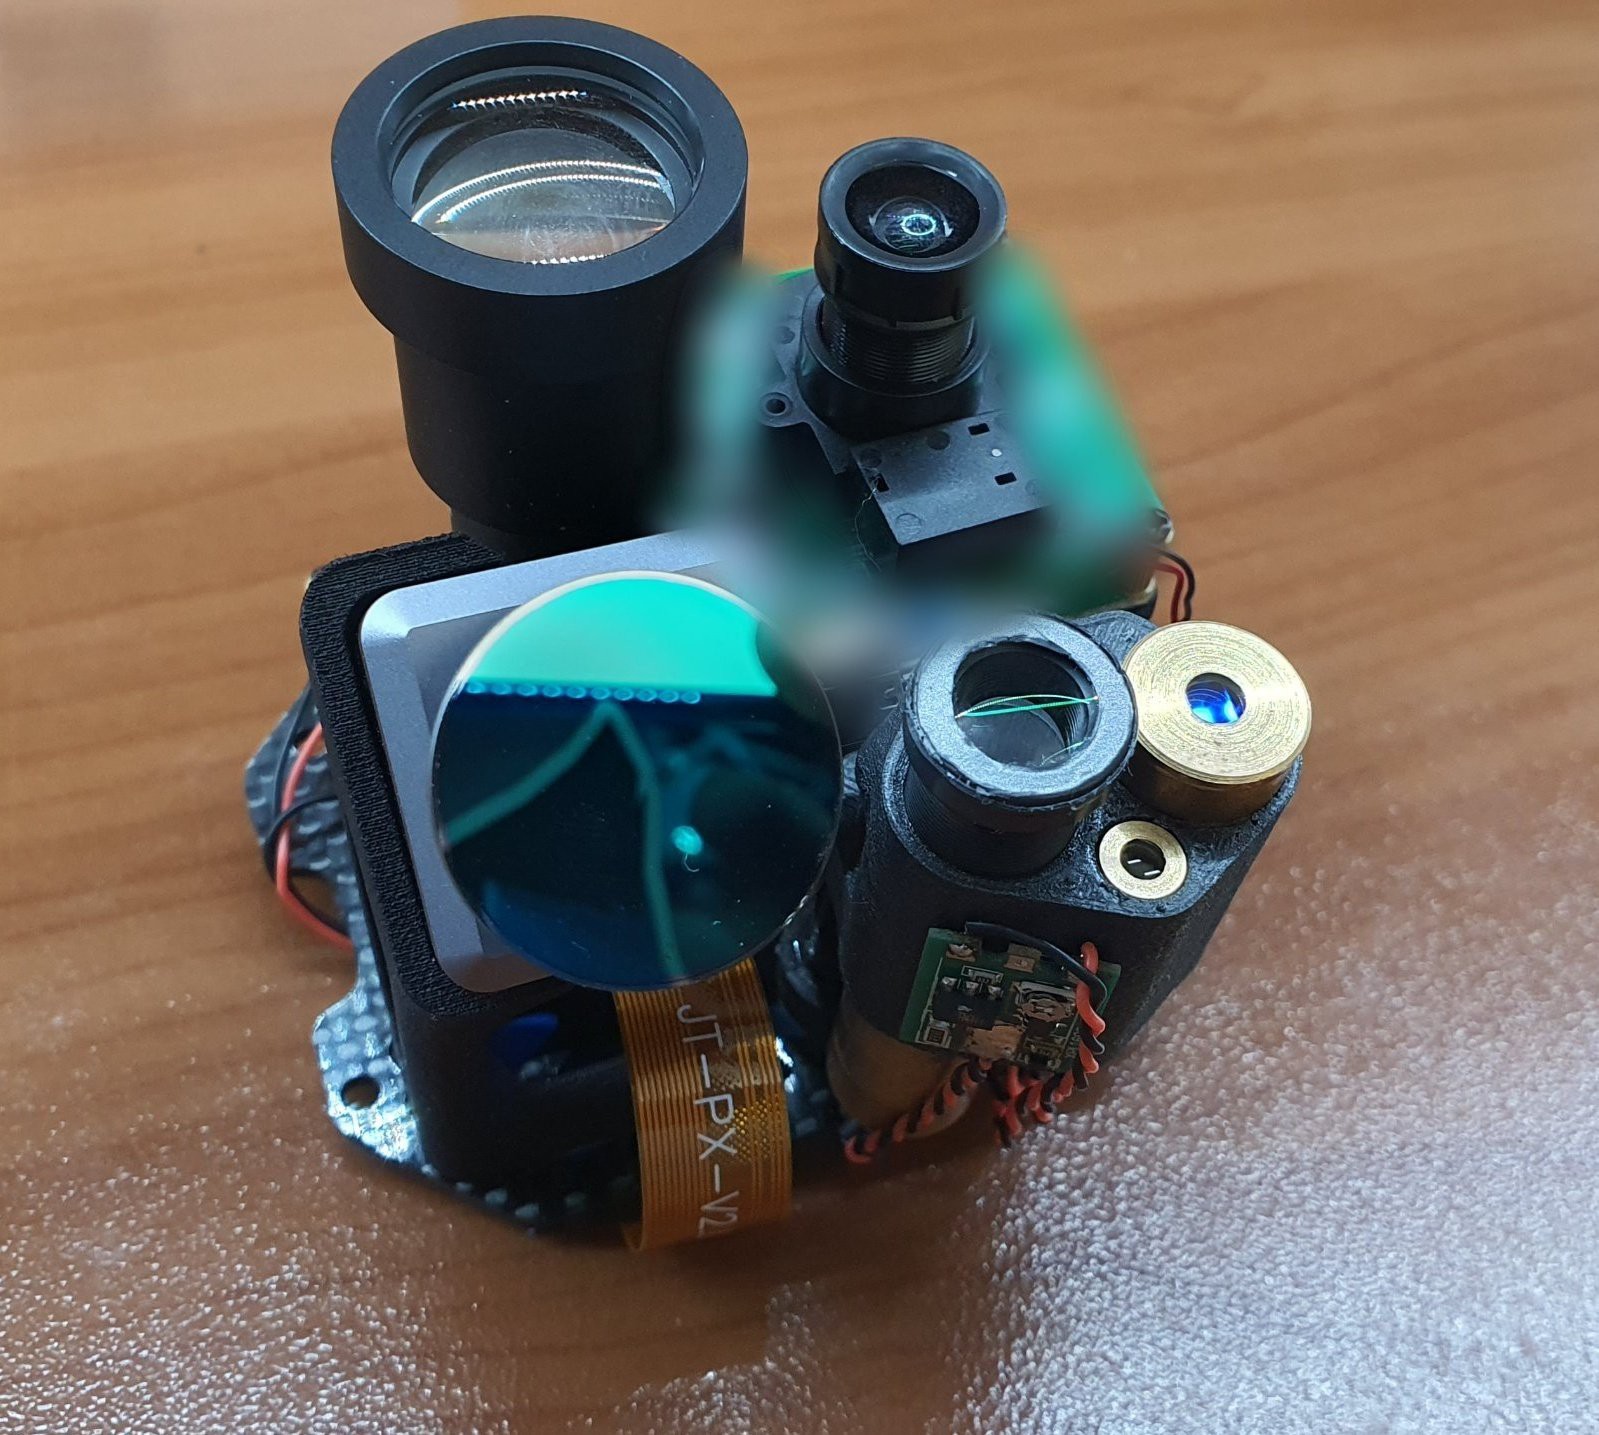
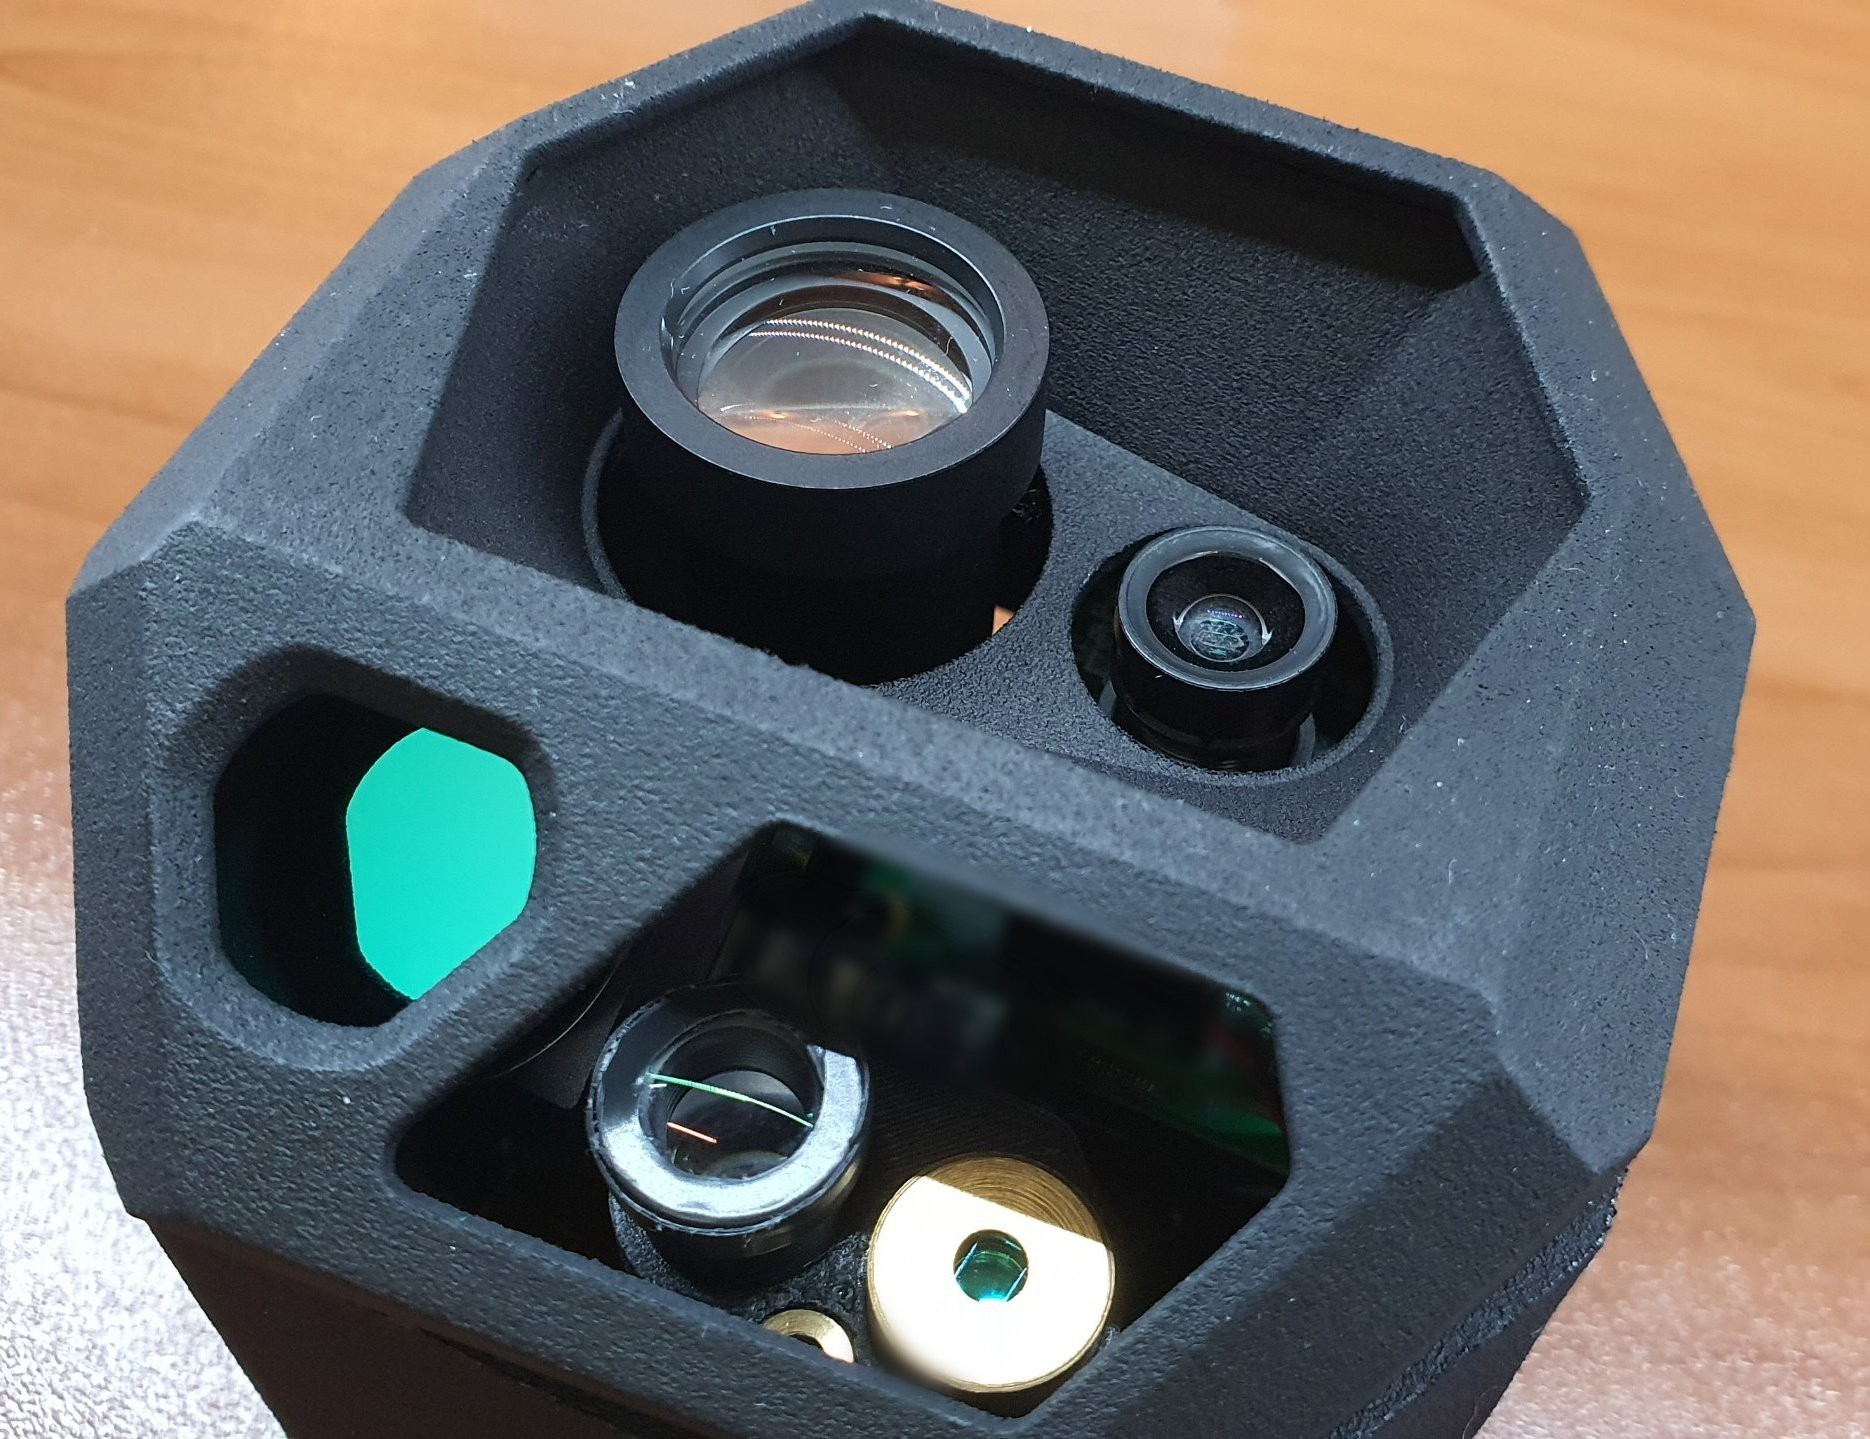
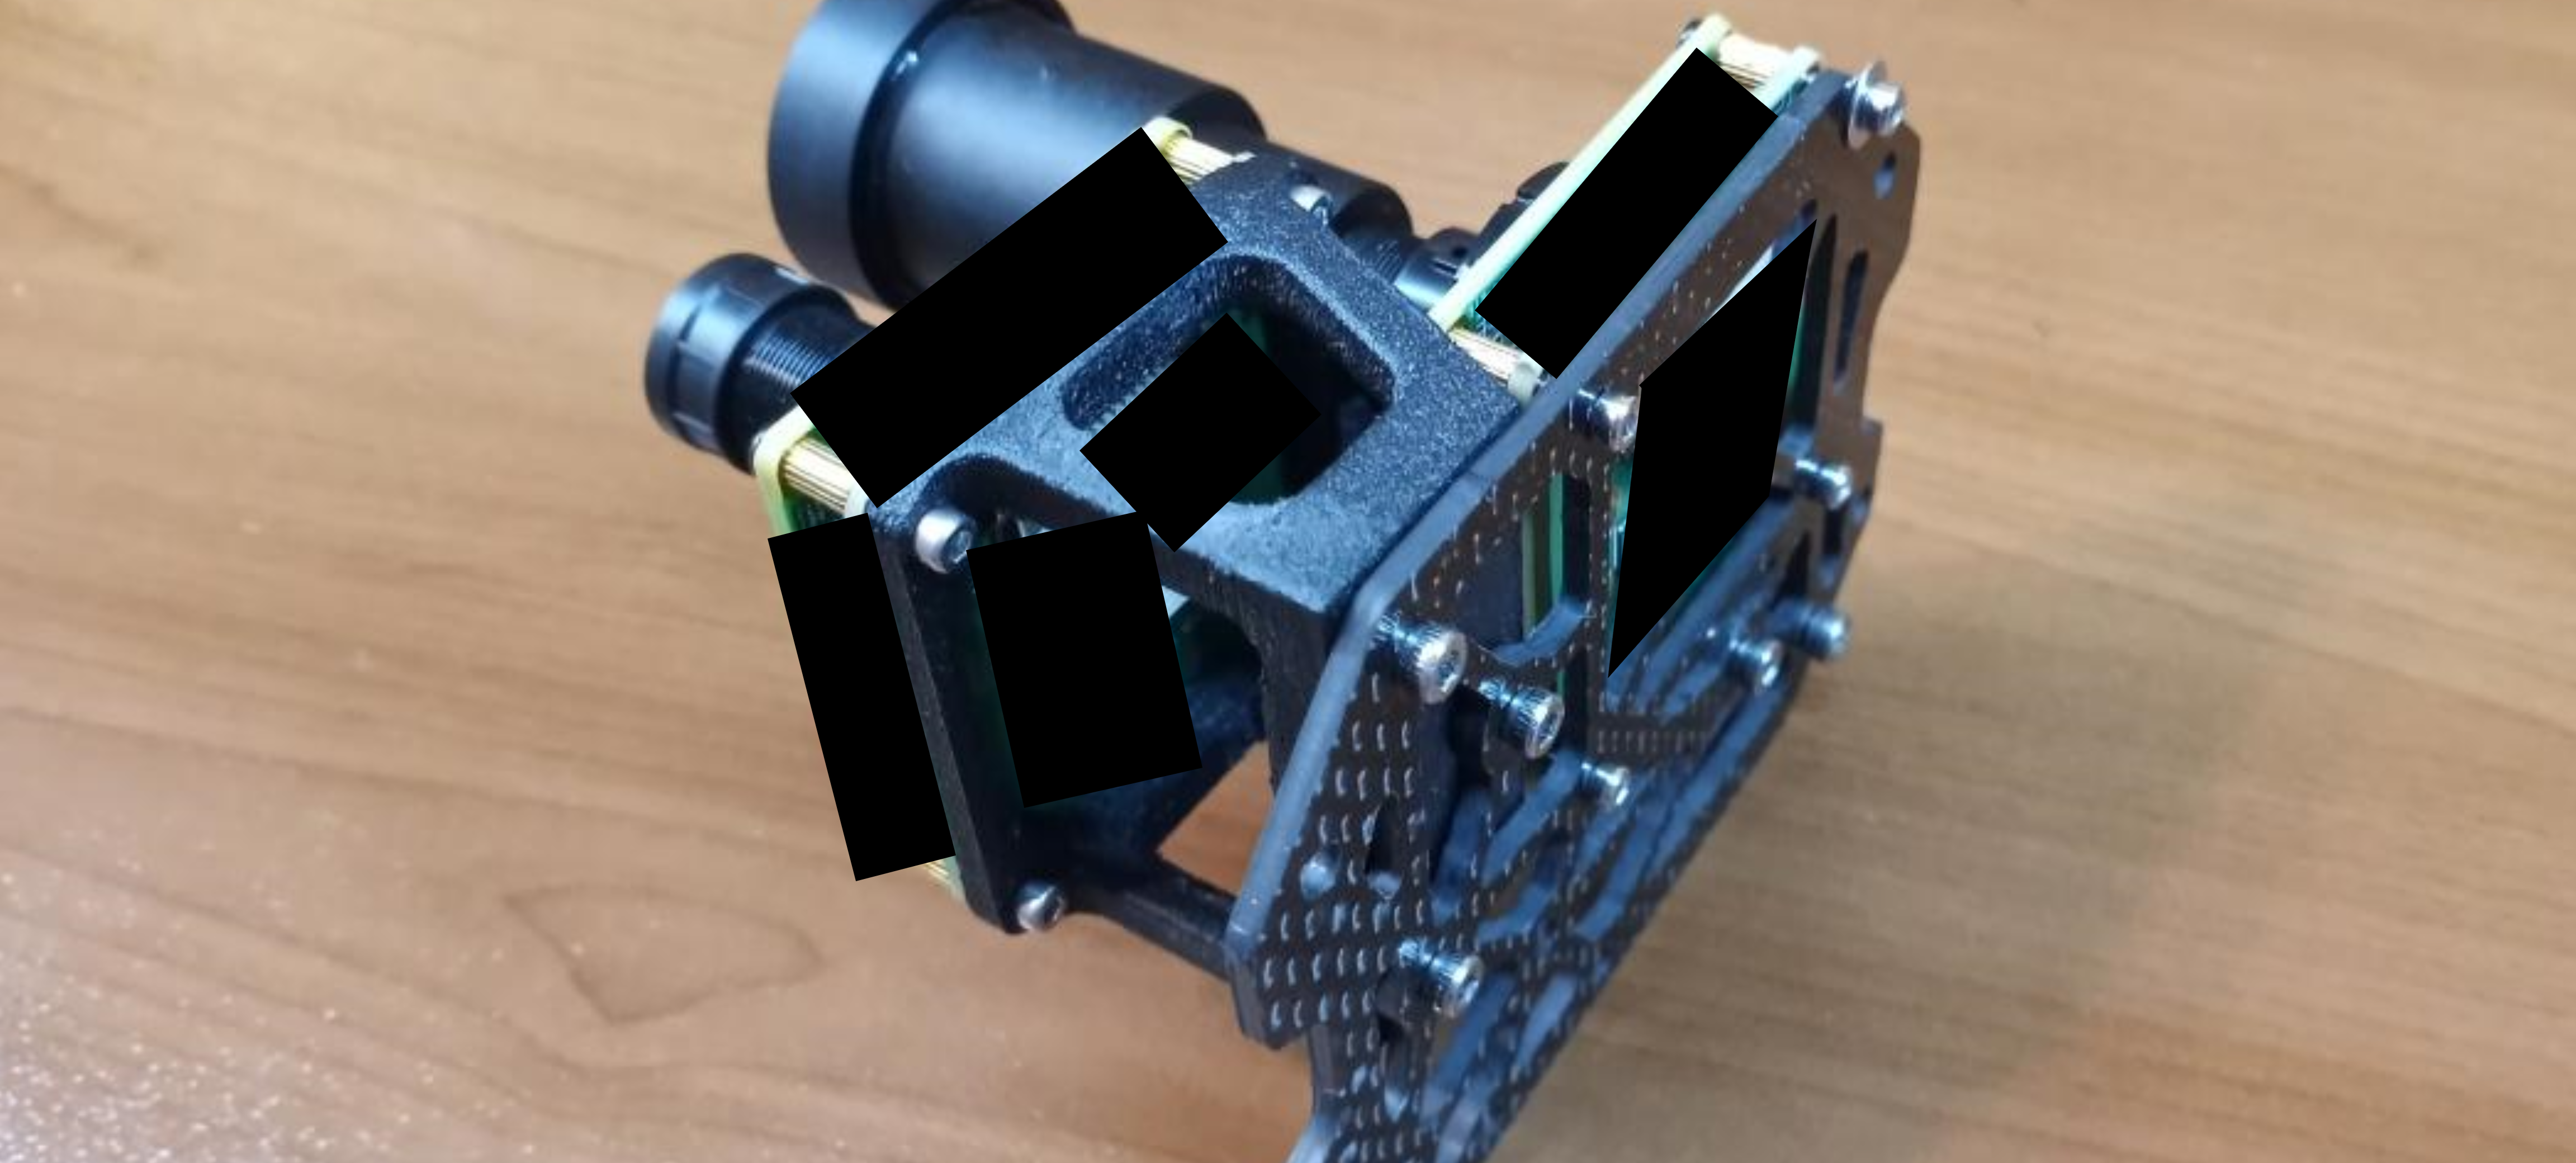
Future proof: Another benefit of ultra modularity! Drone airframes and ground support equipment haven't changed much over the years, but drone payloads change at a rapid pace! One of the technologies that change rapidly over the years is cameras and radios. The SPOT Optics Pod, Payloads, and Radio suite (On the UAV and on the ground) can all be upgraded very easily as the technology matures!
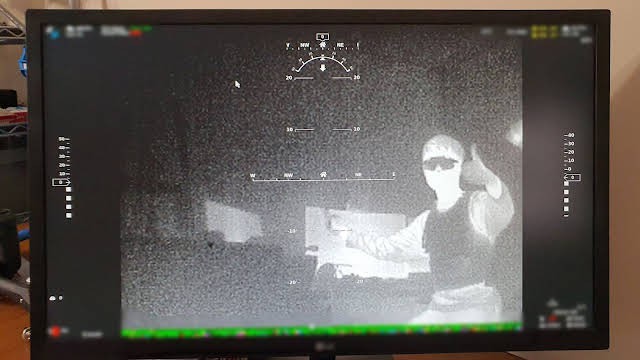
Designed not only for the air but also for the ground: IR strobes, laser designators, IR illuminators, optional radio repeaters, video streams capable of streaming to multiple ground video terminals, a ground station that connects to multiple user devices on the ground; the Valor Unmanned Aerial System easily interoperates with people on the ground!
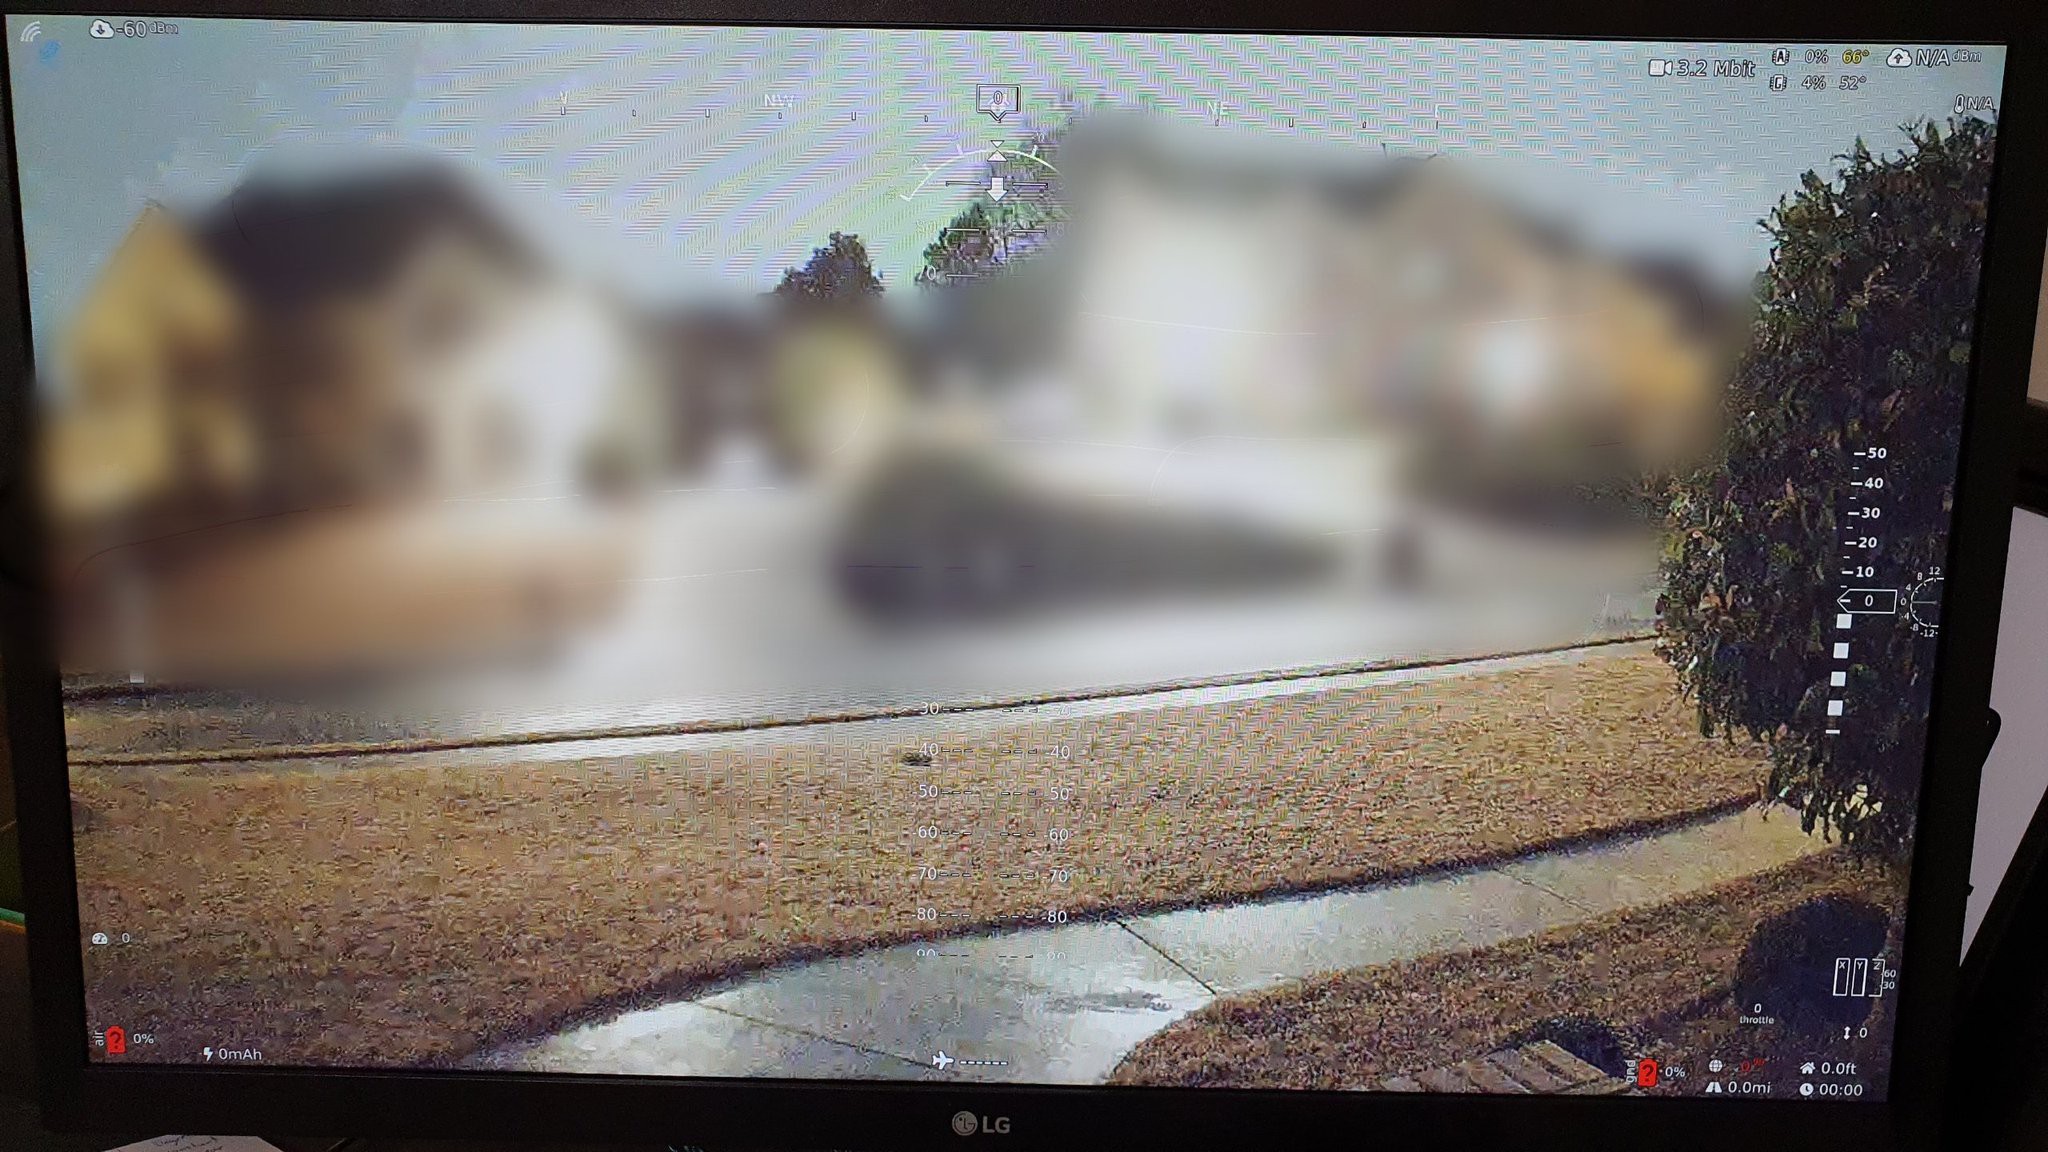
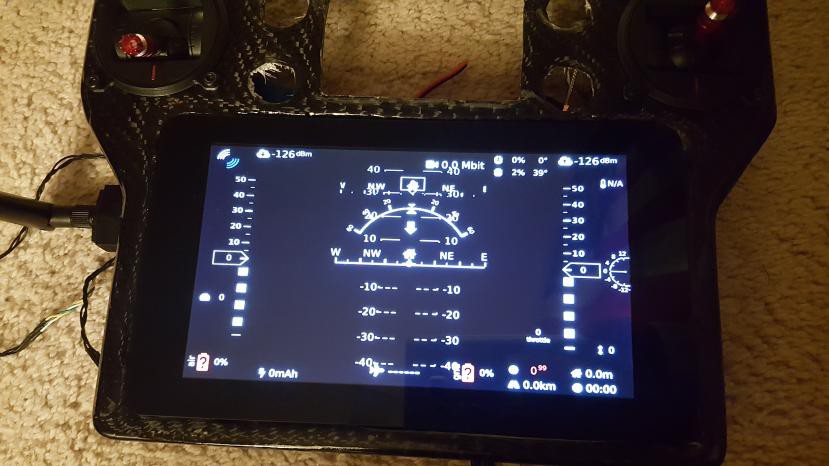
Full user FPV Immersion: Typically a UAV can only stream video to a single operator. The operator is then responsible for relaying this FPV information to other operators on the ground. Often this involves the archaic process of relaying what is seen to the operator via voice communications which can lead to confusion and other issues. Another method is streaming the video to multiple terminals. This involves streaming the FPV video to the ground station, then networking that information to a field server. This is complicated and adds latency. How Valor sUAS solves this is with a direct link to every ground FPV video viewing asset negating the need for complex networking.
Valor sUAS System Overview
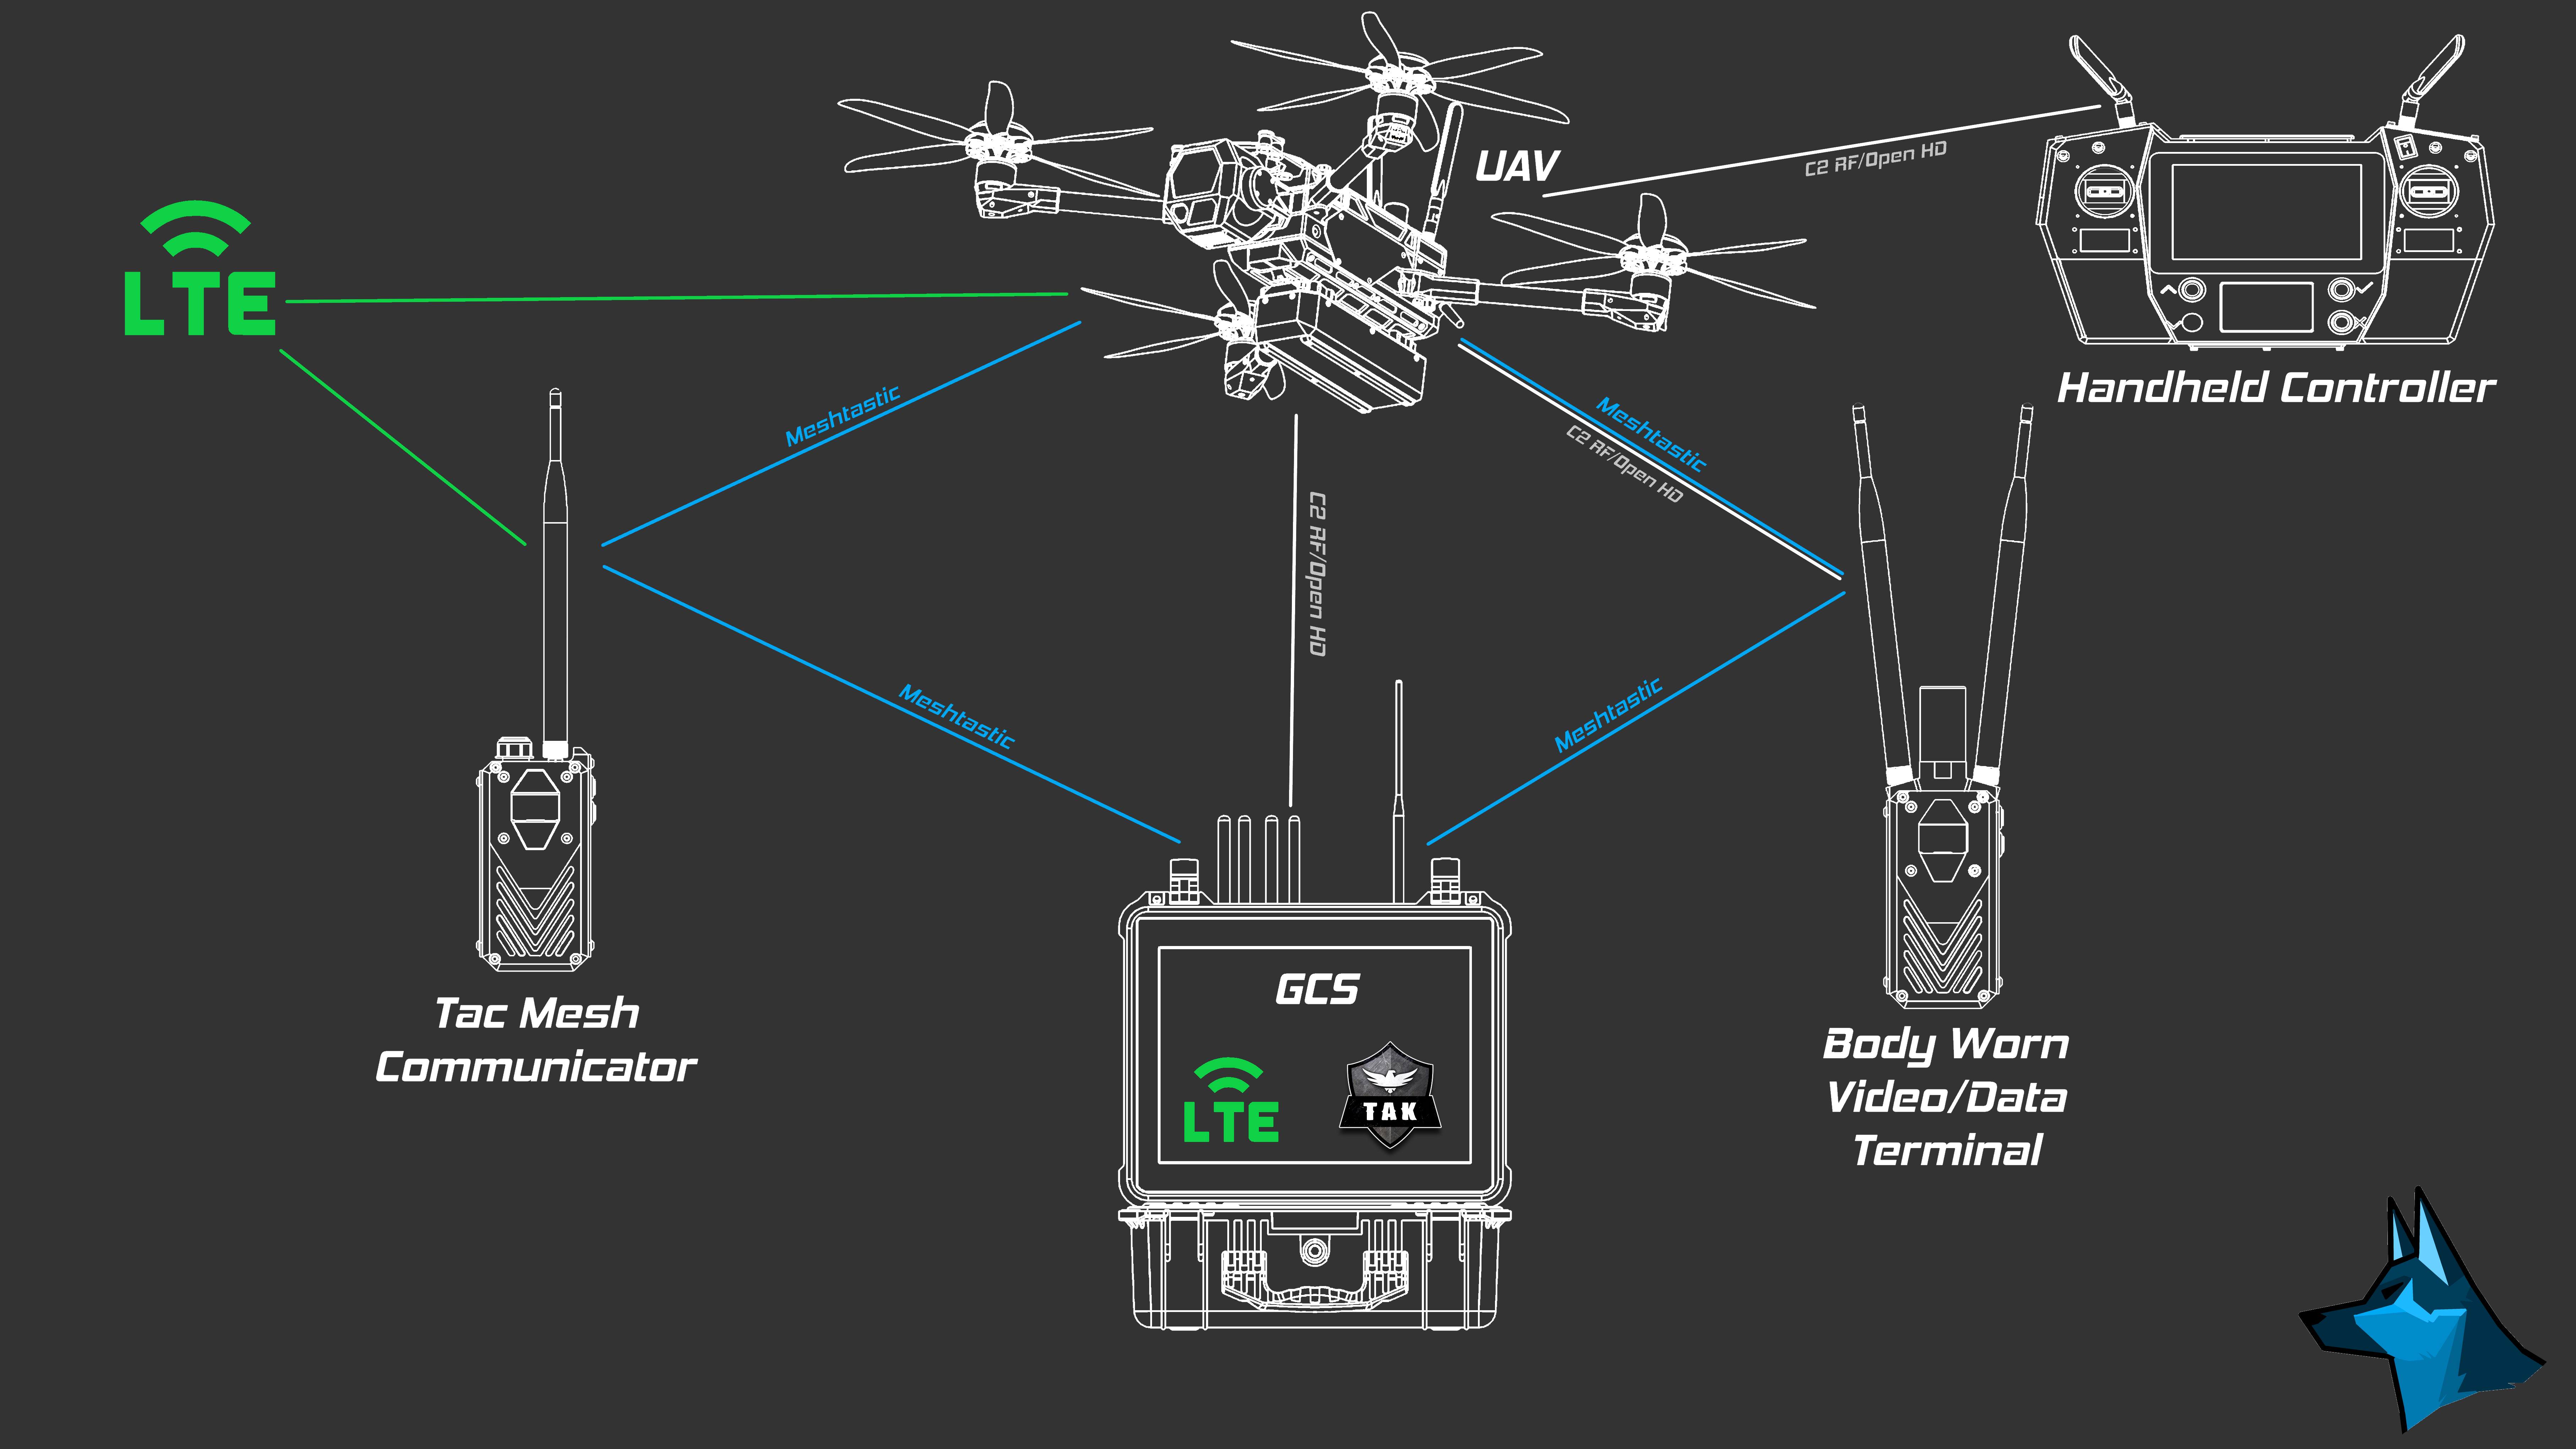
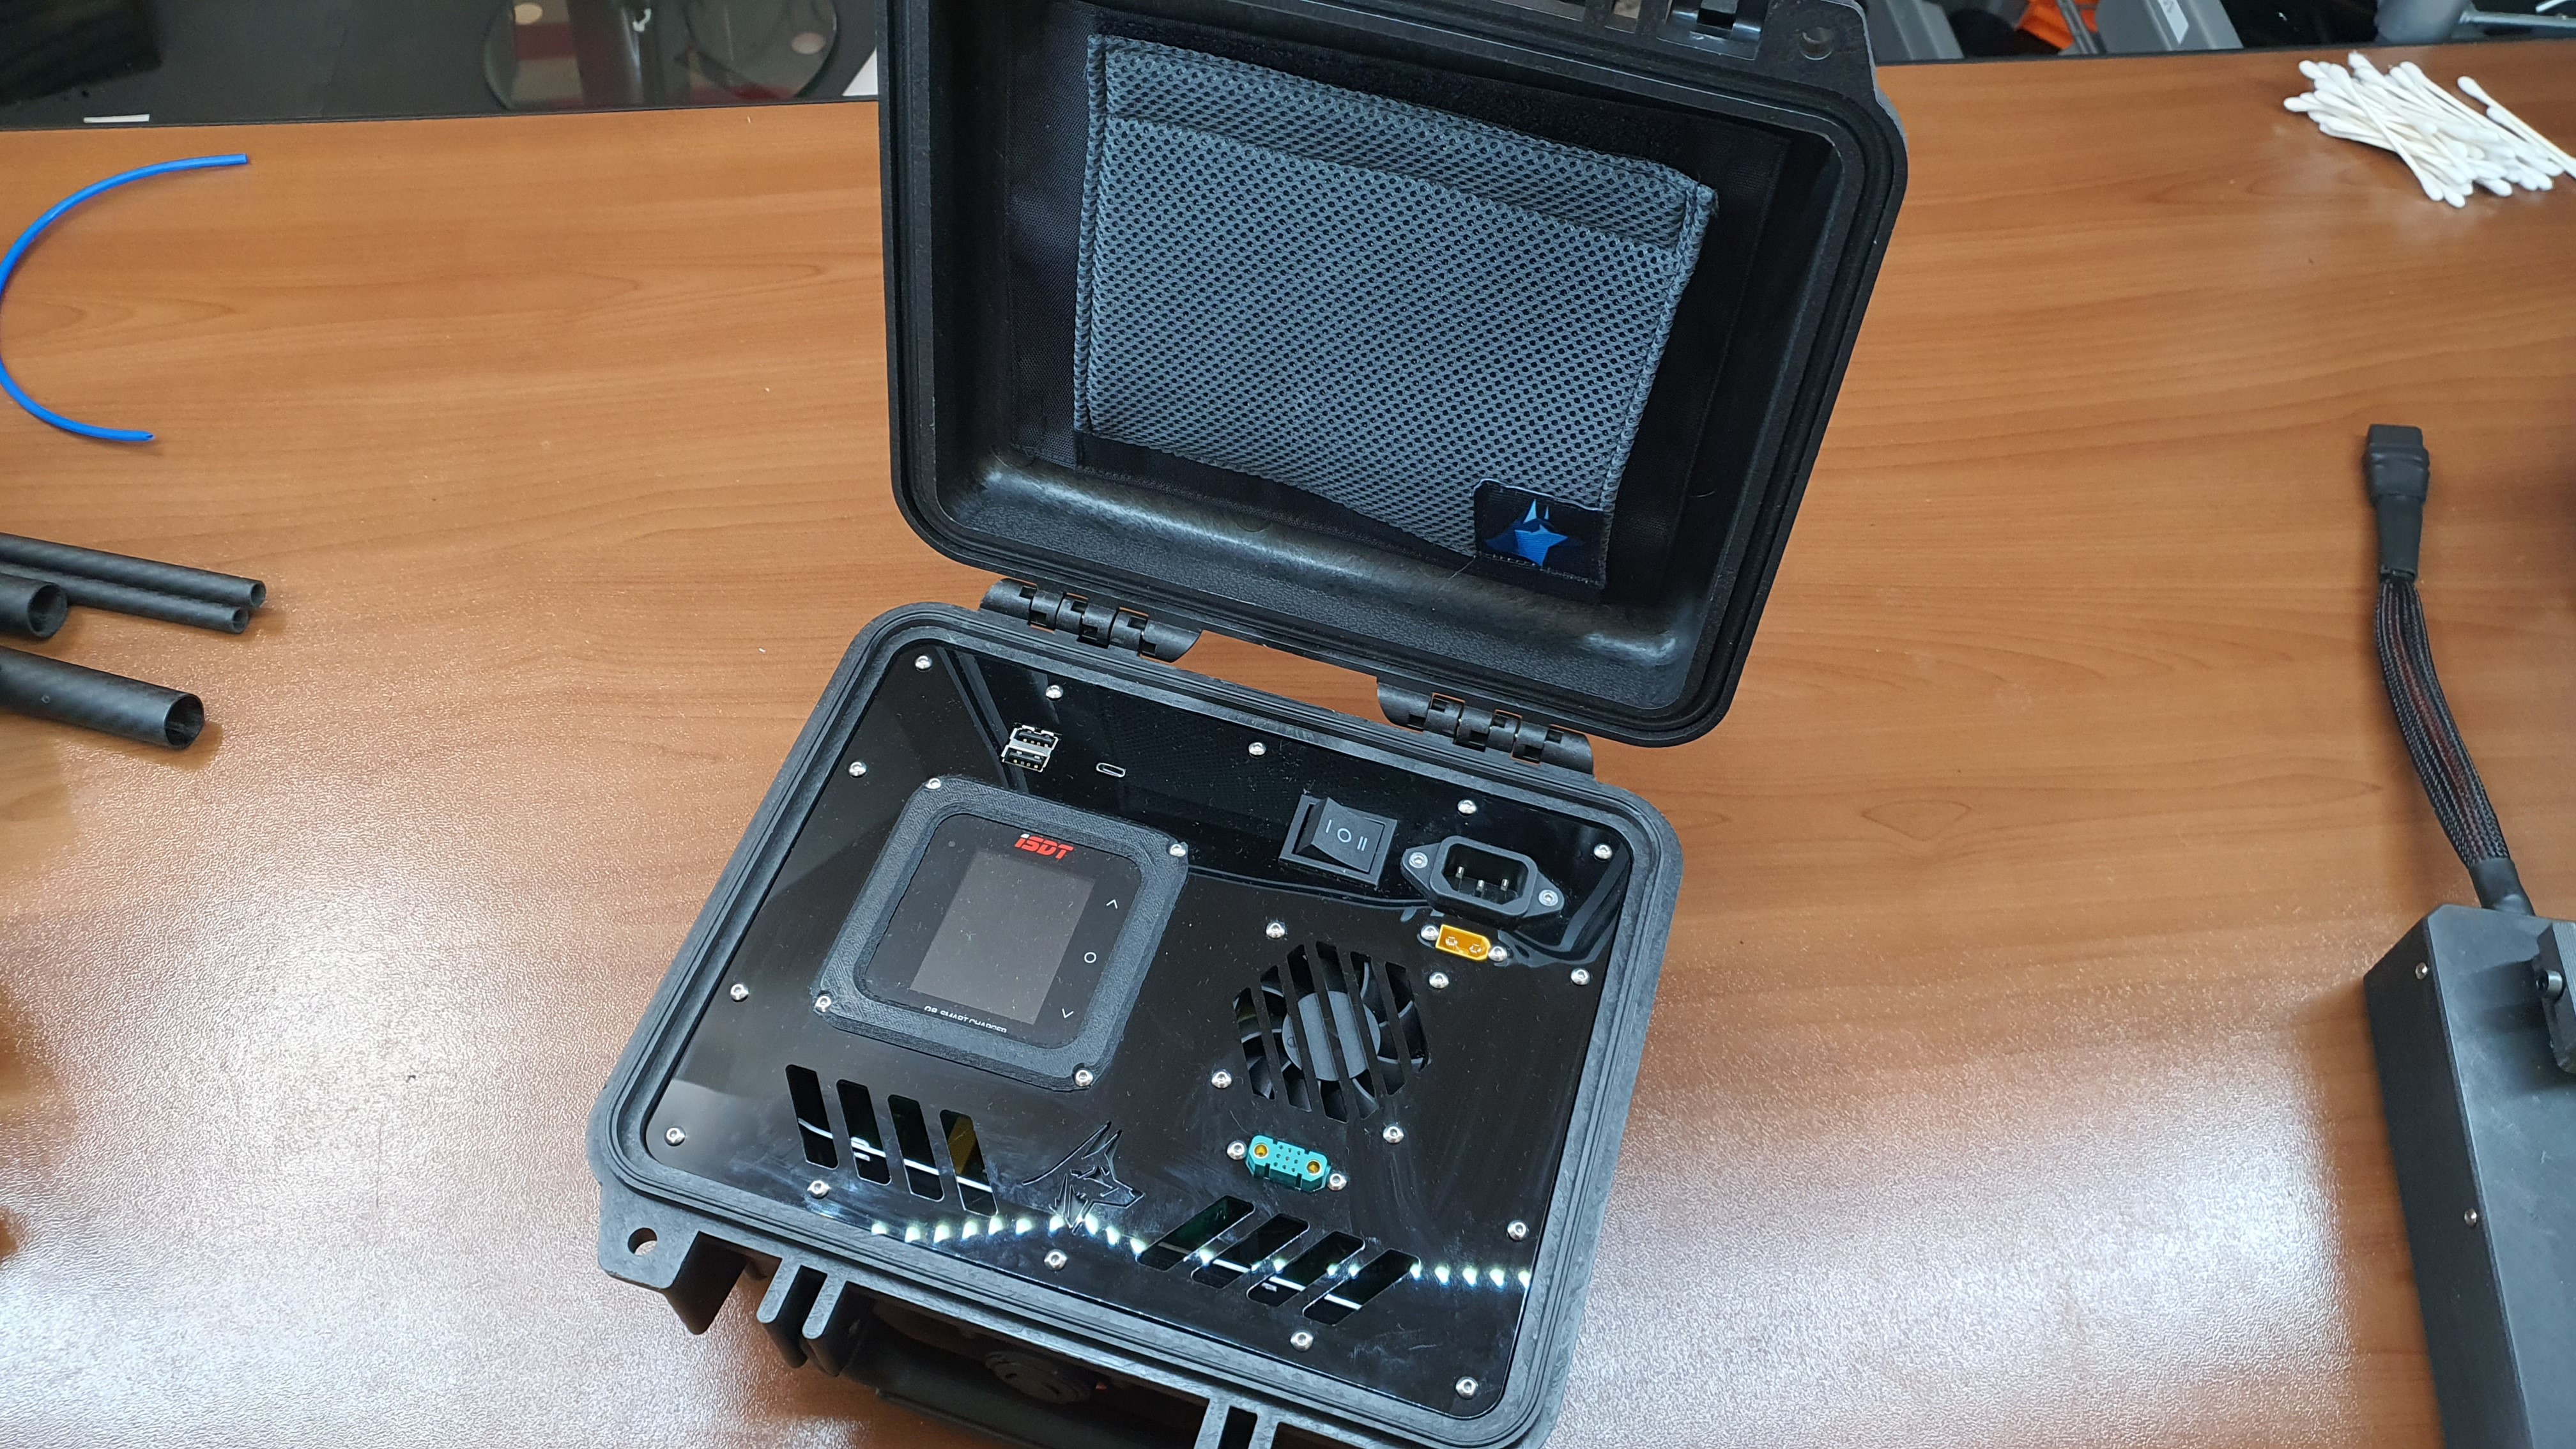
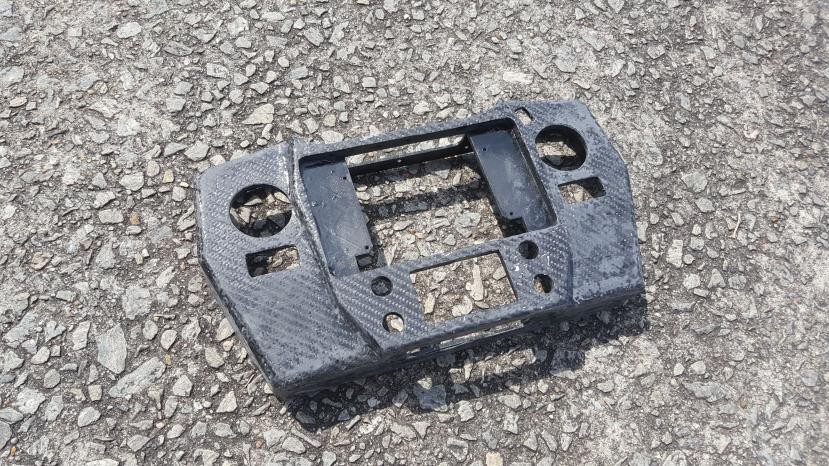
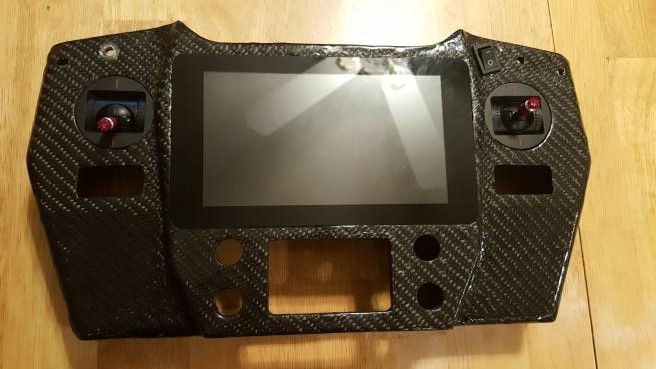
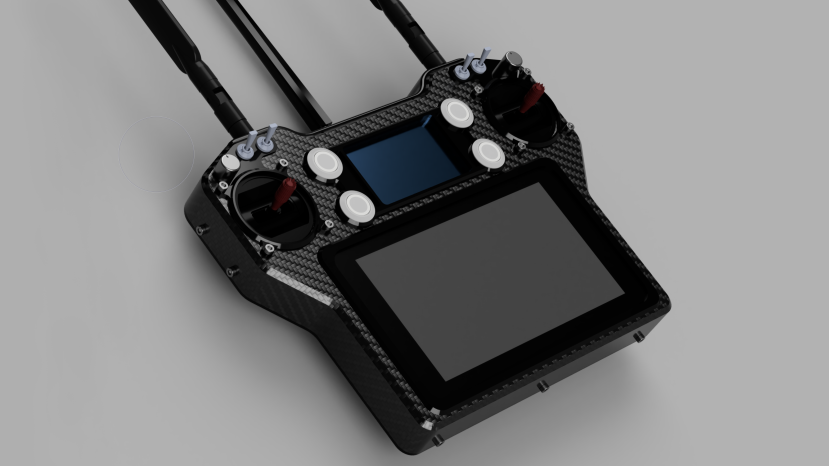
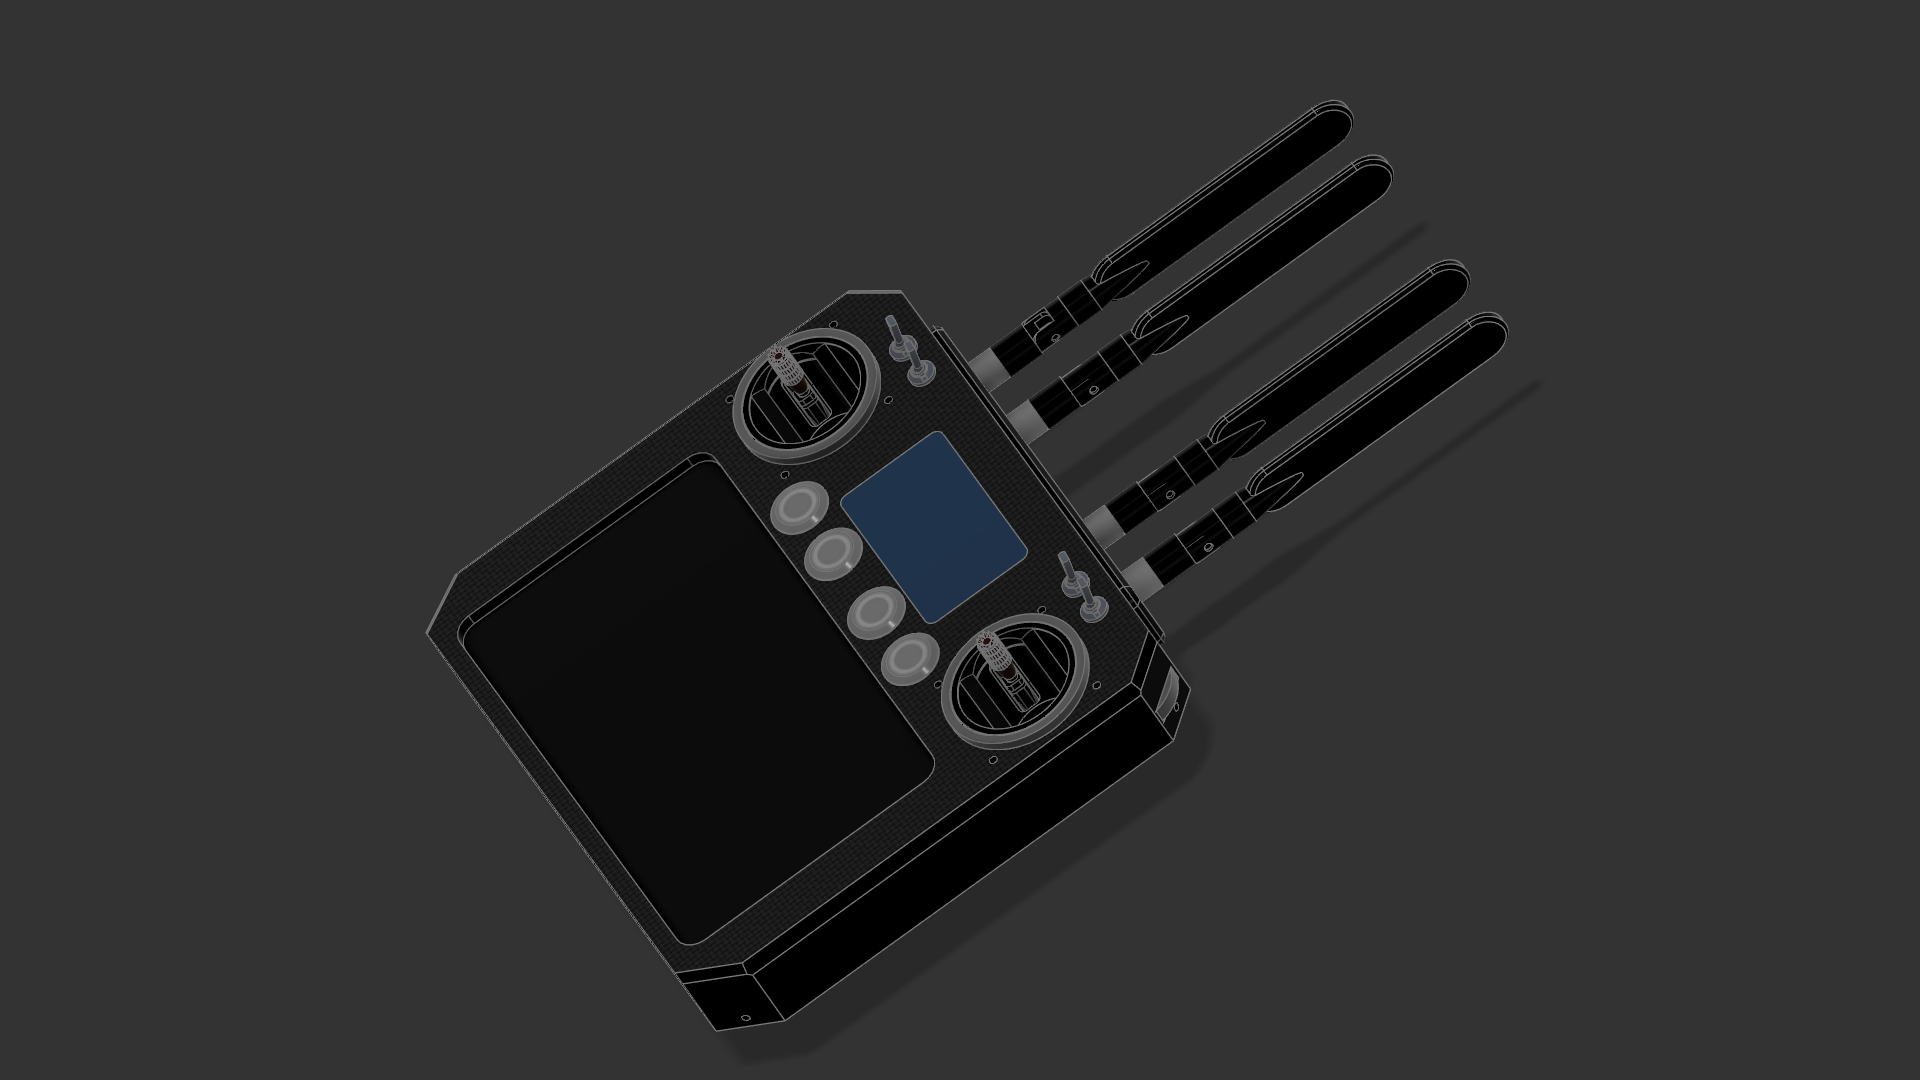
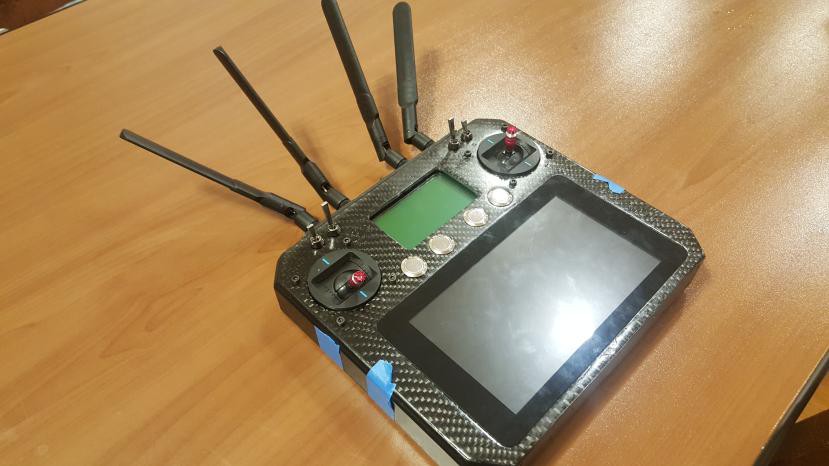
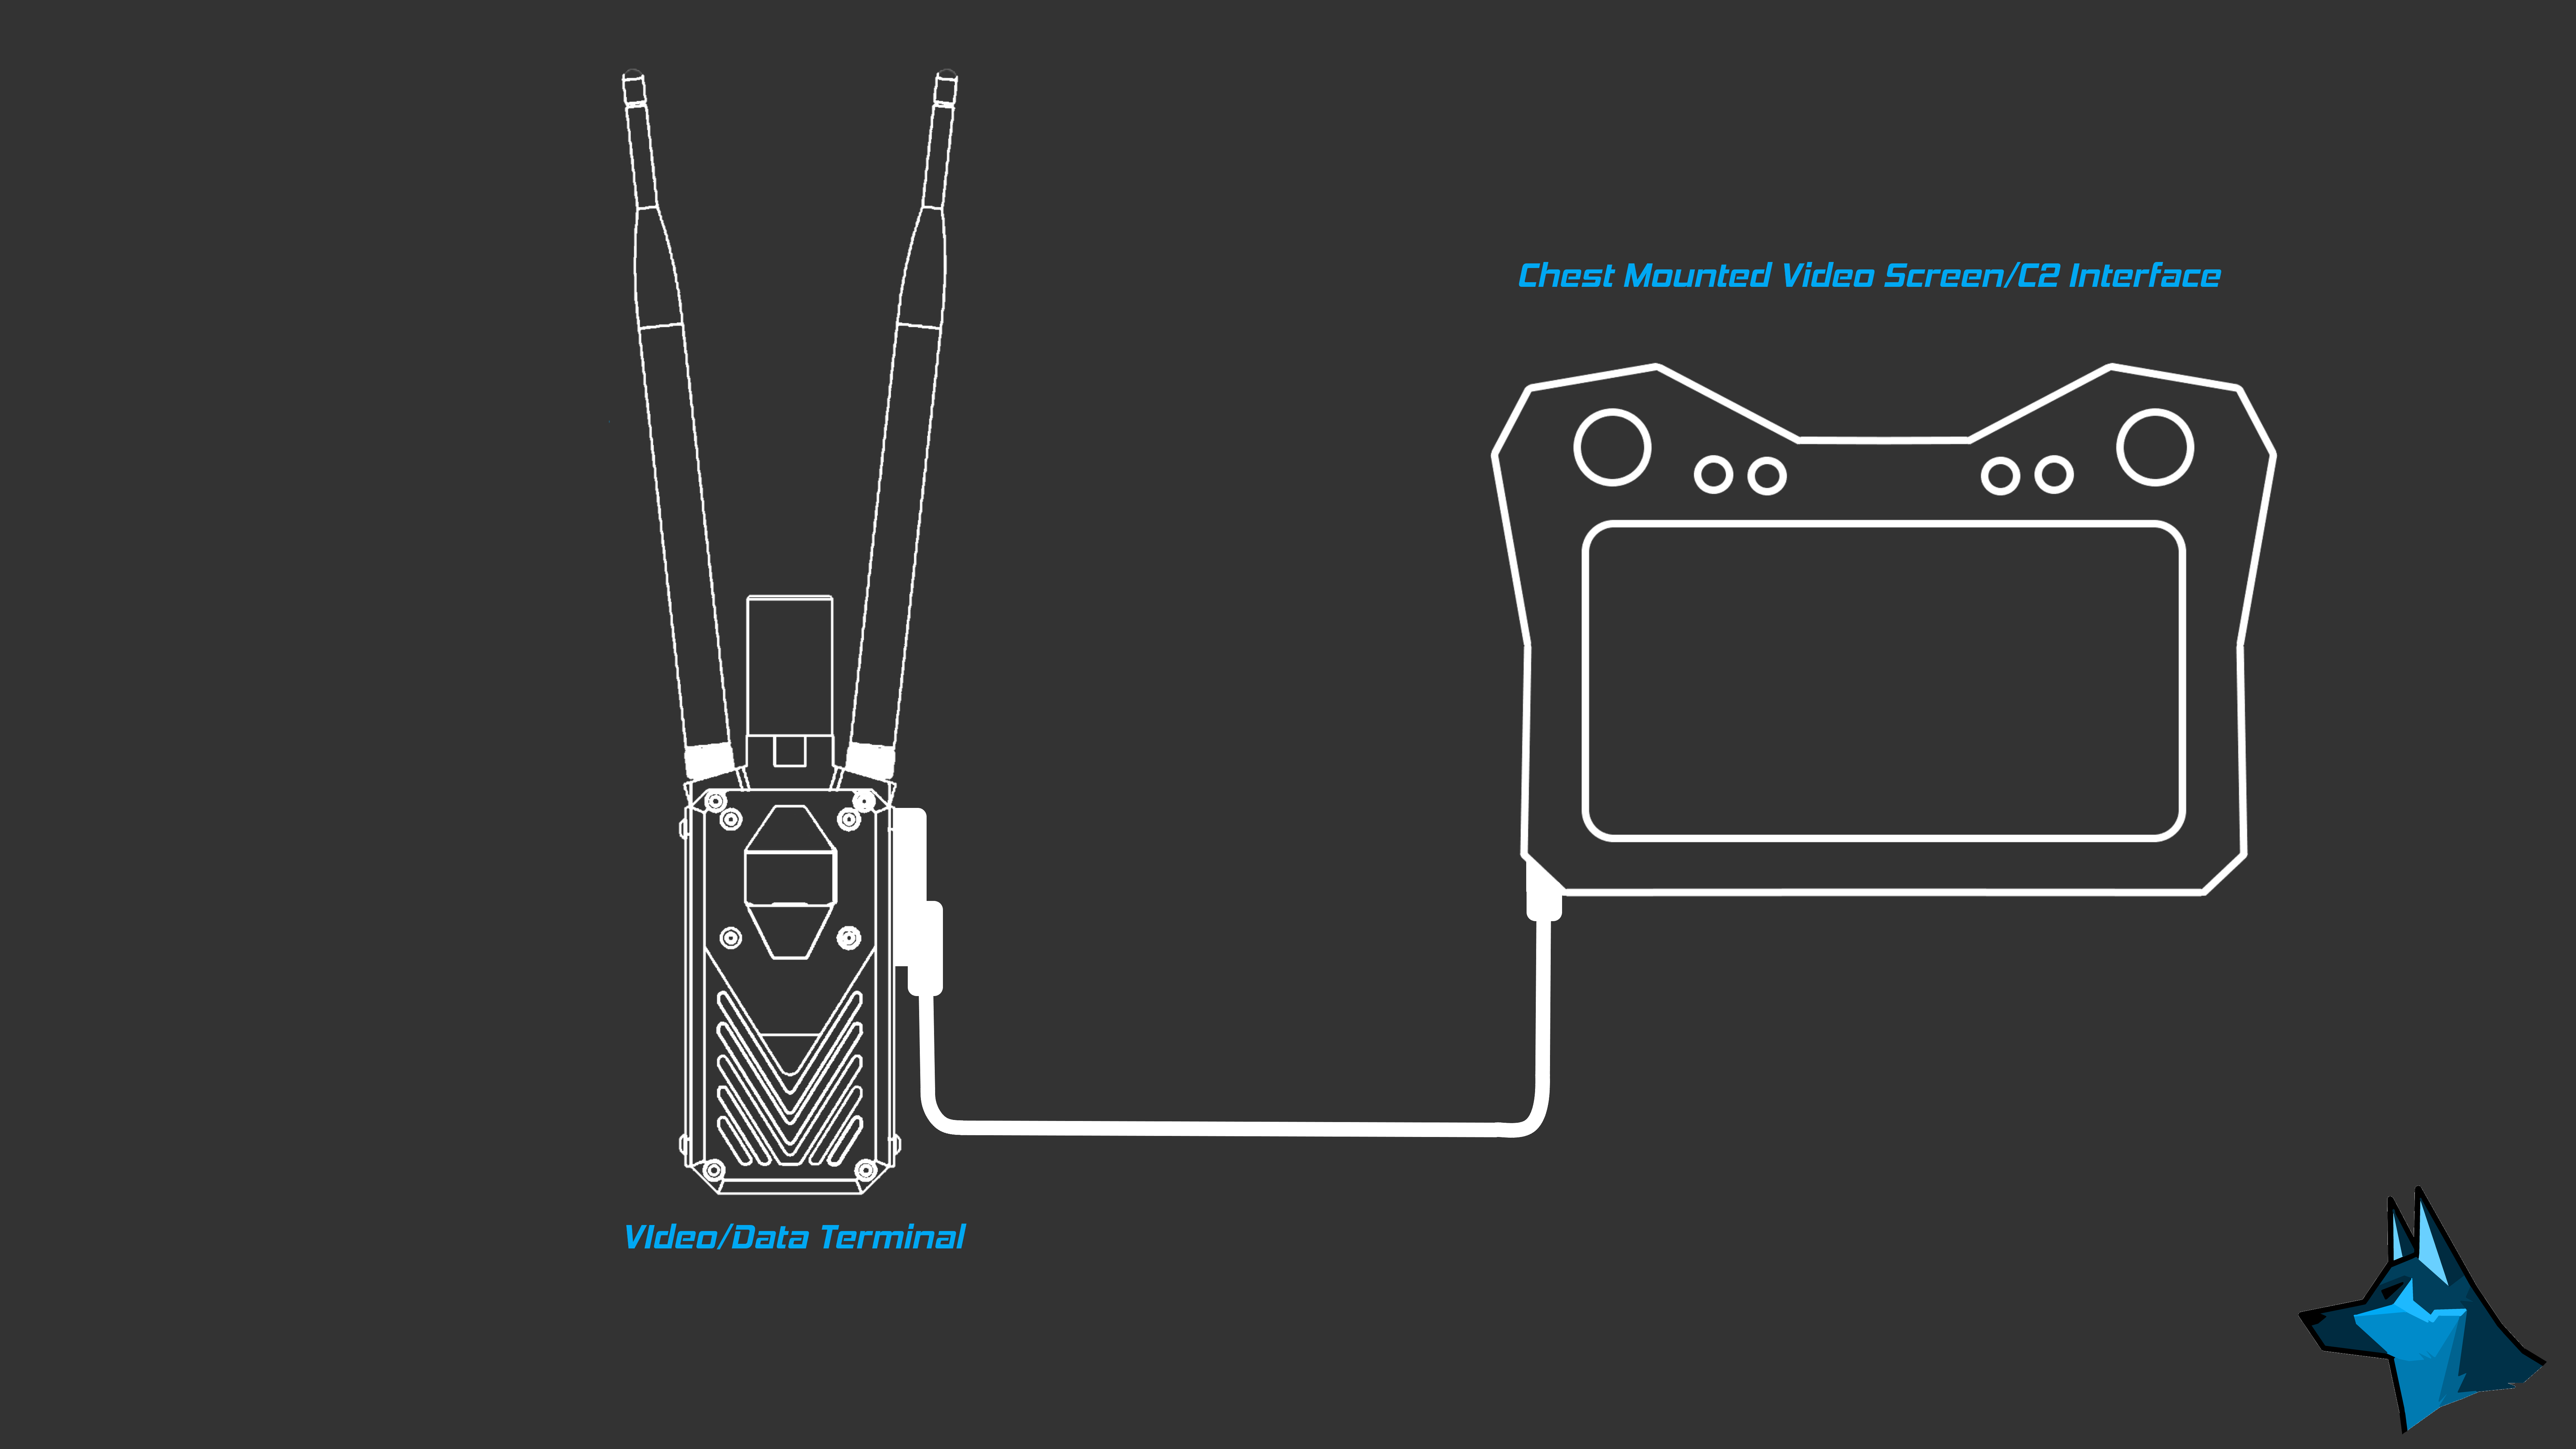
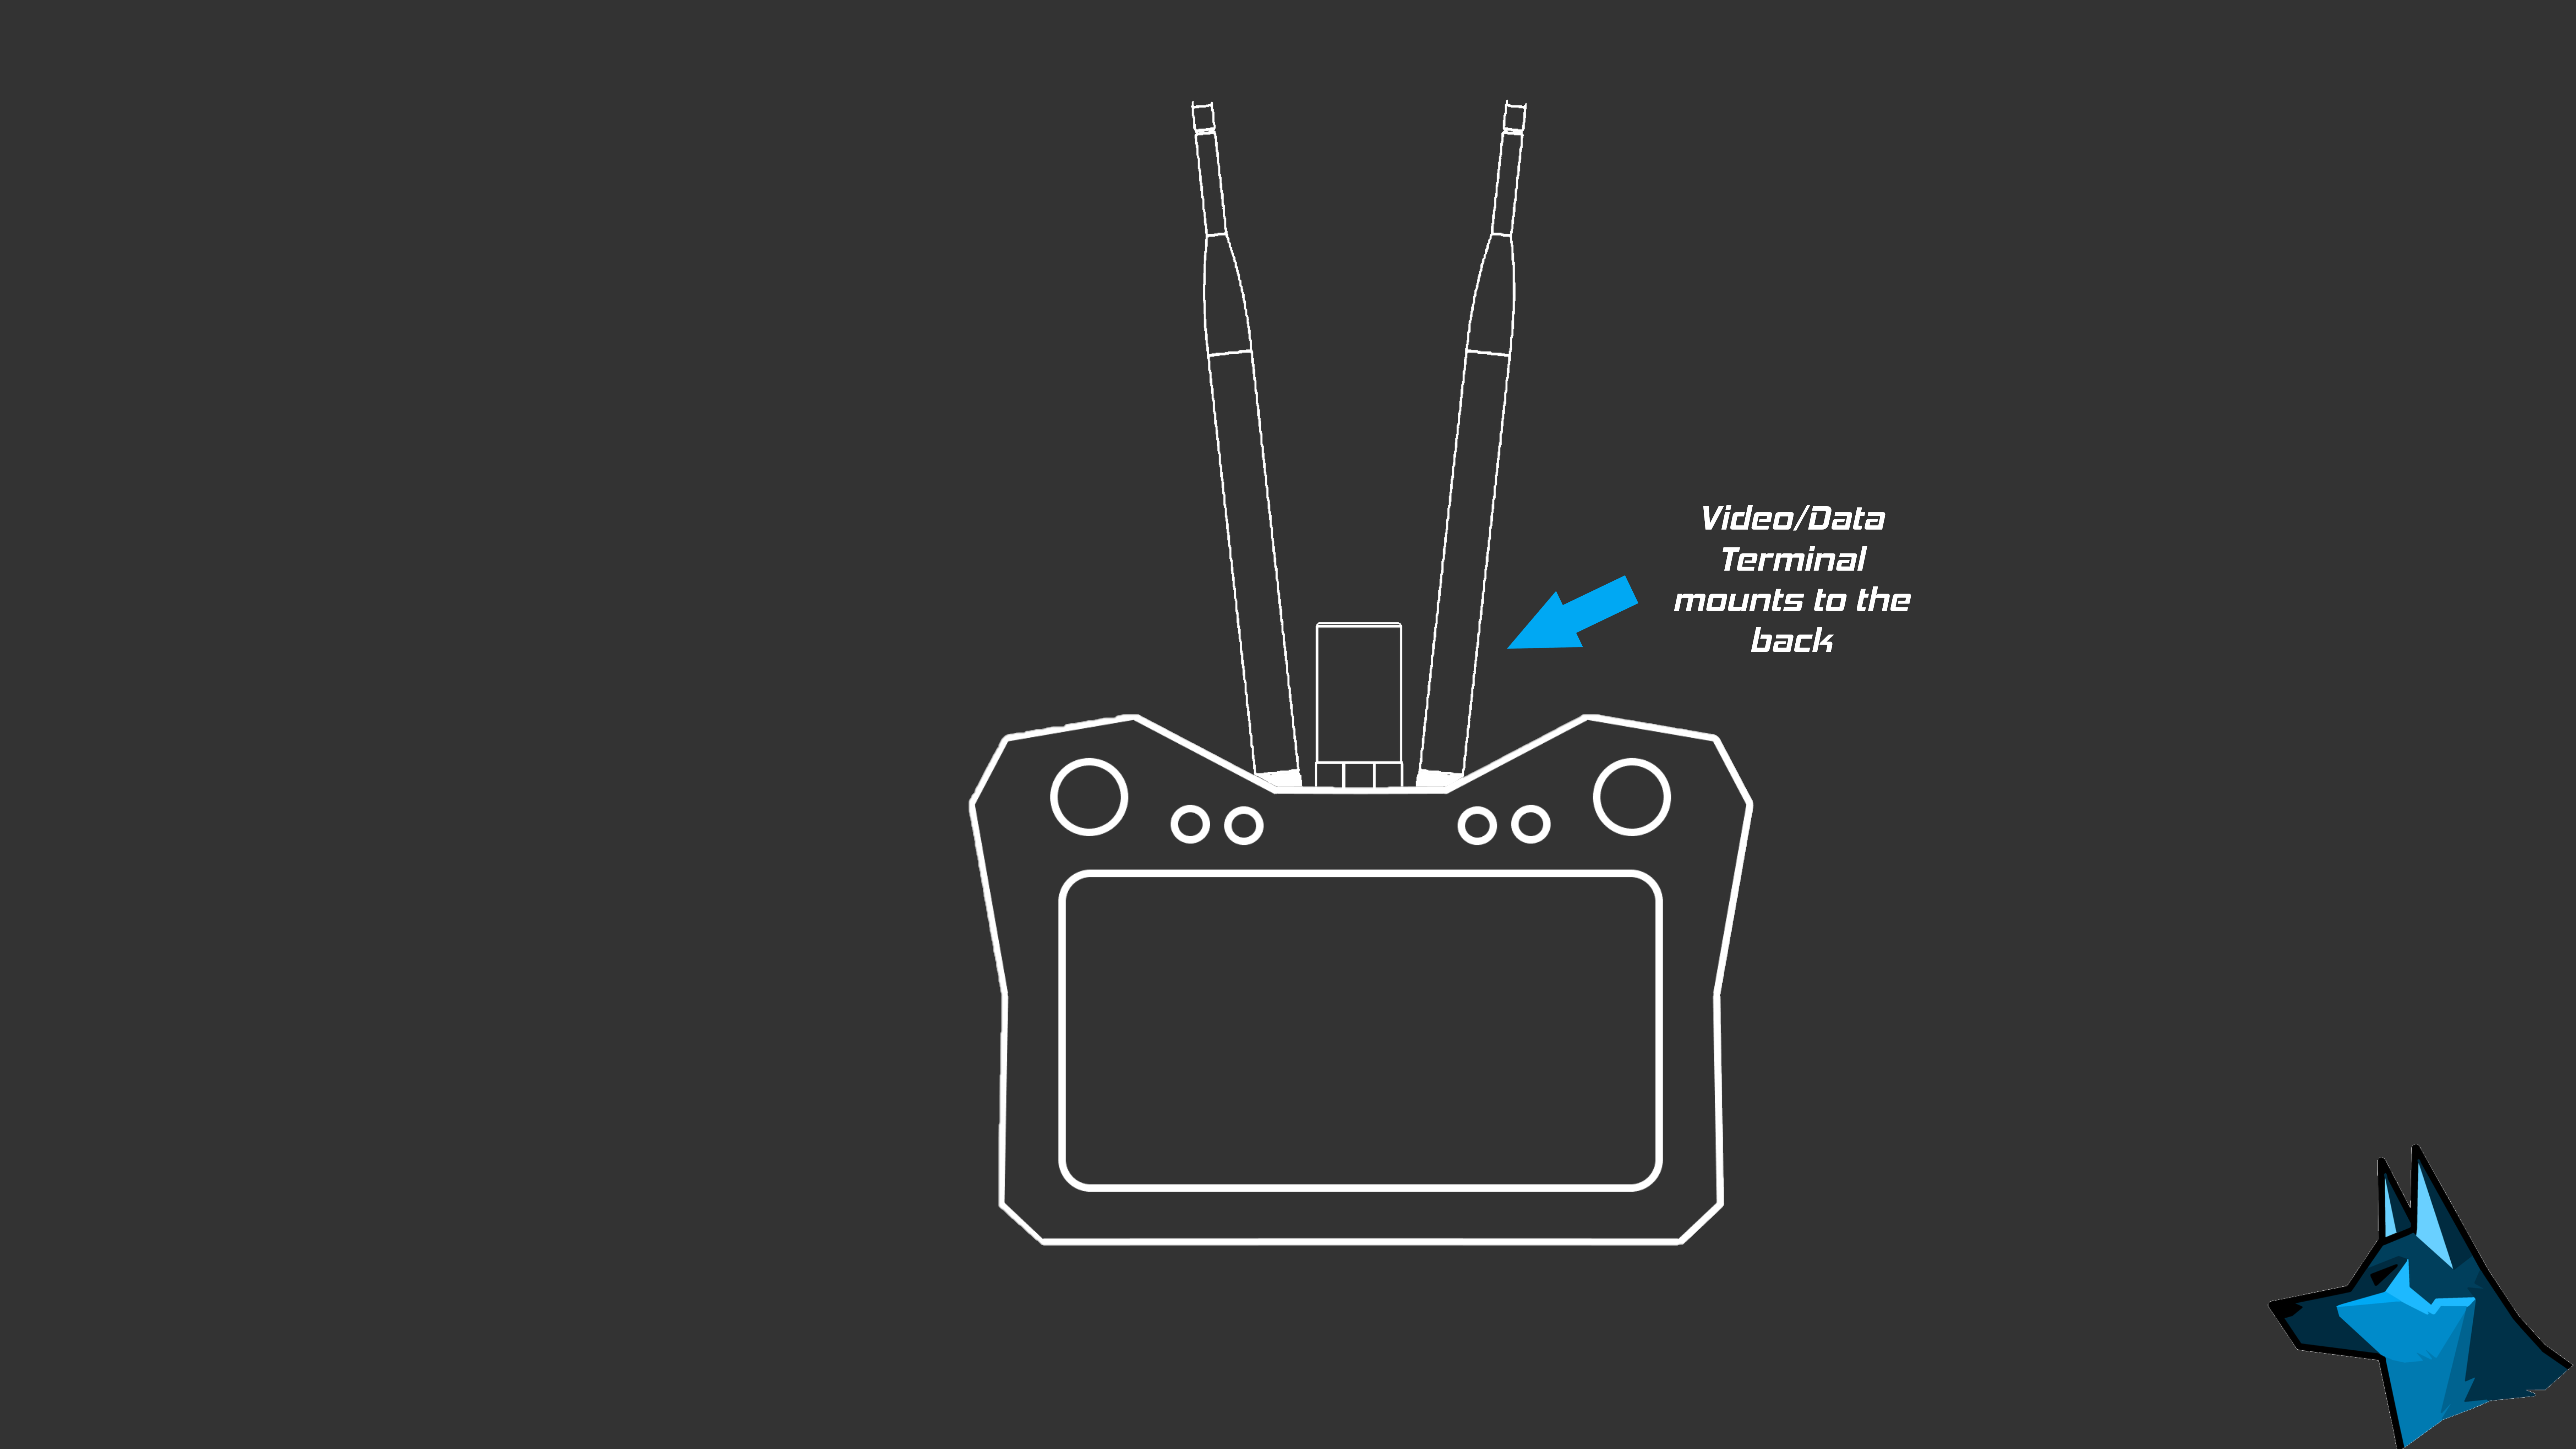
Valor sUAS is a system consisting of the UAV and multiple ground devices. Multiple open-source projects have allowed the system to interoperate and relay data to multiple ground users. Valor UAV acts like an aerial LoRa Node running Meshtastic, allowing it to seamlessly integrate into a simple ATAK setup. This effectively extends the range of the network and allows personnel on the ground equipped with a Tac Mesh Communicator (Spin-off of the RTE-1 Project) to know the location of the UAV asset. Command and Control (C2) can be managed by handheld controllers or a ground control station (GCS). For ground units that require a direct video feed from Valor, a modified Tac Mesh Communicator with an onboard video receiver can stream a live video feed from the UAV.
Read more about the development of each part in the respective logs
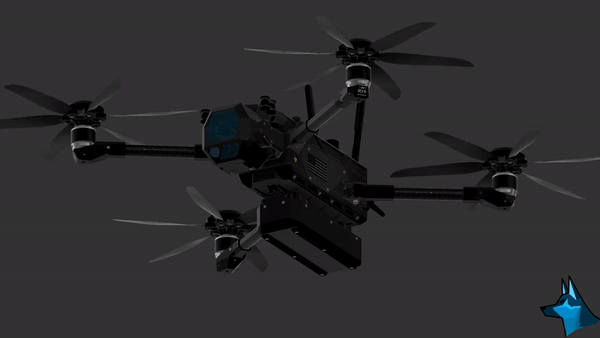
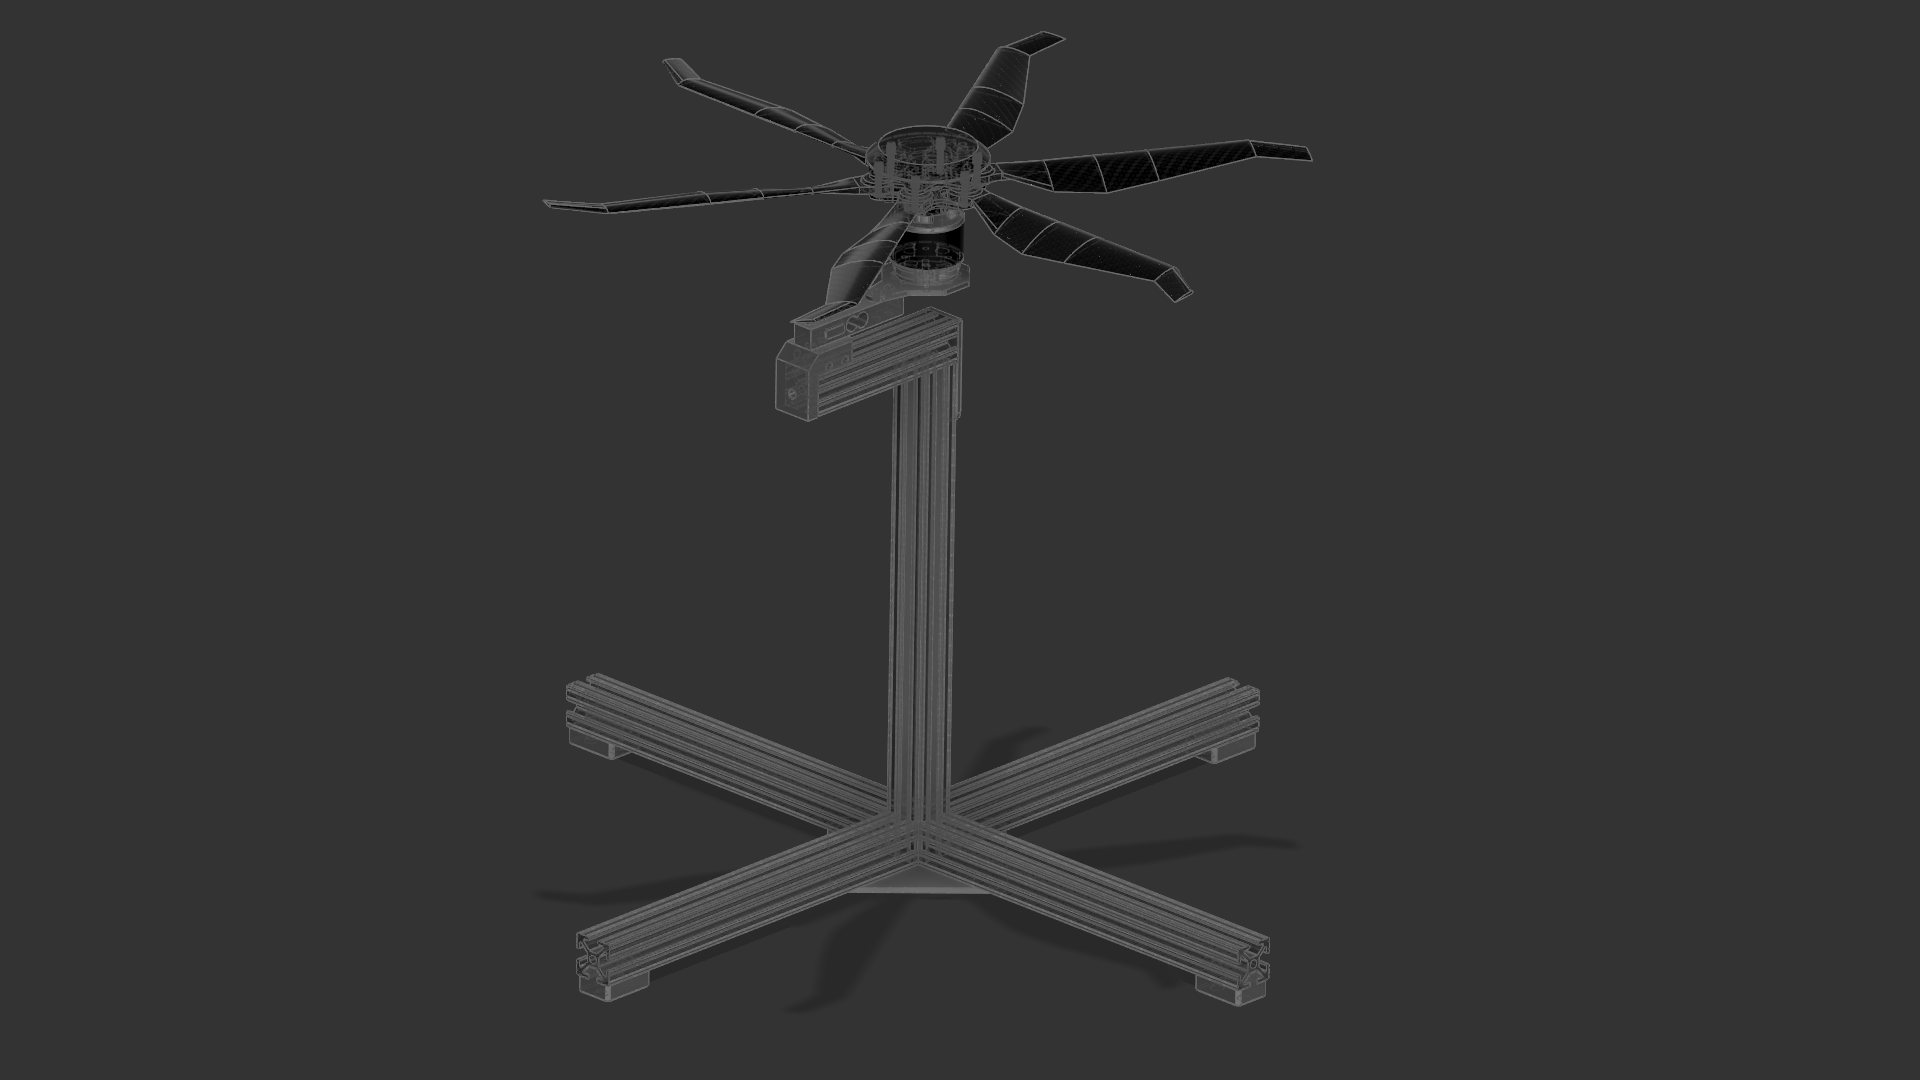
Valor UAV Features & Specs
- Fully autonomous and semi-autonomous
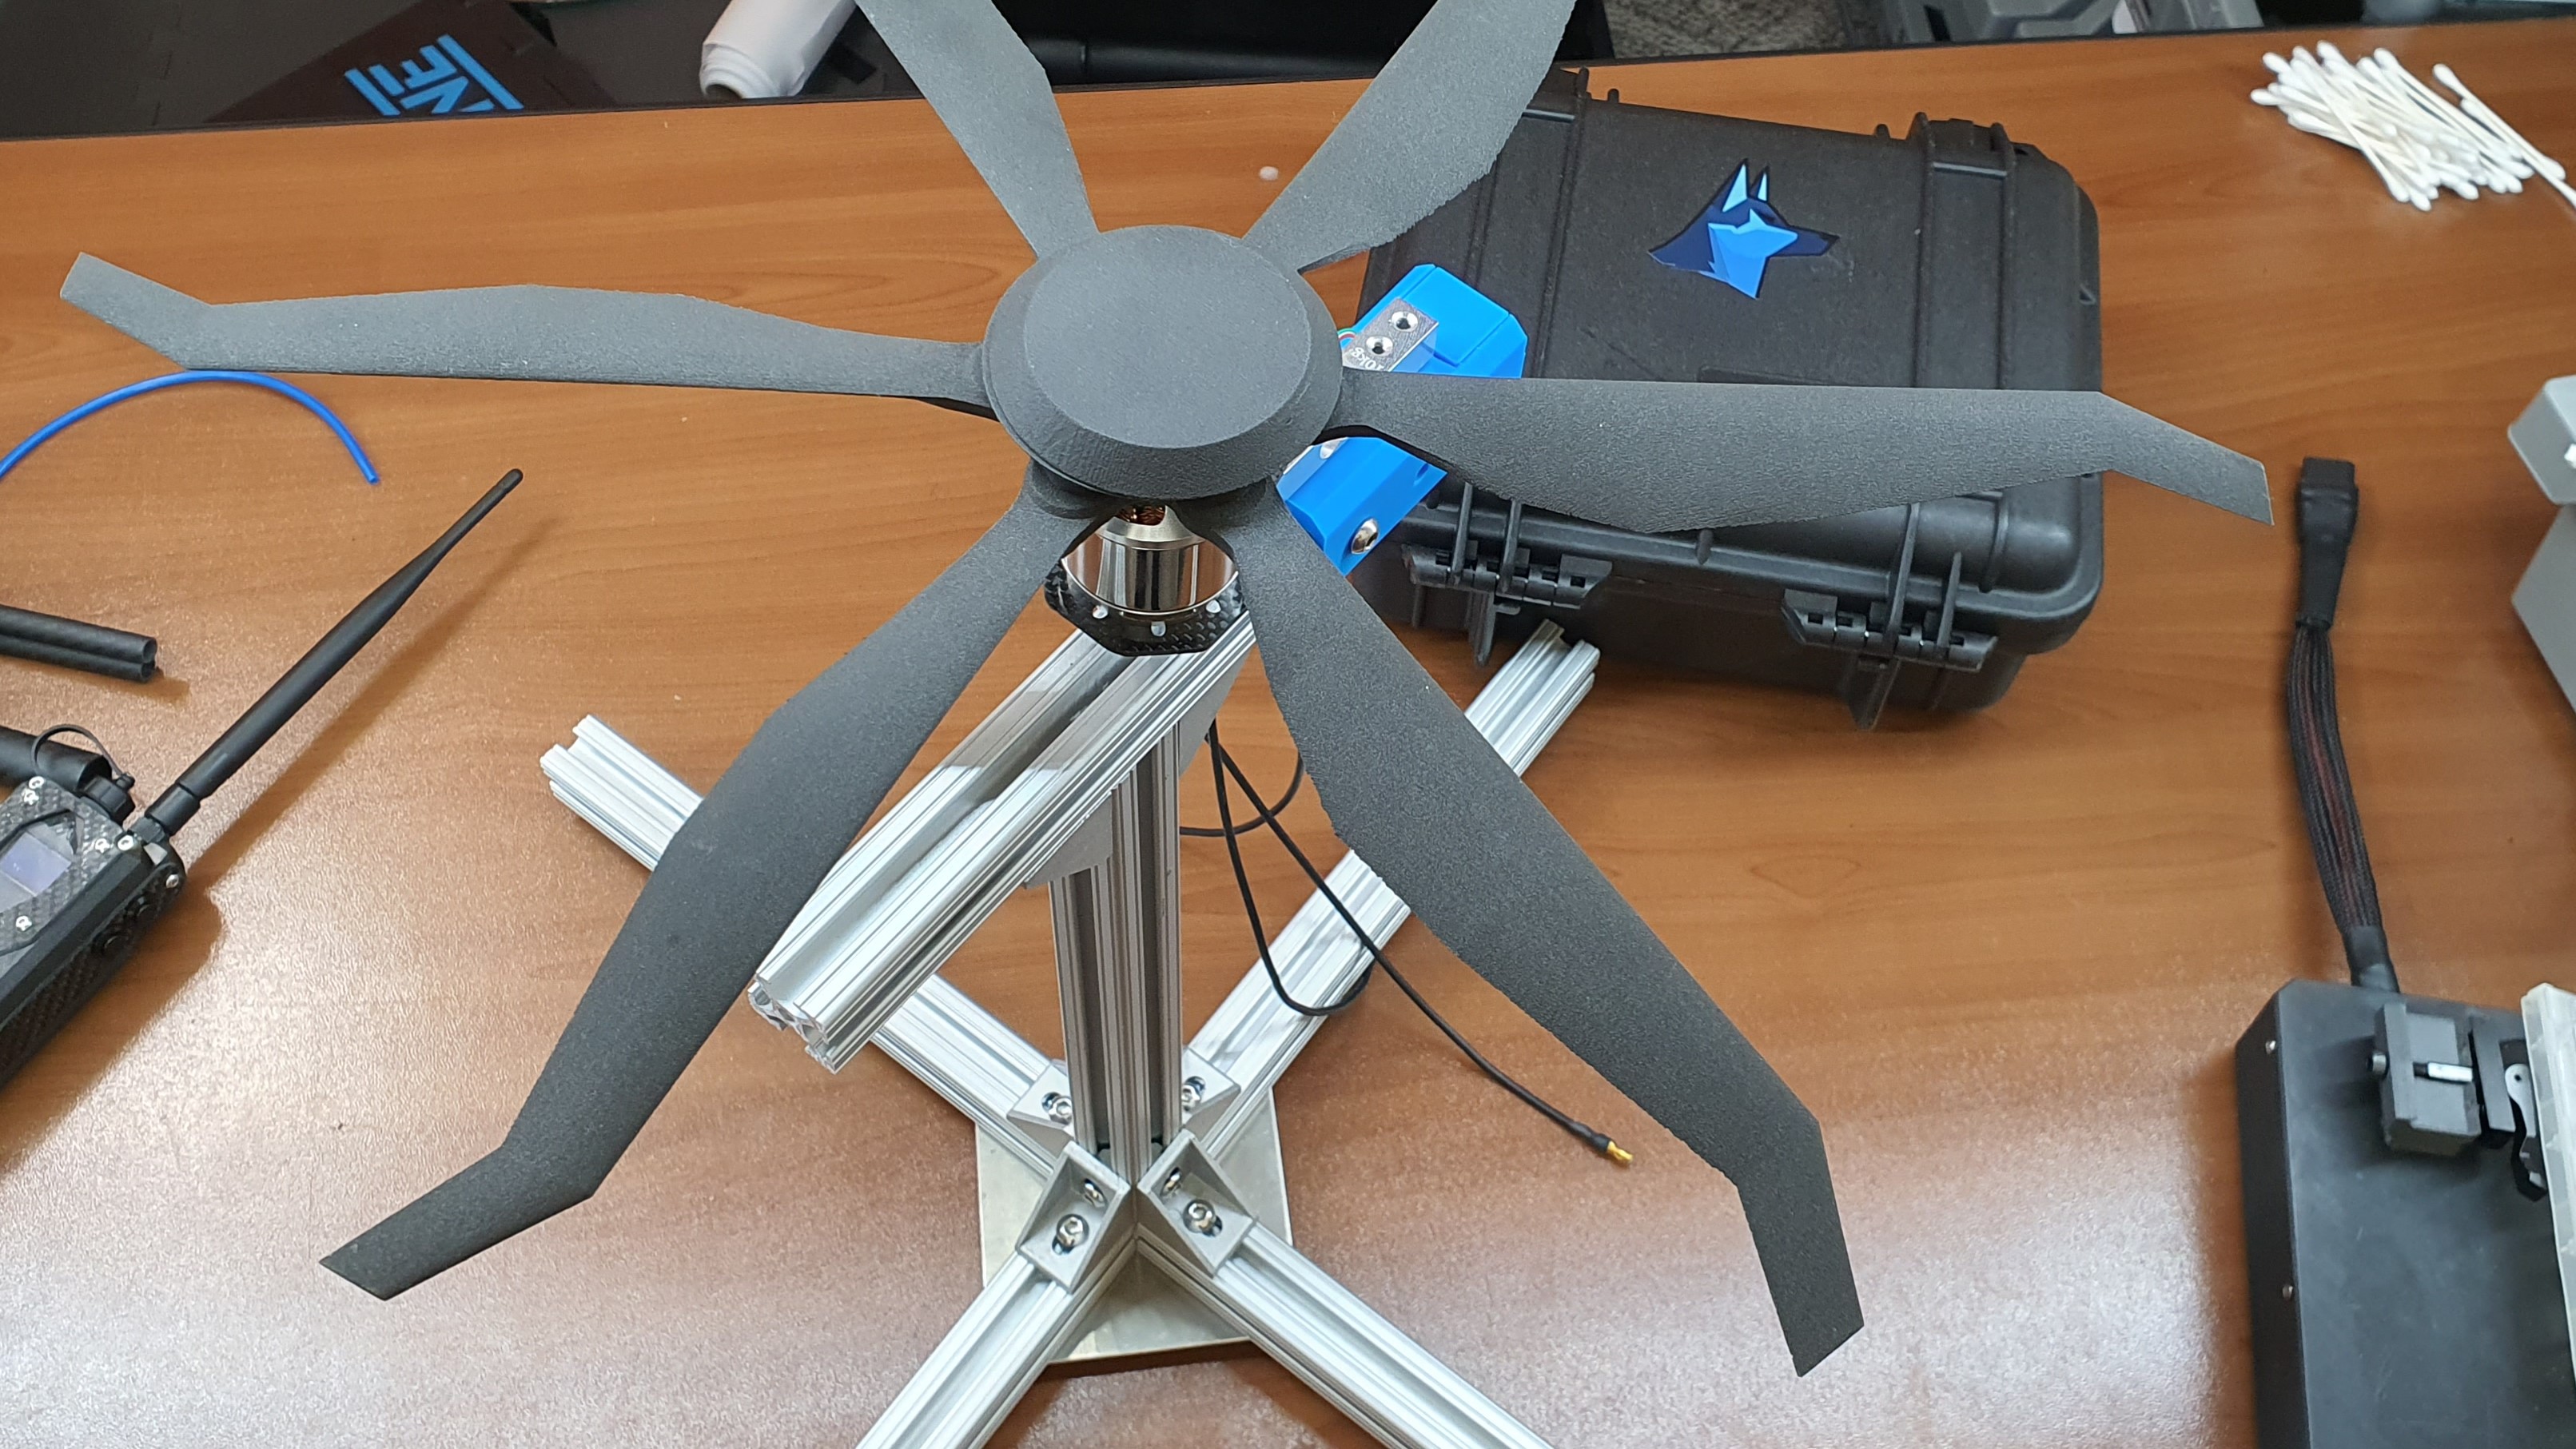
- Max 10 KG payload capability
- +30 min Flight Time
- 10+ km range
- Fully weather-resistant
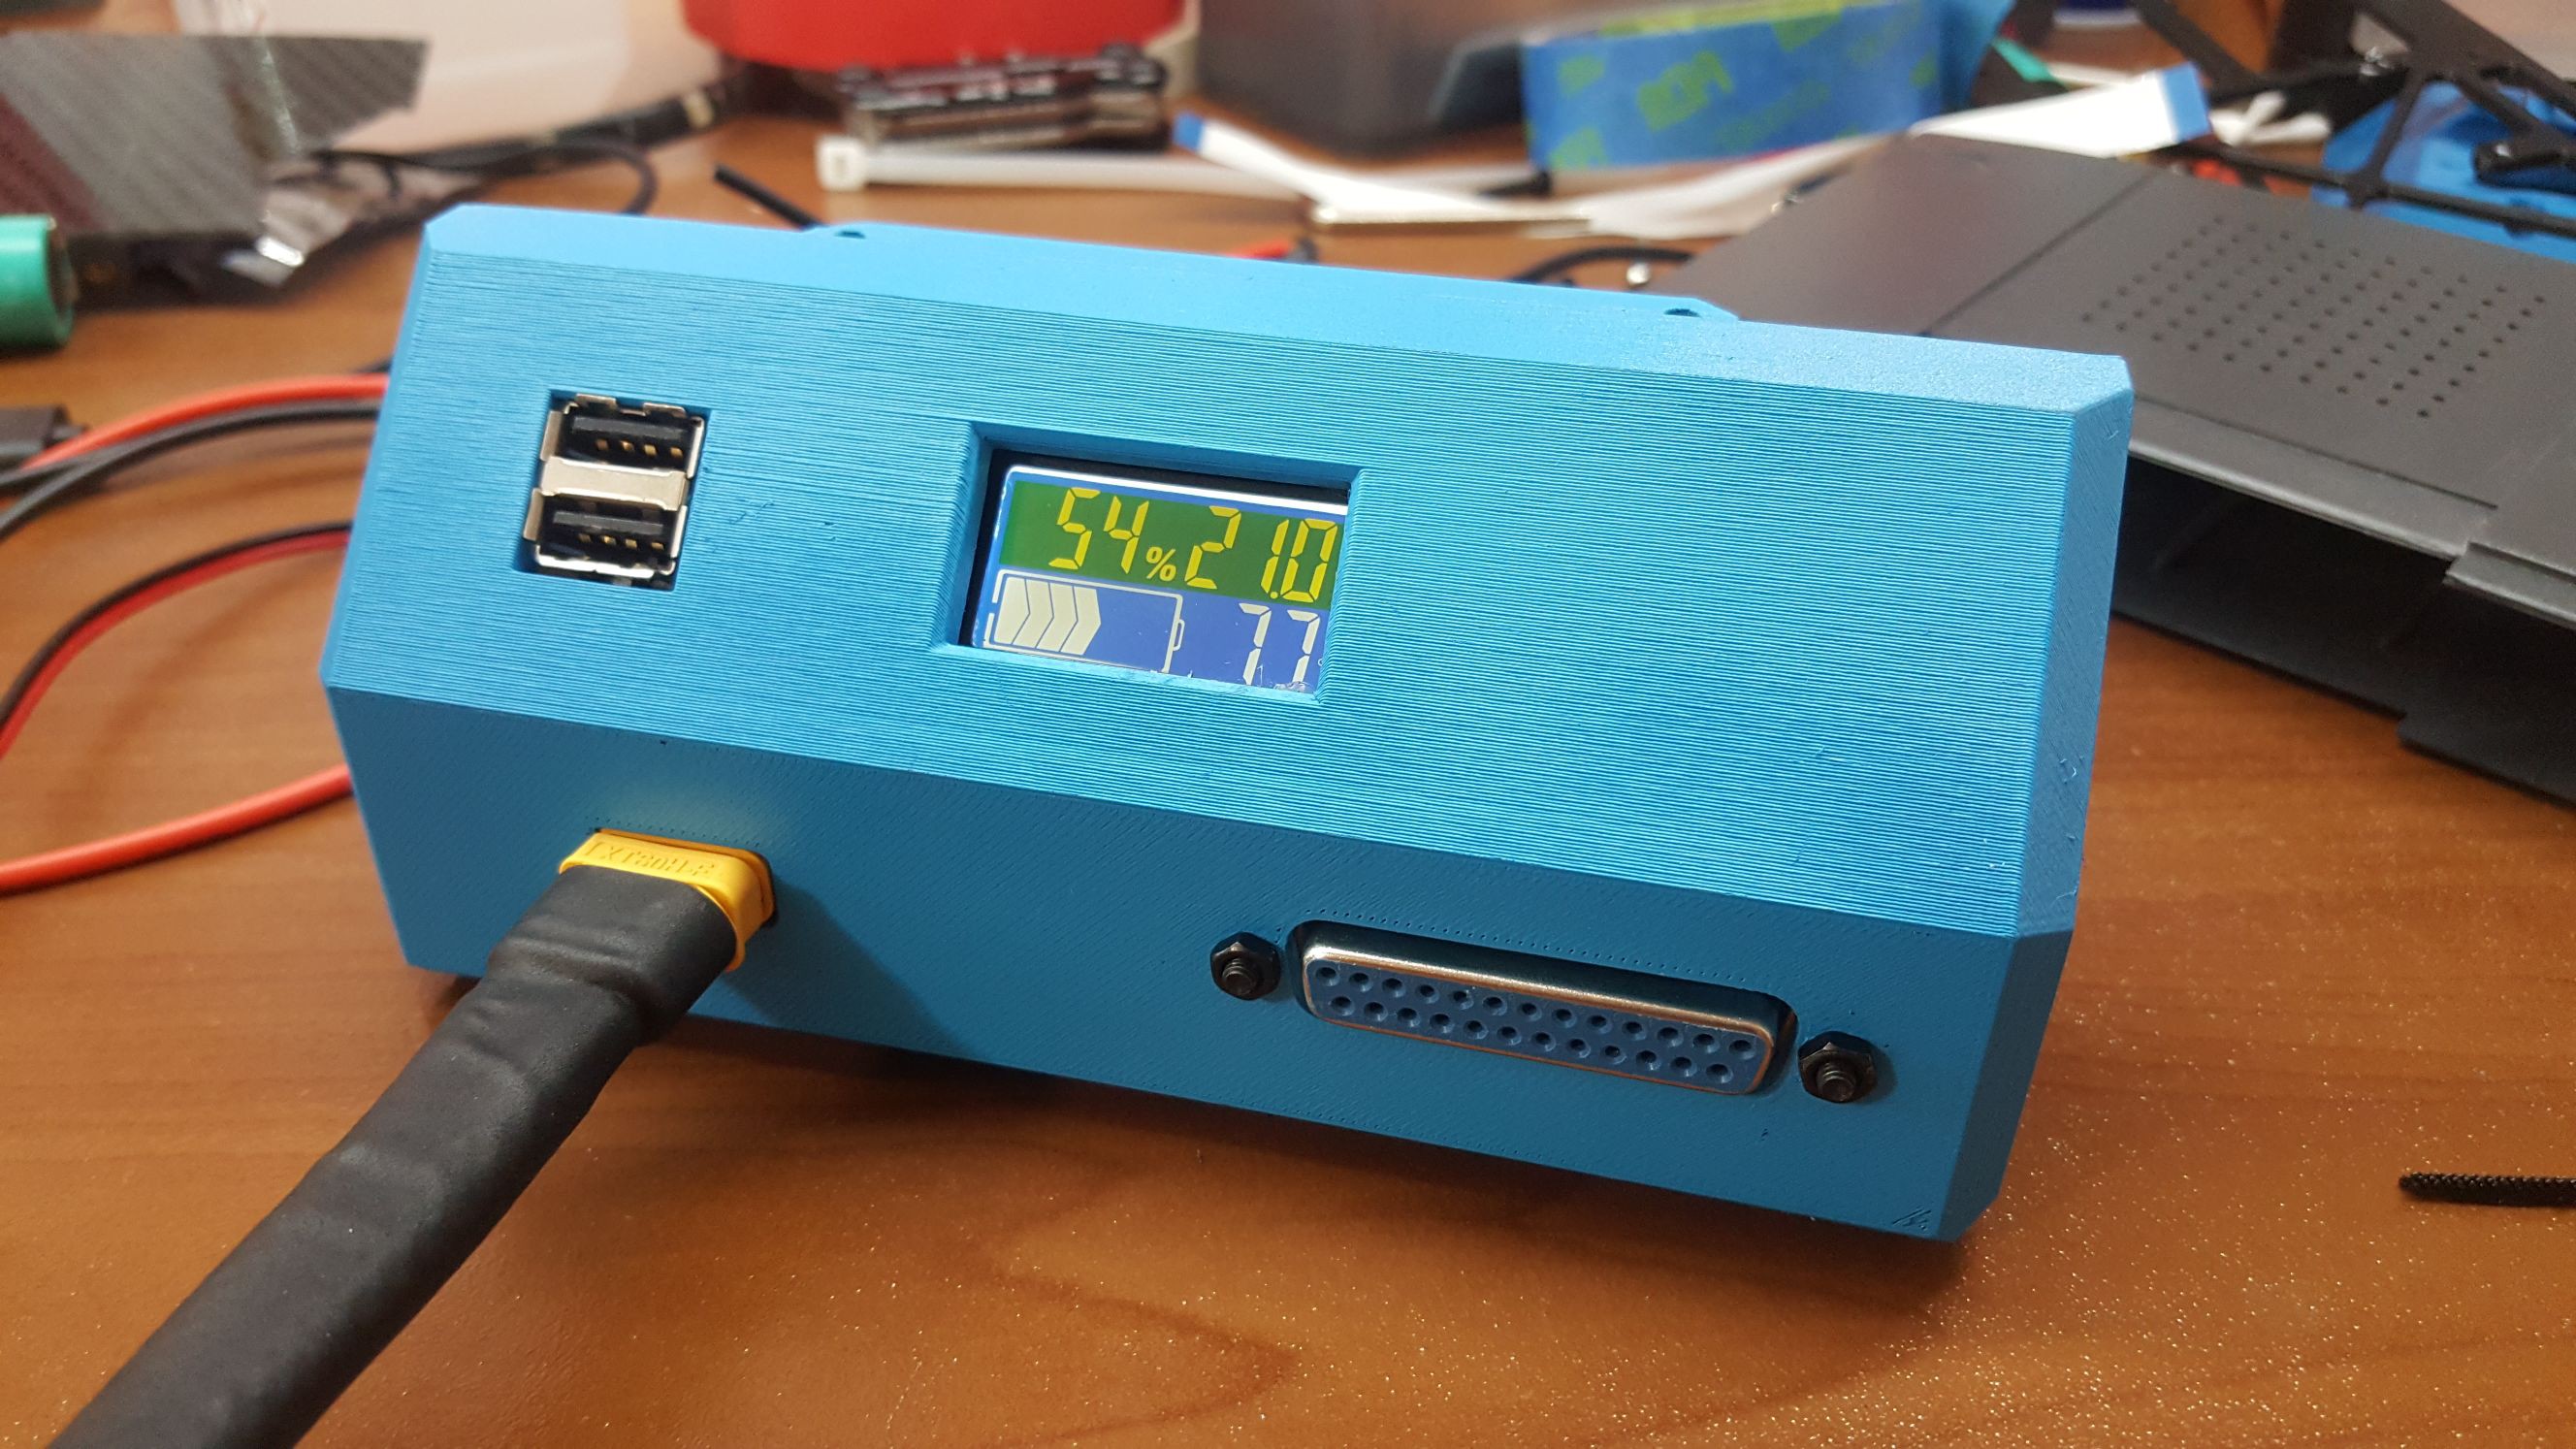
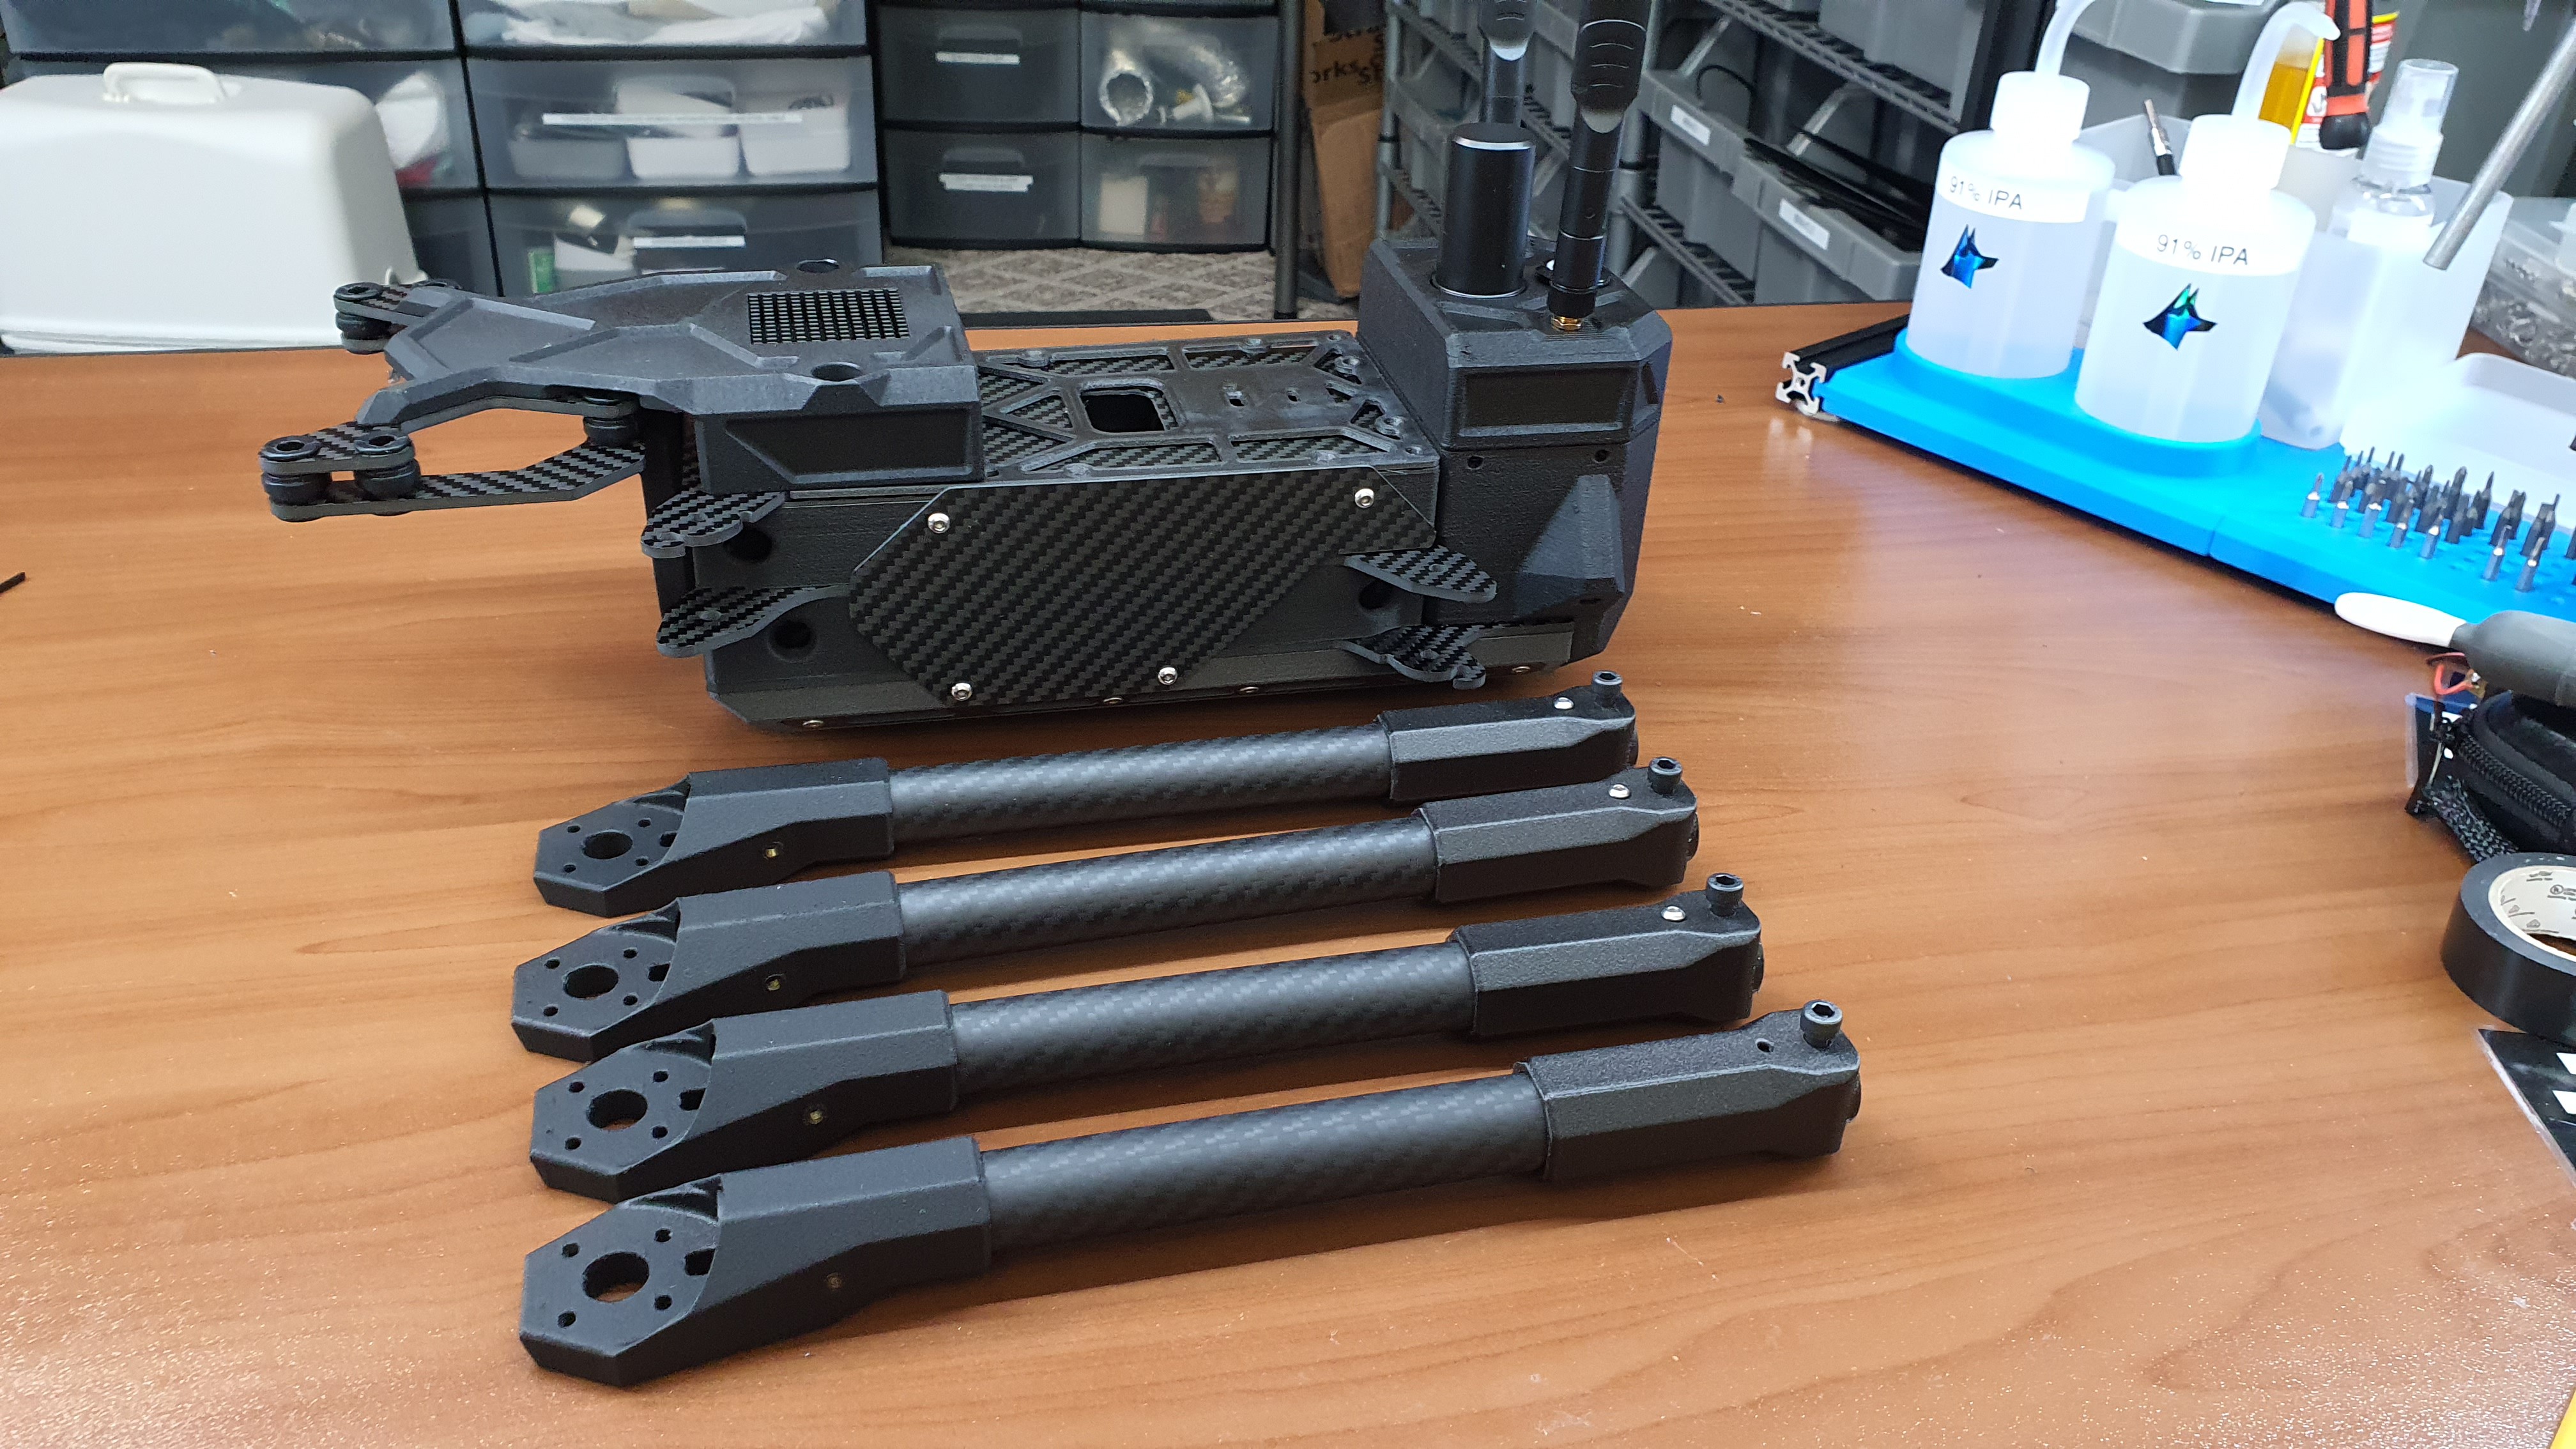
- Built-in modular HD video link/telemetry radio suite
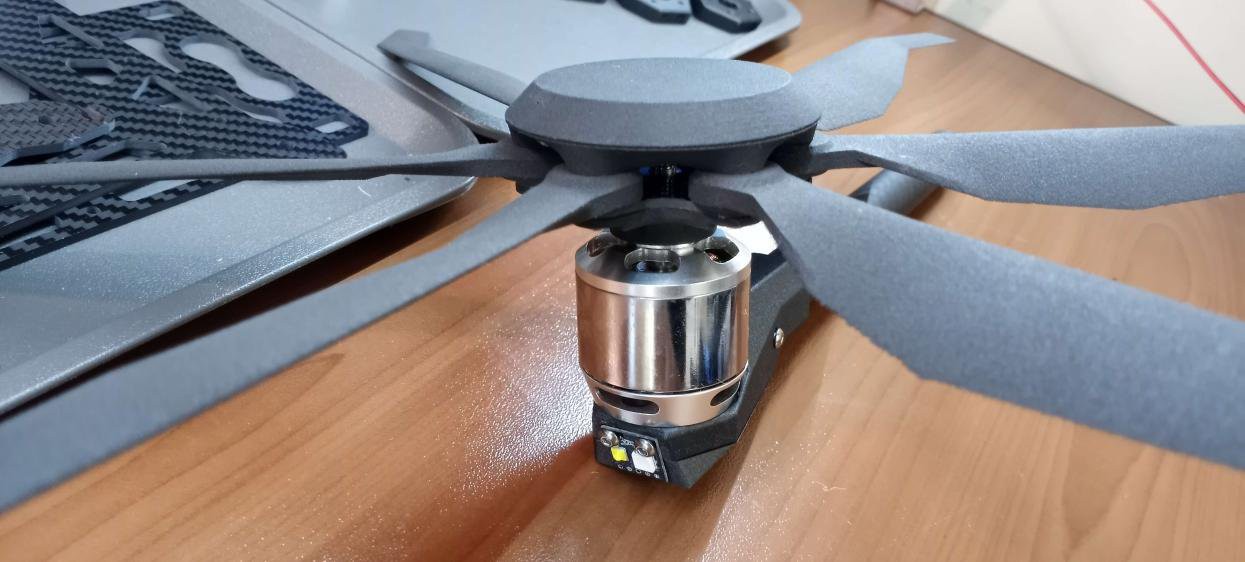
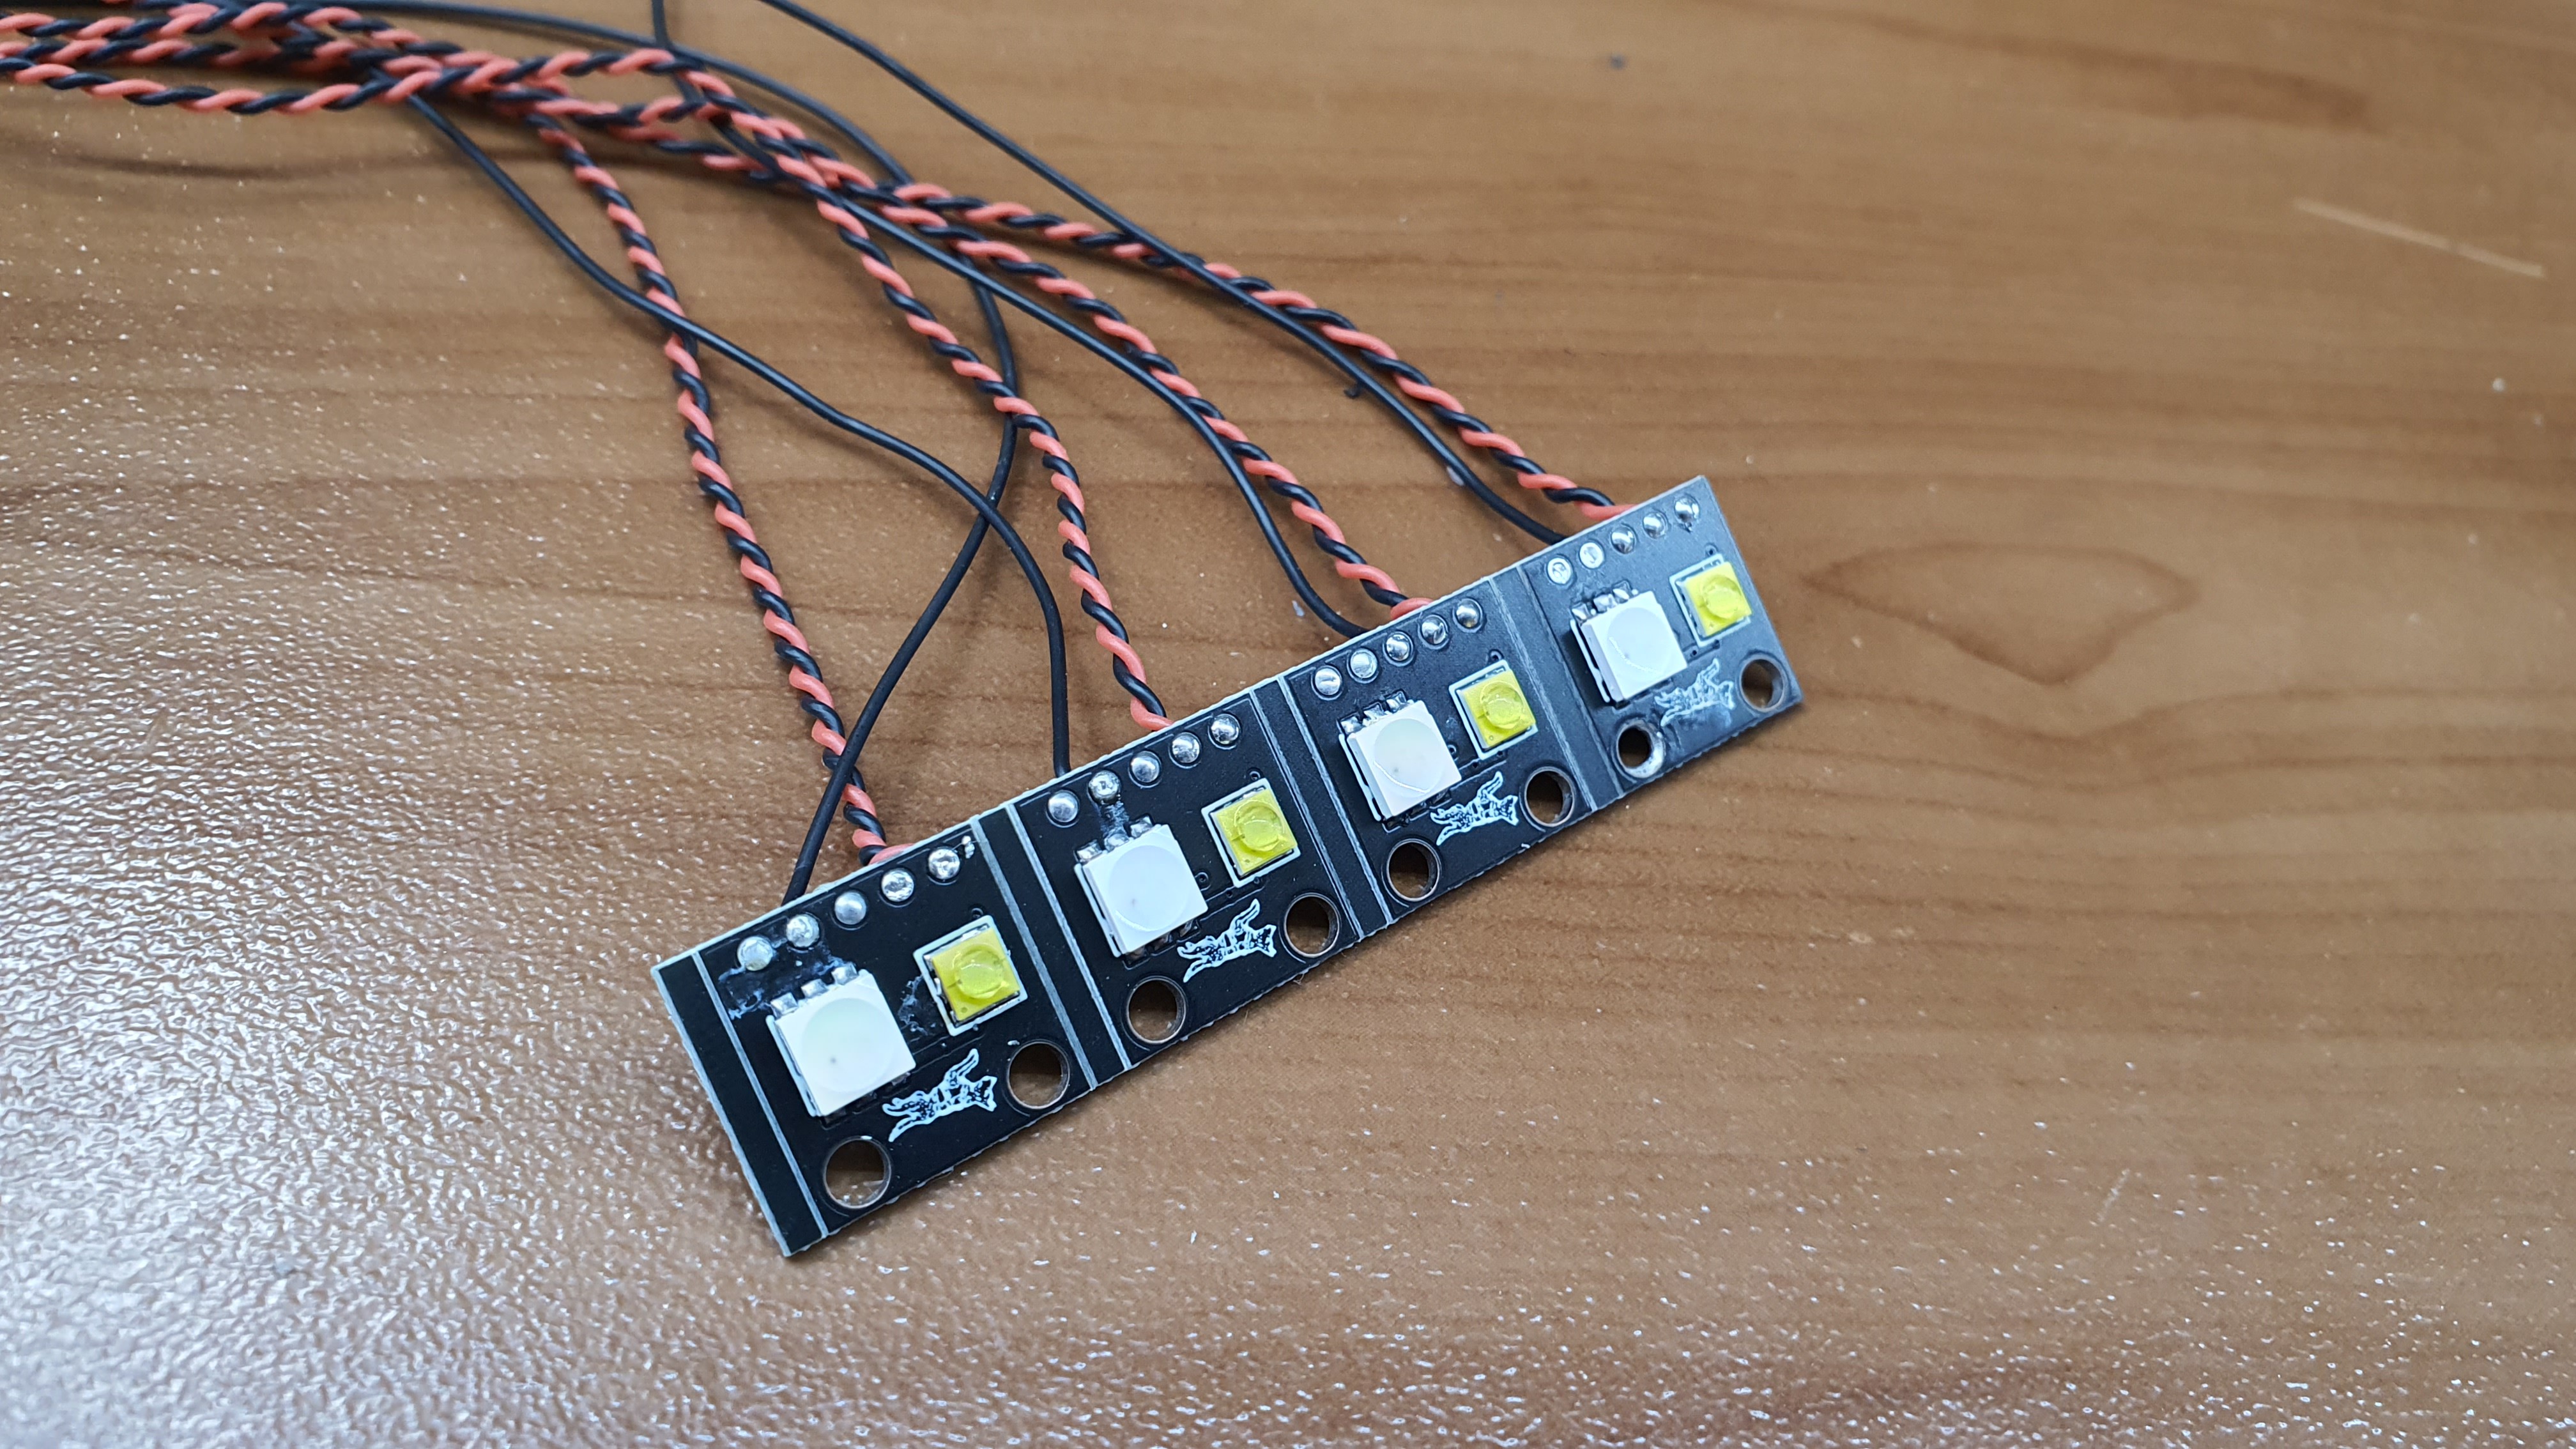
- Built-in IFF Infrared strobe & FAA Night Flight compliant visible white strobe
- LTE, extra sensors, embedded computing cores, and other accessory integration/upgrade ready
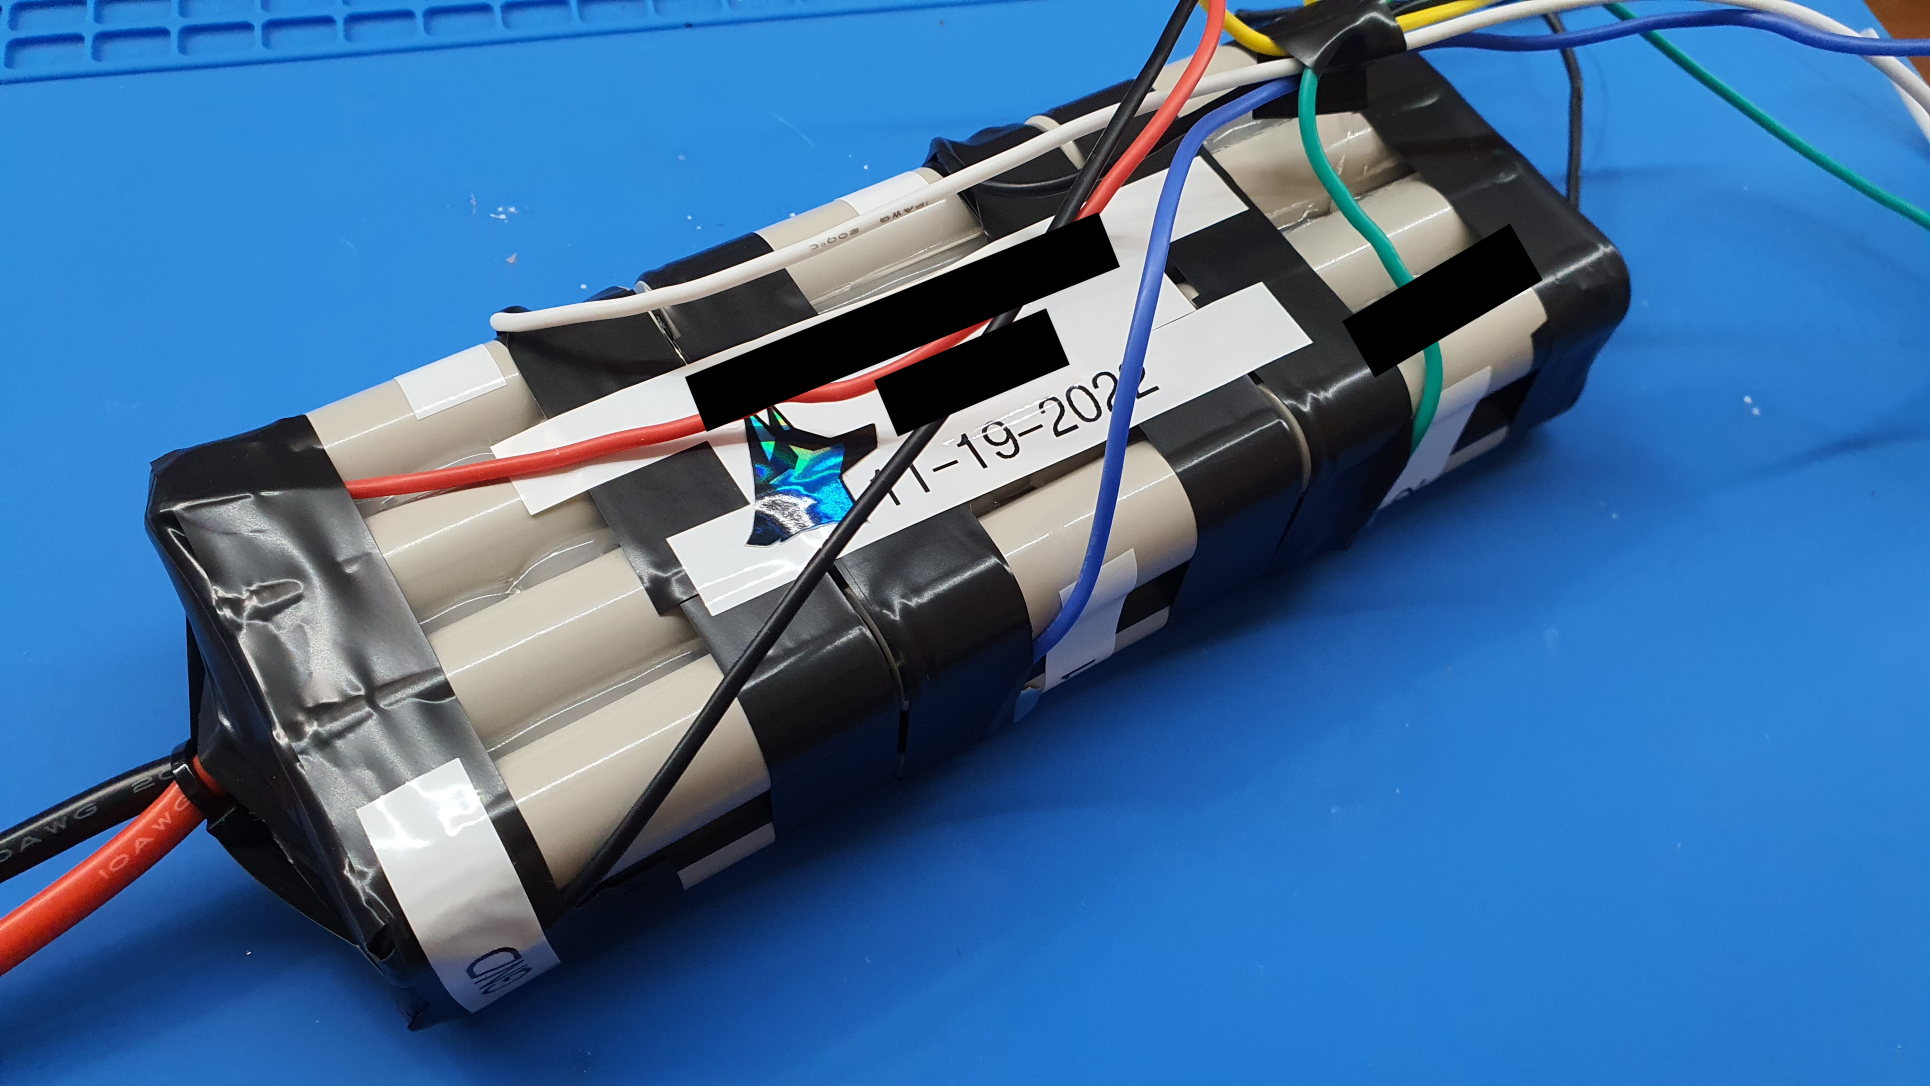
- Optional power supply accommodations (tethered, hydrogen, li-ion, lipo)
- Backup internal battery/ Avionics hot start capable
- Swarm capable
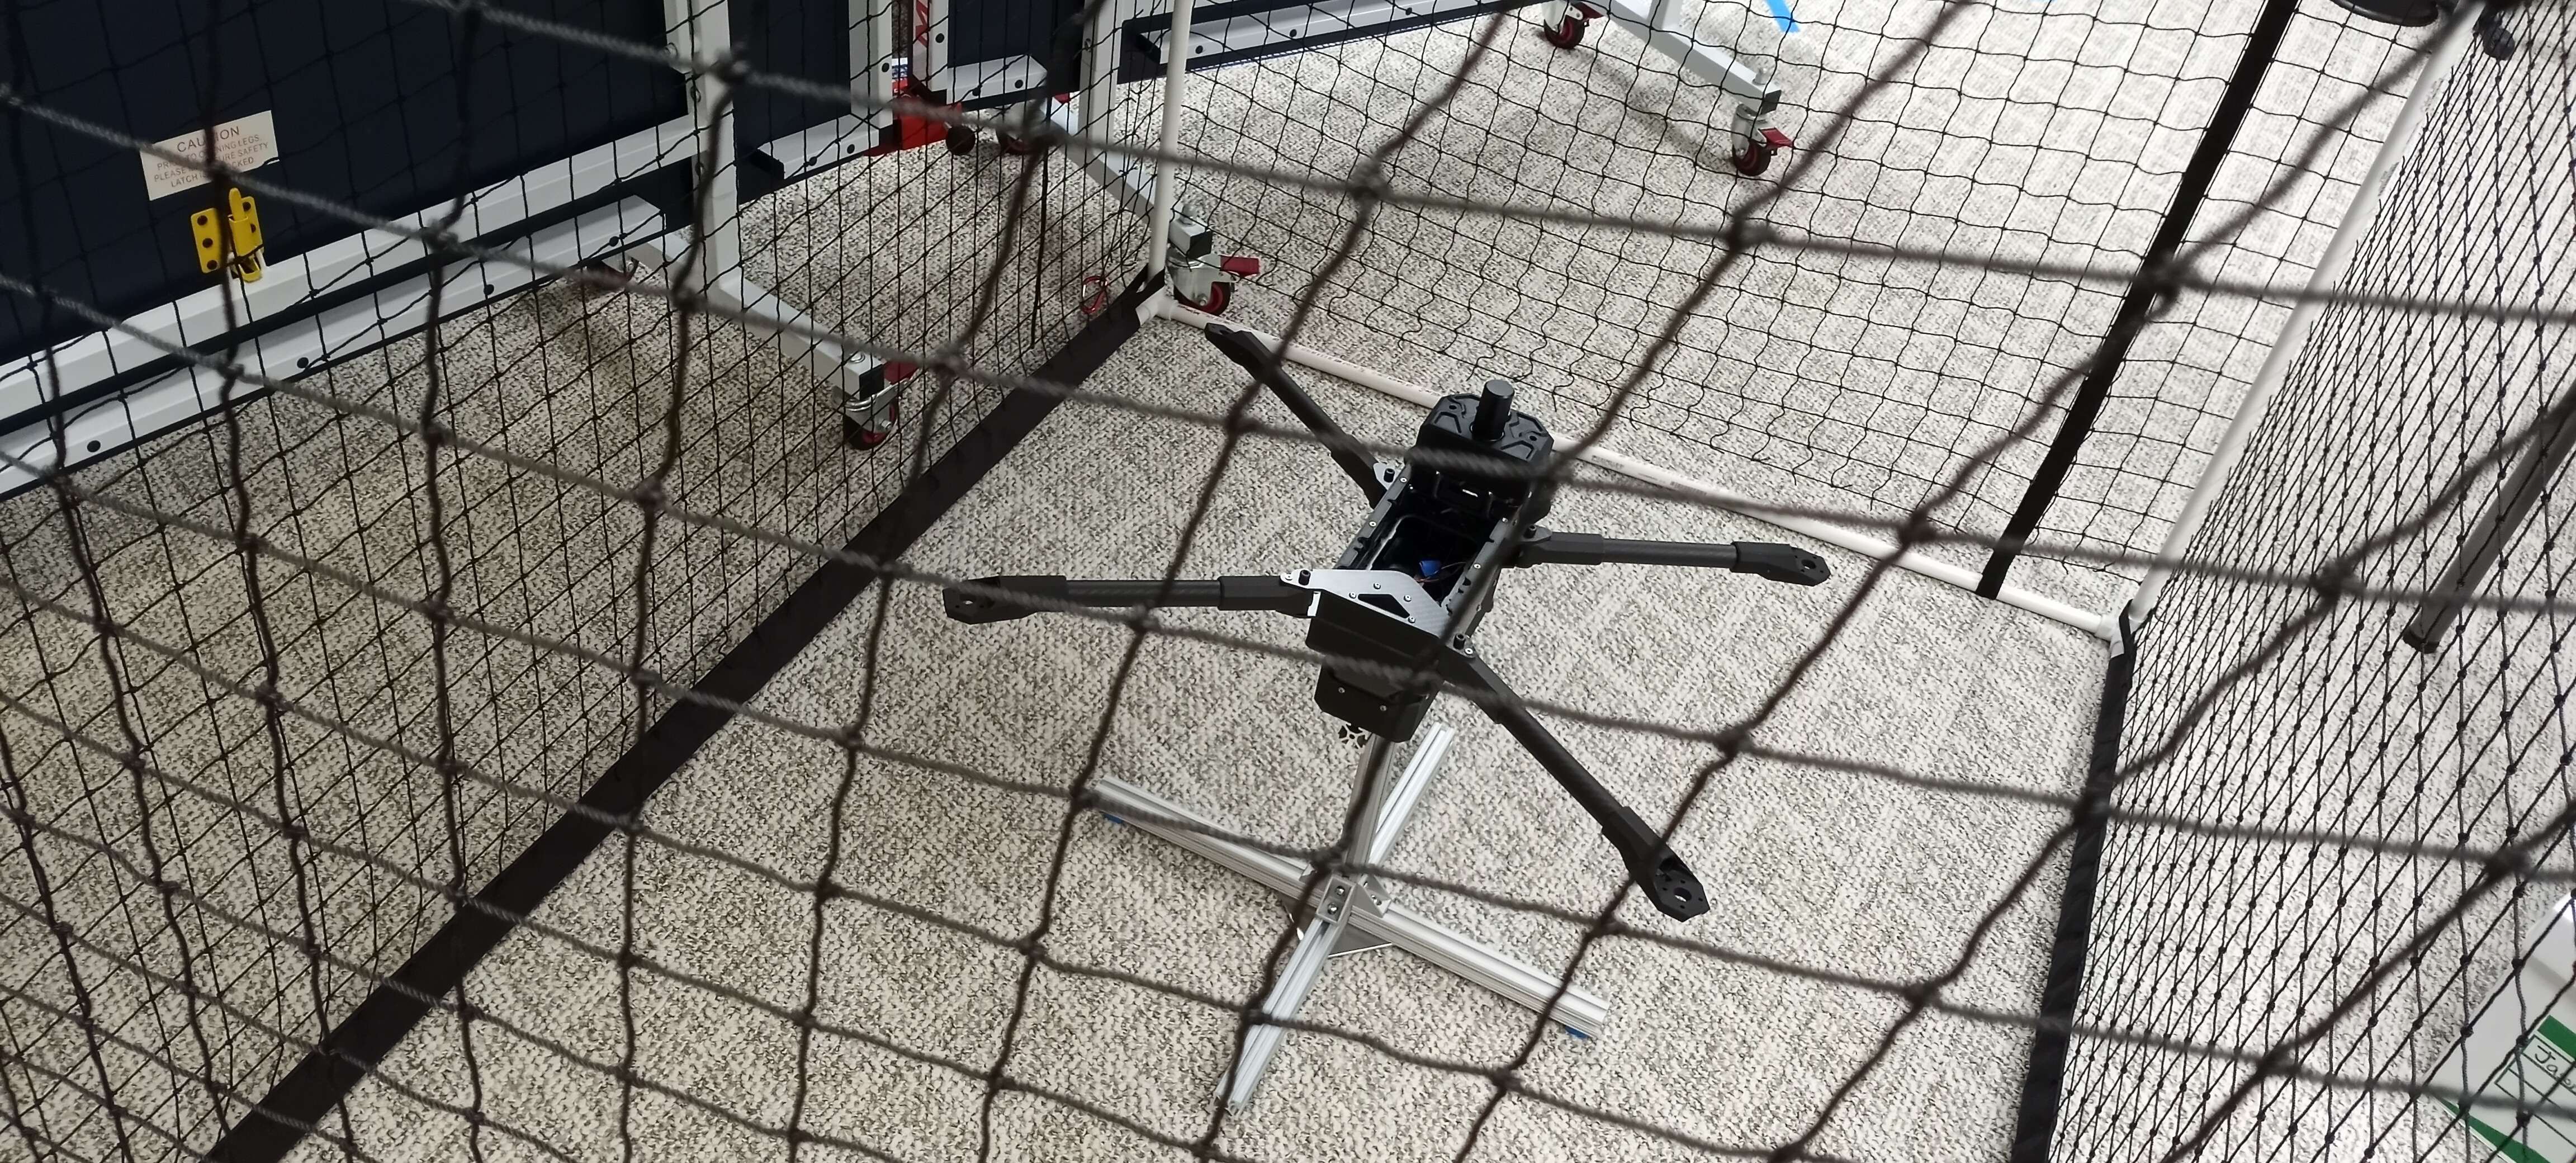
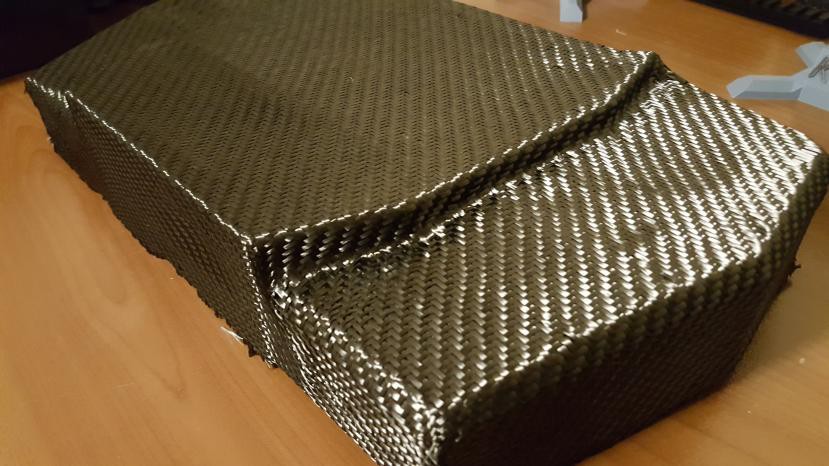
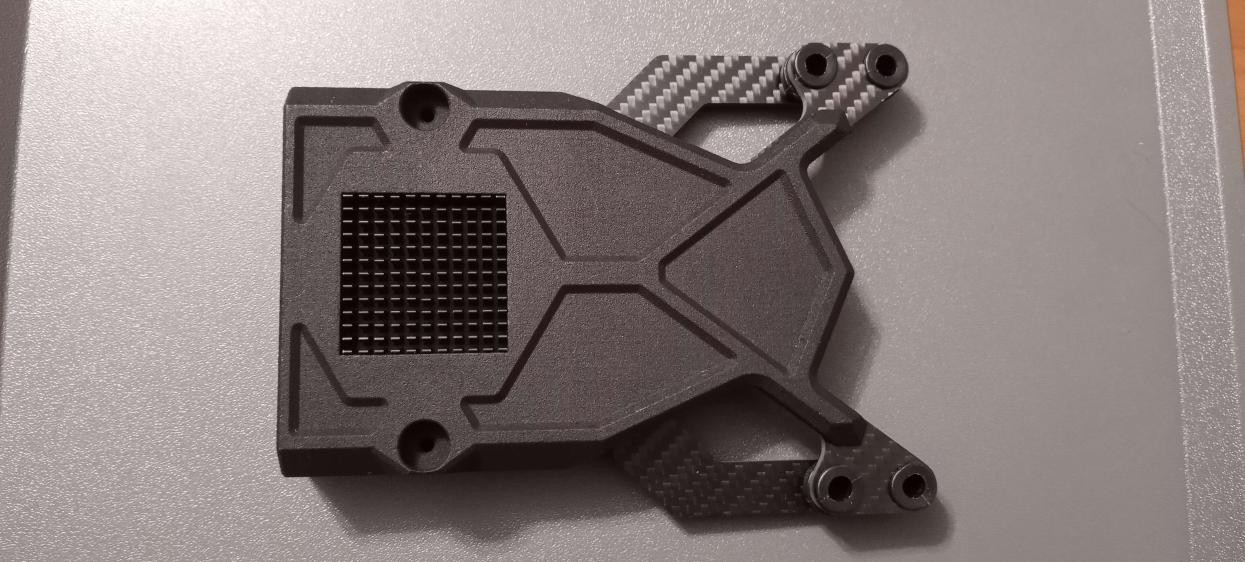
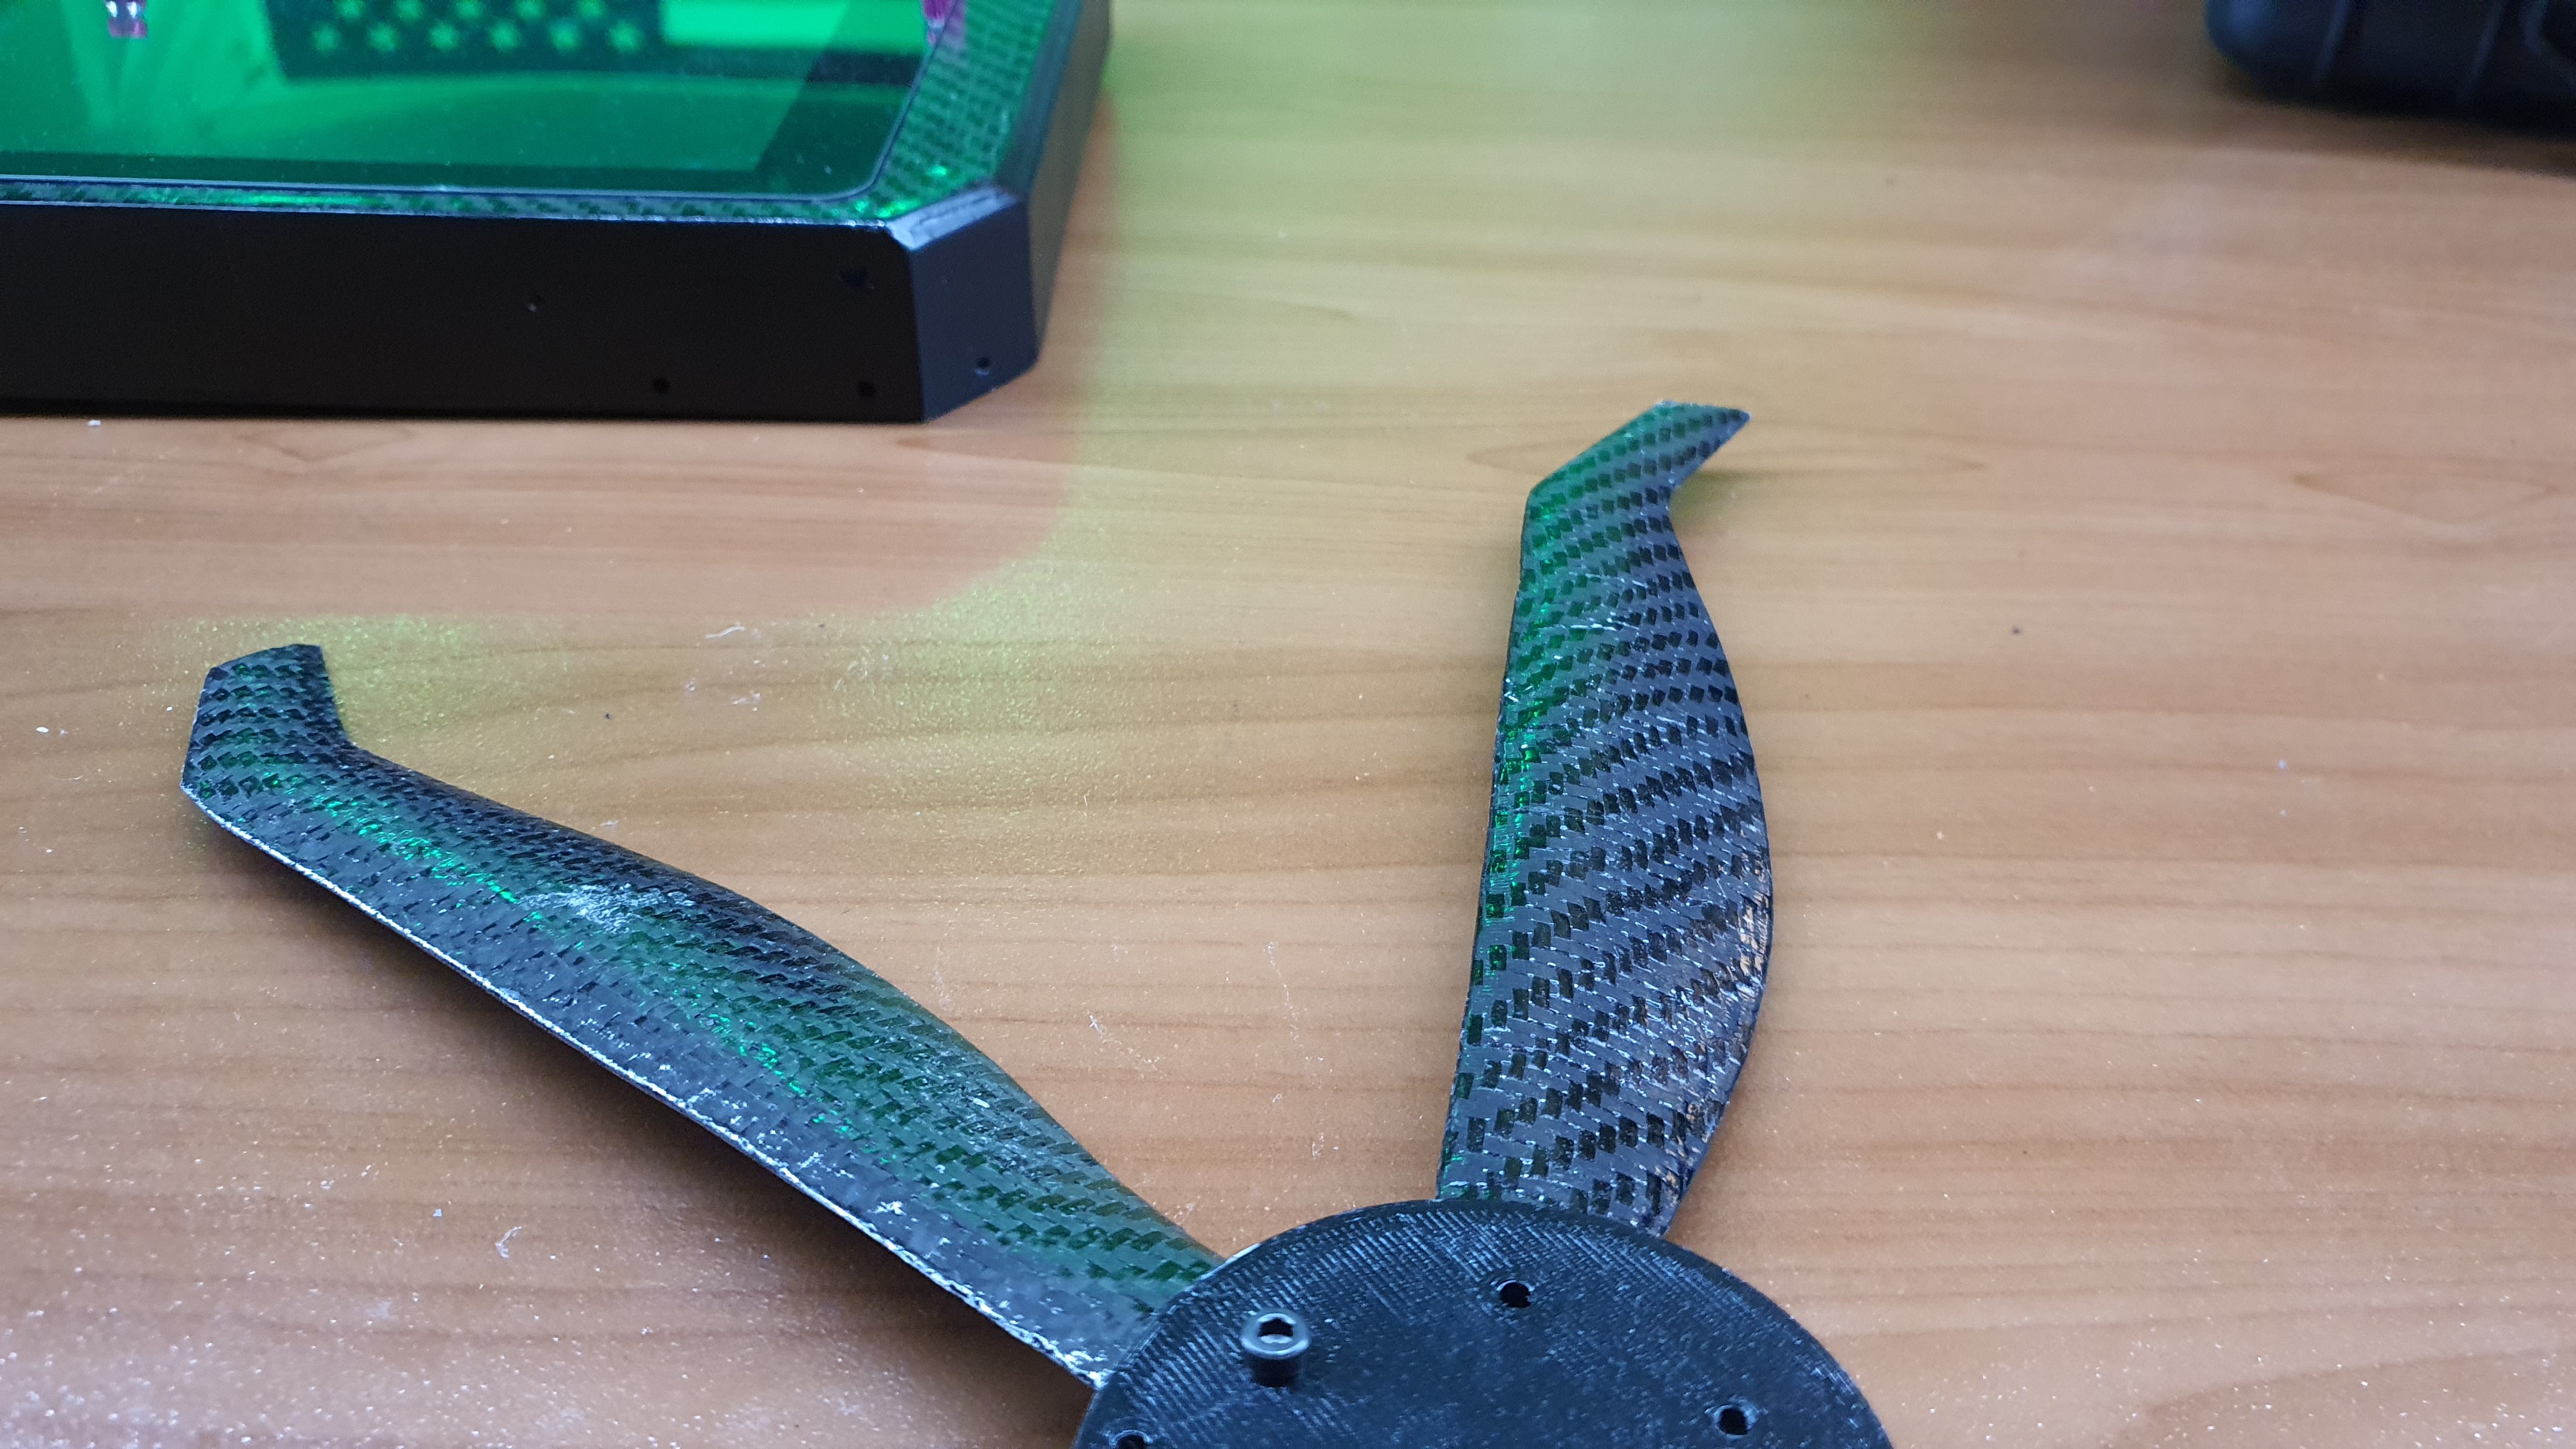
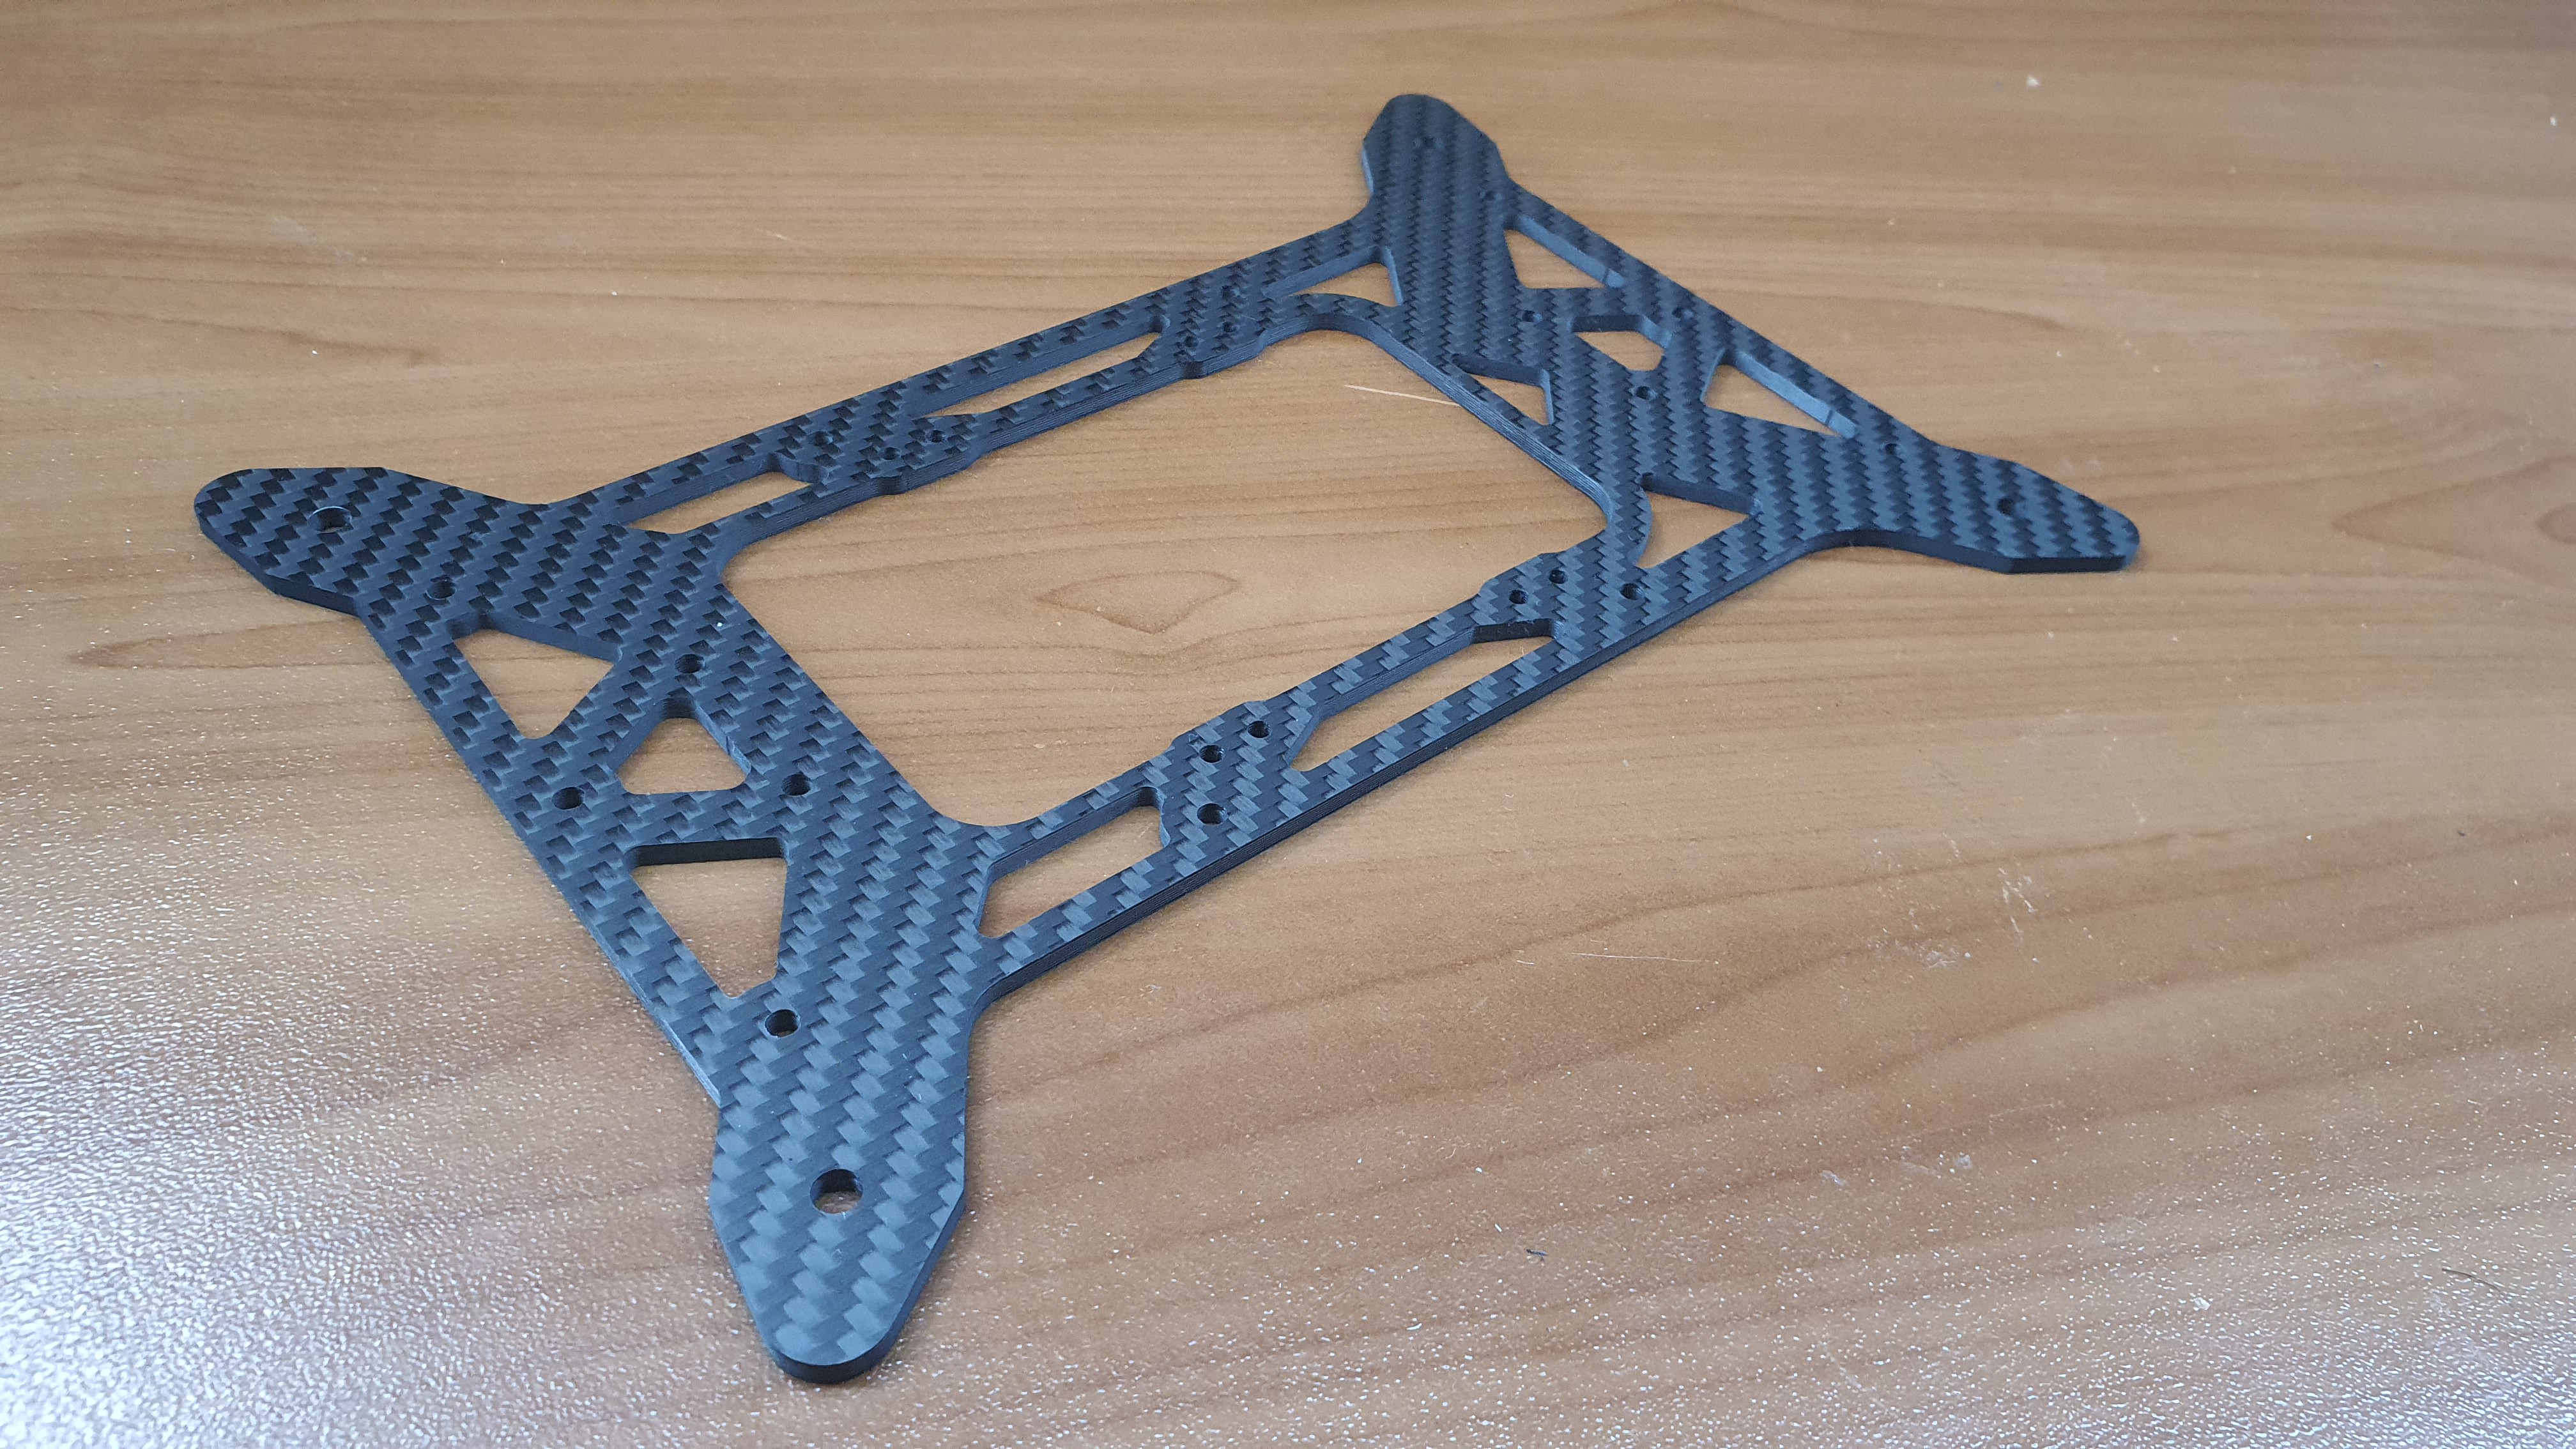
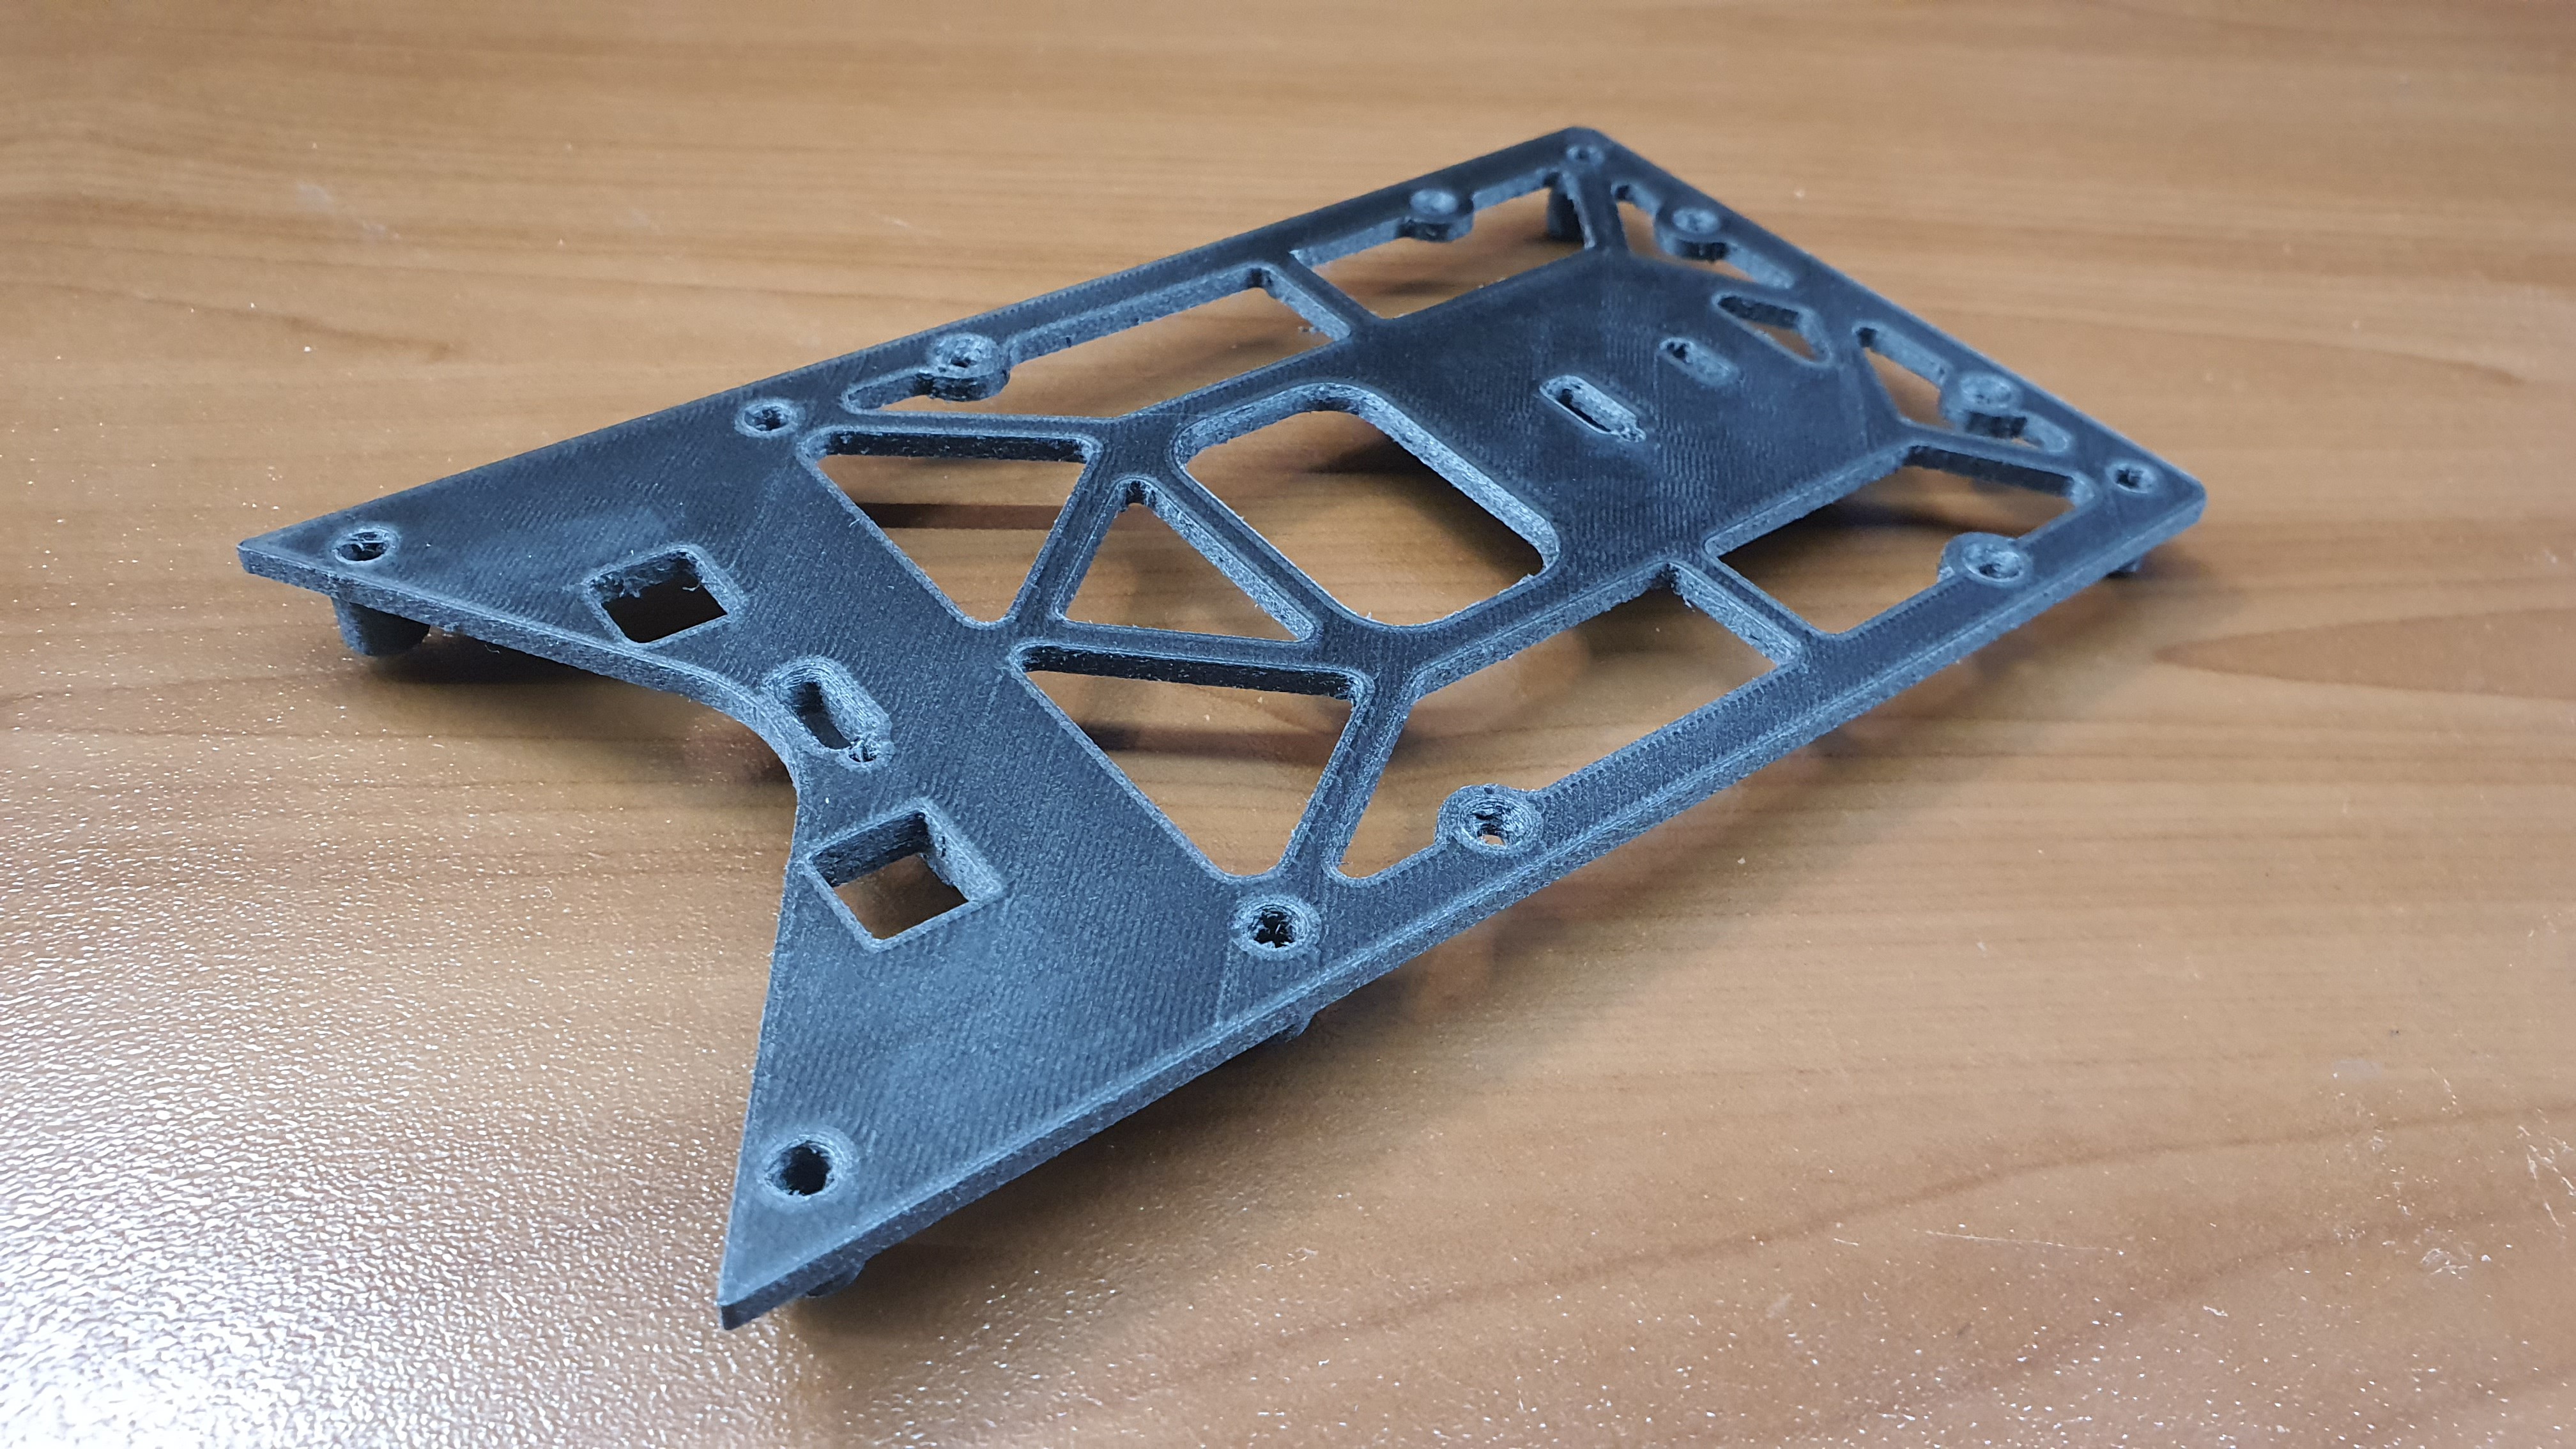
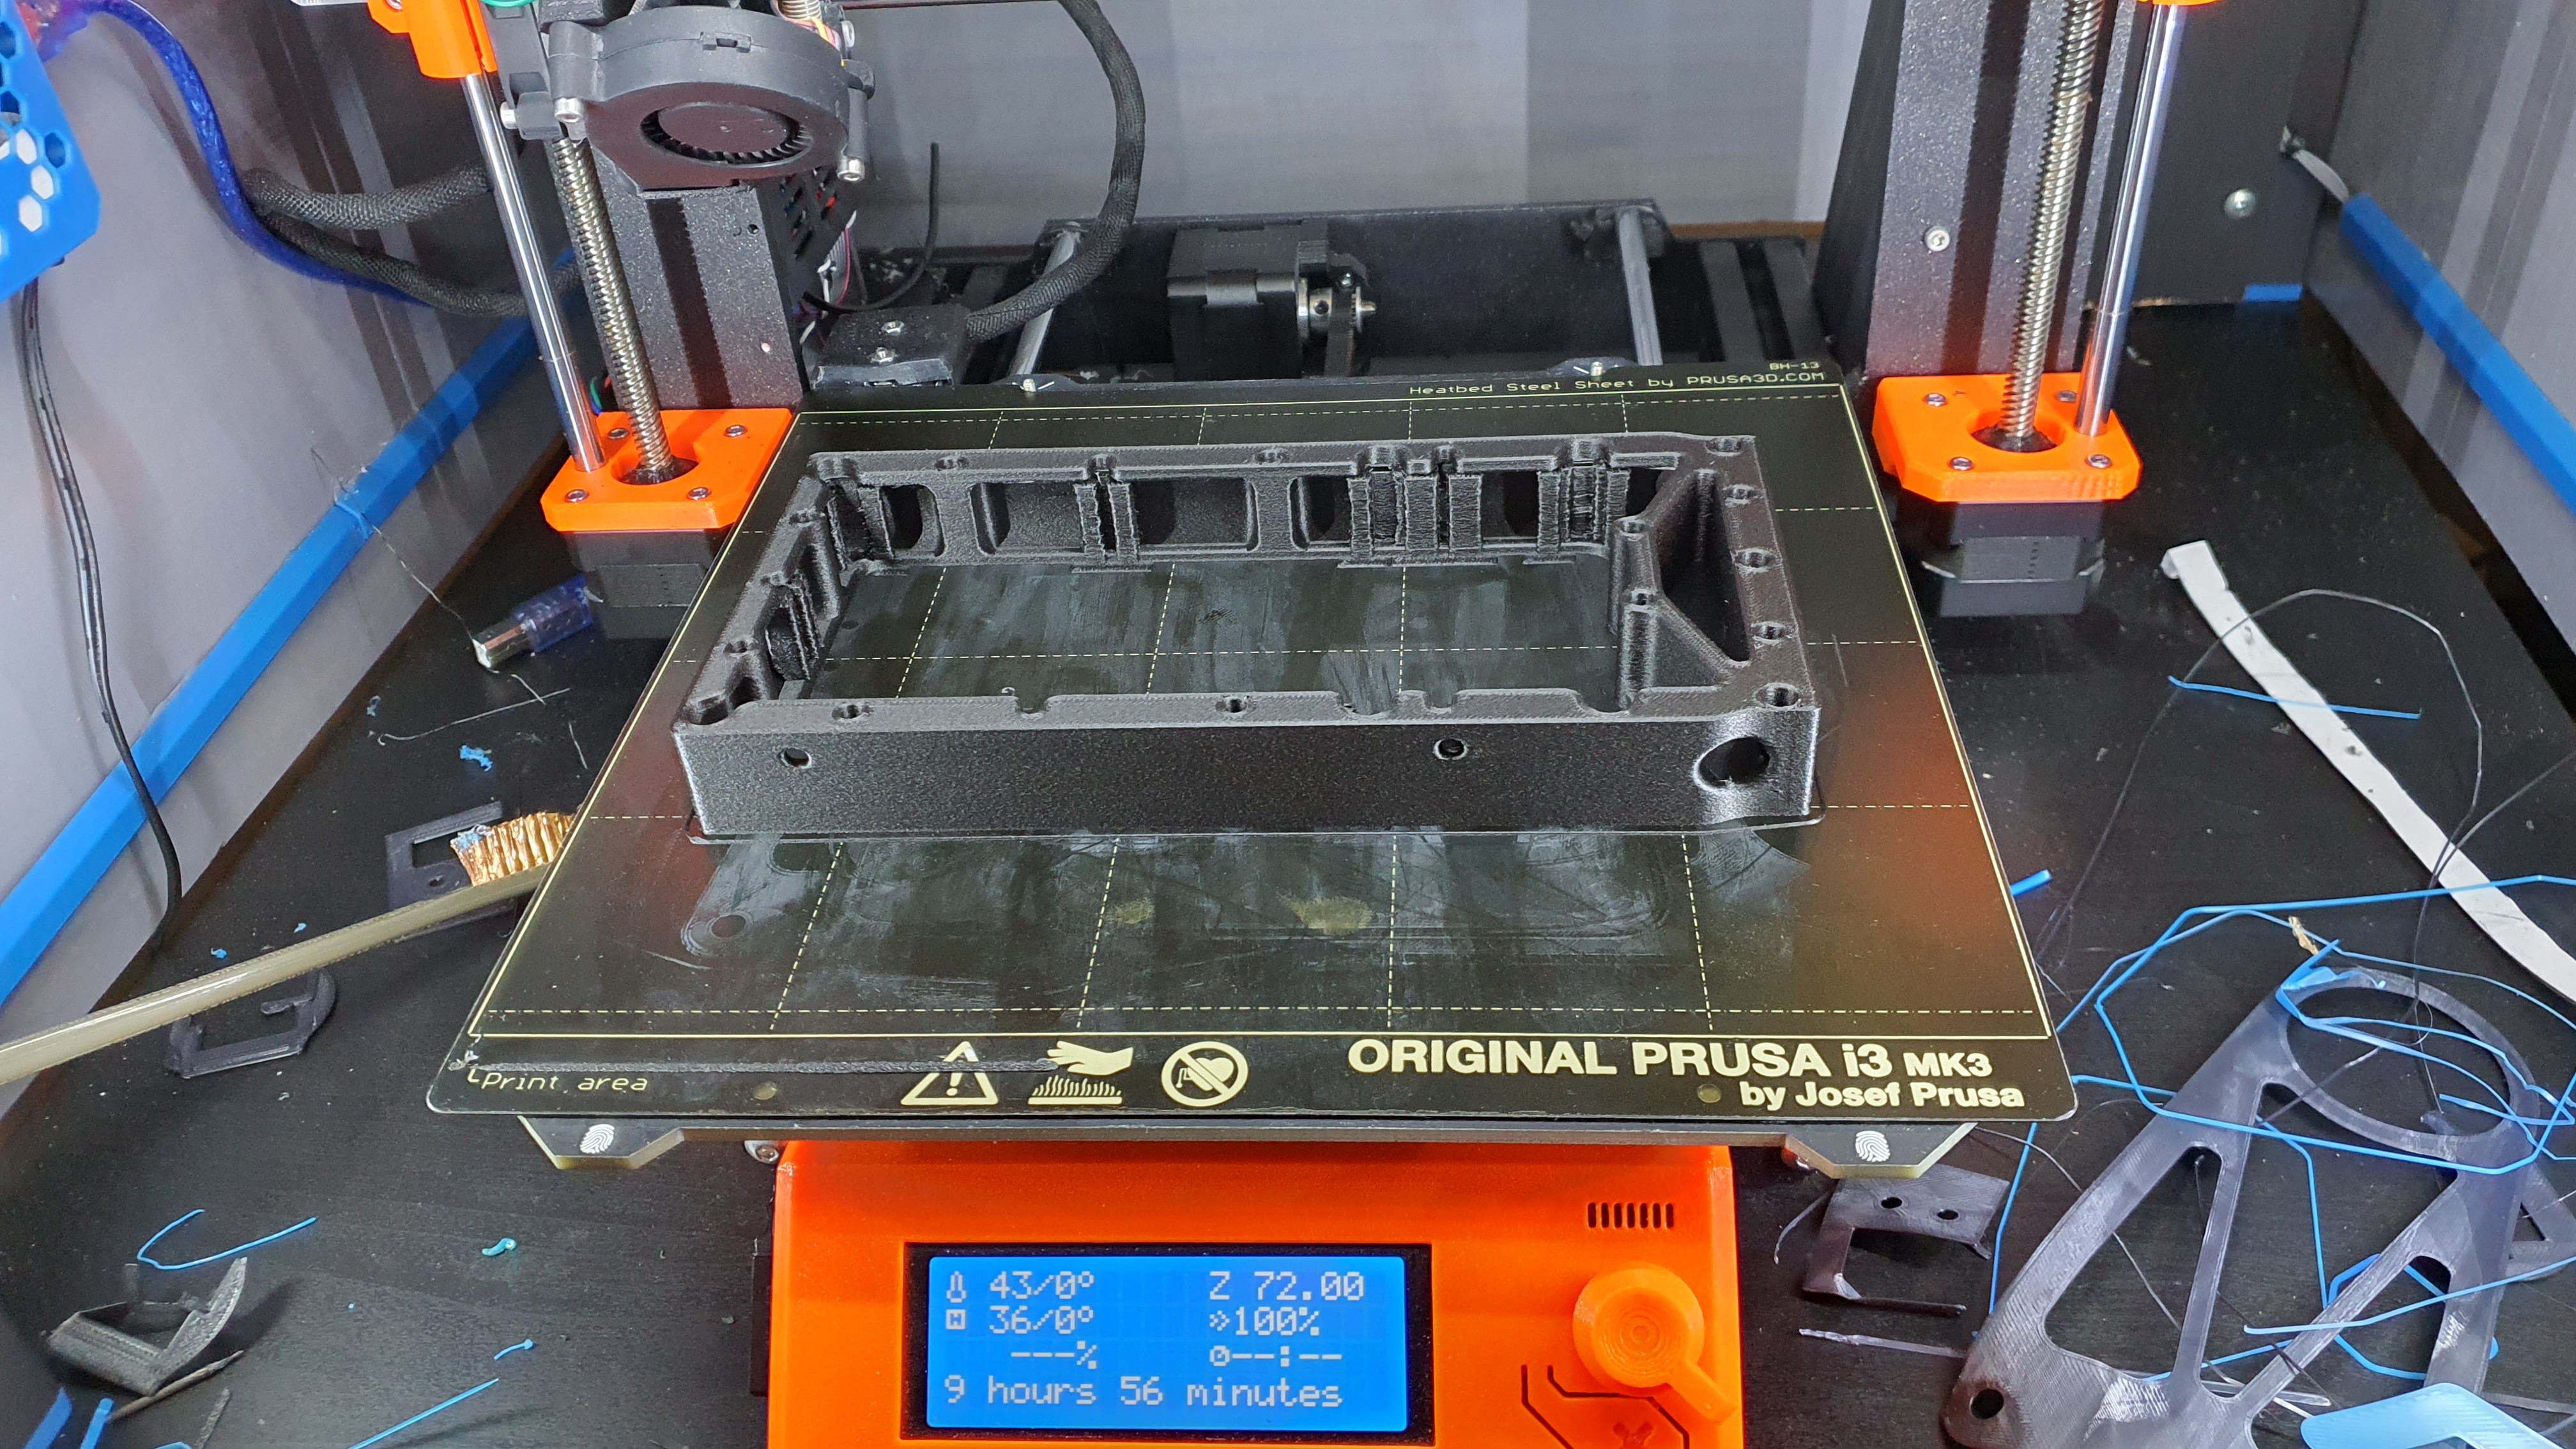
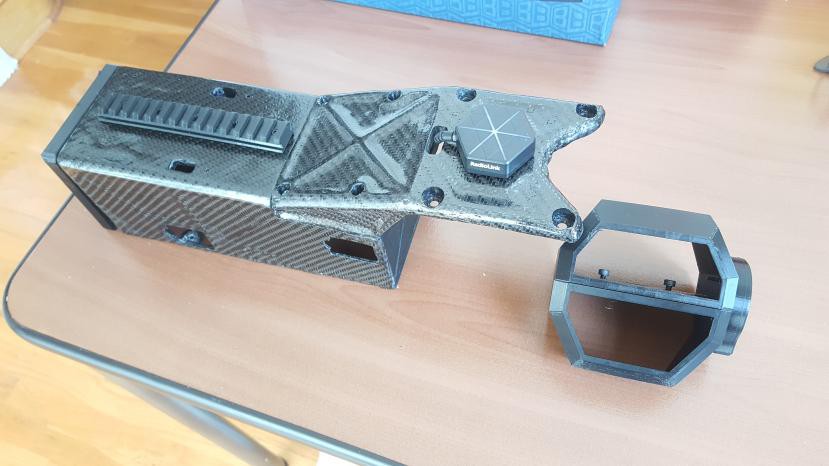
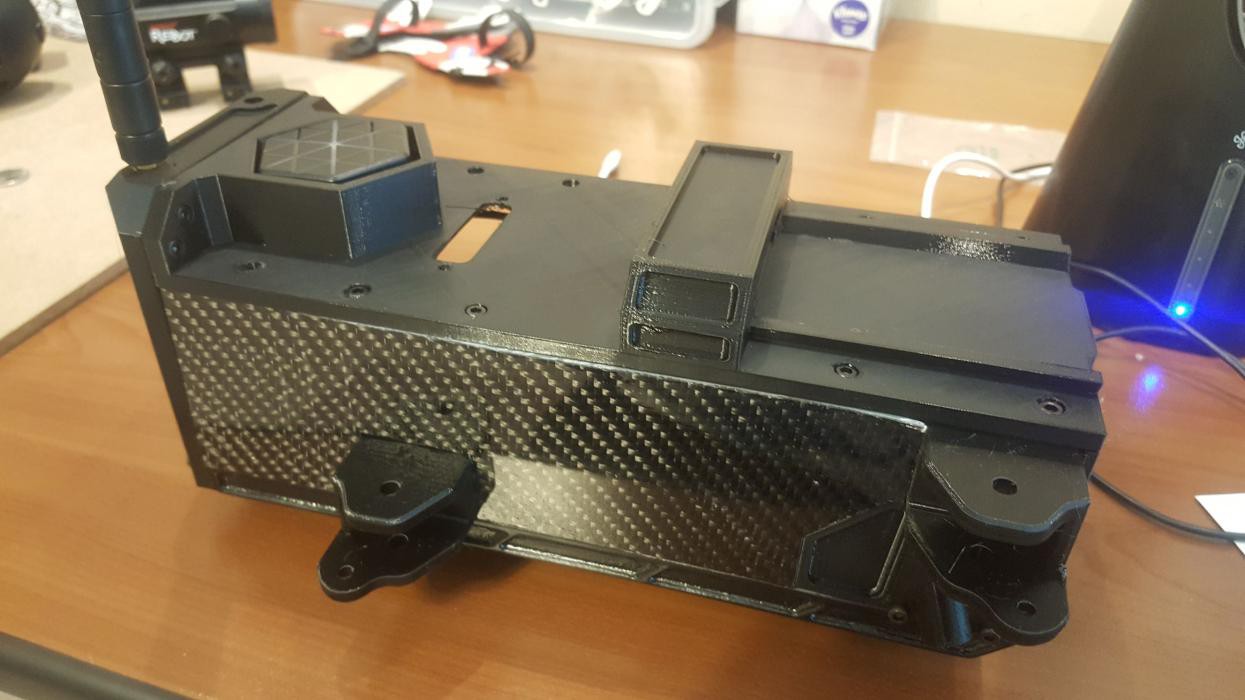
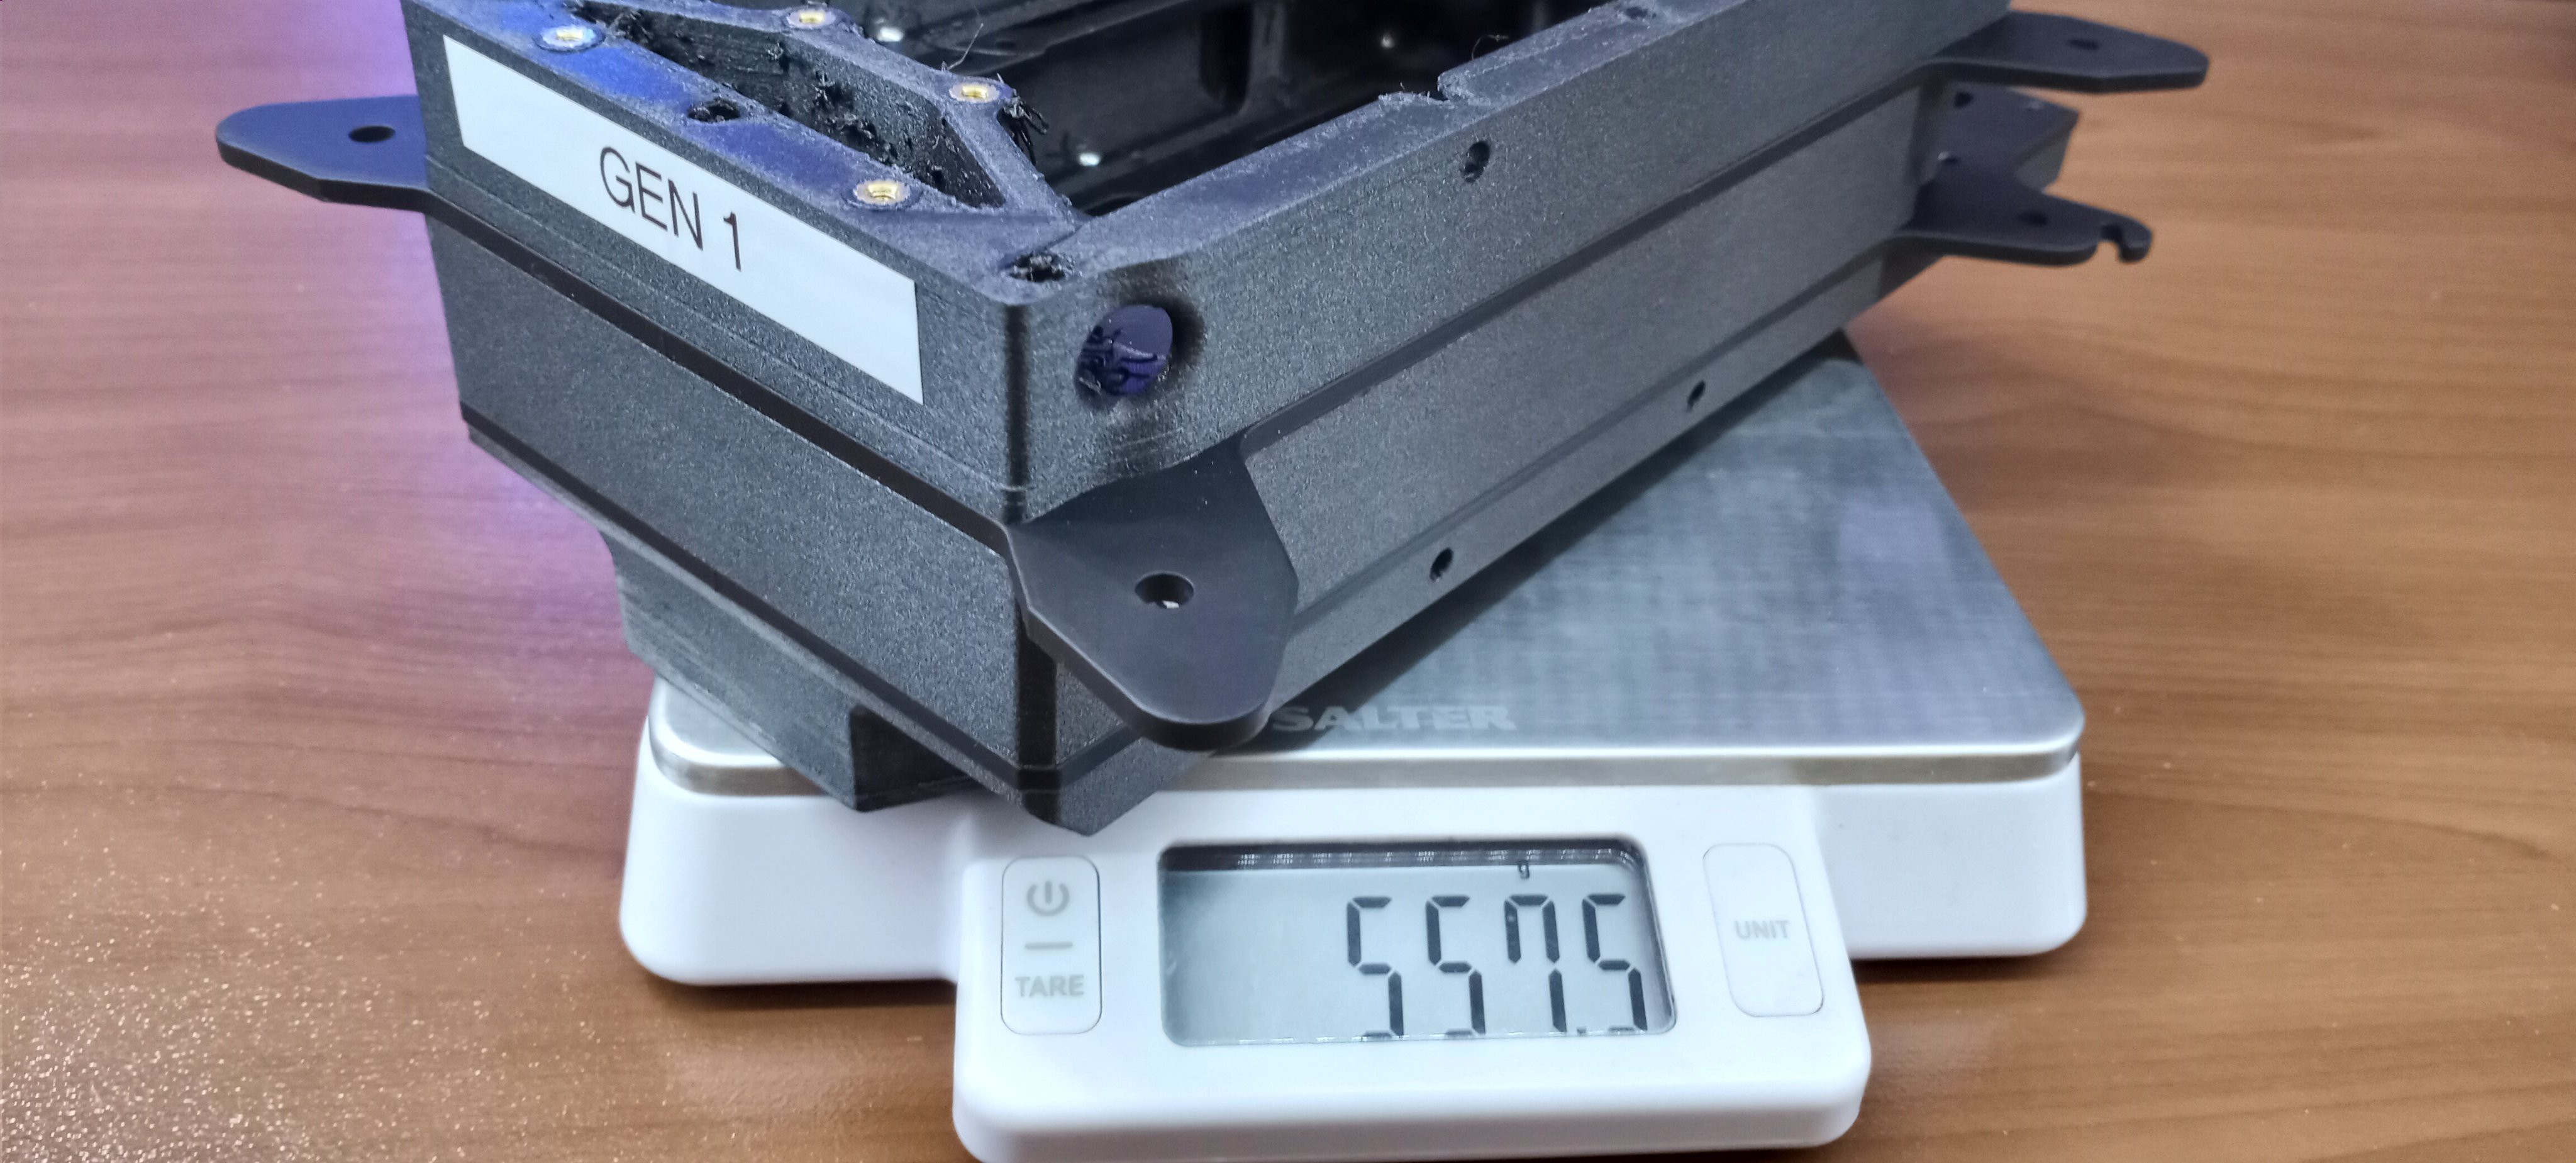
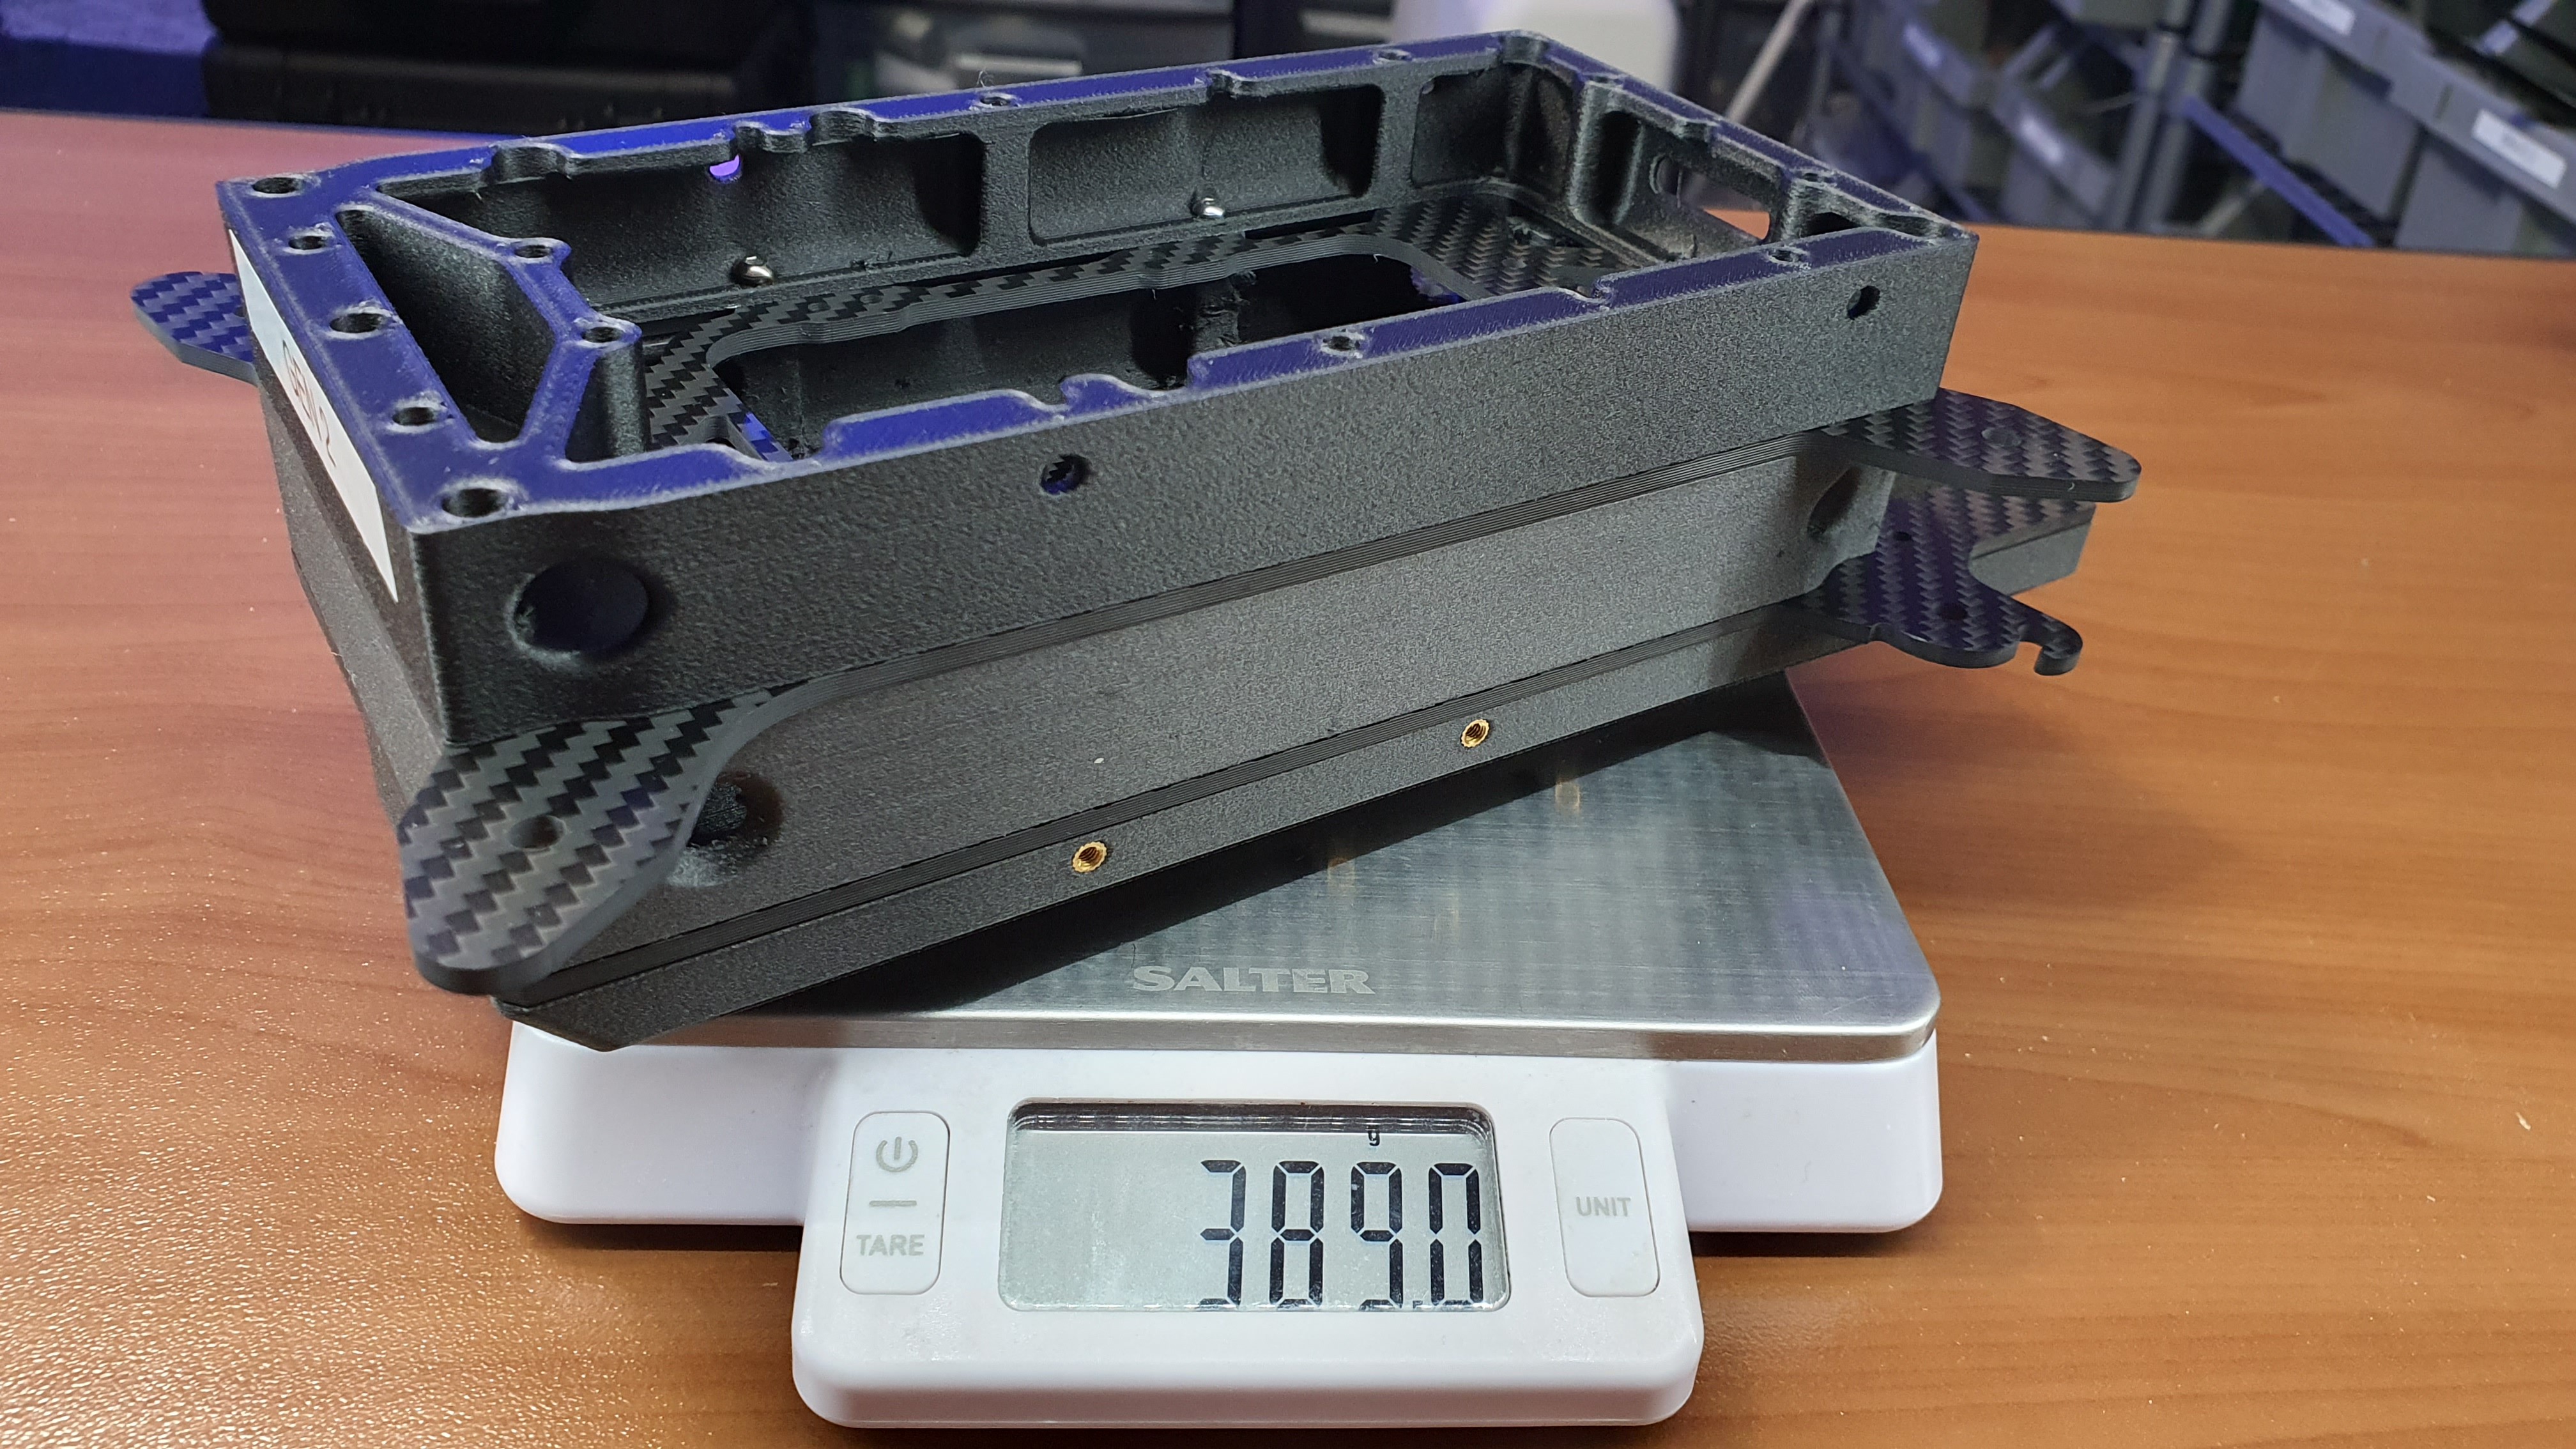
- 3D printed CF Polycarbonate/epoxy carbon fiber reinforced hybrid body
- Fully Modular, field-swappable...


 Dylan Radcliffe
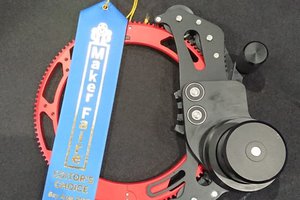
 Shushanik Khachaturian
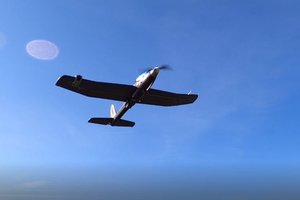
 Matej Gurnak
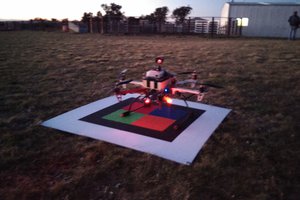
 Giovanni Durso
what is the Thermal camera. i am looking for a camera for my own project but i can only find the lepton 3.5 as a good option