 Matthew Pearce
A flexible, open platform to learn or develop 32-bit hardware or software using either a physical or FPGA solution.
The project uses a modular design to allow you to extend or move in different directions should you so wish. At it's heart is the core of a Multicomp system from Grant Searle.
IDE:
- New GCC version of EHBasic with FAT32 and GPU extensions.
- Compiles using standard m68k toolchain.
- Requires Merlin Newlib and Bios.
- [Easy68K] (http://www.easy68k.com/moreinfo.htm)
- GCC M68K (https://github.com/mattuna15/merlin-68k-toolchain)
- Full working C/C++ environment (including Newlib)
- Assembler support with Vasm
VHDL:
https://github.com/mattuna15/zed-68k/tree/arty-gd
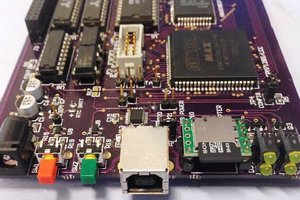
Hardware:
- FPGA 68010 CPU (tg68k)
- VGA/HDMI - Gameduino 3X Dazzler
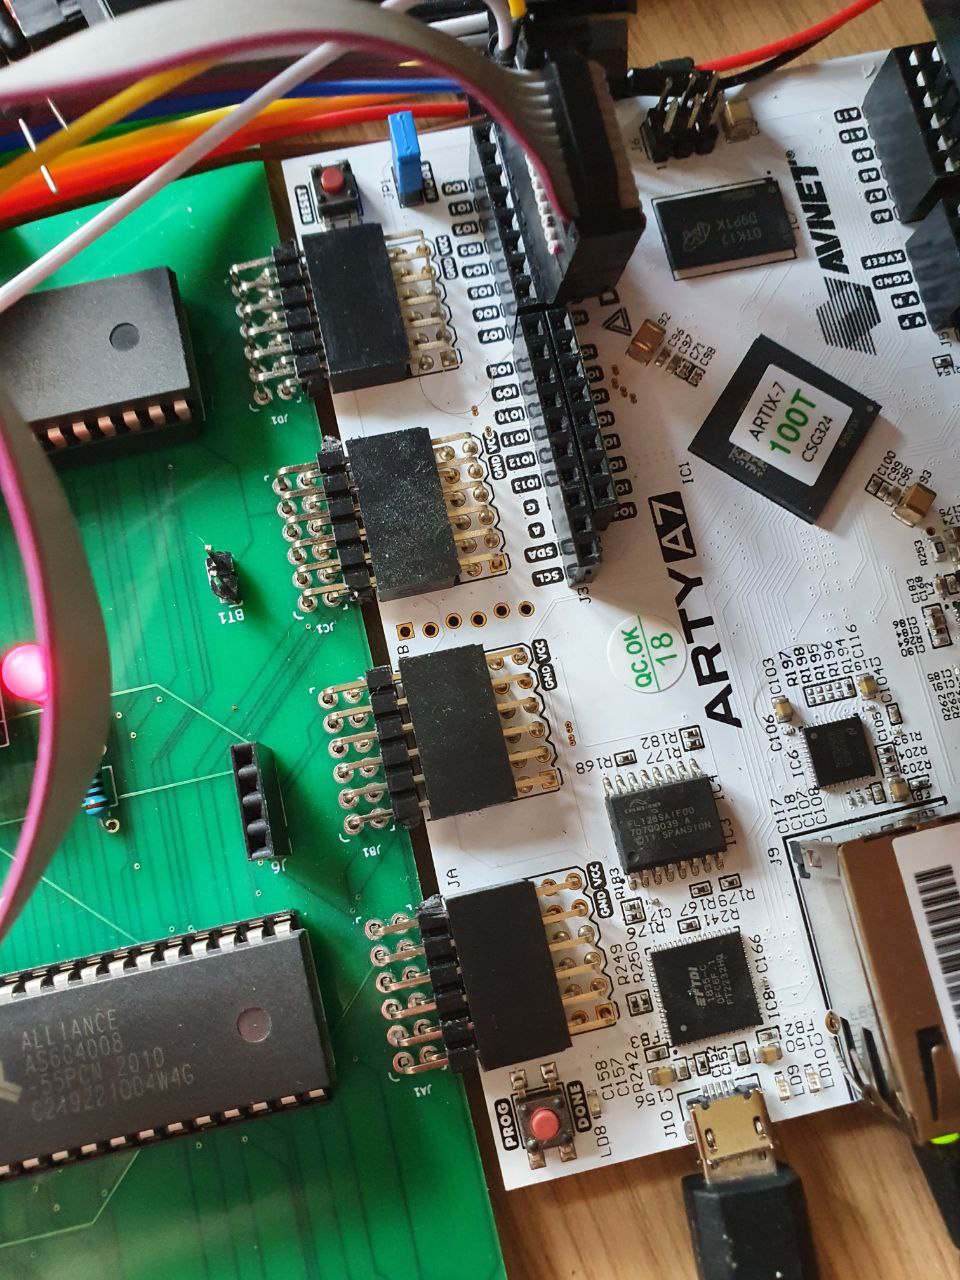
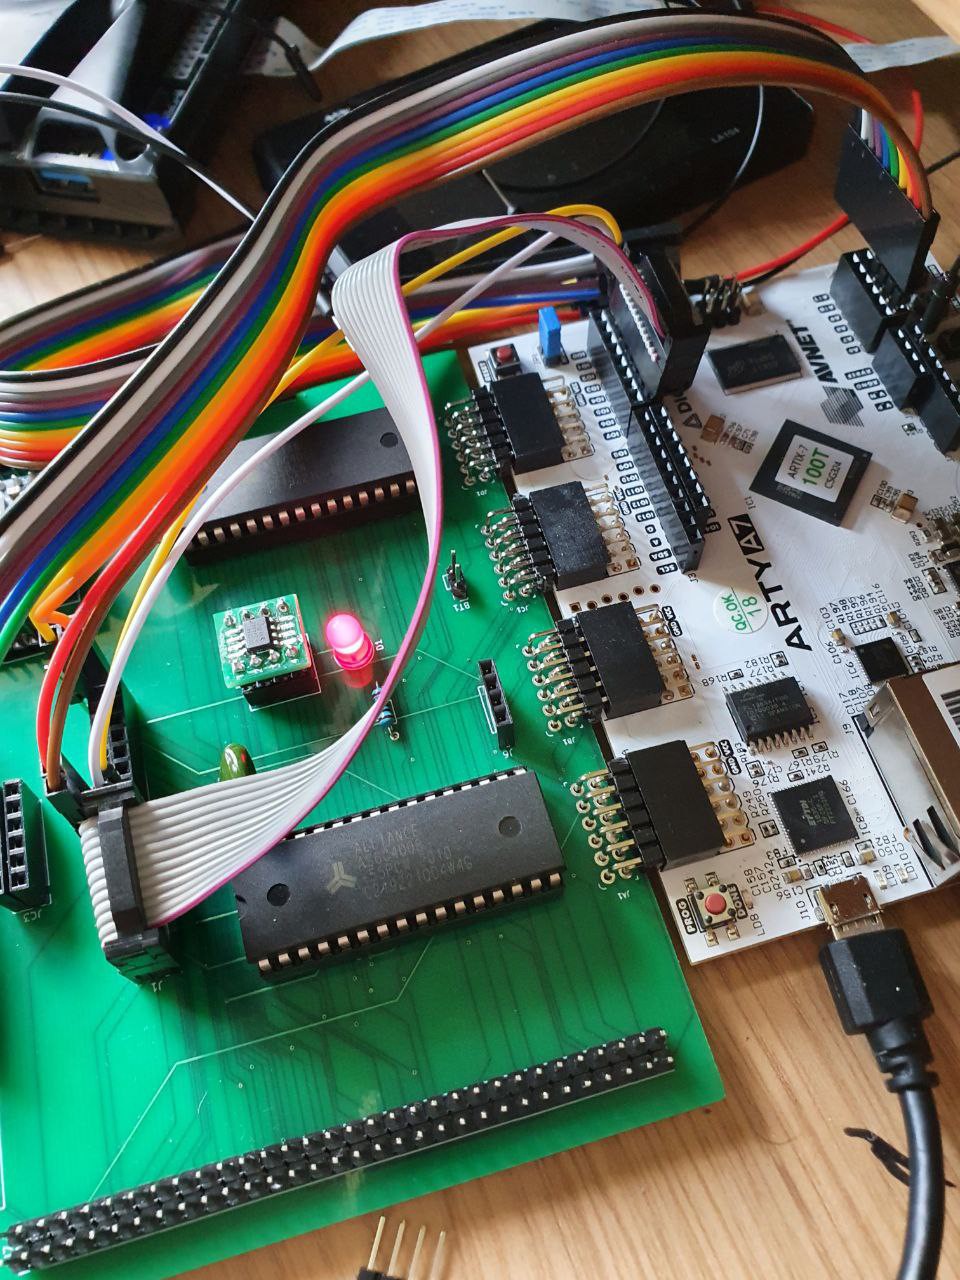
- Board - ARTY A7-100 or 35T
- Sound - Twin OPL3 chips (FM) and/or Gameduino PCM
- RTC
- PS2 Keyboard & Mouse
- Optional MCU based USB host
- Wii Controllers
Storage:
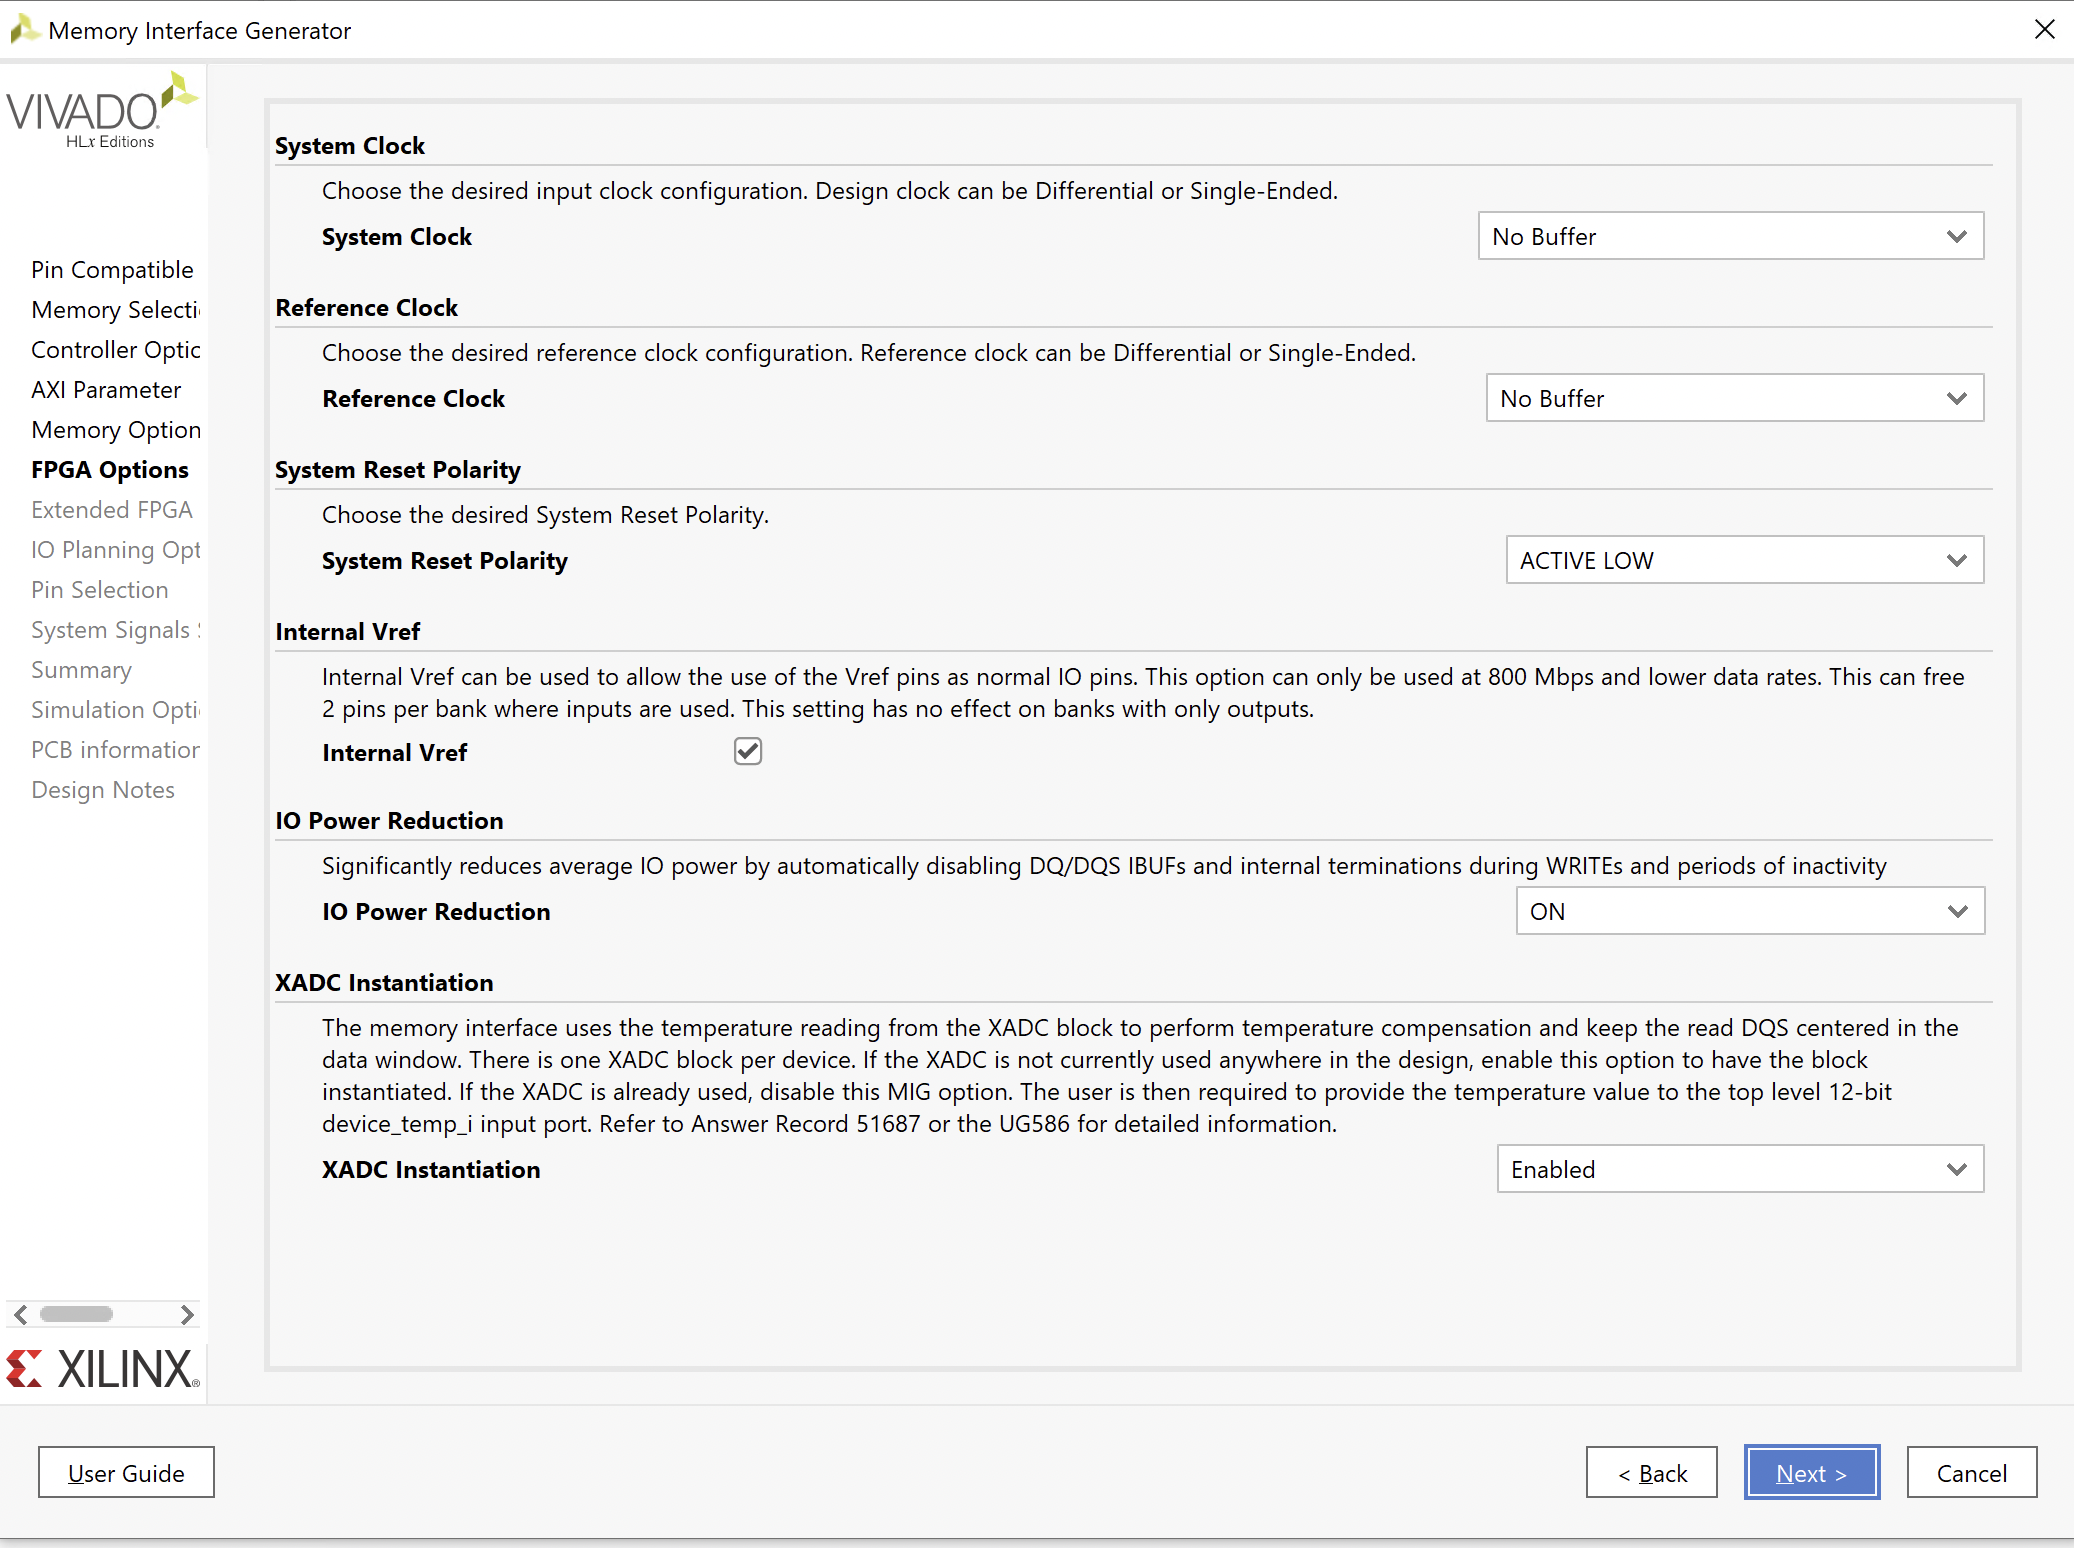
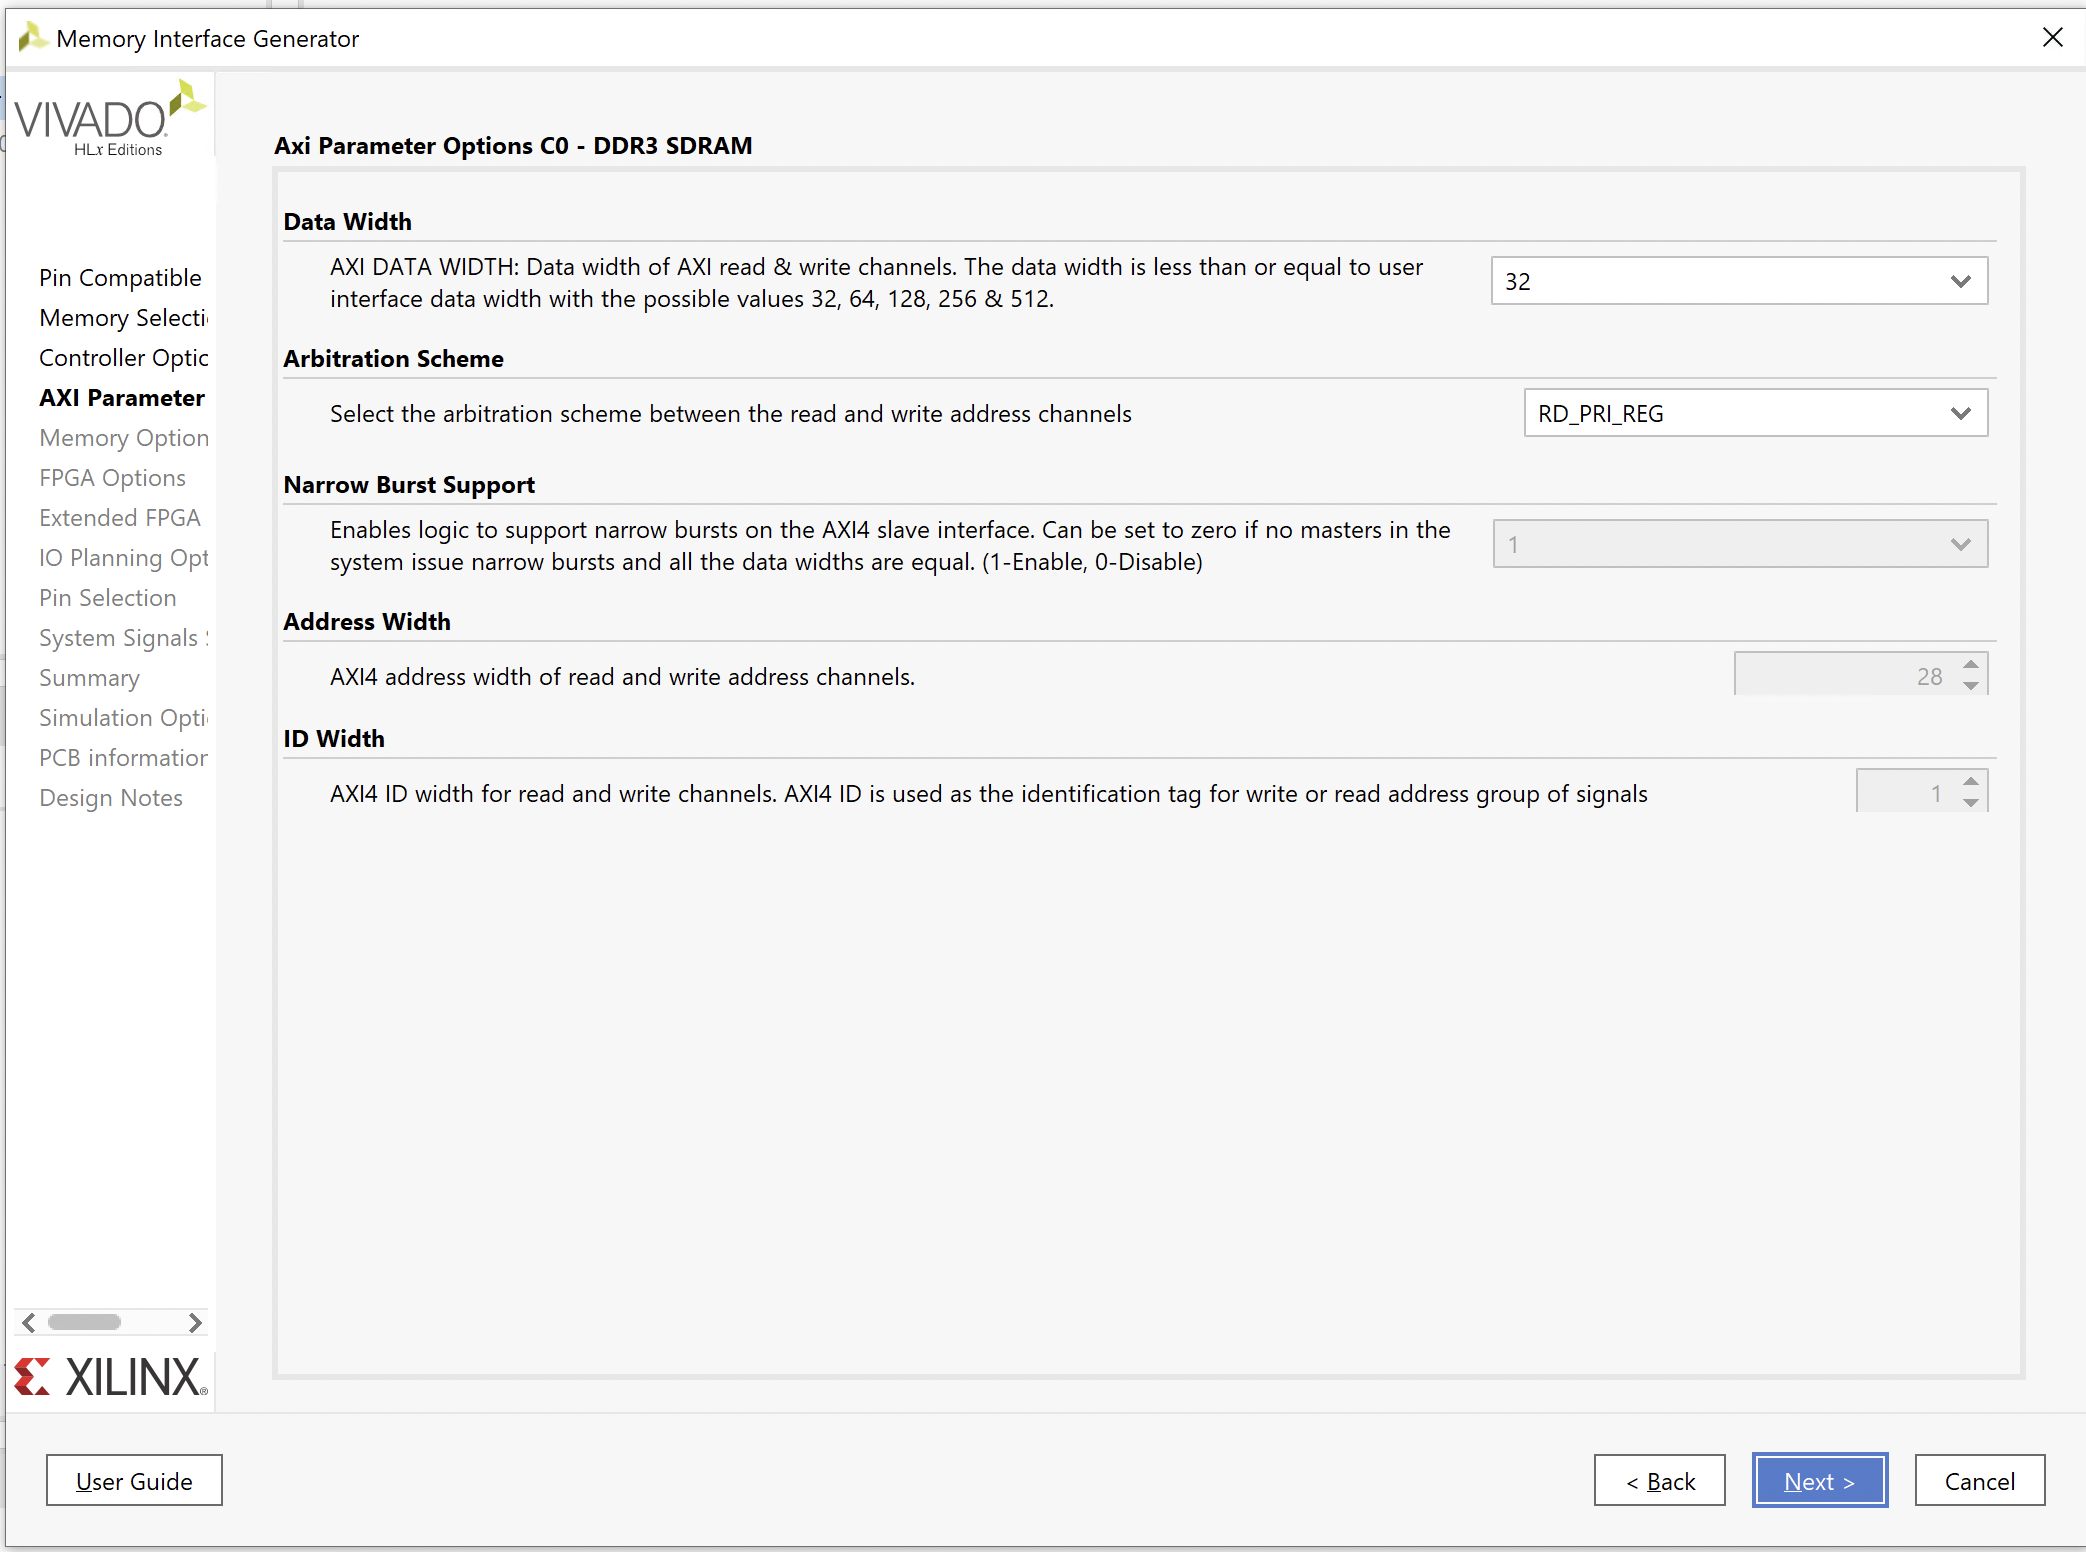
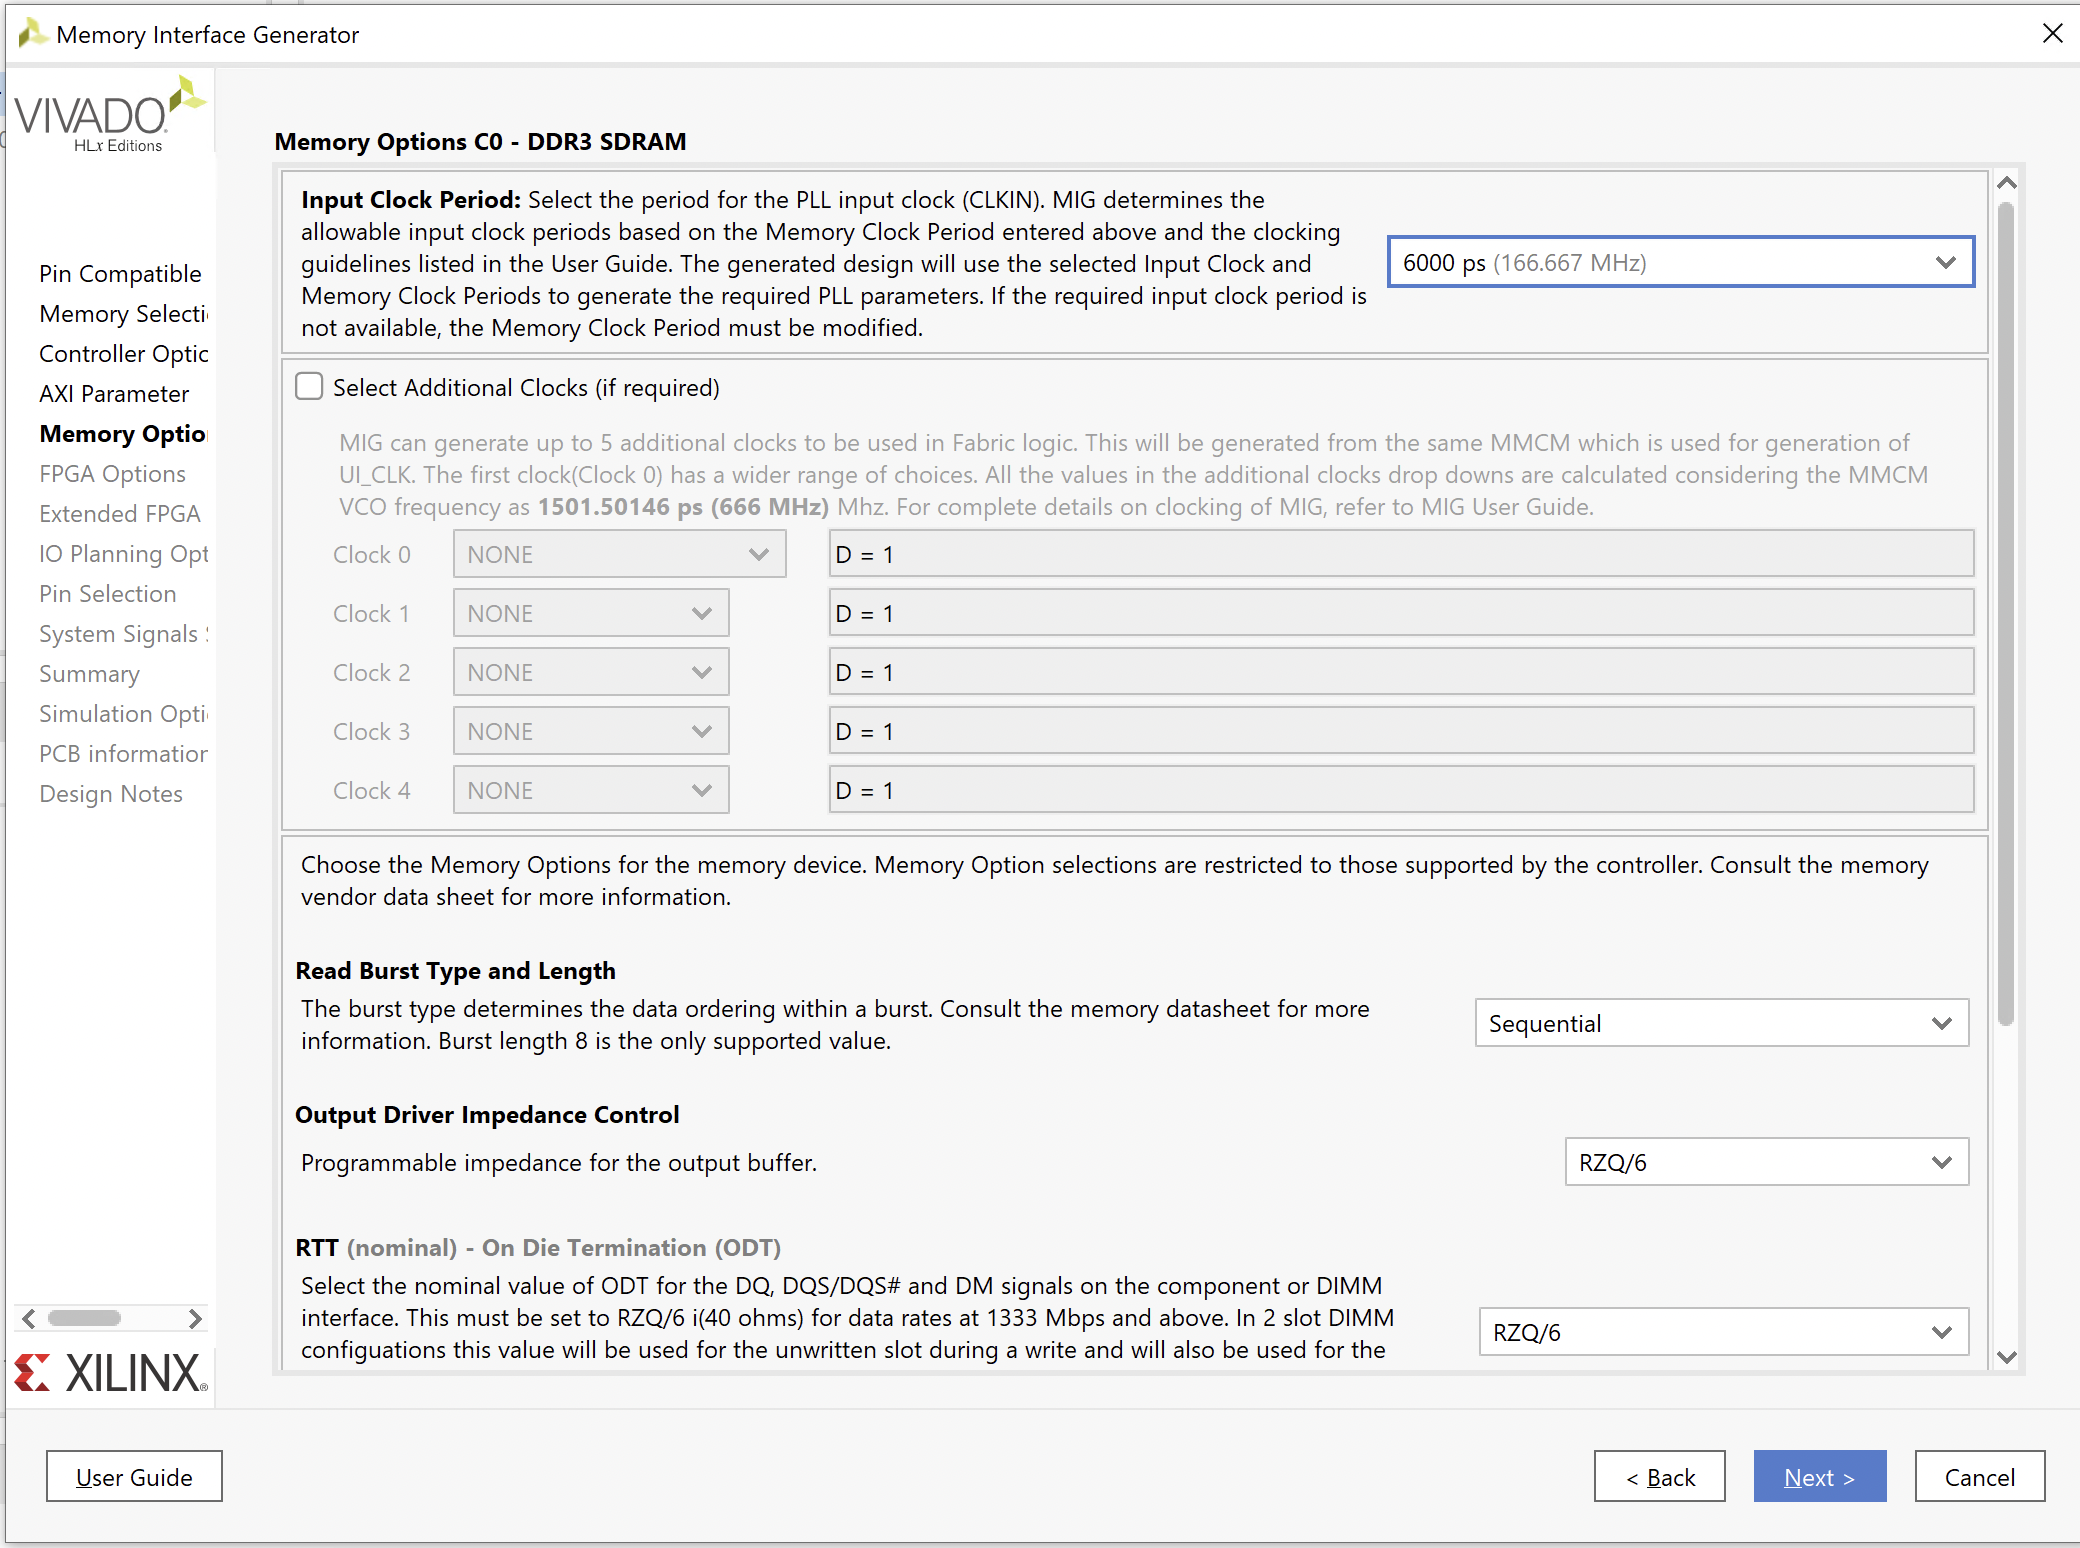
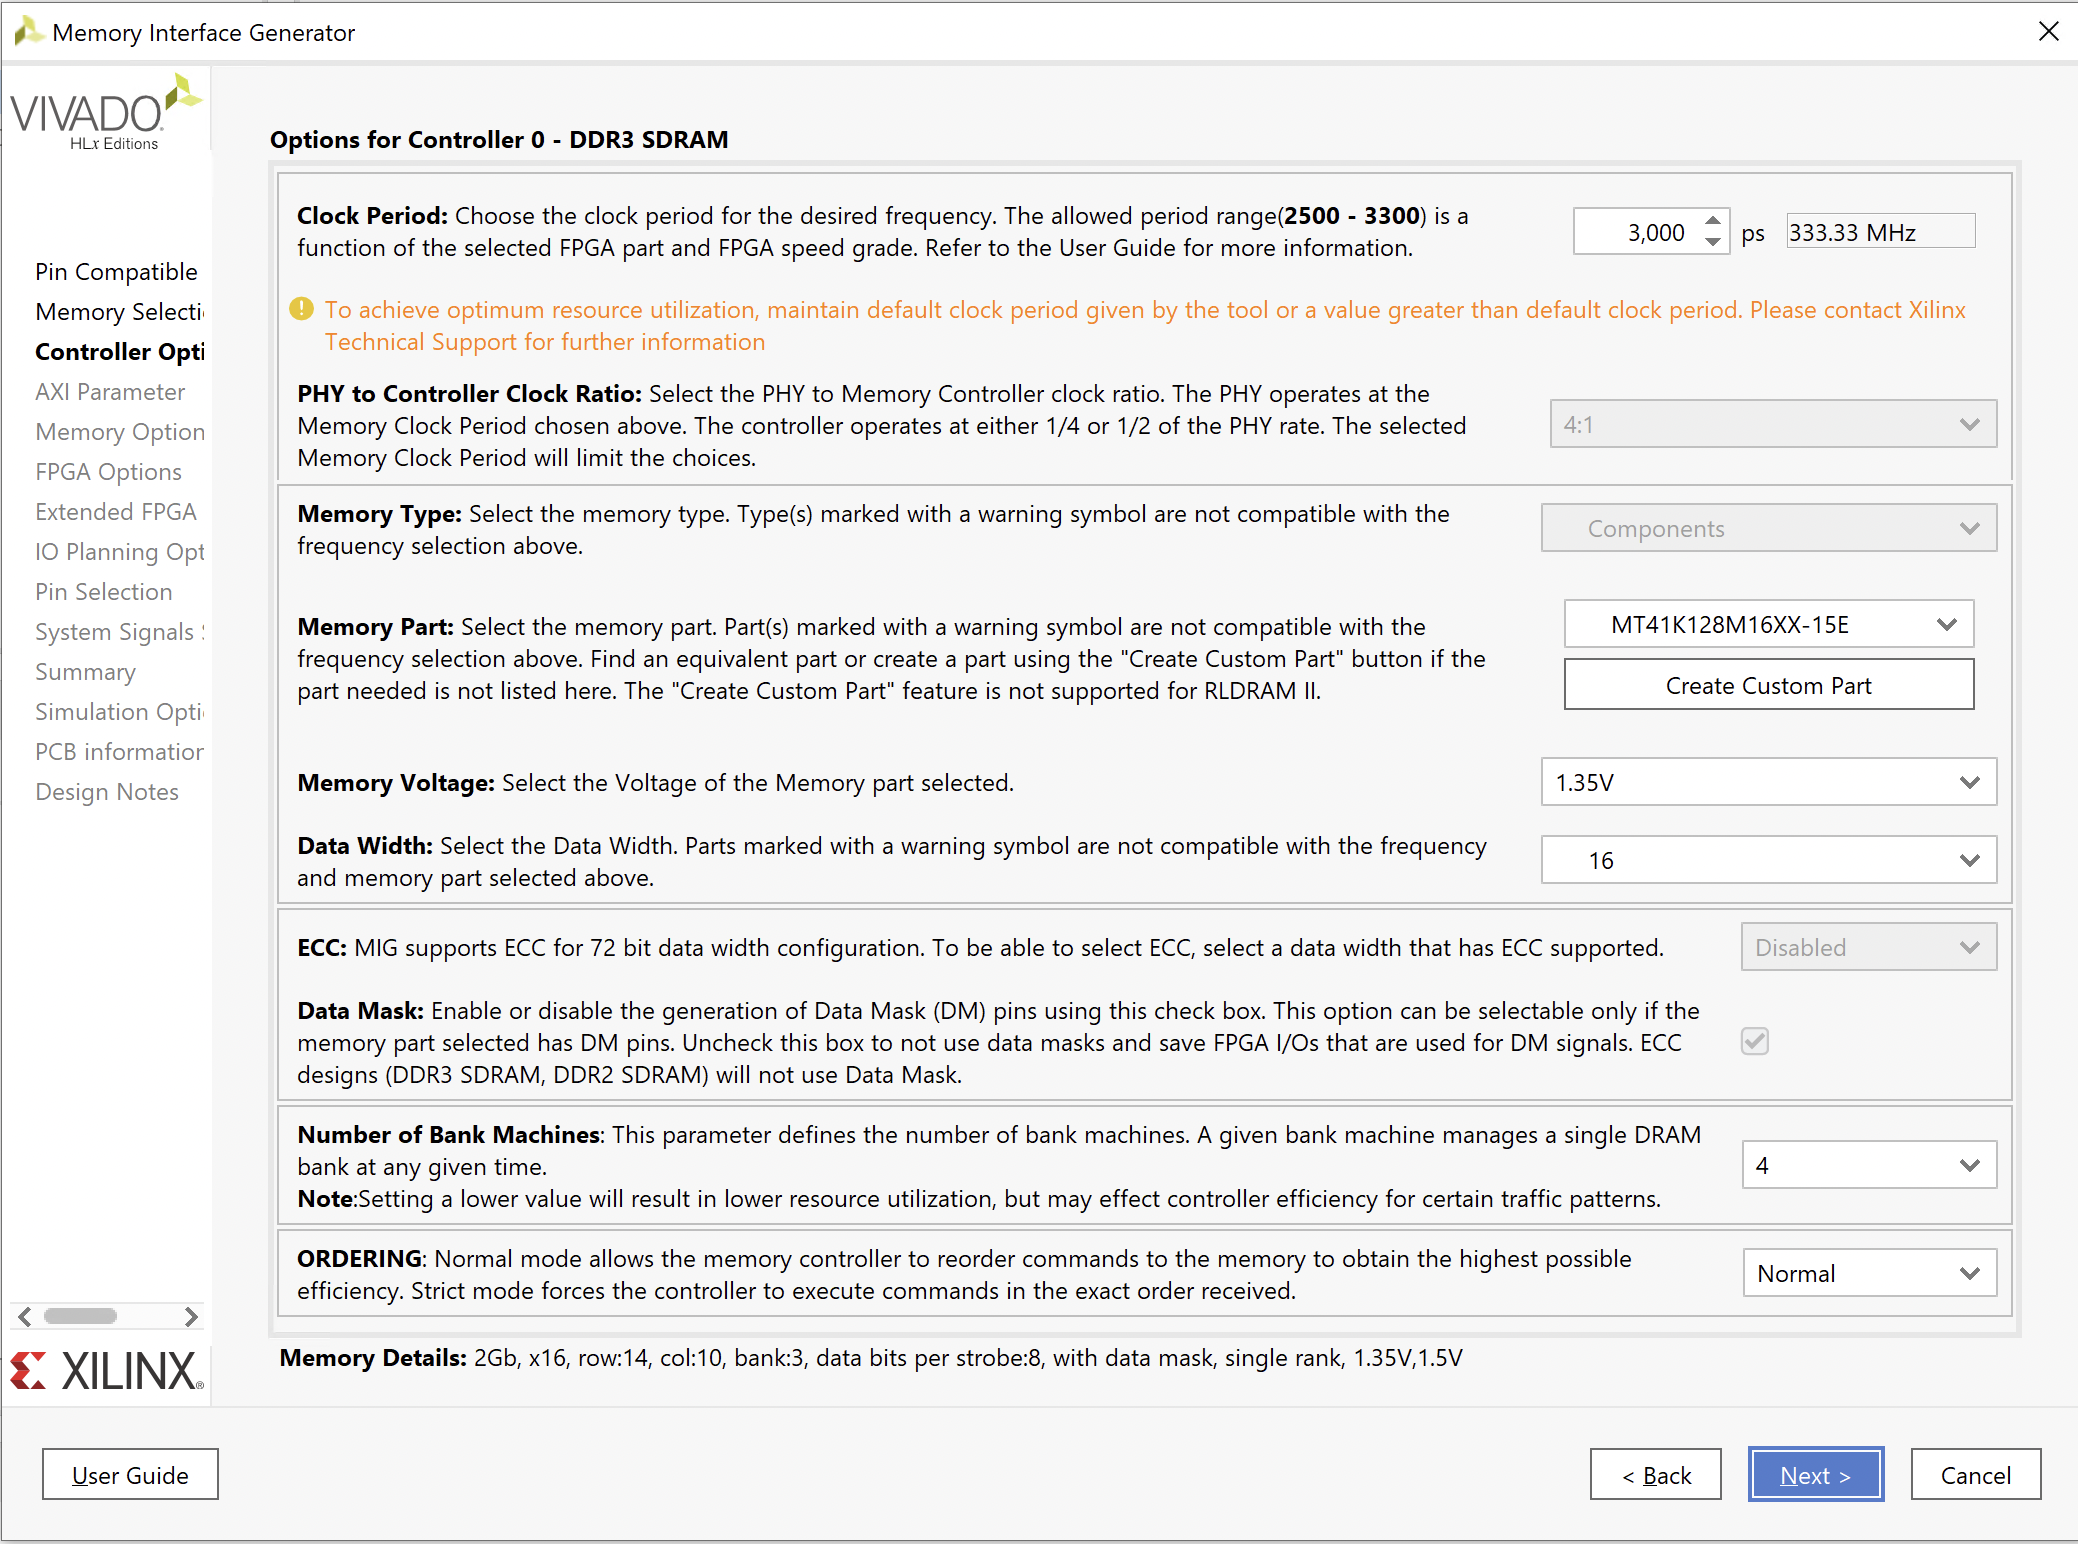
- DDR3 Ram support with L2 cache
- FAT32 SDHC Card support with C Fat Library
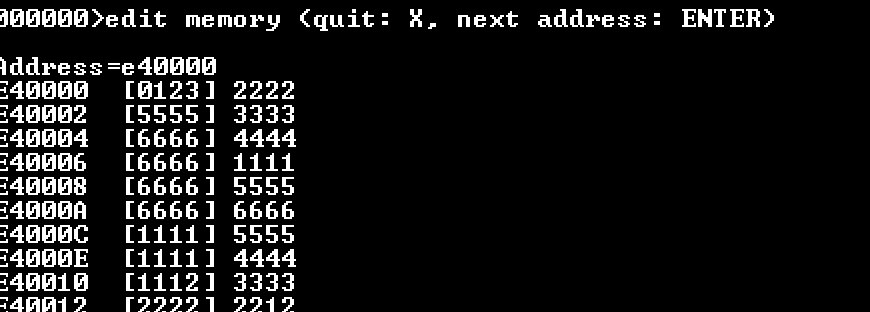
- TELNET Server with support for S-Record upload via Monitor rom
- 2x 256k SPI FRAM-NVRAM for firmware/permanent storage


 Colin Maykish
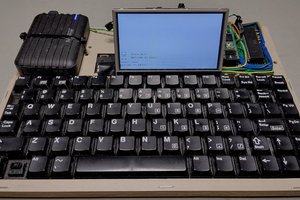
 tomcircuit
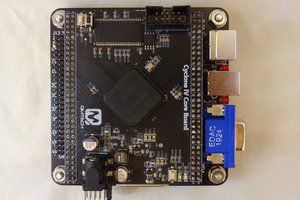
 land-boards.com