 Alain Mauer
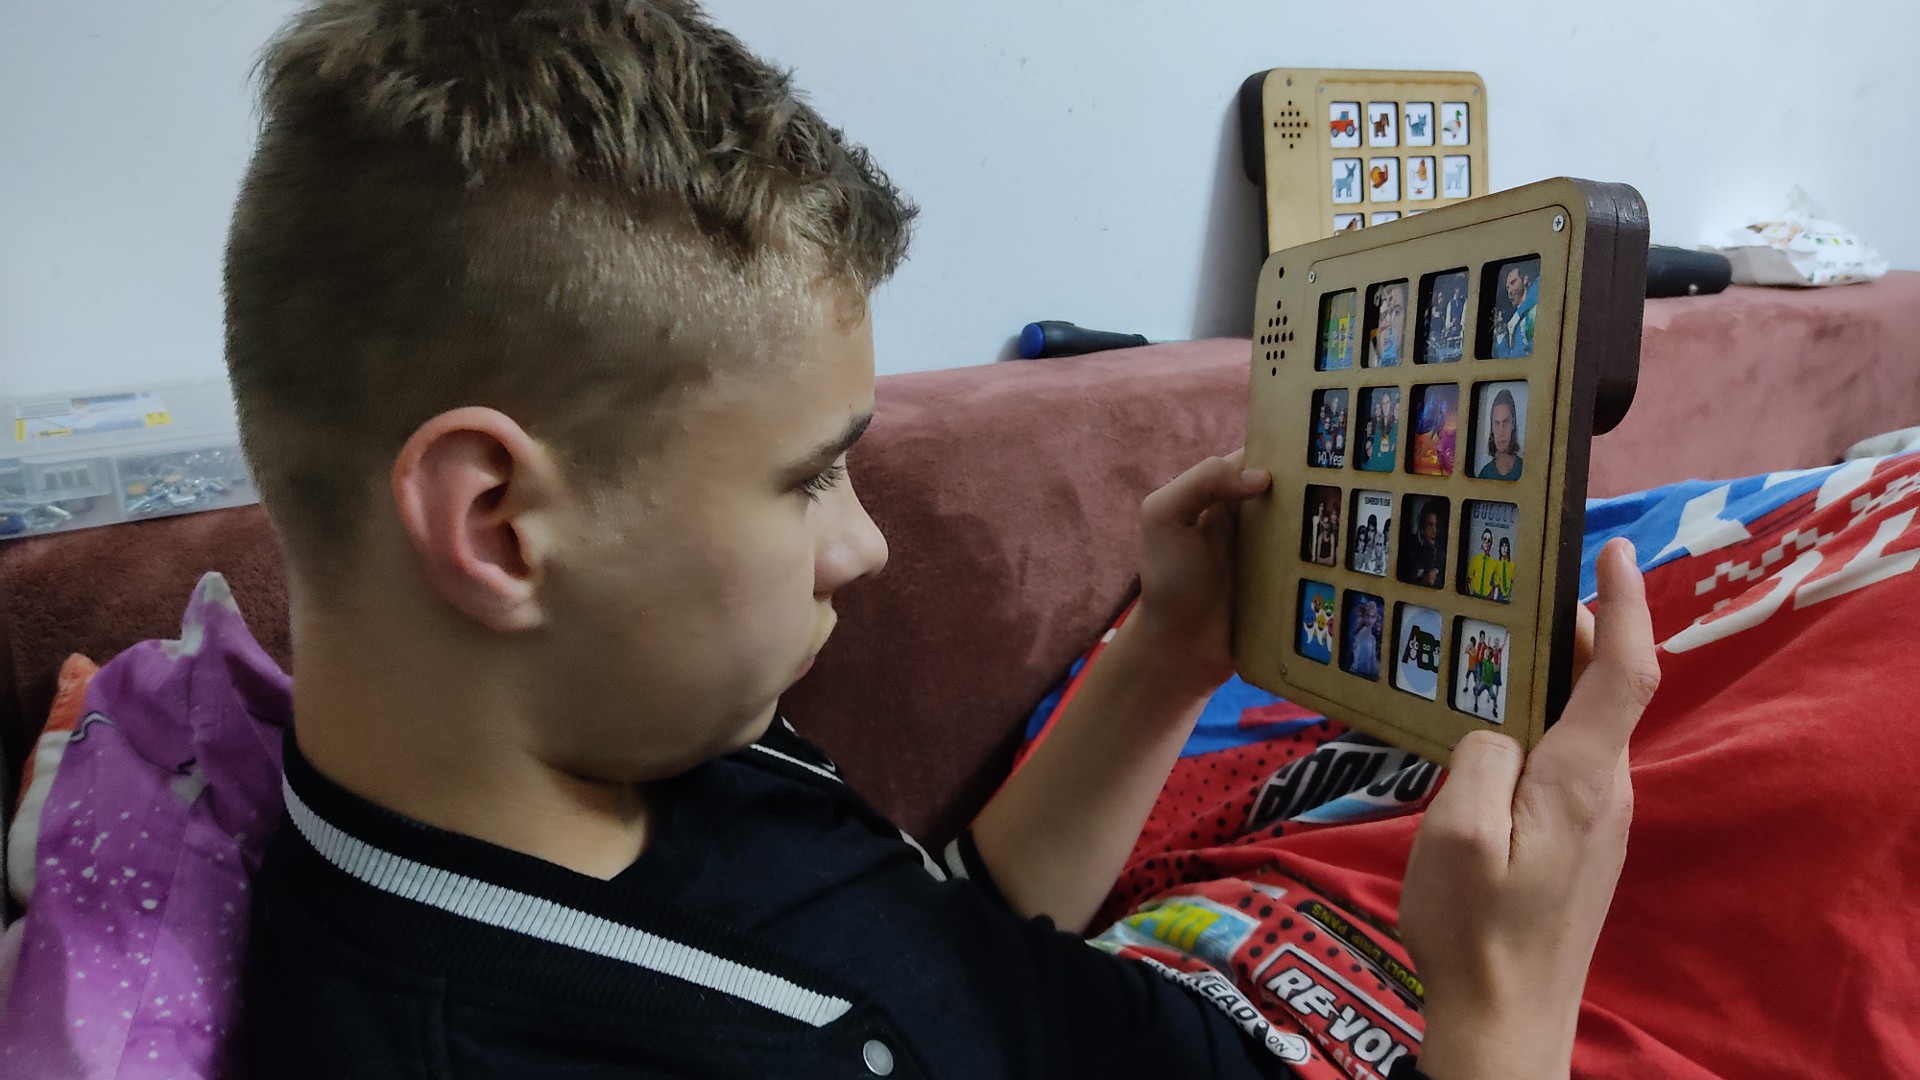
Here is a video showing Scott using the Pecs board.
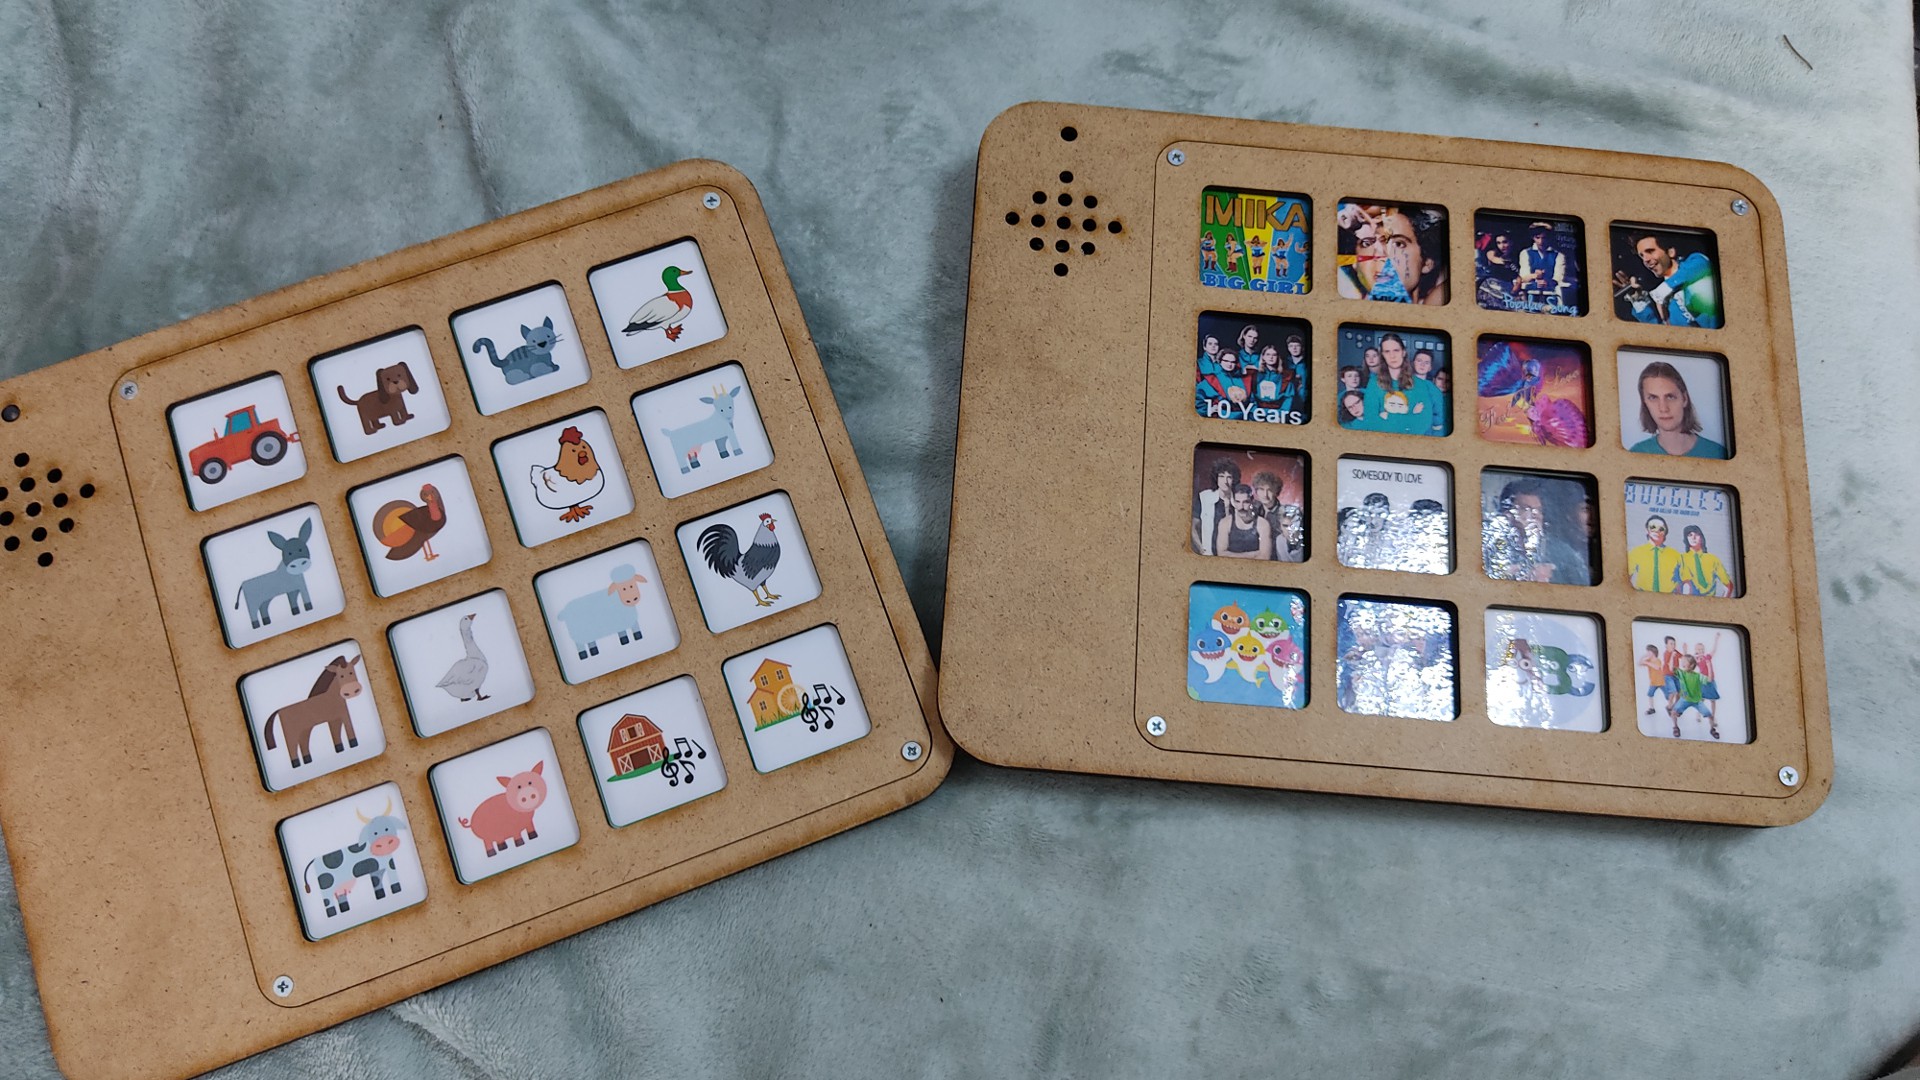
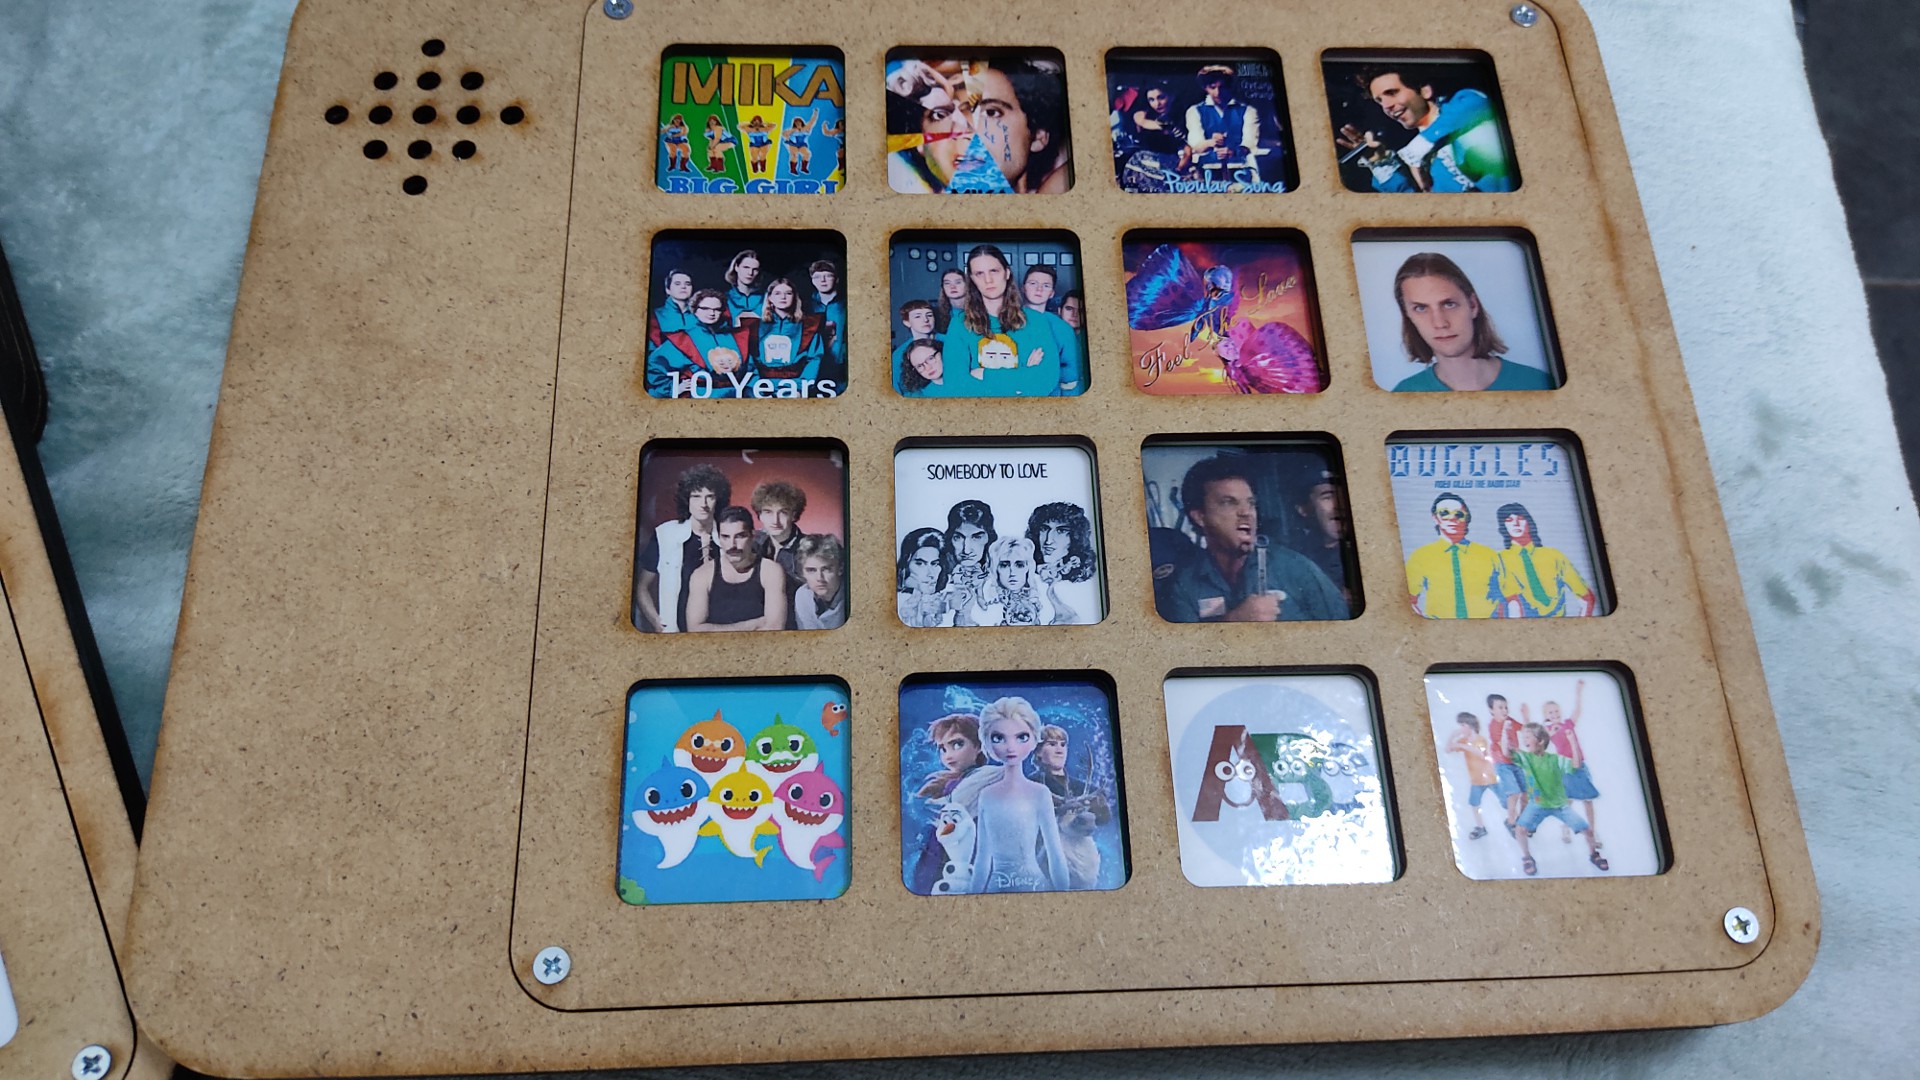
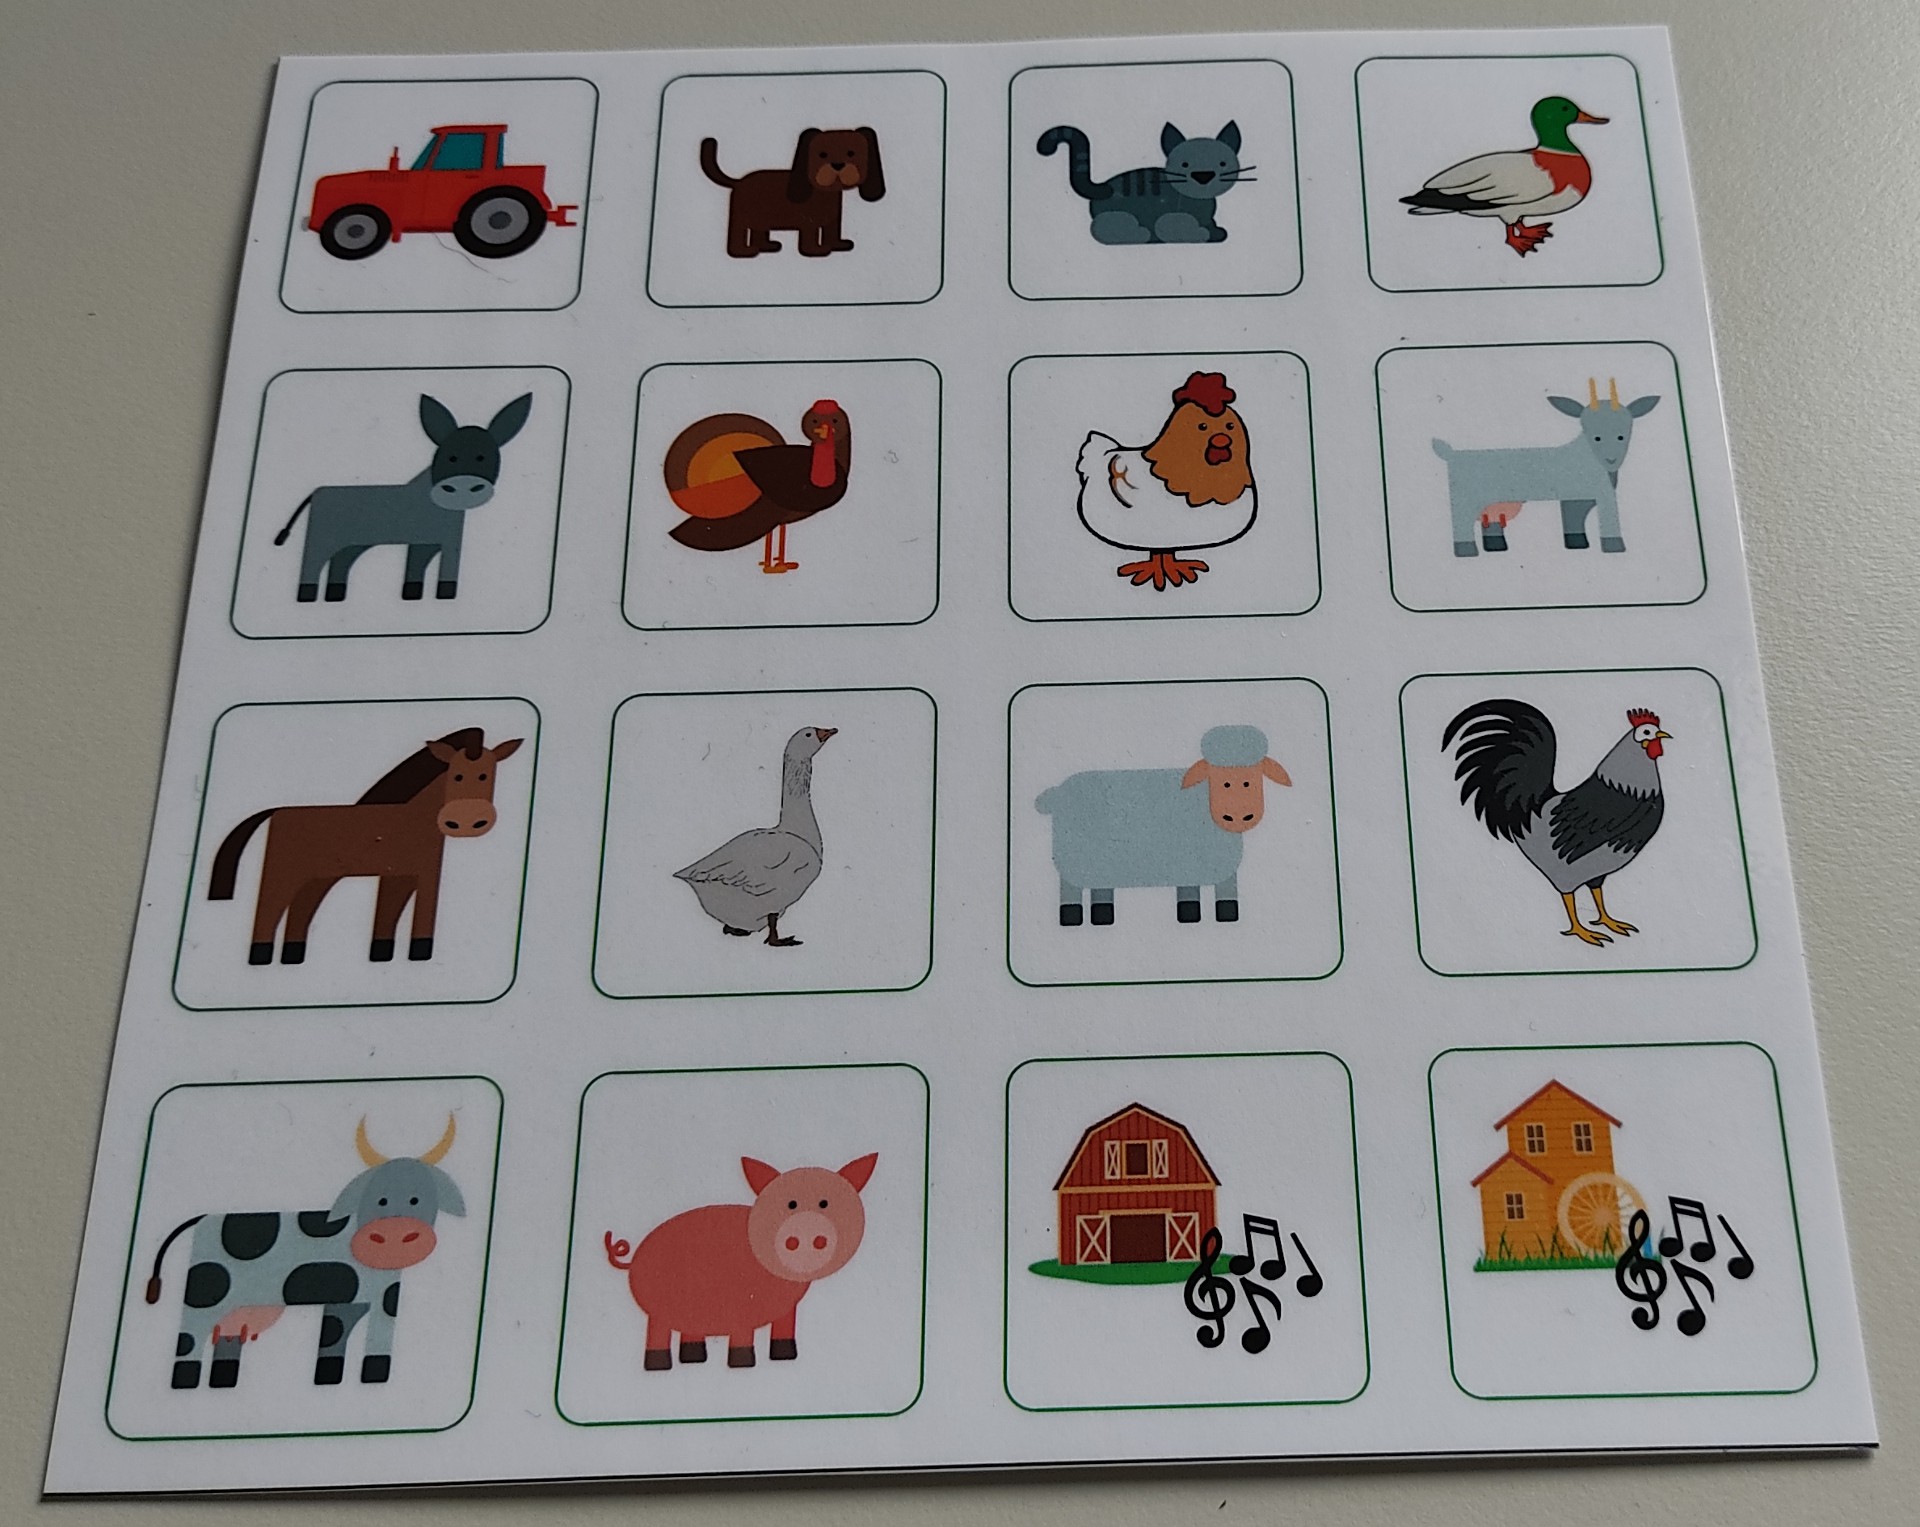
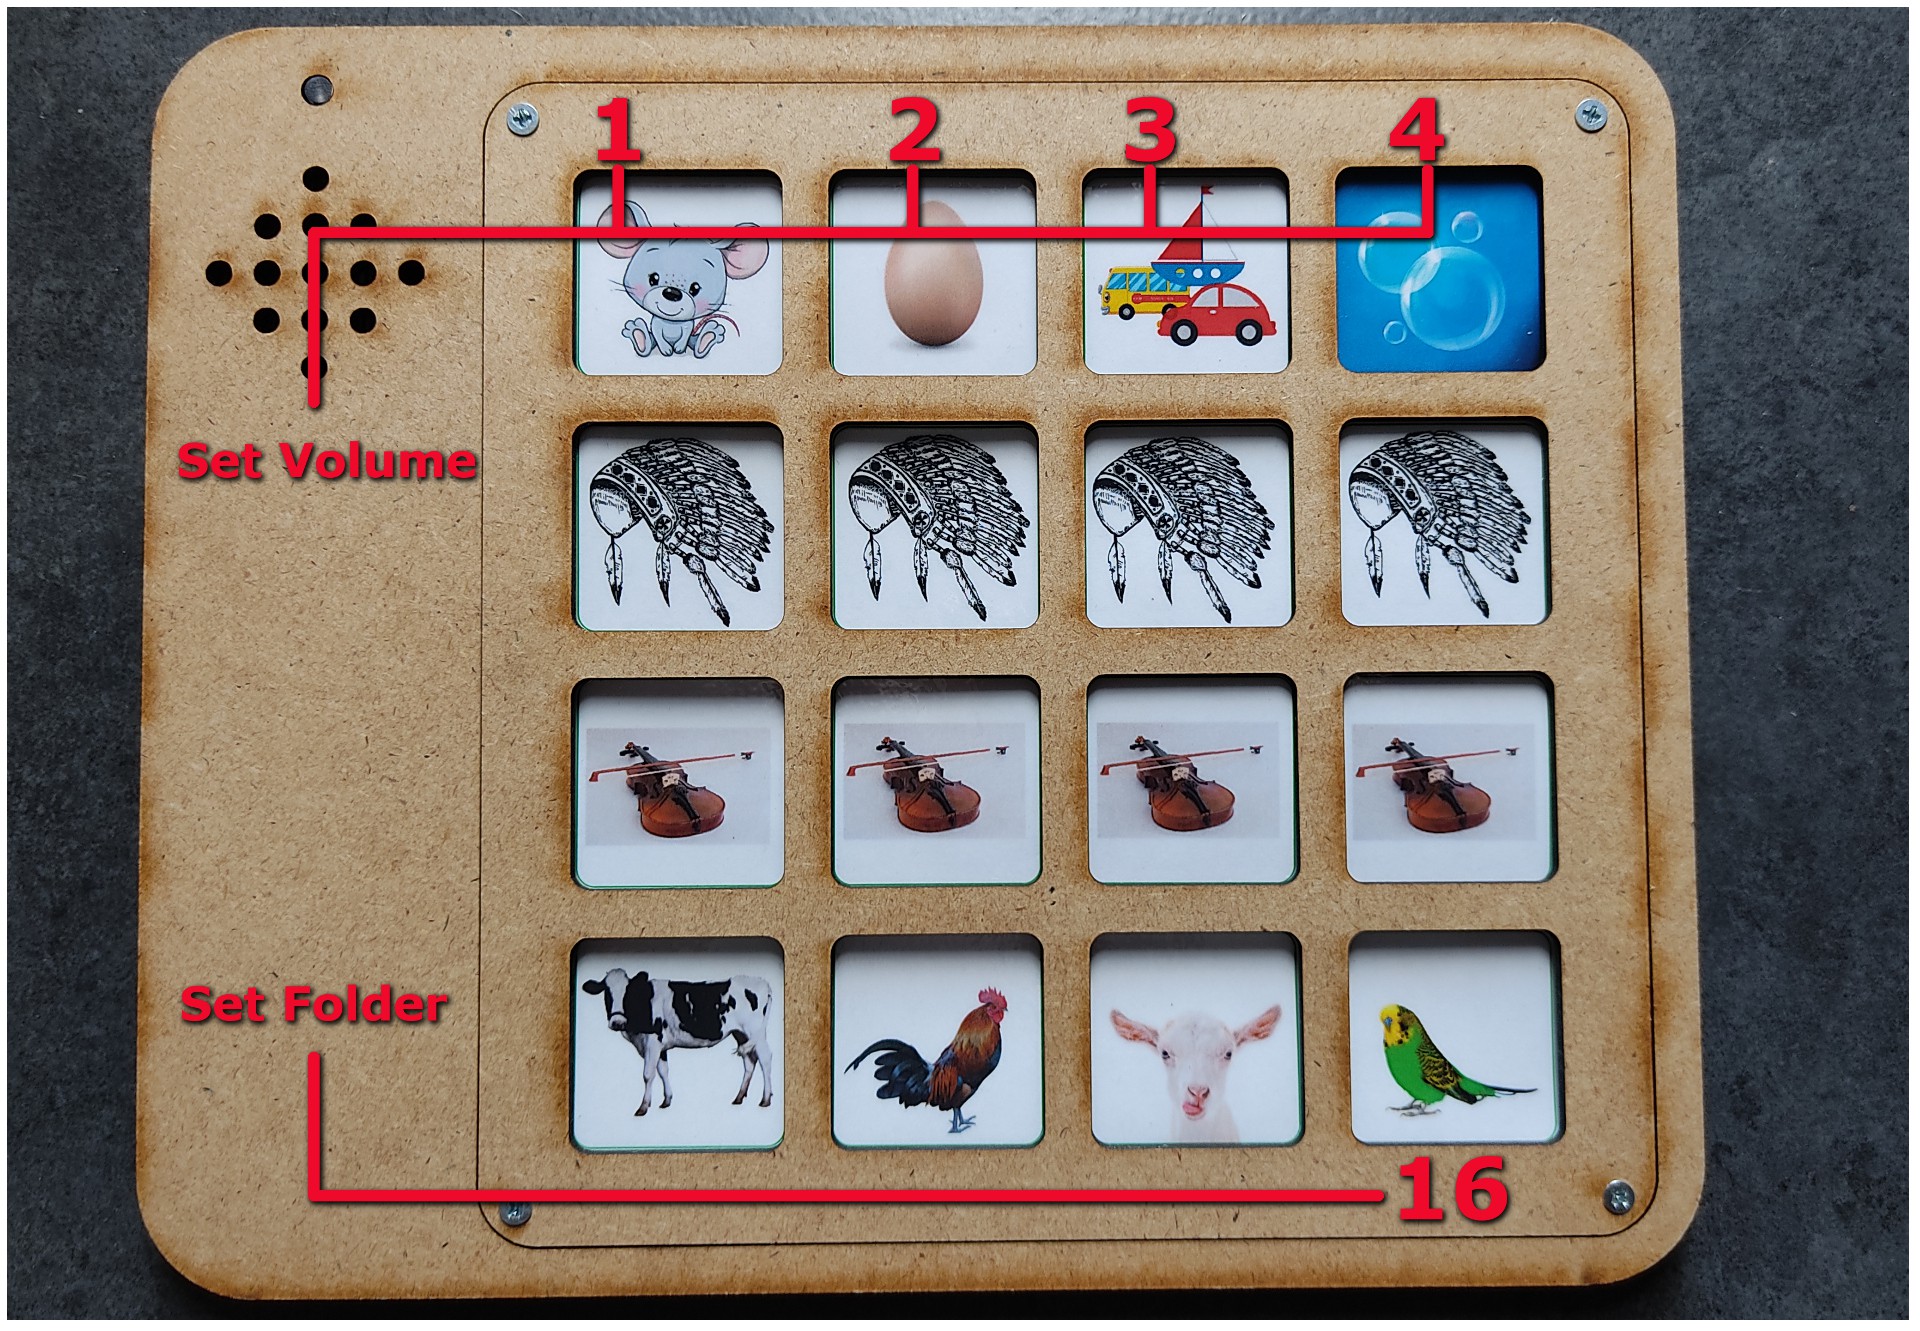
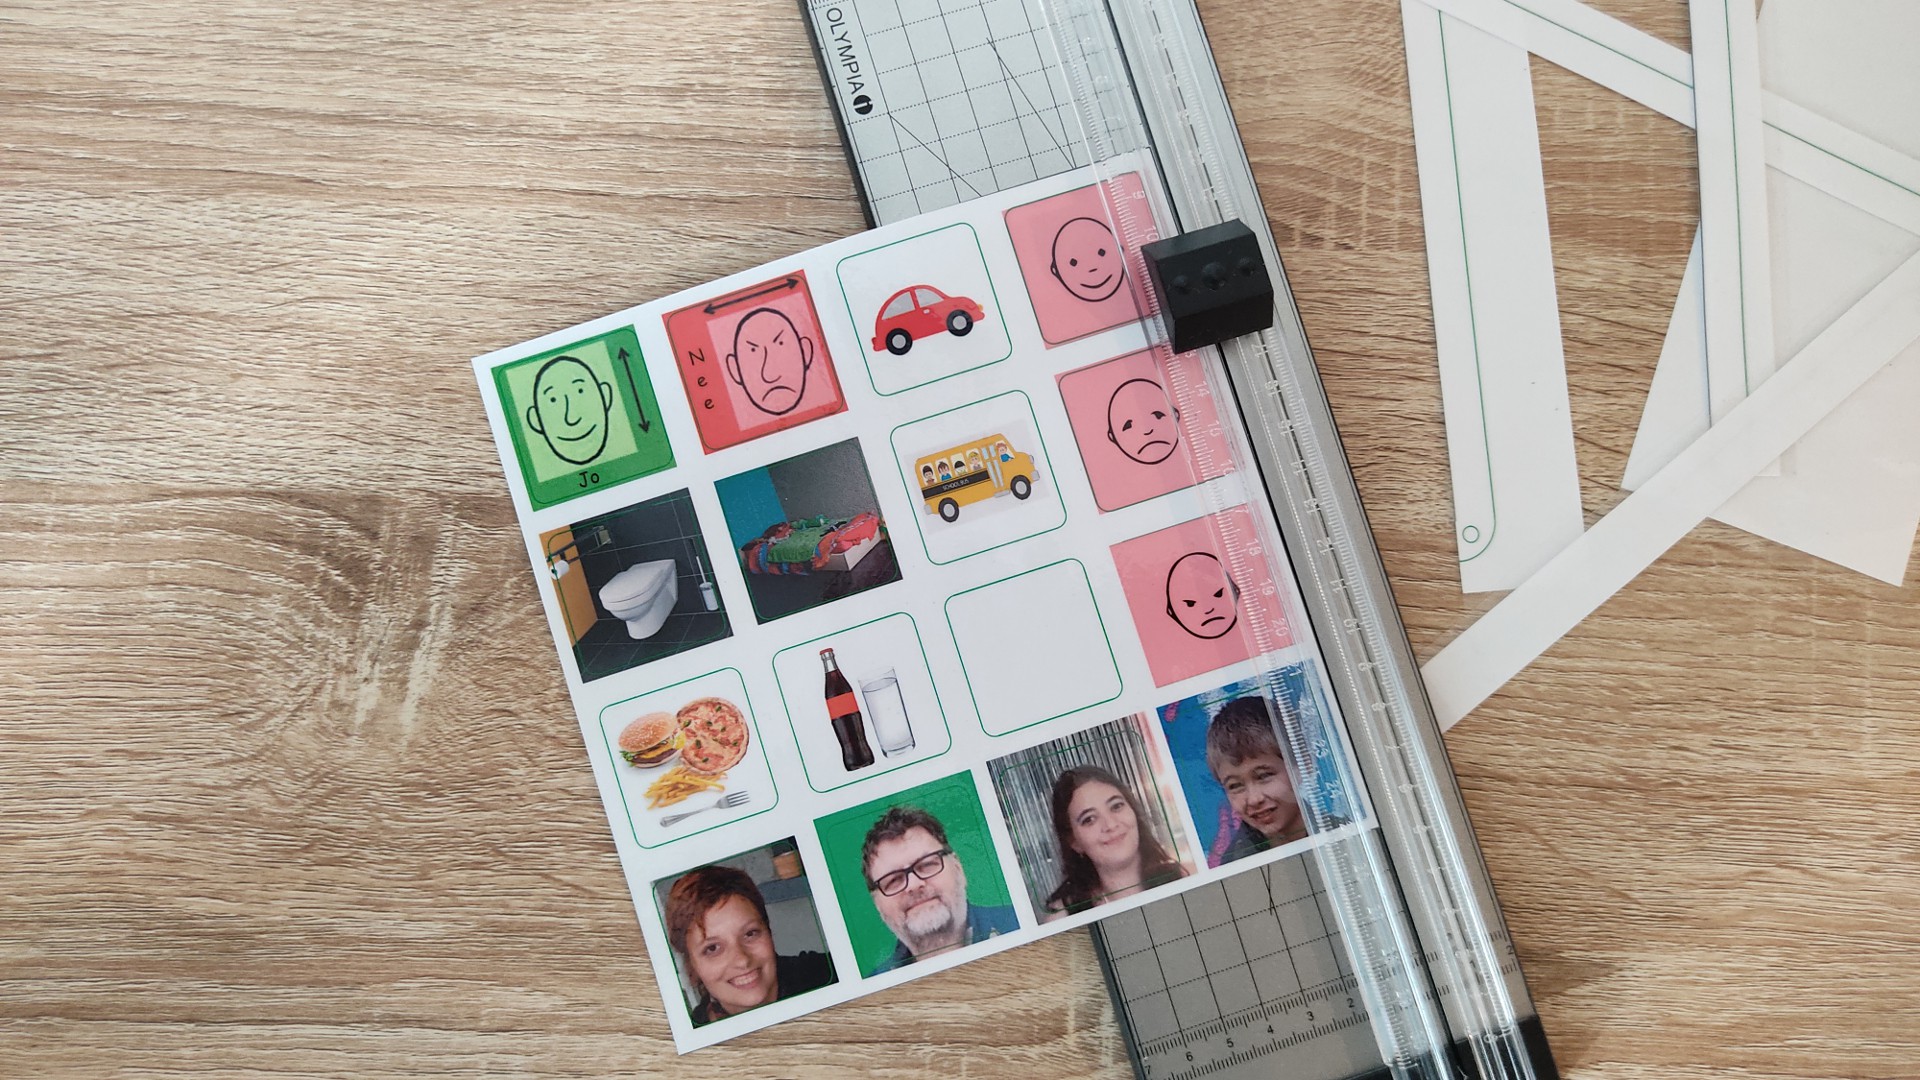
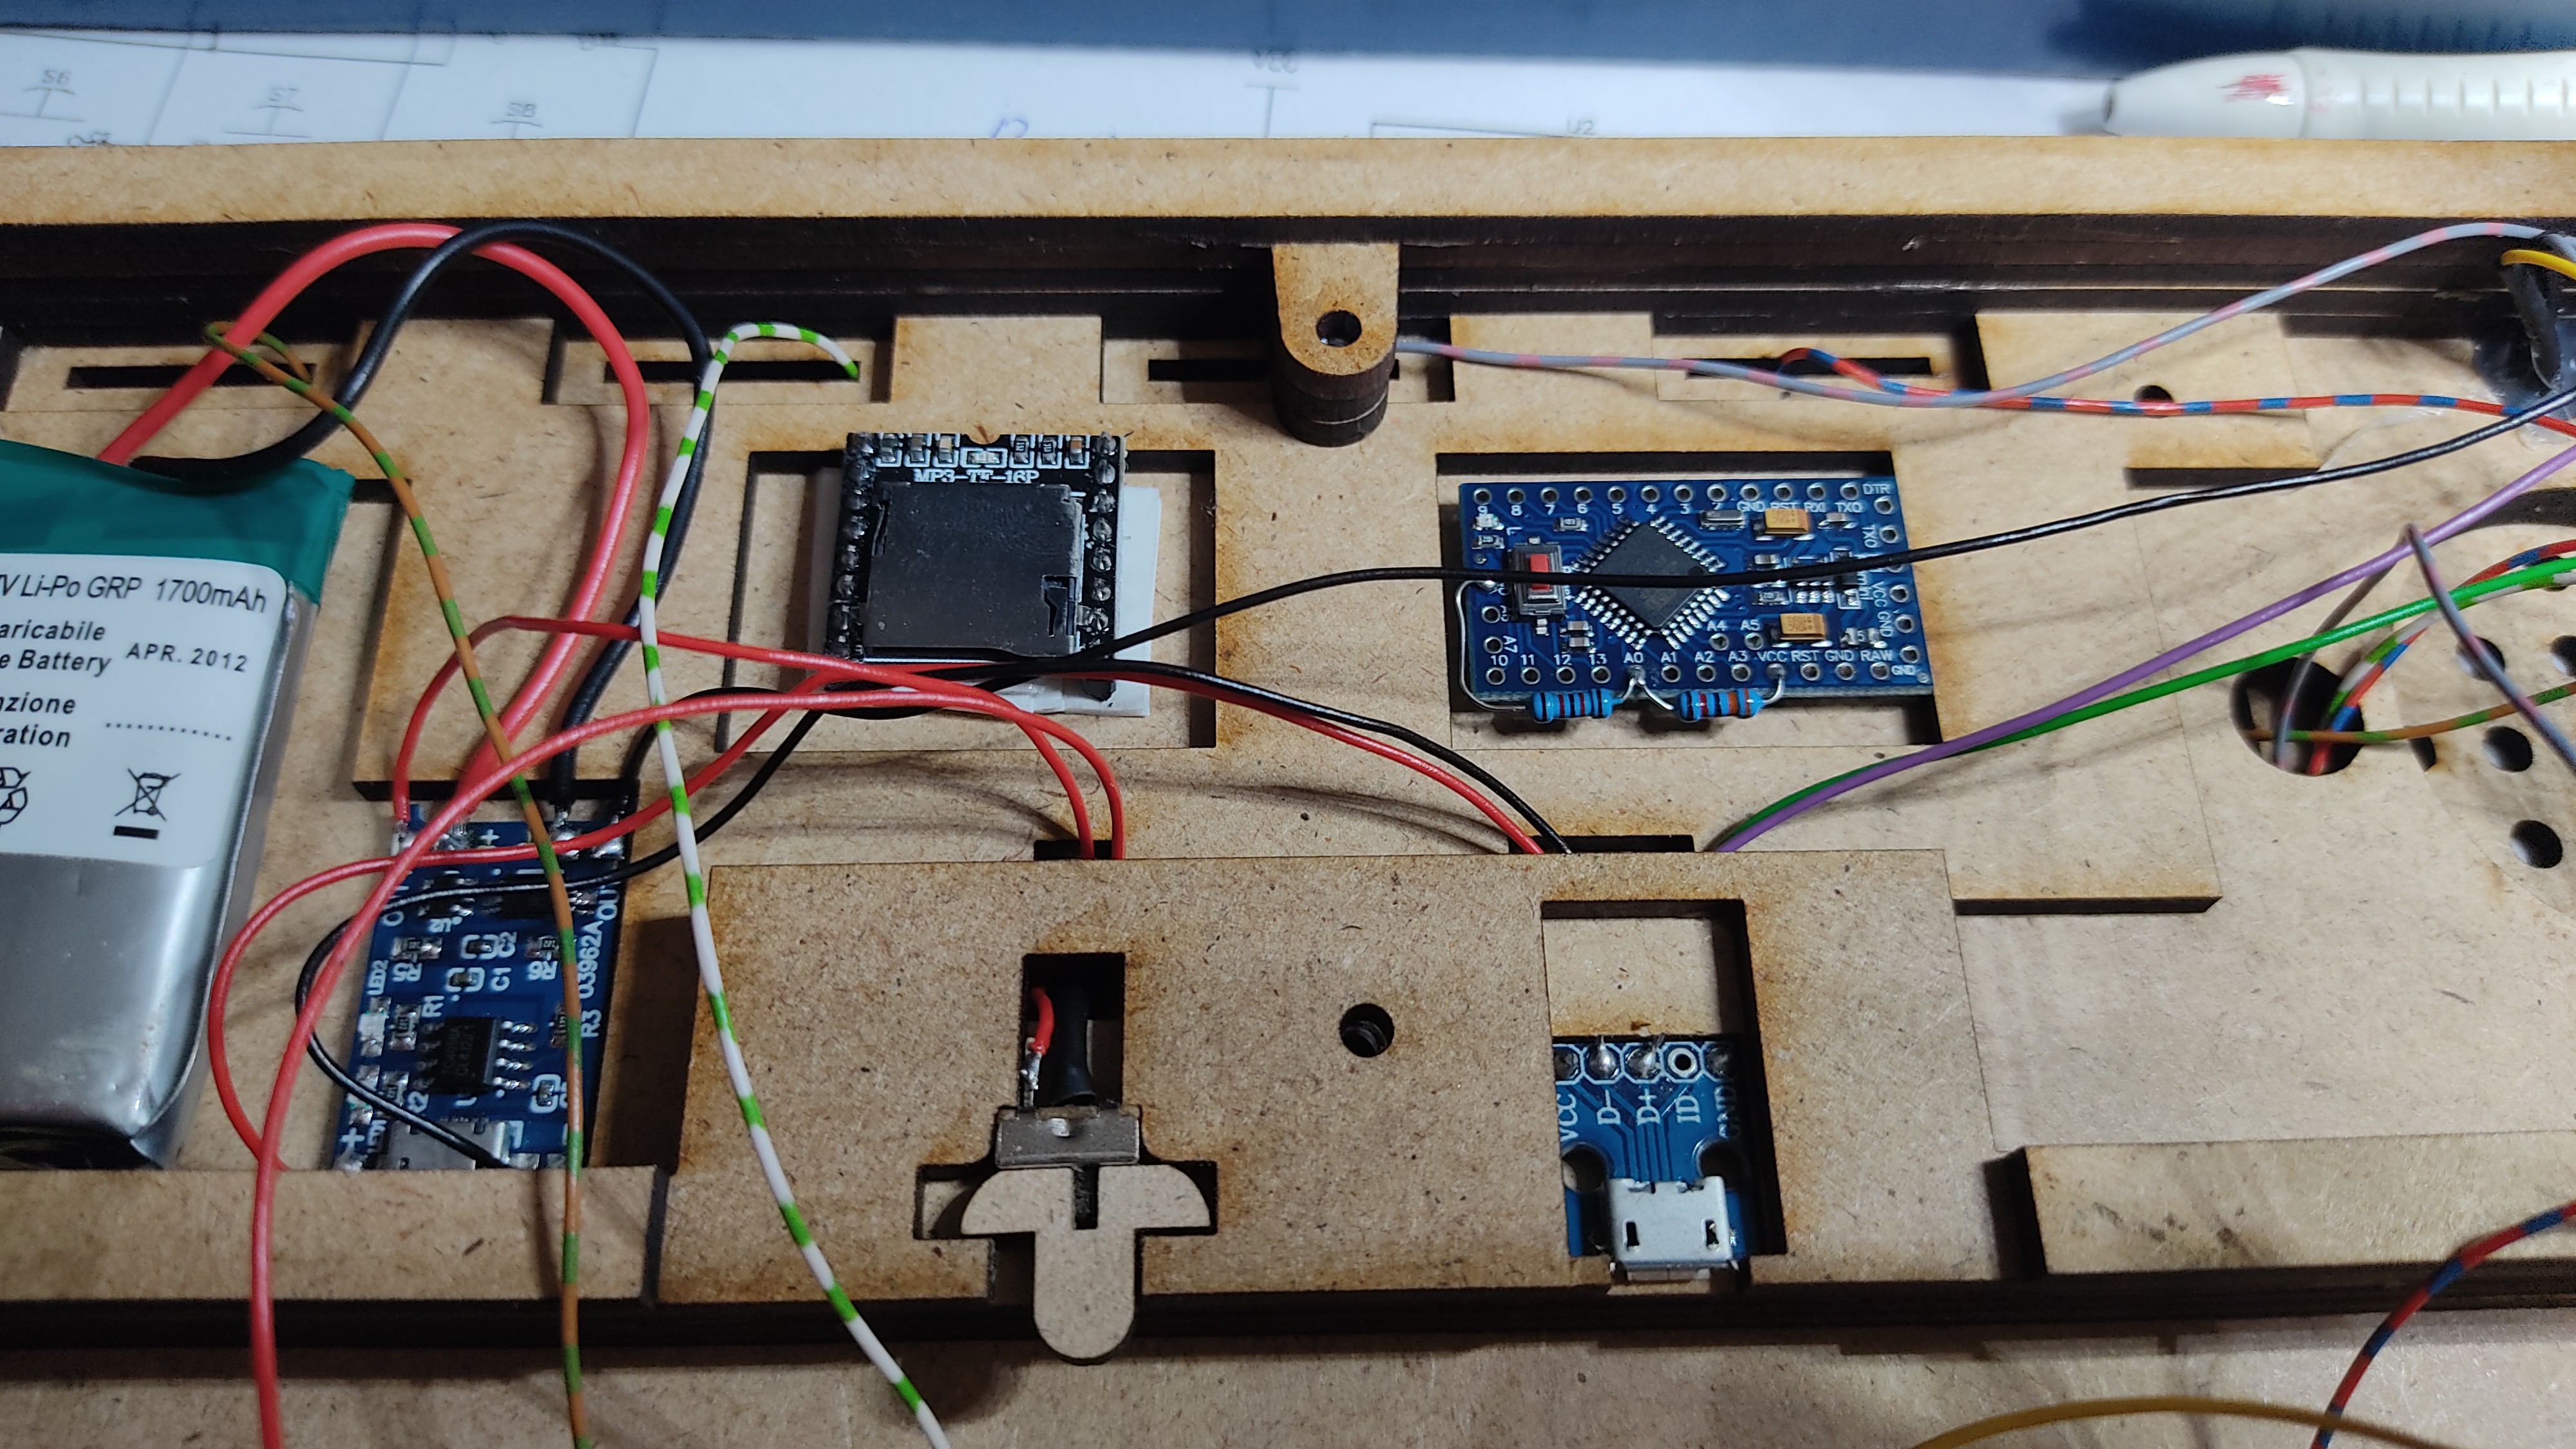
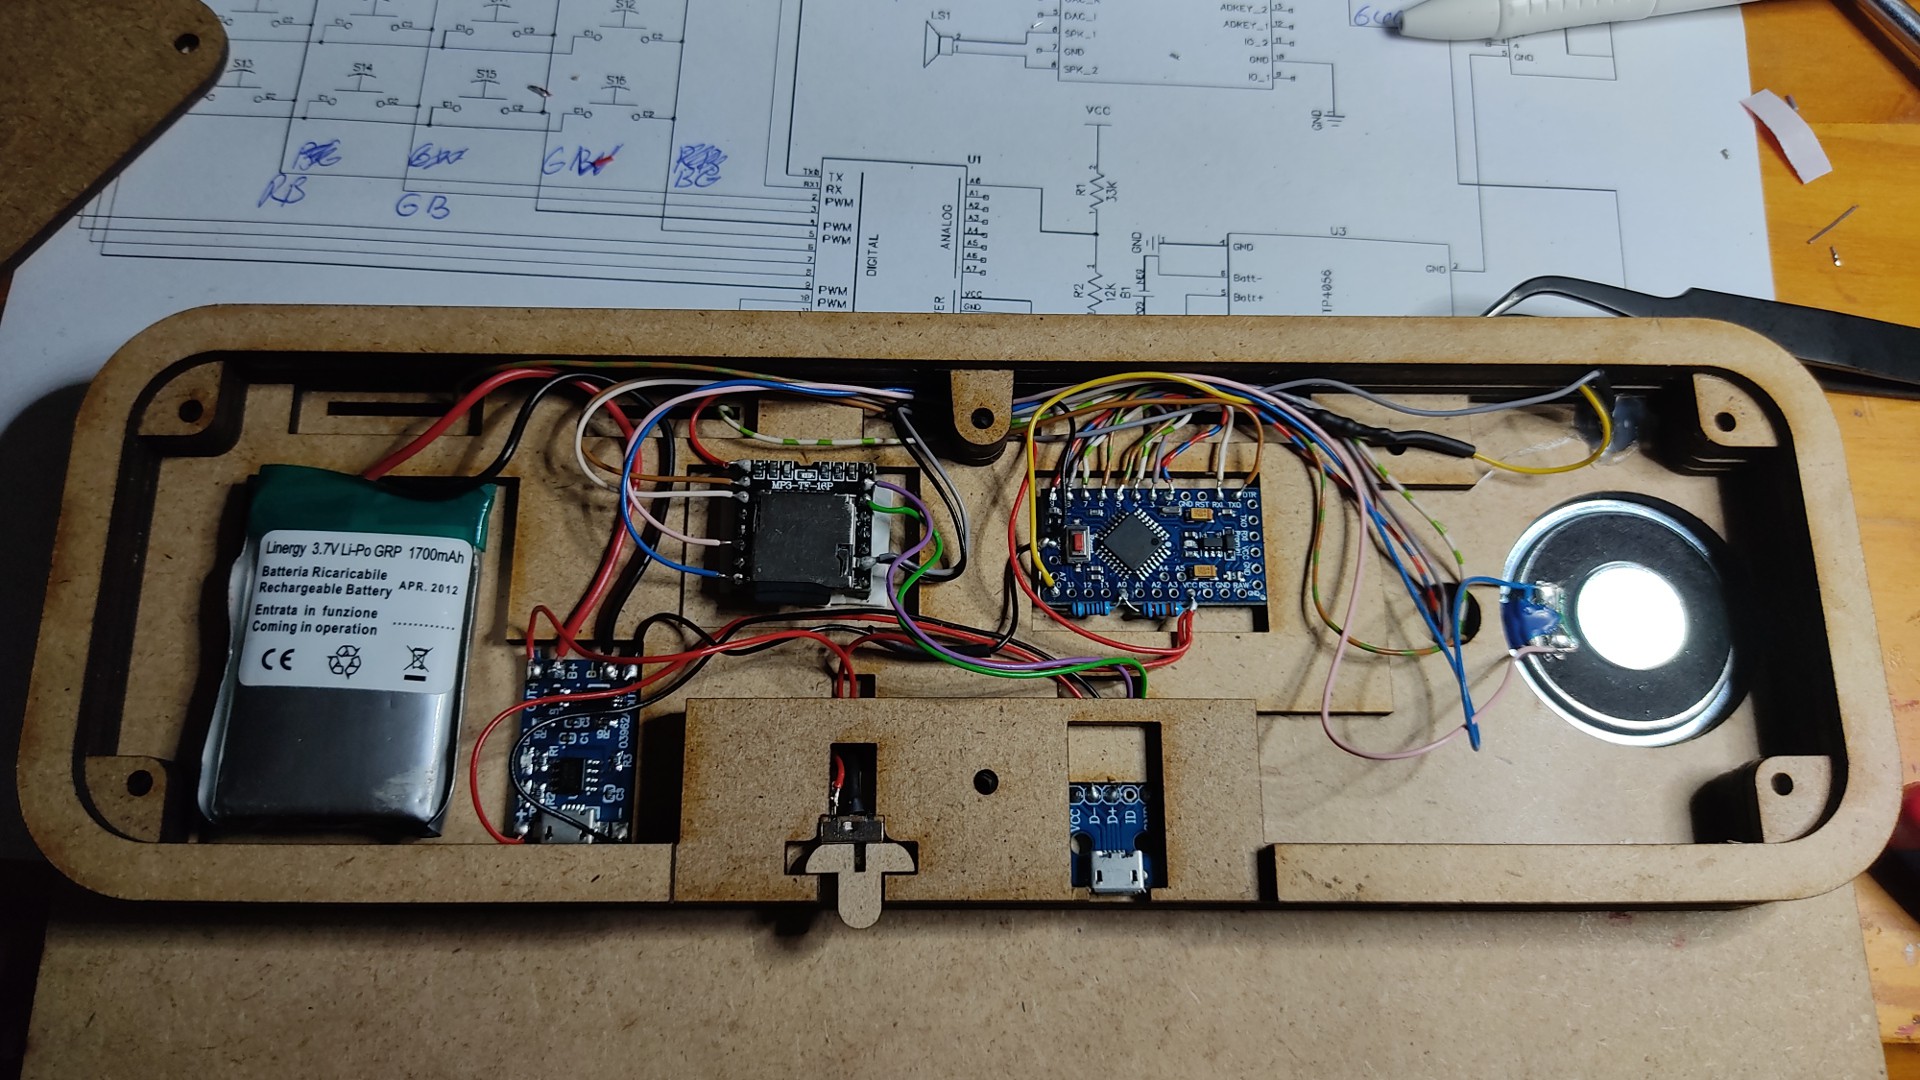
I have loaded sound files onto the board so that he learns how to use the keys. And with music, everything works.
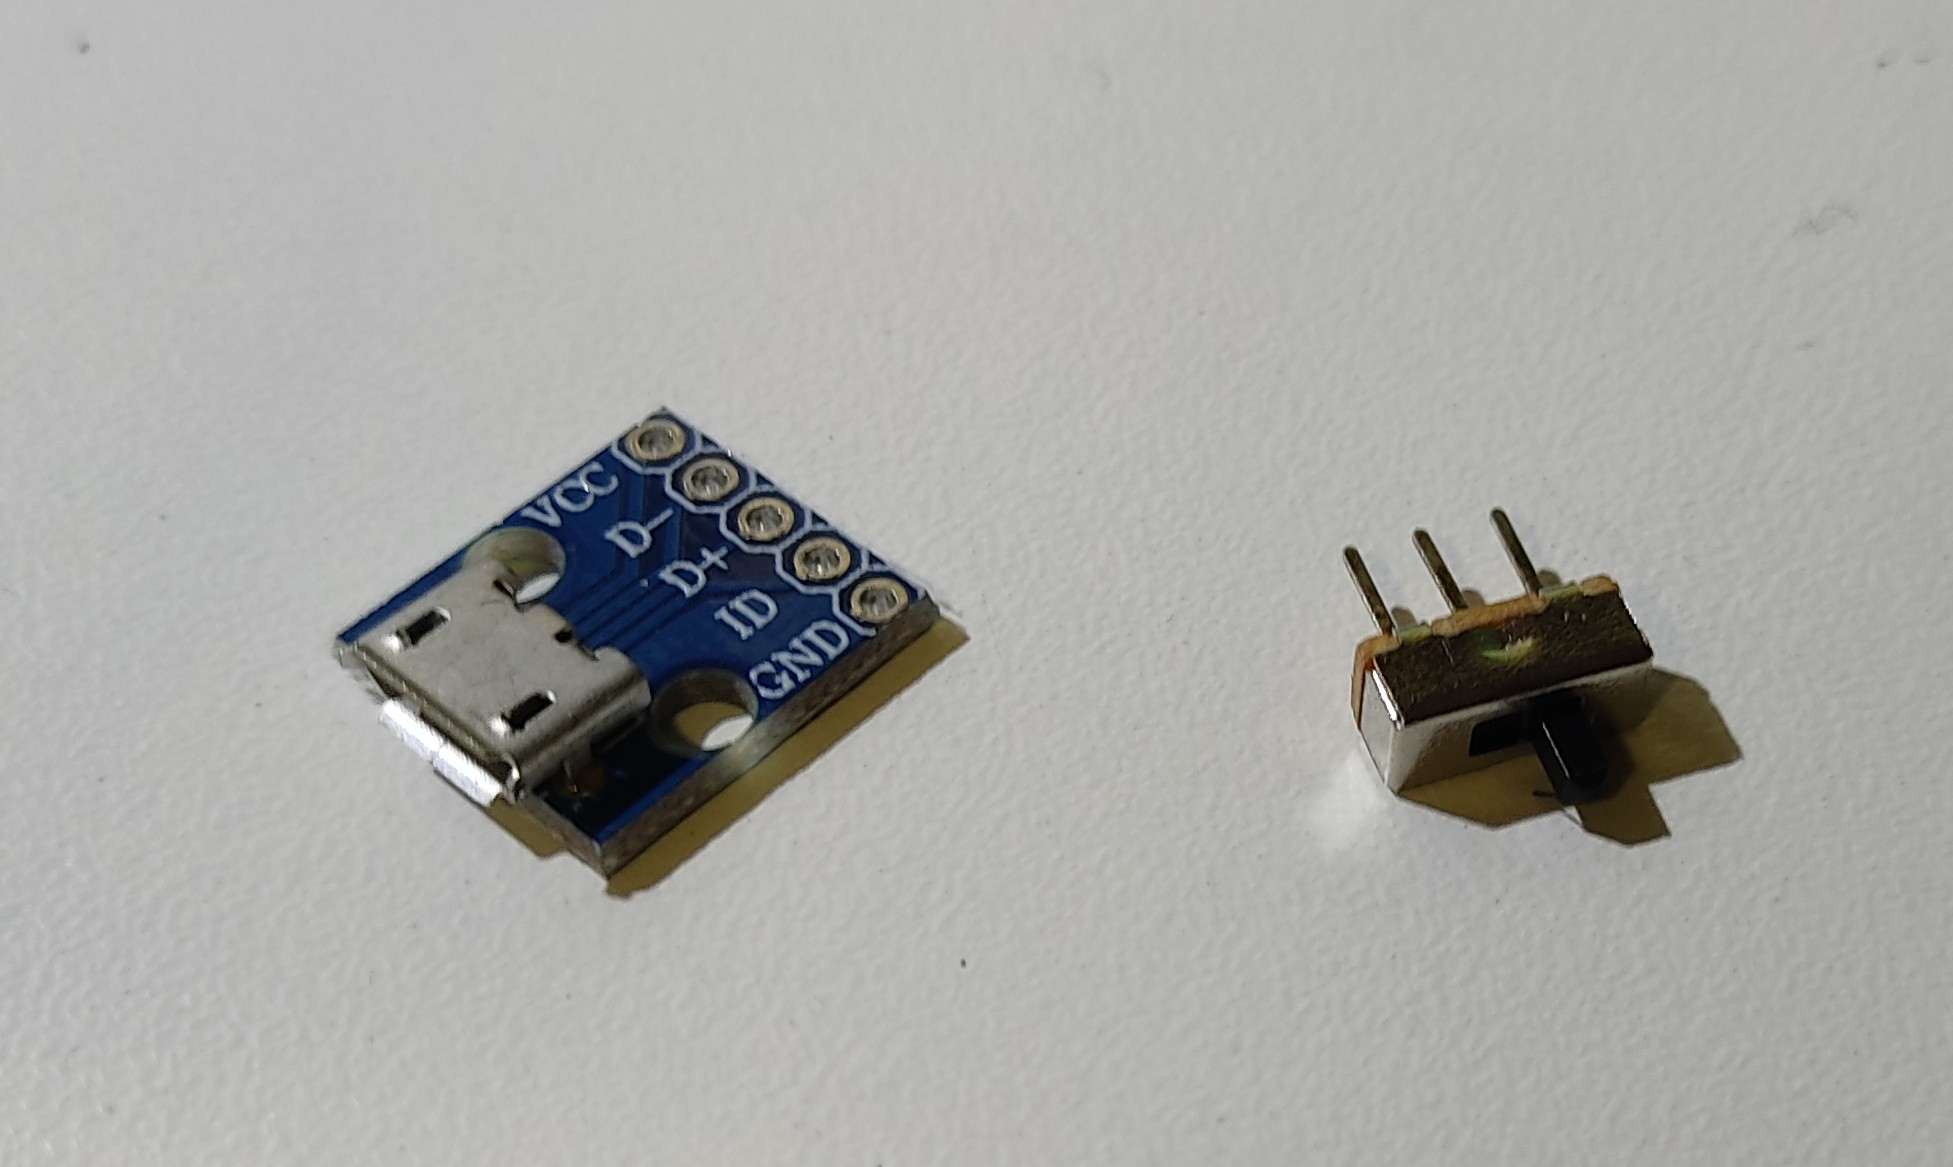
The advantage is that the buttons are assigned to individual mp3's, and you can then easily exchange them. You can also use any language for your PECS. If you don't want to record the words yourself, you can also use text to speech and download them as mp3's.
The PECS board can also be used as a music player, or as a sound board. Here you can see Scott choosing his favorite music to chill to. Hopefully this won't cause a copyright claim on YouTube :)
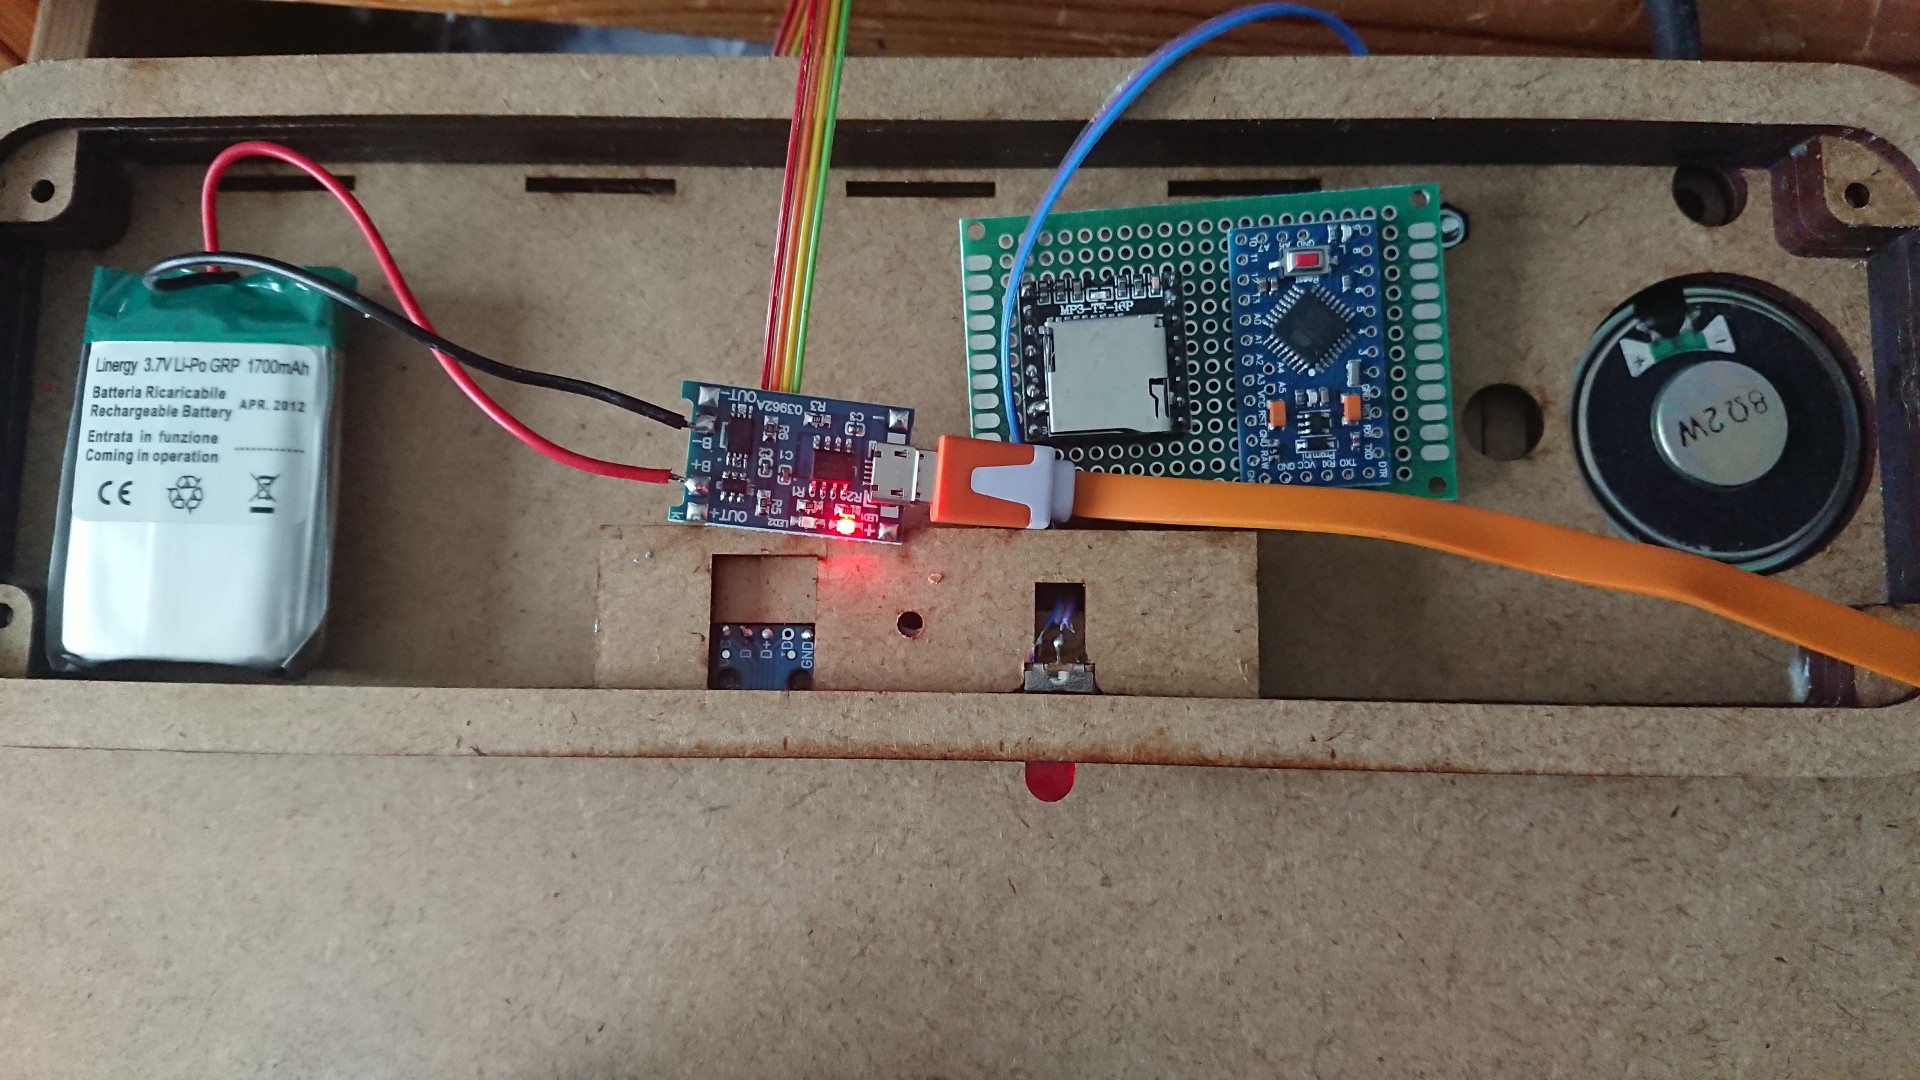
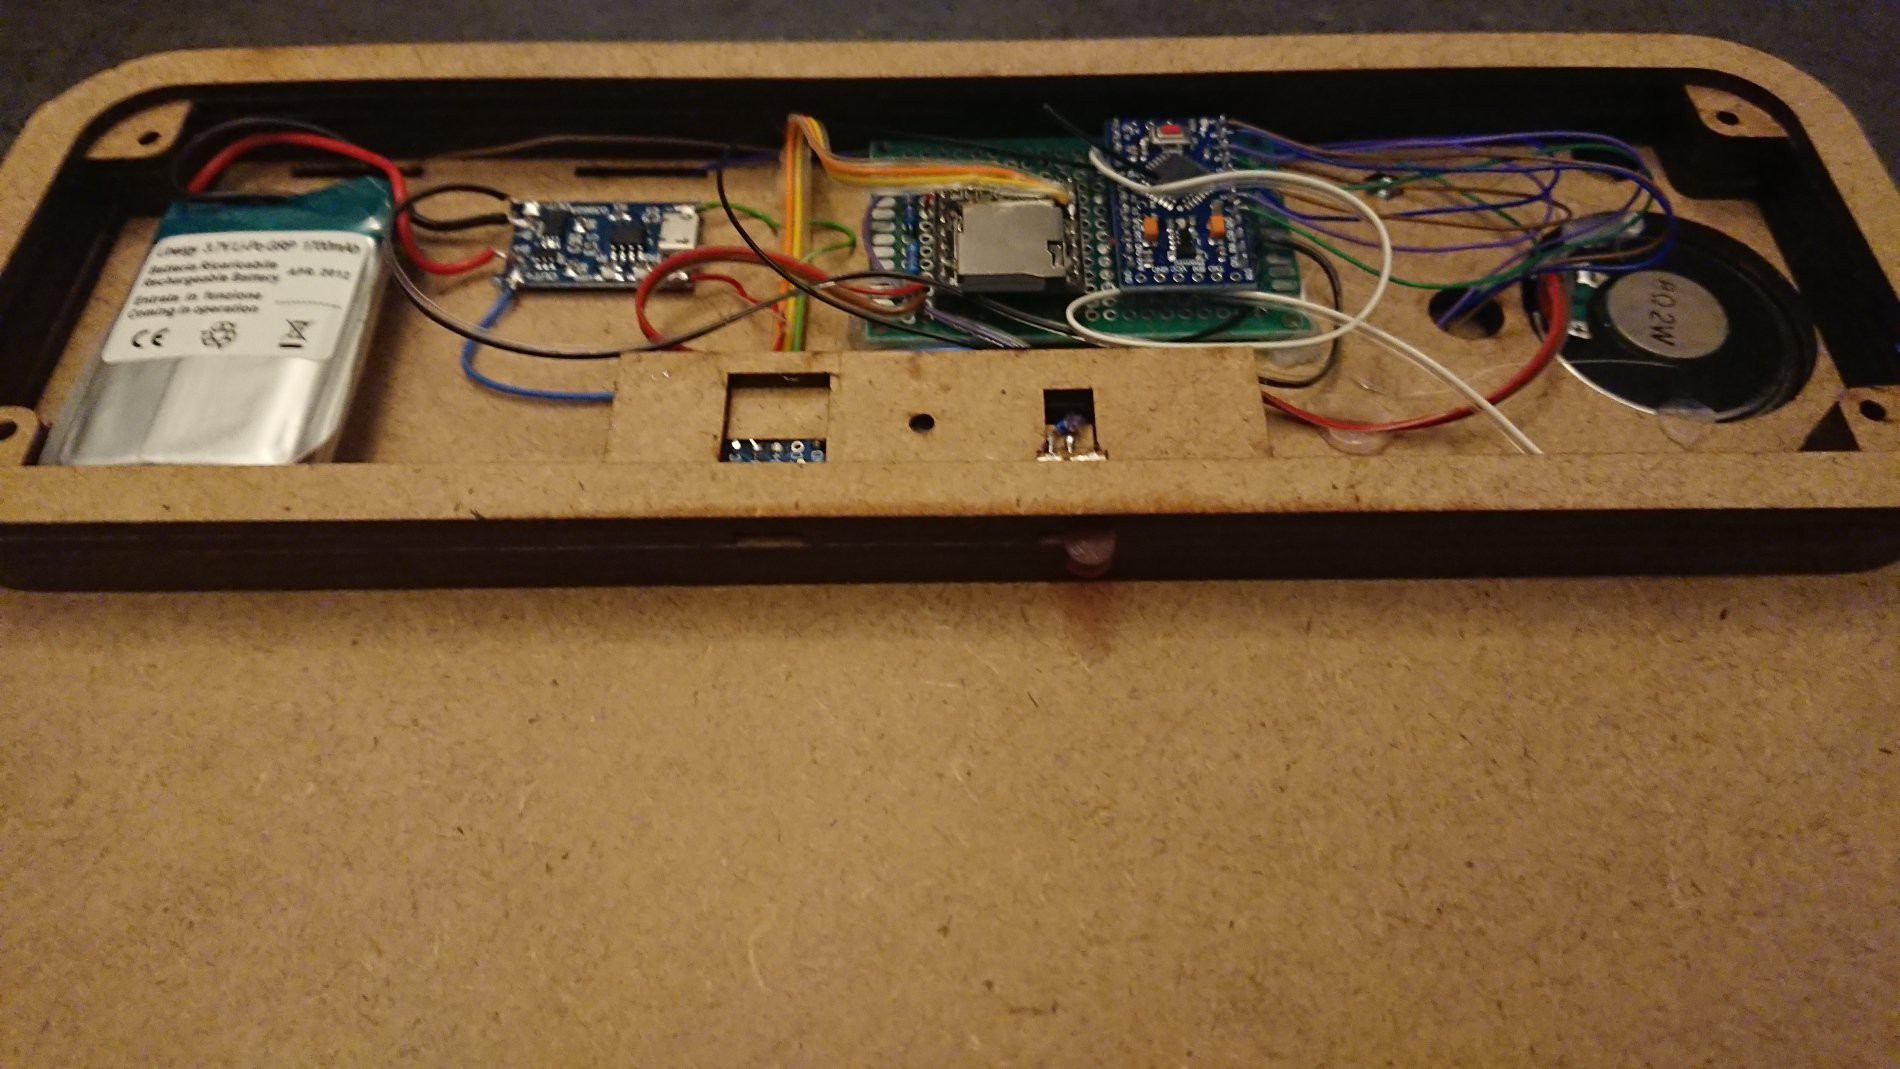
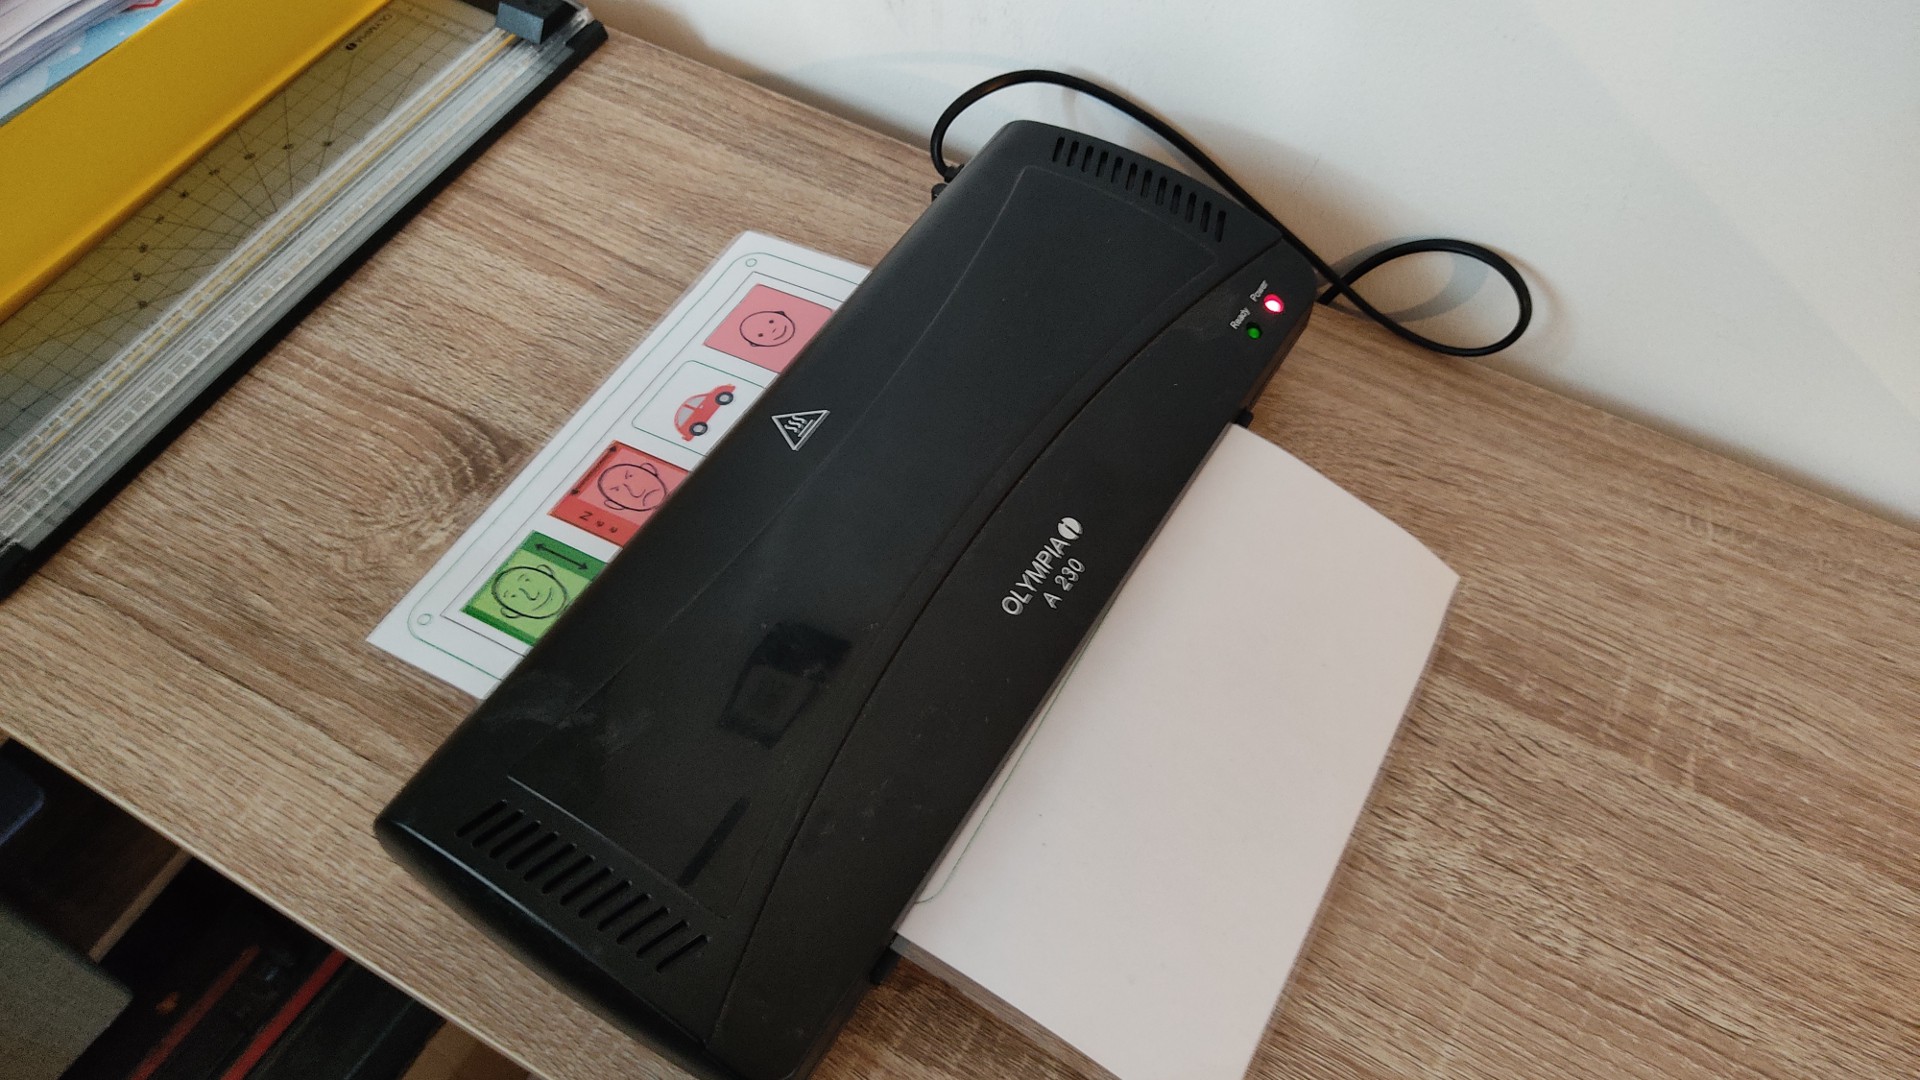
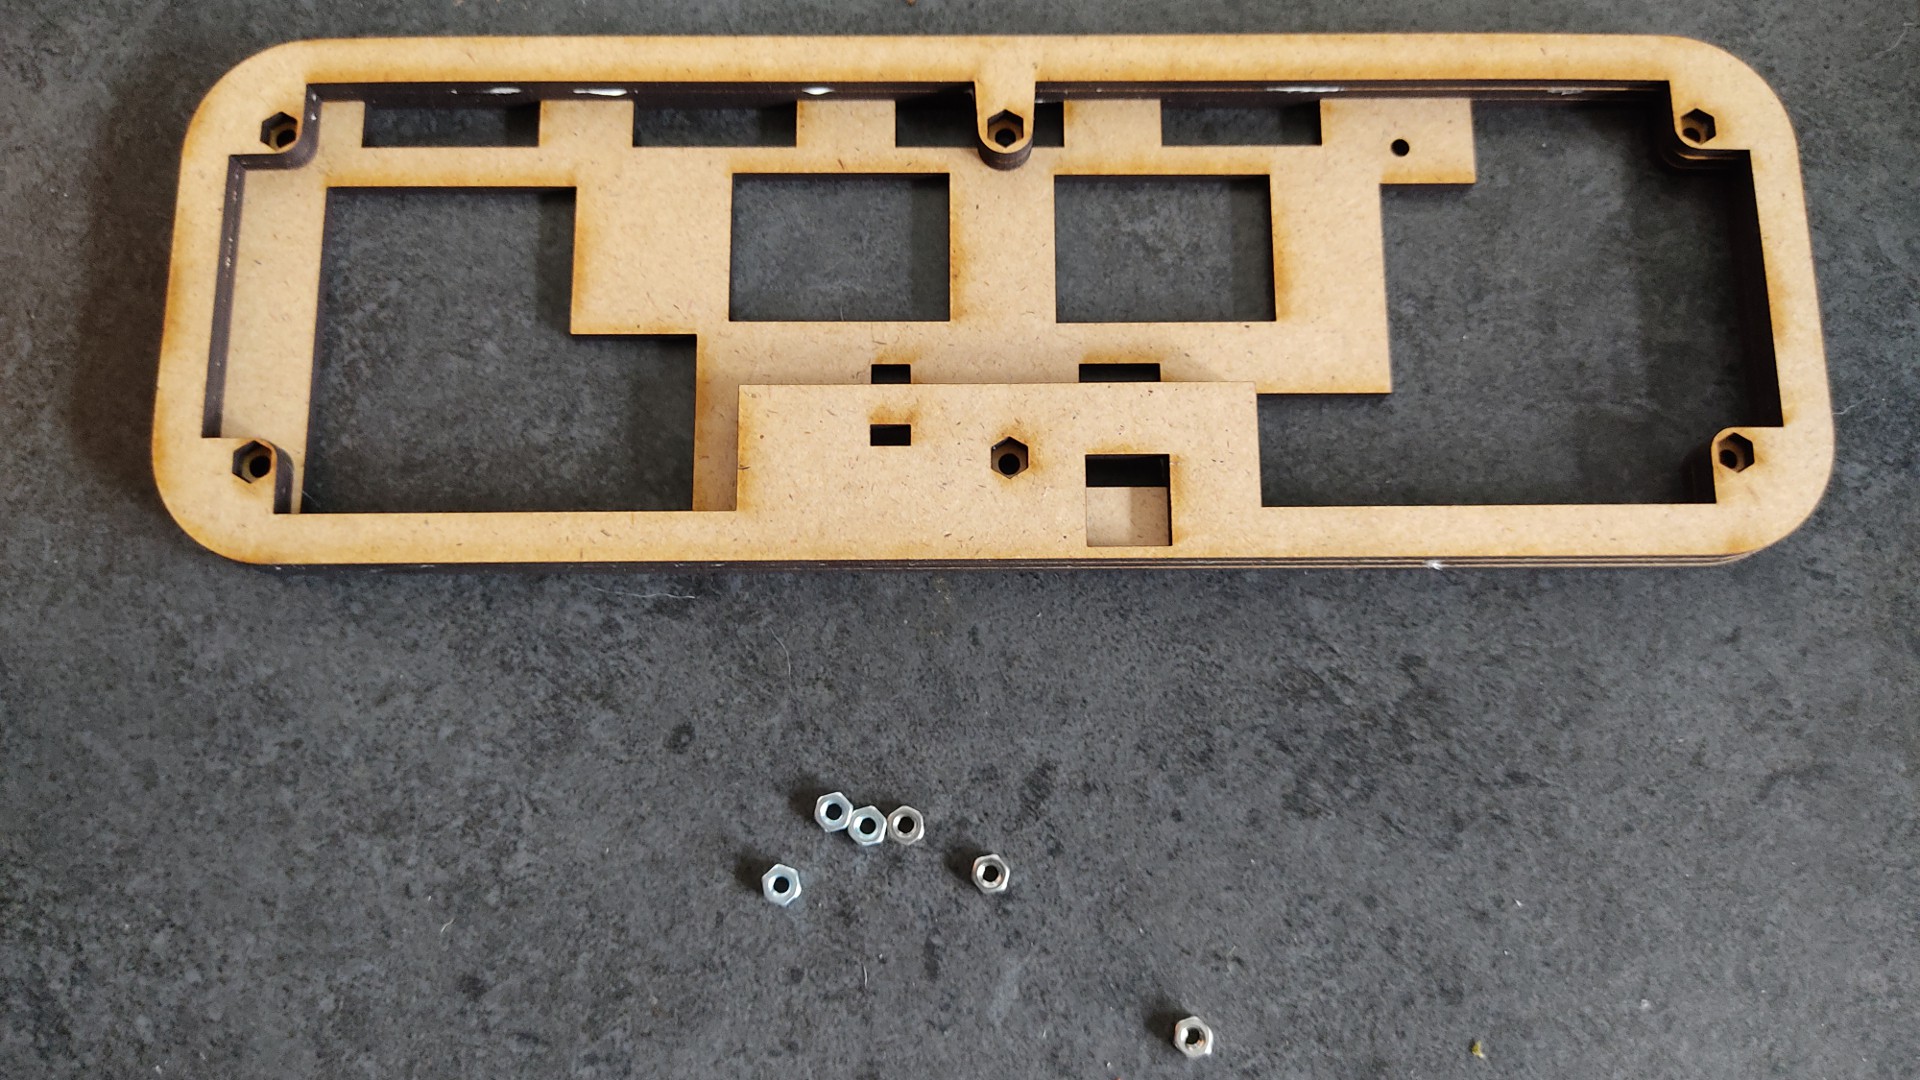
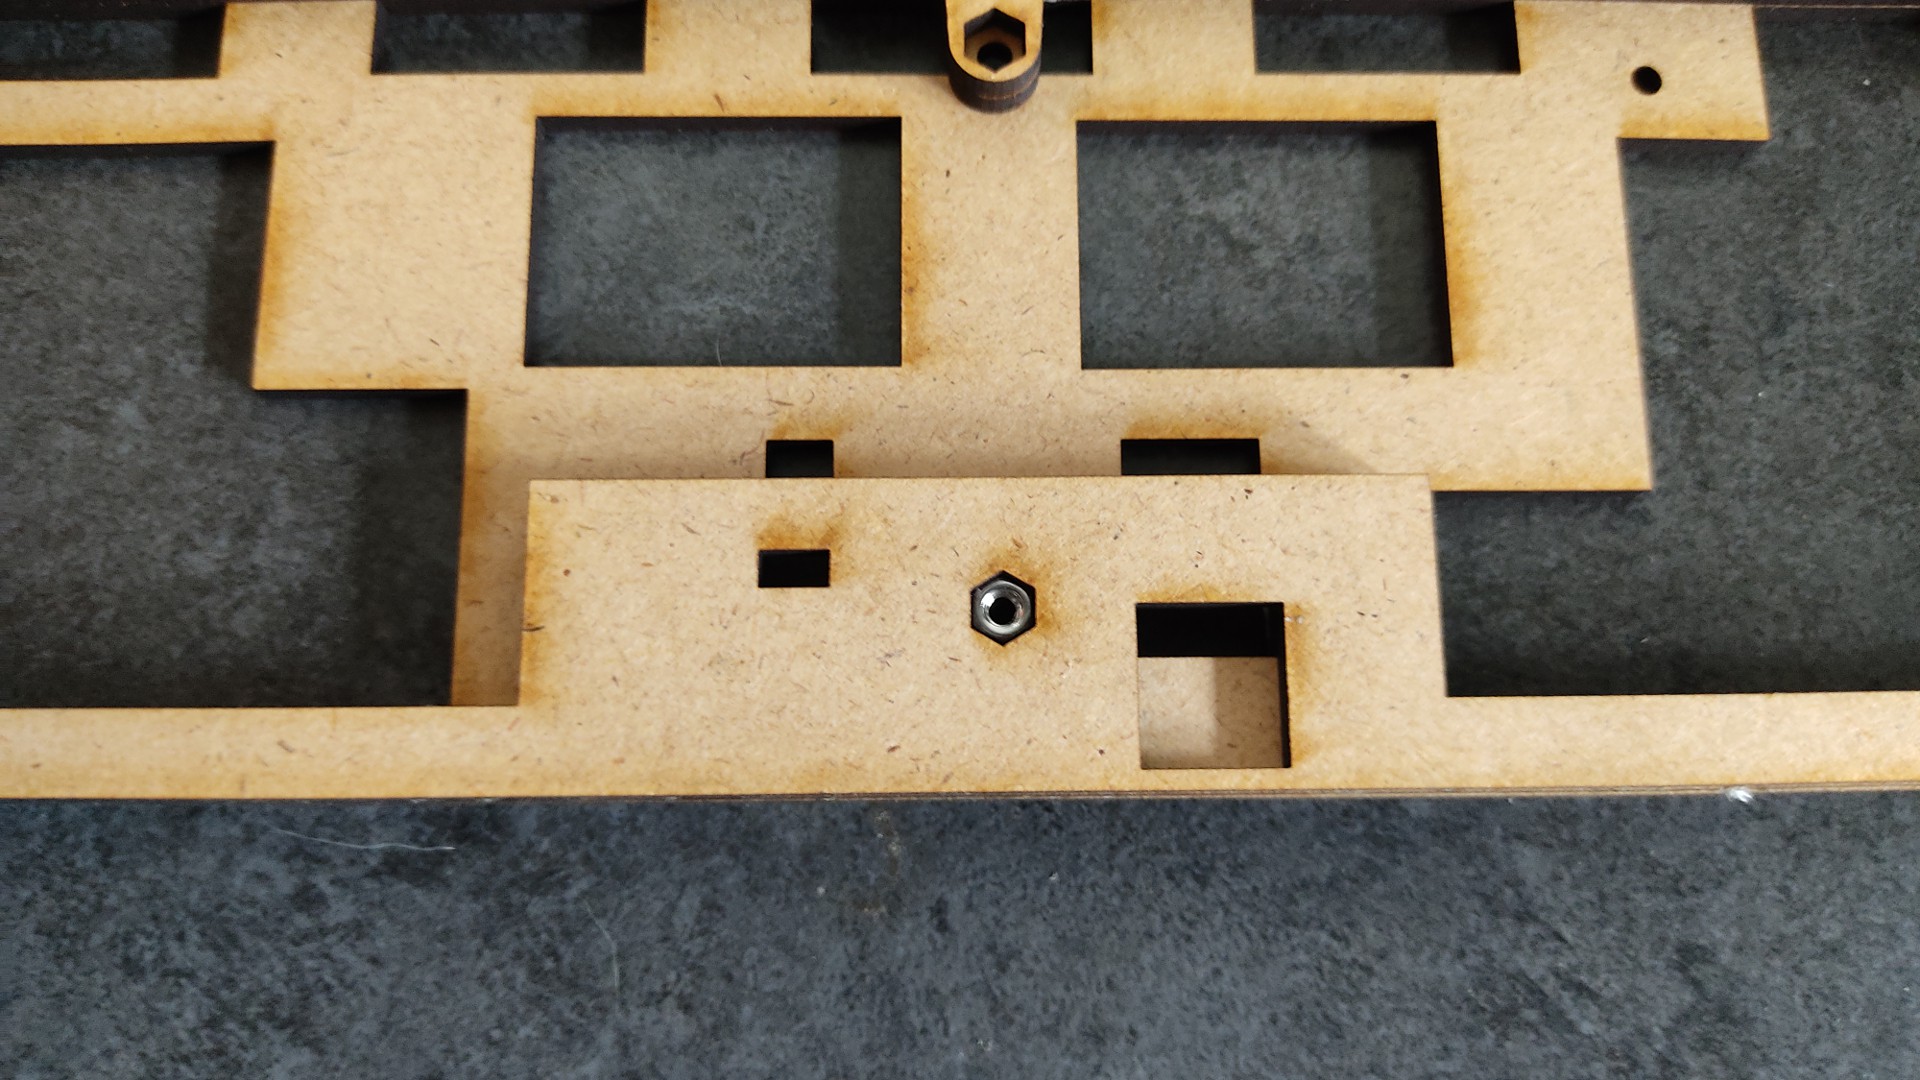
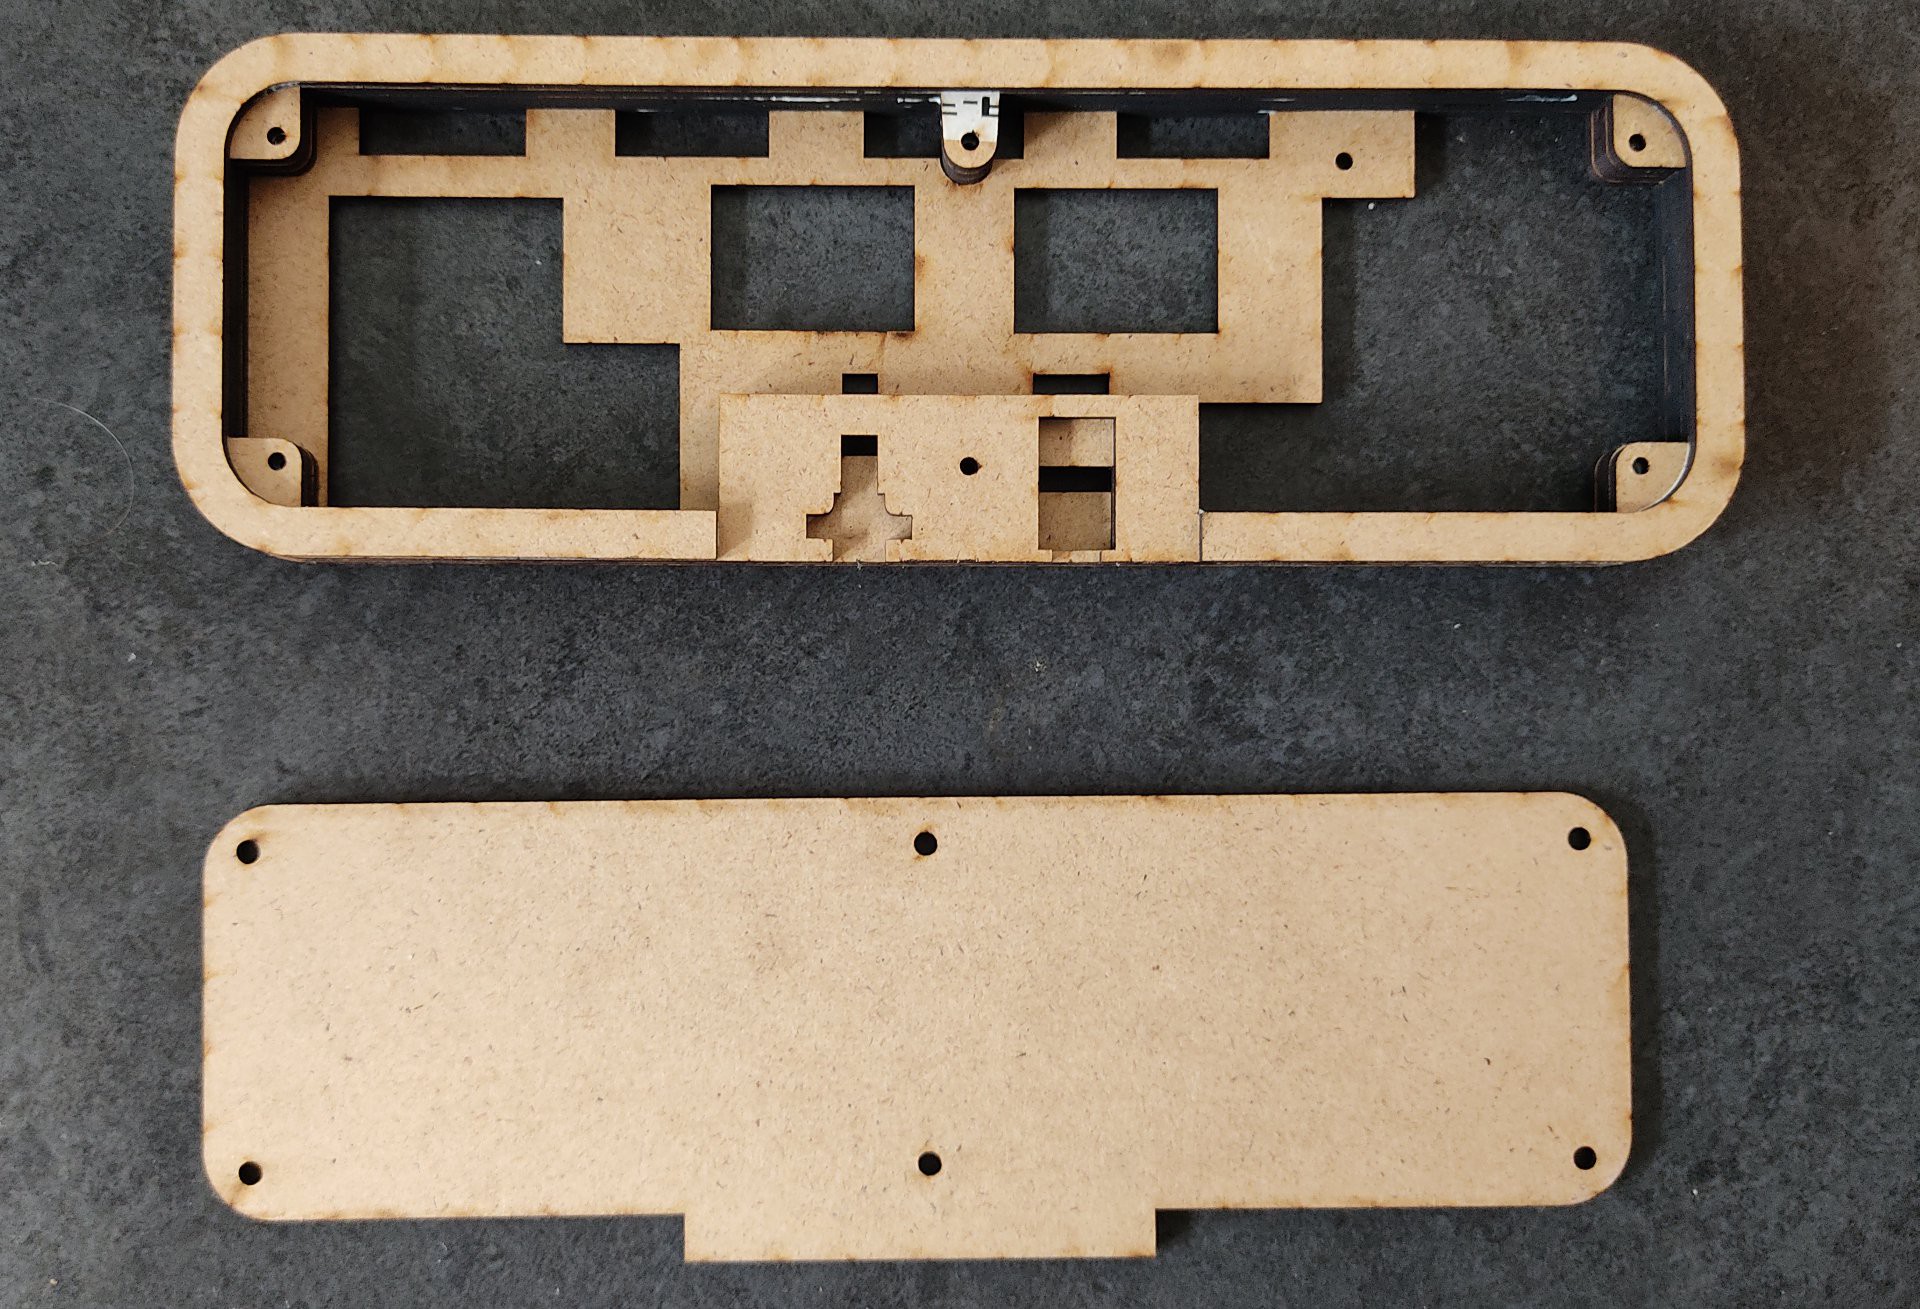
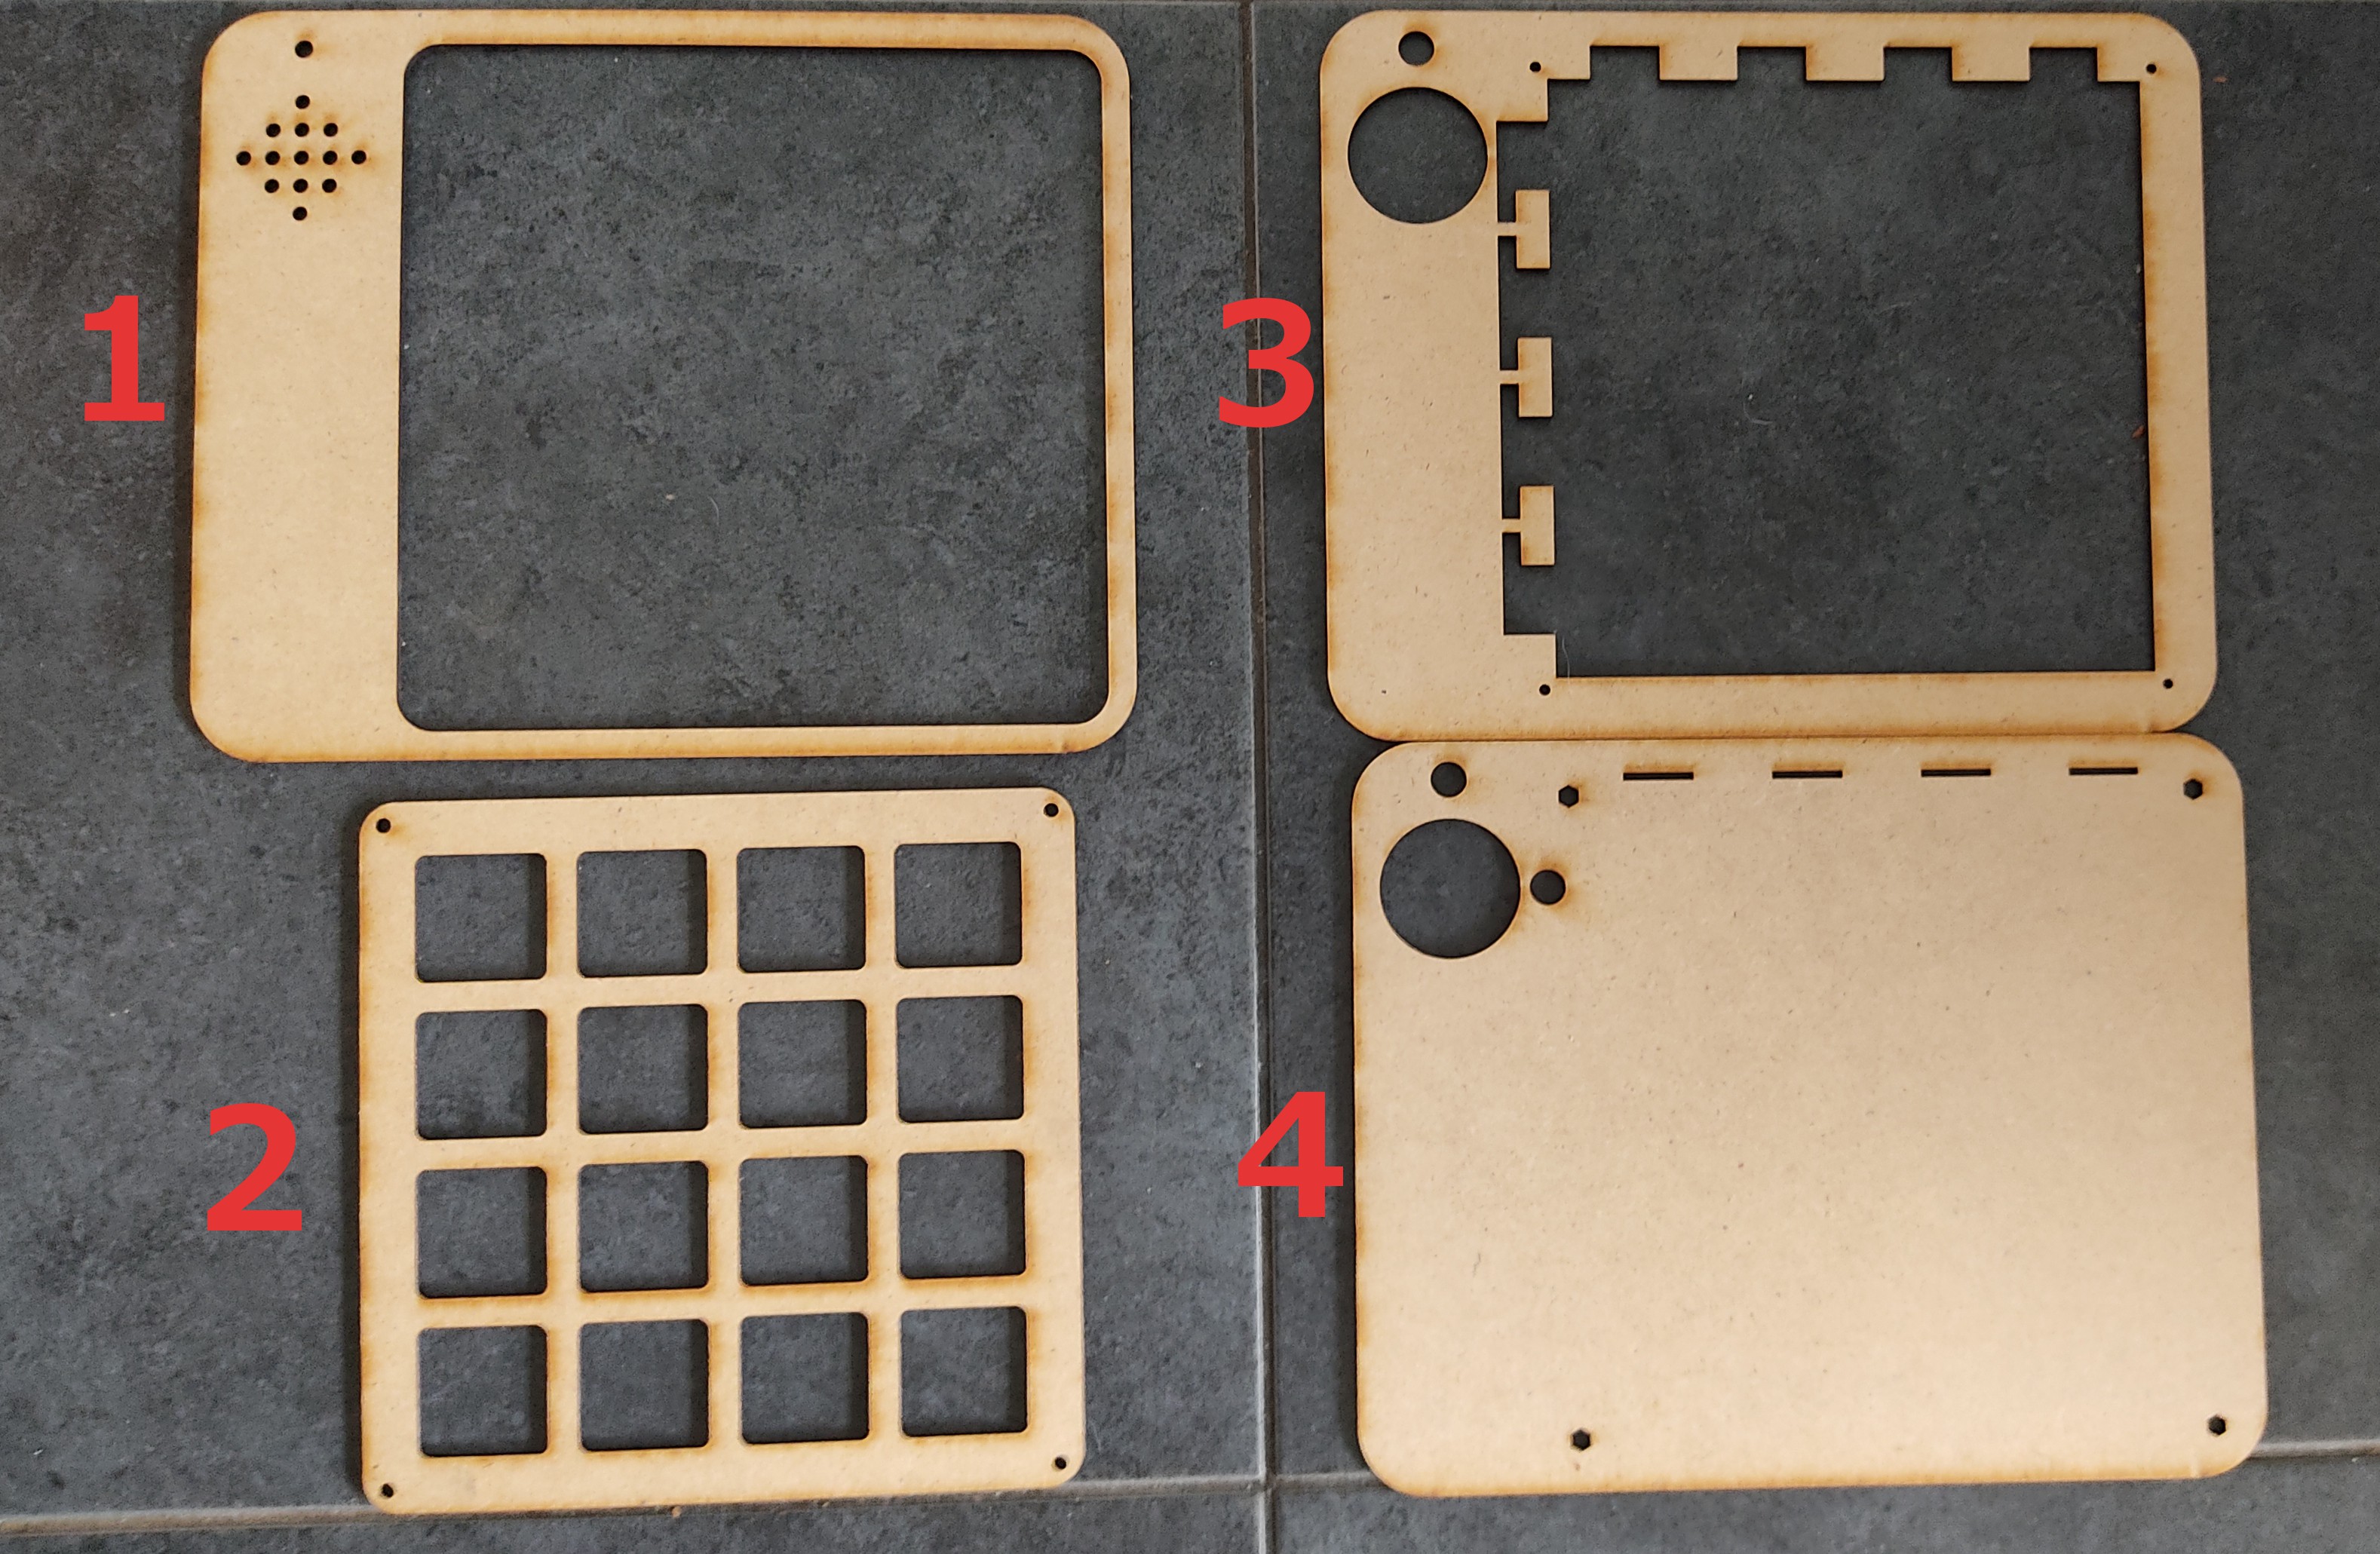
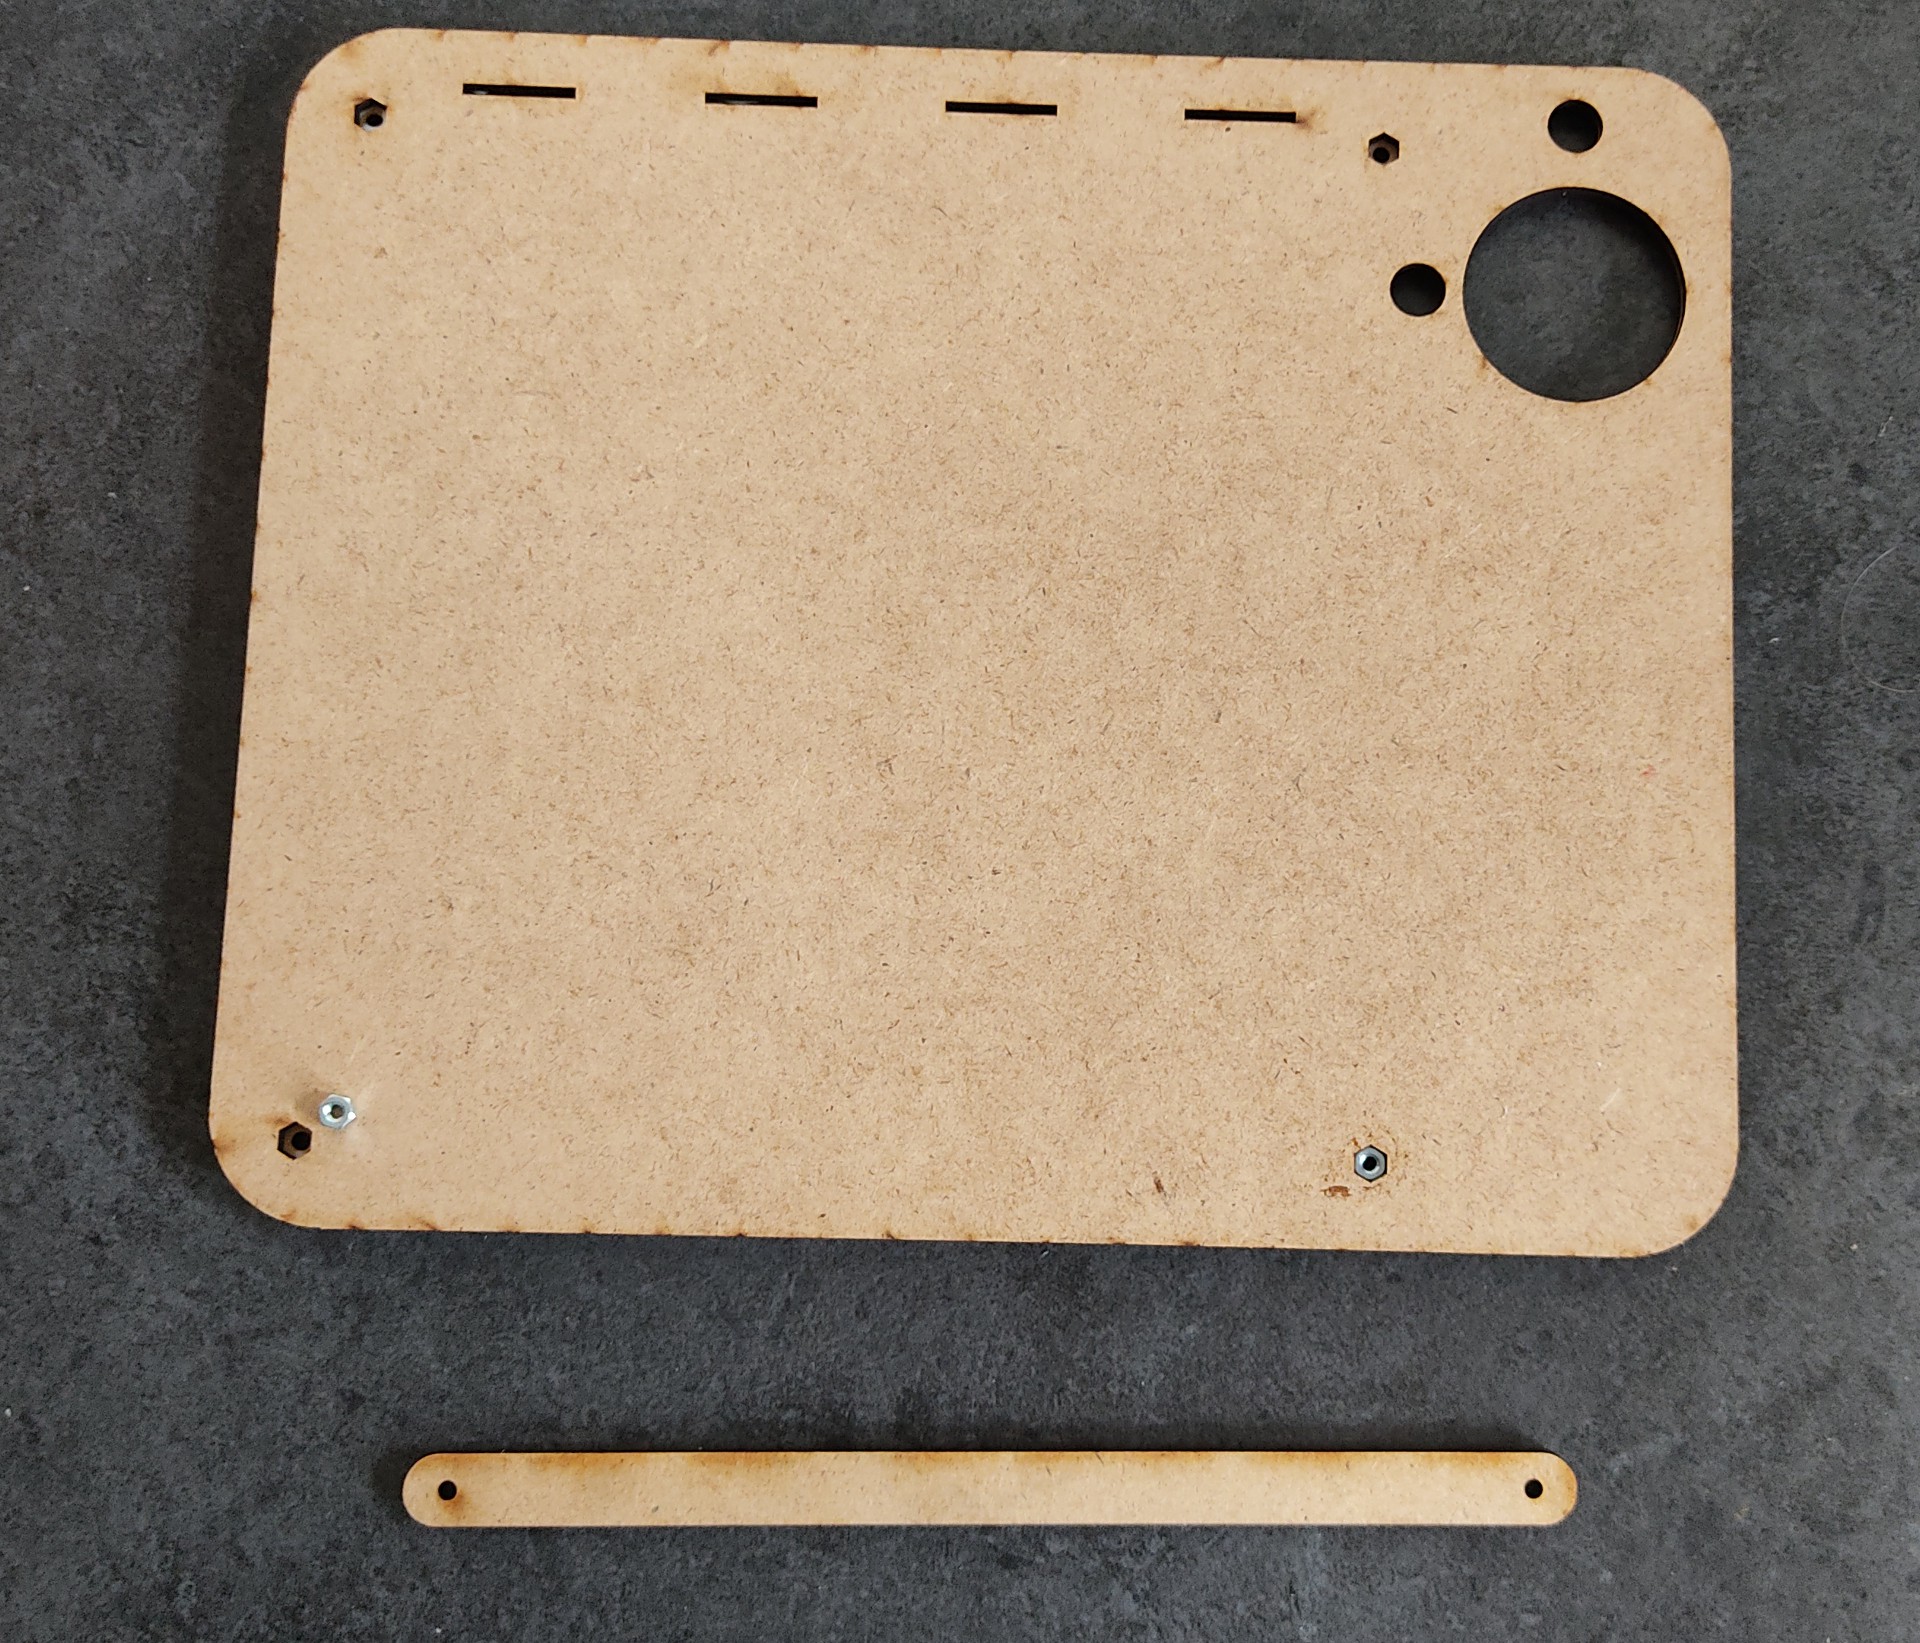
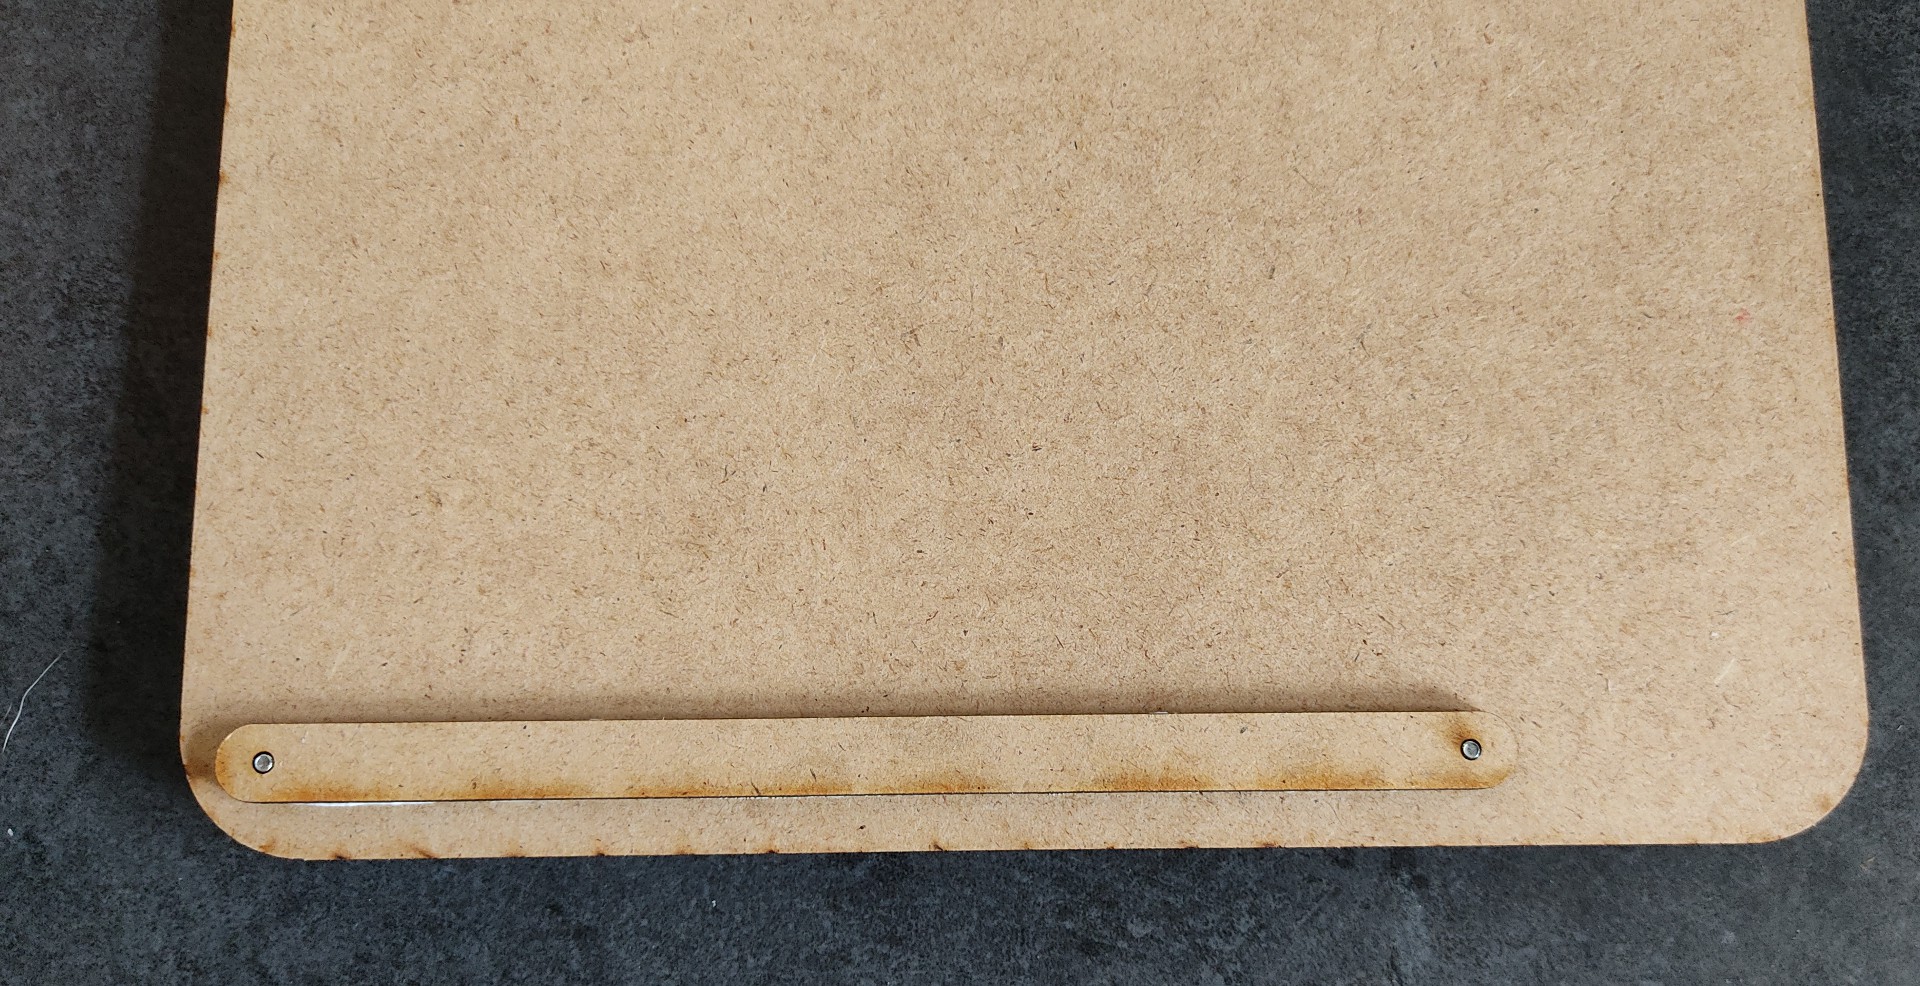
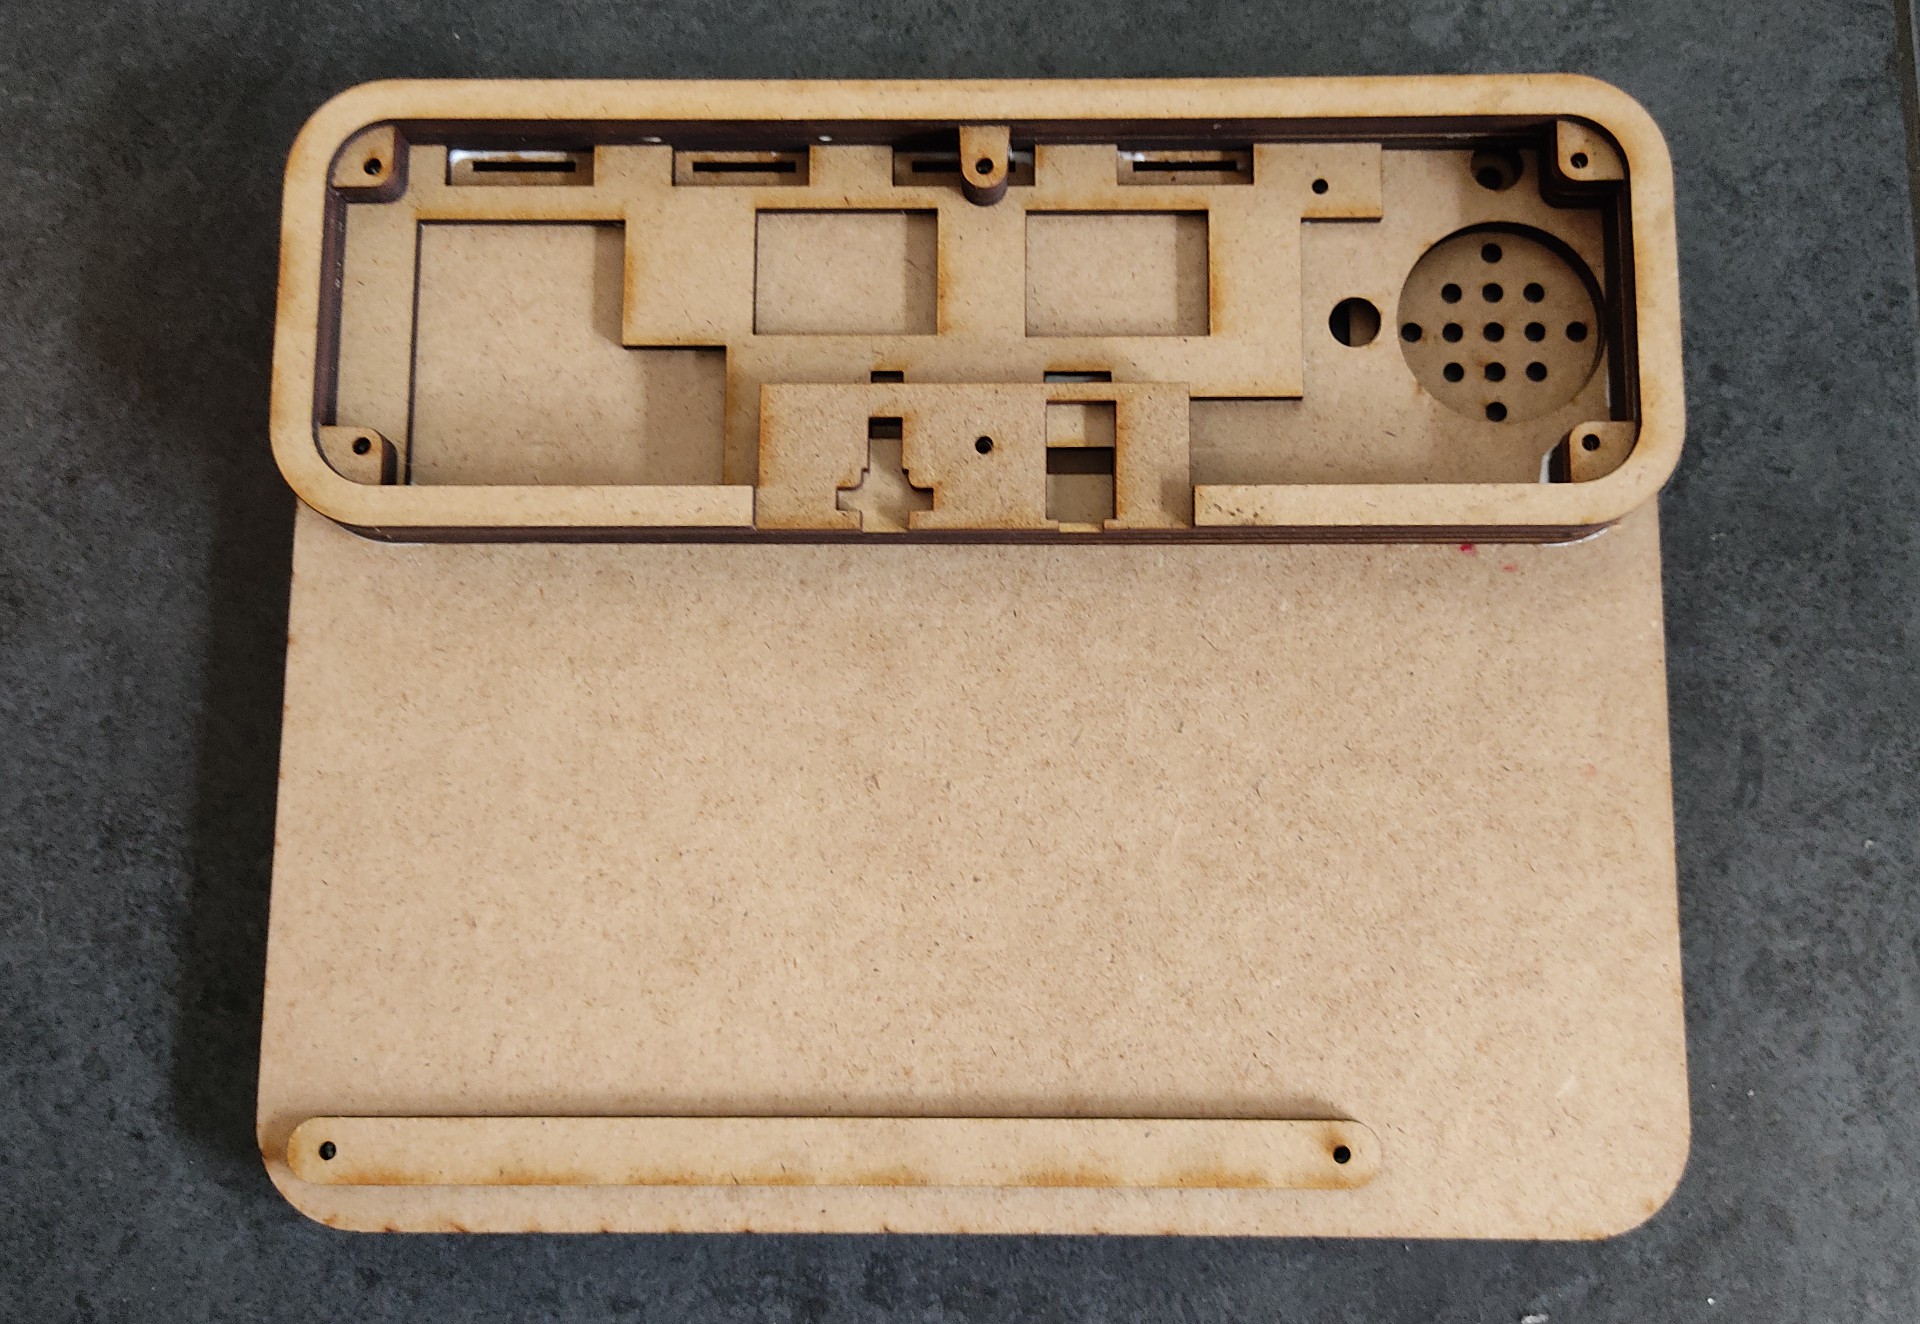
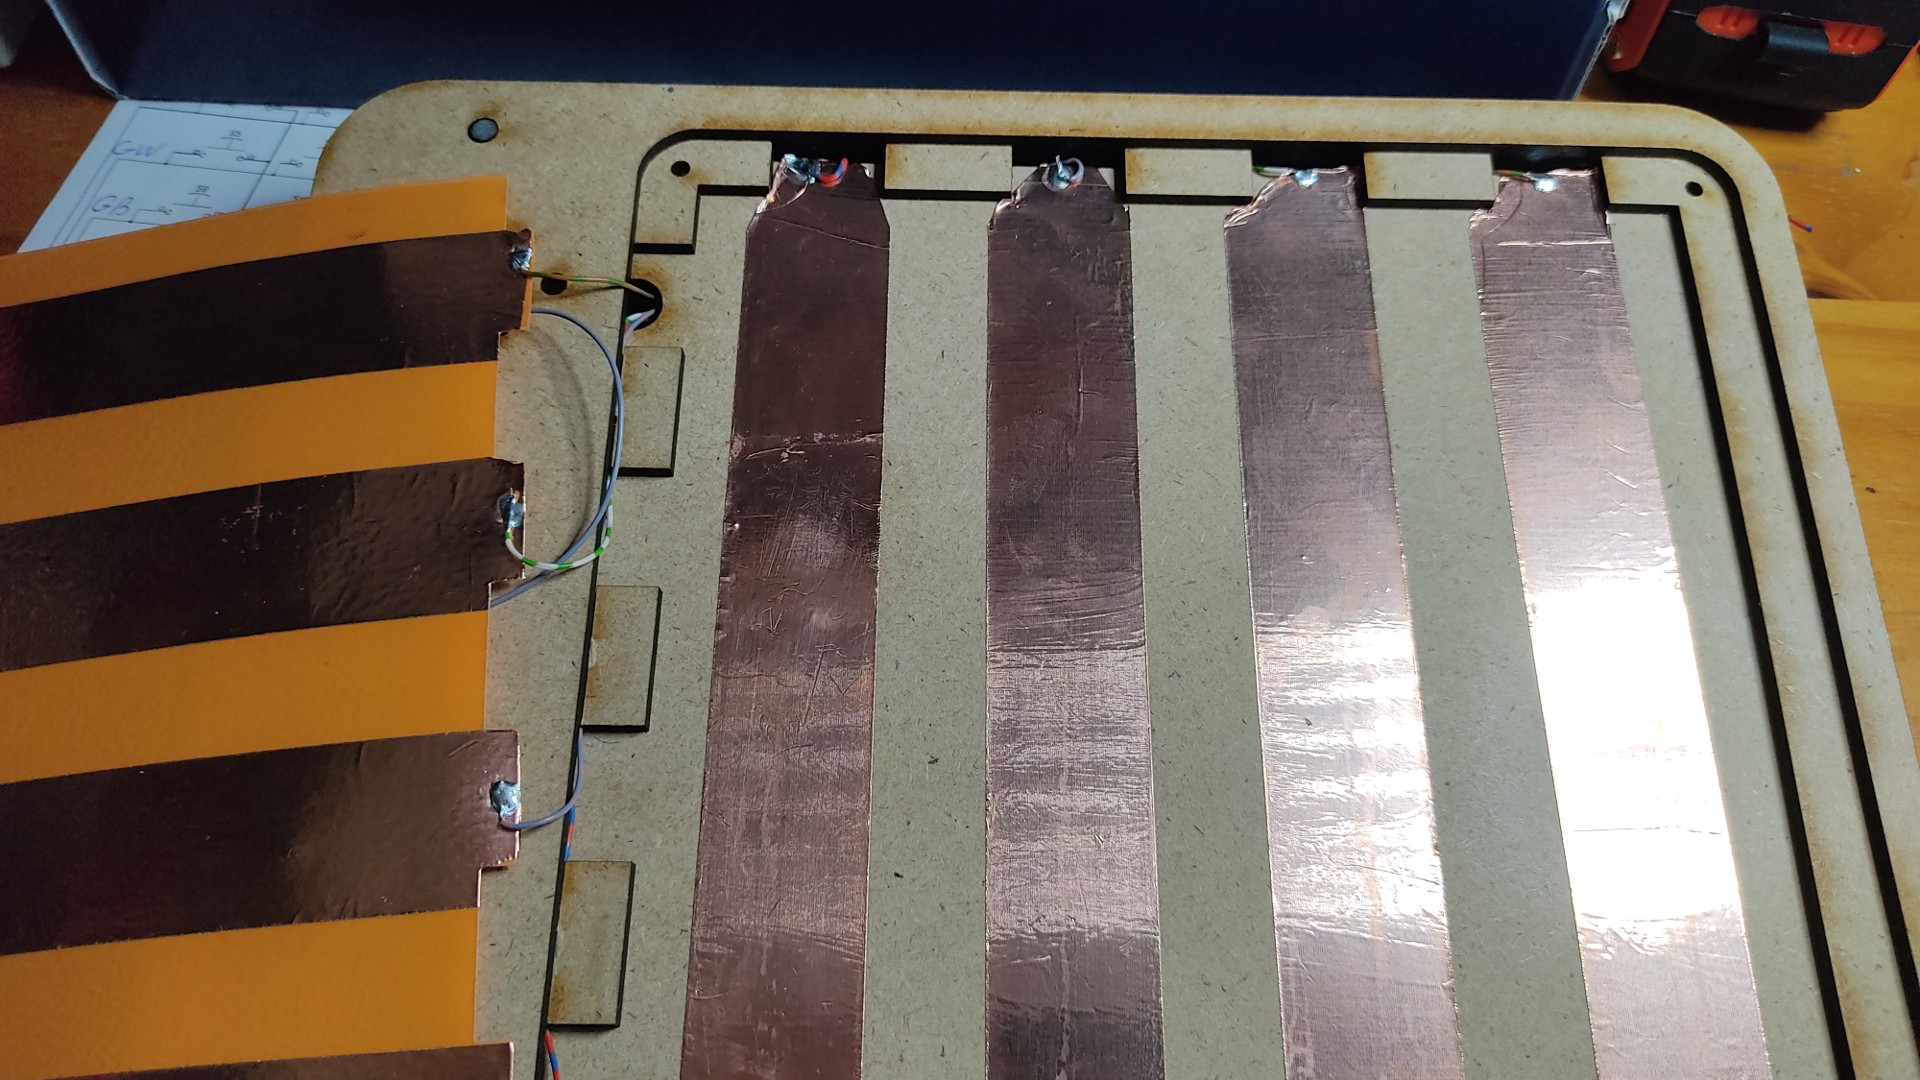
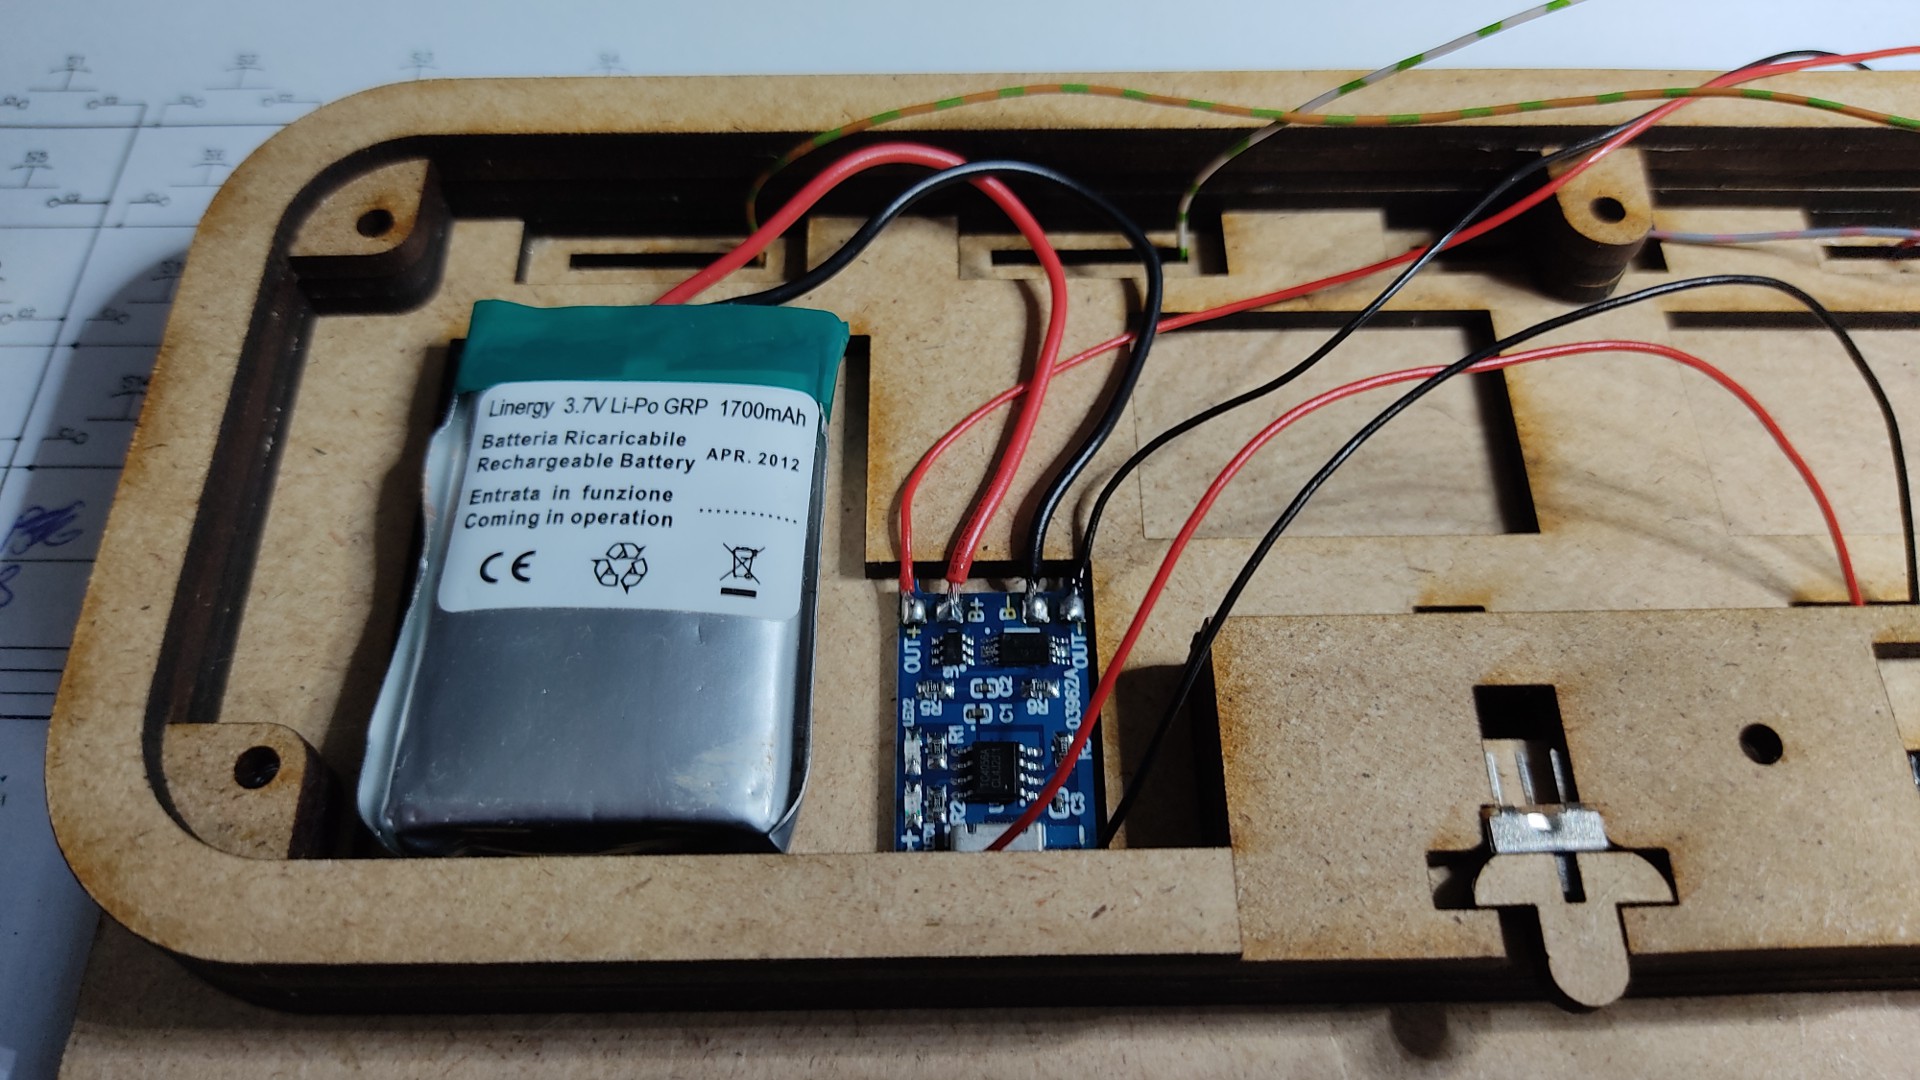
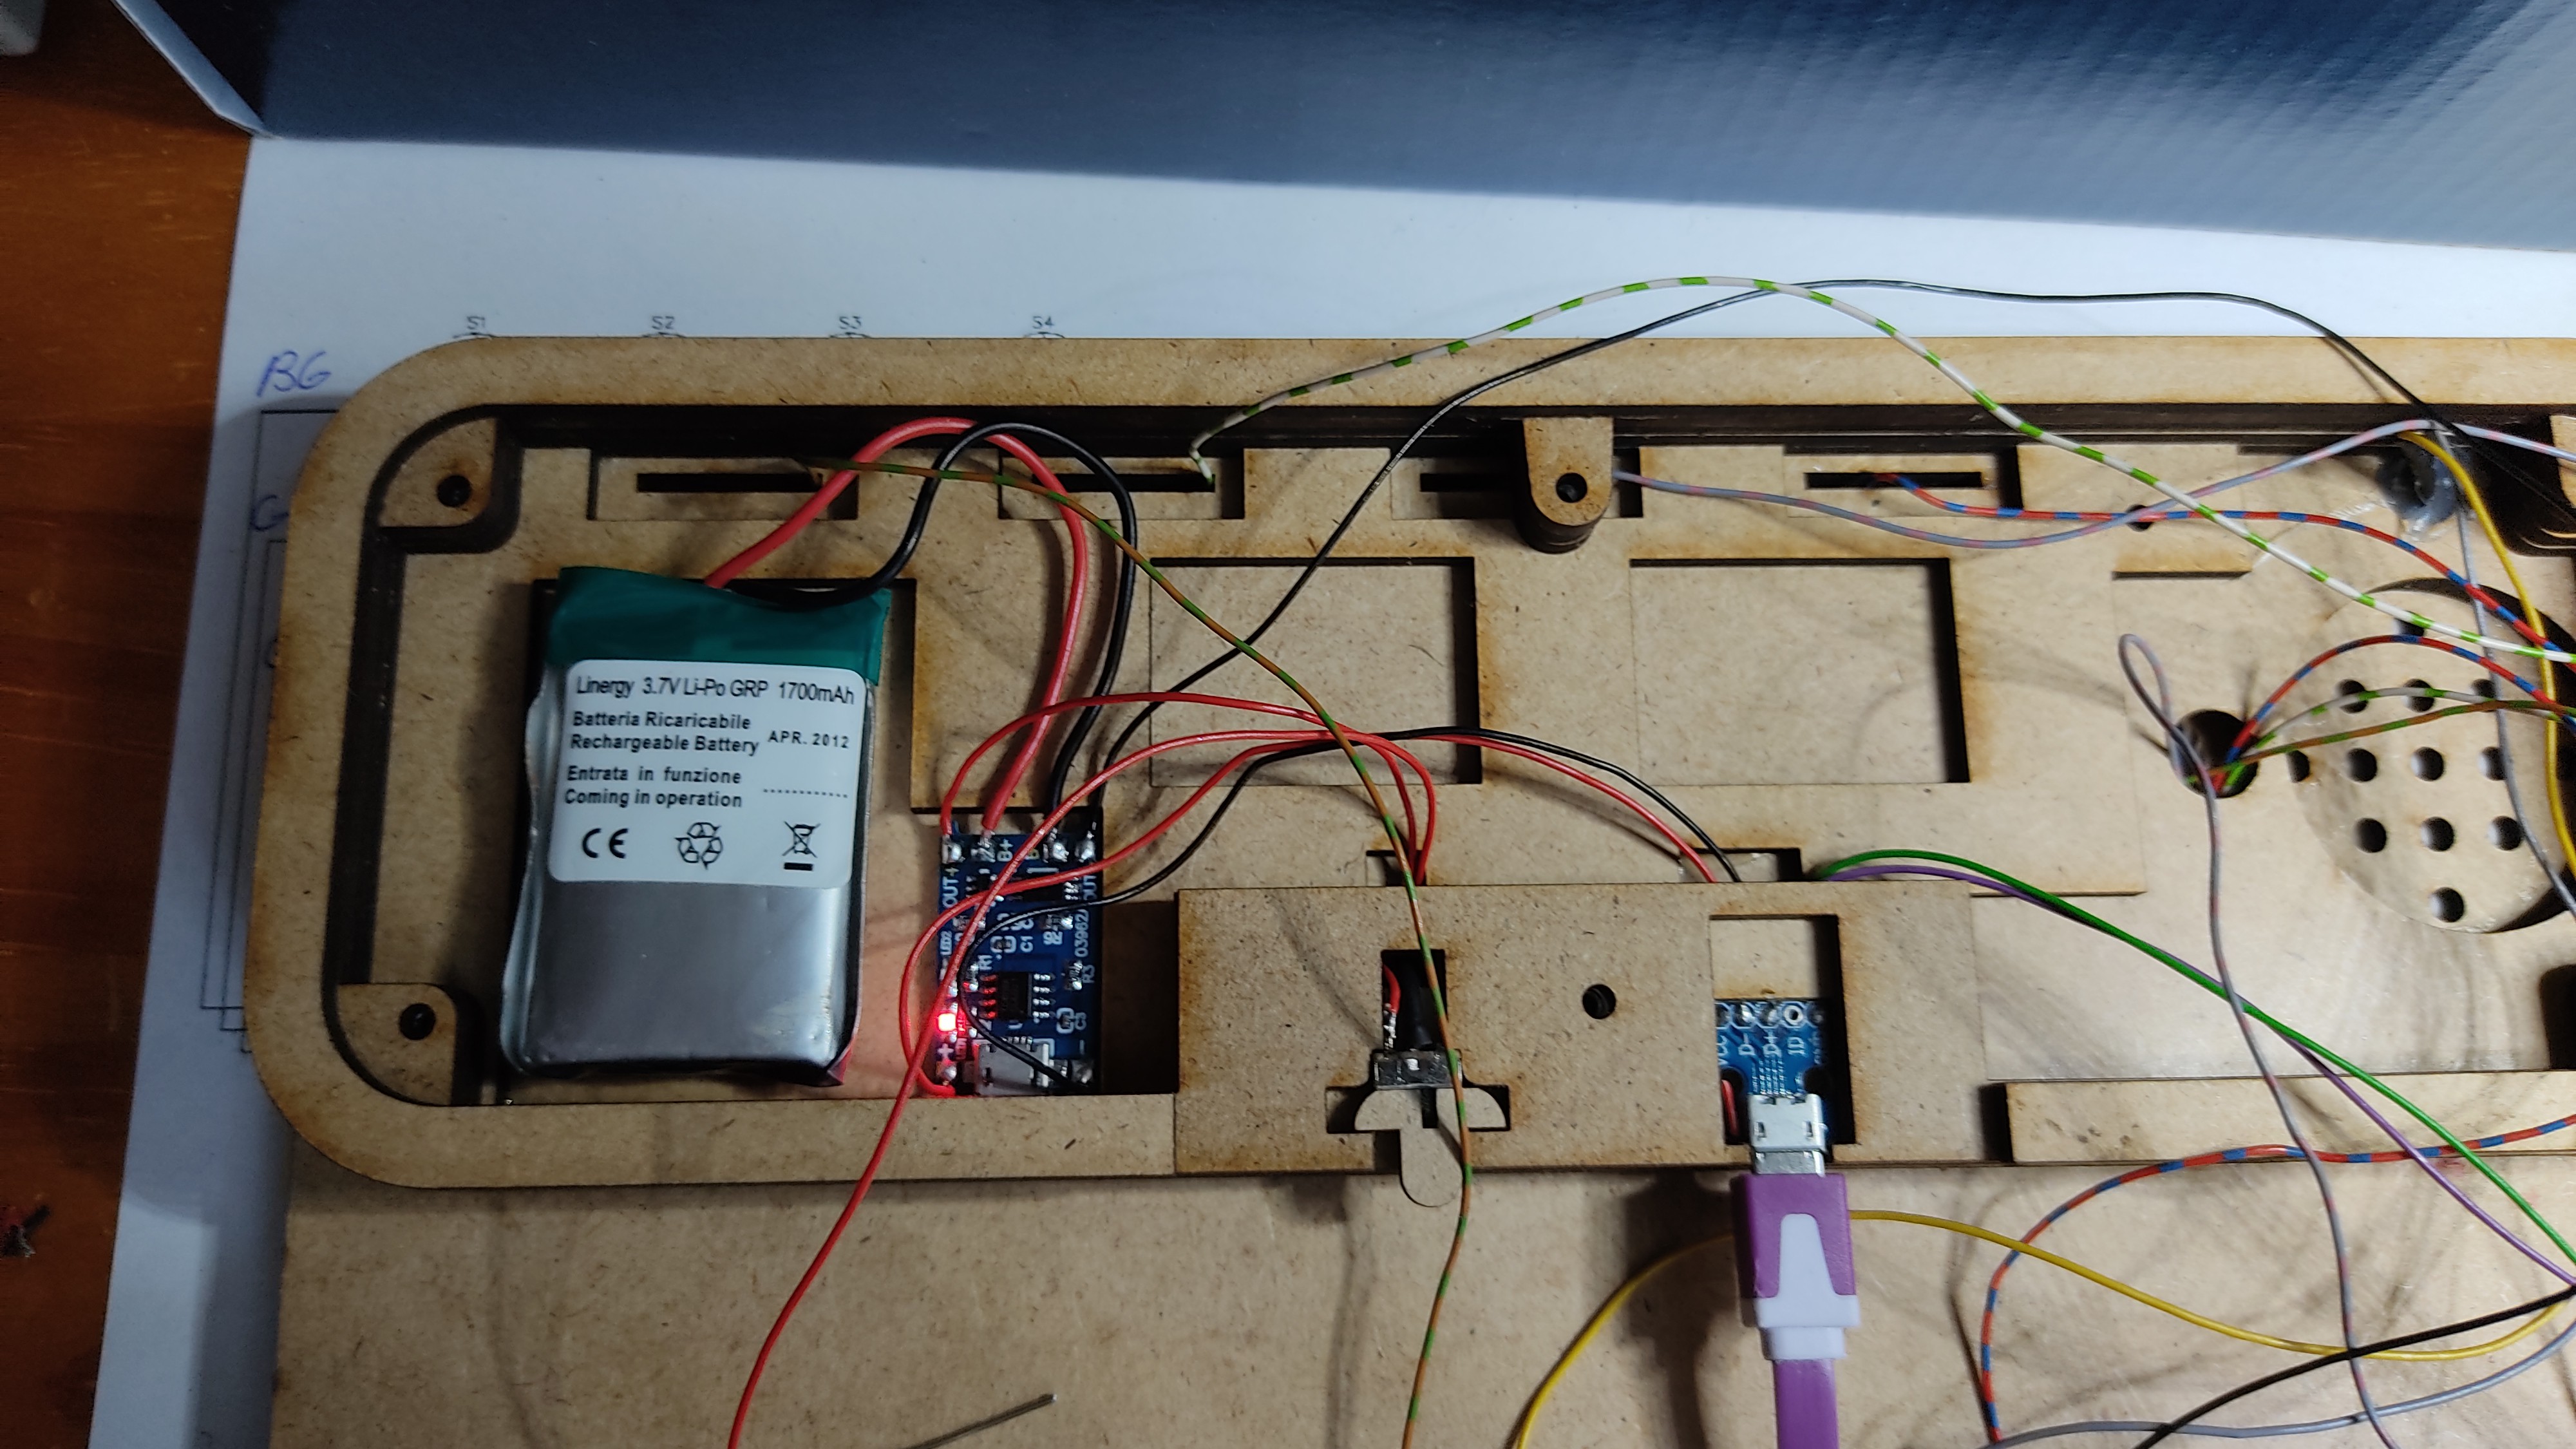
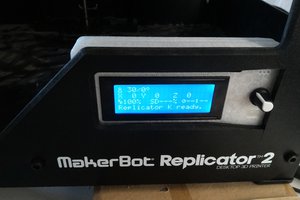
This is the first prototype. There are still some improvements needed, but as you can see, it works.
Feel free to distribute,copy or modify this project. I´m happy if this build can help someone.


 Uriel Katz
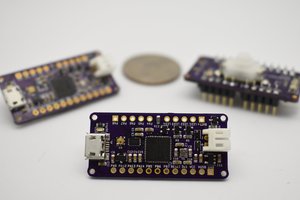
 Jeremy
 SimonXi
 Dominic Emond-Belanger
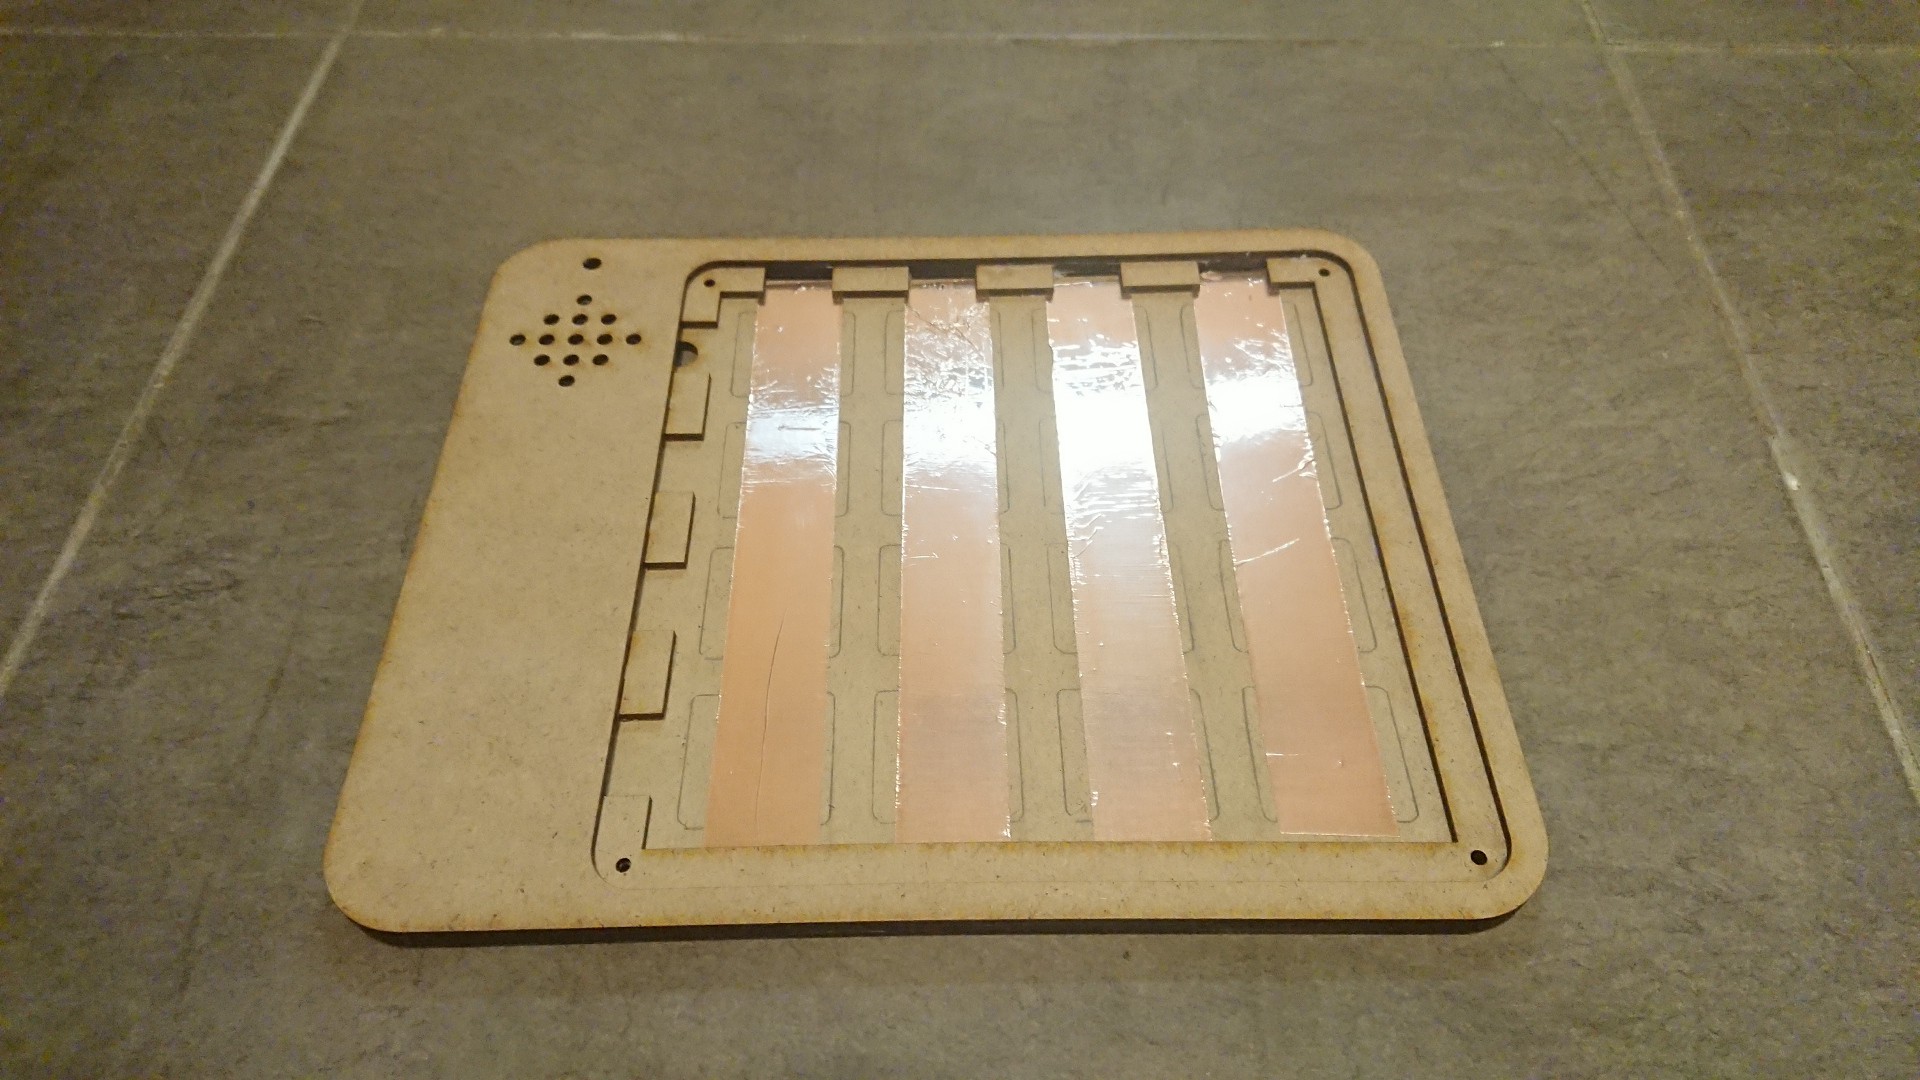
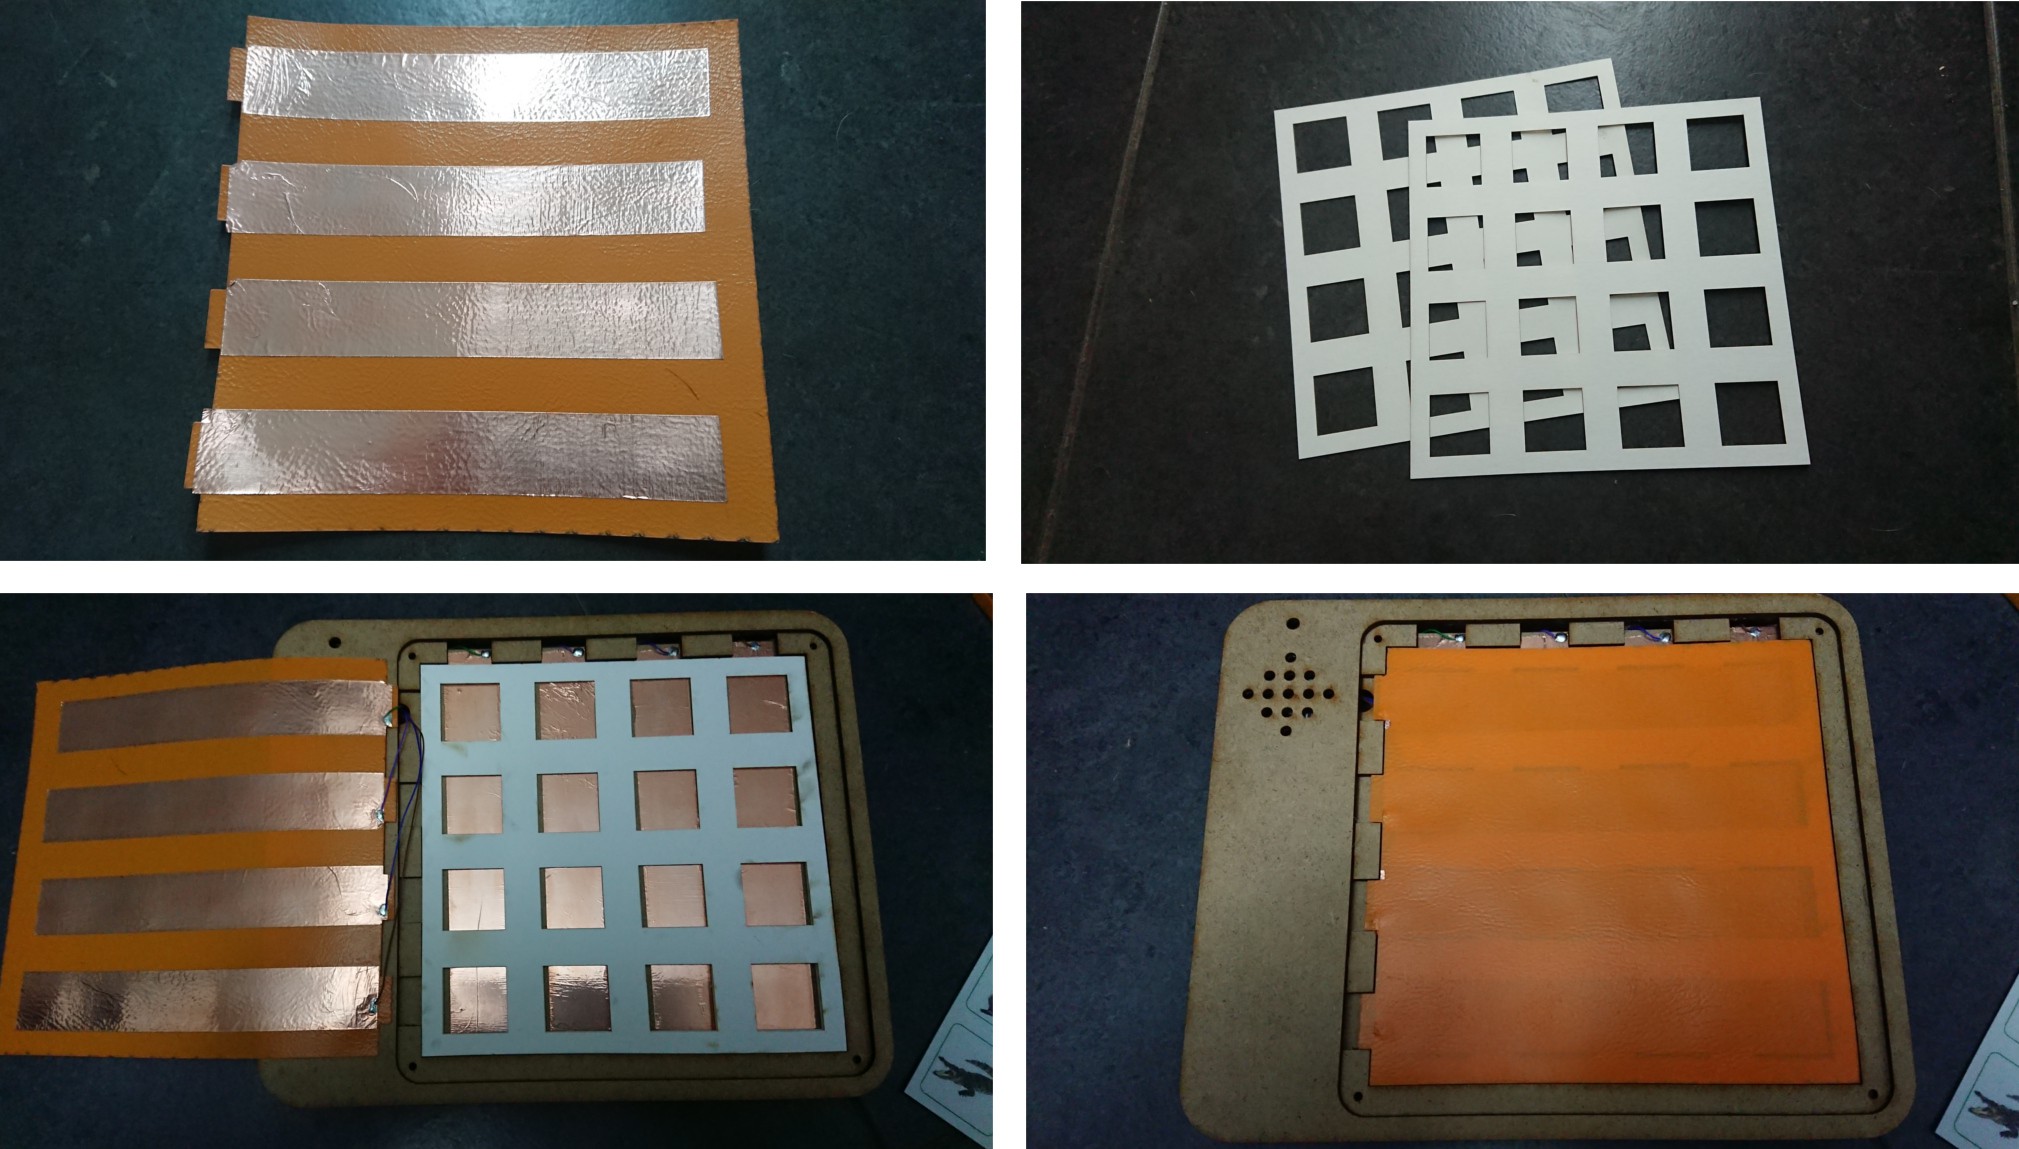
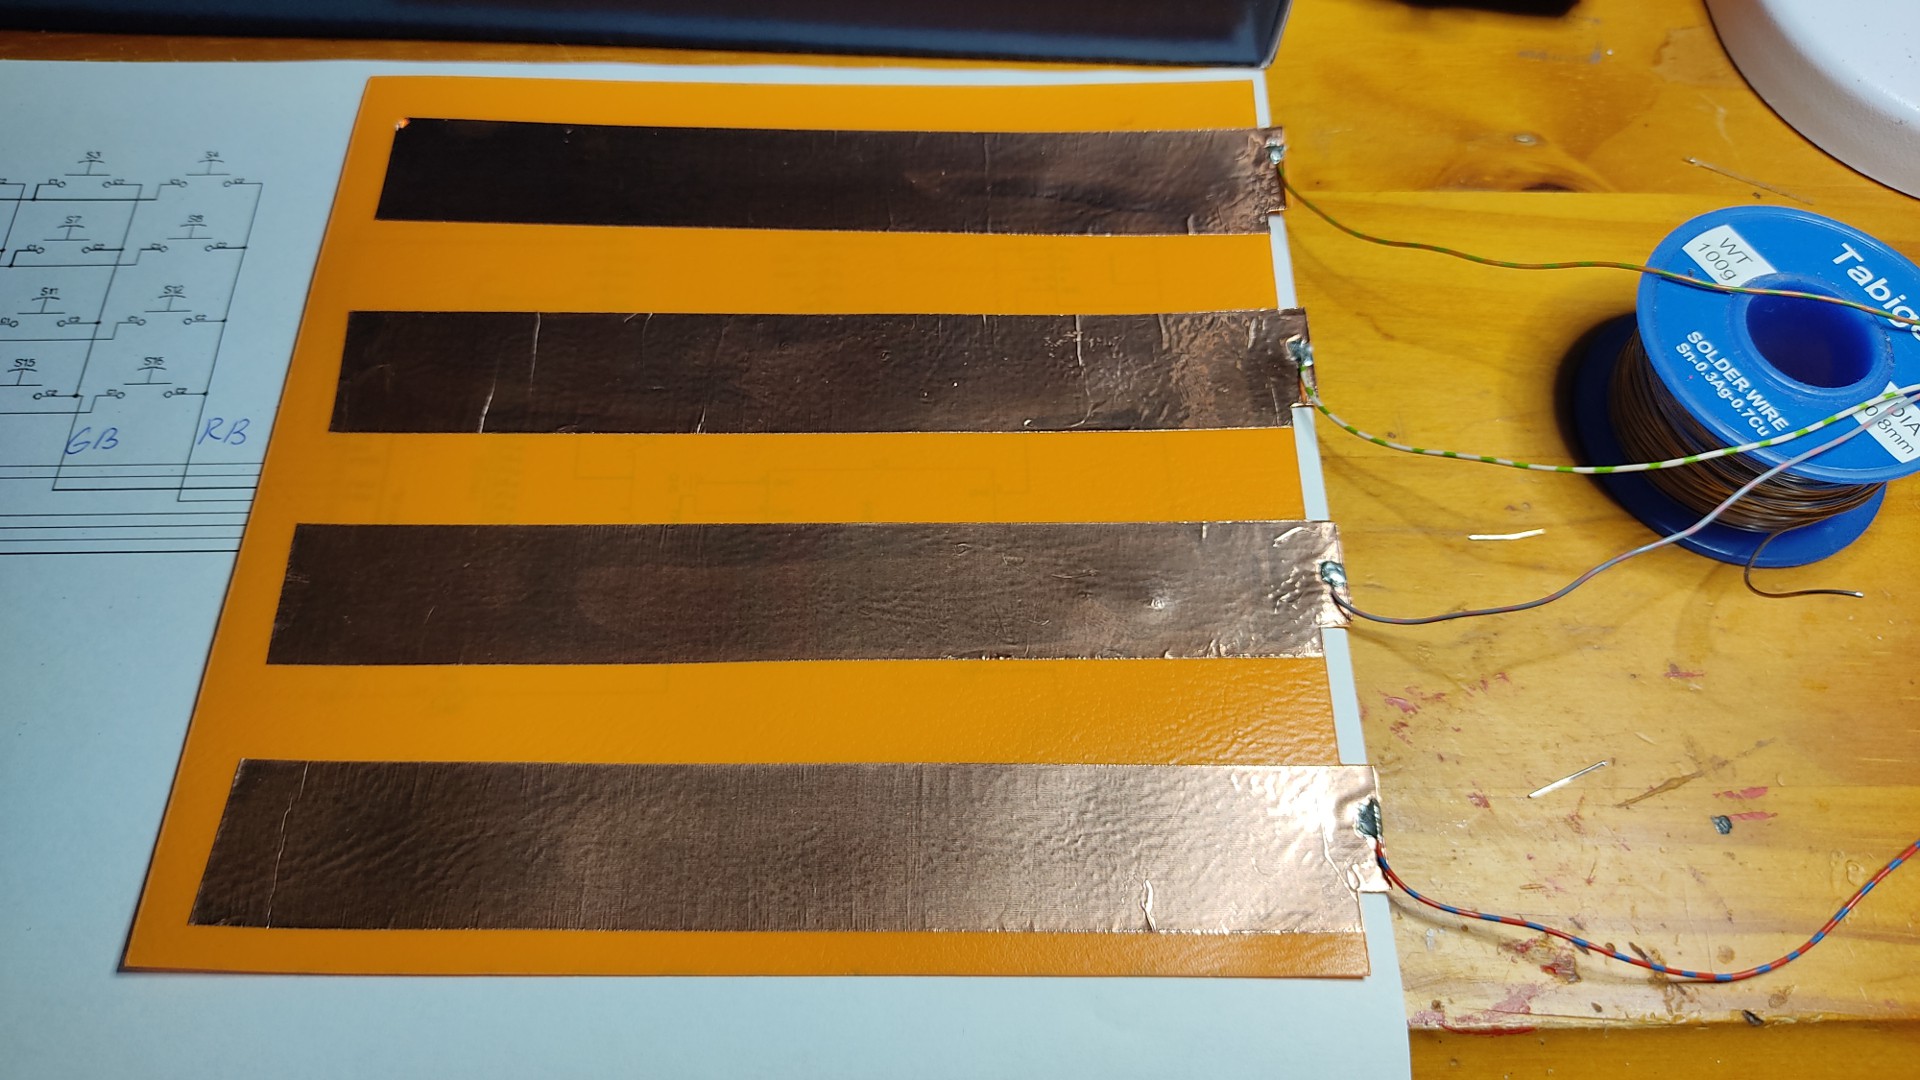
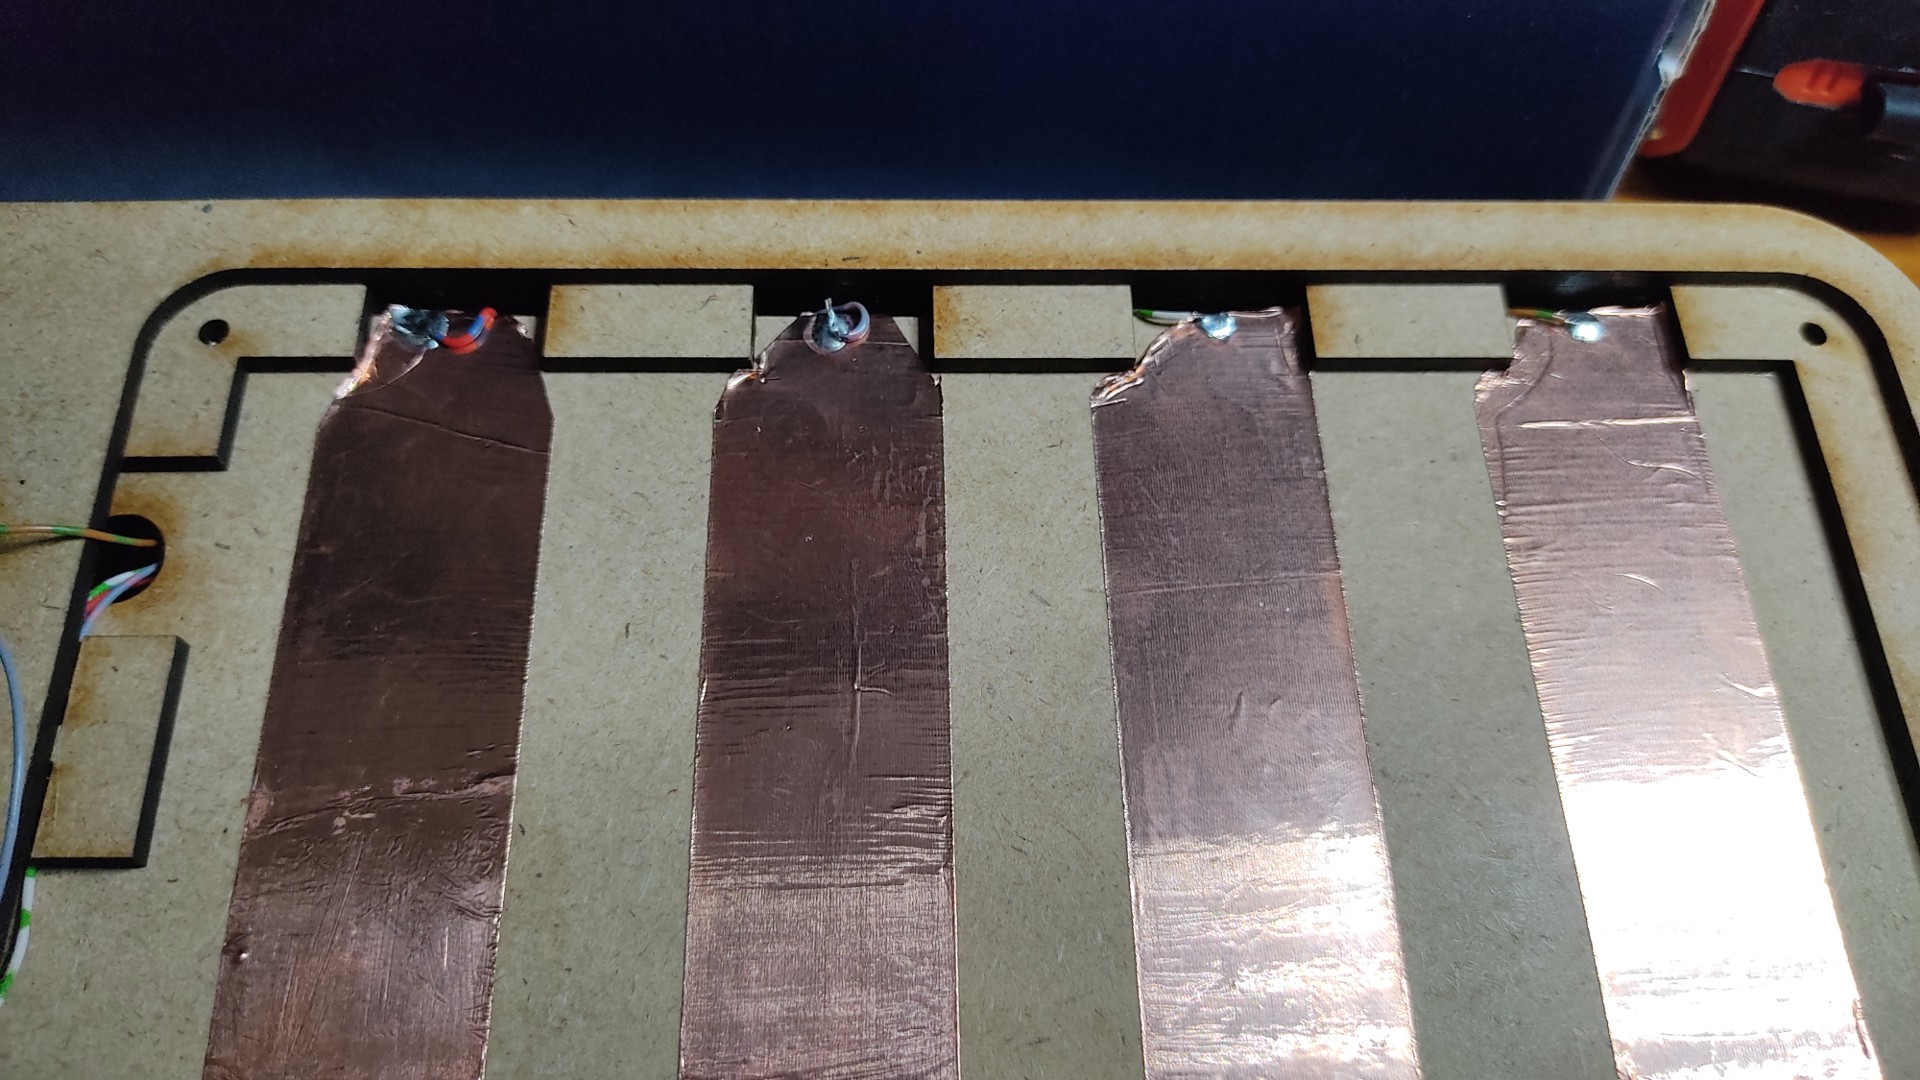
@Alain Mauer Amazing! Kudos! How did you solve the capacitive cross talk when overlaying the horizontal copper strips over the vertical strips? I tried (and failed) so I had to move to cap touch sensor breakouts (3 breakouts with 12 sensors each) . Your implementation of sound is great! I ended up using iOS’s text-to-speech. Here’s my first prototype (Rel 1.0 is ready but being documented). https://www.hackster.io/pedro-martin/bluetooth-rpm-letterboard-7f2ff4