 Daniel Jedecke
The storm disaster in NRW (Germany) has shown that the fears of many scientists can quickly become reality. Within hours, entire regions were cut off from the outside world. I myself was in the crisis area, as my parents and many friends from my school days live there. It is impossible to describe the situation there.
In the area i was, there was relatively little support from THW (THW is a Governmental Organization in the field of civil protection and is based on the voluntary commitment of dedicated people) and the fire brigade, especially at the beginning. There was no electricity, no water and no telephone. Due to the failure of the mobile phone network, the battery of many mobile phones ran out much faster than usual, as mobile phones in these situations search for available networks with maximum power. This was also the case with my parents. We as a society in western Europe are used to everything working and we have become dependent on it. This is called the vulnerability paradox and is one of the main arguments for protecting critical infrastructure.
Even when the mobile phone networks were partially working again, many still could not make phone calls because of the empty mobile phone batteries and the lack of electricity. In addition, of course, without electricity there was hardly any light and young parents had the problem of getting baby porridge or milk for the children warm due to the lack of alternative cooking options.
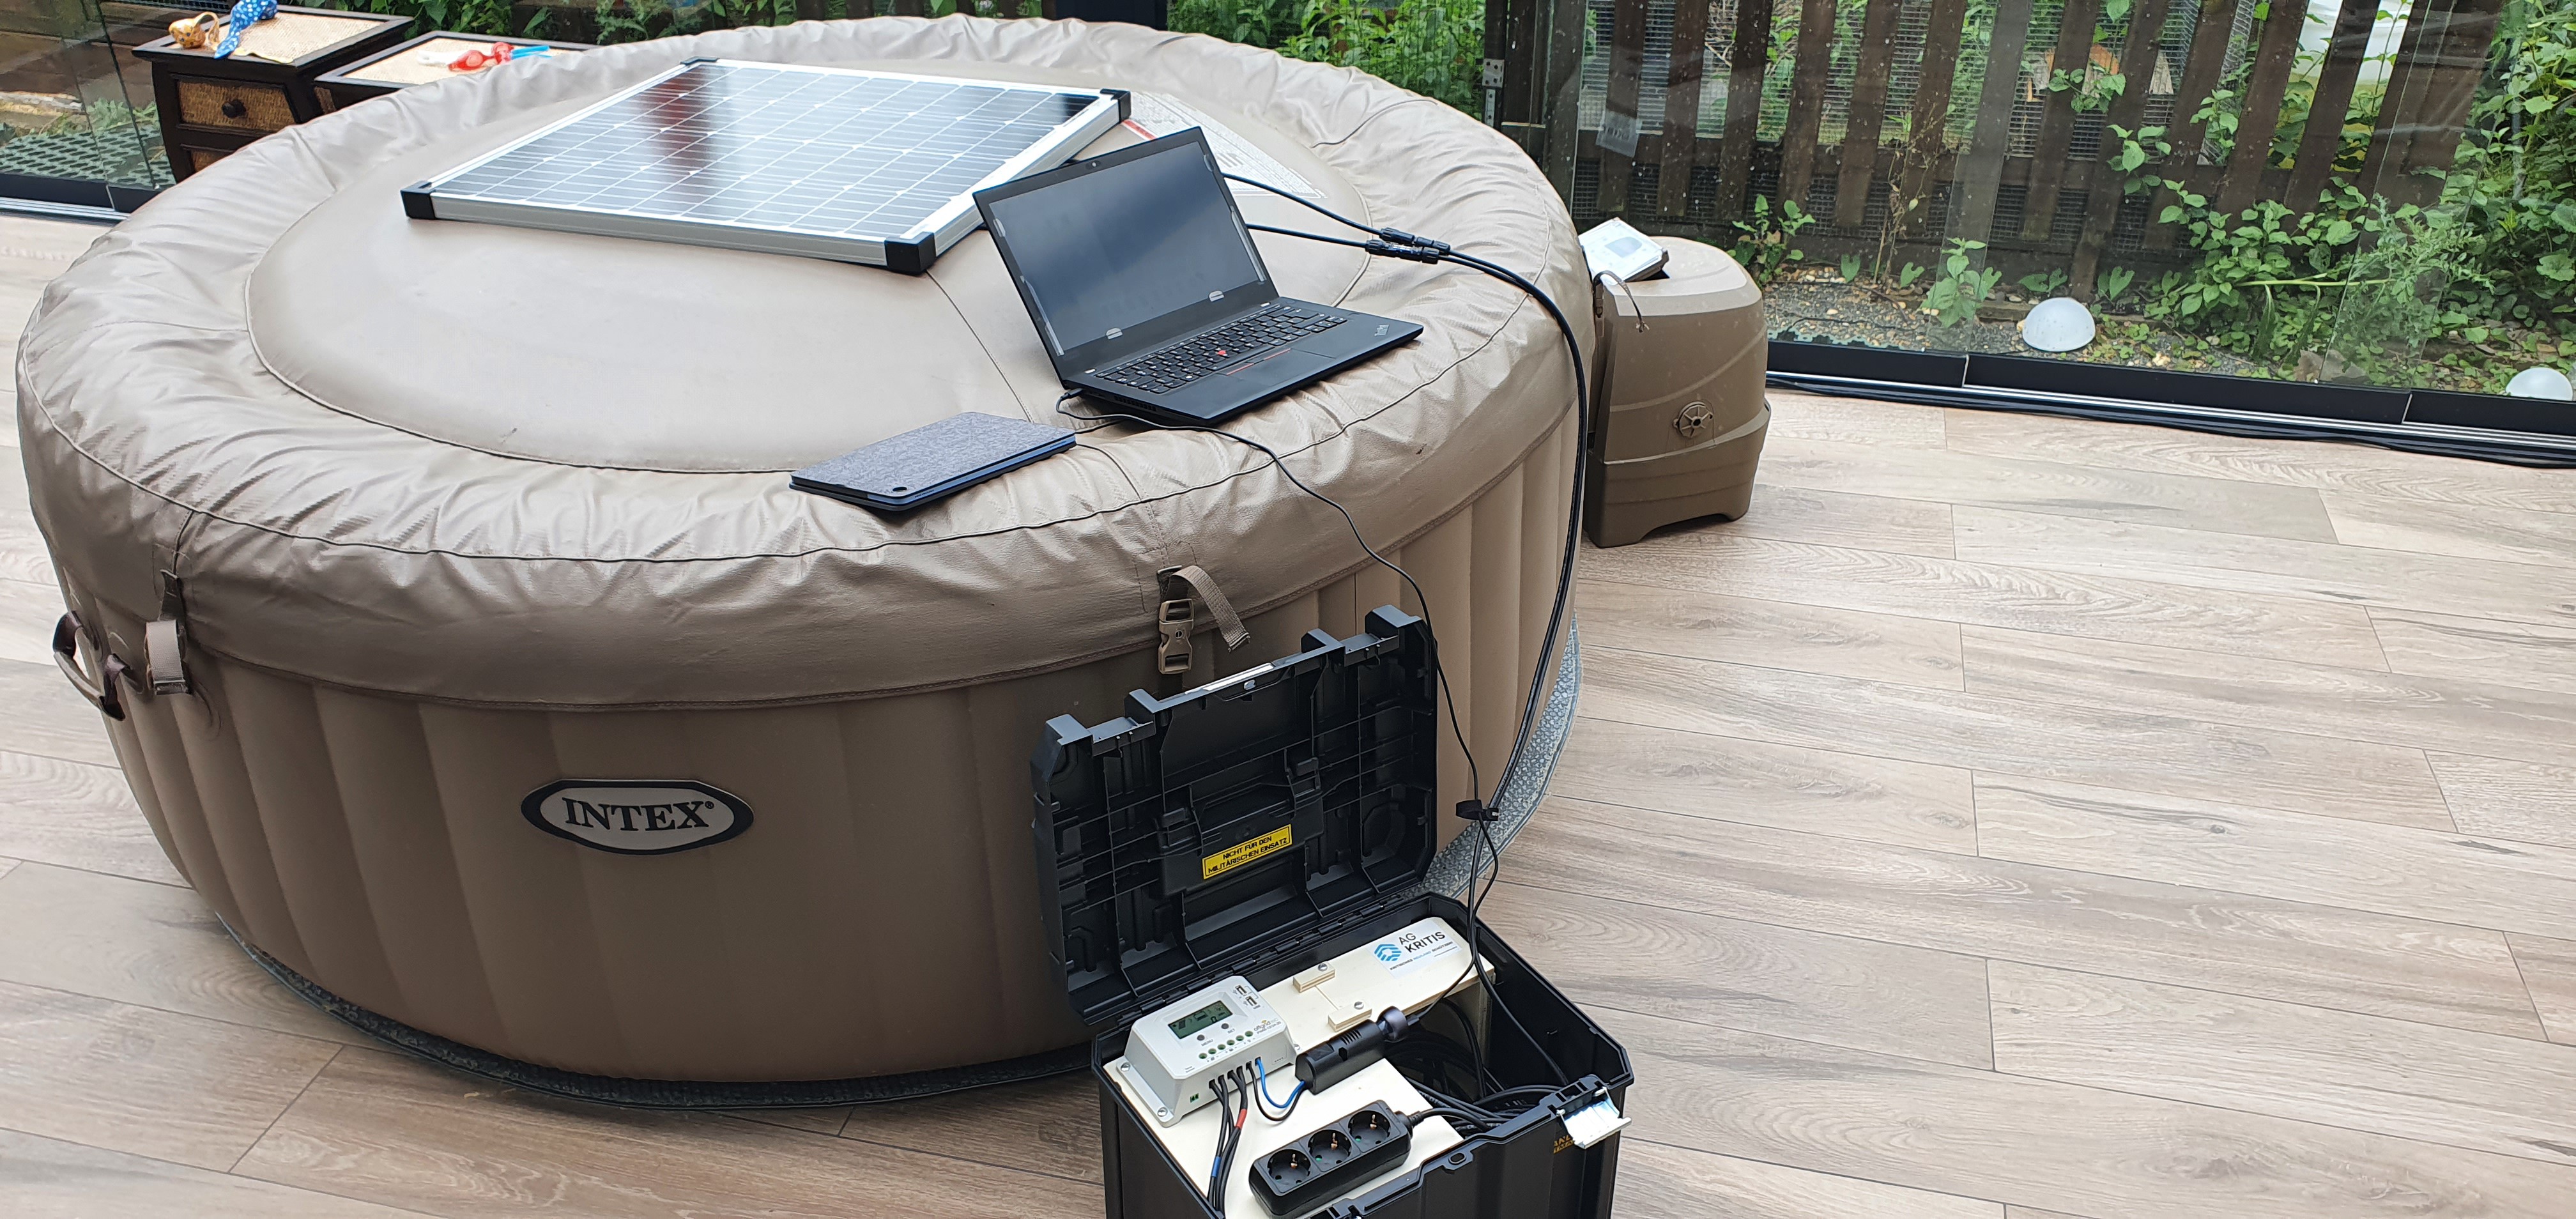
Emergency generators are a possibility, but these require fuel, maintenance and without regular test runs according to Murphy's Law "of course" do not work especially in an emergency. I myself was able to stay afloat with a power bank and solar panels with USB output. However, I already had the idea of setting this up more professionally and robust solution. The idea of a solar-based emergency power supply with battery buffer was born.
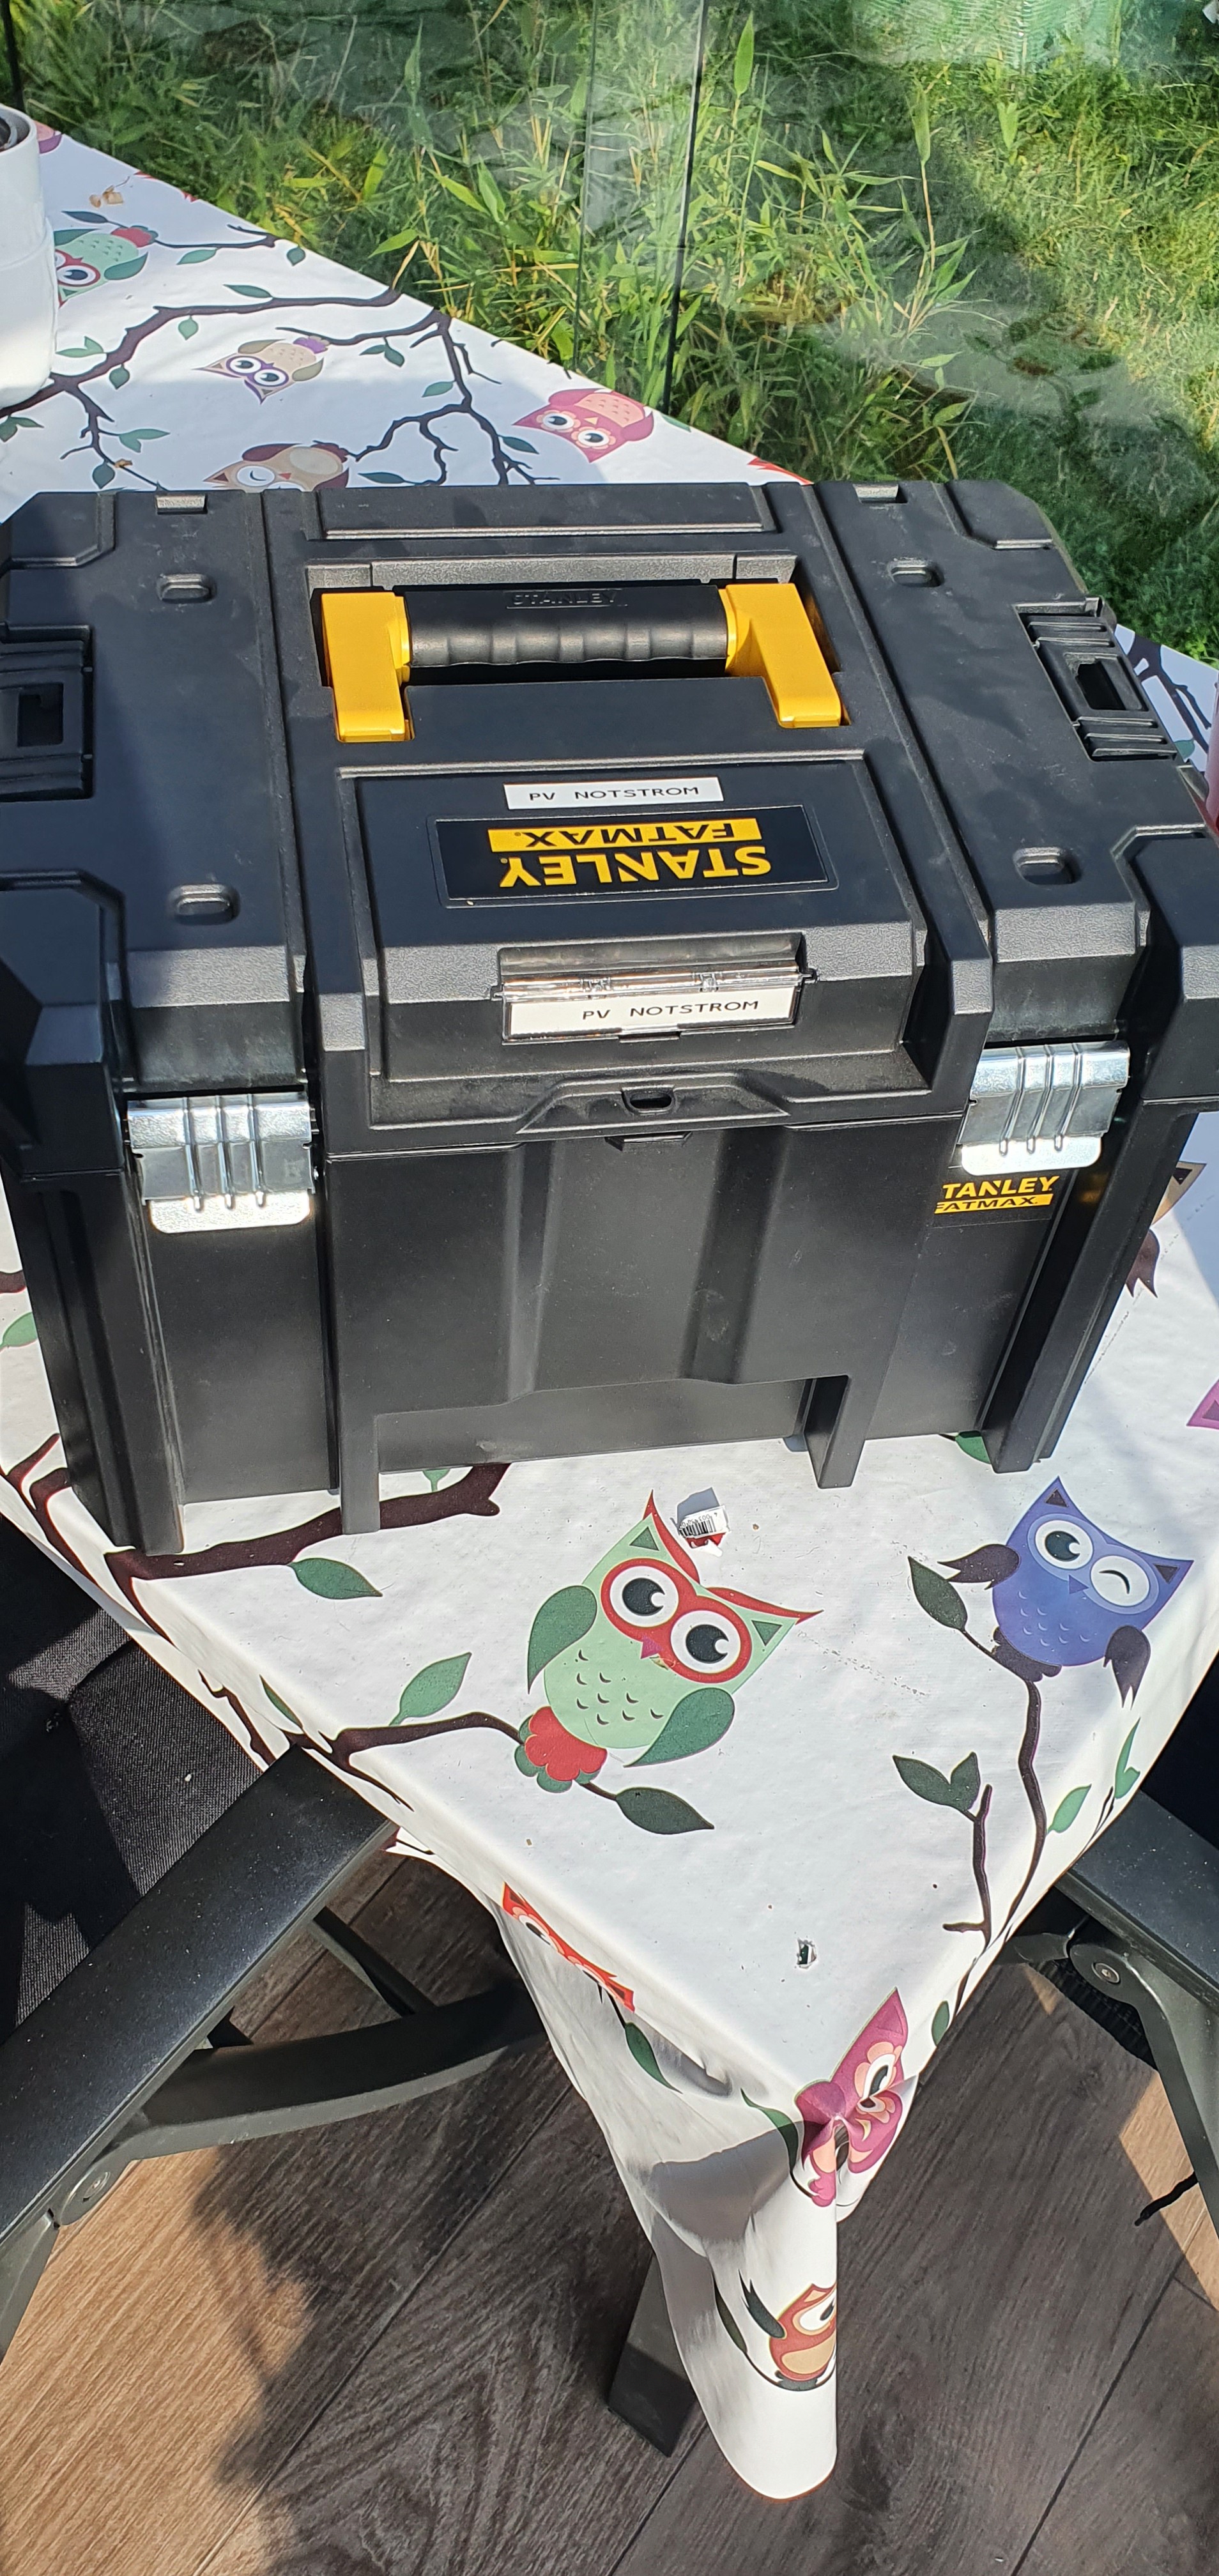
Of course, such systems can be bought ready-made, but some of them cost over 1000 euros as a kit and are still not portable. So something for mobile use was needed. The following goals were defined:
- Battery storage (No Lipo), easy to obtain
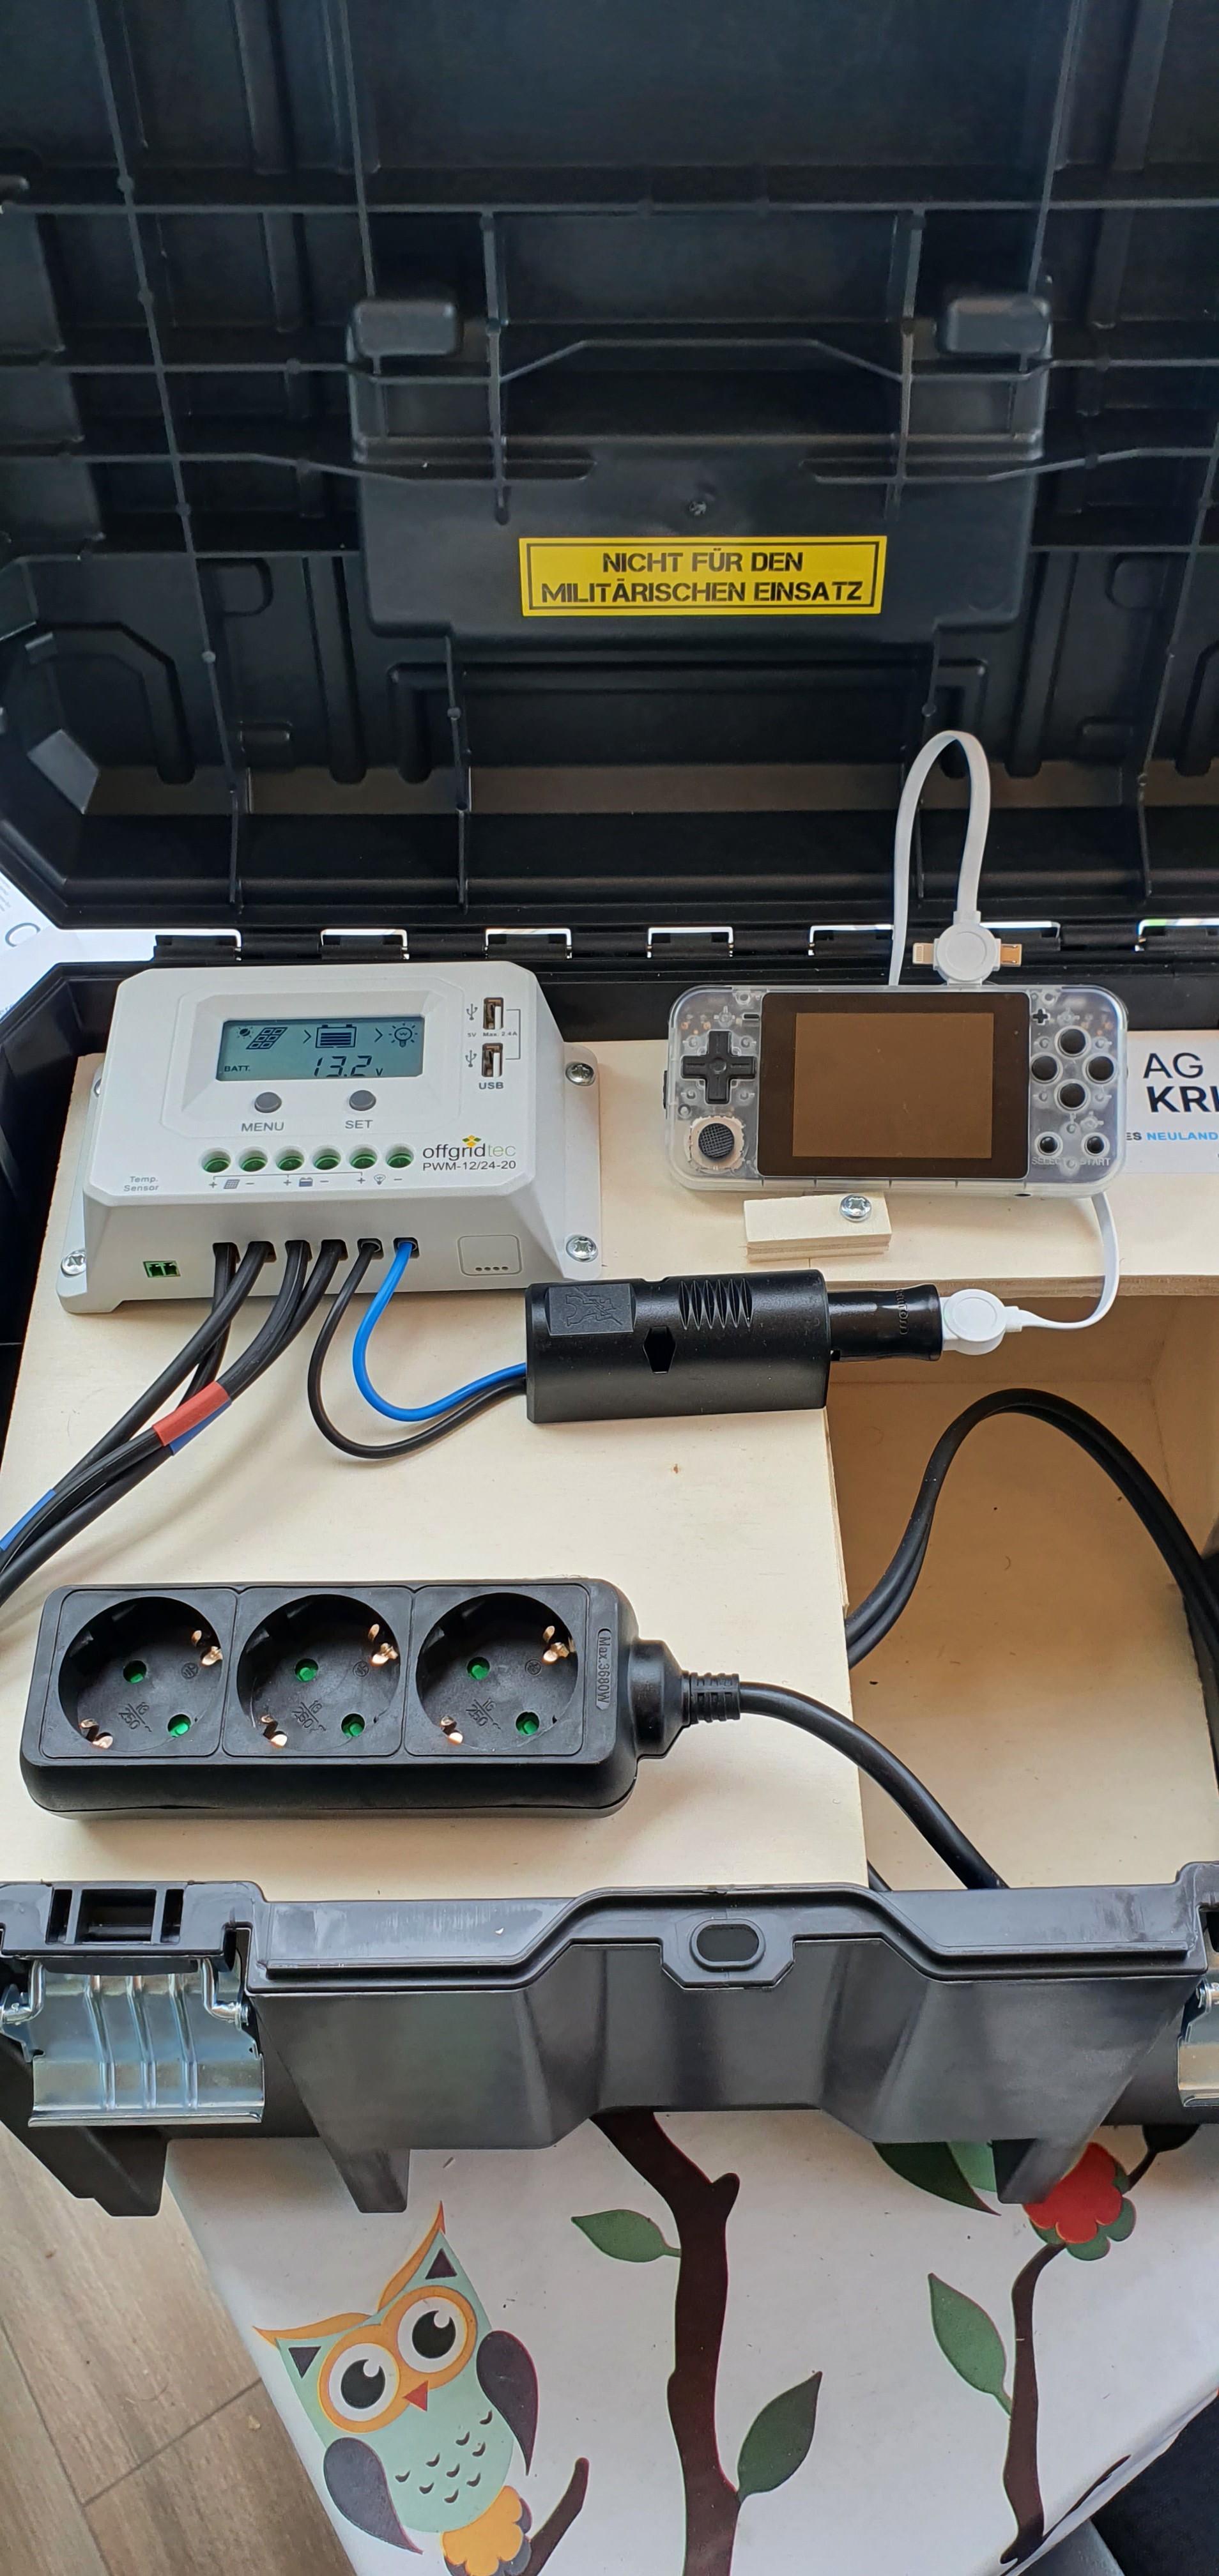
- Charging of USB devices
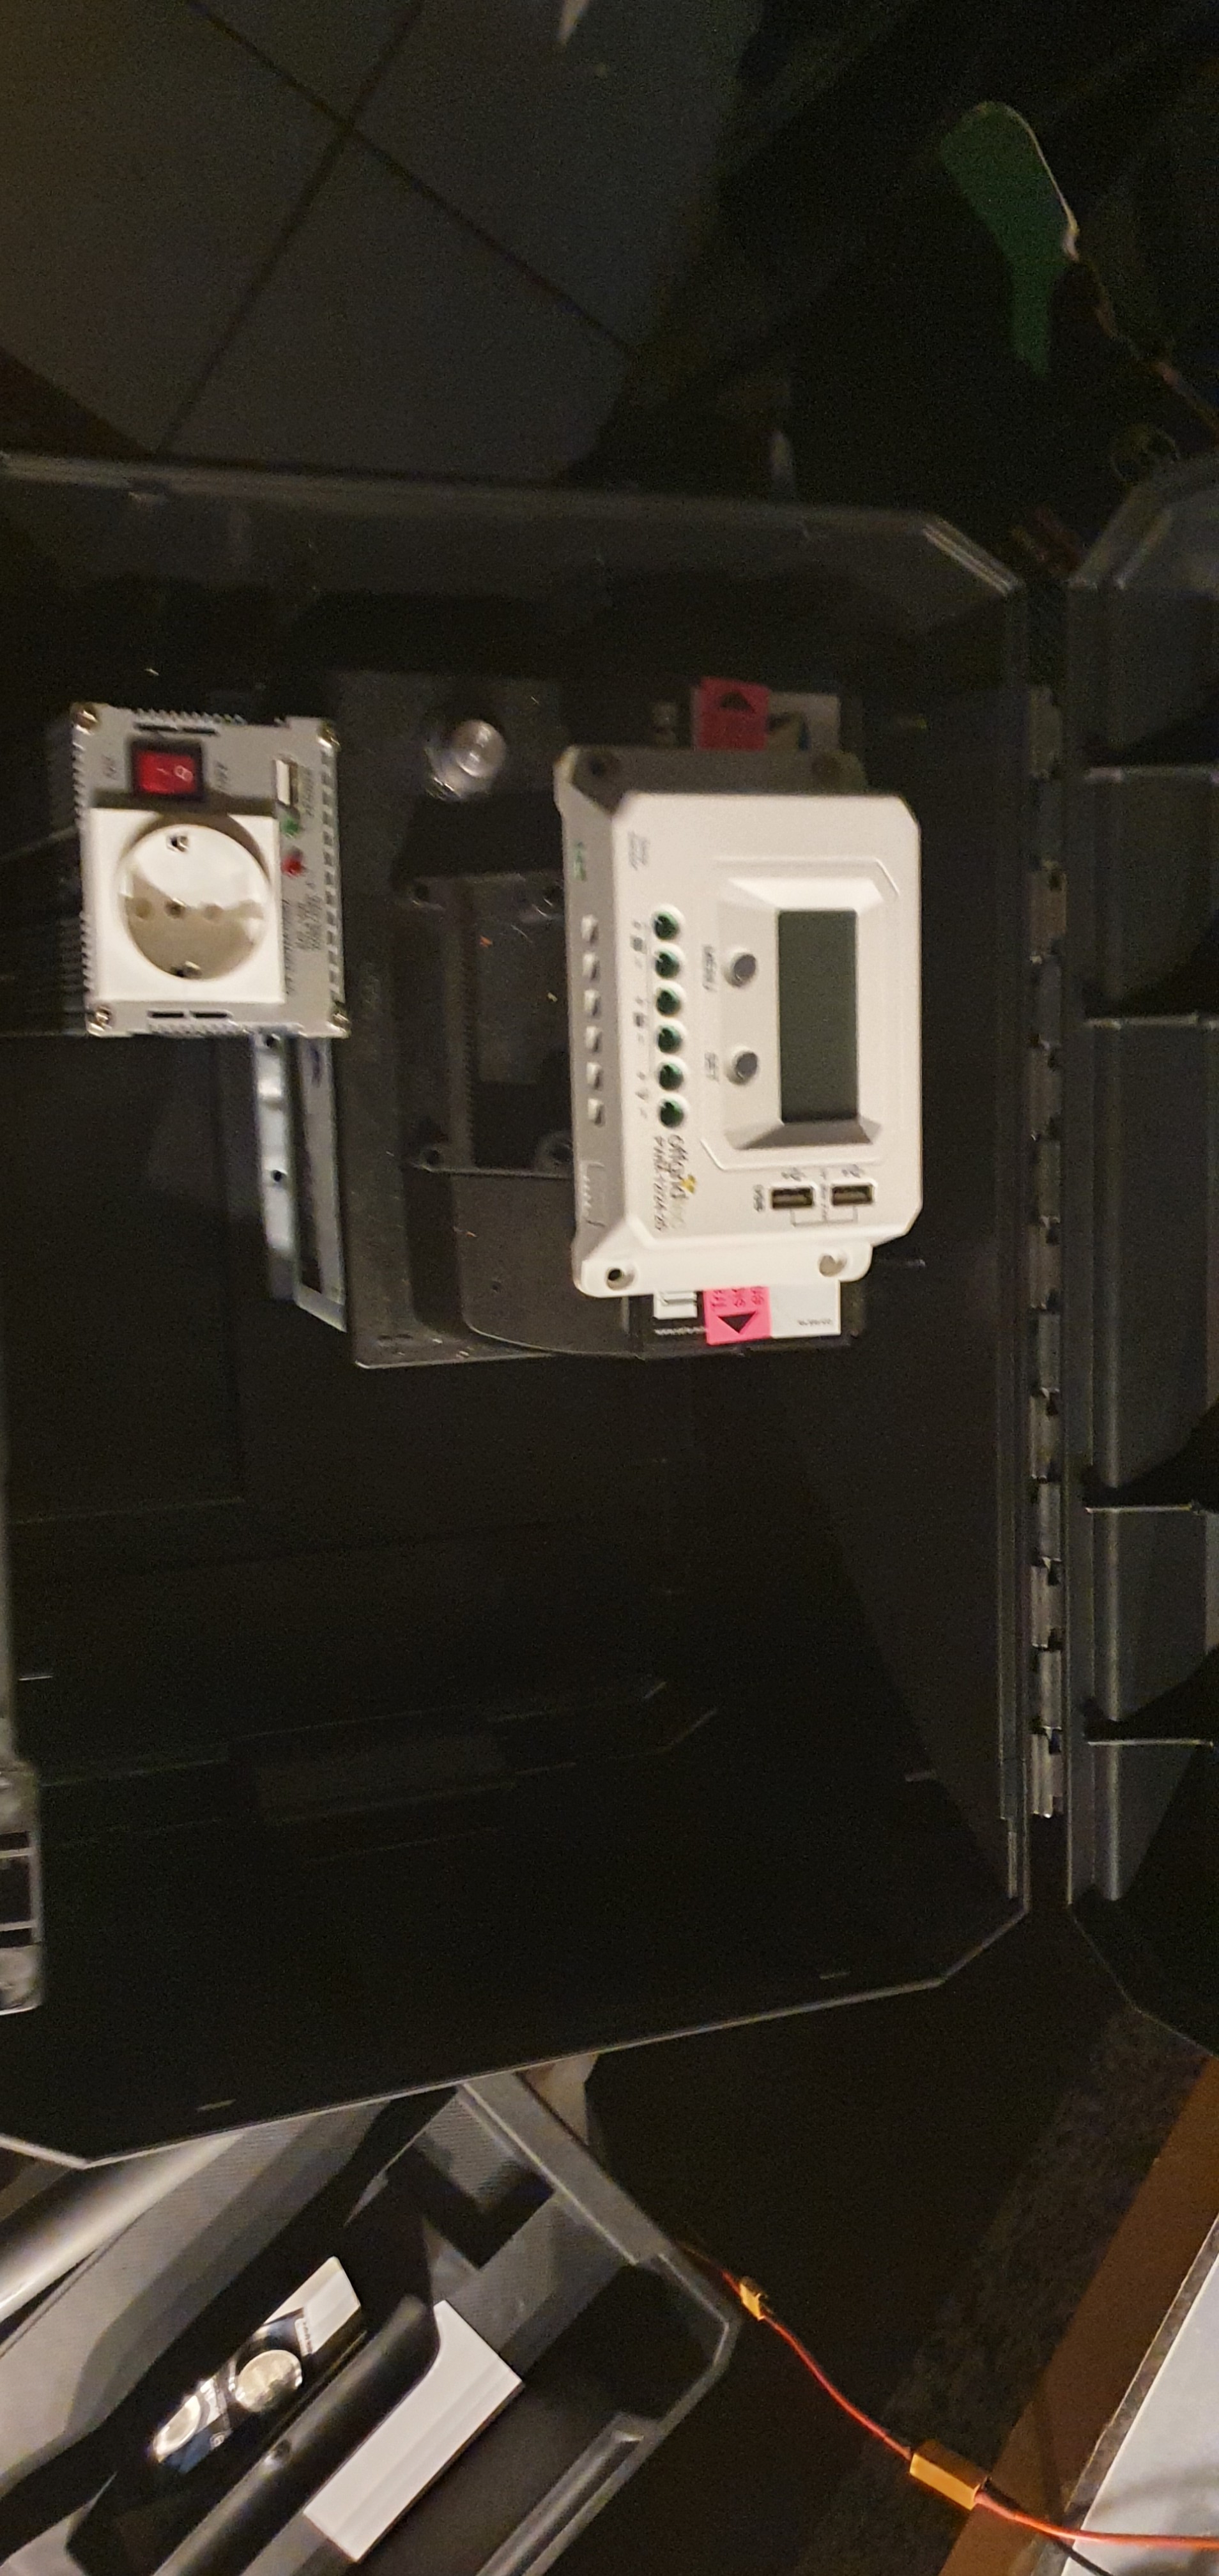
- 230V system for everyday use (bottle warmer, light, etc)
- 12V output for chargers
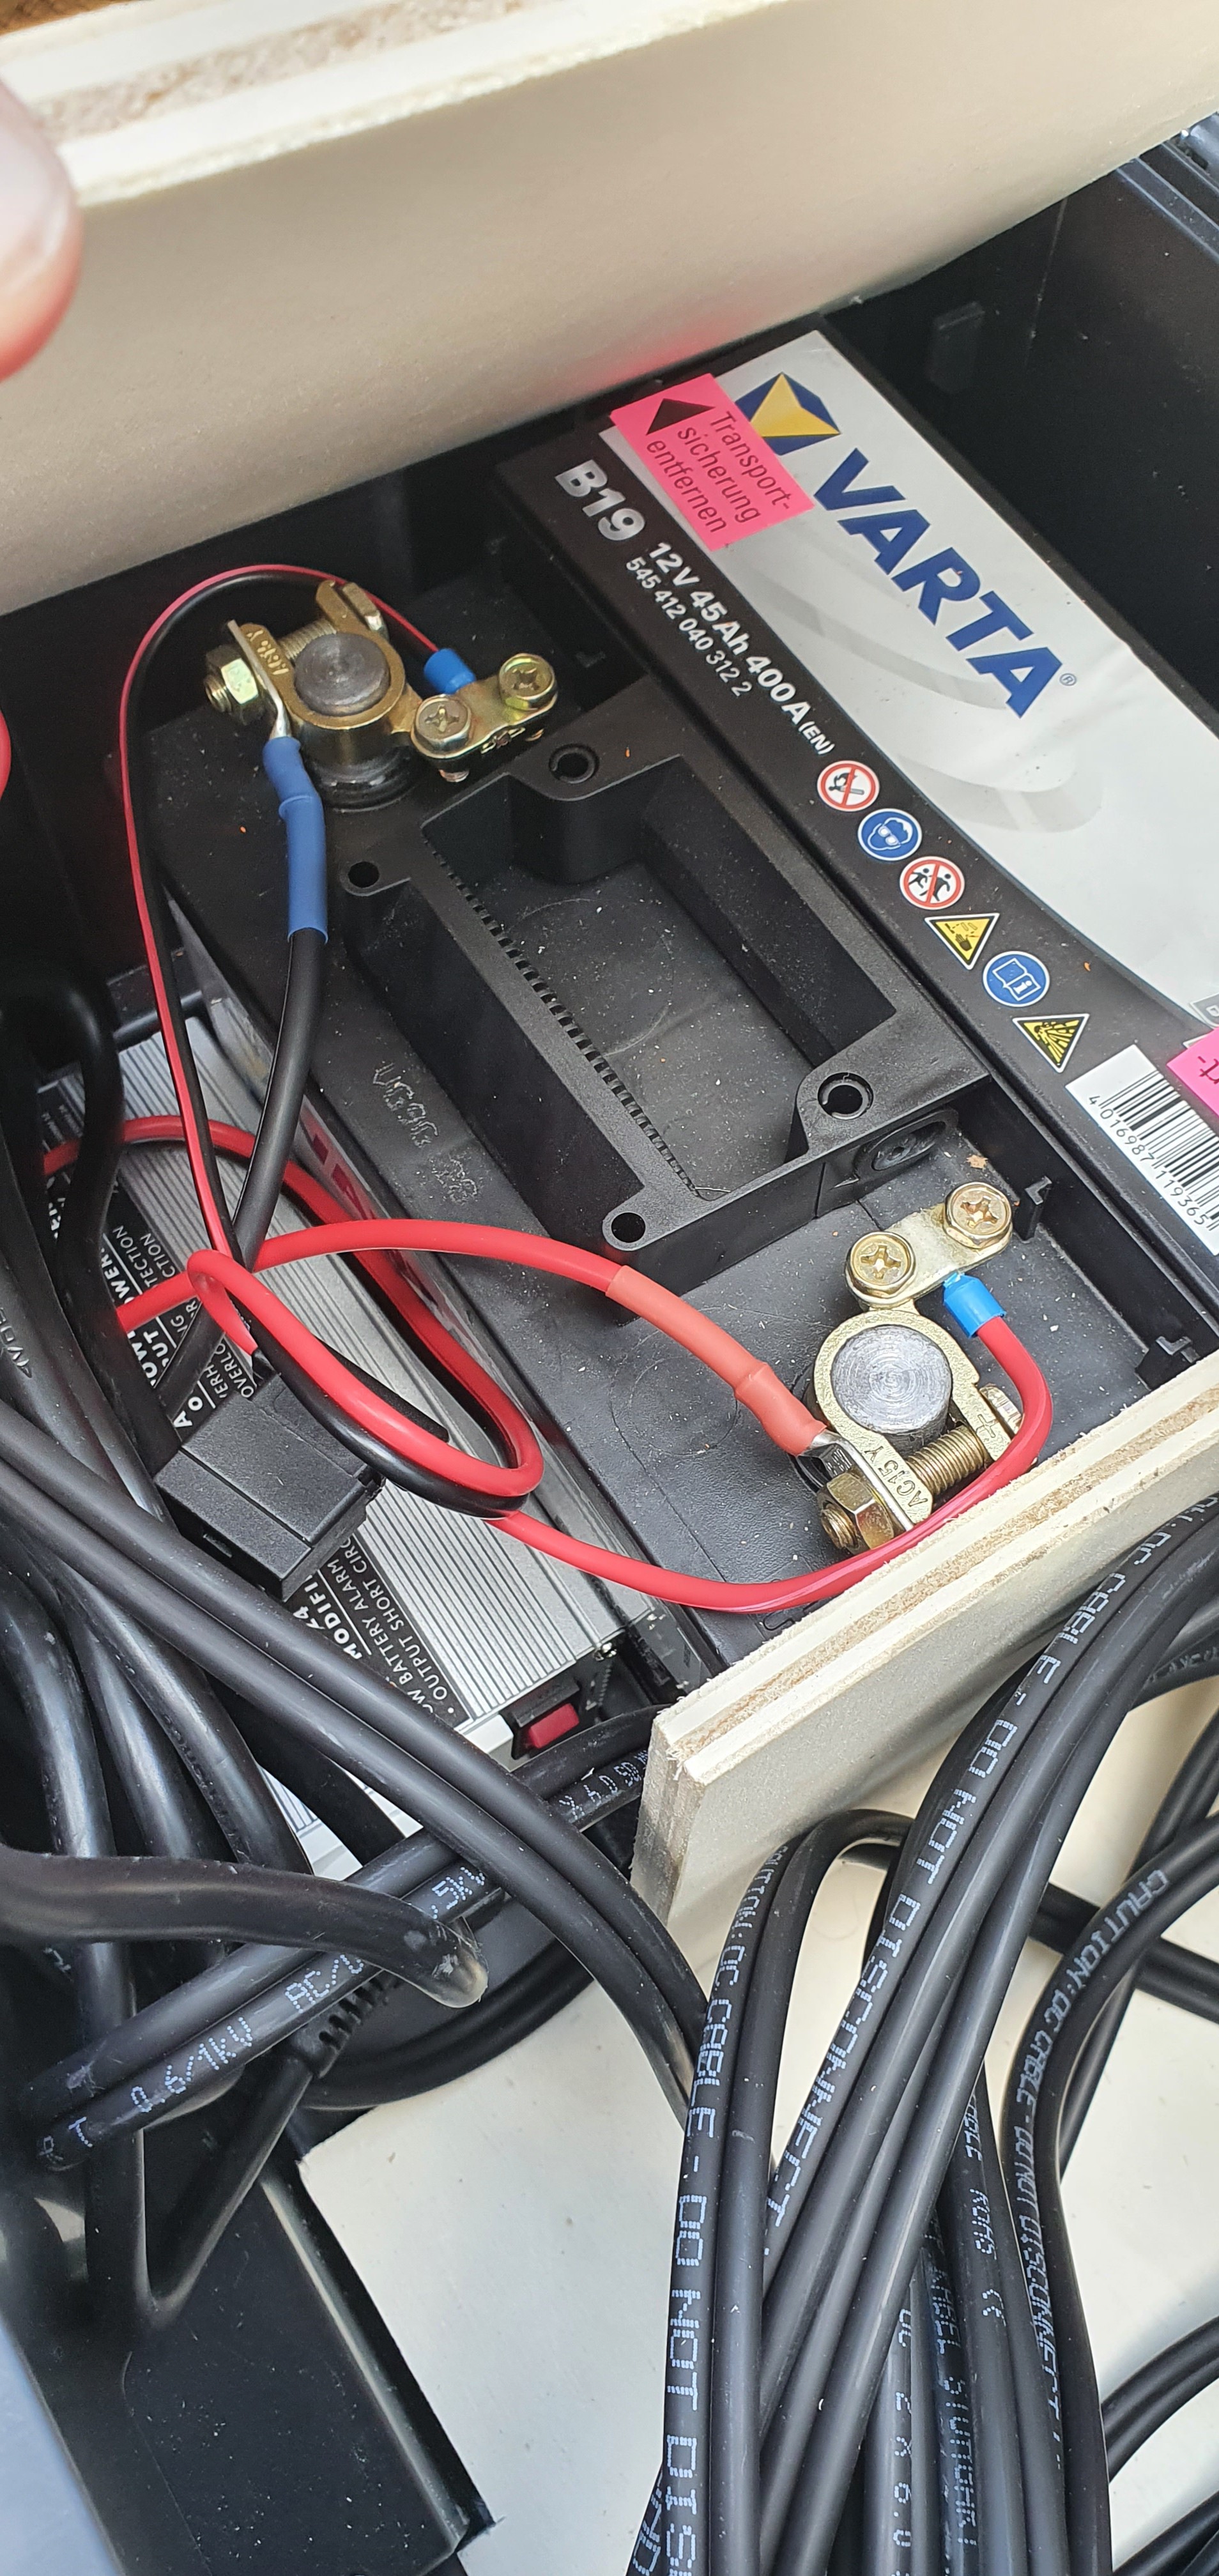
I deliberately decided against lipos because they are more difficult to secure and, depending on the quality of the lipos, have a higher fire risk. You can get a car battery on every corner and, in the worst case, you can also remove it from a defective vehicle on site.
To stay mobile, I wanted to use only one solar panel. It should also be a monocrystalline module, as this has a better energy yield. But this is only a question of price and taste. It works just as well with the much cheaper polycrystalline modules. I had a 45 Ah car battery in the cellar for a long time. So the goal was defined and I went looking for individual parts in the basement lab.
Note: Electrical work should only be carried out by qualified, skilled persons!
The assembly is relatively easy and can be done in two hours. The cost was around 320 euros. If you adapt certain things (box for installation, other solar panels), you can even get under 250 euros.

 Dylan Bleier
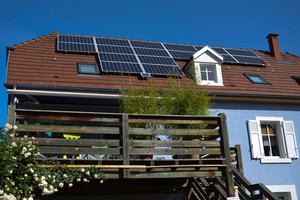
 Michel Kuenemann
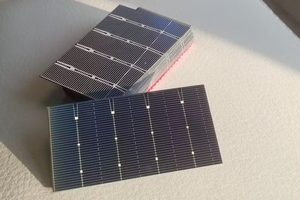
 Miguel Tomas
 technoplastique