Front panel

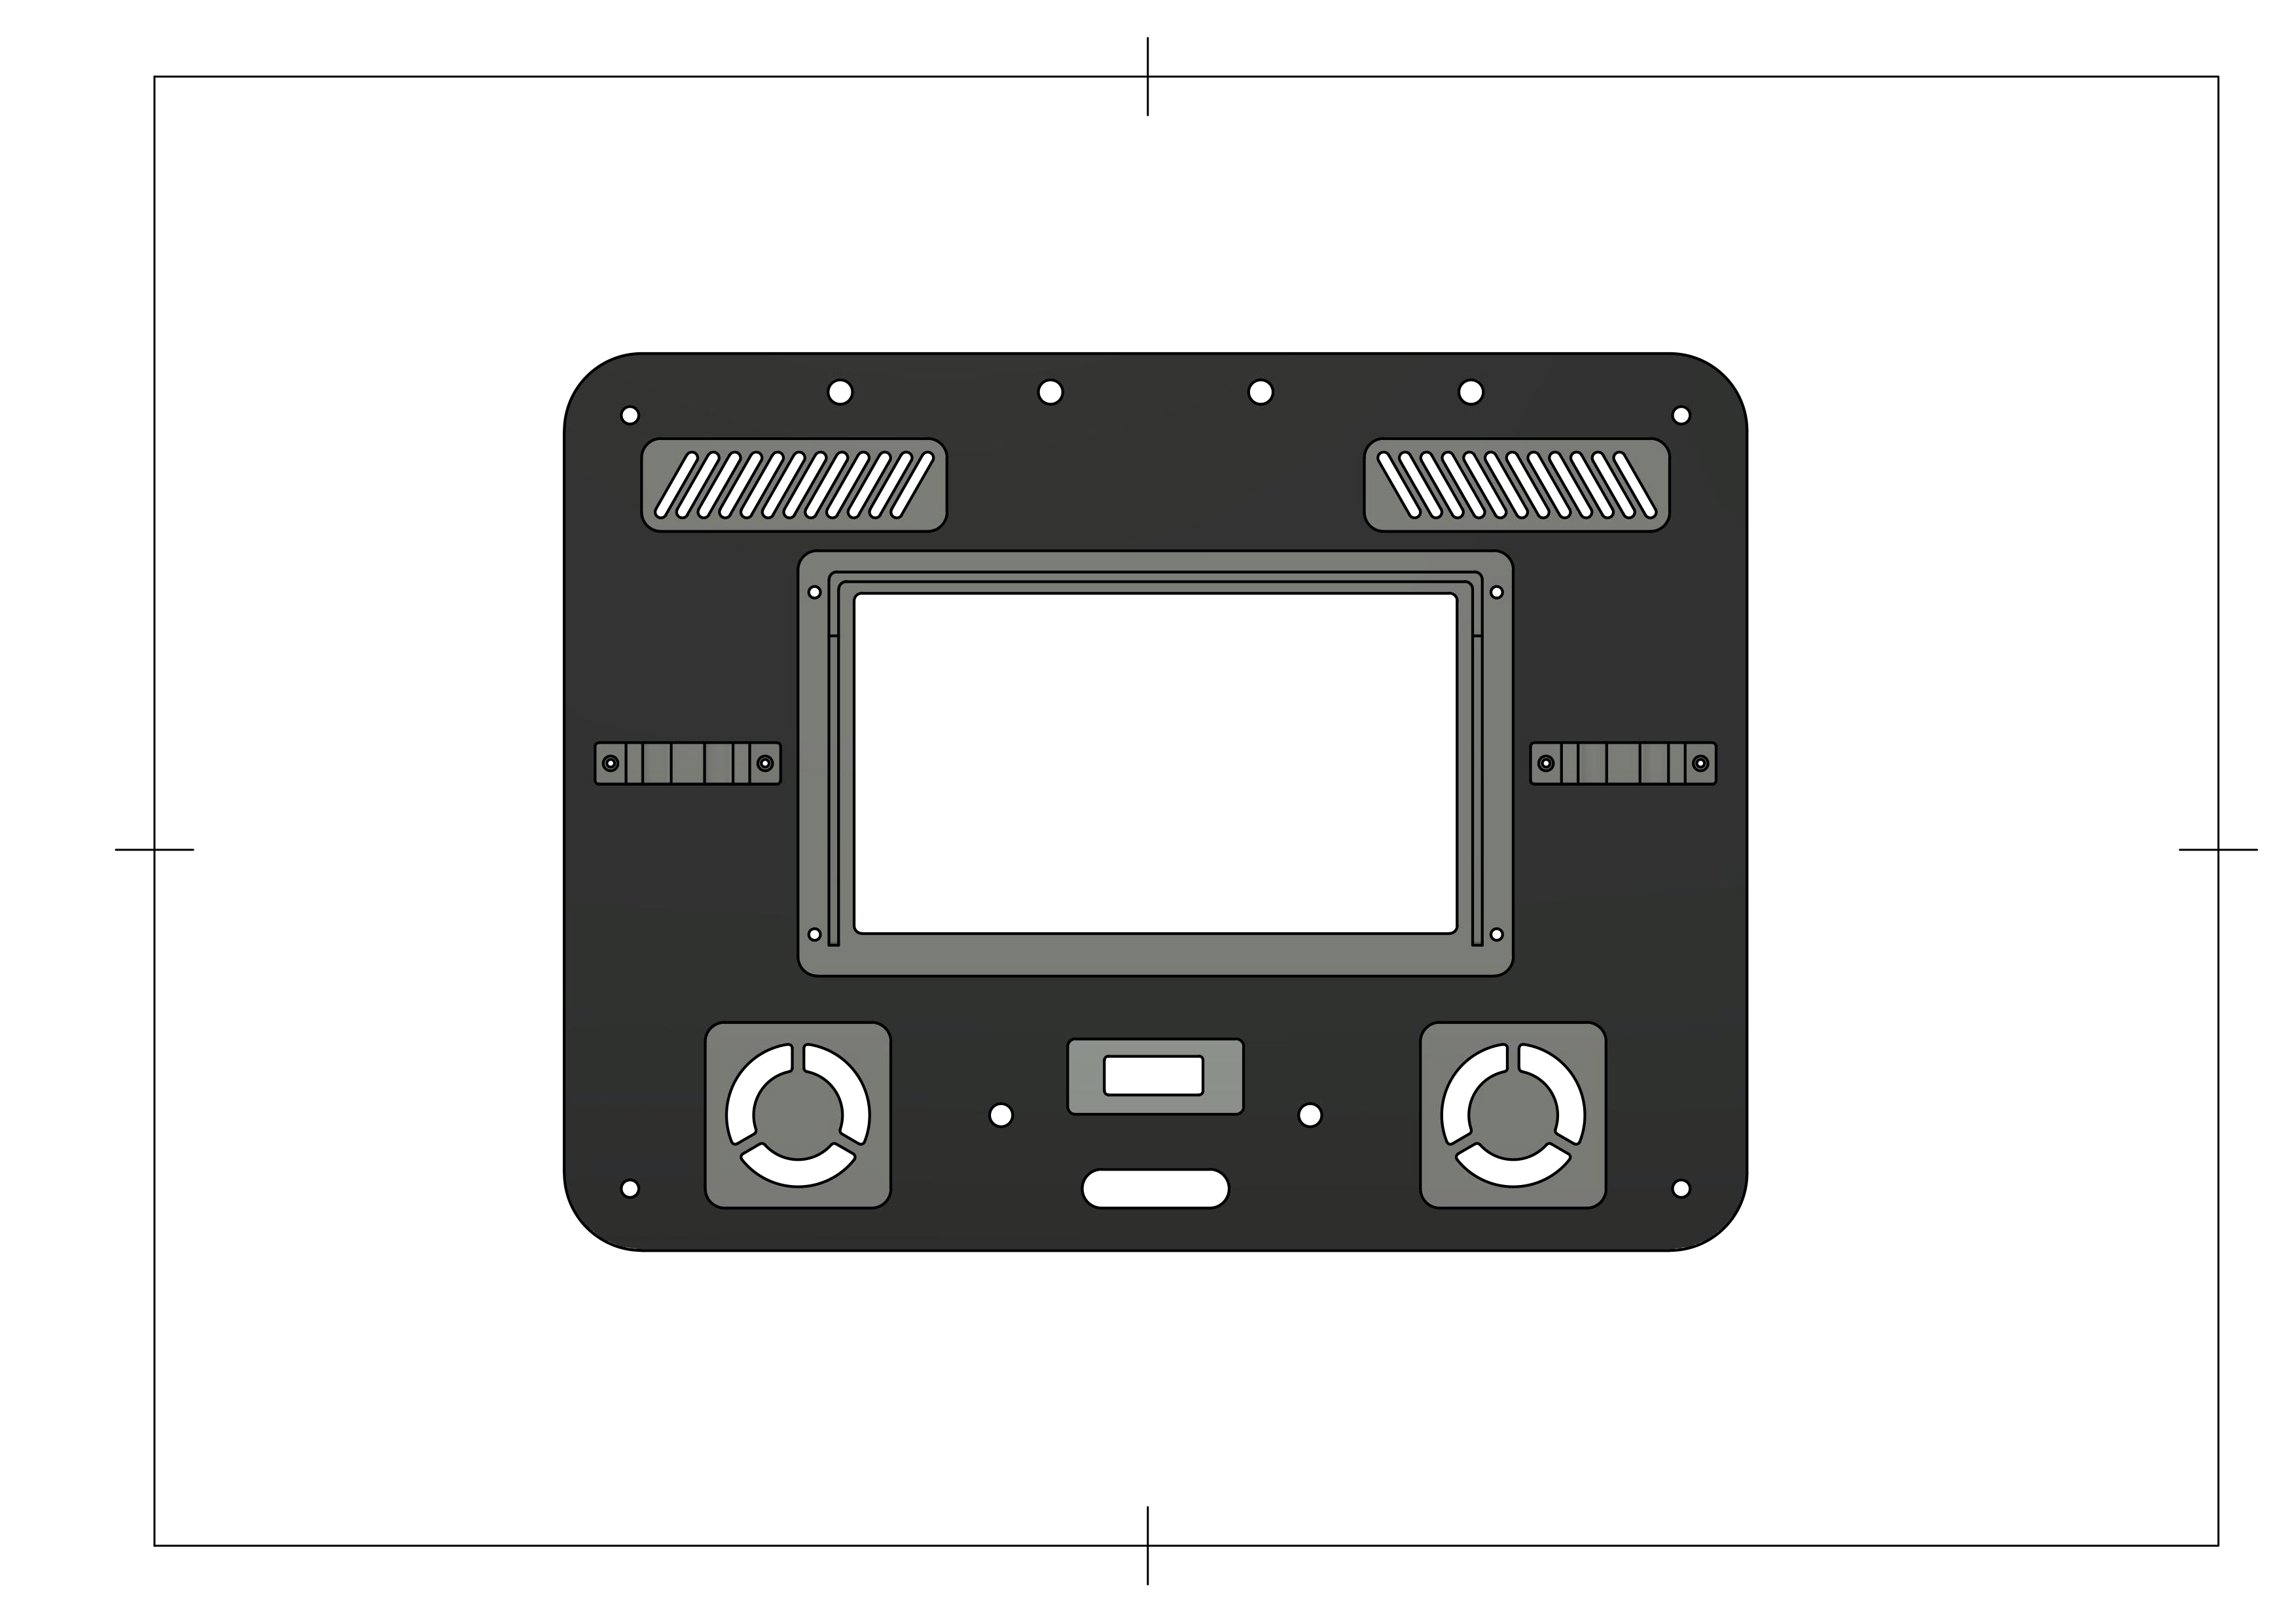
The main element be mounted on this panel is the screen. For better viewing under hard lighting conditions, I have seen some GCS having a retractable sunshade over the screen. This would have been a nice addition, but adding the complexity of a folding mechanism wasn't in my todo list. I came out with the design of a small, fixed shade that also served as a mounting interface between screen and panel. Due to the print size of the printer I have available, I had to split it into two pieces. The screen was fit into a frame of its own that holds the LCD and the controller, and the panel is sandwiched between the shade and screen frame with 4 screws.
Antennas were placed on this panel for better positioning and a clear, unobstructed view to the robots. I though mounting them at the top of this panel would accomplish this. But leaving these in place wouldn't allow to close the case. So I made supports that store the antennas while transporting. When deploying, one can just remove the antennas and screw them to the SMA connectors.
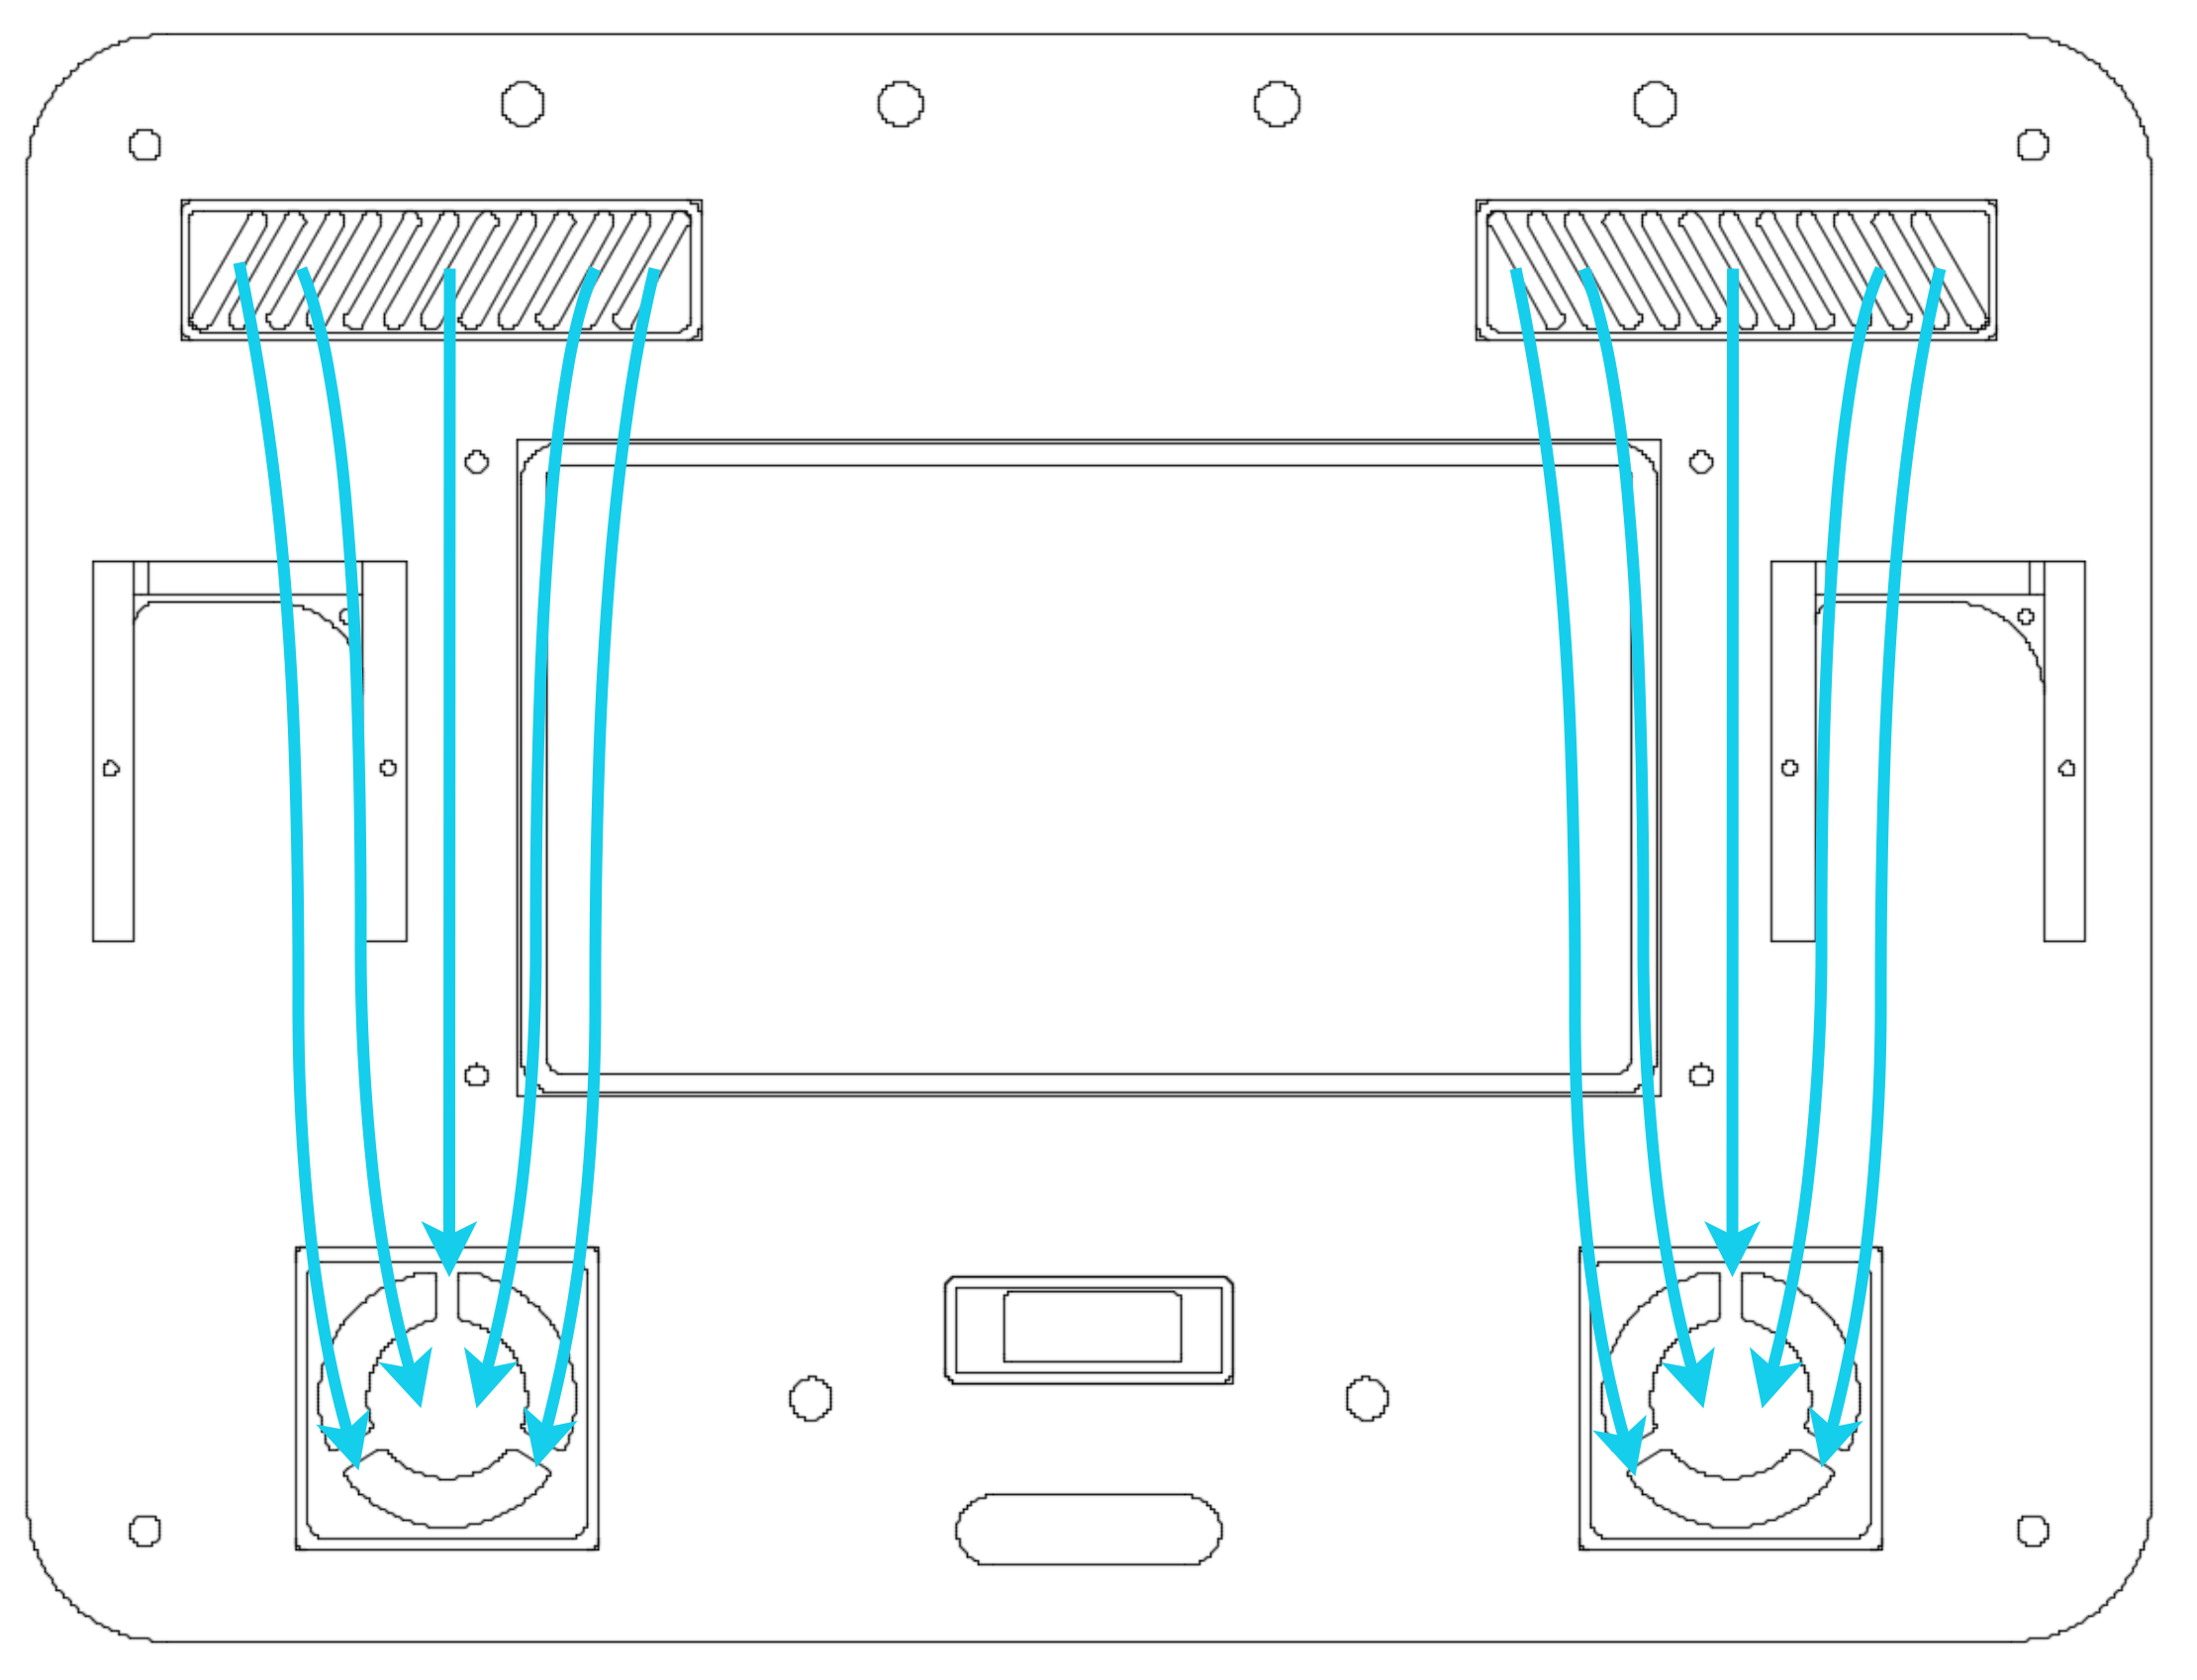
The two wireless adapters were placed at the sides of the screen, as they are slim and take up little space. I added a power switch for each wireless adapter. These mighty adapters might get hot! Especially the ones I have, do get quite hot to touch in a free environment, so I though inside and enclosure this would be aggravated. That's why I added two fans (probably a bit overkill) and vents to create airflow through the adapters. I printed frames for the fans which are glued with epoxy to the panel, and the vents are fully 3d printed and glued as well.

In the back view you can also see the wireless adapters' frames. The panel is sandwiched between the antenna holders and these, that's how they stay in place.
The small 0.96" display was placed at the bottom-center of the panel, below the main screen. It is held in place with some epoxy. Could have used a couple of screws as well. This display serves as support for any information that might be relevant to have all the time. Maybe some info generated by the Arduino itself, or information that could be generated by the Jetson and transmitted to the Arduino to be displayed.
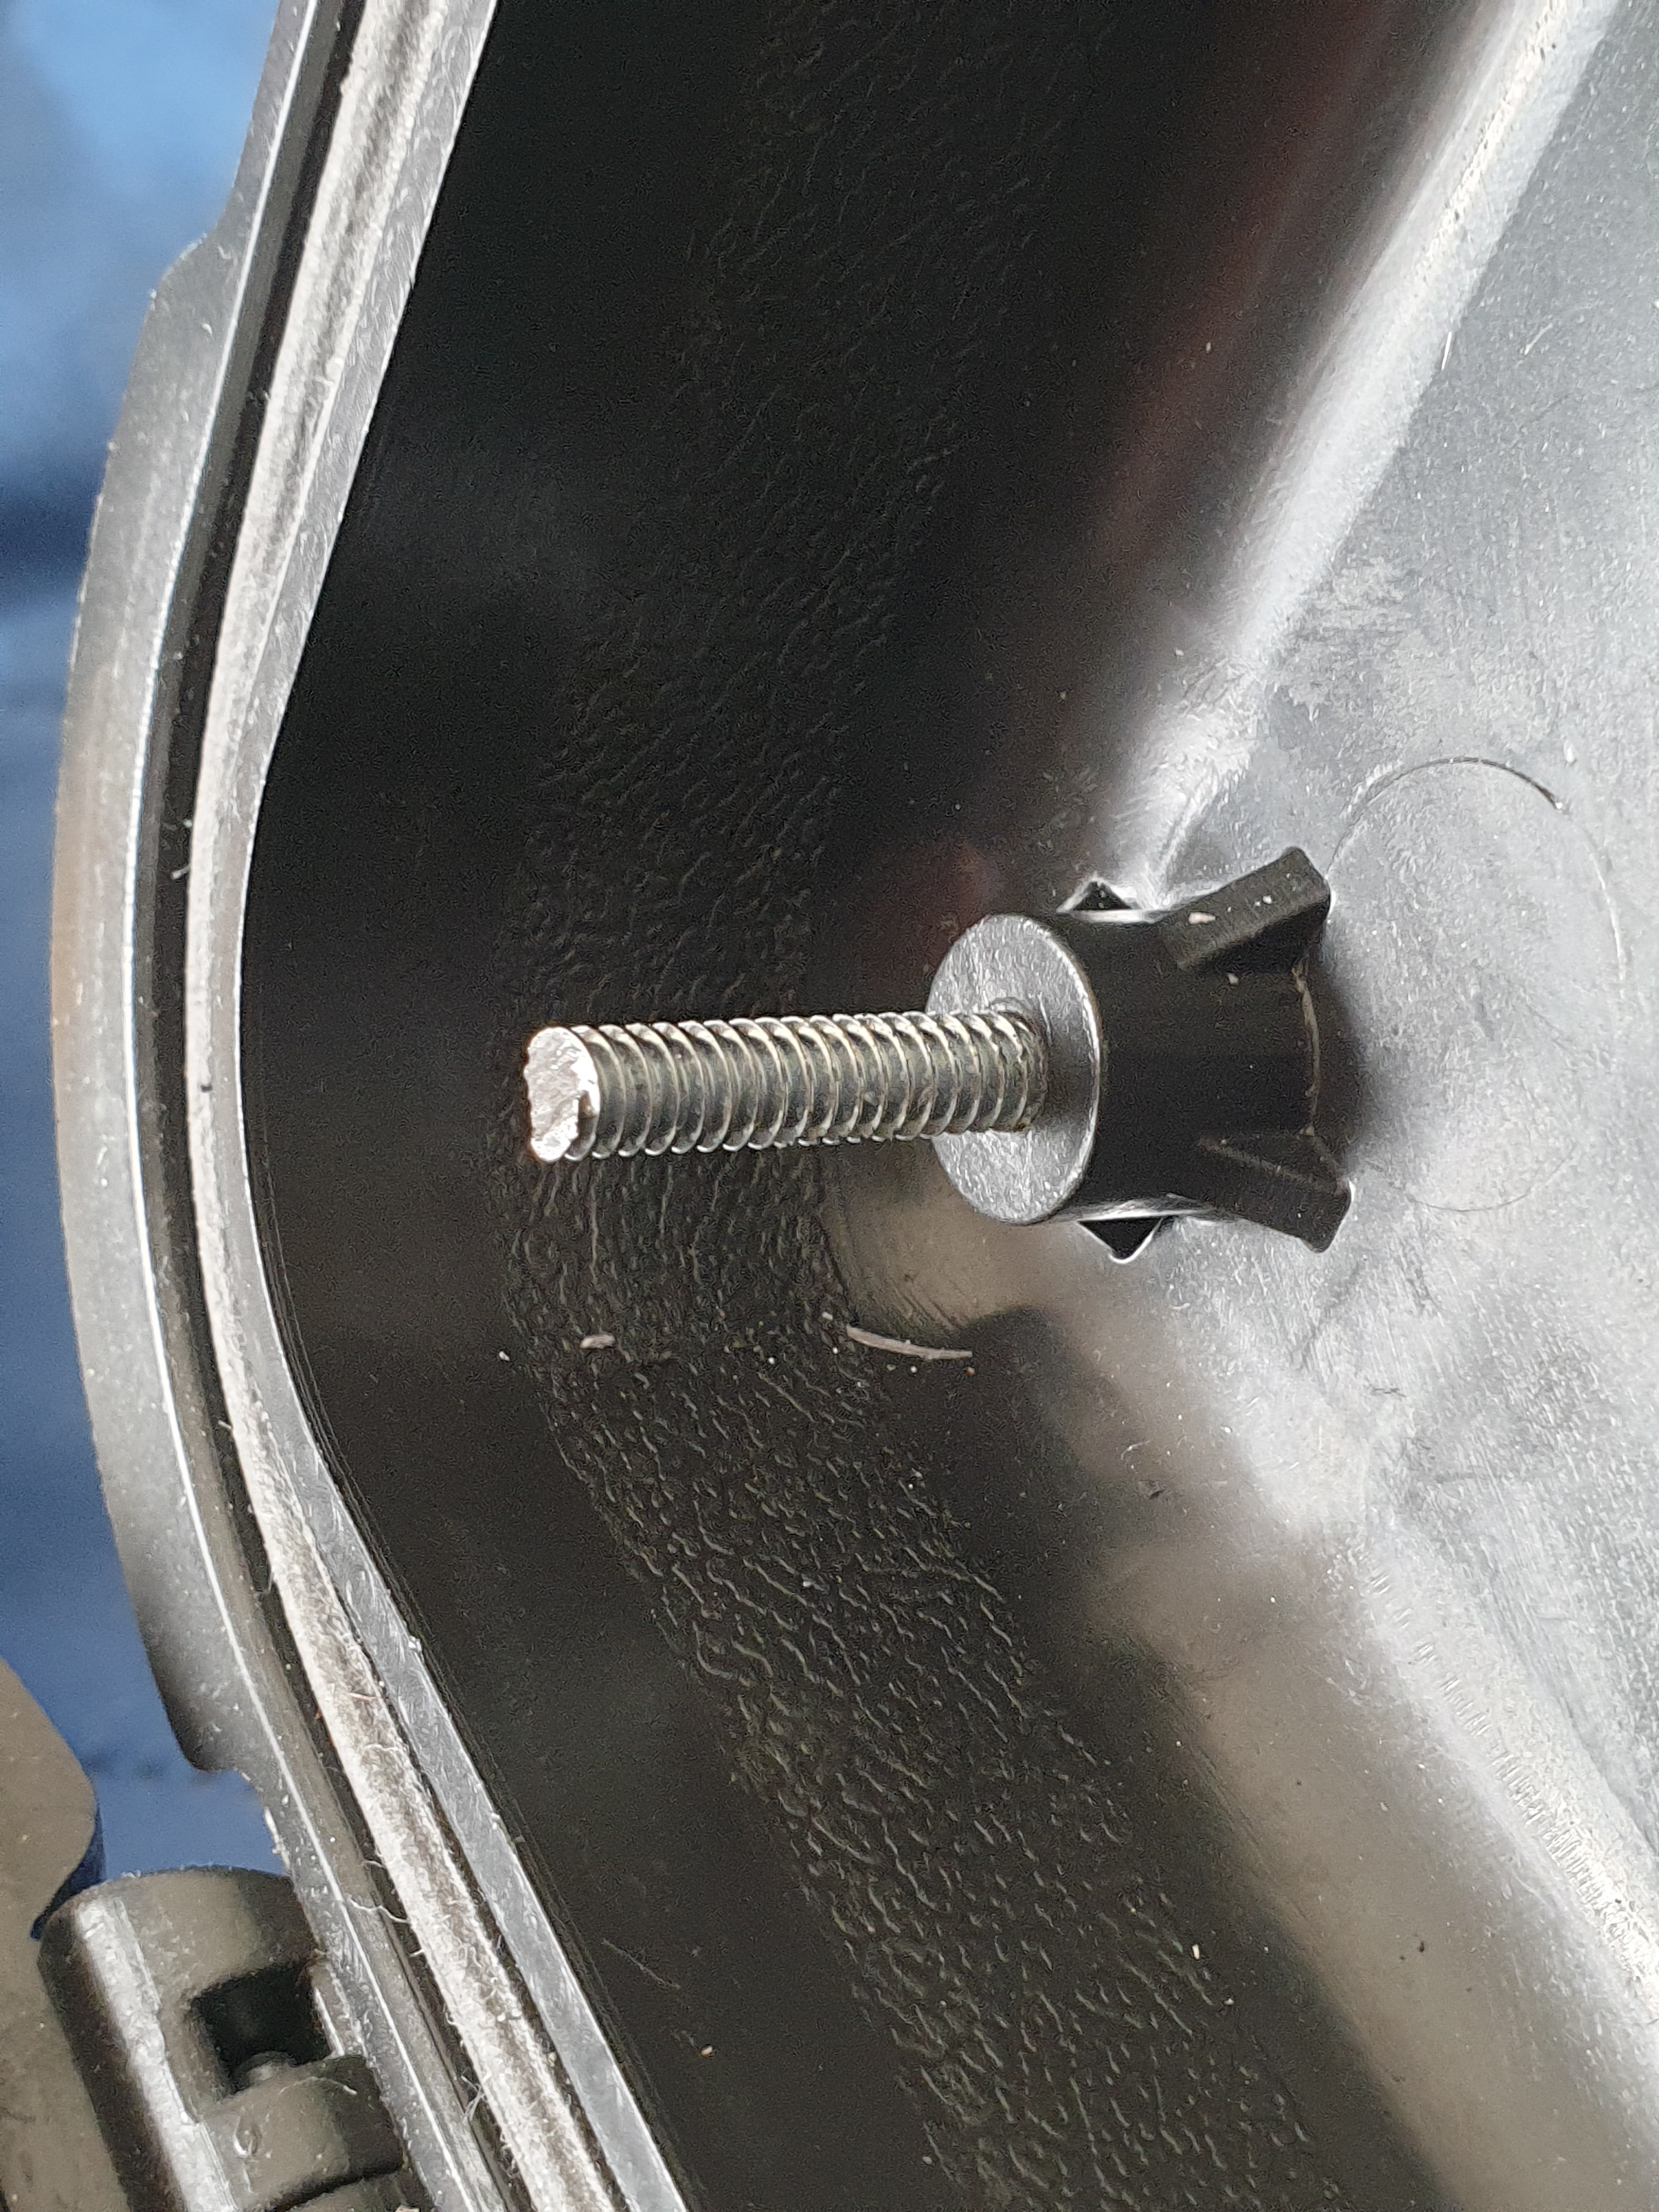
As of now you might be thinking, how would this all be firmly attached to the lid? And what a great question! In my search for a case, I looked for cases that had some kind of anchor points on the lid. This one has 4 plastic cylinder on the lid in which I inserted threaded rods. No perforations needed!

Finally, the panel has a cutout to make the connections between the top and bottom panel. HDMI cable, power for the screen and wireless adapters and the auxiliary display signals are routed through this cutout.
 Maximiliano Palay
Discussions
Become a Hackaday.io Member
Create an account to leave a comment. Already have an account? Log In.