 jdelbe
Working without prior knowledge gave me an opportunity for (almost) boundless experimentation while designing the case. It was a great playground to learn and see for myself what I could do with 3D printed parts, in order - among other things - to not use additional screws or glue.
This was achieved by using some of the joinery techniques I knew, as well as a few others that are a bit more exotic. Some of them come traditionally from the woodworking world, whereas some are specific to plastic, or even exclusive to 3D printing.
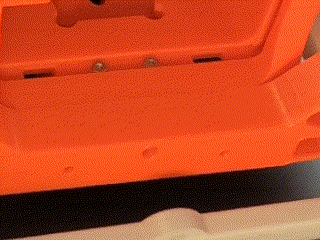
Butt joint
The most basic possible joint, where two pieces are put in contact, only connected by two flat surfaces. Here for instance between the white back frame and orange base back.
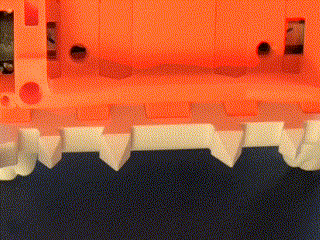
Lap joint
This is the main joint used for the panels. Their edges are slightly overlapping the frame parts.

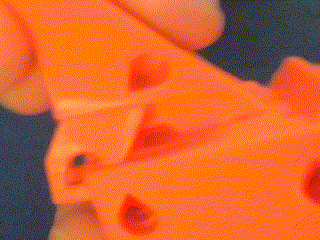
Box joint
A variation of the box joint is here used to interlock the orange axle and the white front frame.
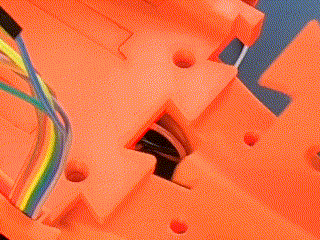
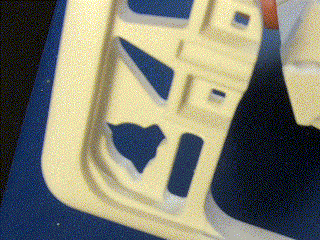
Dovetail joint
By far the form that I have used the most in Tobi-P, especially for inner structure, as it is very solid.
Some are quite lose, some tight, and some make for a sliding joint which is later constrained, when a subsequent piece blocks the remaining degree a freedom.
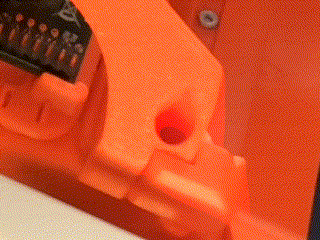
Dowel pin
A common and fairly easy one to make, where a smaller piece is inserted inside others. It is very practical to reinforce an existing joint for instance.
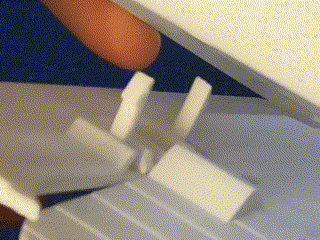
Gutter joint (cam lock?)
I am unsure about the name of this one, but the idea is there.
I have used this for the top side frame, where one end is more or less cylindrical, and is inserted into the front frame. A 90° rotation then prevents further translation. The rotation itself is later on stopped when the other end is fitted in the back frame.
Press-Fit / Mortise and tenon joint
Snap-Fit joint
This the typical and emblematic plastic joint. I have used cantilever snap-fit connections only for the outer case, where space was more limited, and robustness not so much a concern.
Print-in-Place
And last but not least, I had to try the print-in-place concept. This is not really a joint type per se, but it also does bring two or more pieces together. This techniques - specific to 3d printing - allows embedding one piece (or part of it) into another one during the printing process. This results in a compound piece, which potentially has moving parts, but whose individual components cannot be de-assembled without breaking it.
I have used that to tie the back panel and back door together, where the hinge pins are embedded in the panel during printing. The created door does rotate (with friction), and it cannot be separated from the panel.
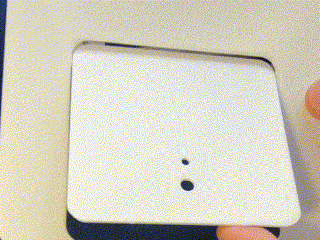
In the end this turned out really well for a first try! I will definitely keep that trick in mind for future projects.
Discussions
Become a Hackaday.io Member
Create an account to leave a comment. Already have an account? Log In.
Exactly what I was looking for, thank you !
Are you sure? yes | no