After almost 40 hours of printing on the sidewinder. The basic body of the V3 Joystick is now ready.
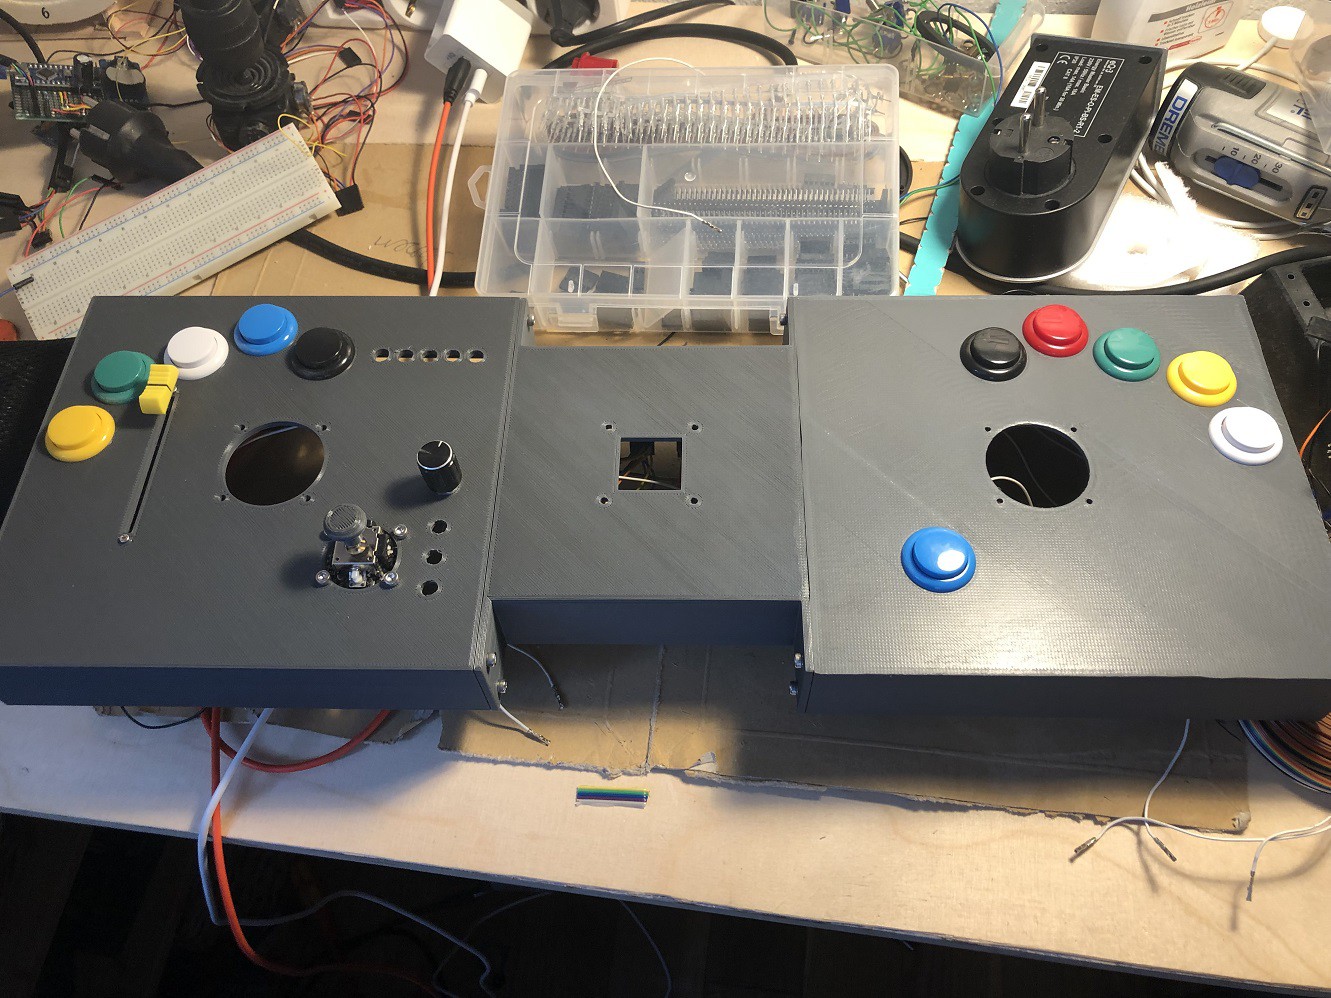
For sure it is not perfect but for my first self constructed and printed assembly - I am pretty happy with it :)
The center part is holding the breakout/processing boards. The heart of it is the teensy 4

The fitting is pretty tight - so I have no idea if I ever get it our of there again...
The mini USB connector on the left is the main connector to the PC
If somebody has tips on how to improve the printing feel free to share them to me. I did basic calibration and extruder setting but well I suppose it can be improved. But since I will not sell it - it's good enough ,)
I soldered a rail for all the GND and VCC connectors since the teensy only has 2x ground and 1x 3 volt pin

The 3x4 pins on the right are the signal pins for the multiplexer channel selection. I decided to address both multiplexers in one step -> the pins are vertically connected at the backplane. So it is not possible to independently select channels on only on of the two multiplexers. The teensy will poll the multiplexers (stick axis and buttons) every 20 milliseconds so I did not see any reason to have 2 separate loops. Check the instructions for the actual code.
Finally all is wired to the teensy:
Pin 0,1,2,3 for the channel selection -> yellow, orange, green, blue
Pin 14,15 as input pins -> violet, brown

The components are:
upper right -> the teensy board
upper left -> the rail
bottom -> the multiplexers
Next step will be to wire up the buttons and connect the 3 analog stick.
So stay tuned if you are interested :o)
Discussions
Become a Hackaday.io Member
Create an account to leave a comment. Already have an account? Log In.