0%
0%
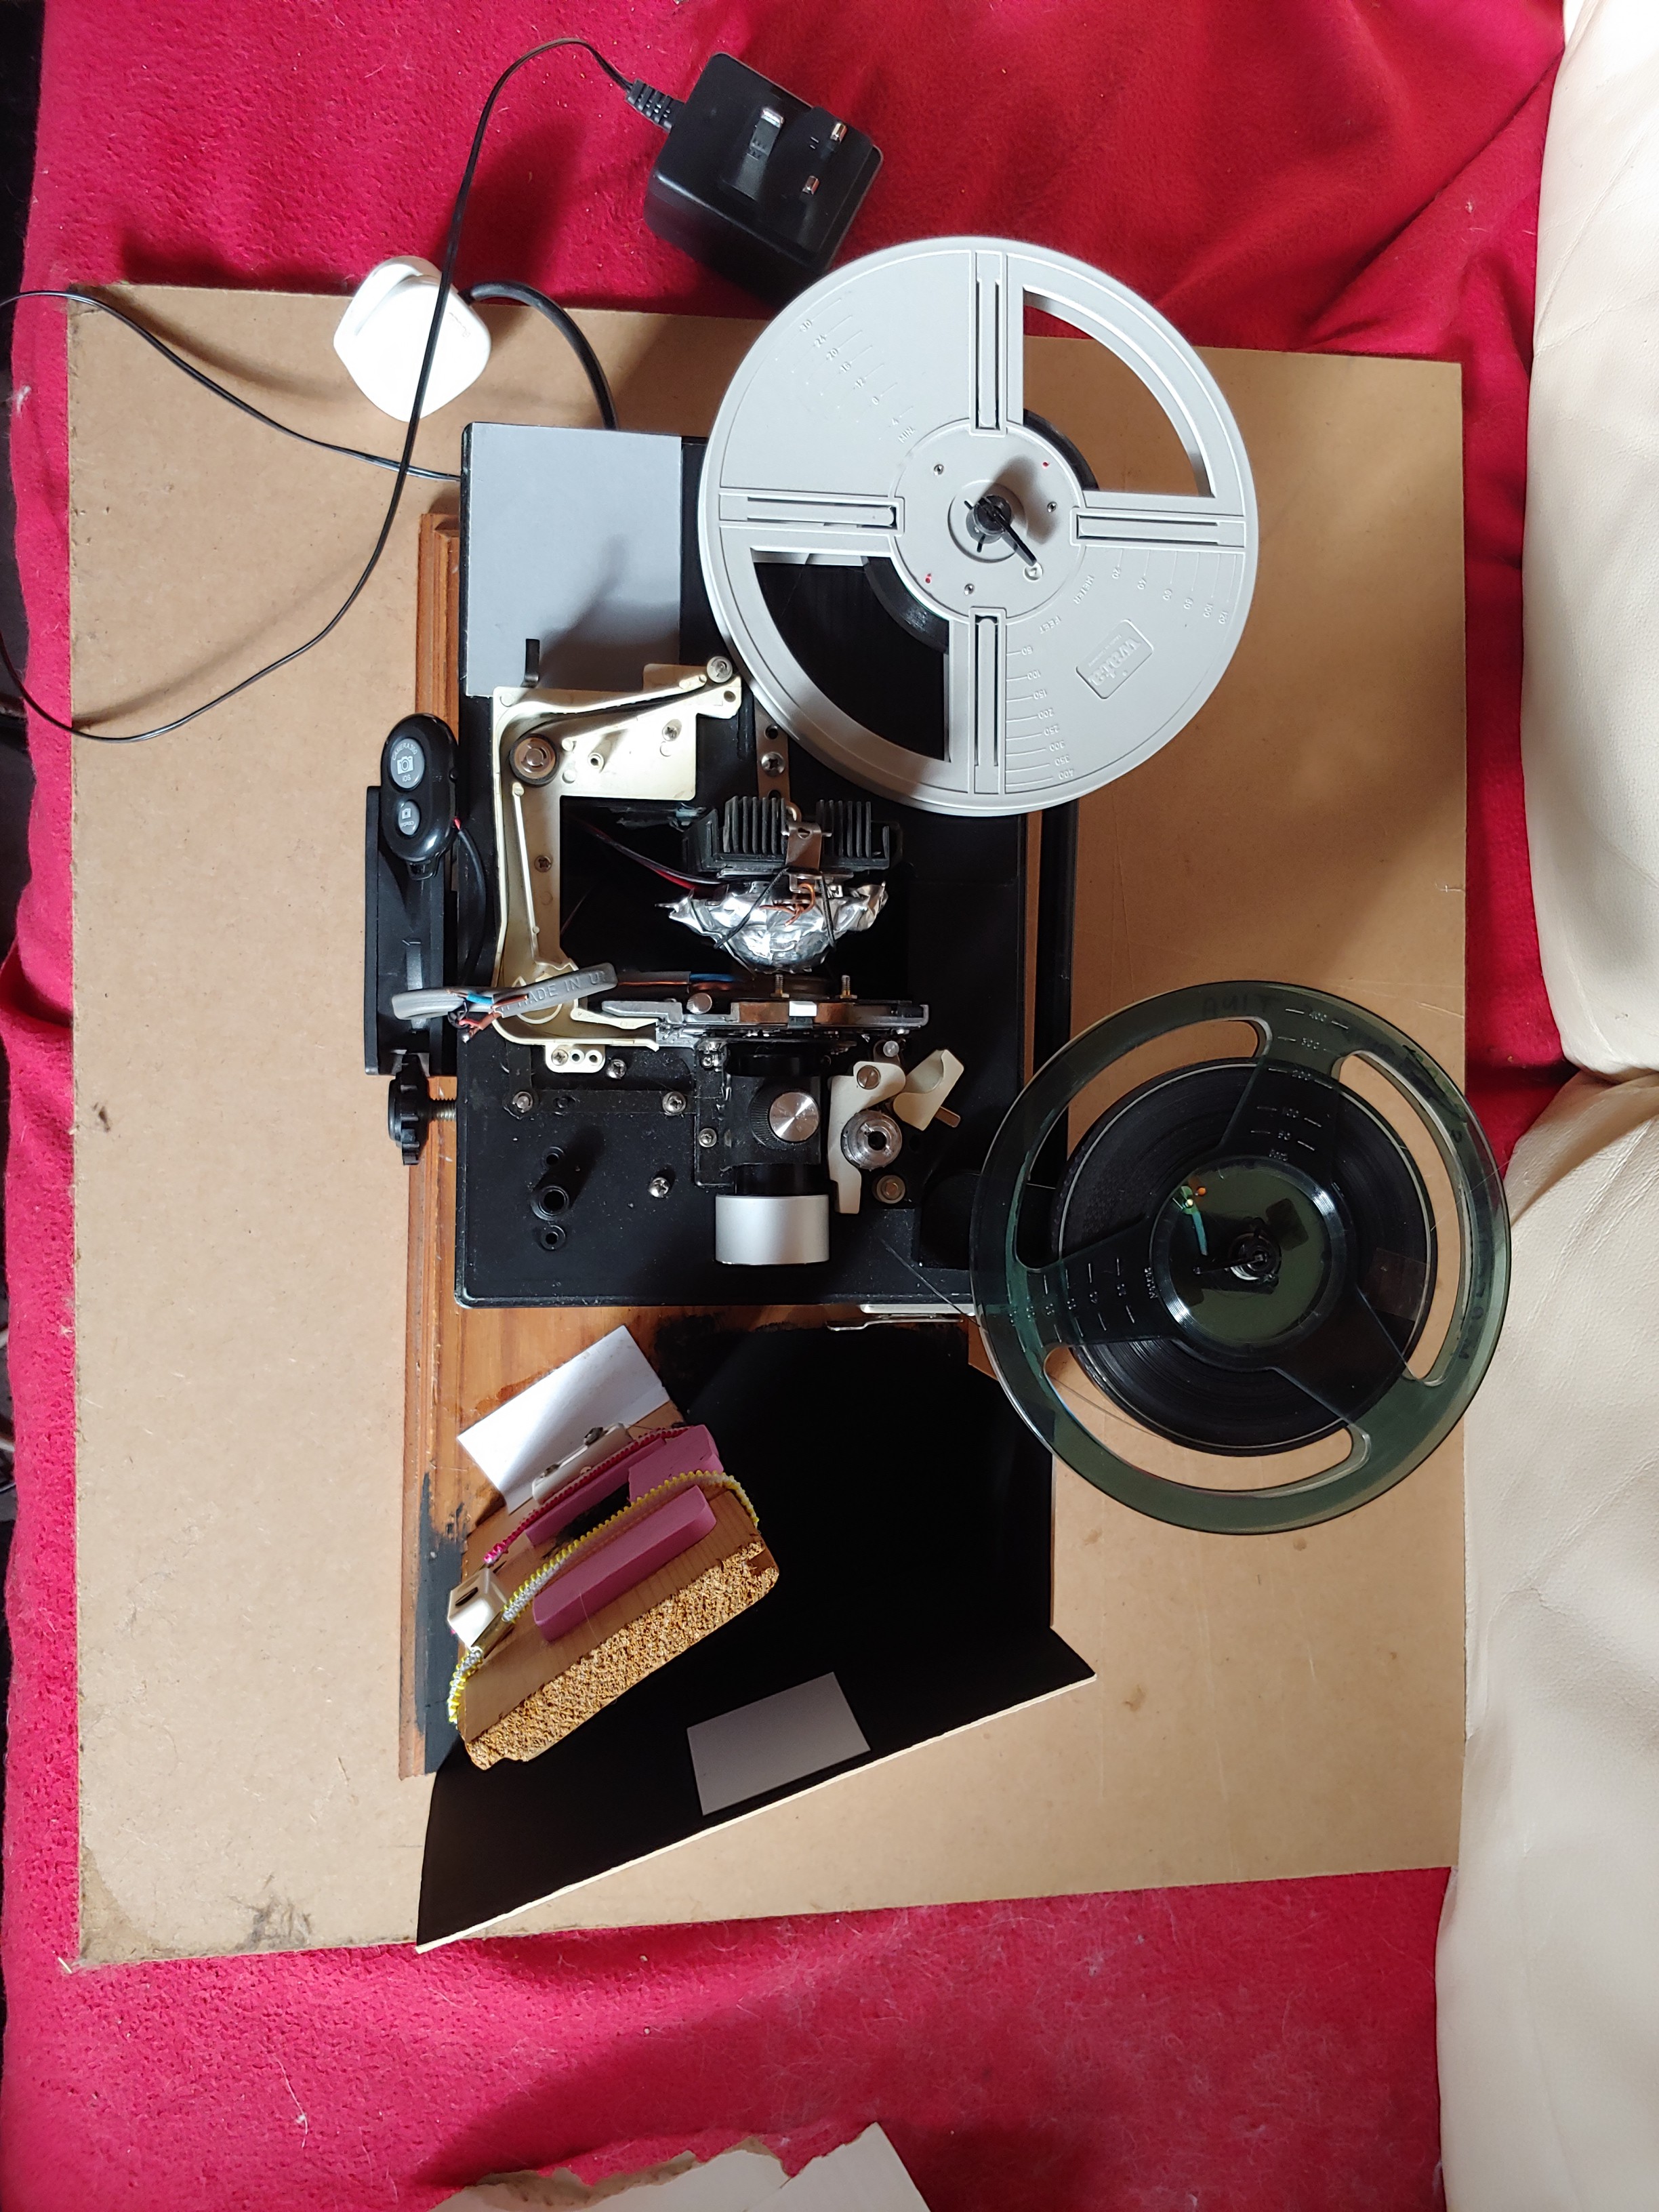
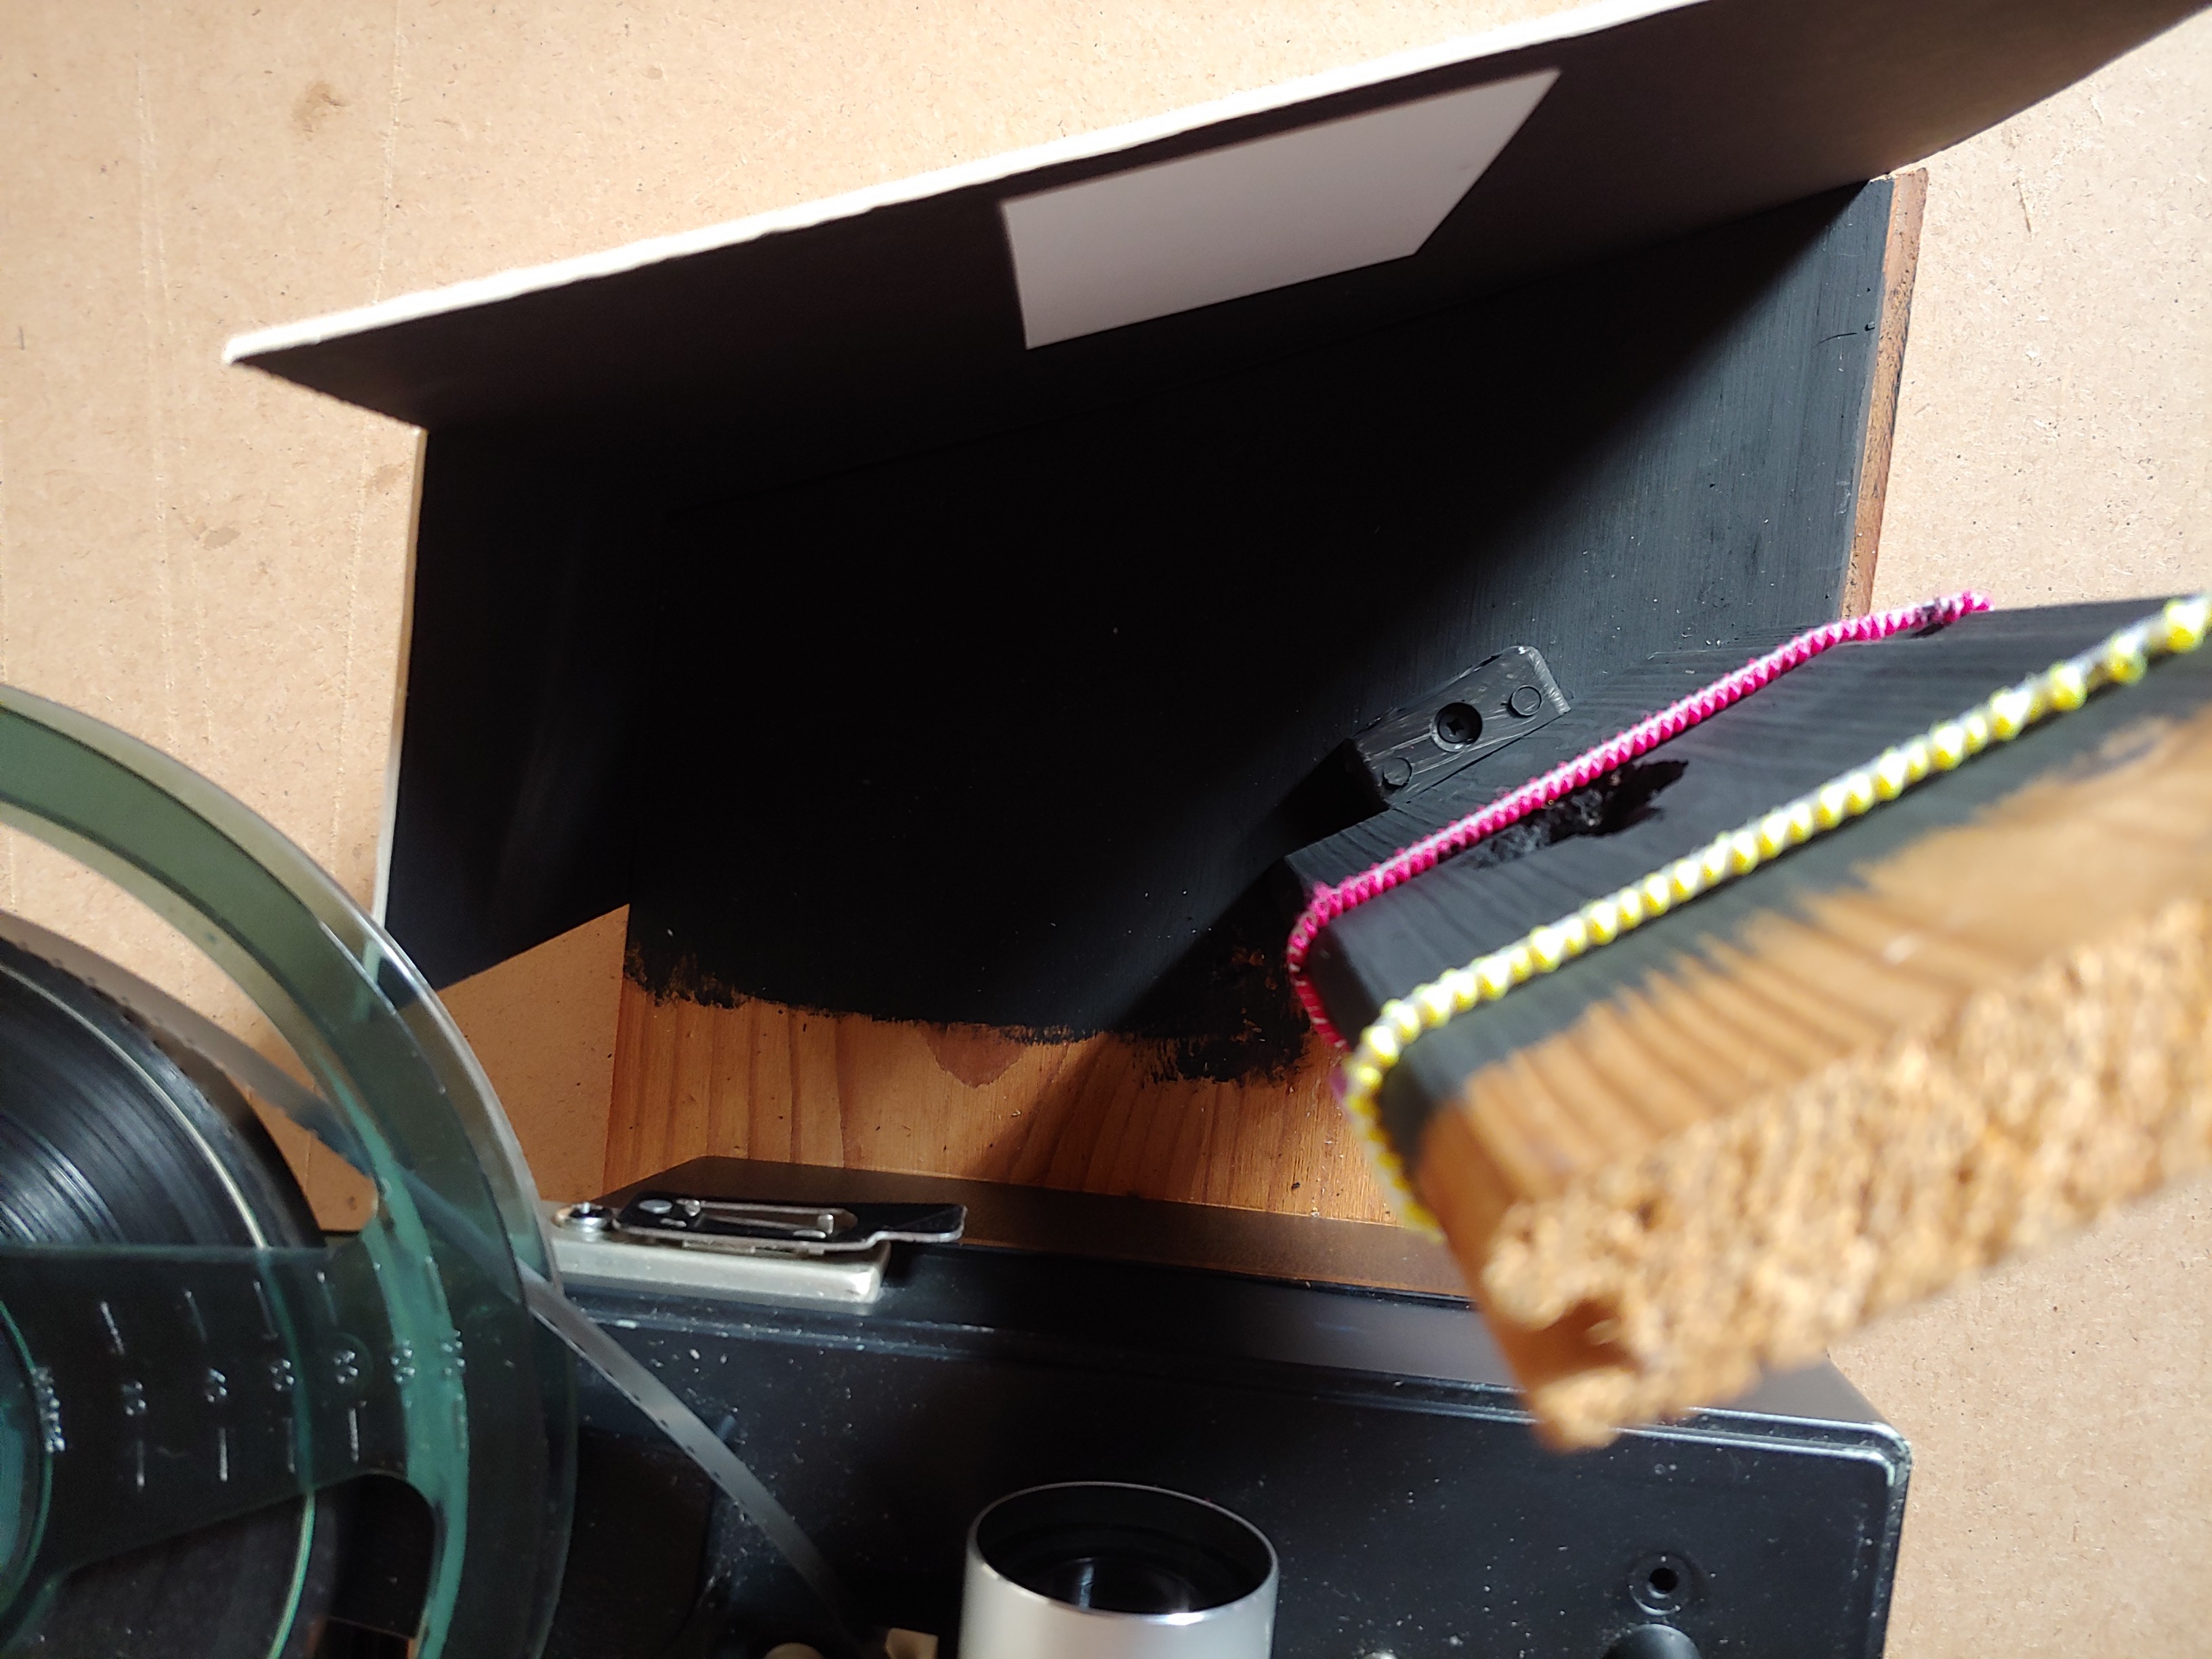
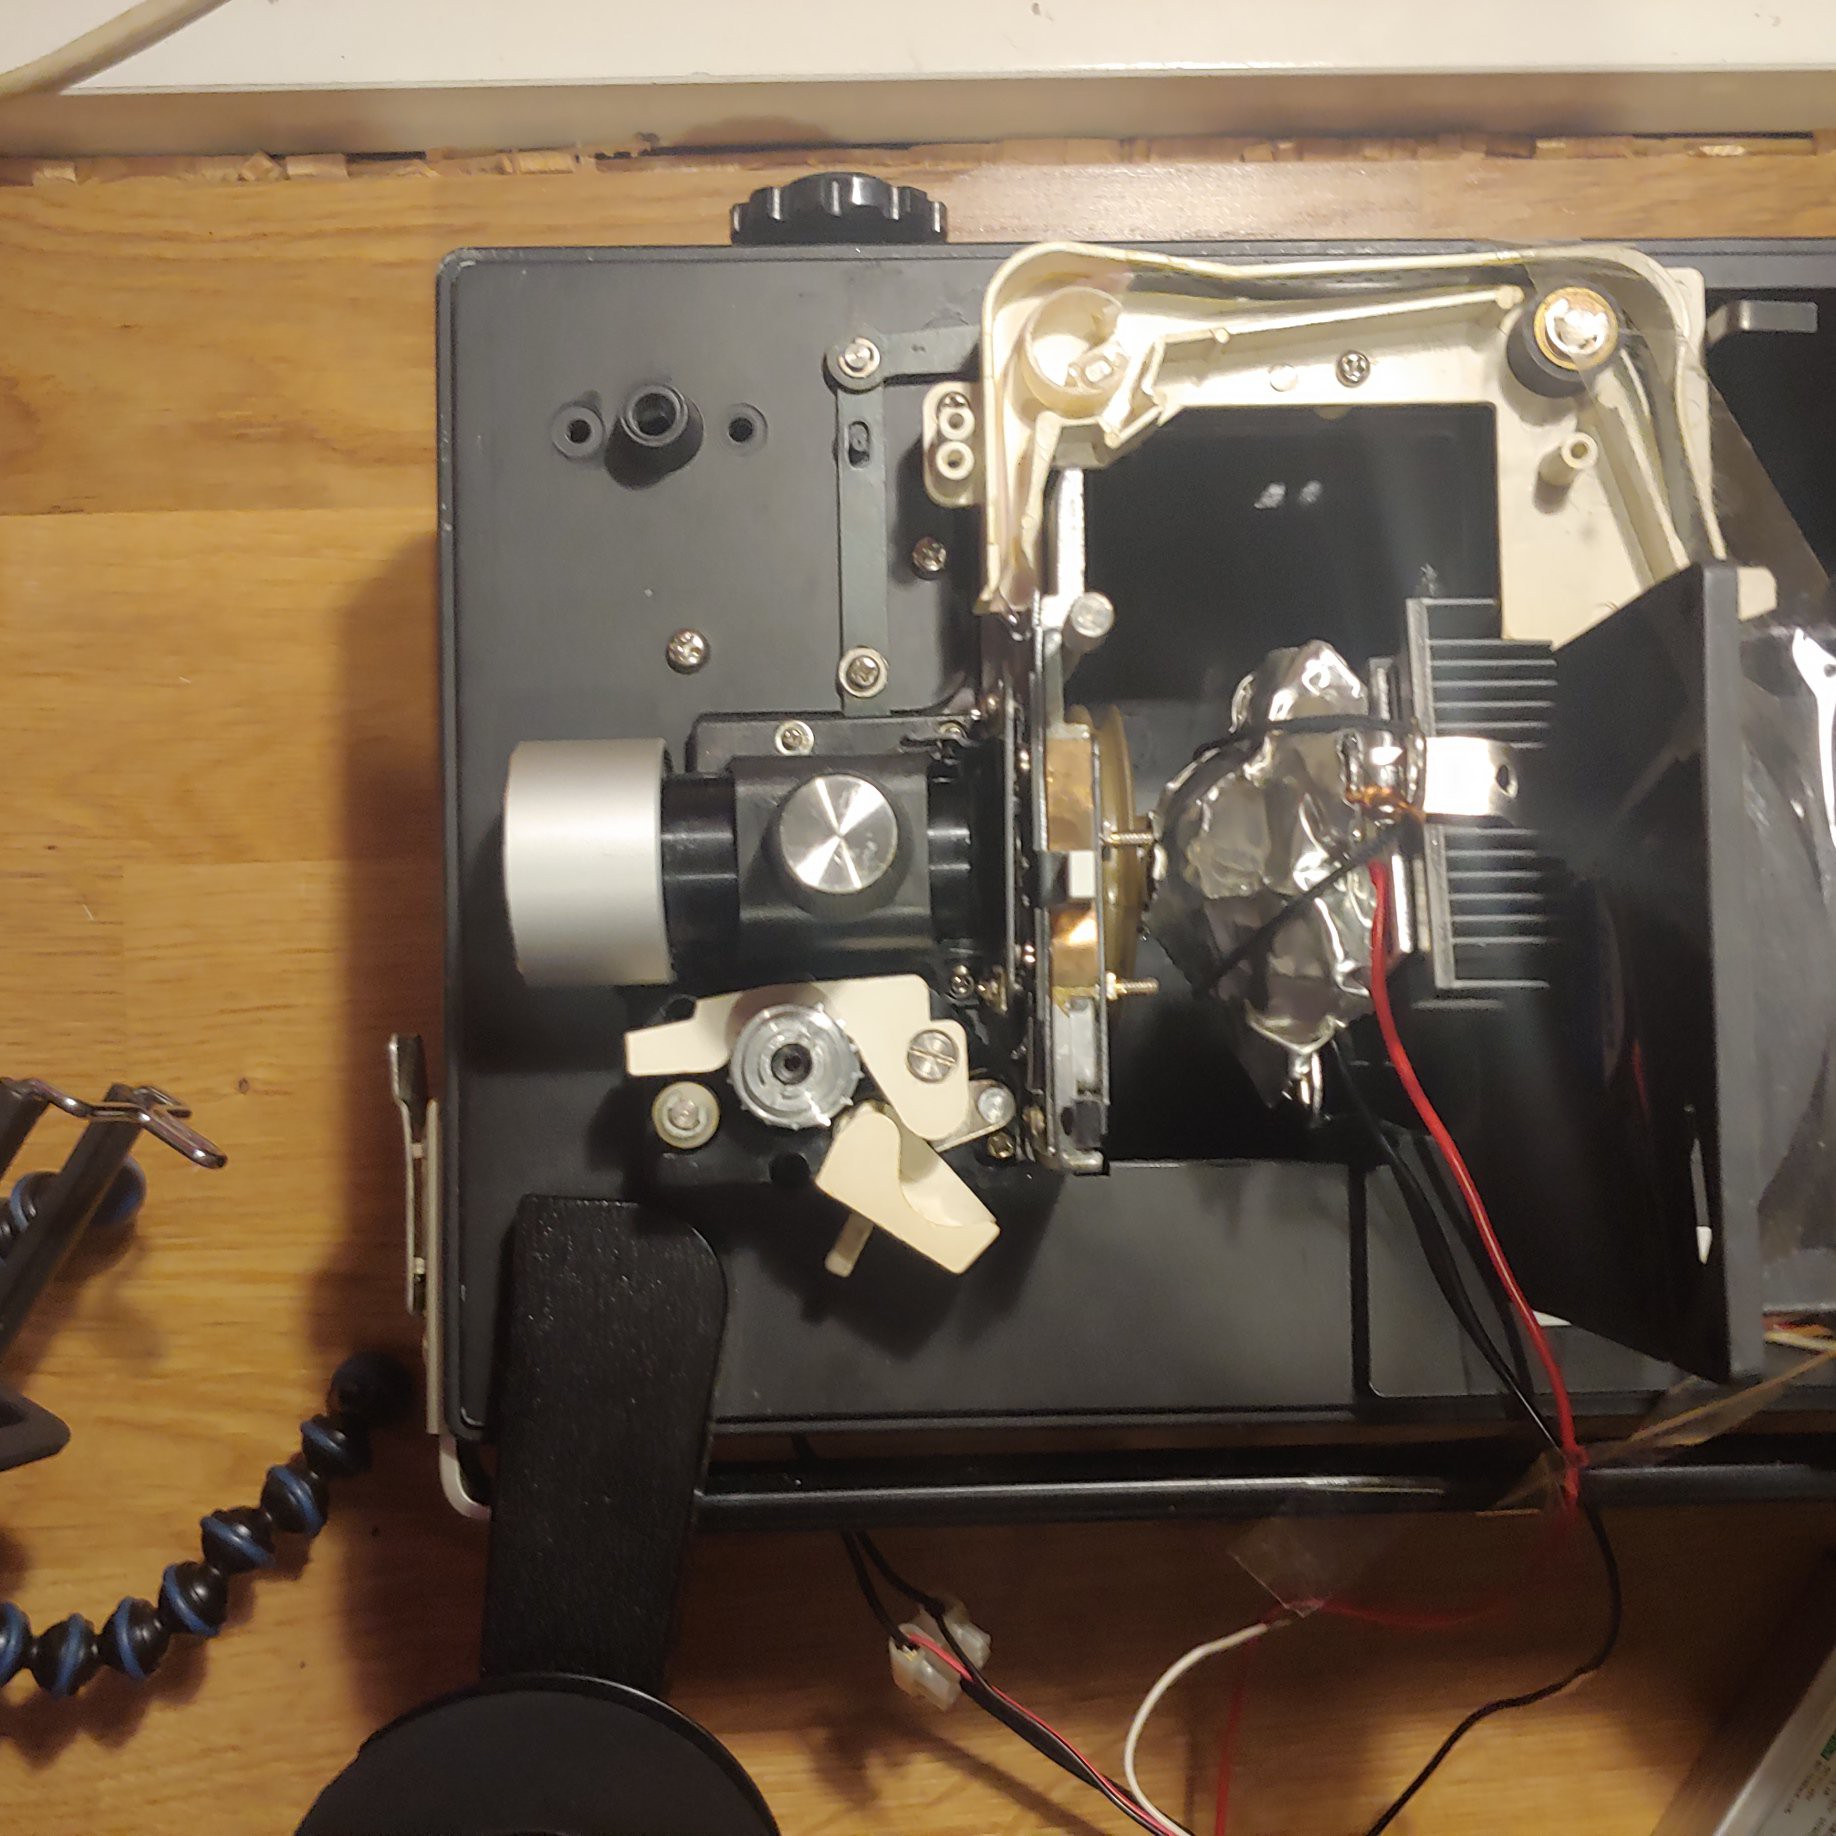
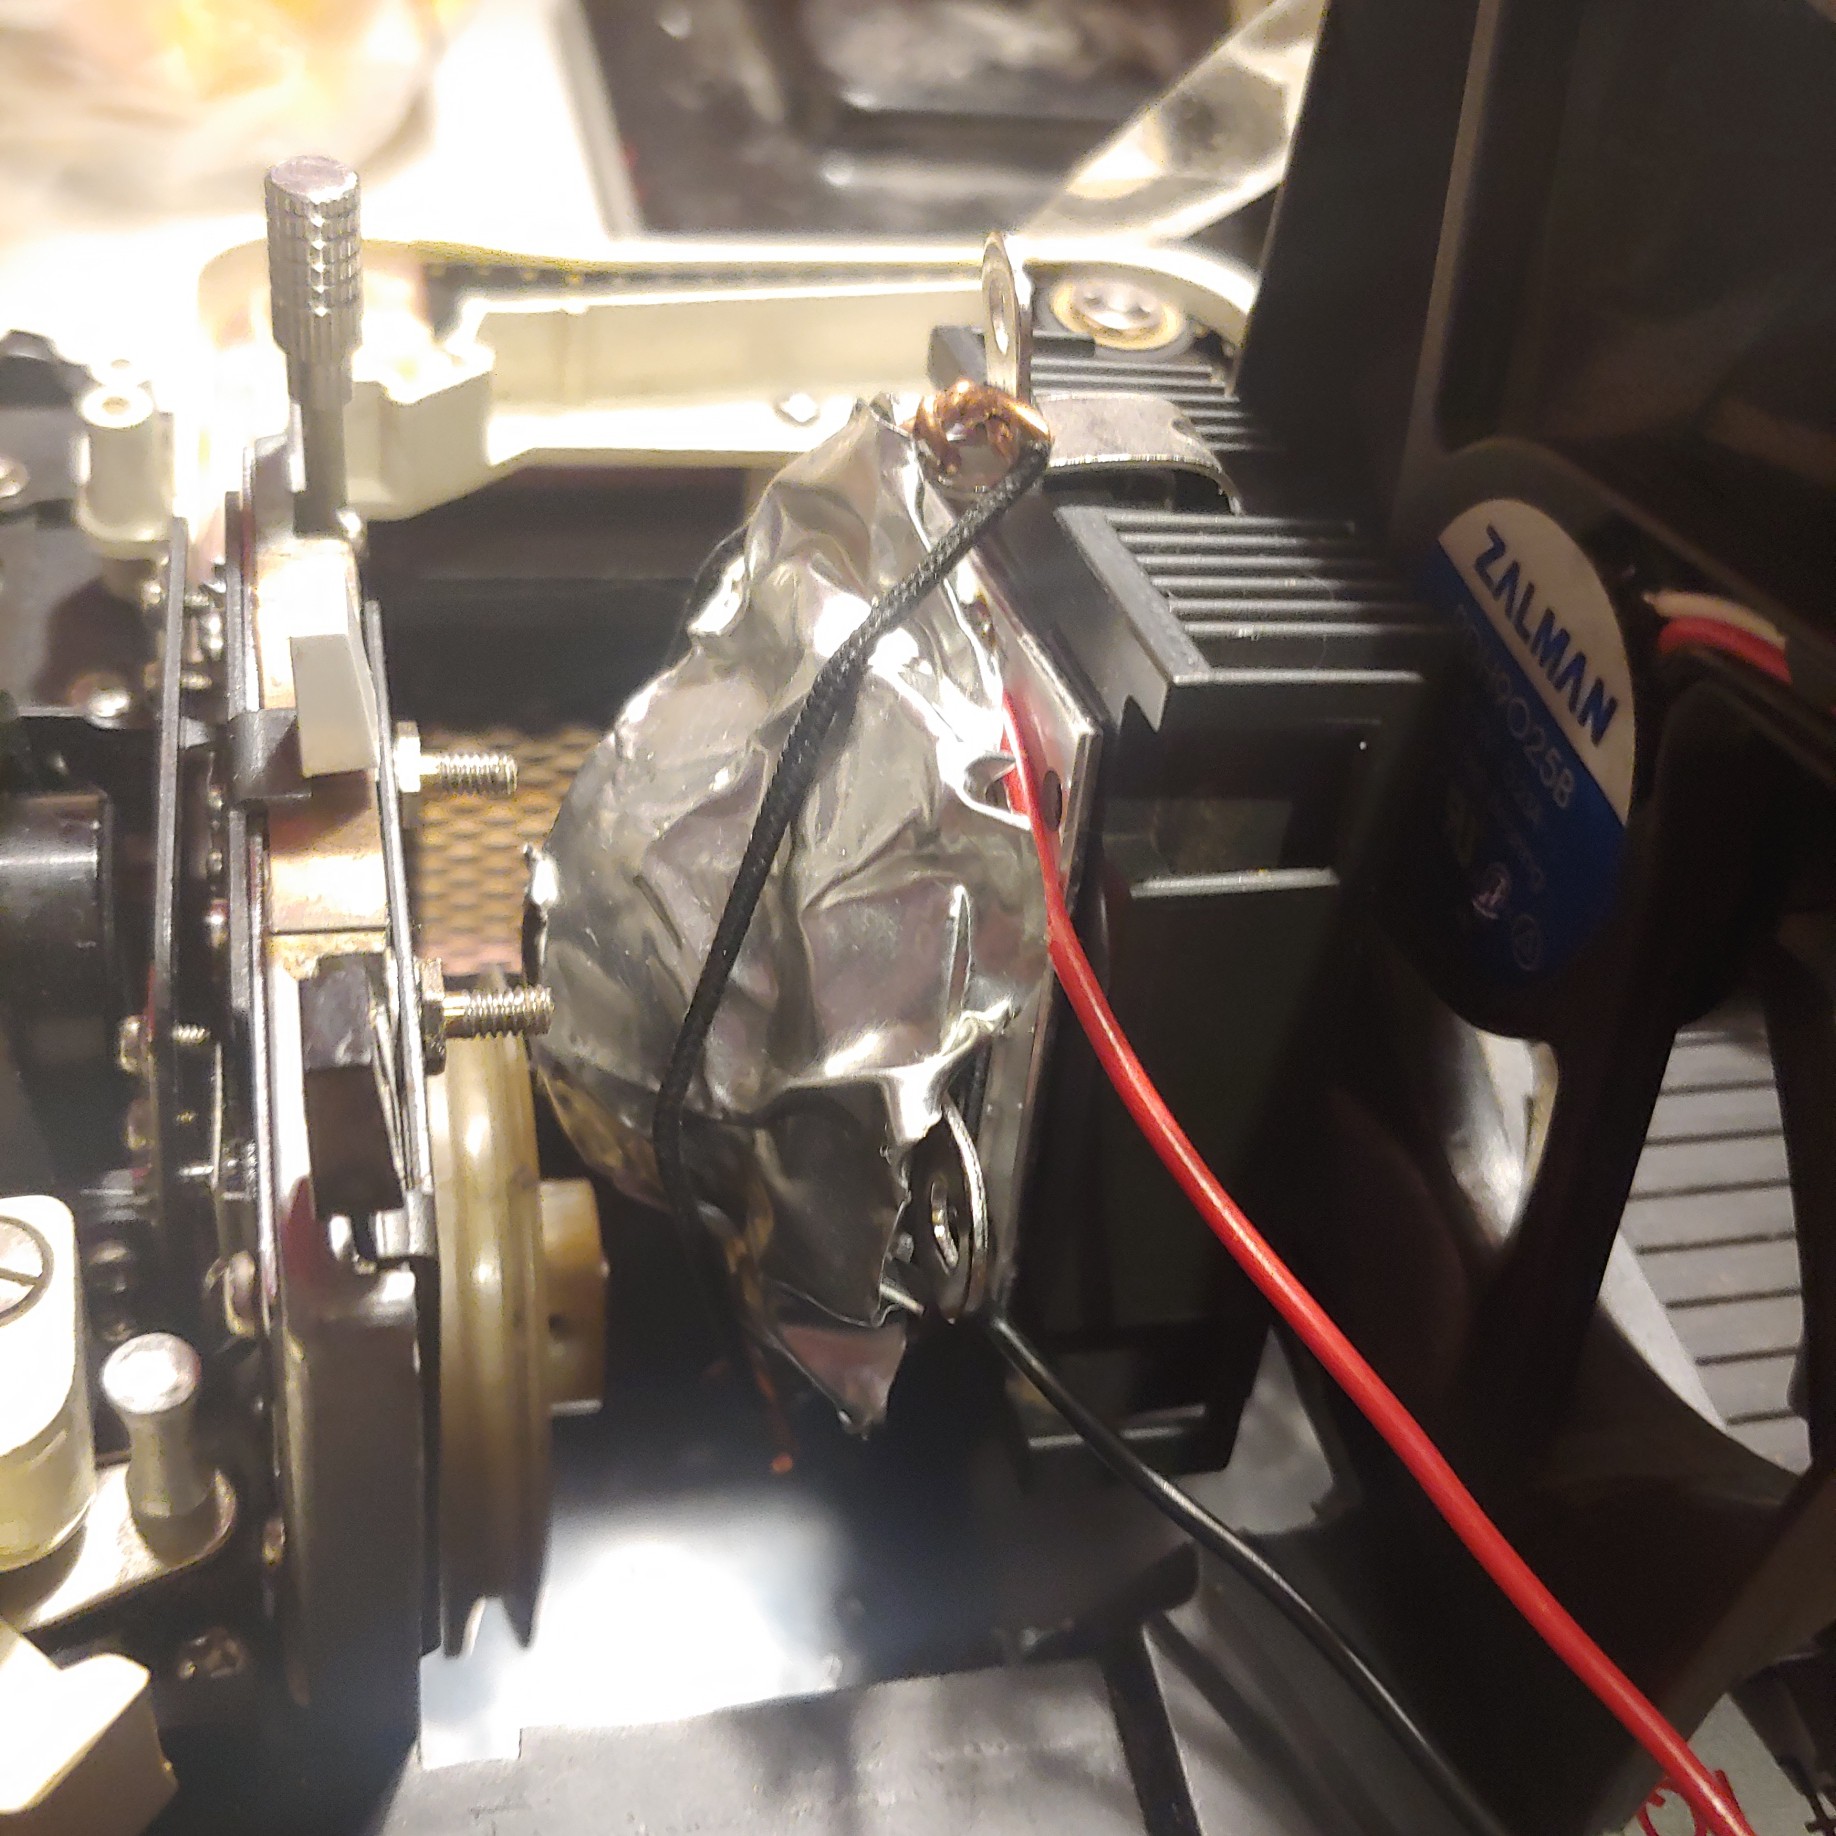
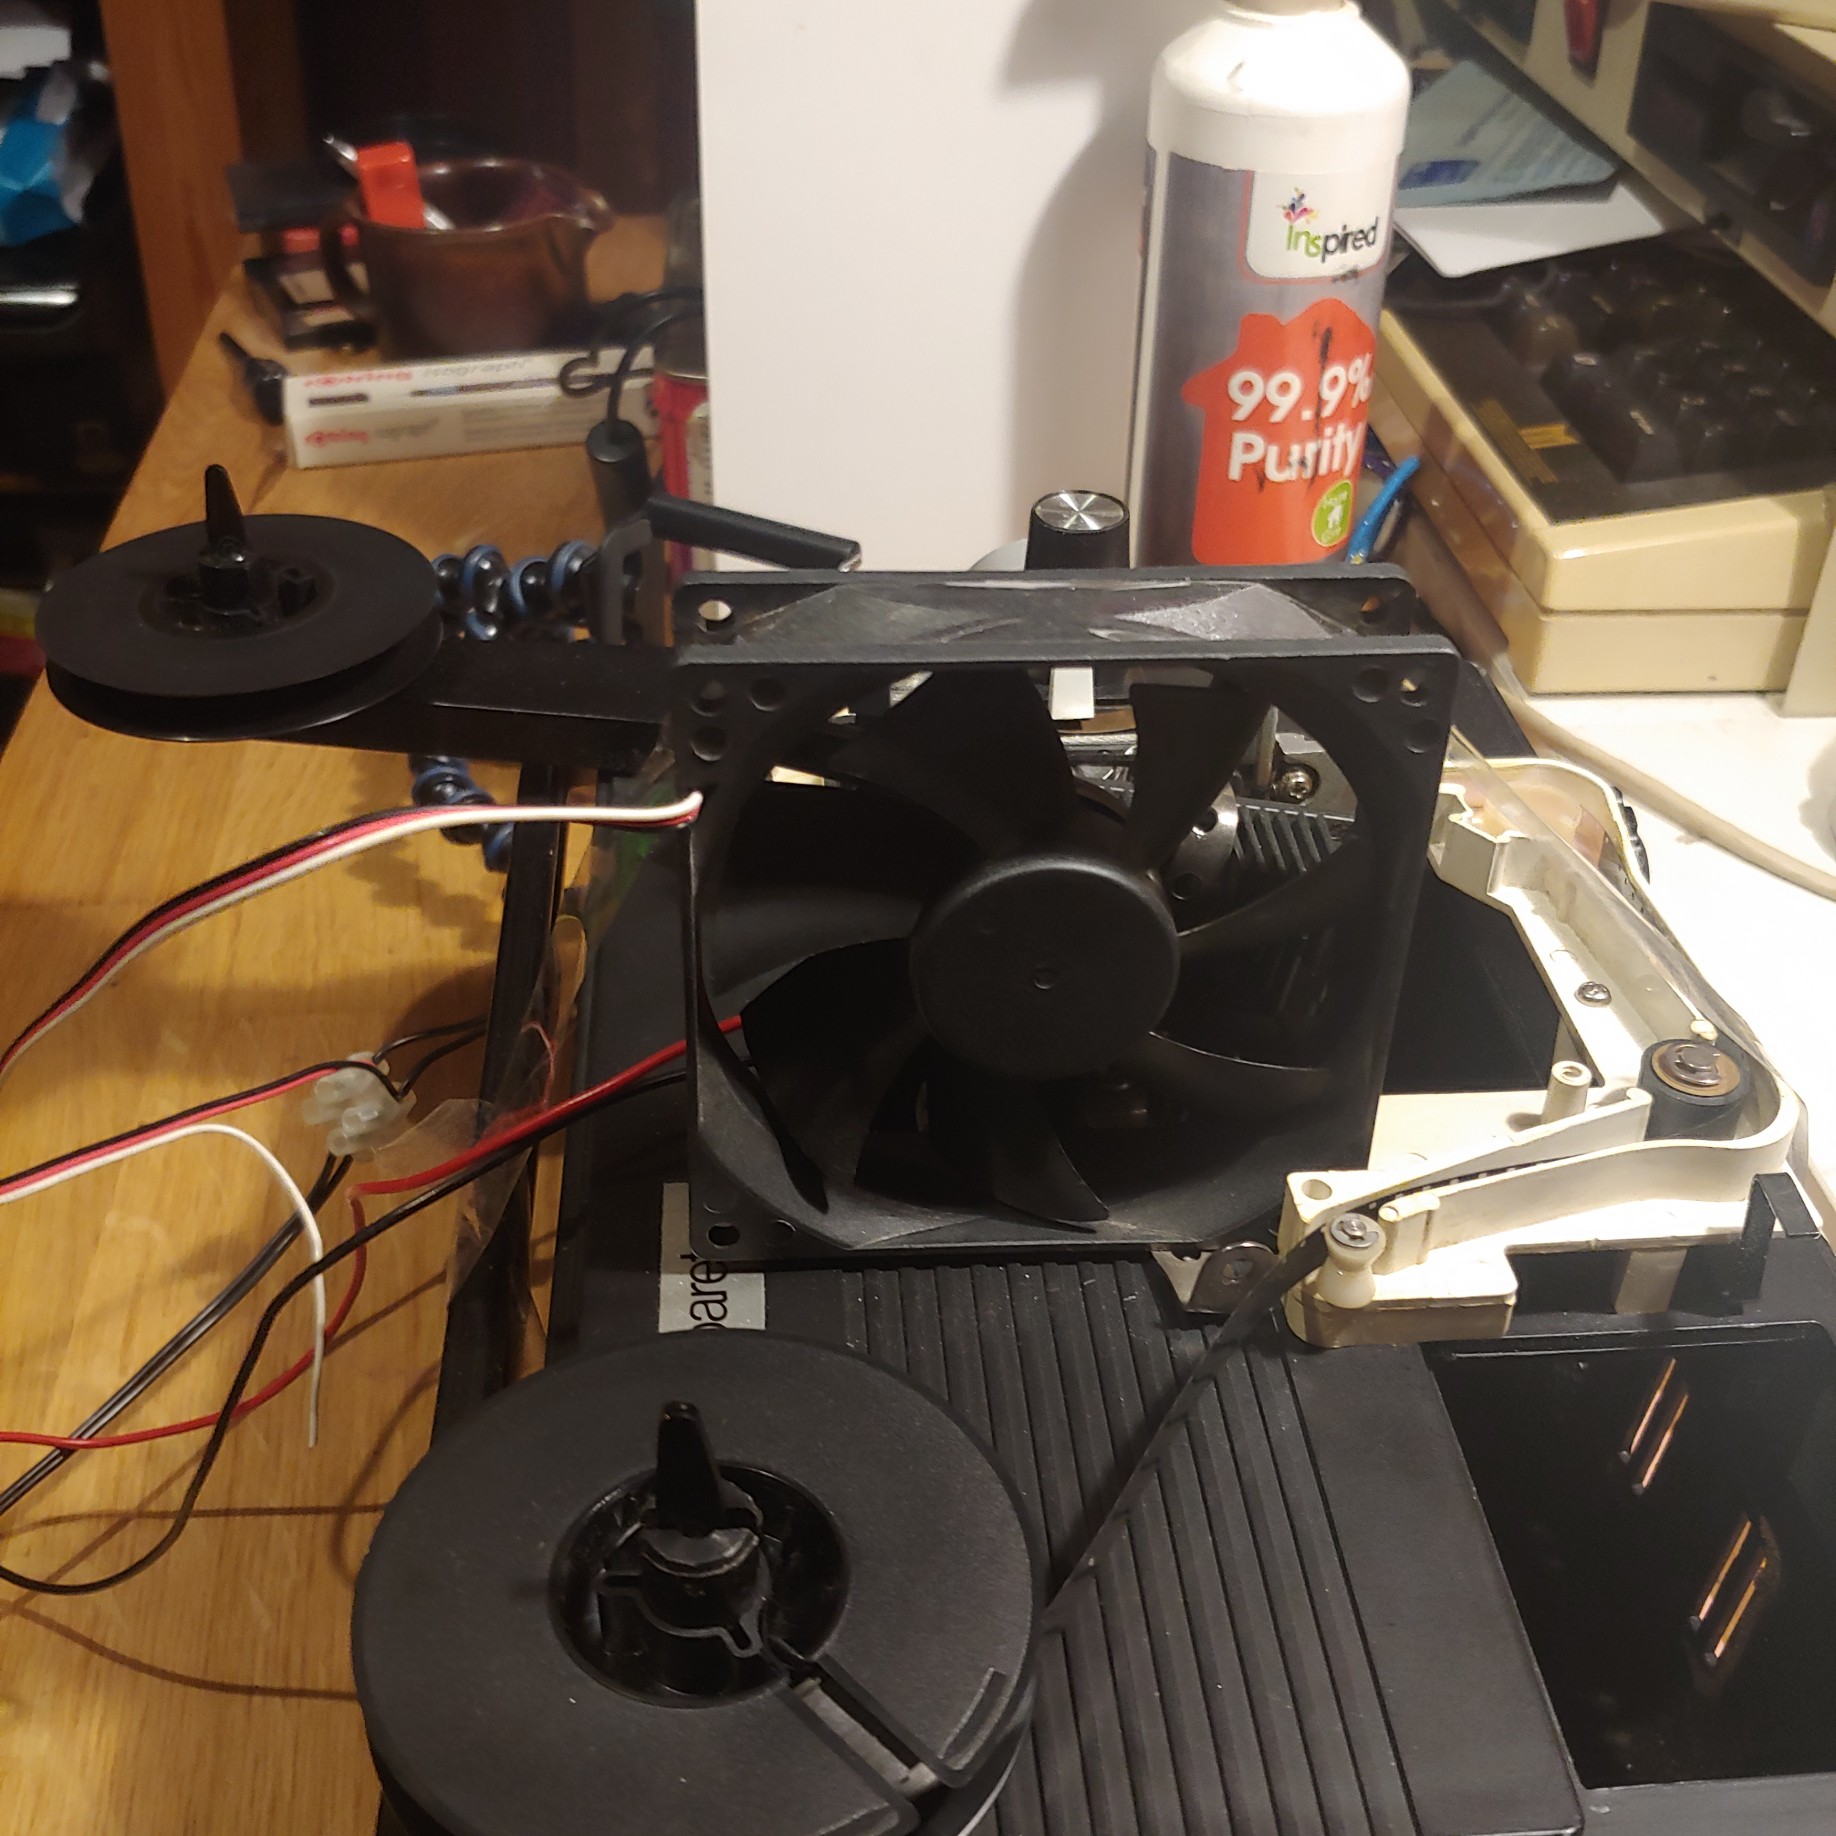
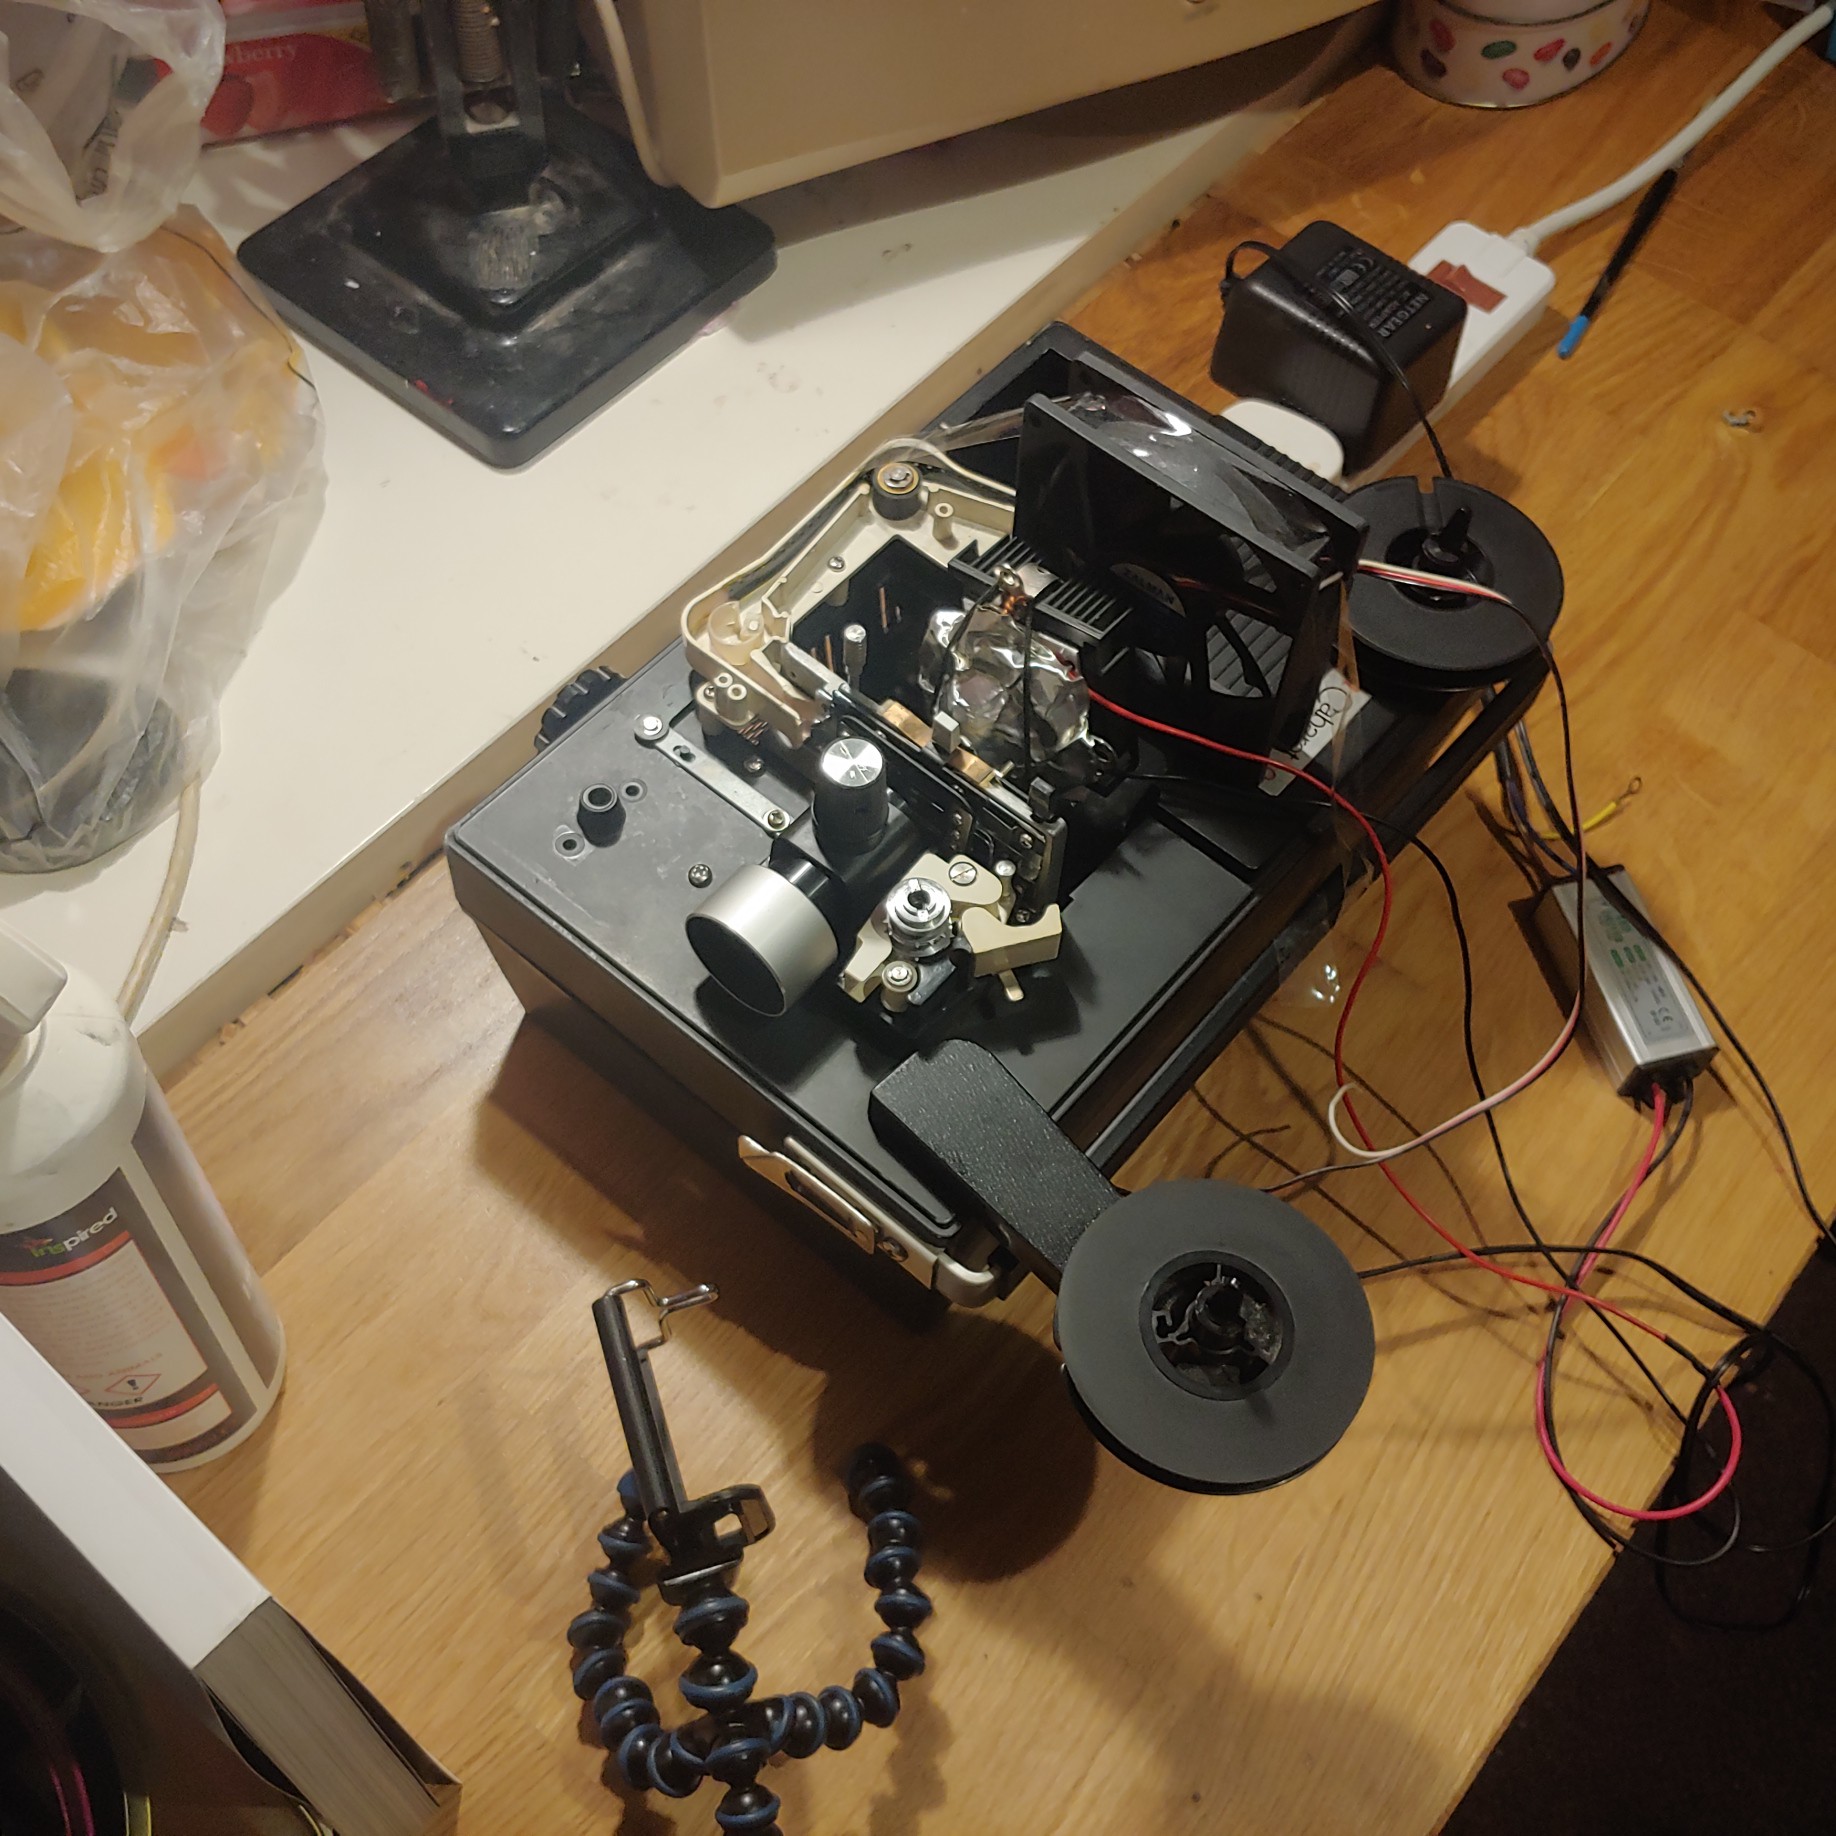
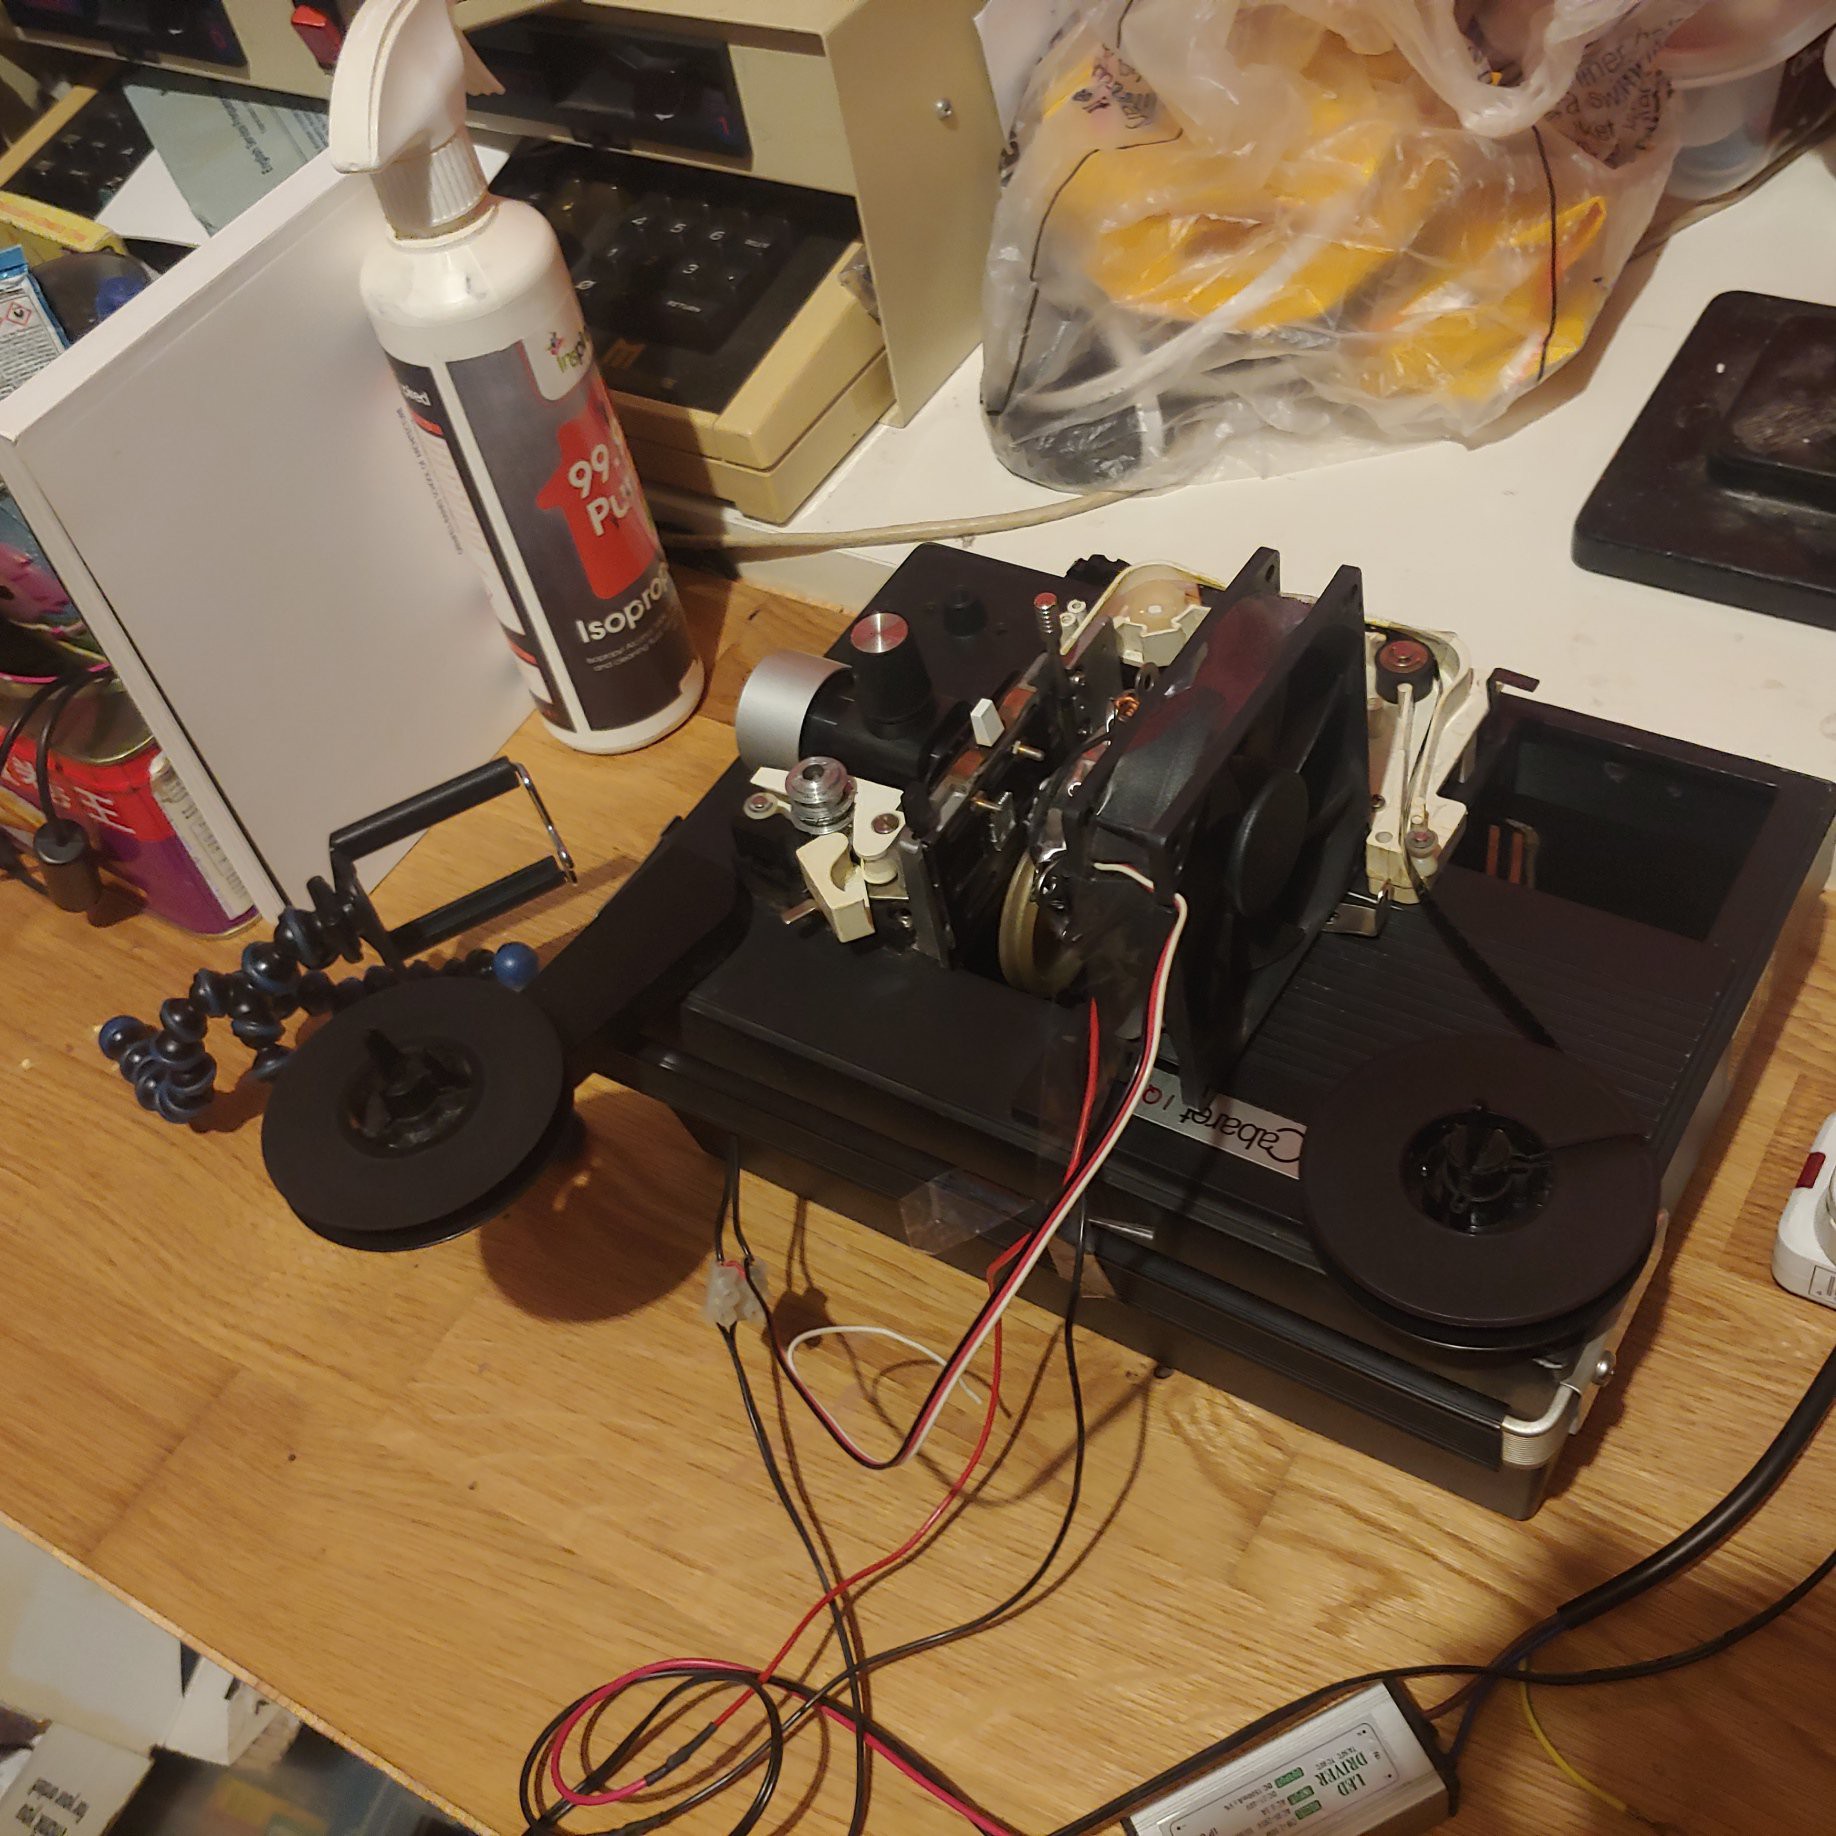
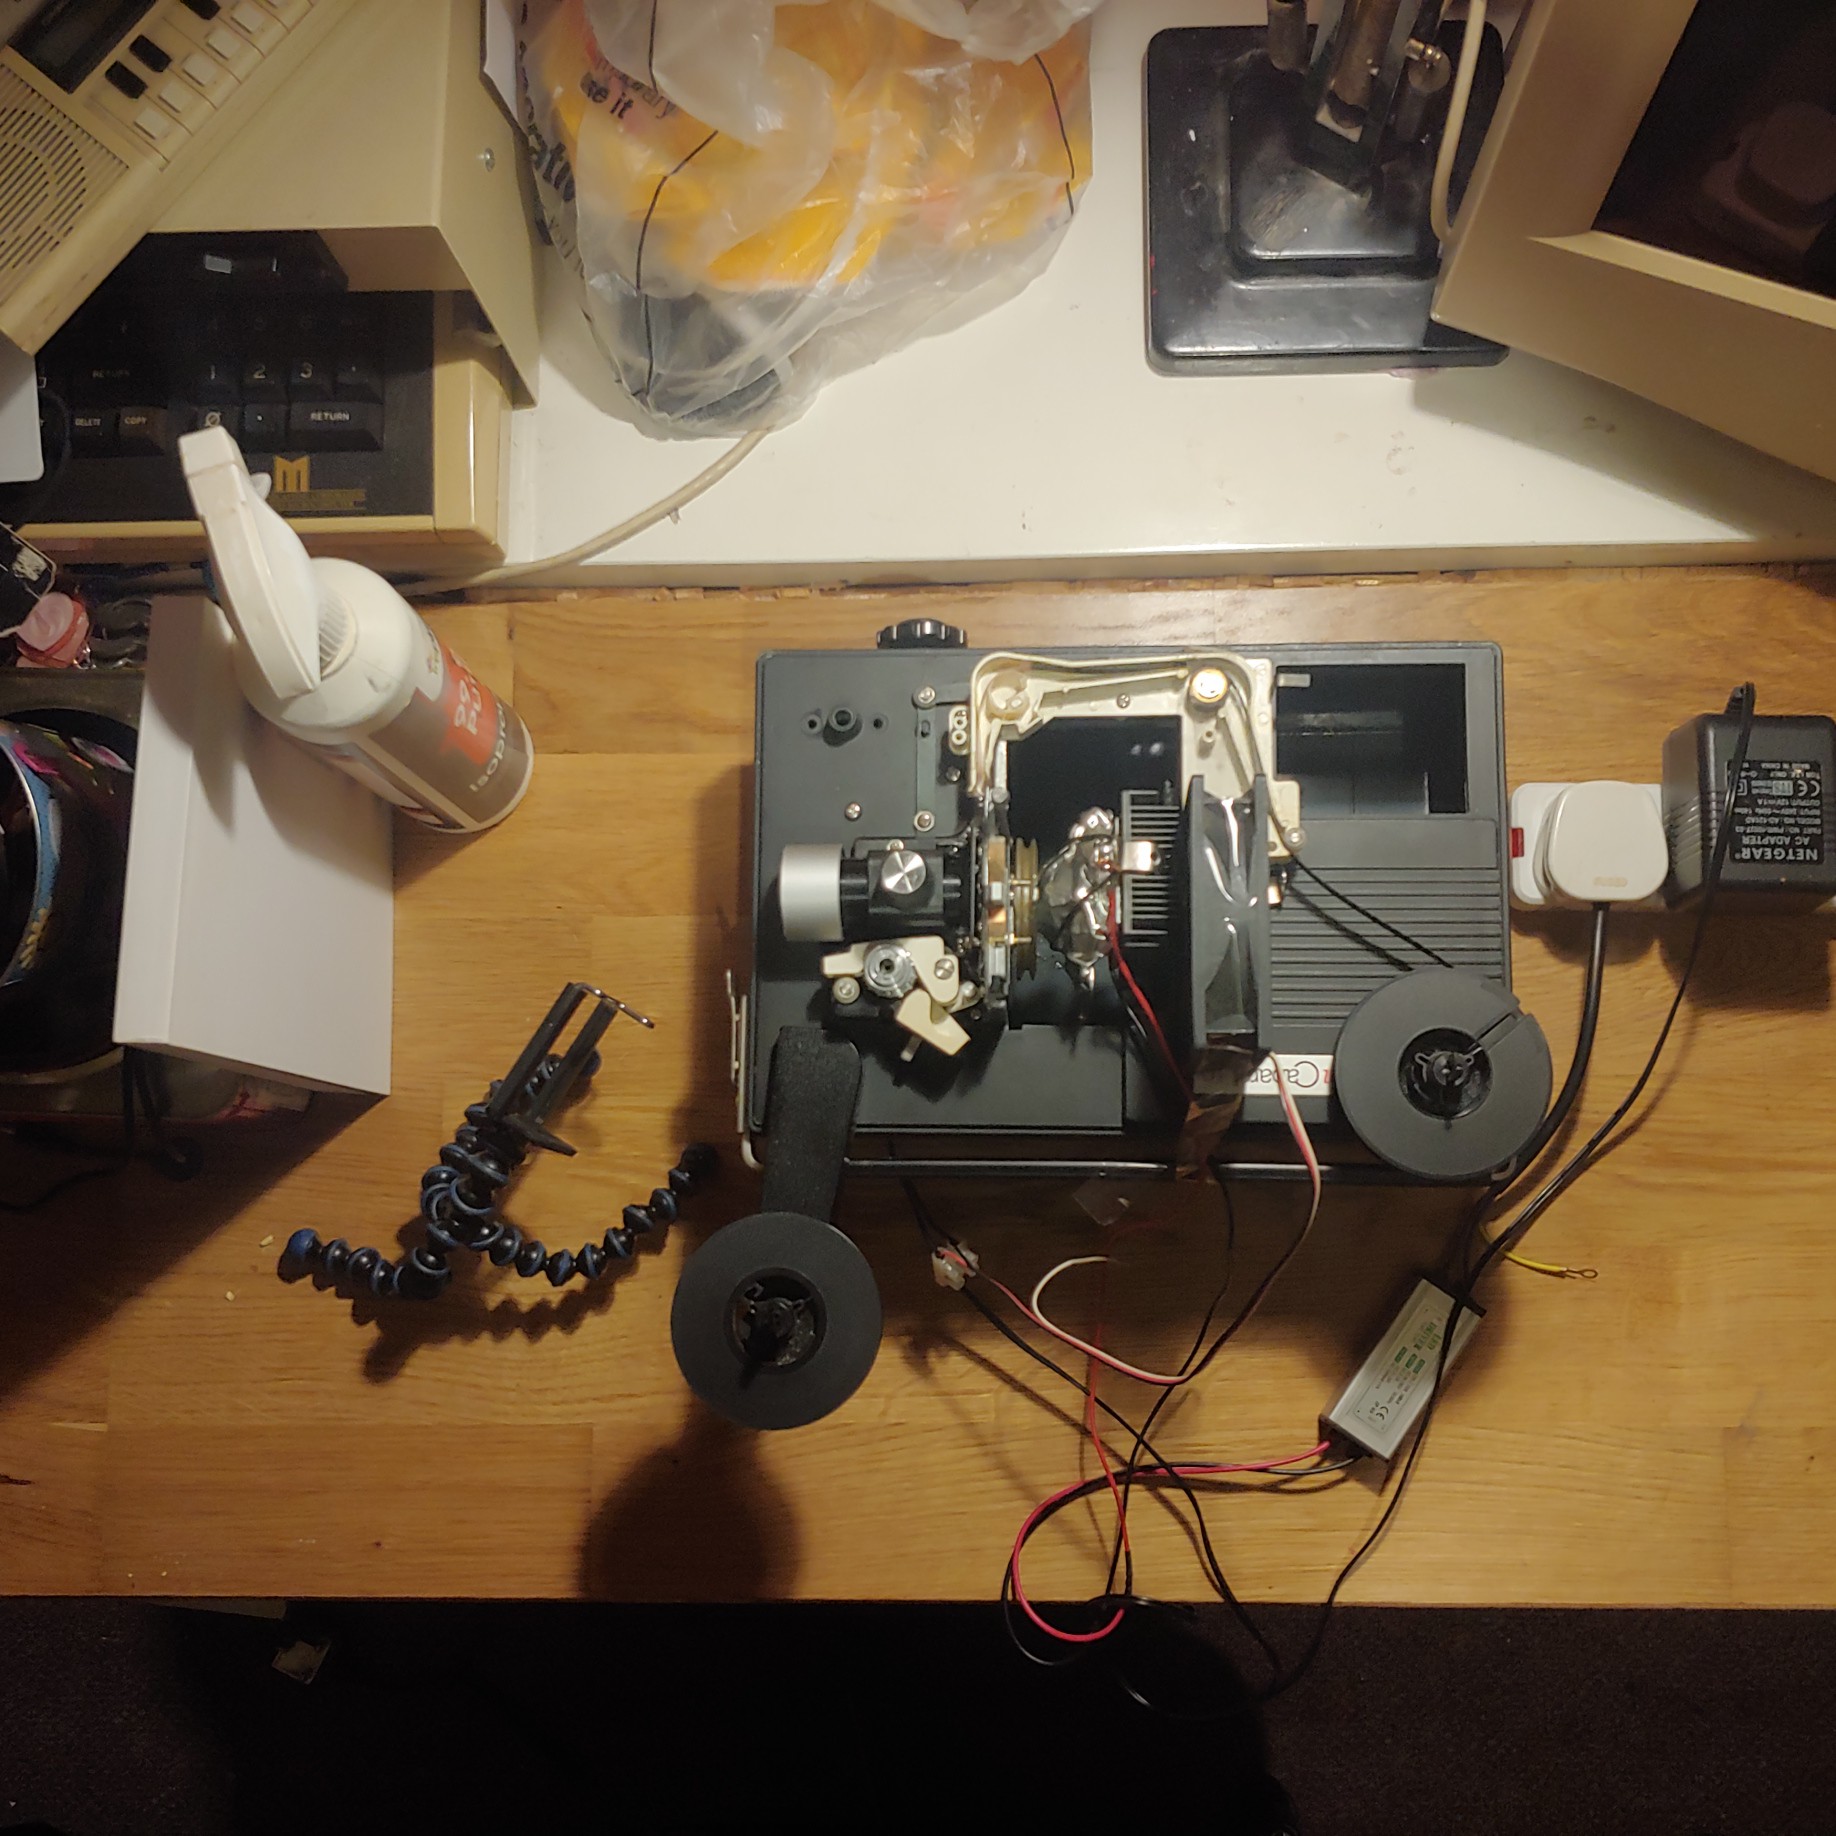
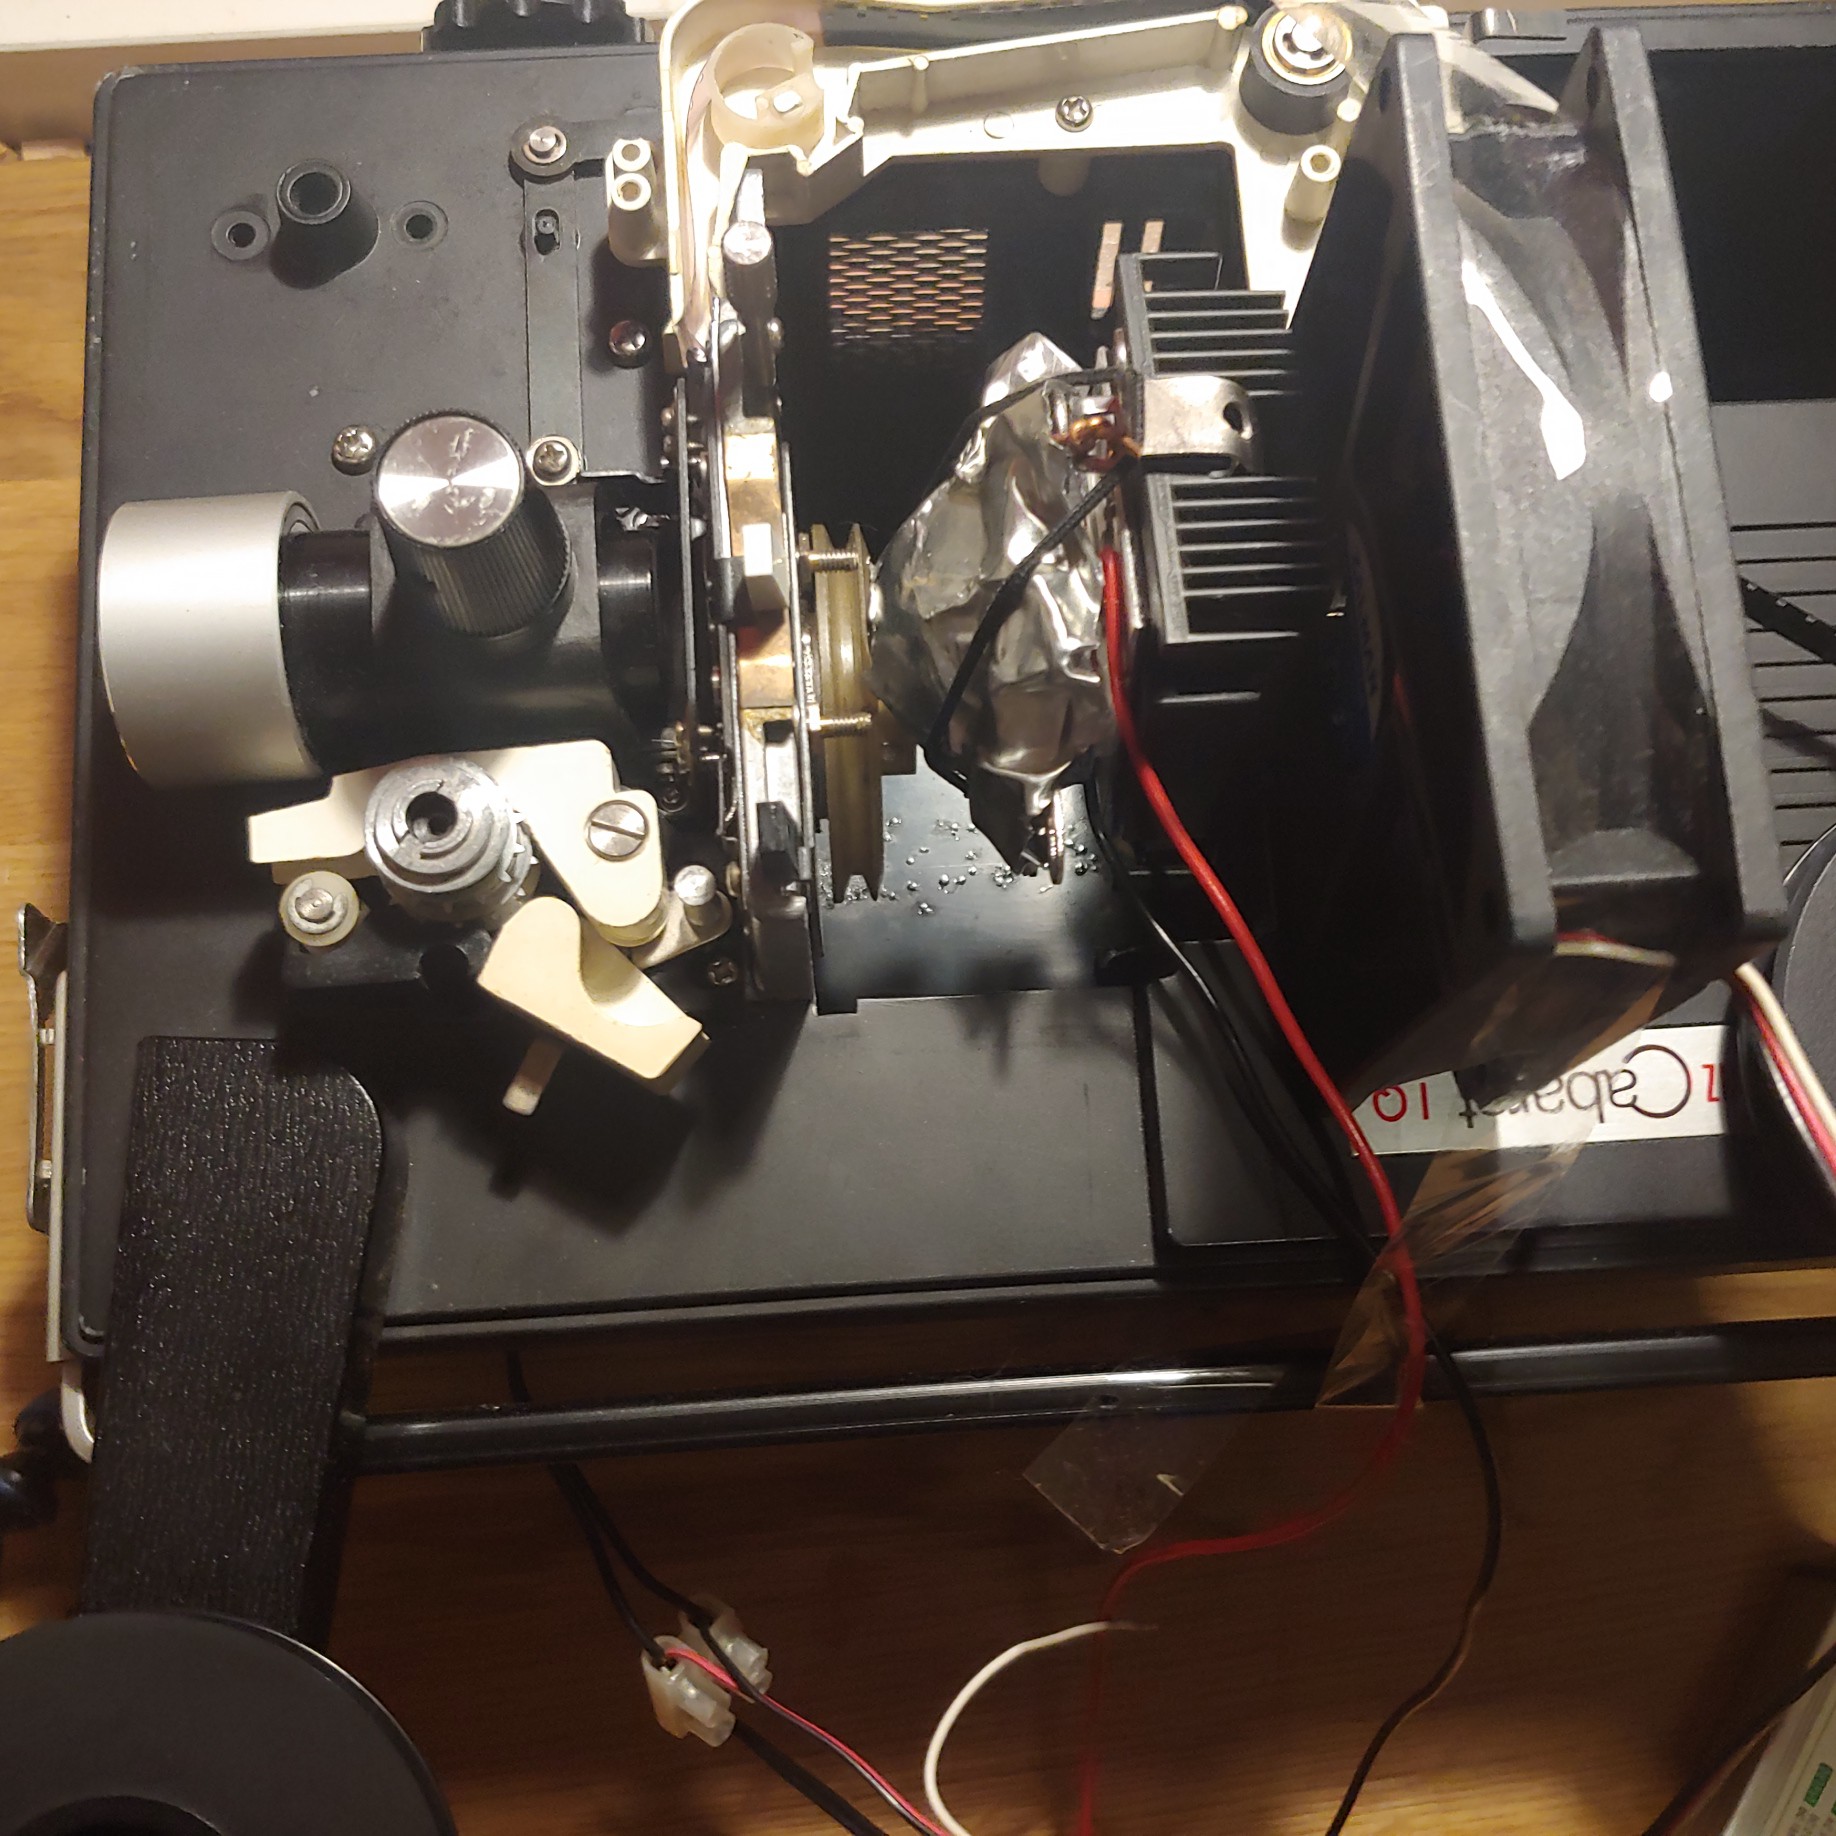
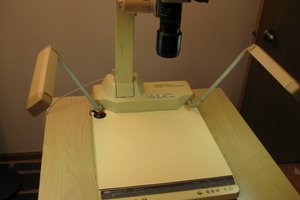
Super 8 digitiser
Aiming for a low cost but high quality way of copying from super 8 cine film to a modern digital format.
 The_Mekon
Become a Hackaday.io member
Already have an account? Log in.
Just one more thing
To make the experience fit your profile, pick a username and tell us what interests you.
Pick an awesome username
hackaday.io/
Your profile's URL: hackaday.io/username. Max 25 alphanumeric characters.
Pick a few interests
Projects that share your interests
People that share your interests


 Quinn
Quinn
 Mike Rigsby
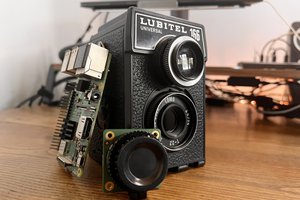
 Gradivis
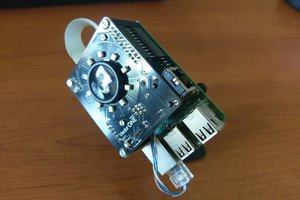
 Robert Gowans
Interesting project. I've been planning something similar to digitise a lot of old Standard 8mm film that my father took in the 1960s. I have a Eumig projector and was going to make a screen using the white backing from a broken laptop display as a screen. If I can make a proper mount for it, by adjusting the angle it should be possible to cancel out any geometry errors due to the camera and projector being off axis. I intend to try this with a Logitech webcam. I am a long time Linux user and found a nice webcam tool called UVCview for controlling the webcam. It has image control to adjust exposure and colour balance, and both frame rate and frame size control. After some test I decided that 800x600 was adequate as the original film was onlu about 480x360. The synchronisation is going to be the problem. I am looking at how to hack UVCview to get at the "shutter" trigger. I have managed reasonable results with no sync and the camera running at 30fps. I've been using KDEnlive to edit with, and this has produced good results with upscaling to 720HD. I'm a retired video editor, and haven't done any DIY video since the days of analogue tape! I shall follow your project to see how you do.