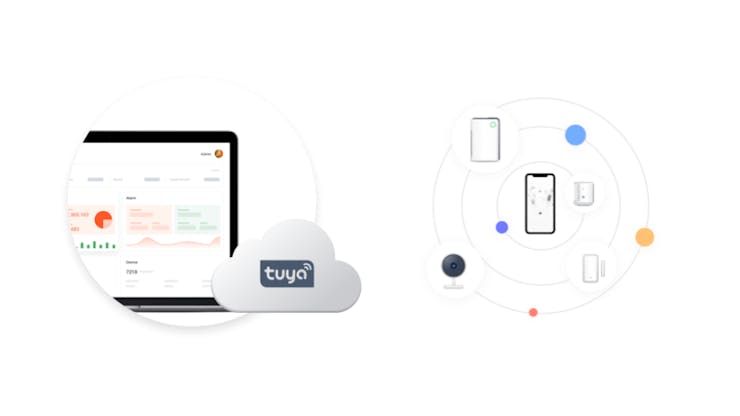
With the AIoT technology reaching new heights, many of the industries are targeting it mainly to automate their systems. IoT alone is not sufficient to make devices smart- especially when there are thousands of devices to manage. By combining Cloud platforms with IoT, it becomes a lot easier to build, analyze and manage devices. To cater to that need, Tuya, a global leading IoT cloud platform, launched its Cloud Development Platform in 2020, As Tuya puts it on its website, “the platform fully opens basic IoT capabilities such as device management, AI scenarios, and data analytics, as well as industrial components.”. The platform offers a variety of development tools to quickly implement IoT solutions.
Tuya’s Cloud Development platform offers a SaaS (Software as a Service) development framework, which is the most widespread type of cloud app. Developers just need a Tuya-enabled device and code for it, and the rest will be handled by the Cloud service. So developers won’t have to worry about spending money on separate software and updating it every time. Tuya also offers OpenAPI for app developers along with a huge number of other APIs to integrate your project with. New users can also avail a few coupons to try on Tuya's platform.
A glance at Tuya’s Cloud platform’s features
Tuya’s Cloud platform unlocks a huge number of applications with its heap of features. Following are some key features of the platform:
Comprehensive IoT Platform Capabilities
Developers can easily connect their smart devices through MQTT and HTTPS protocols and offer 99.9% SLA, thus ensuring performance stability. Adding on it, the platform offers MQTT service for hundreds of millions of IoT devices simultaneously, thus giving a very tough competition to the IoT services offered by Microsoft’s Azure IoT.
Along with the device connection, other IoT capabilities like device registration authorization, AI scenarios, and big data analytics are also offered. These help the developers to build robust SaaS-based IoT applications.
Quick development capabilities
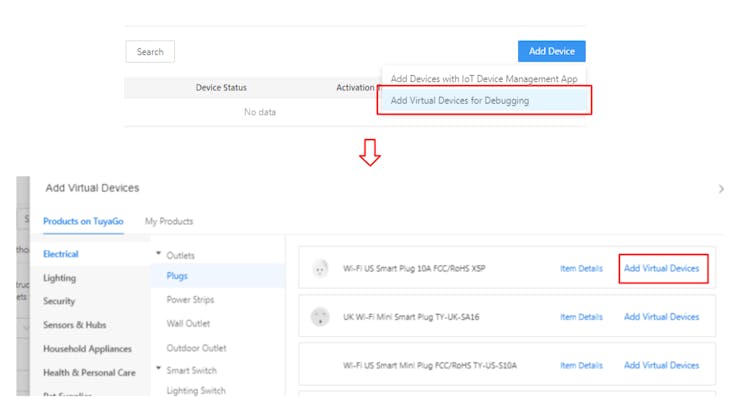
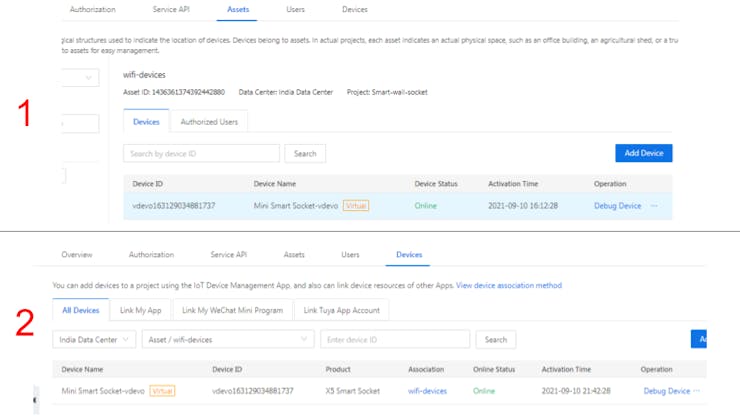
Once the Tuya-enabled device is connected to the internet, app developers can make use of OpenAPI or the firmware offered by Tuya itself to quickly build Andriod, iOS, and web applications. Examples include IoT WeChat Mini Programs, SaaS backends, and cloud platforms.
Along with it, multiple devices can be integrated into projects quickly as the platform shortens device debugging from 30 man-days to just around 10 minutes. Tuya’s Open-Source SaaS Development Framework also reduces development time by 70%, thus making the overall implementation much quicker.
A well-experienced platform and support
With over 324,000 developers around the world, Tuya has its roots deep into the AIoT Cloud-based industrial sector. There are over 310,000 smart devices powered by Tuya, covering various business scenarios like hotels, apartments, communities, commercial lighting, security, and other industries.
Tuya’s Cloud platform handles more than 84 billion daily cloud requests. The company thus offers a world-class IoT ecosystem by offering an all-in-one solution of hardware, cloud services, OS, and SaaS development.
Tuya’s industry-specific solutions to help you implement applications quickly
Along with a feature-rich Cloud Development platform, Tuya also helps the end-users to visualize and implement their solutions. These resources give a very clear idea of business practices in different industries such as smart agriculture, smart industry, smart energy, and a few more.
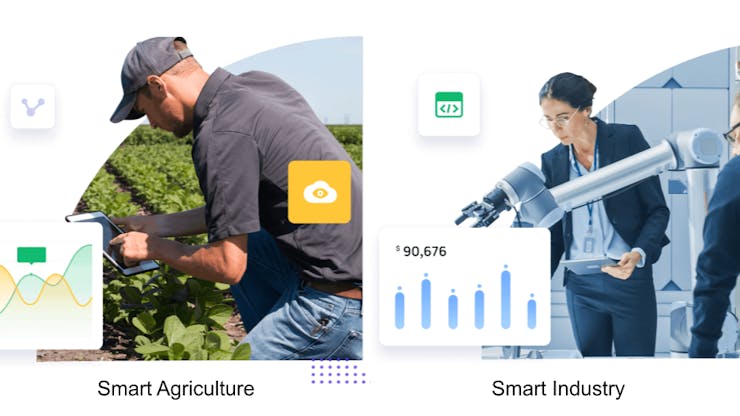
Smart agriculture is one of the booming fields as it has a lot of physical parameters which need to be taken care of. Tuya with their solution enables small and medium-sized manufacturers to reduce cost and improve efficiency. While talking about the pros of this solution, Tuya also gives an insight into all the possible drawbacks and justifies them well. This helps the developers to build better...
Read more »
 Grandeur
 tdicola