0%
0%
ROENDI
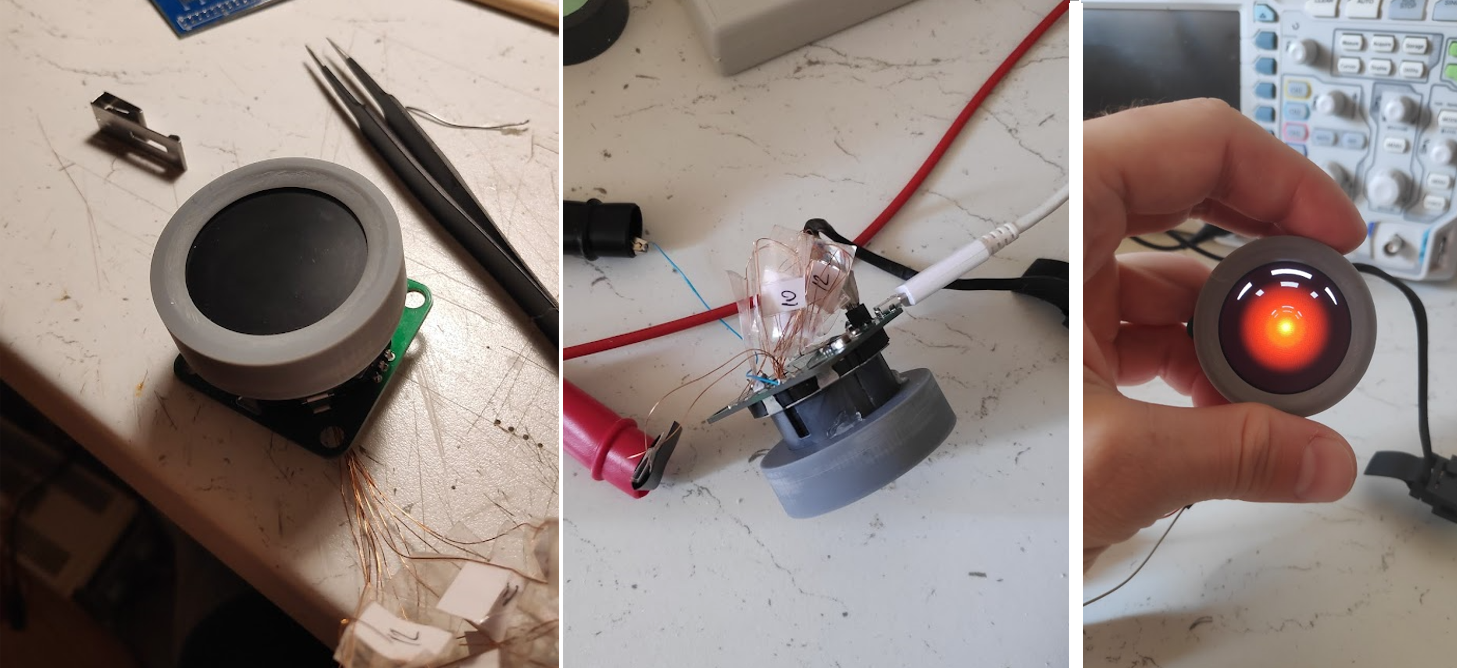
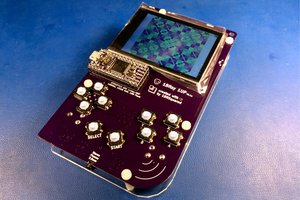
Roendi (Rotary Encoder with Display) features a STM32L433 MCU, 1.28" TFT round display and a Alps Alpine 15Pulses/30Detent encoder.
 Dimitar
Become a Hackaday.io member
Already have an account? Log in.
Just one more thing
To make the experience fit your profile, pick a username and tell us what interests you.
Pick an awesome username
hackaday.io/
Your profile's URL: hackaday.io/username. Max 25 alphanumeric characters.
Pick a few interests
Projects that share your interests
People that share your interests
 It was very convenient having the buttons and the rotary encoder combined. Unfortunately the parts that could make this happened were not available to the general public.
 On the back there was a RGB LED to lit up the encoder from the inside. The idea of having a LCD display was not there yet. Then I came across Voltlog's youtube video about round display breakout boards. Everything came together.
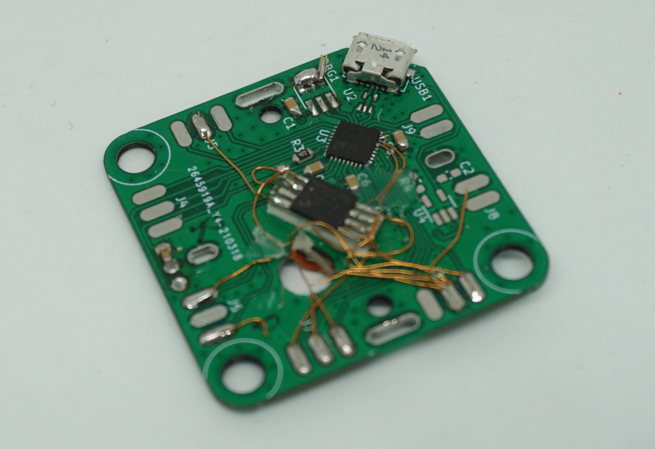


 David L Norris
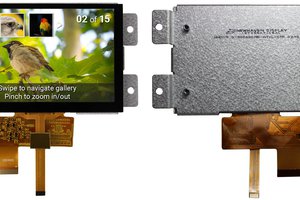
 Piotr Esden-Tempski