 LED Lightwell
Features
- Always precise time because of synchronization with NTP time servers
- Indoor temperature, humidity and barometric pressure measurement
- Sending temperature, humidity and barometric pressure data to MQTT and Thingspeak.com server
- No buttons – control the clock via WEB-interface from PC, tablet or smartphone
- High display brightness
- Seven colors to display information
- Brightness adjustment
- Two alarm clocks
- Firmware update via Wi-Fi
- Information display on 3 languages: English, Russian, Bulgarian
- An option to install different alternative Open Source firmware
- Hackable: Open source hardware and firmware, Displays information read via UART
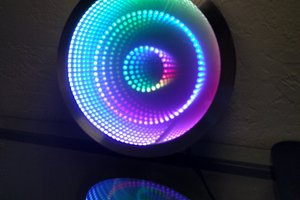
 Sean Wagoner
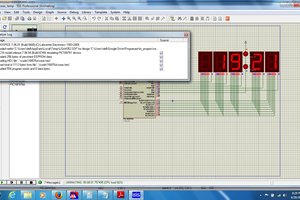
 tnt.vlad
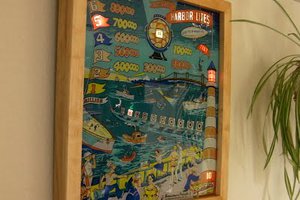
 Randy Elwin
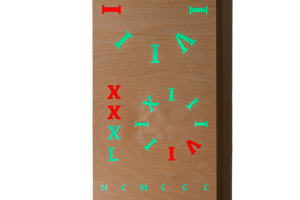
 remcoNL