 Steve Kasuya
Challenge
Just limiting the number of guests is not enough to prevent COVID-19, so we have mandatory rules of wearing a face mask, practicing social distancing, washing hands, and disinfecting after use.
In addition to these rules, we believe that keeping the air clean is also one of the effective measures to prevent the disease. Researchers say that COVID-19 transmission risk can be reduced if the space is well ventilated [1].
How do you know if the space is well ventilated? One of the indicators is CO2. CDC recommends that indoor CO2 levels be below 800ppm during pandemic conditions[2].
There are several ways to keep indoor CO2 levels low, for example, opening doors/windows regularly or keeping ventilation fans on. But they require human intervention and are not energy efficient.
Solution
This is where the automatic ventilation system comes in. What it does is to monitor CO2 levels at different spots in the hackerspace, automatically turn on/off a powerful ventilation fan depending on the measured CO2 levels, and keep the air in the space clean therefore lowering COVID-19 risk.

CO2 monitors
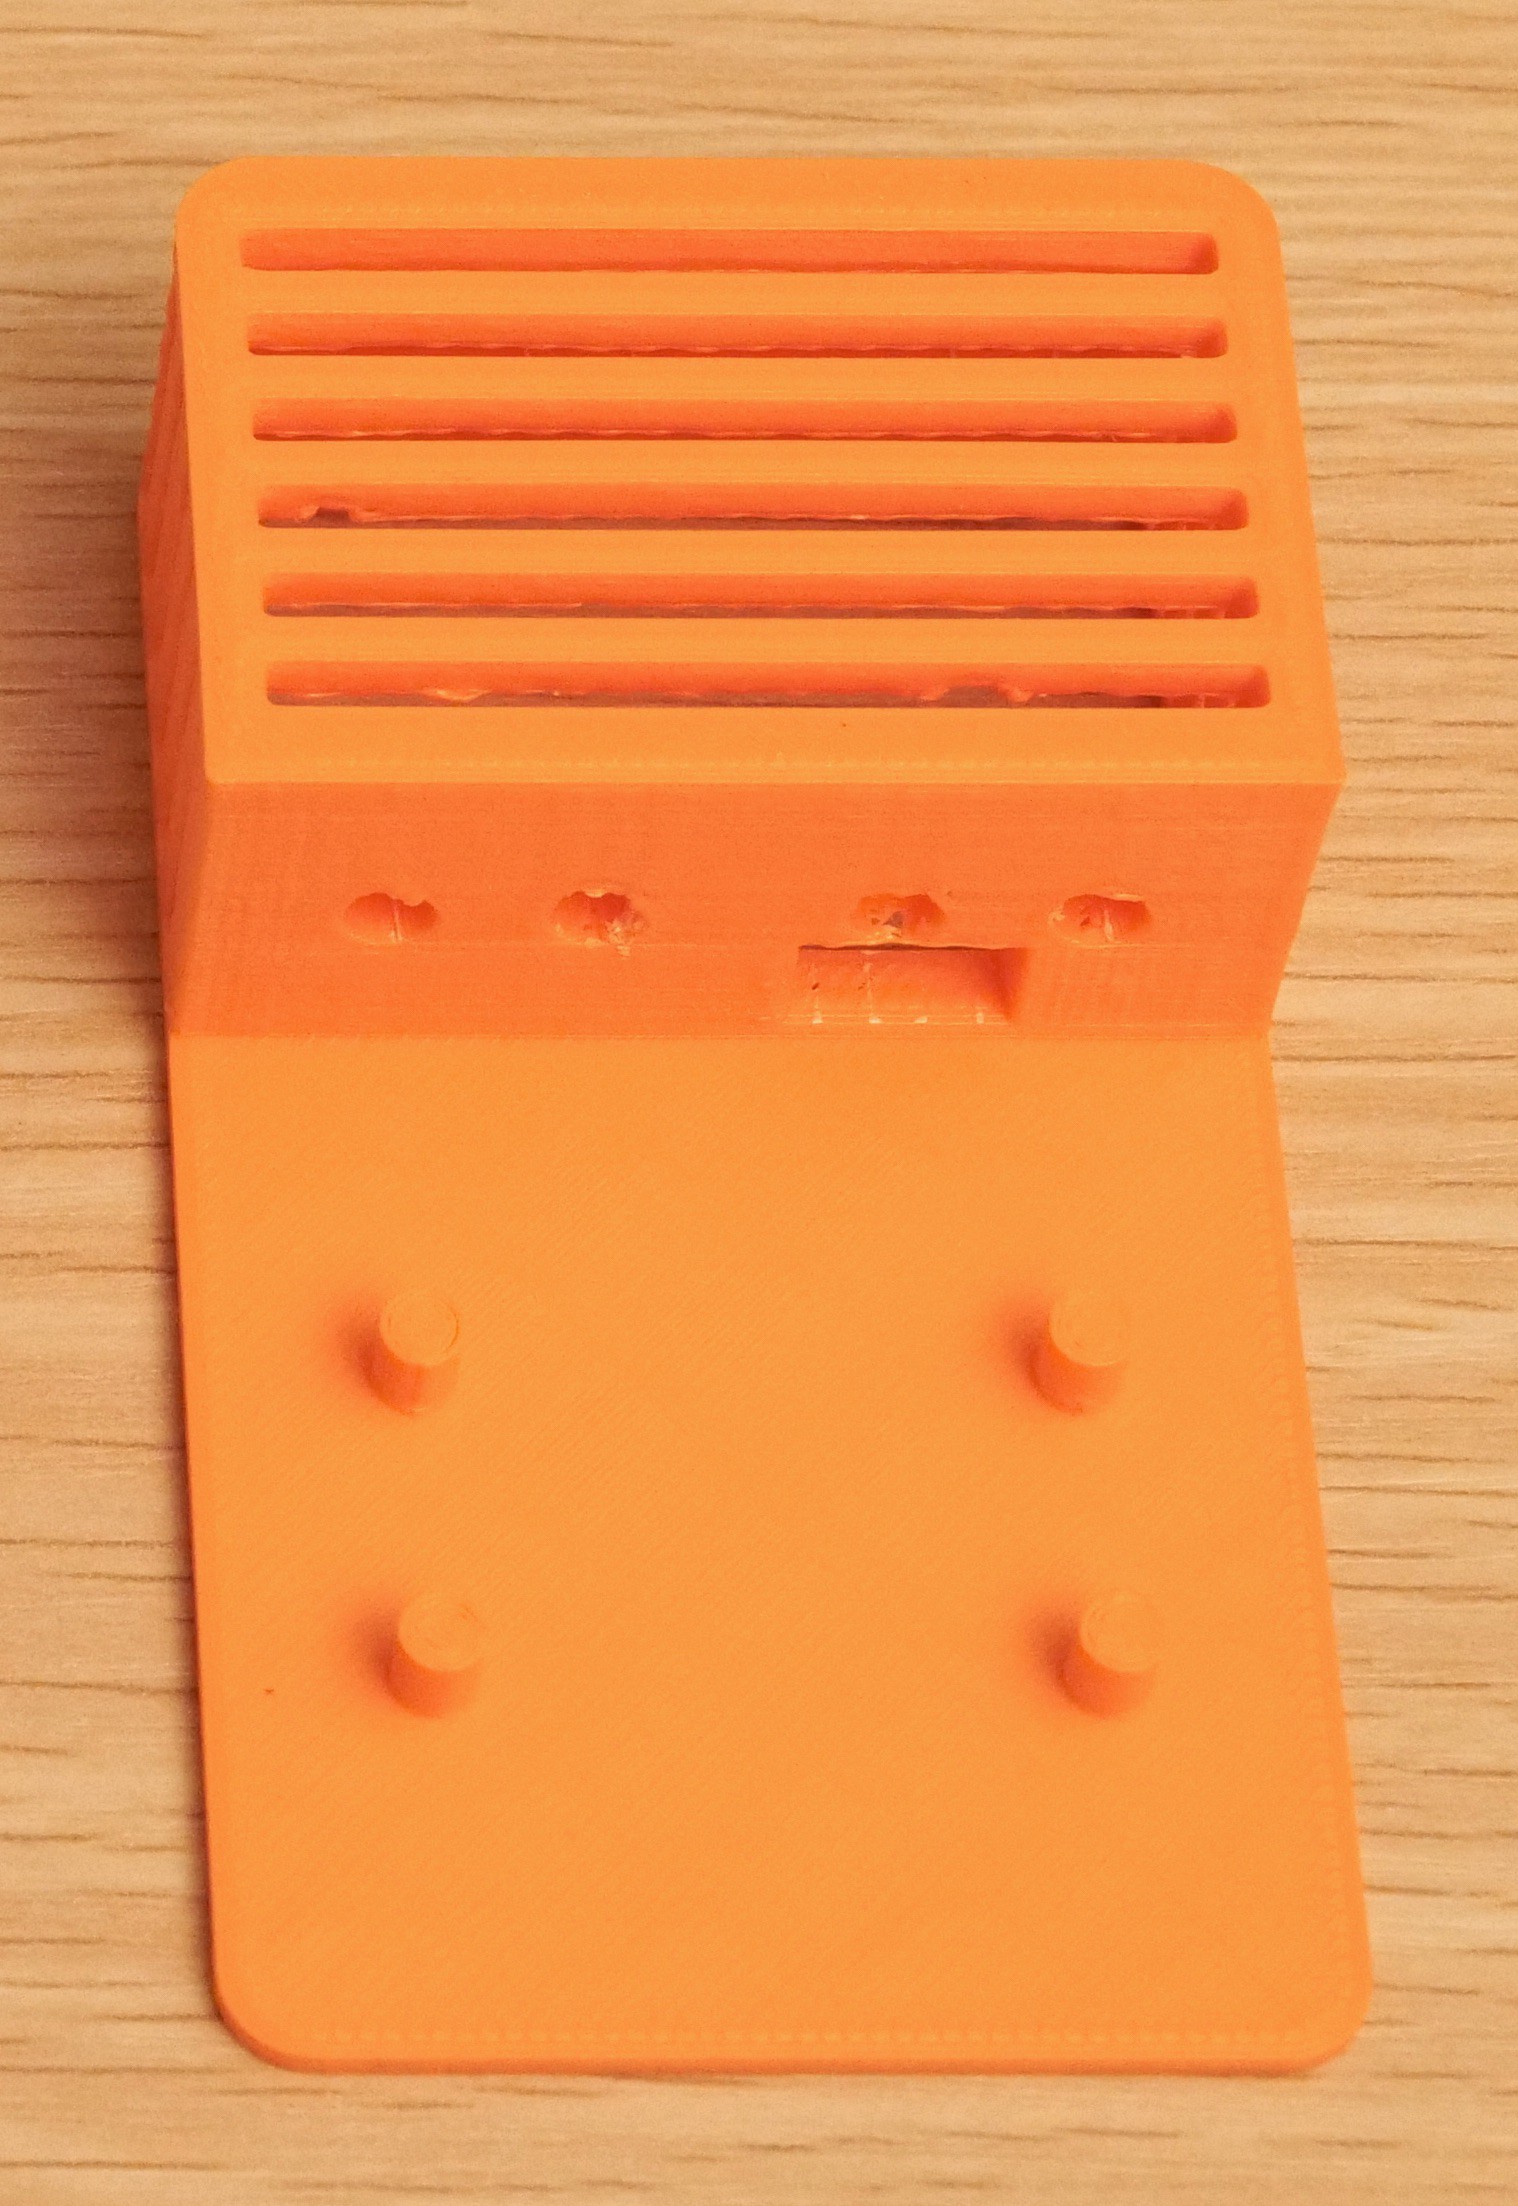
CO2 levels are measured with CO2 monitors at the following 4 locations: the main area, the video studio, the hallway, and the restroom. Each CO2 monitor is made up of the M5Stack Core2 for AWS IoT EduKit reference hardware[3], an NDIR CO2 sensor, 2 orange mini mini breadboards, and a 3D printed enclosure.
CO2 monitors send measured CO2 levels in ppm to AWS IoT Core every 10 sec. The display color changes from green to red once the CO2 level exceeds the threshold, 600ppm.


Ventilation Fan
Since the fan inside the kitchen hood is powerful enough to pull in clean air from every little opening in the space, it alone can ventilate the whole space.
If CO2 levels are above 600ppm for more than 1 min at any of the measurement locations, AWS IoT Events triggers an action and AWS IoT Core publishes an MQTT message to turn on the fan. Once the elevated CO2 levels are back to normal, IoT Events triggers an action again to turn off the fan. This way the whole ventilation process has been fully automated.
")

Fan controller
So how do you control the fan inside the kitchen hood? What's the trick?
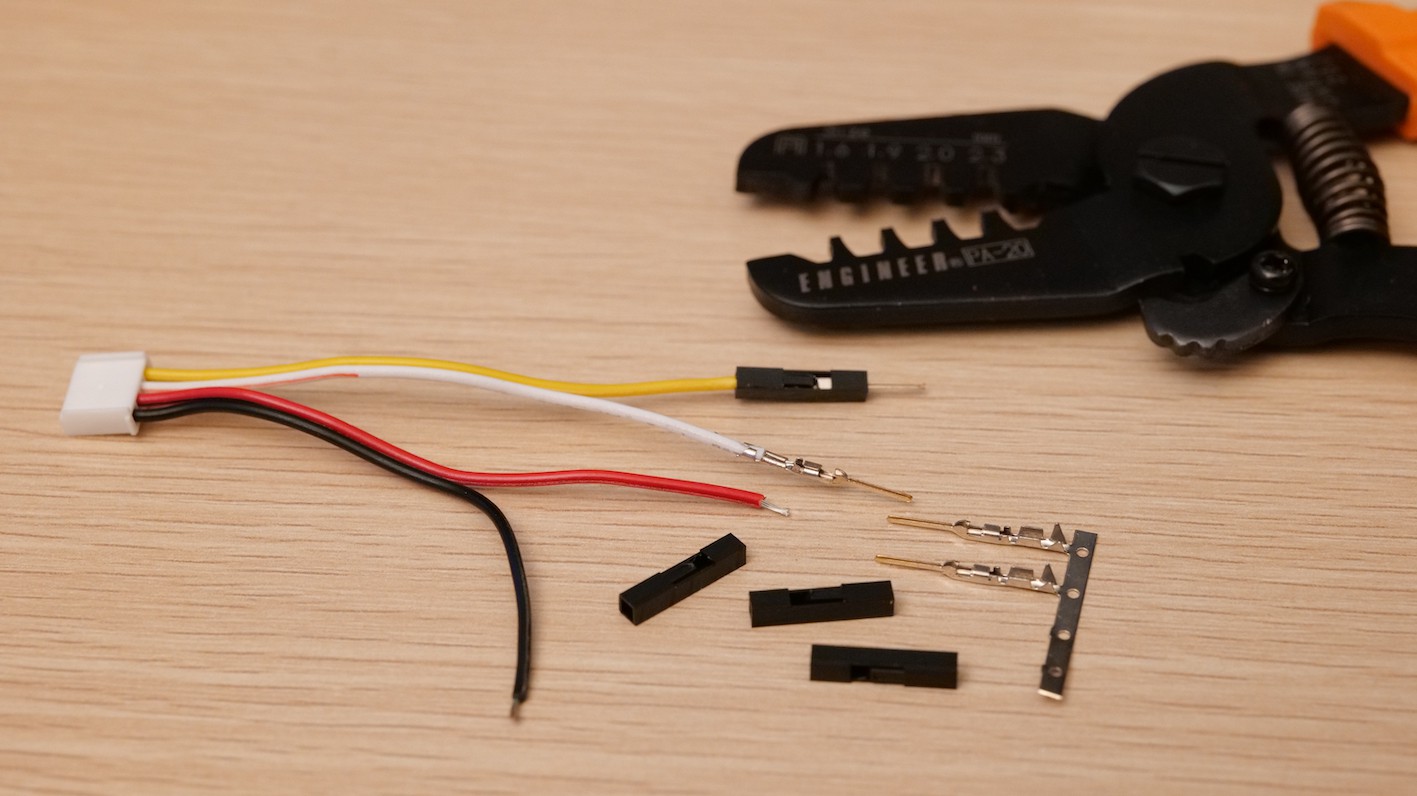
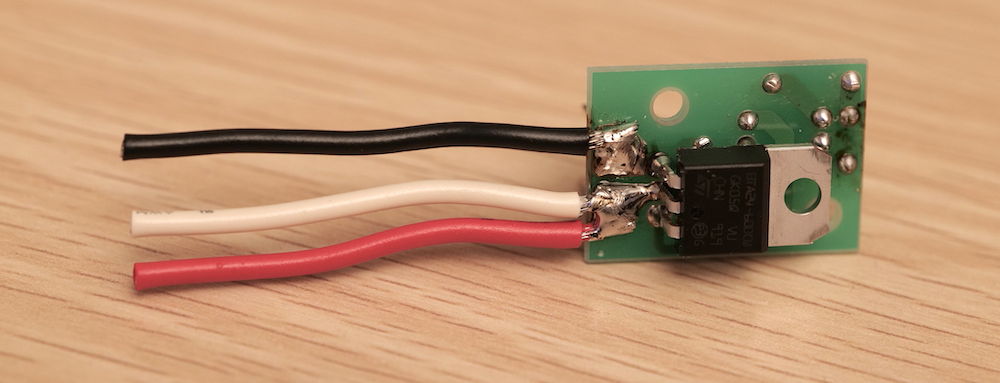
The answer is that another M5Stack Core2 for AWS IoT EduKit is inside the kitchen hood and connected to the fan! It looks almost the same as the CO2 monitors but has an SSR unit instead of a CO2 sensor.
The SSR is connected to the fan's mainboard via a connector and the EduKit is powered by an AC 100-240V to DC 5V power supply module that draws current from the AC power lines inside the kitchen hood. Happy hacking!


Dashboard
Measured CO2 levels can be viewed in real-time with the AWS IoT SiteWise dashboard. Just in case for later analysis, CO2 levels are also stored in DynamoDB.
Since the system's action threshold is set to 600ppm, CO2 levels at any of the 4 measurement spots rarely exceed 800ppm, which is CDC's recommended standard [1].

How to build & design considerations
4 CO2 monitors
Avoid super cheap VOC gas sensors because they are not specific to CO2. I used a relatively inexpensive, specific-to-only-CO2 NDIR (Non-Dispersive Infrared) CO2 sensor, MH-Z19C [4]. This sensor requires 5V power and outputs sensor values via UART (3.3V compatible). Don't forget to perform zero-point calibration before use.

The M5Stack Core2 for AWS IoT EduKit comes with a UART port (PORT C: GND, 5V, Tx, Rx) [5], which makes this sensor a perfect choice. I think you can easily...

 Simon
Simon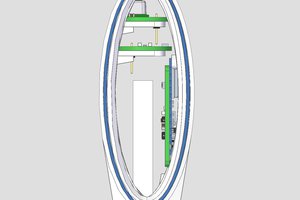
 Supplyframe DesignLab
 Juan Albanell
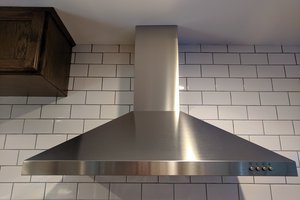
 Ben Brooks