 Timo Birnschein
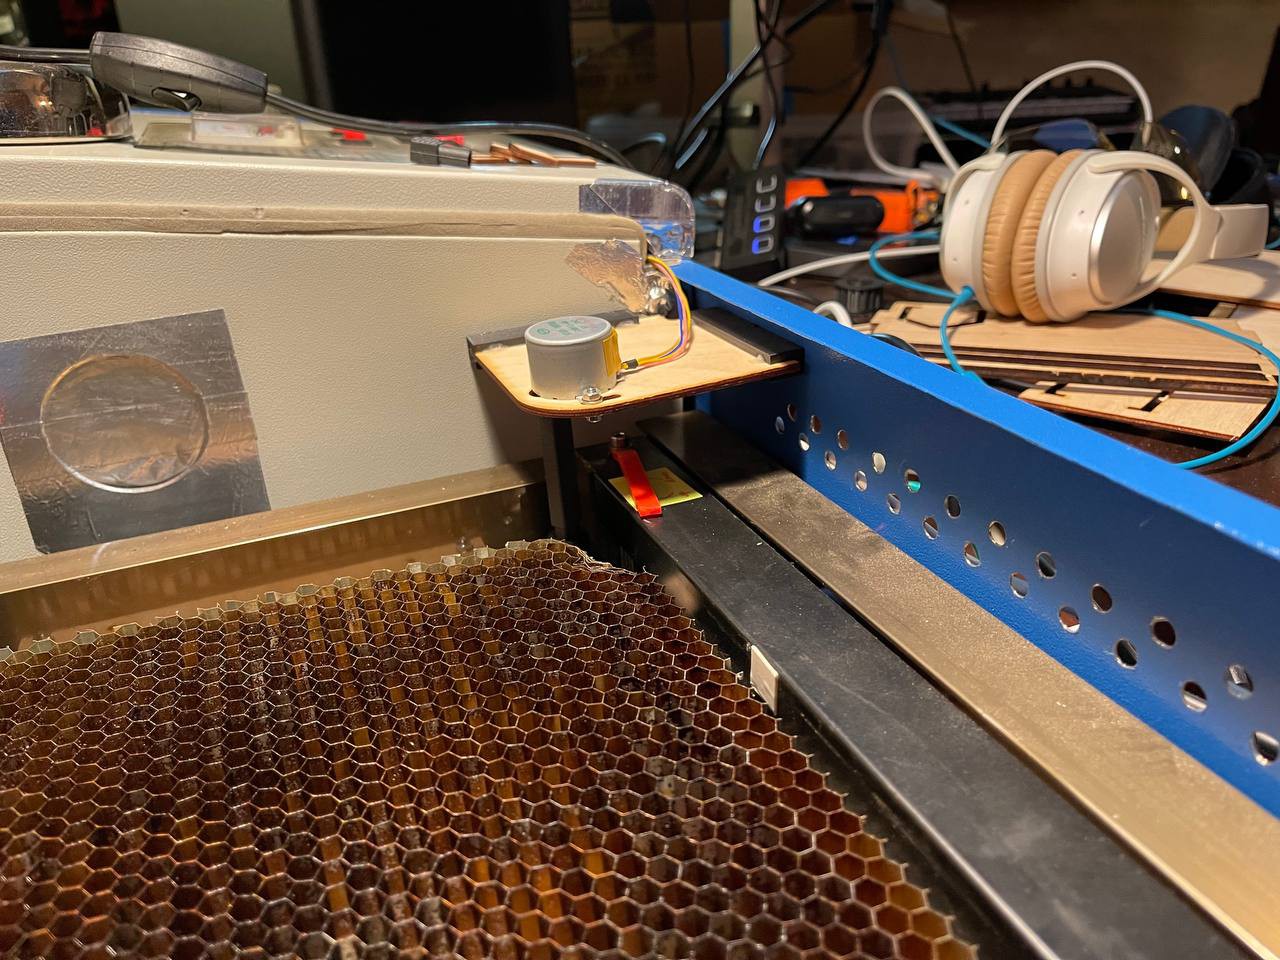
I installed a geared stepper motor connected to one of the spindles via a 3D printed hex adapter directly to the stepper motor shaft. These motors are about $3 which is really a good deal for what they can do - as long as you don't care about axial play.
The motor is mounted to a sheet of plywood and "mounted" to a corner of the laser compartment using nothing but 6 small magnets. That allows me to remove the motor with ease if needed.

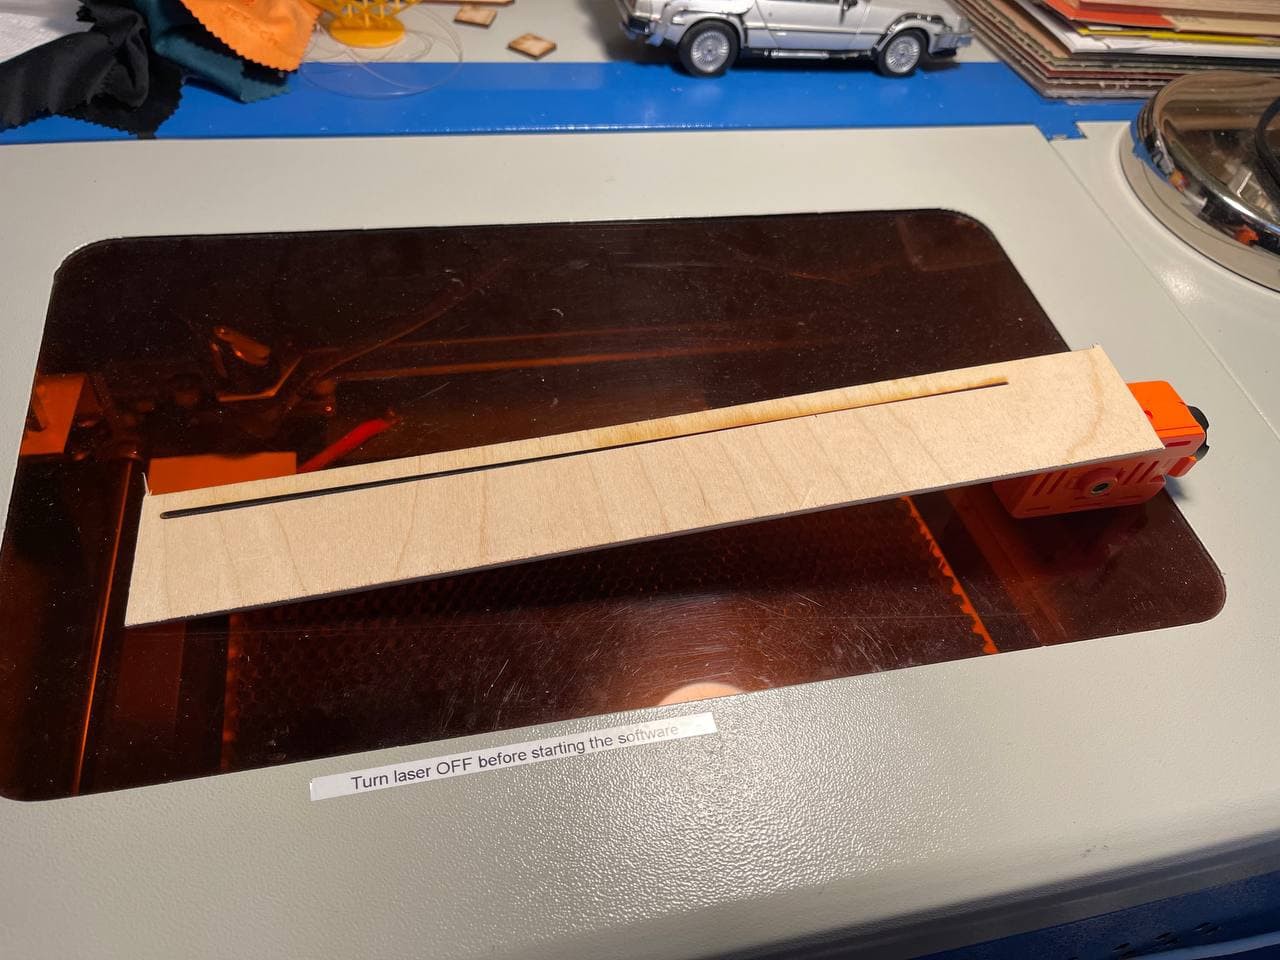
To get the focus setup properly this time, and after leveling the table against the laser head at all four corners, I drove the table down as far as I could (about 25mm travel is available) and added a piece of wood at an angle.
Then I'd sweep a 100% power laser line from left to right to get the full focus range engraved.
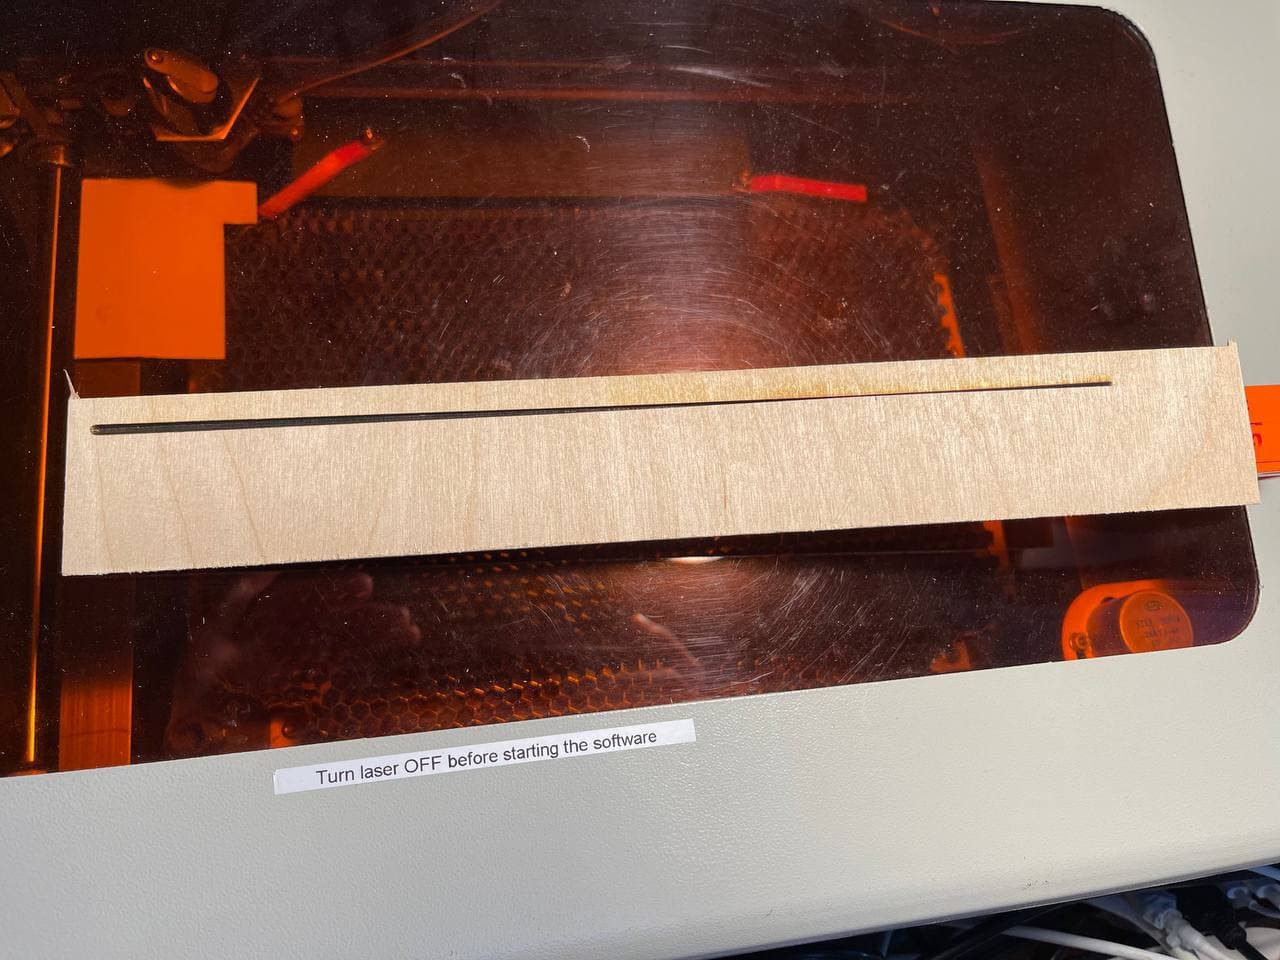
Then, I took a very close look at the engraved line and mark the spot that appears most in focus without touching the part! NOT touching it is really important because I needed to know the distance between the laser head and that position in Z.
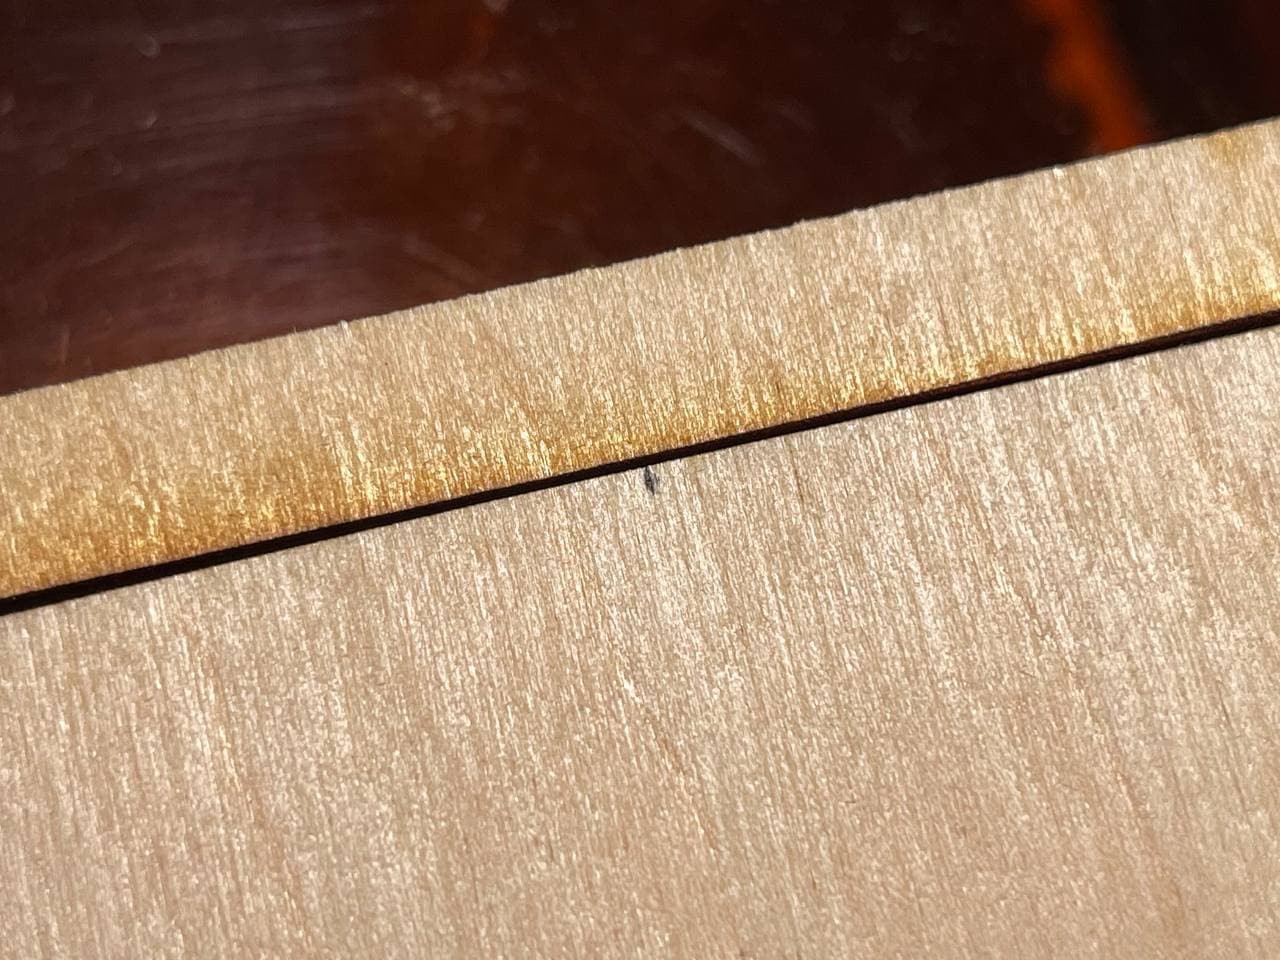
I took my calipers out and gently extended it to get the distance between the top piece of the laser head (where the mirror is mounted) and the dot I made with a sharpy. In my case that's 47.10 mm. I used that value to design a simple hanging template that I can now use to adjust my laser focus with to be EXACTLY on the surface of the work-piece.
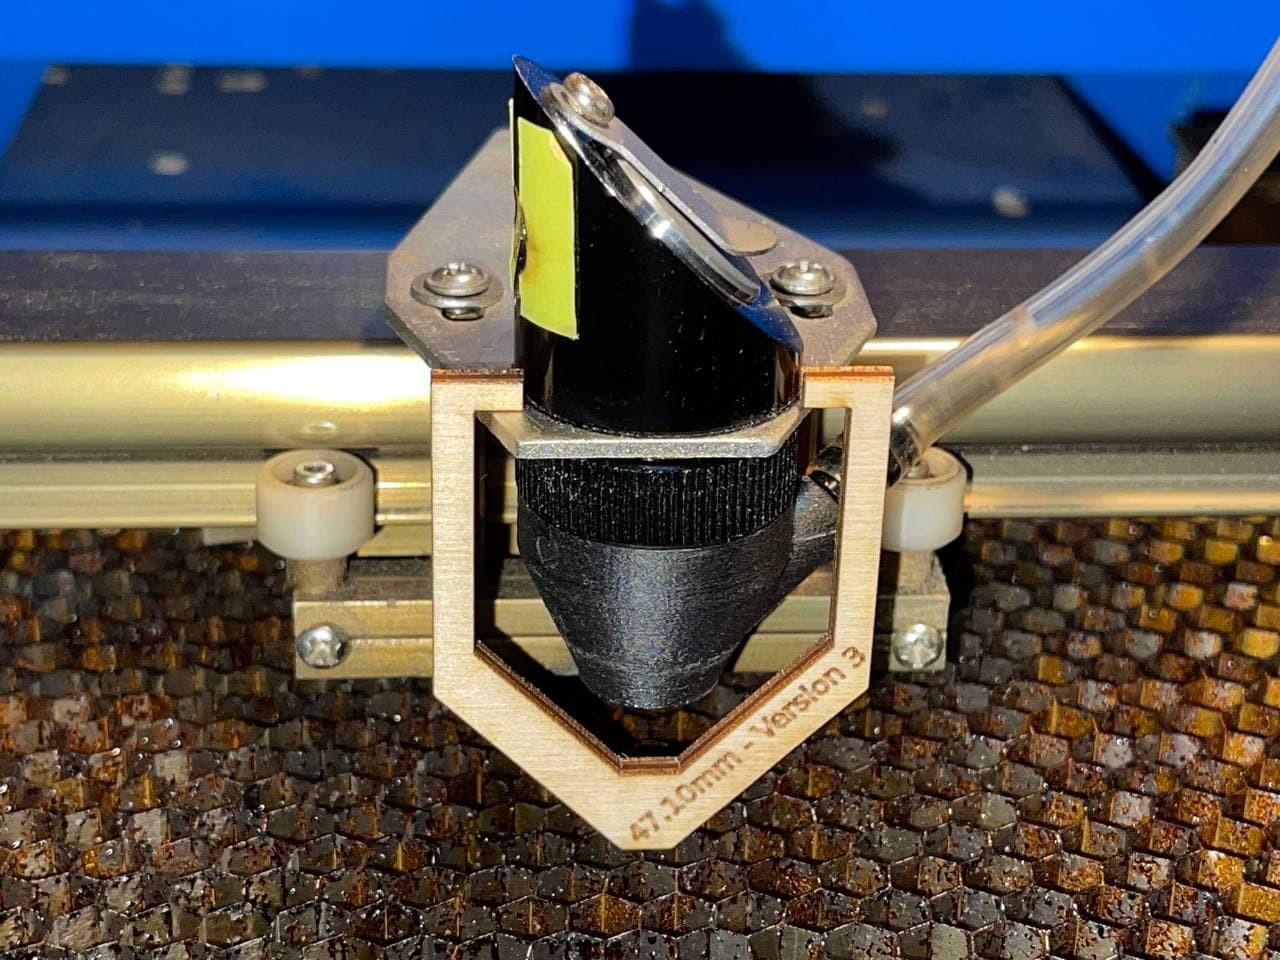
All I need to do now is drive the table down, drive it back up to get rid of the slop and play and gently 0.1mm by 0.1mm move it further until the dangling focus temple stops swinging in the exhaust fan air flow. Perfection! From this point forward, this laser is pretty much twice as efficient since I finally have a good way to setup the focus and actually get to the correct material depth every single time!
In fact I was able to cut 3mm and 5mm plywood TWICE as fast producing much less charred results with finer details.
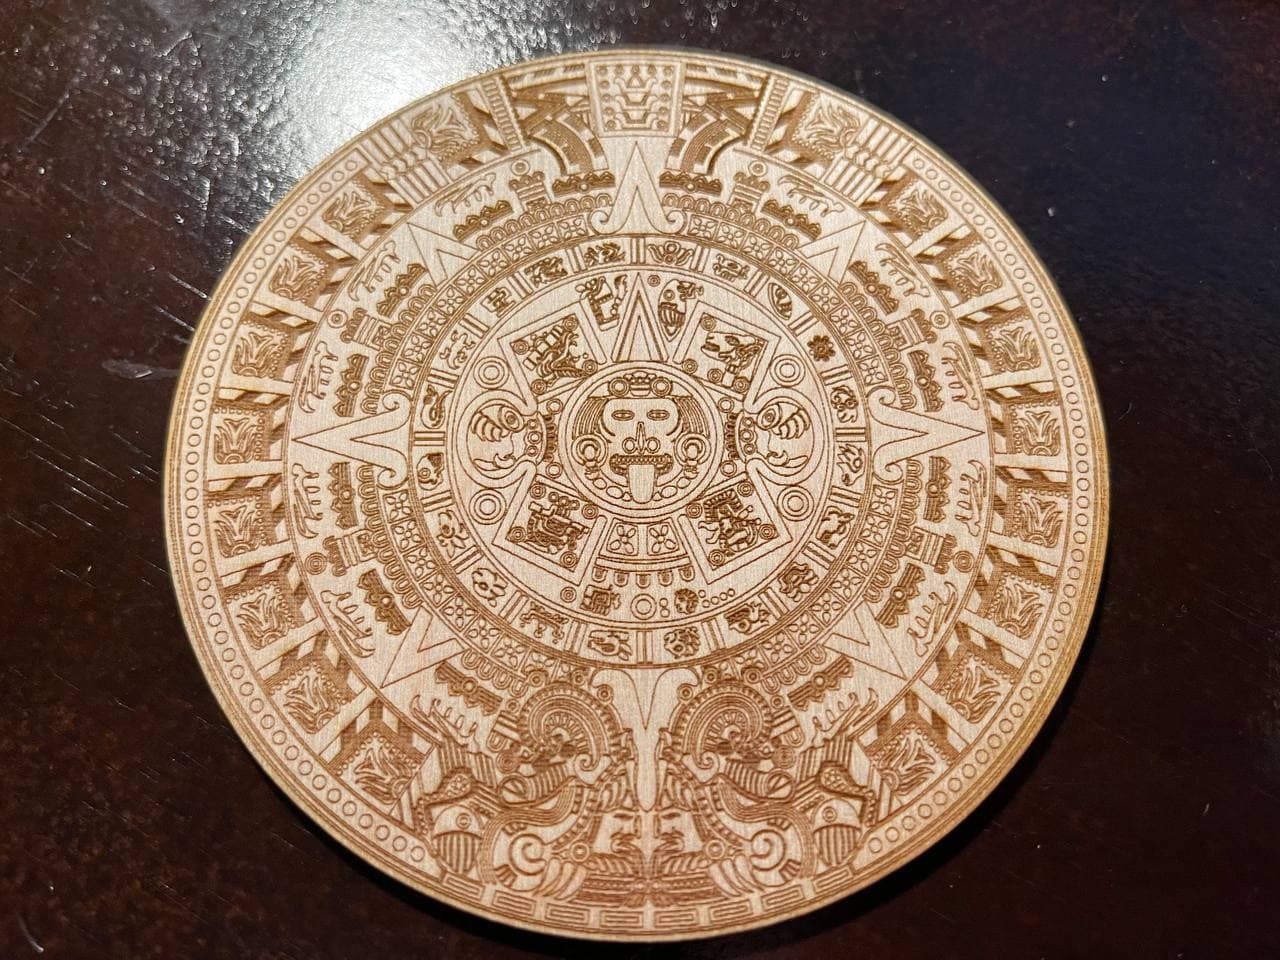
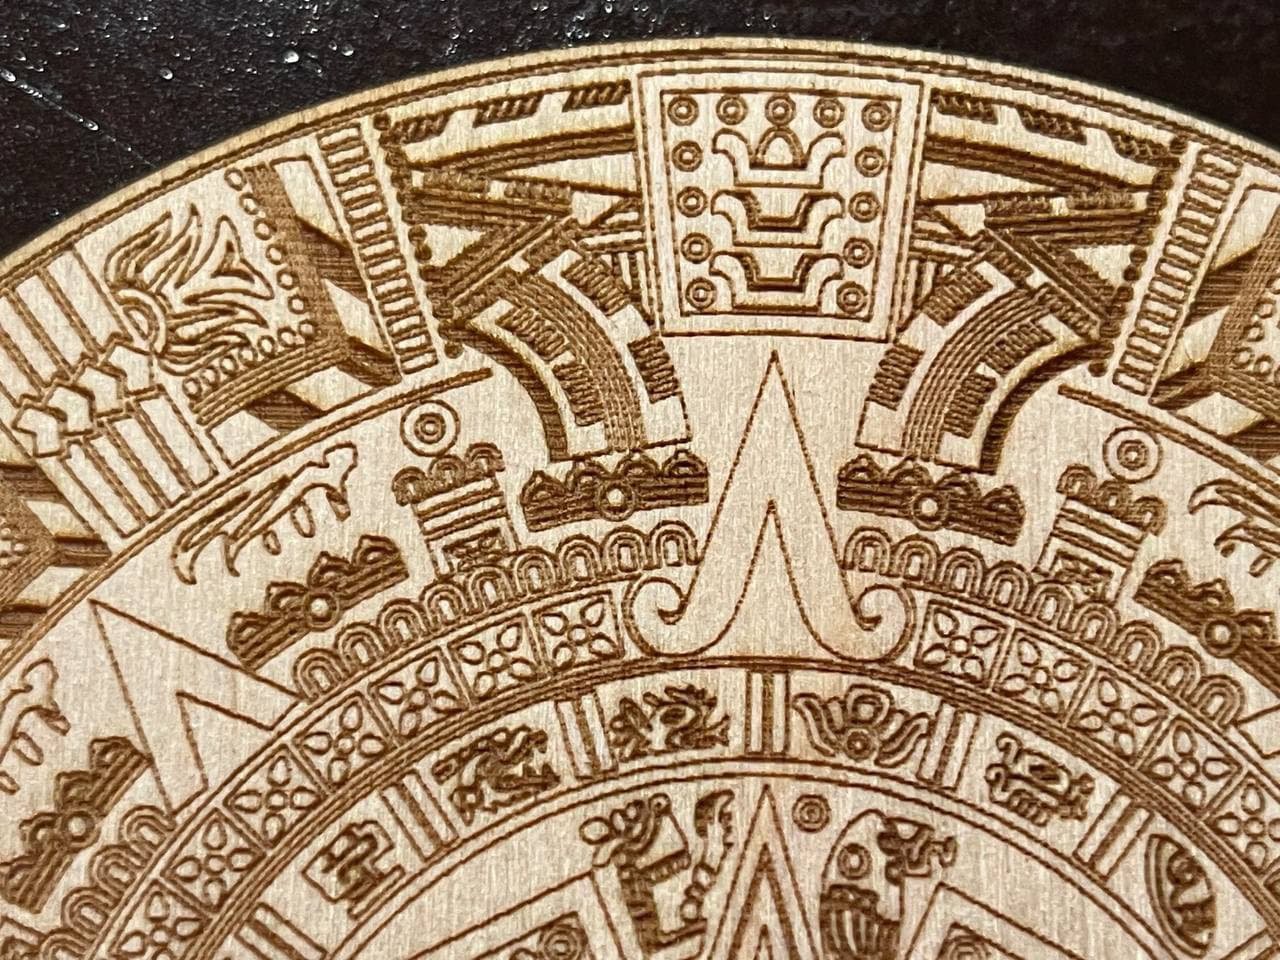
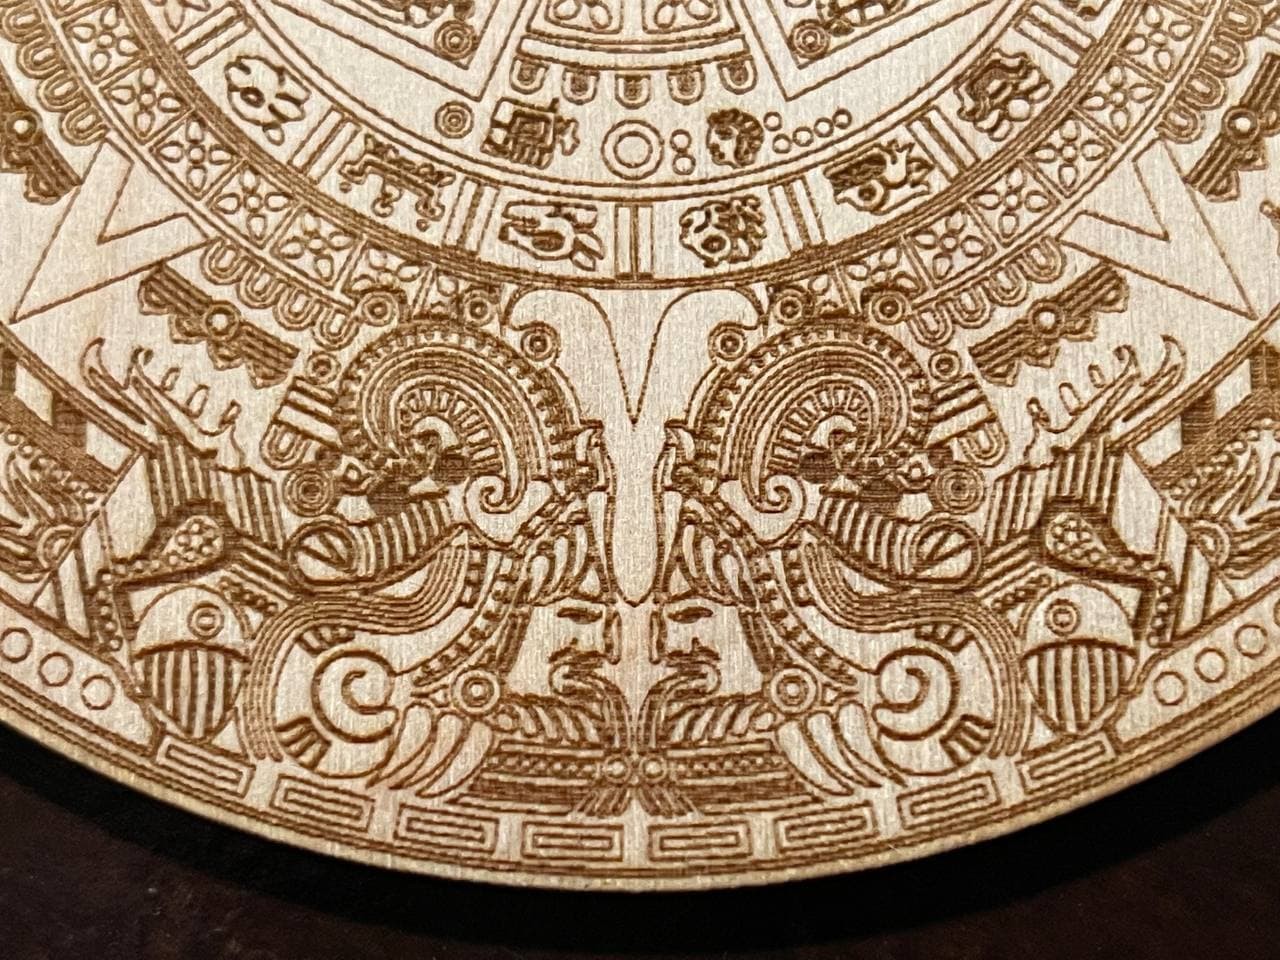
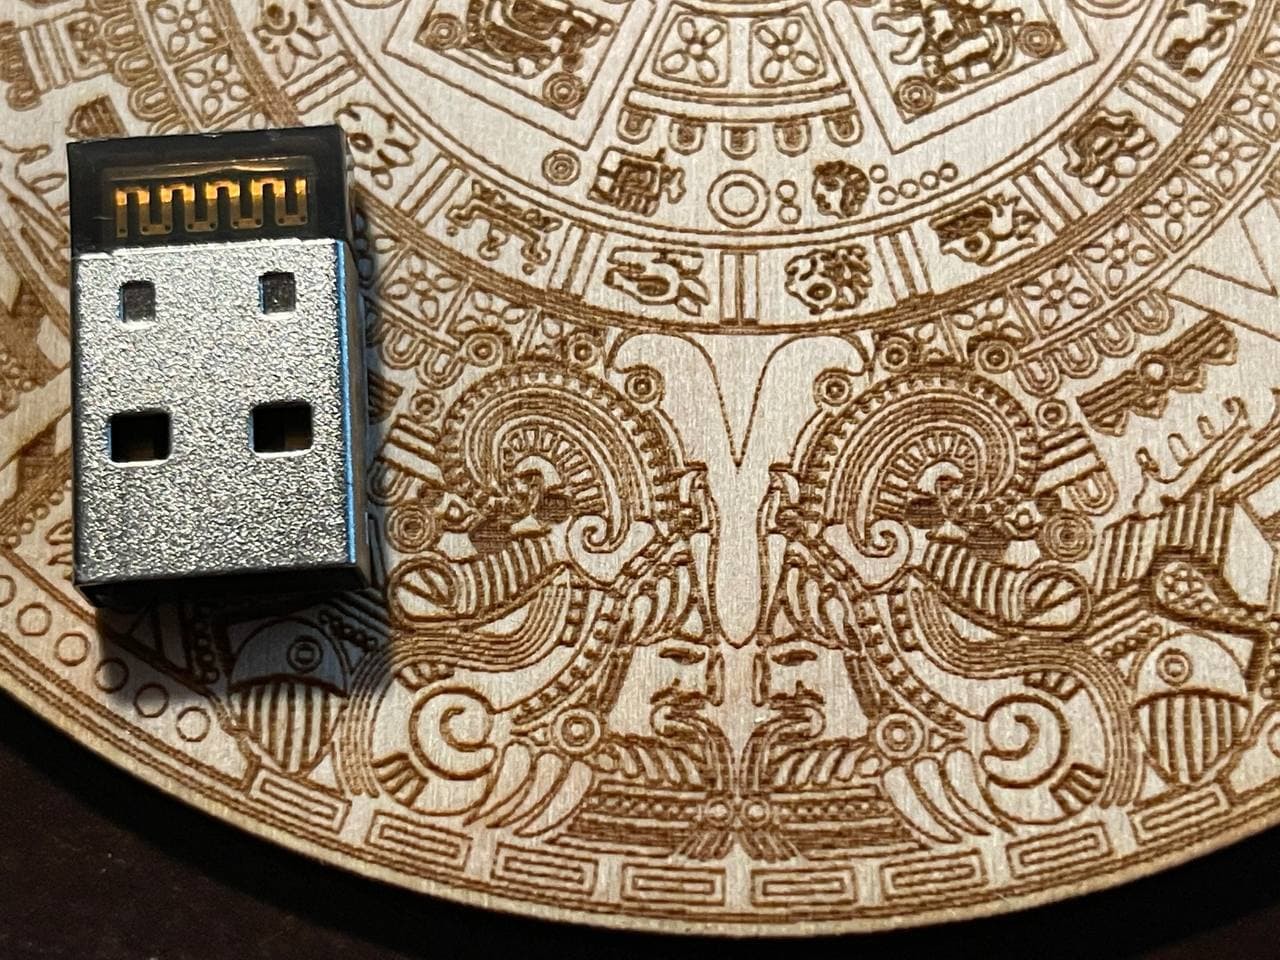
Speaking of details... I engraved this Aztec calendar yesterday. This job takes about one hour of engraving on this setup at 300dpi (mostly limited by how fast my GRBL controller can ingest gCode for individual raster pixels). I am super impressed with this result and look forward to more lazing! with LAZERS!
(Always wear your safety gear!)
Discussions
Become a Hackaday.io Member
Create an account to leave a comment. Already have an account? Log In.