 Vipin M
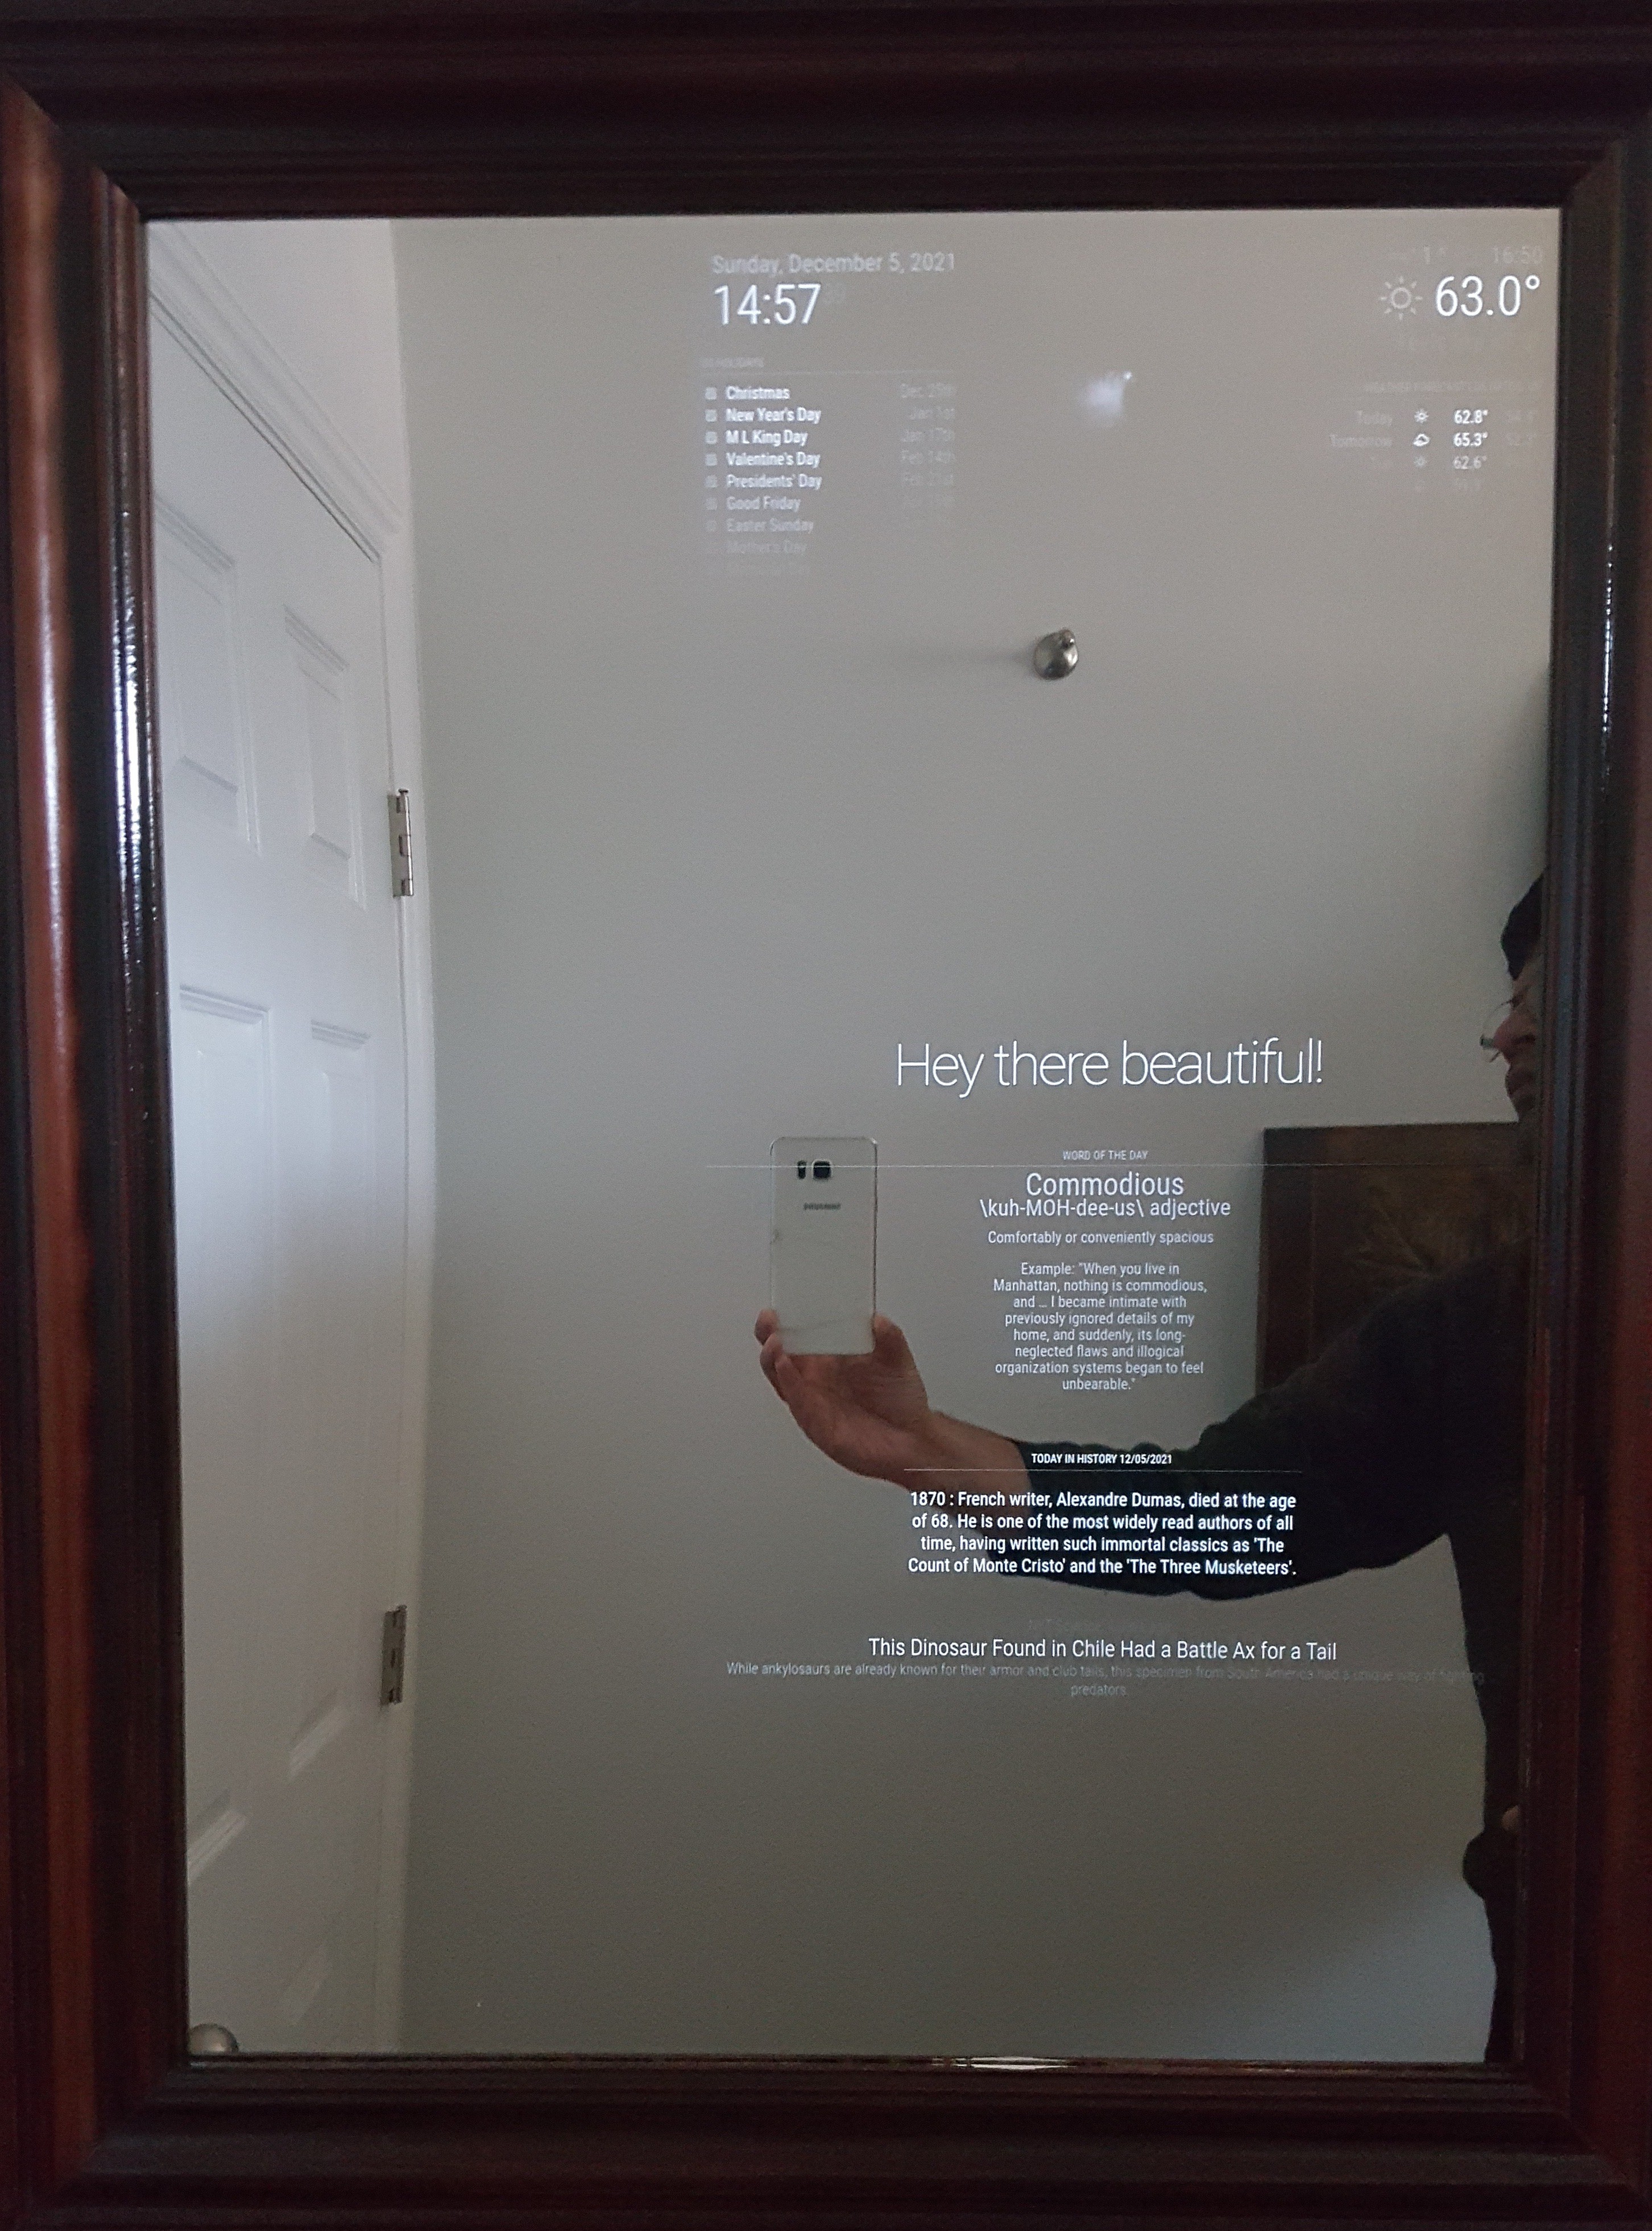
A Magic Mirror, also known as a smart mirror, displays the time, weather, calendar, news, and social media updates. The magic is created by placing a transparent mirror over a tablet, monitor, or TV. The technology is driven by a Raspberry Pi or PC, combined with voice recognition and touch technology.
I recently created a magic mirror to spend more time on front of the screen (as if my current screen consumption is not enough :)
A brief overview of the steps I followed is given below:
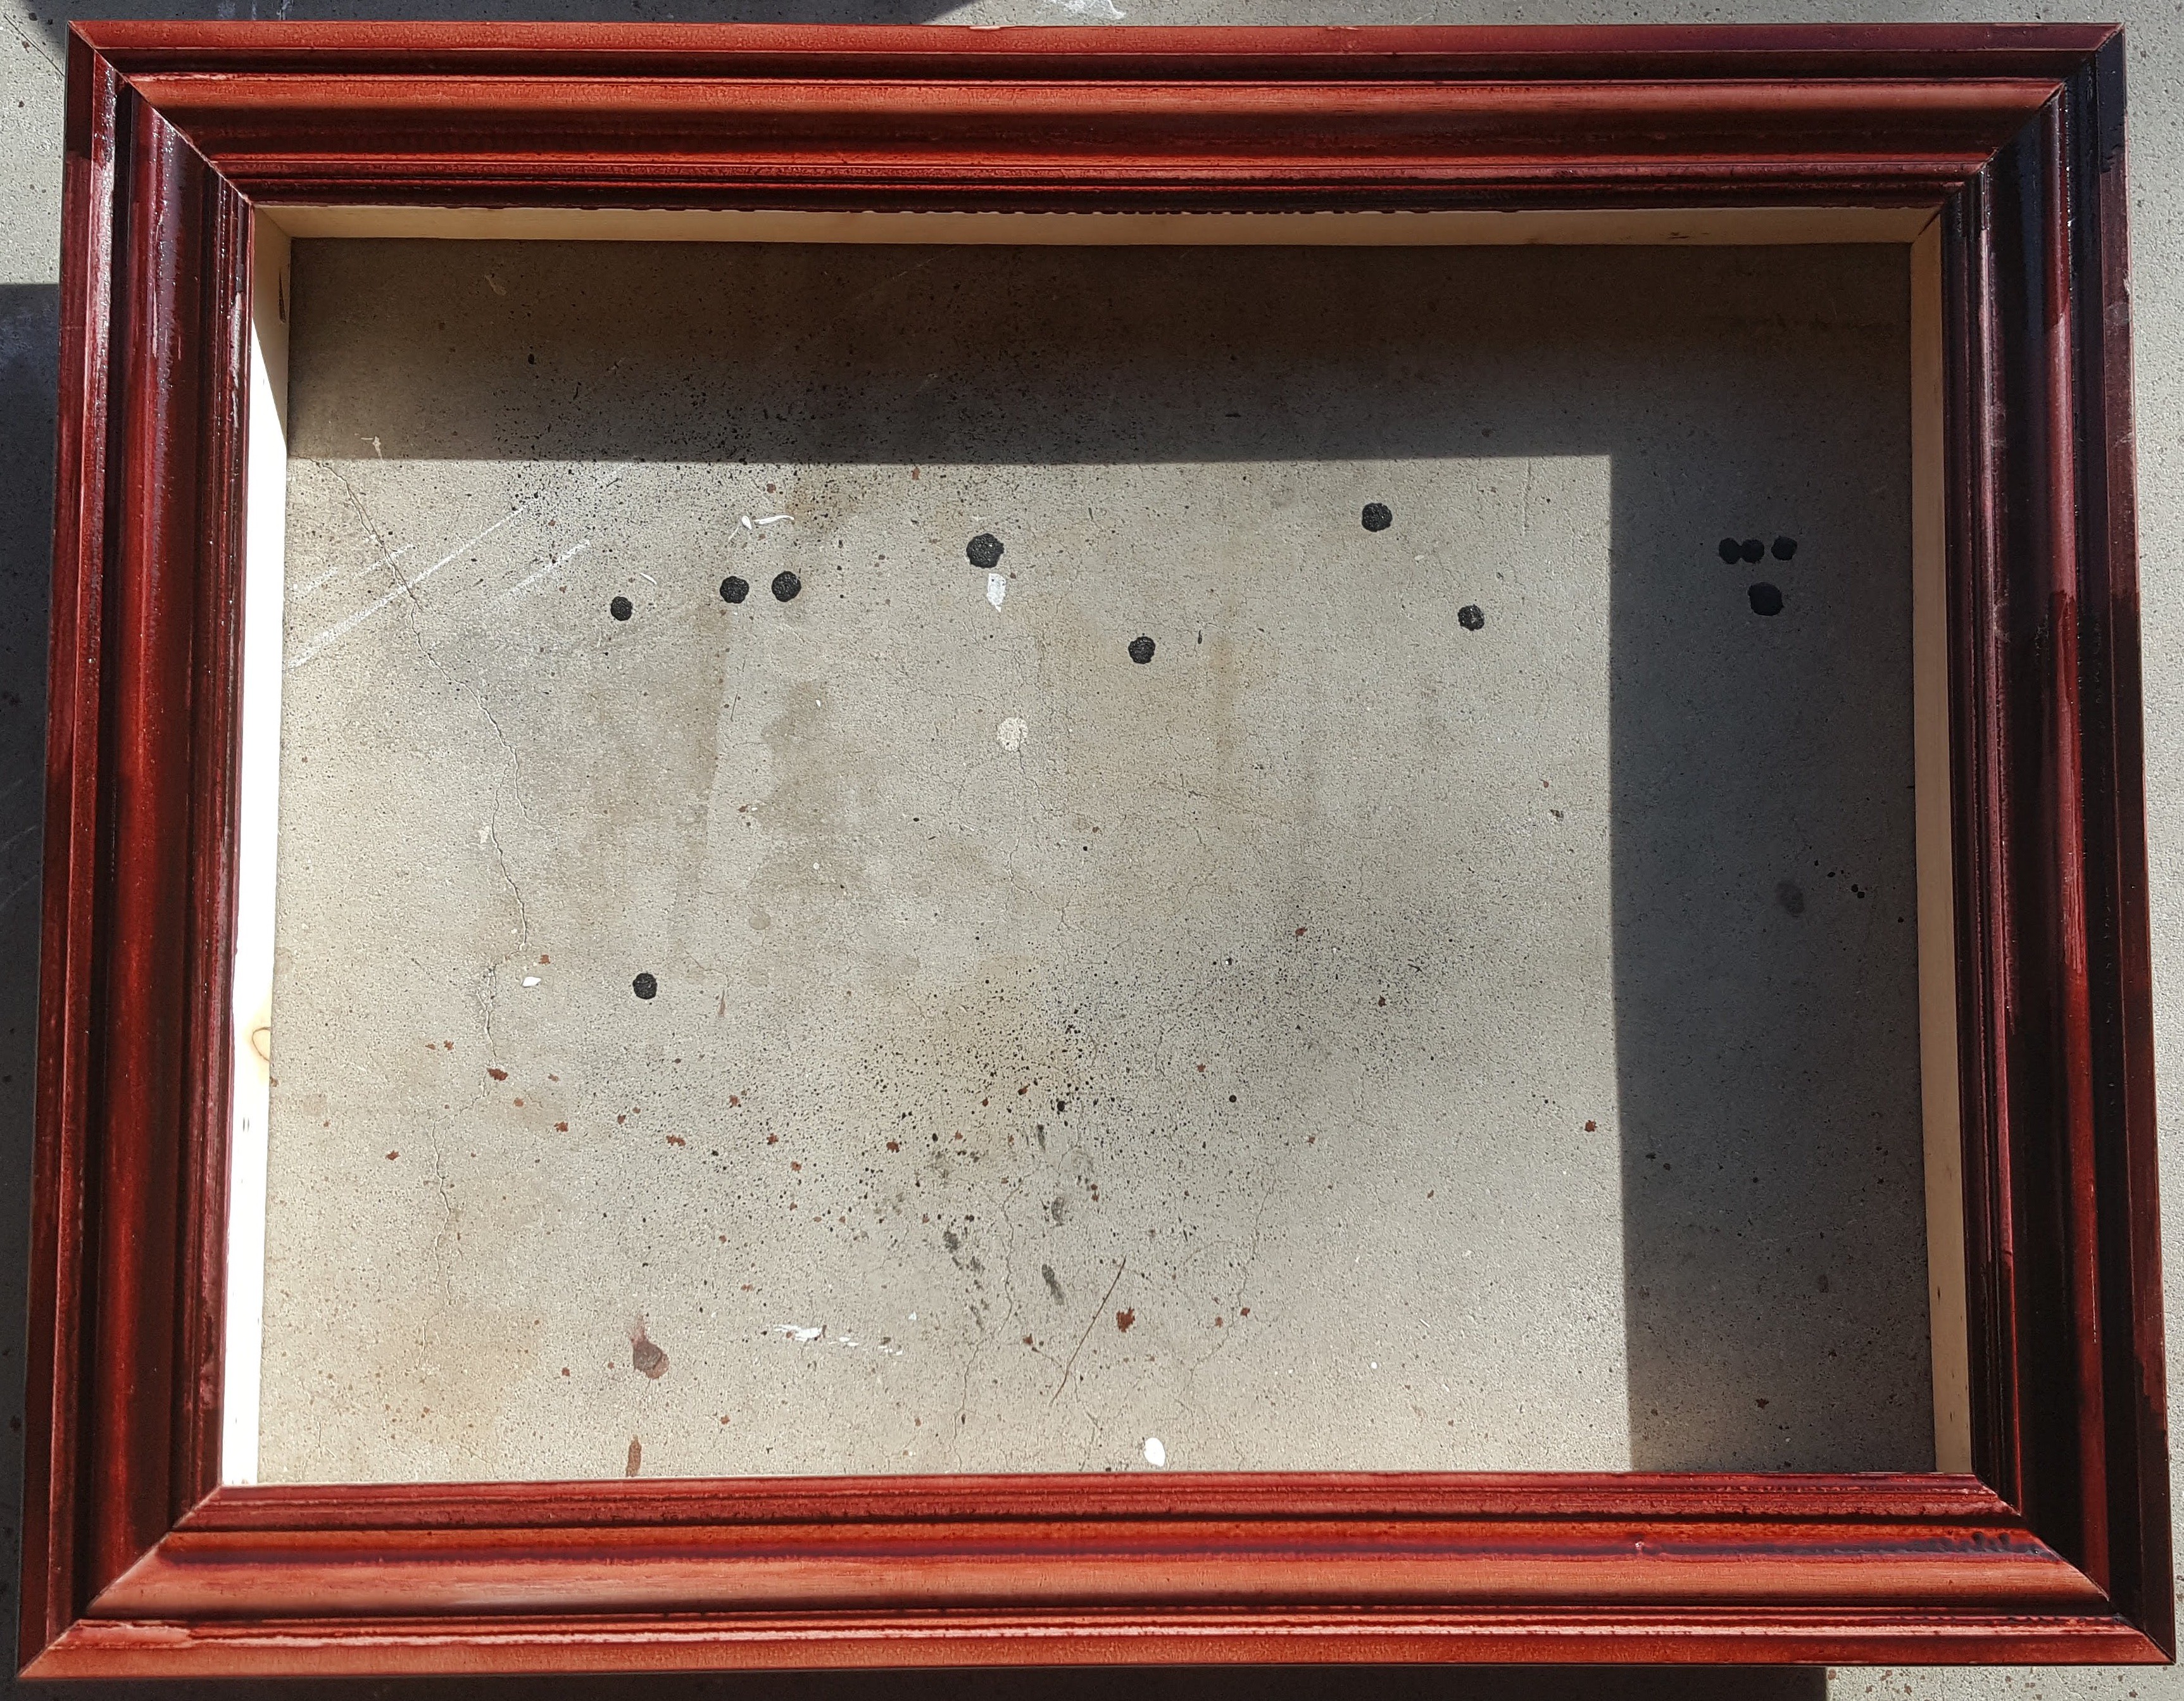
1. Construct a frame
Construct a decorative frame to match your style. I wanted to give it a slightly antique look to strike a contrast with the relatively modern concept of a smart mirror. So, I used some door trims that were left over after I had replaced the slab doors with the 6 panel doors in my house. The dimensions were based on the space available on the wall, the size of the computer screen I had, and the cost of the 2-way mirror I had the budget for.
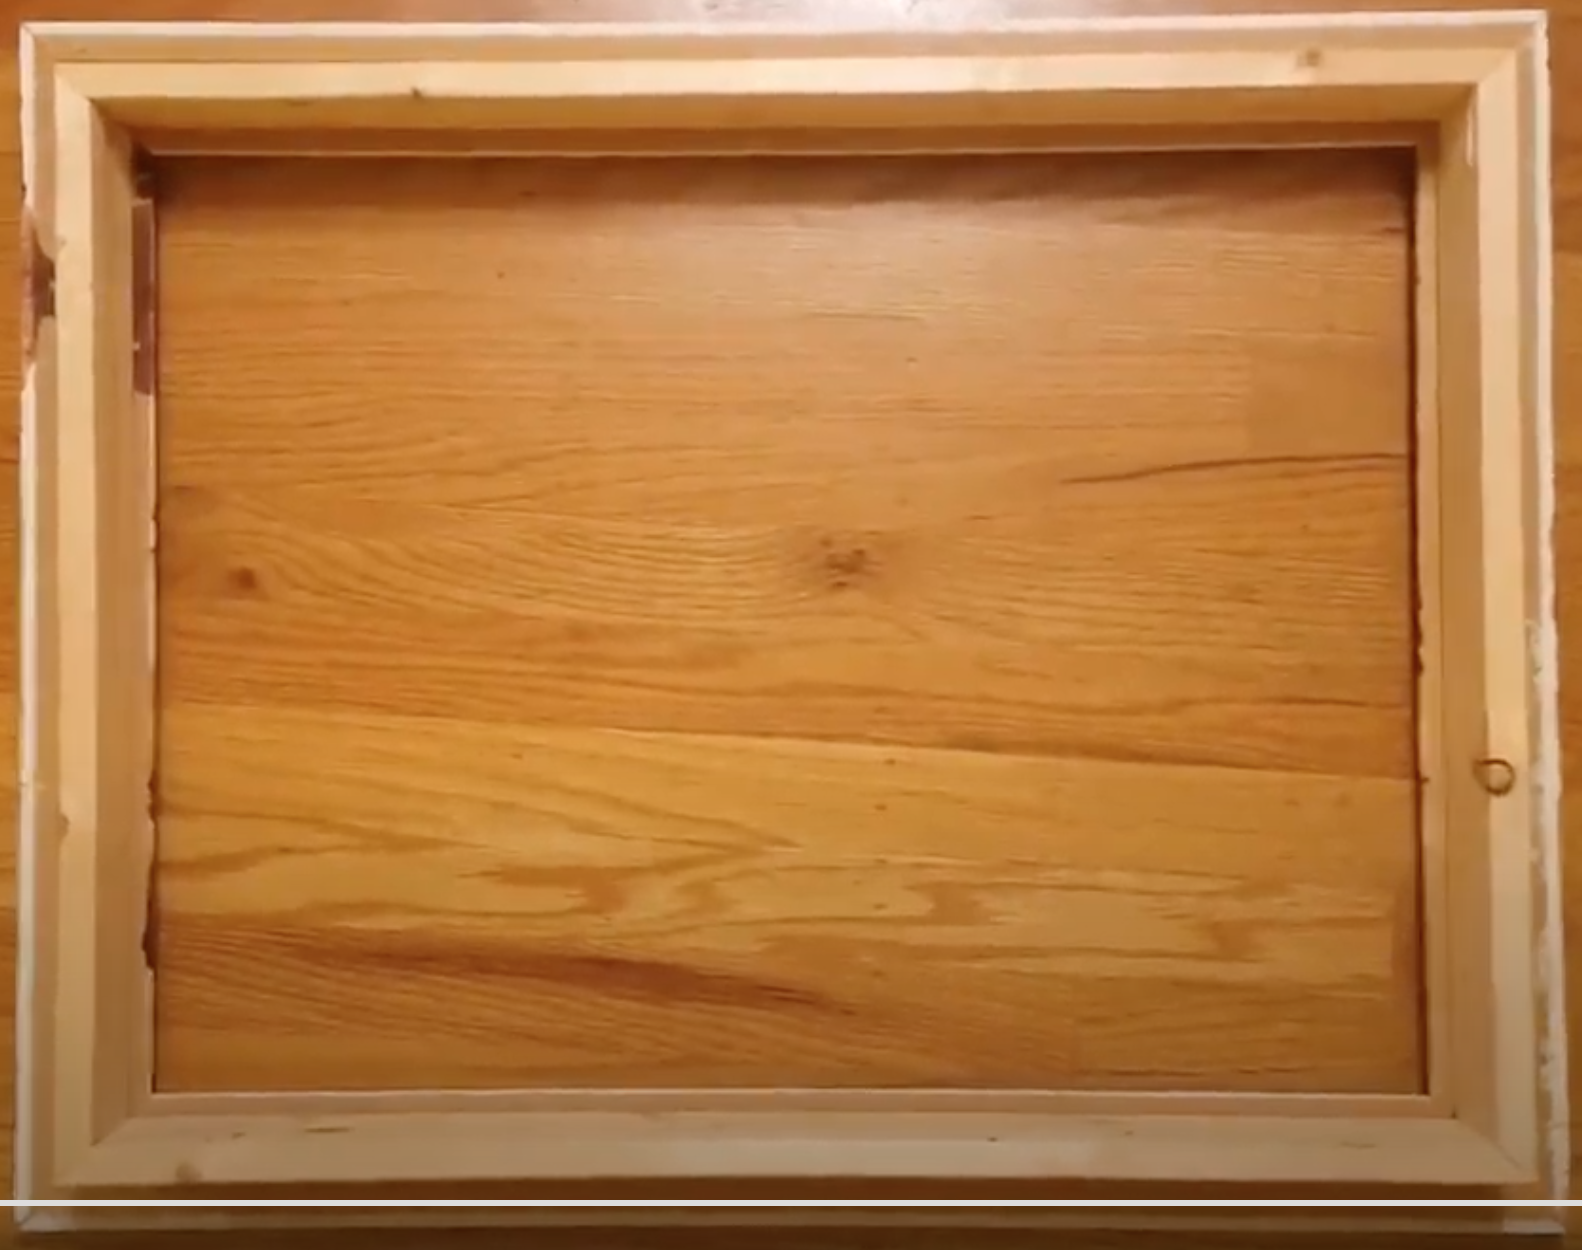
2. Create the electronics housing
Assemble the sides of the frame. I used some inexpensive 2 1/2" furring strips. Secure the front of the frame to the sides using some wood glue and let it dry for a couple of hours. Once dry, it is ready for sanding and color. I stained the frame in cherry brown. Drill some holes on the top and bottom sides of the frame for ventilation. The compute module is going to run 24x7. So, a bit of air circulation helps.
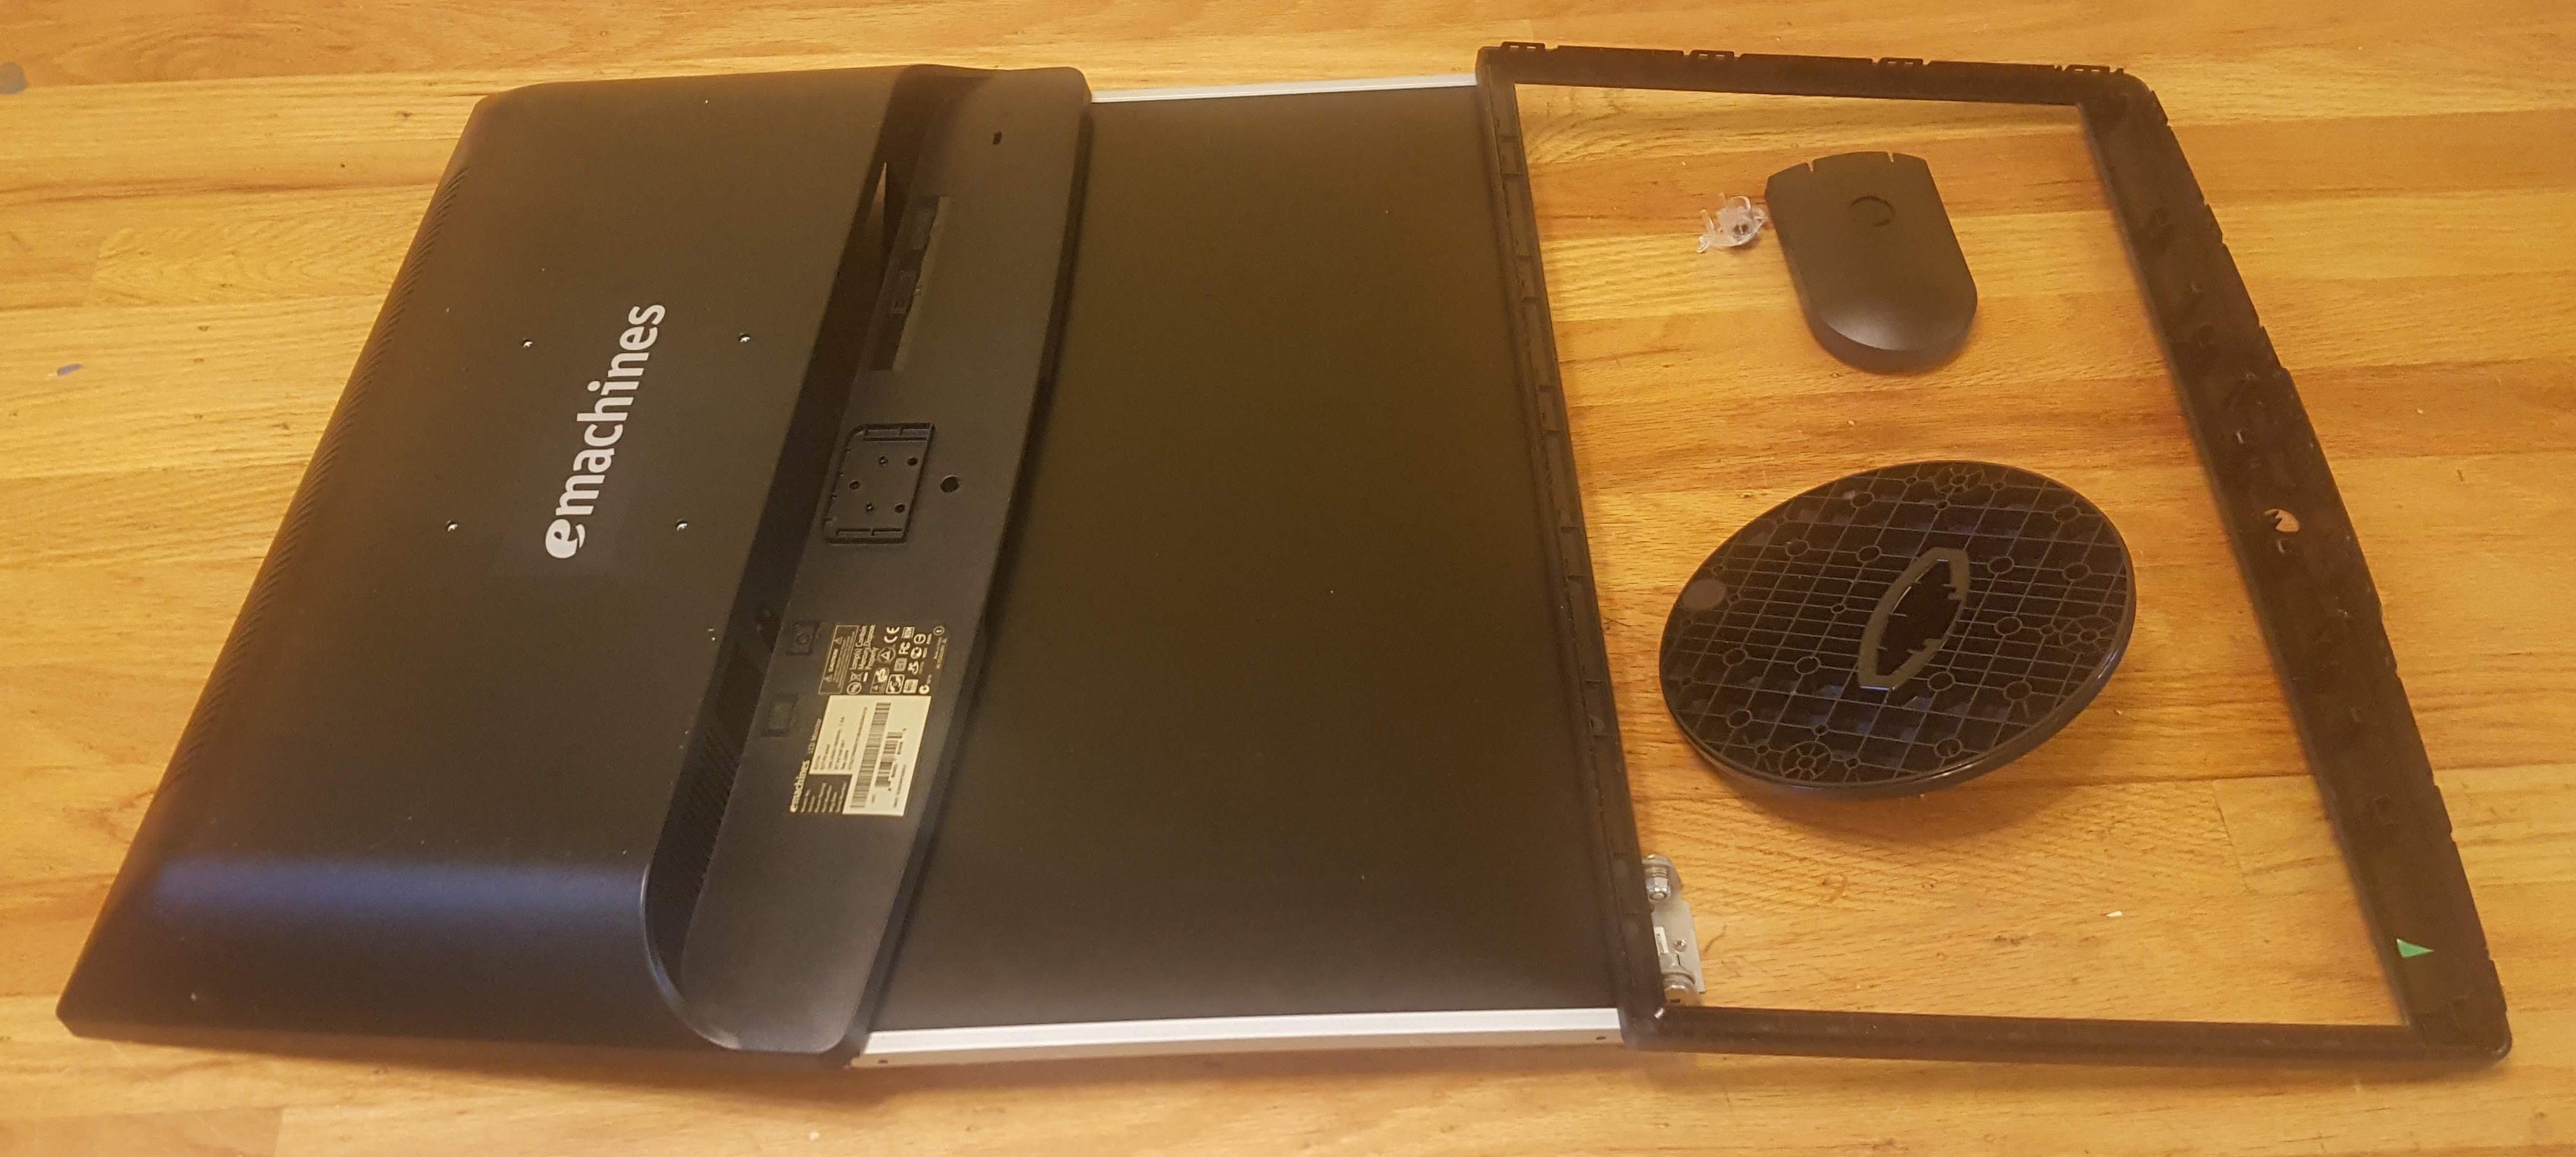
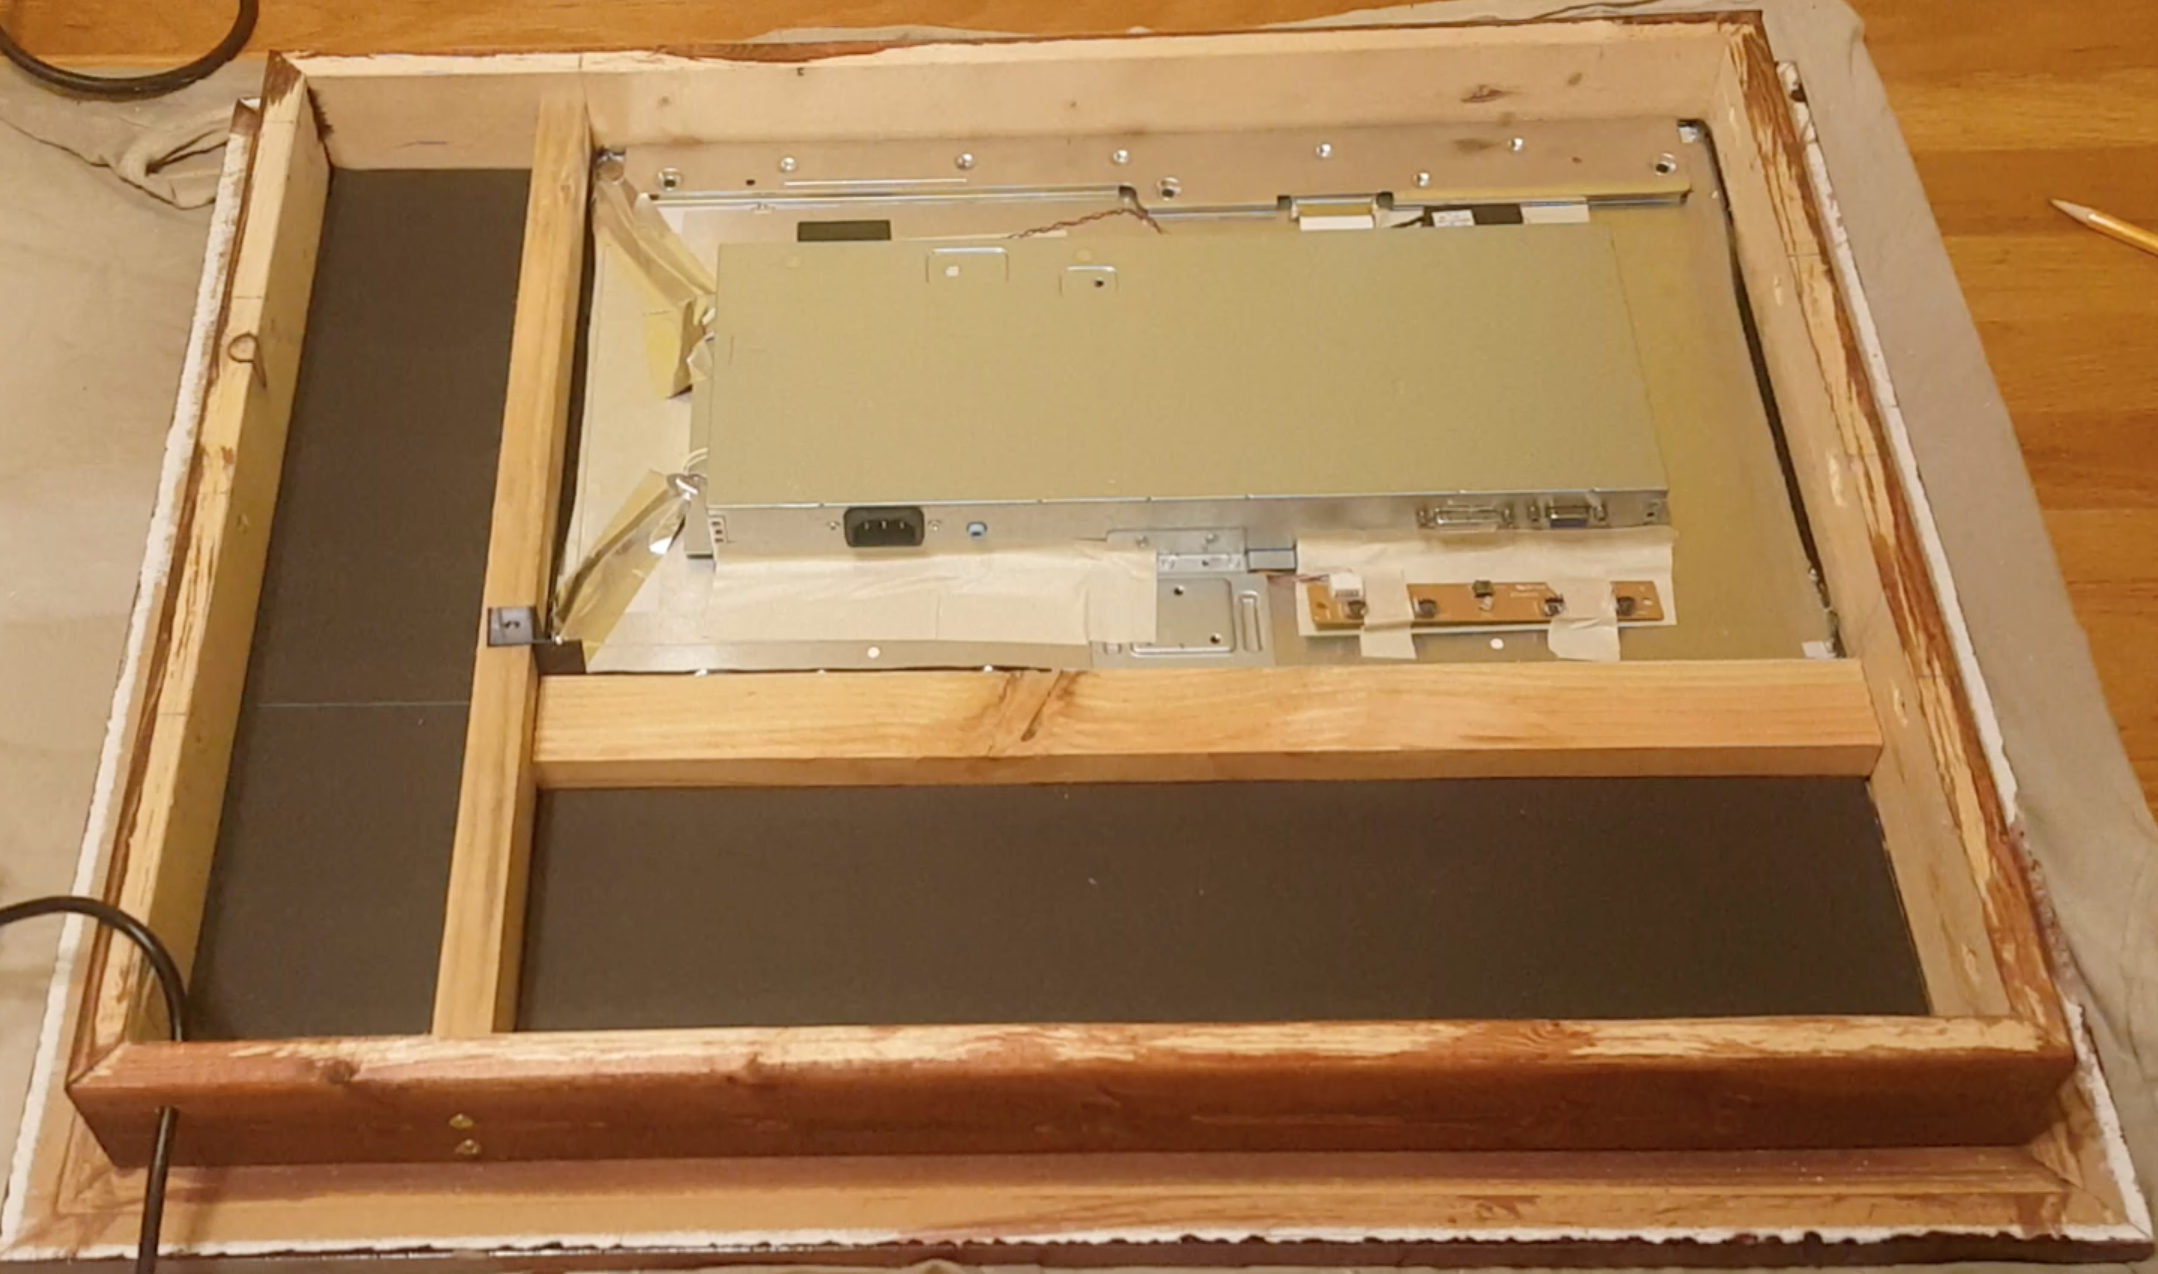
3. Prepare the monitor
Remove the plastic frame around the monitor to expose the bare screen and the electronics. My monitor had a silver border. So, I covered it up with some black tape to avoid possible light reflection.
4. Install a 2-way mirror
A bit about the 2 way mirrors... Like all mirrors, these mirrors have a reflective coating. However, while the reflecting coating on regular mirrors is dense and returns all the light that strikes its surface, the reflective coating on two-way mirrors is more sparse. This means it reflects about half the light that hits its surface and allows the other half to pass through to the other side. If the light intensity is the same on both sides of the glass, the mirror will look like a normal piece of glass. But when the light is bright on one side, and much darker on the other, the glass will look like a mirror to the people on the brighter side.
Take a moment to identify the side with the coating and keep it facing towards the back side of the magic mirror. This will prevent any damage to the special coating during the normal cleaning and daily use of the mirror. There is also an option to build one from scratch with acrylic or glass and a reflective window tint. I went for a 3mm prebuilt 2-way mirror but it had a slight fun house mirror effect. I will probably select a different vendor if I were to do it again or may be make my own.
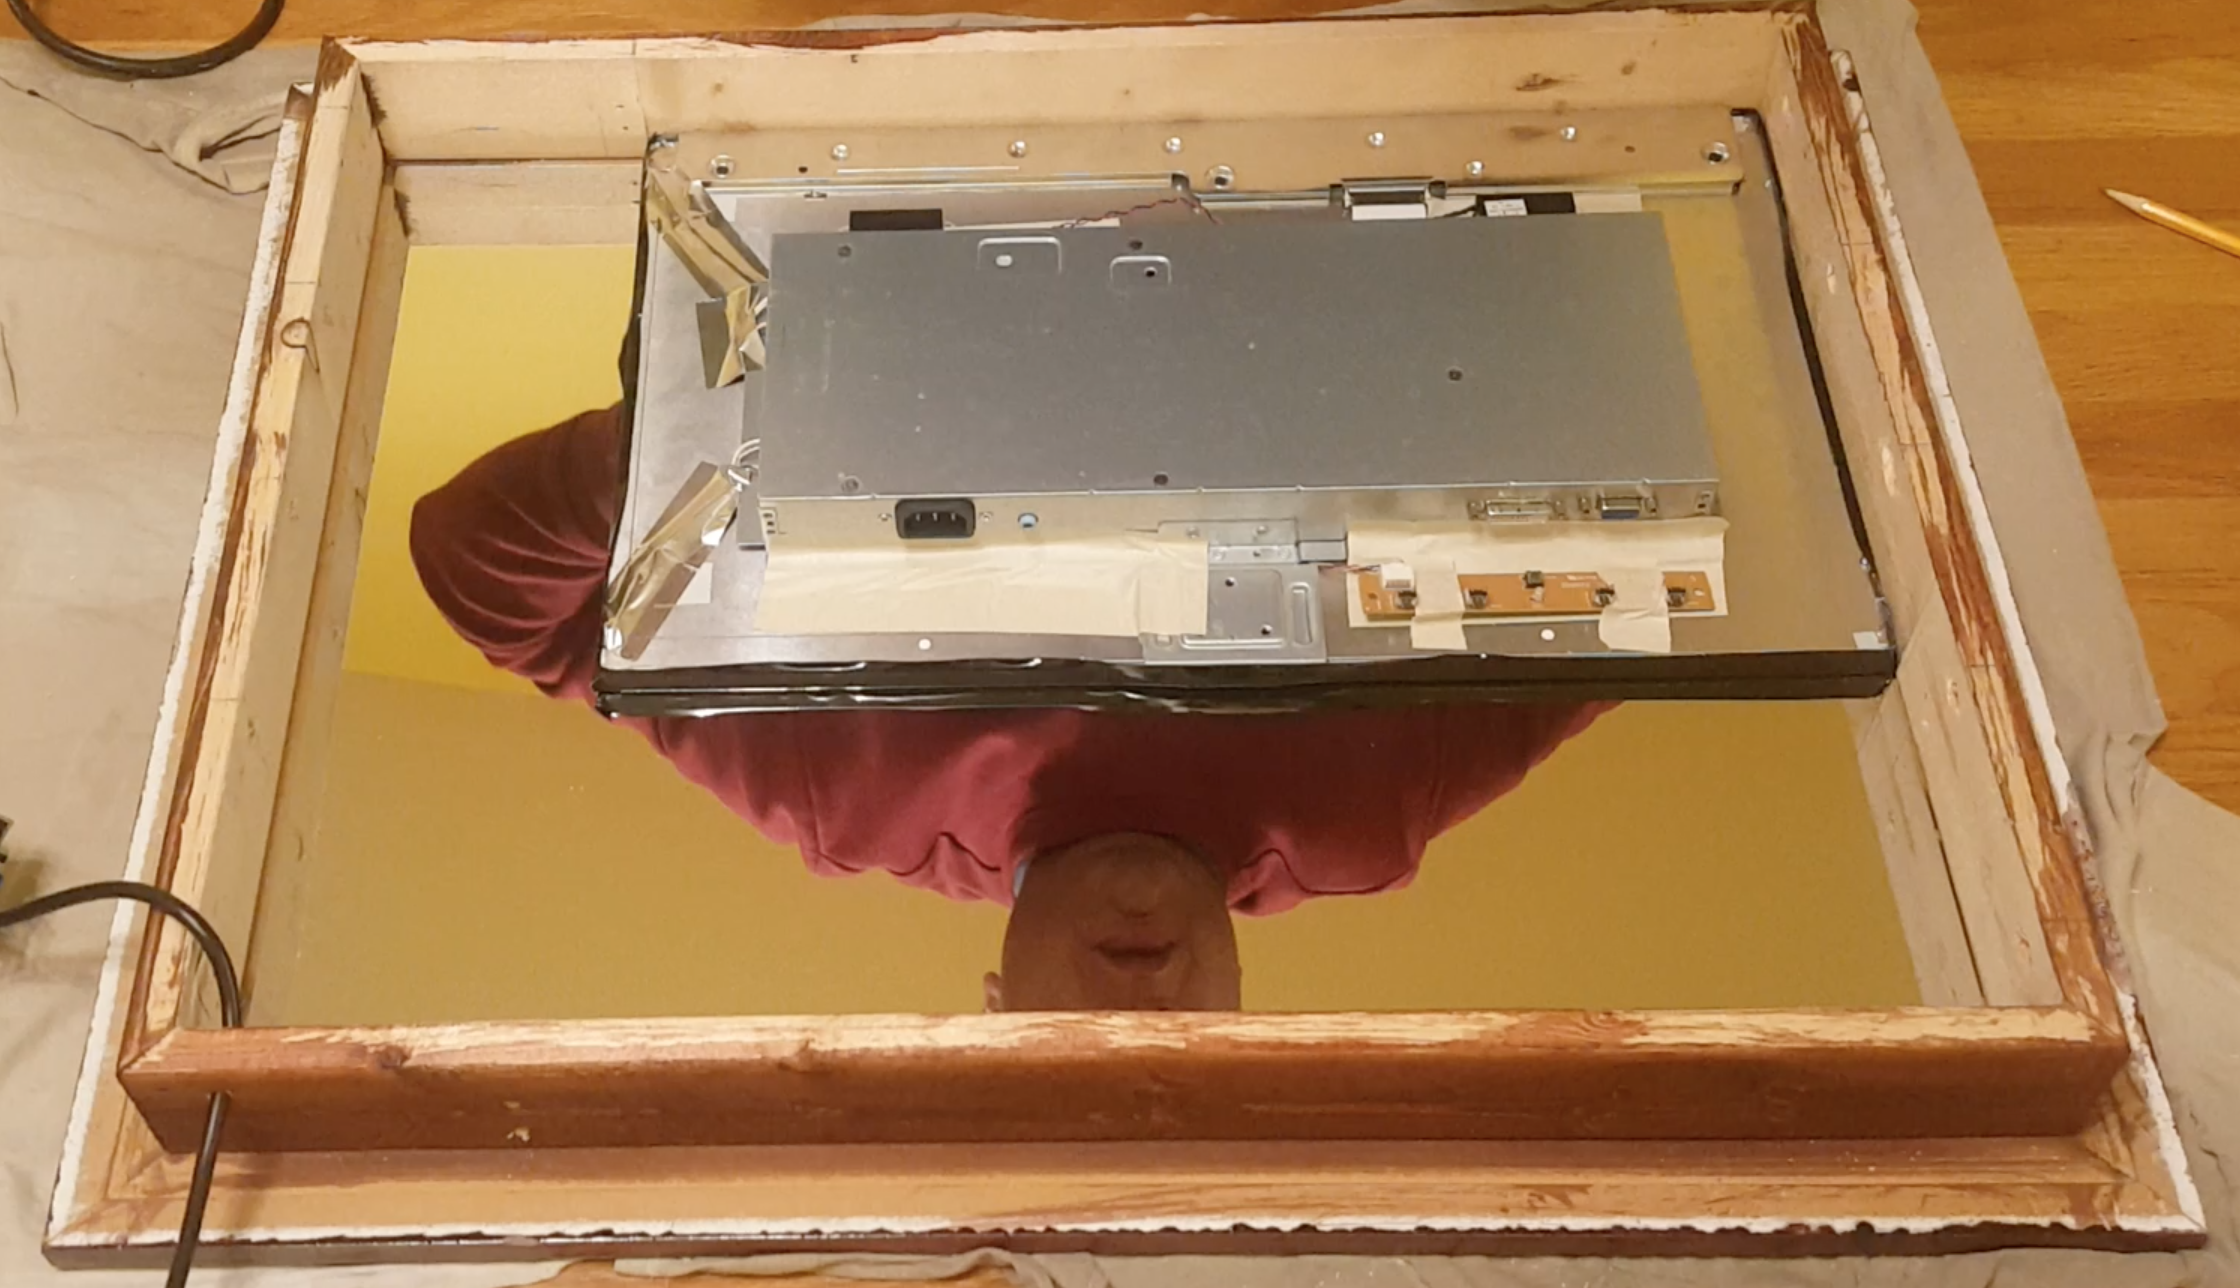
5. Secure the monitor
Measure and cut a piece of black foam board to cover the area of the frame outside the monitor. I put some furring strips around the border to ensure that the monitor is level and wont drop out of the frame.
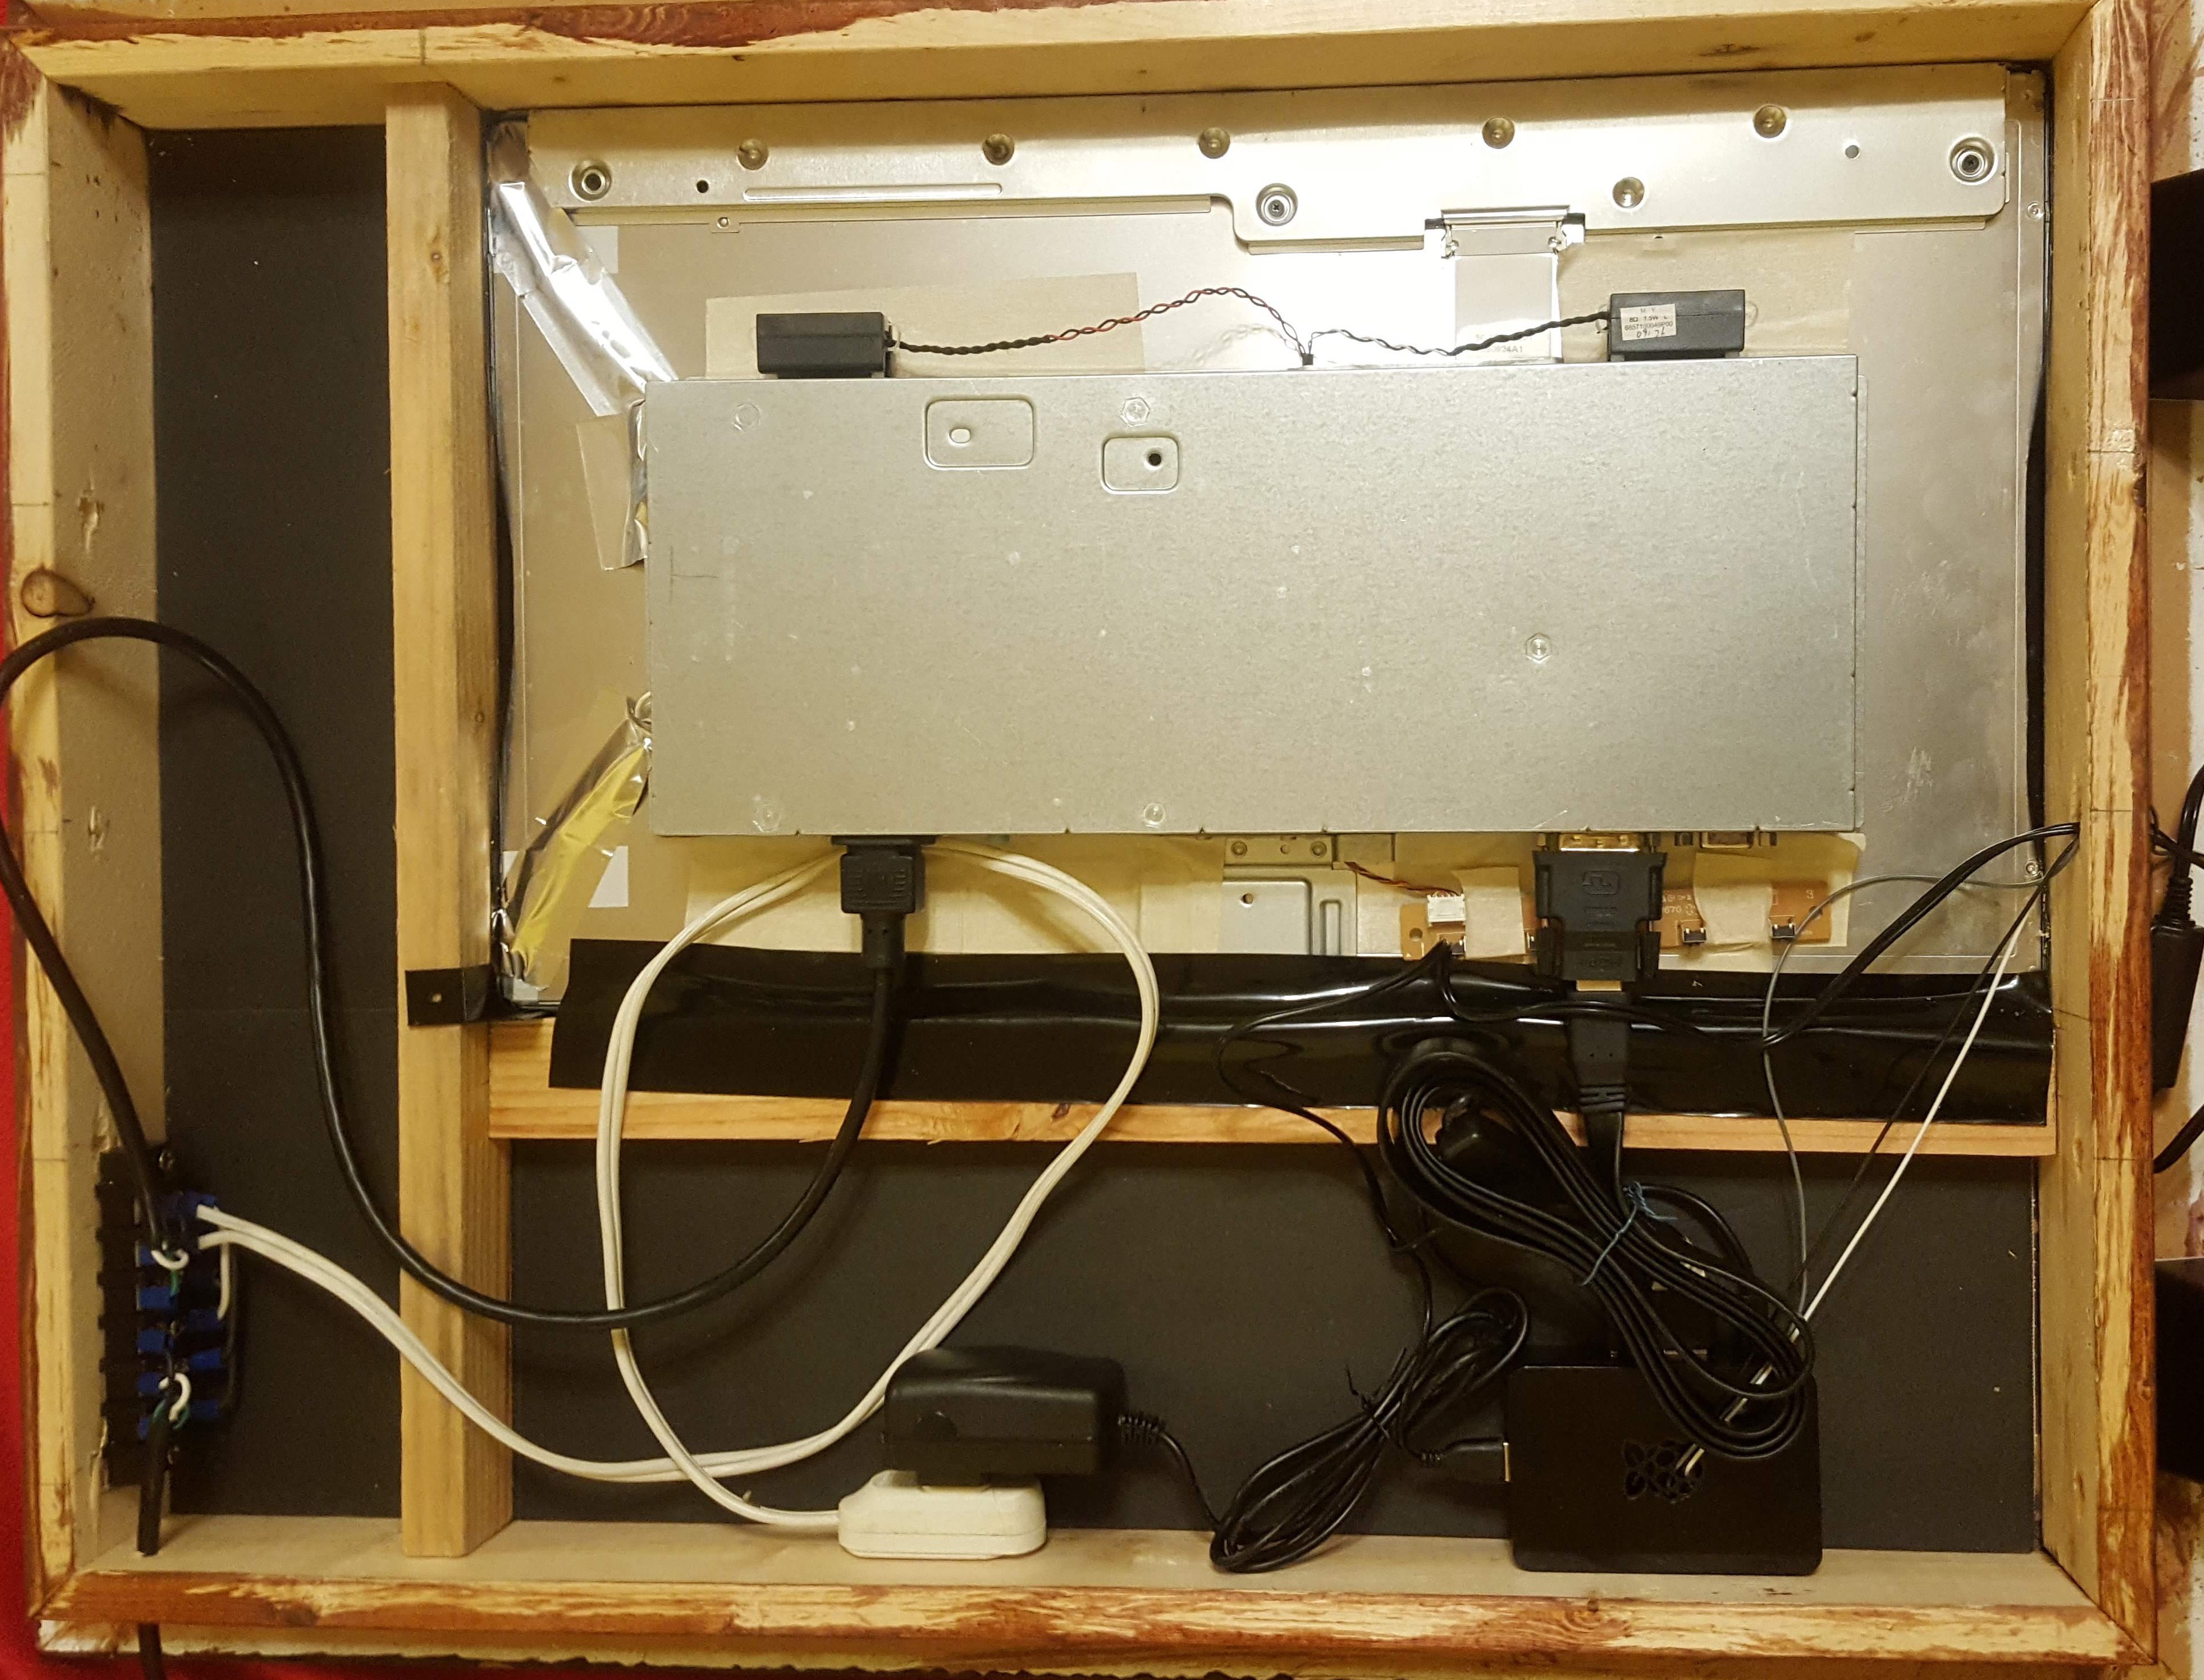
6. Install the electronics
Drill a hole on the side to route the AC power to the mirror. I drilled mine at a location which will be closest to the power outlet after I hang the mirror. The power goes to the monitor and to the power adapter for the raspberry pi module. I also installed a camera for facial recognition, a microphone to receive voice commands, a motion sensor to save power and speakers for an audio output from the mirror.
7. Install the software
Once everything is in place, install the magic mirror software and configure it to your liking.
 Jack Pearse
 polyfractal
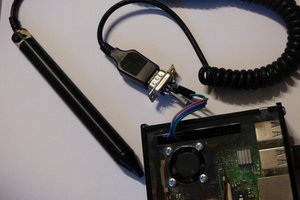
 Maciej Witkowiak
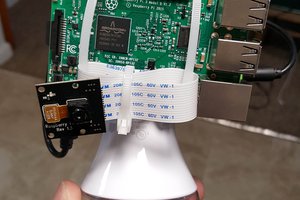
 kelley