 Mr-Mime
Hardware
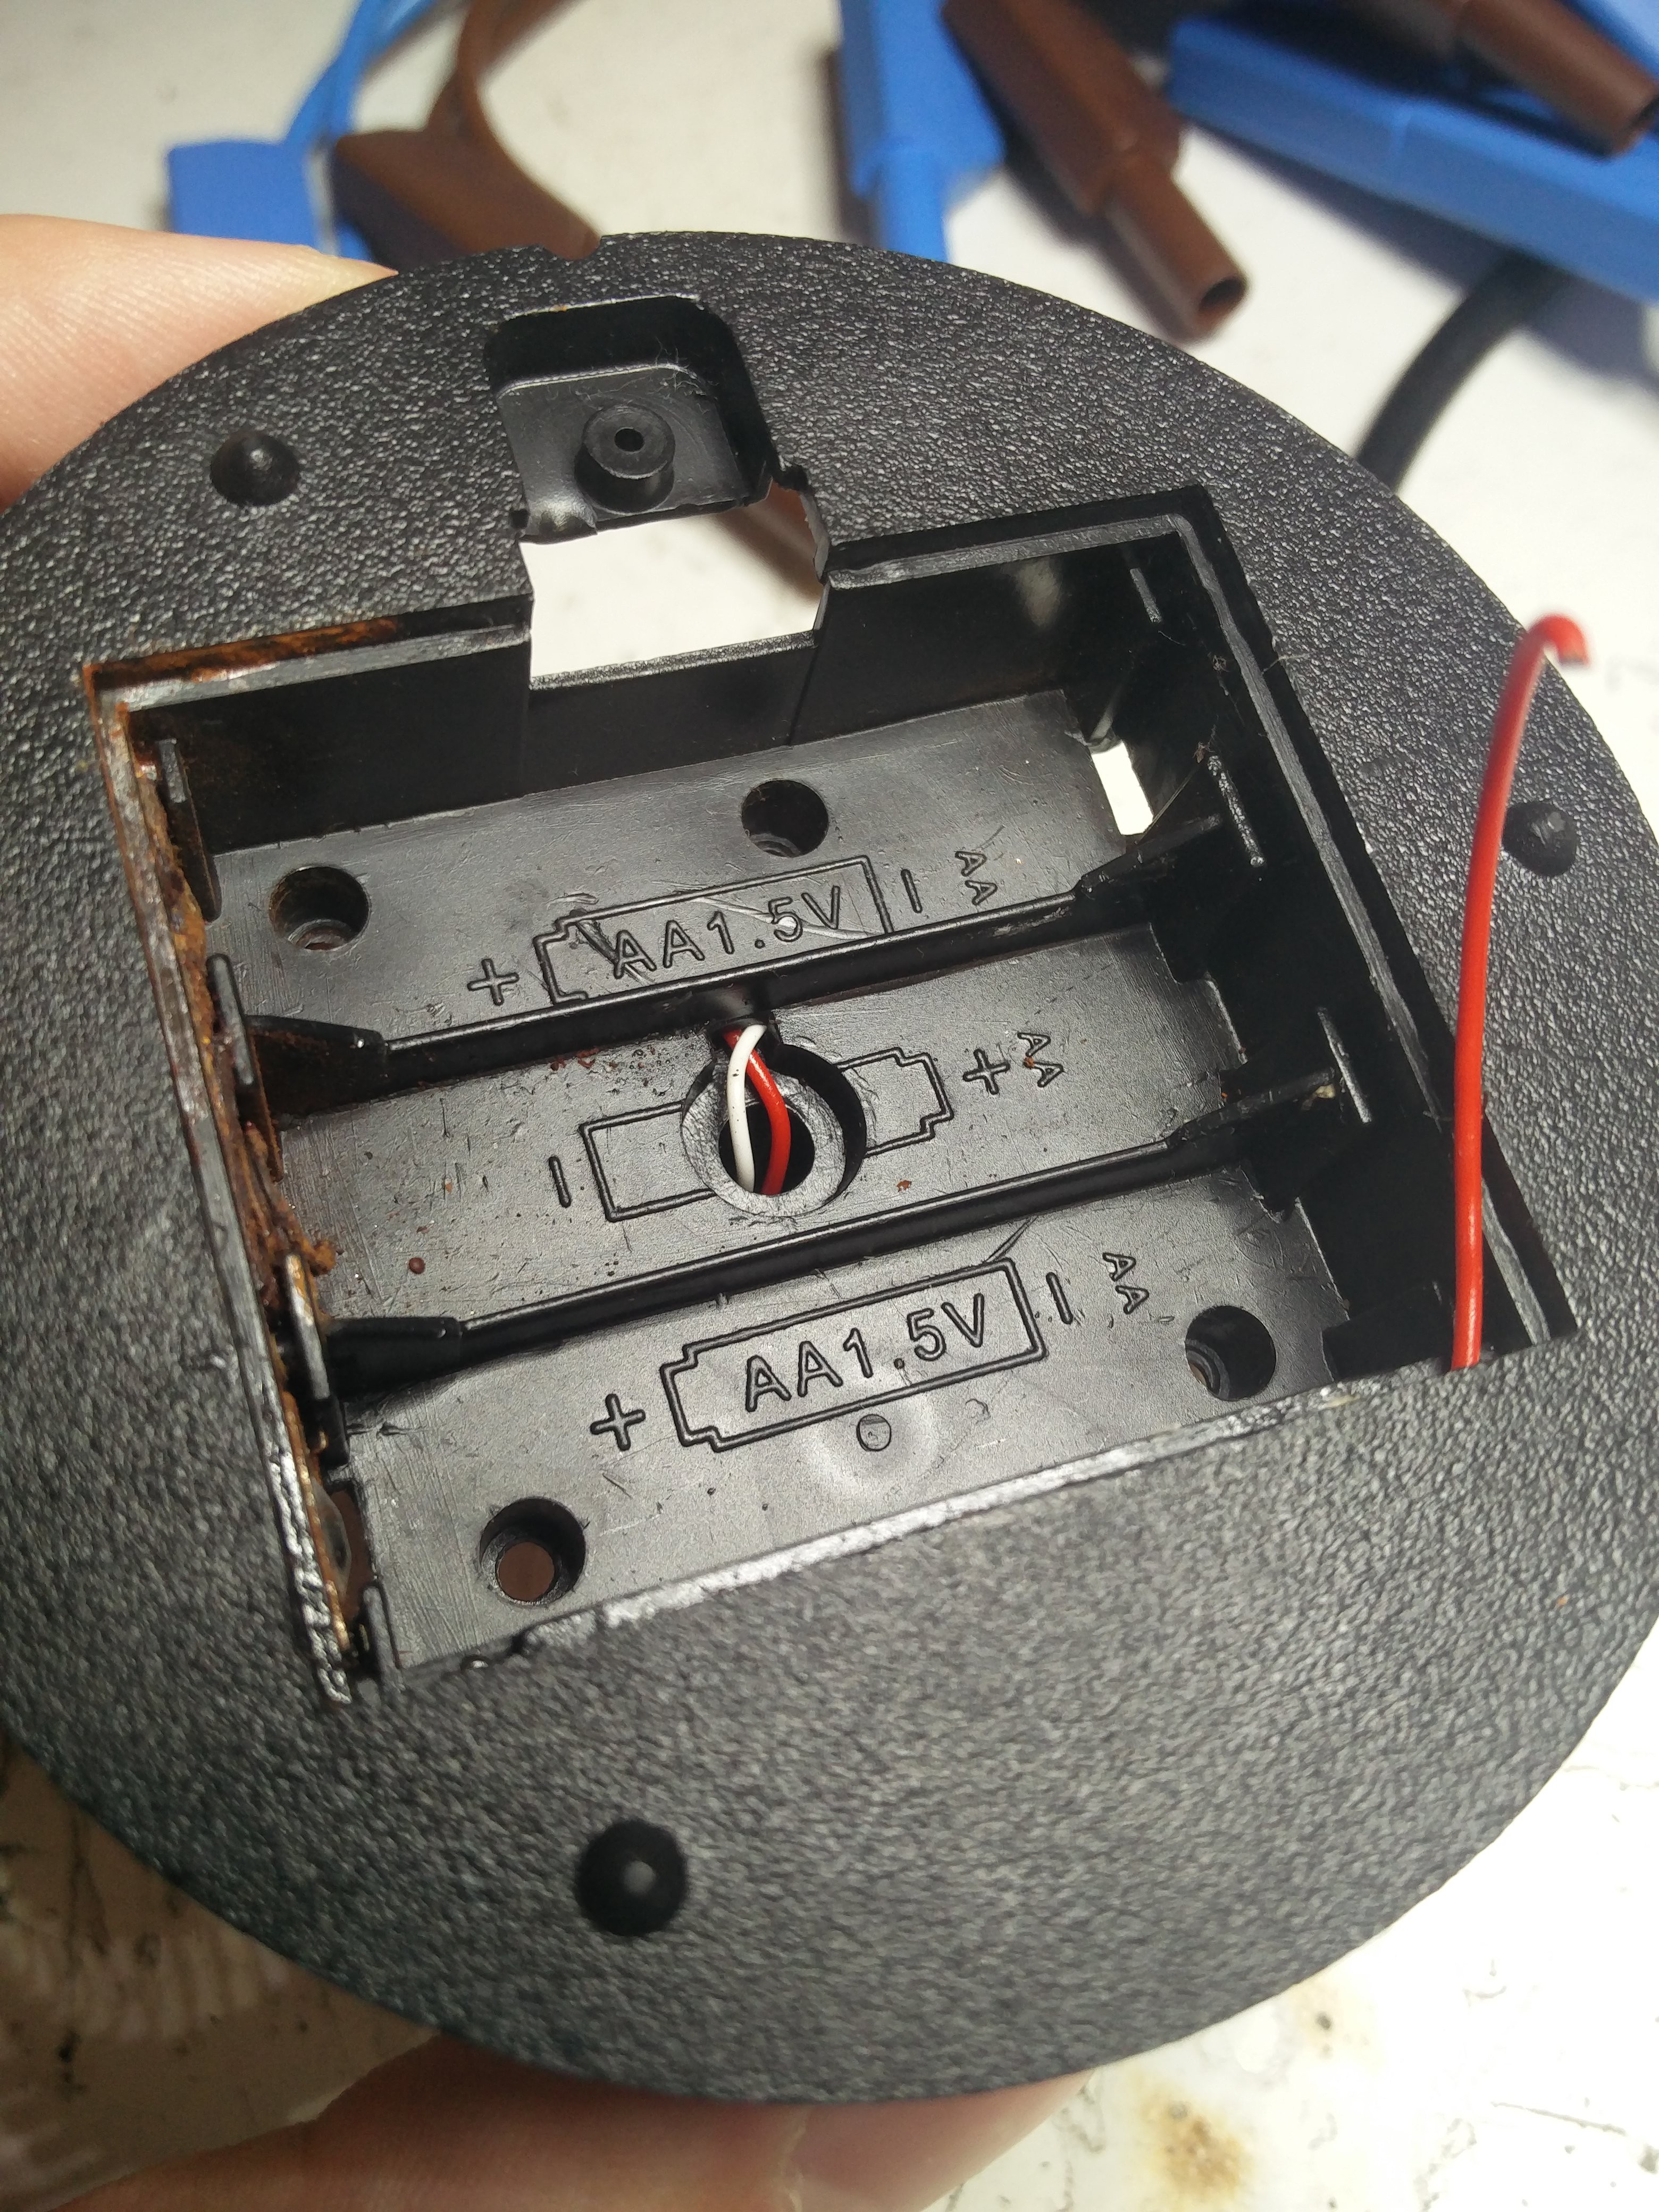
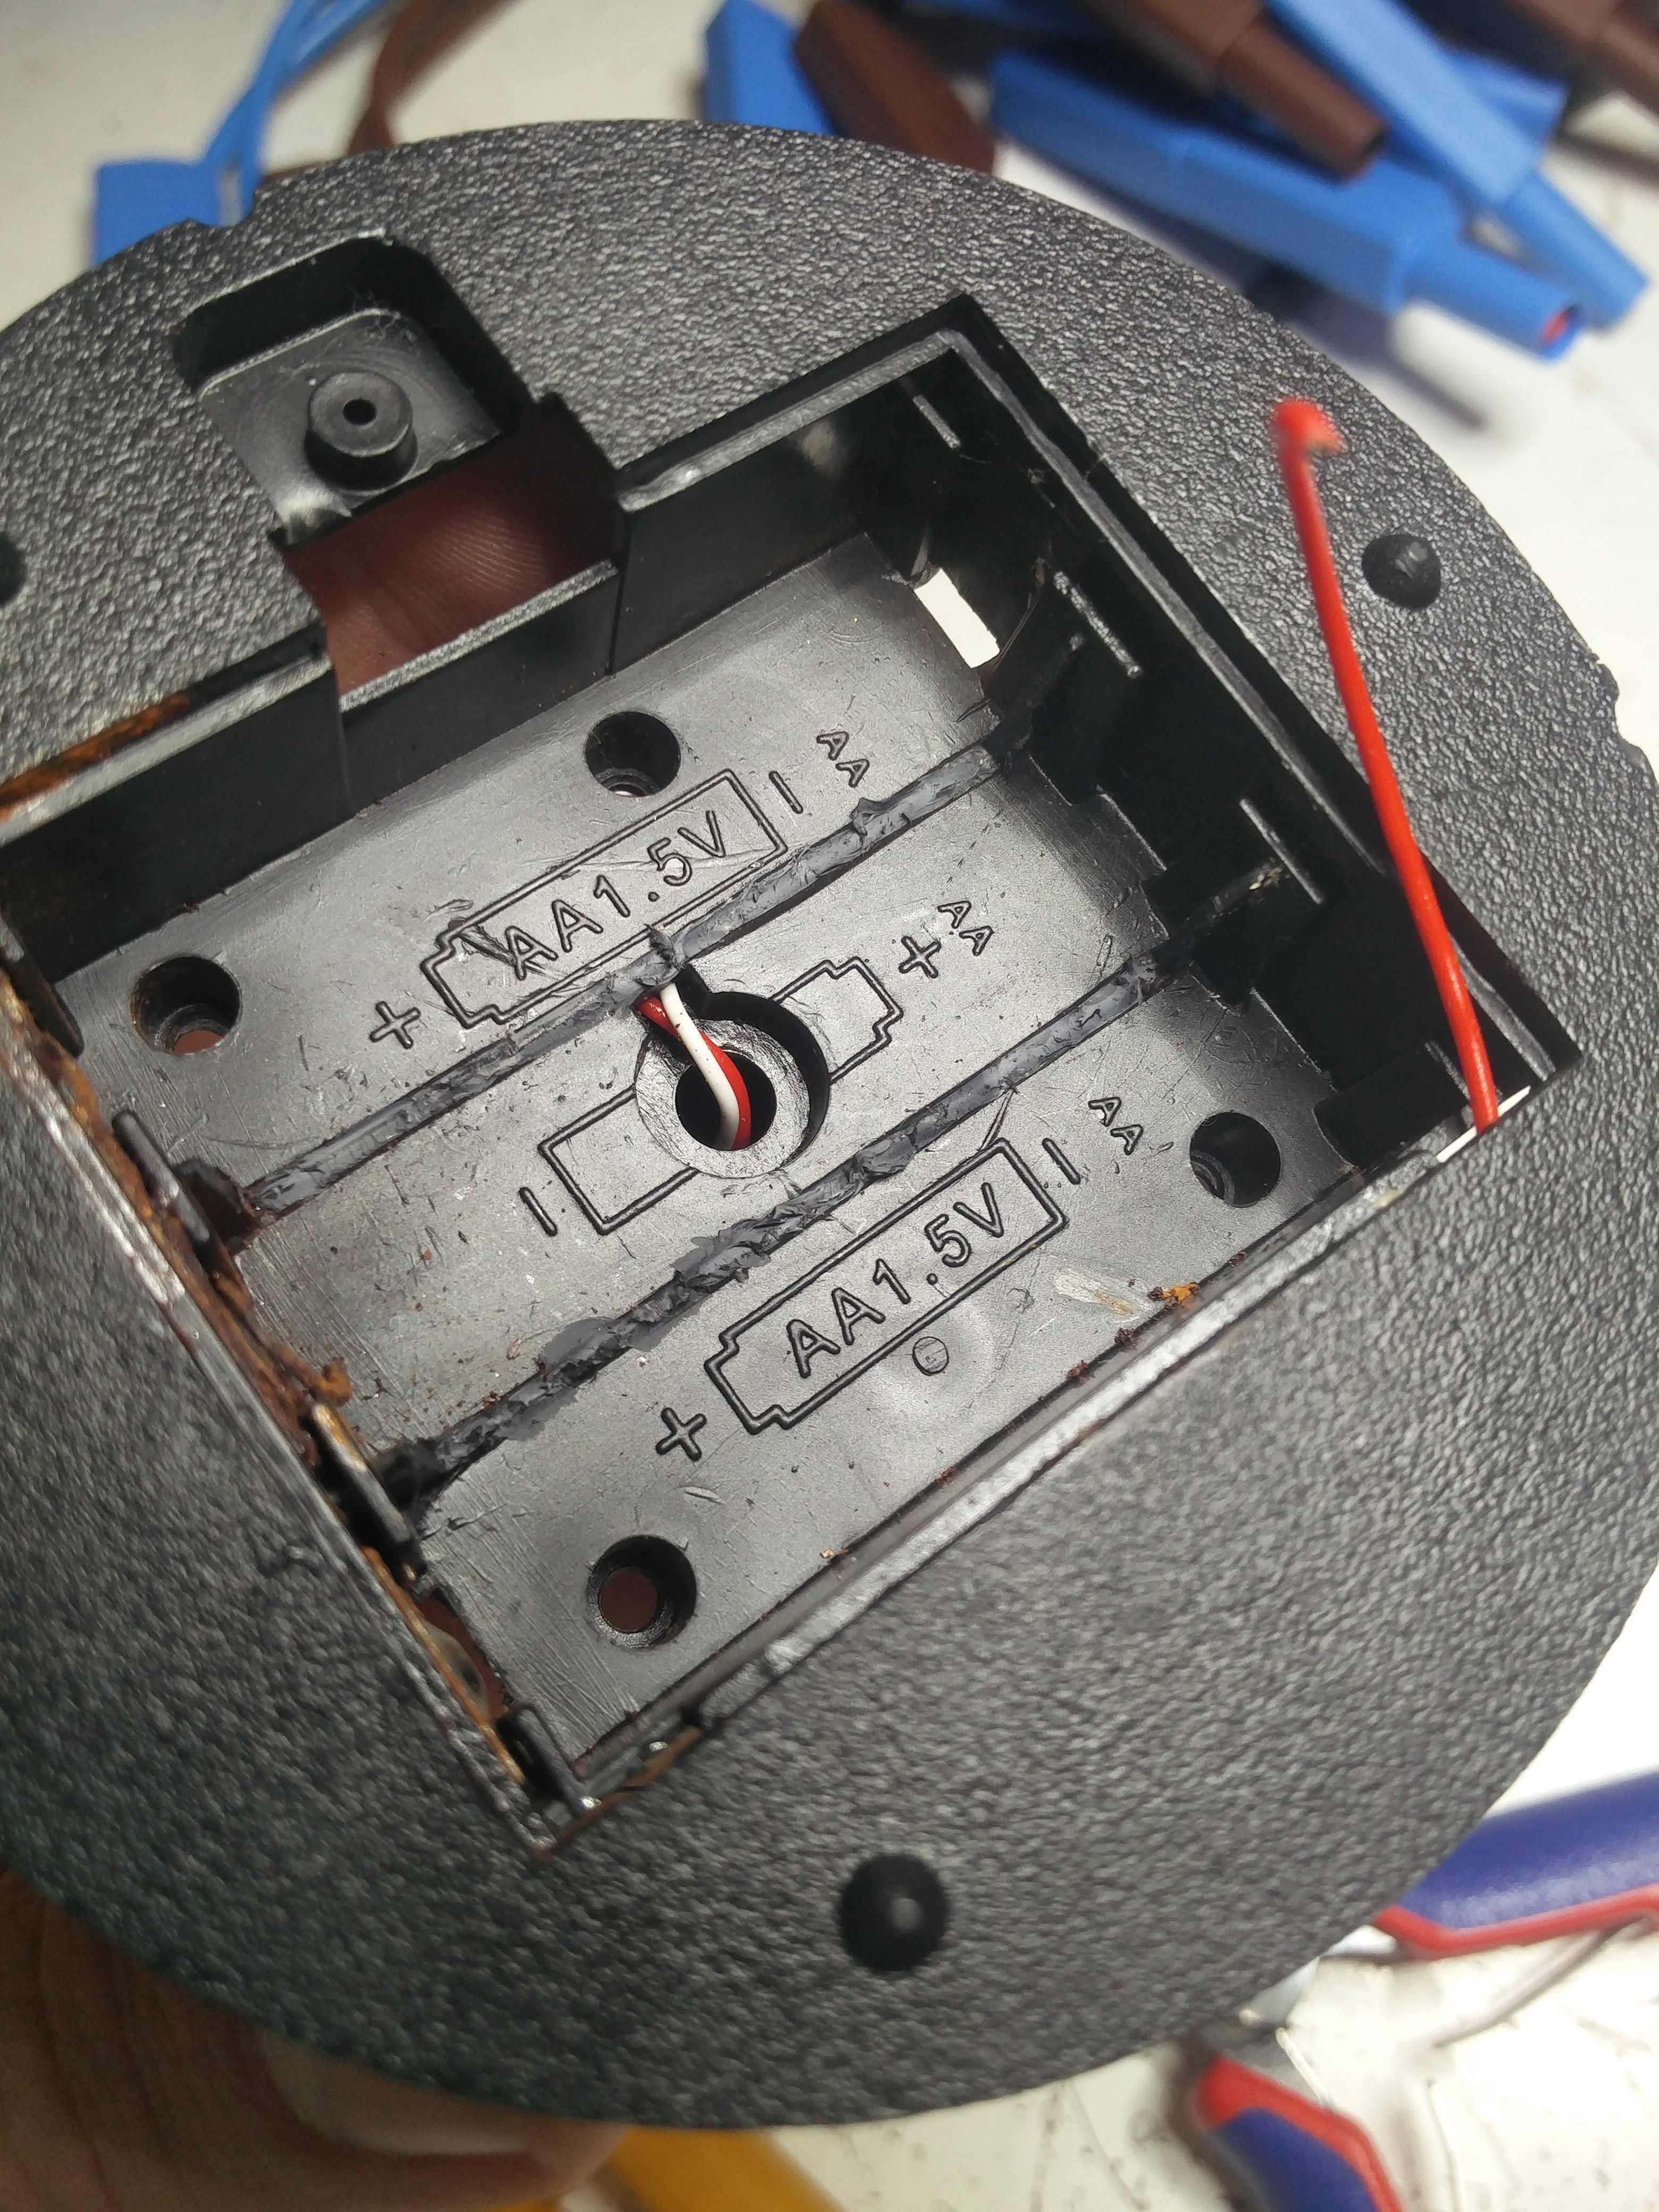
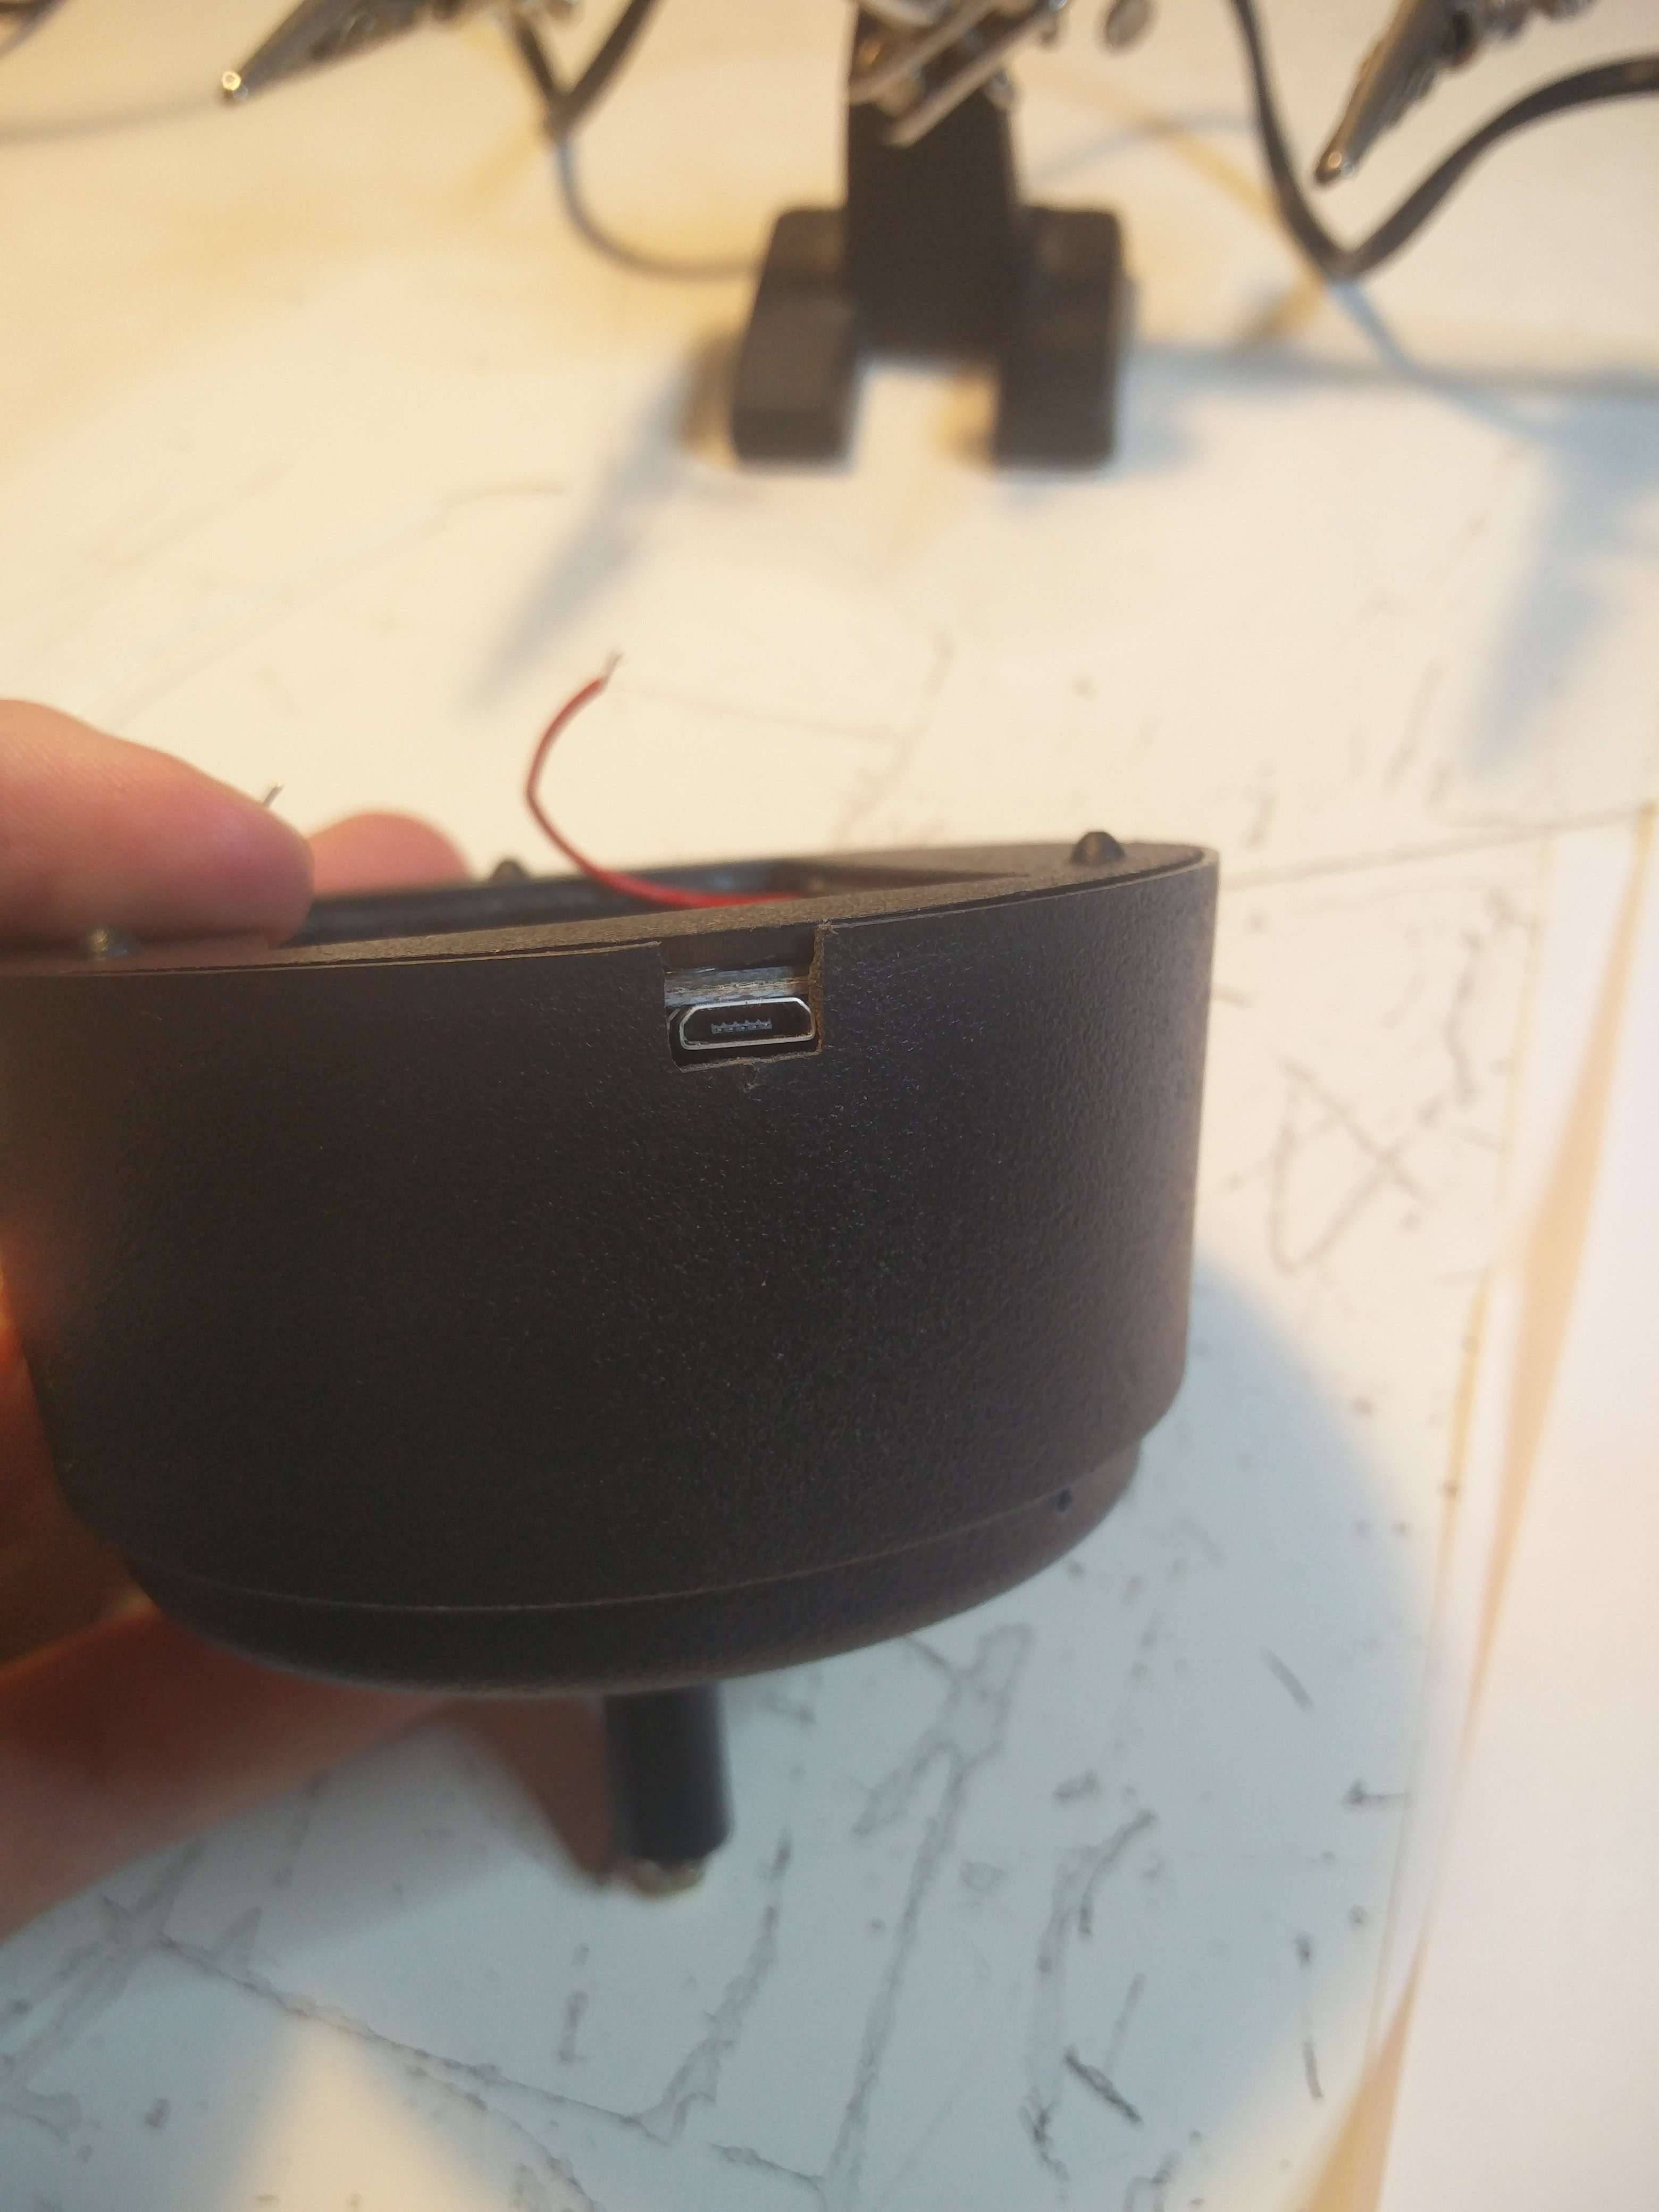
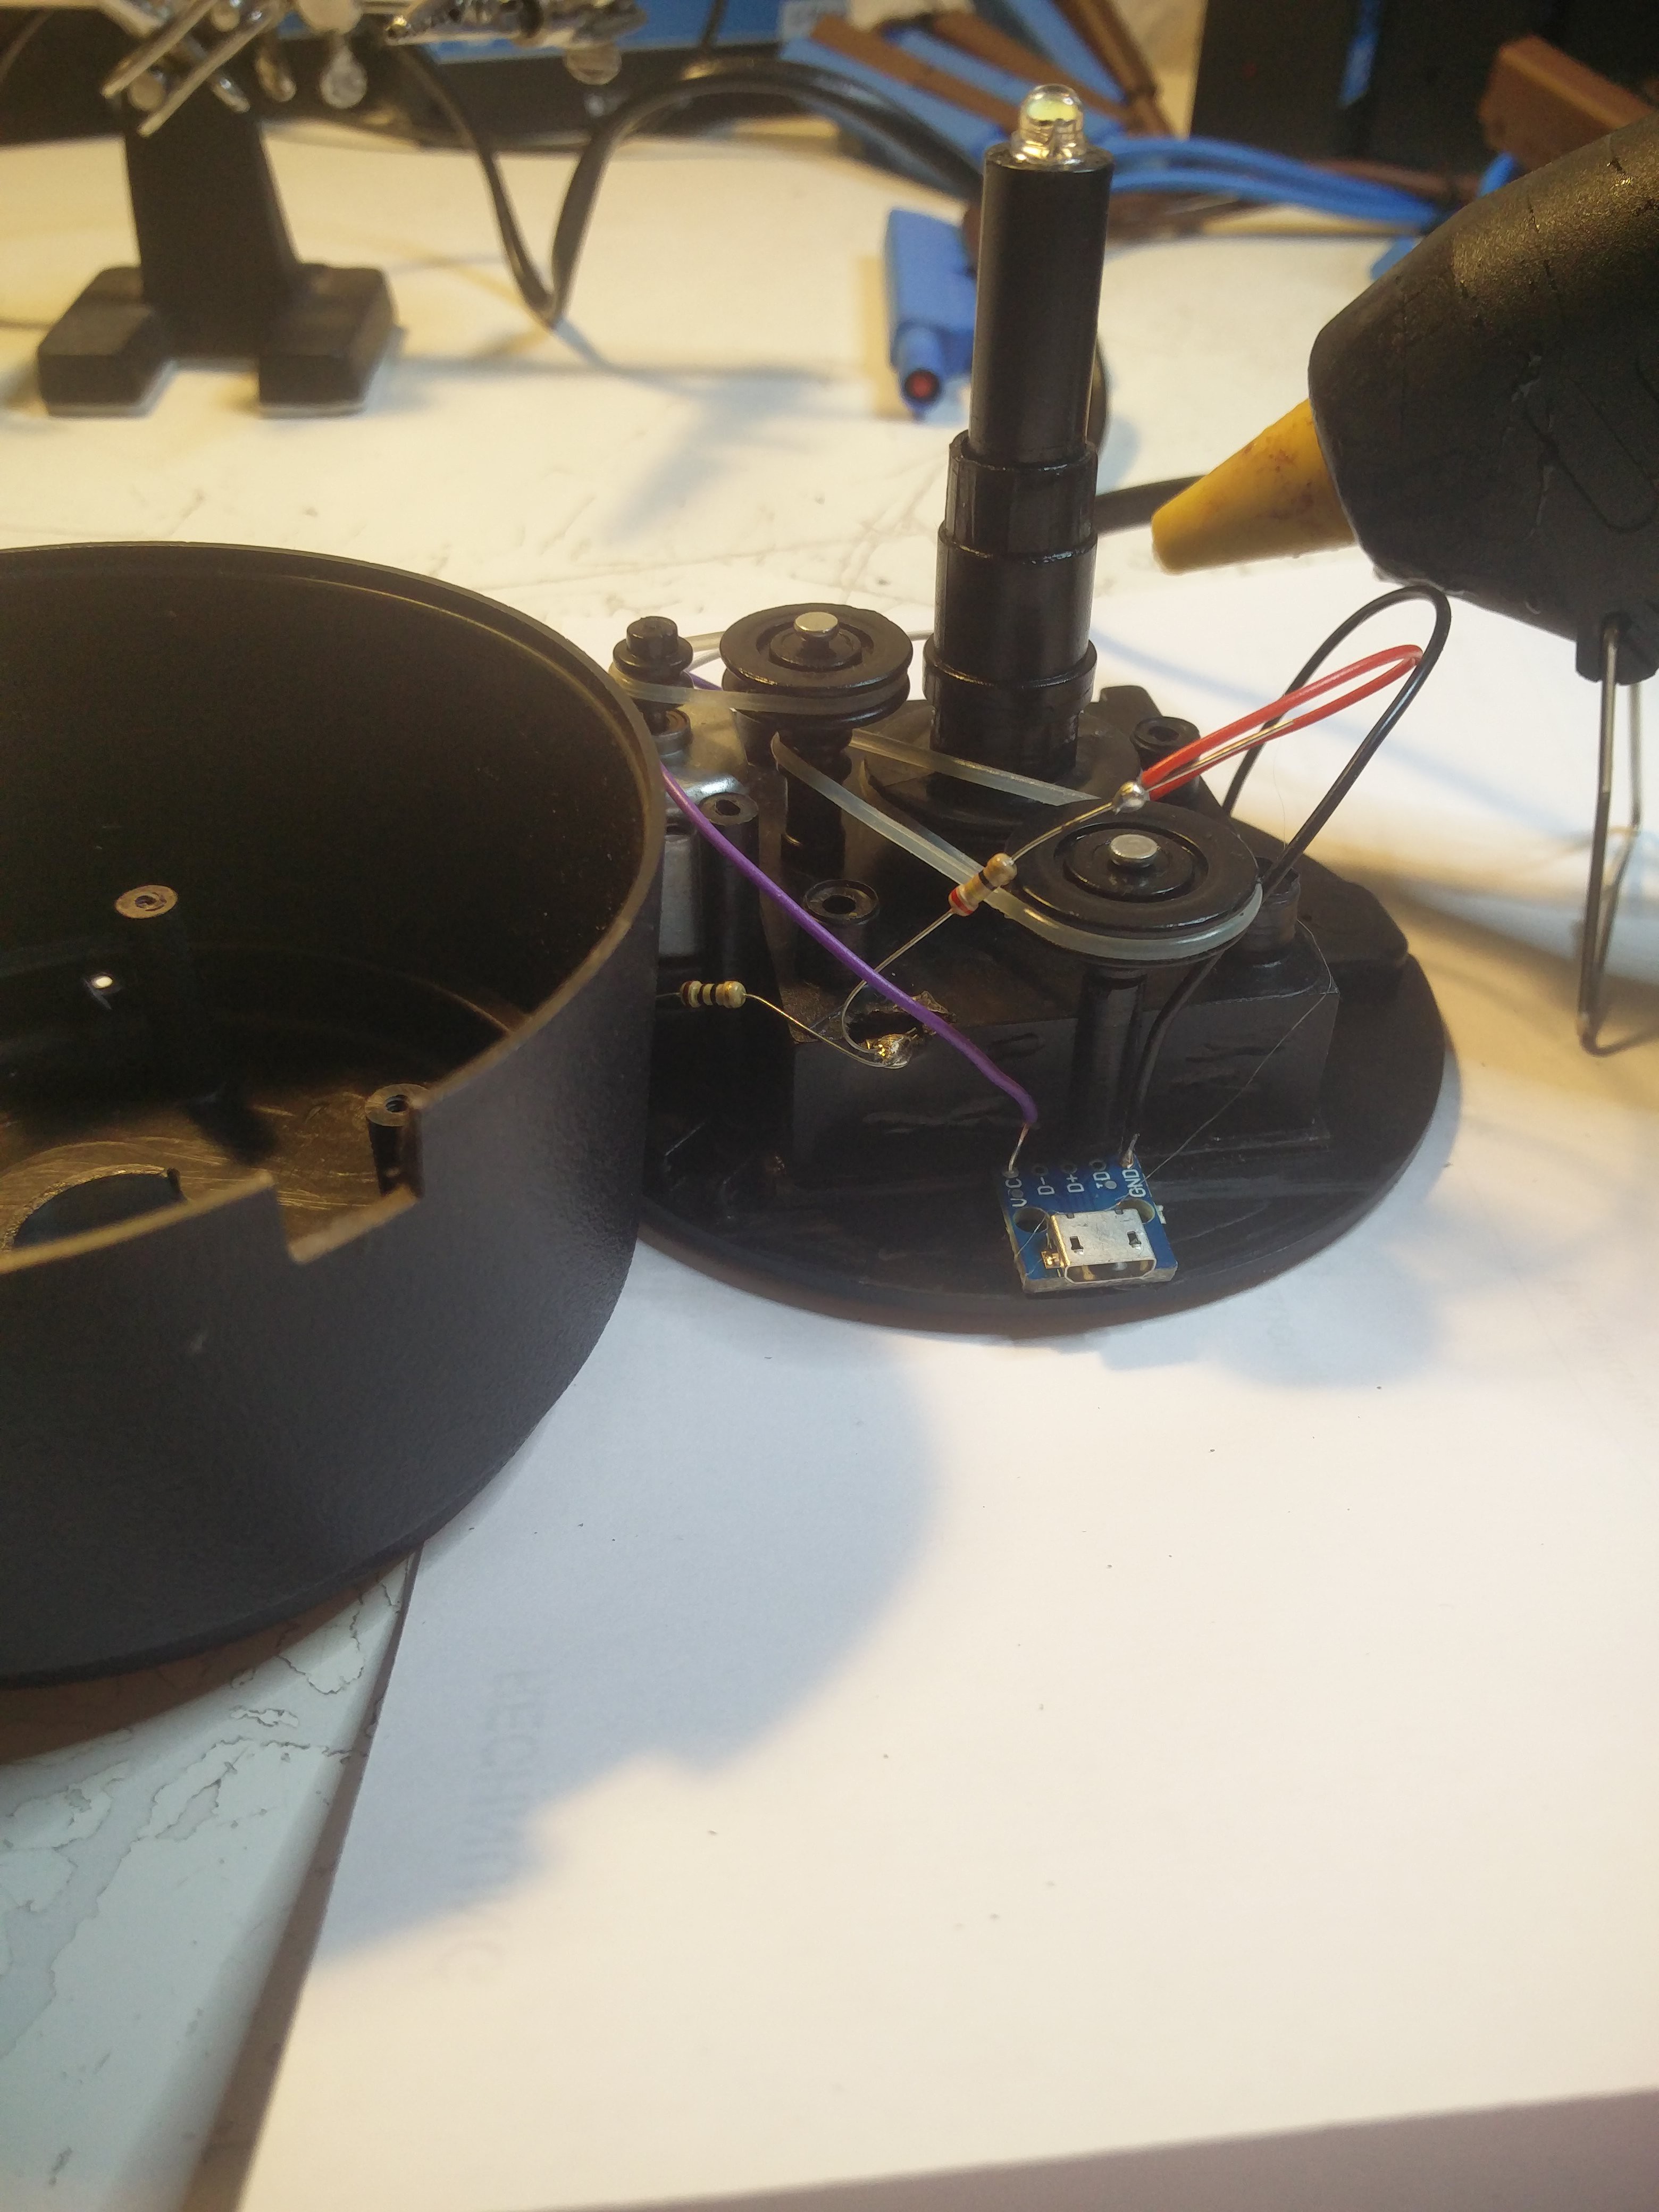
The maon is based on a toy police siren I found on the street and an esp8266 which was laying around in the office.
The siren originally had batteries as a power source, but those leaked and were not functional anymore. A simple switch was used to turn the light and motor on.
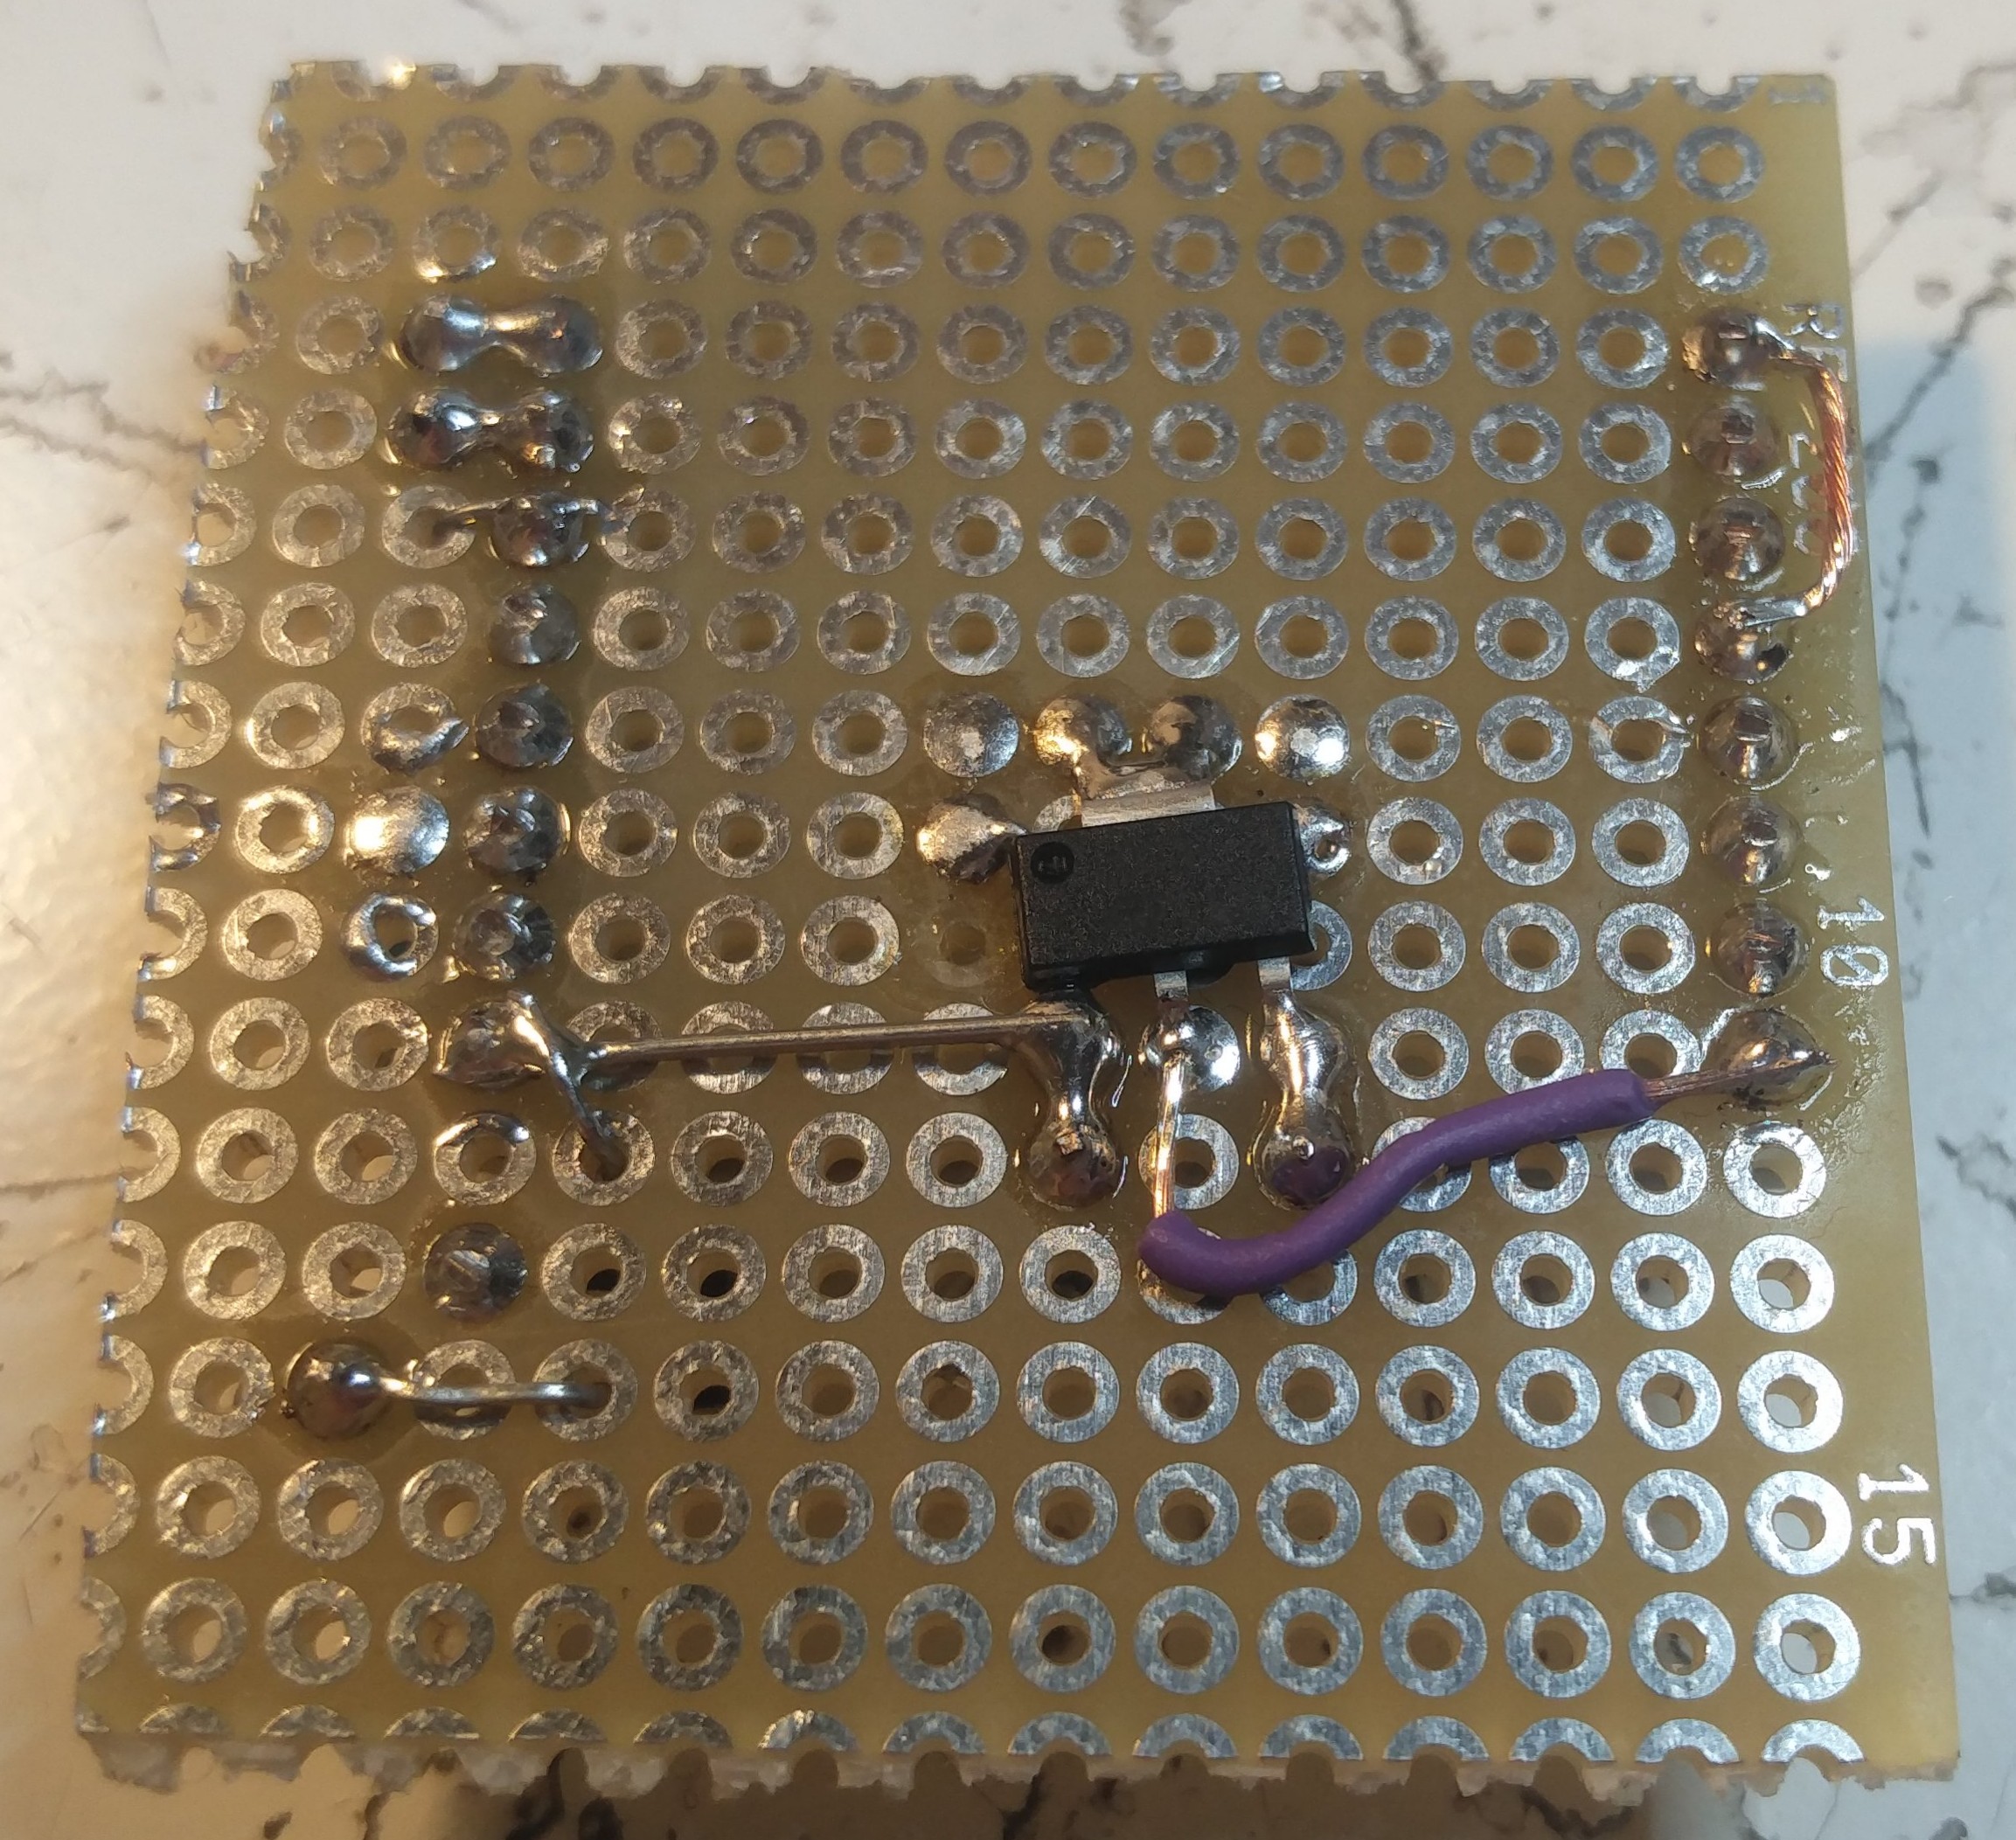
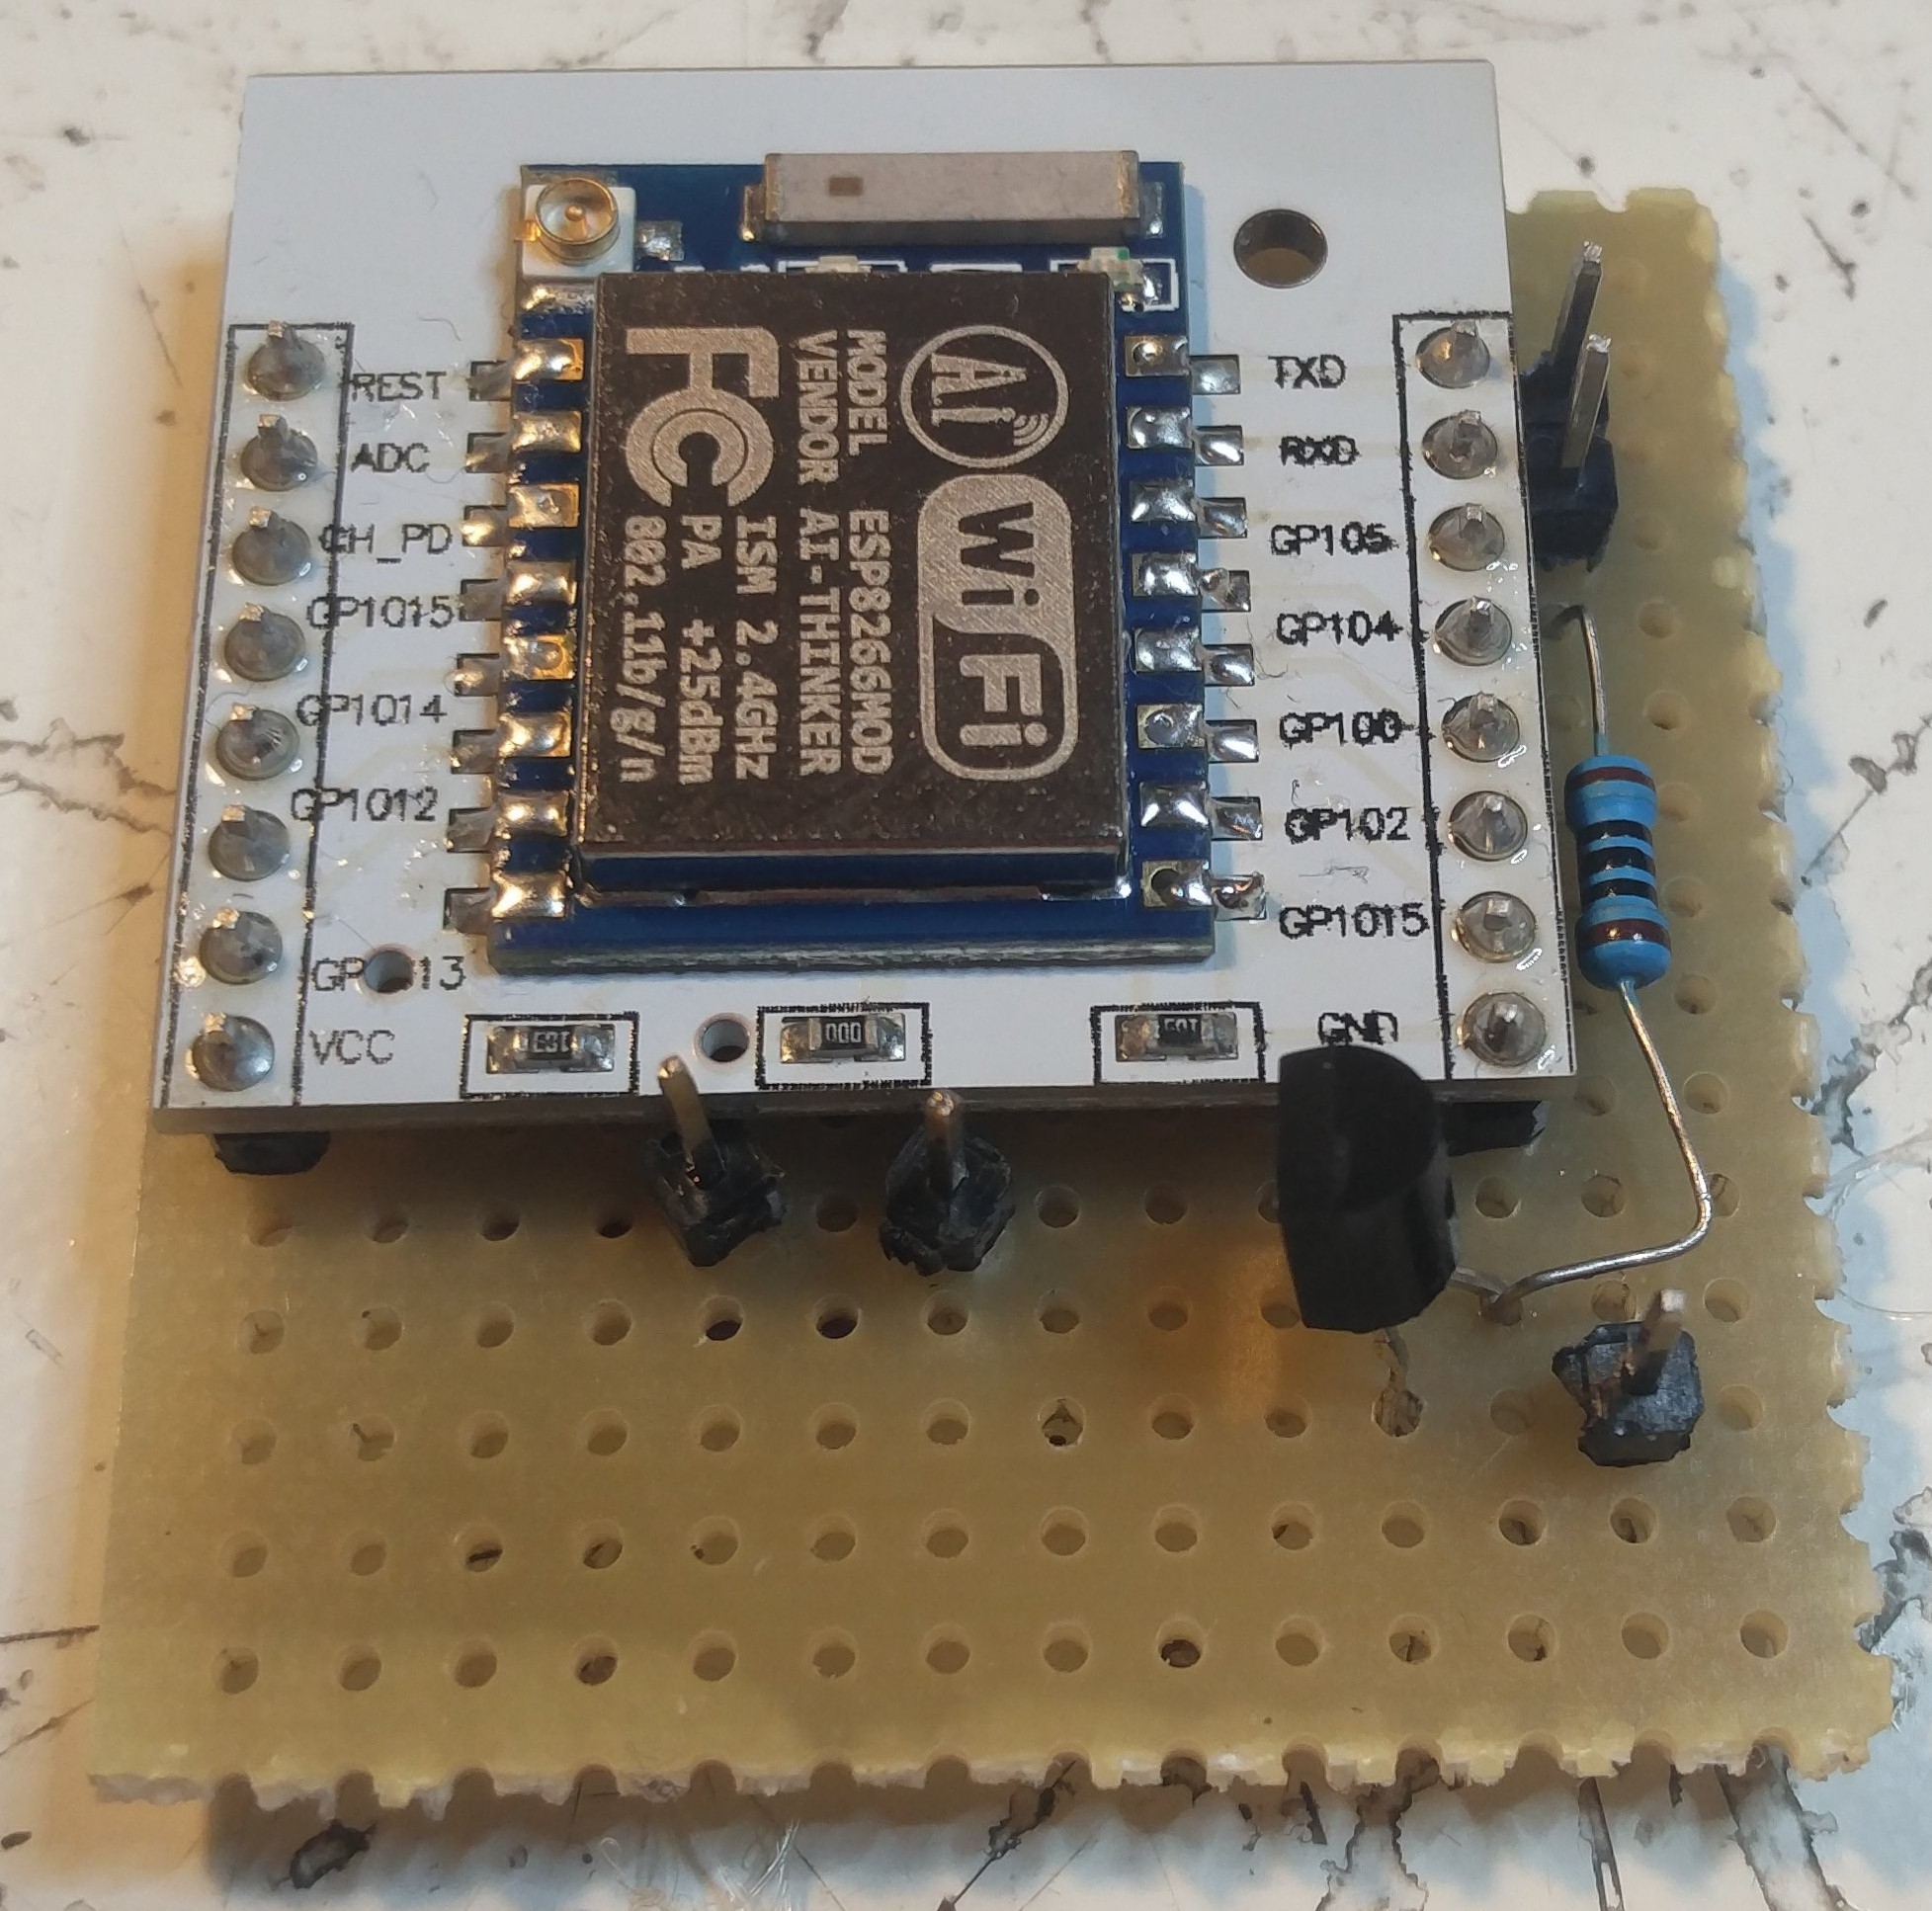
For this project I added an micro usb port for 5V power supply, an transistor to switch the motor and led on / off and an ESP8266 for the logical part.
Software
To develop the firmware the Arduino core for ESP8266 is used. Building and flashing is done with help of makeEspArduino. For more information on the software check out the git repository.
Yeah nice, but what it is doing?
Well rather simple... After boot the maon connects to the configured wifi. When the connection is established it fetches the order list from the shop via the webservice API described here. Then it will compare the highest order id that was fetched from the server, with the localy stored id. If the local id is the same it means no new order is present. But if the fetched id is higher then the local one, we got a new order! For this case the transistor will be switched "on" and thus the siren will receive power. The new id will also be saved locally.
After 10 seconds the siren will be stopped, the storage access will be finished and the wifi connection will be closed. Then the maon goes to sleep for 1 minute, just to start all over again afterwards.
What shop?
Currently only shops based on PrestaShop are supported.
 Felix Rusu
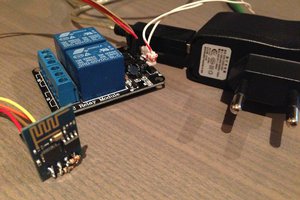
 pawelka
 Michiel Spithoven