 Artem Kashkanov
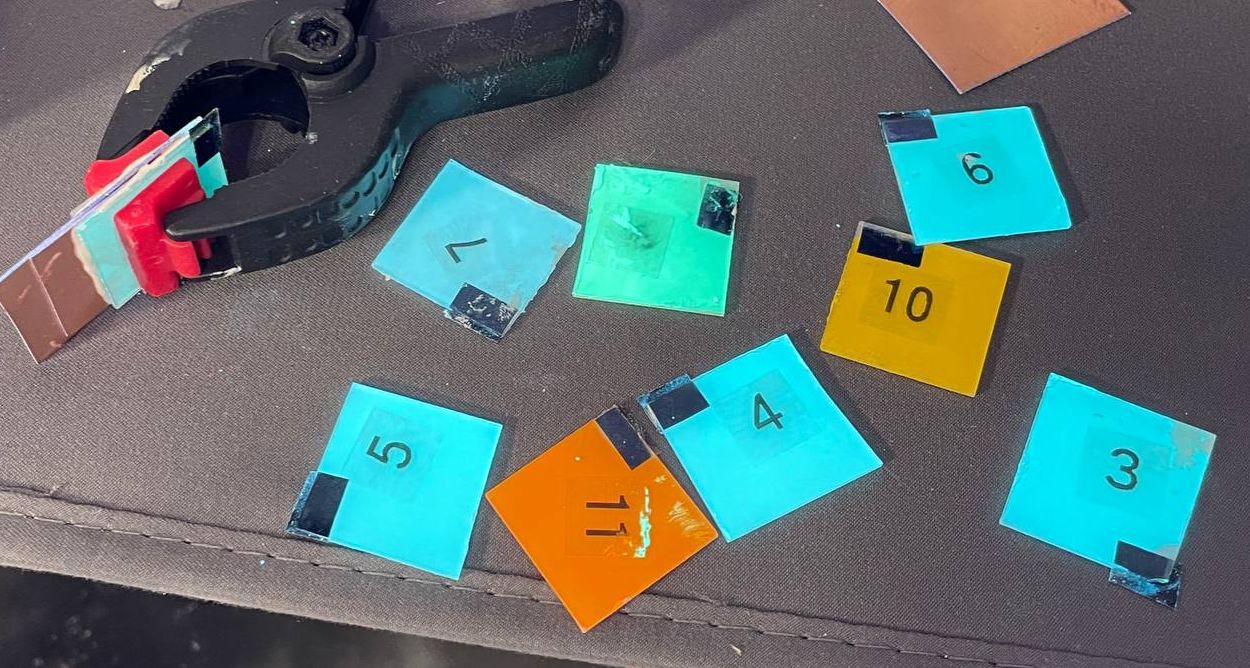
As part of the second experiment, I decided to play a little with the compositions, application methods, colors, and conductive glue.
As a result, I realized that alkyd varnish cannot be used. After drying, the brightness really goes to almost zero. The likely reason is the low dielectric constant - the higher the binder has - the brighter the phosphor will glow.
But I discovered EP-2146 epoxy parquet varnish. It gives excellent brightness, although it sins with stains. True, they cannot glue the bag together, since it will not dry out between the electrodes, and if it does dry, it will leak out; and the indicator will be covered with beautiful patterns. But it will continue to work. So for gluing the package, it is necessary to use strictly two-component compositions:
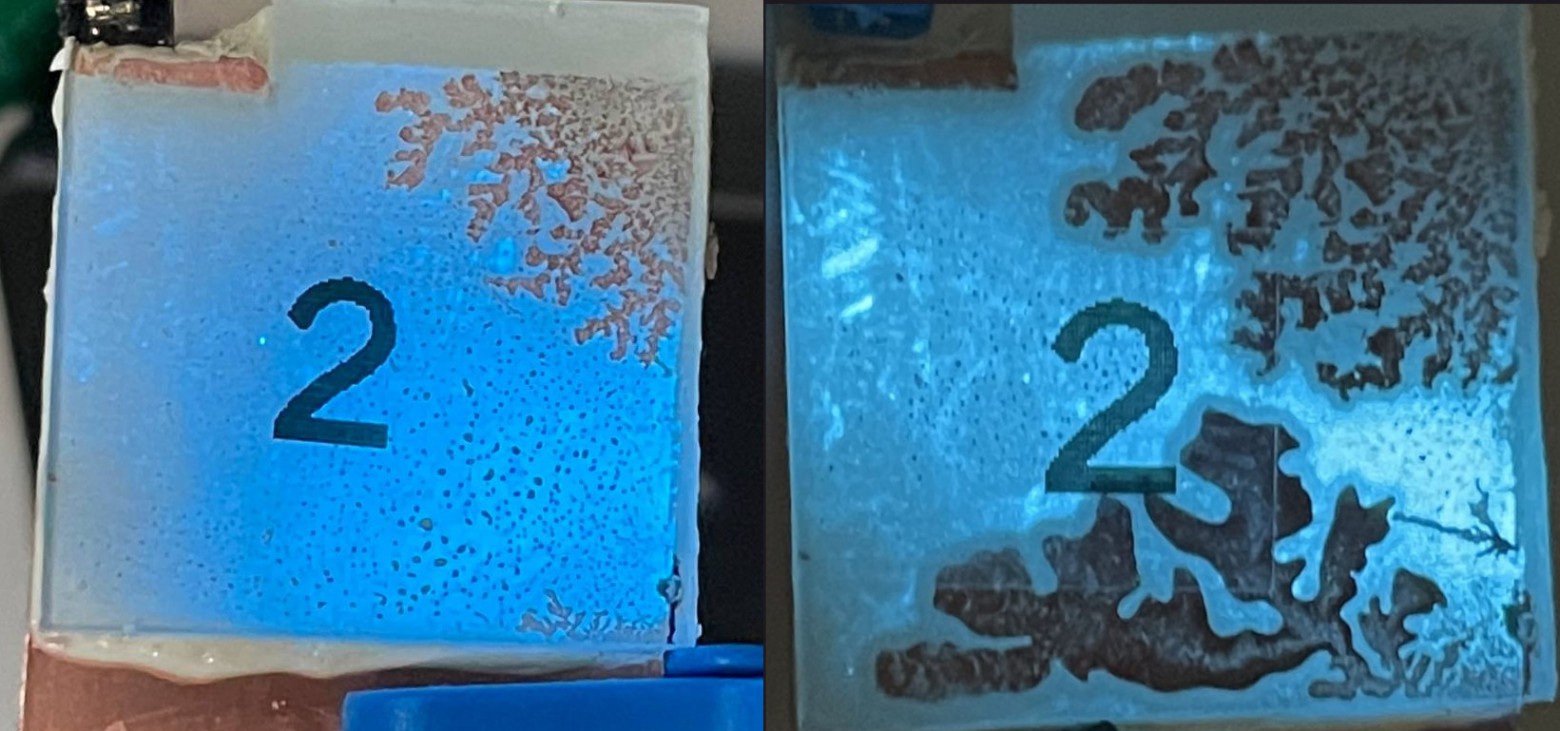
Sample No.2 after 10 and 30 hours of gluing.
I also found out that barium titanate must be added to the dielectric layer. It's, like a ferroelectric, significantly reduces the ignition voltage of the indicator and, therefore, increases the brightness. If, for example, you glue the indicator on a pure epoxy and epoxy with an admixture of BaTi, the second option will glow many times brighter.
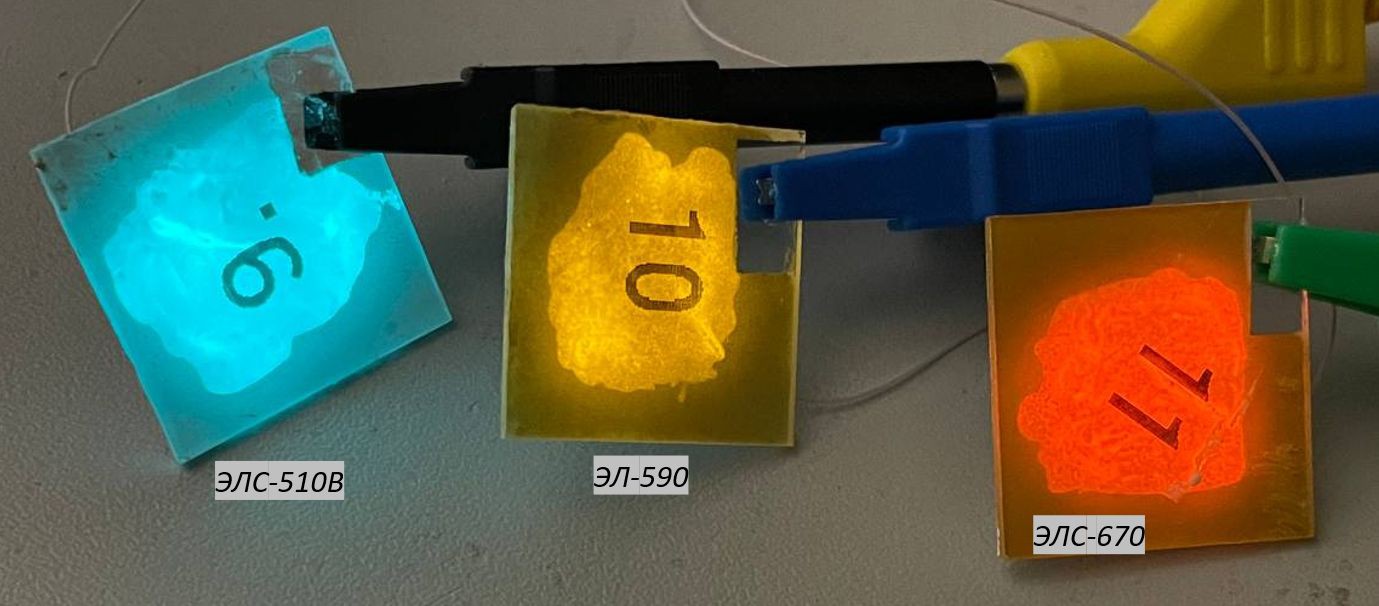
In addition, I checked that you can apply the emitting layer just with a regular brush. Especially if the phosphor is coarse, it will immediately clog the airbrush.
And also, conductive glue can be used as a back electrode. For example, the silver-containing KONTAKTOL. Only apply in several layers and let dry:
Discussions
Become a Hackaday.io Member
Create an account to leave a comment. Already have an account? Log In.