Terje Io
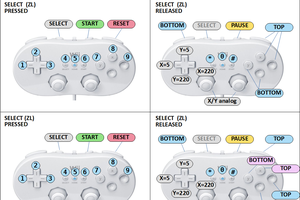
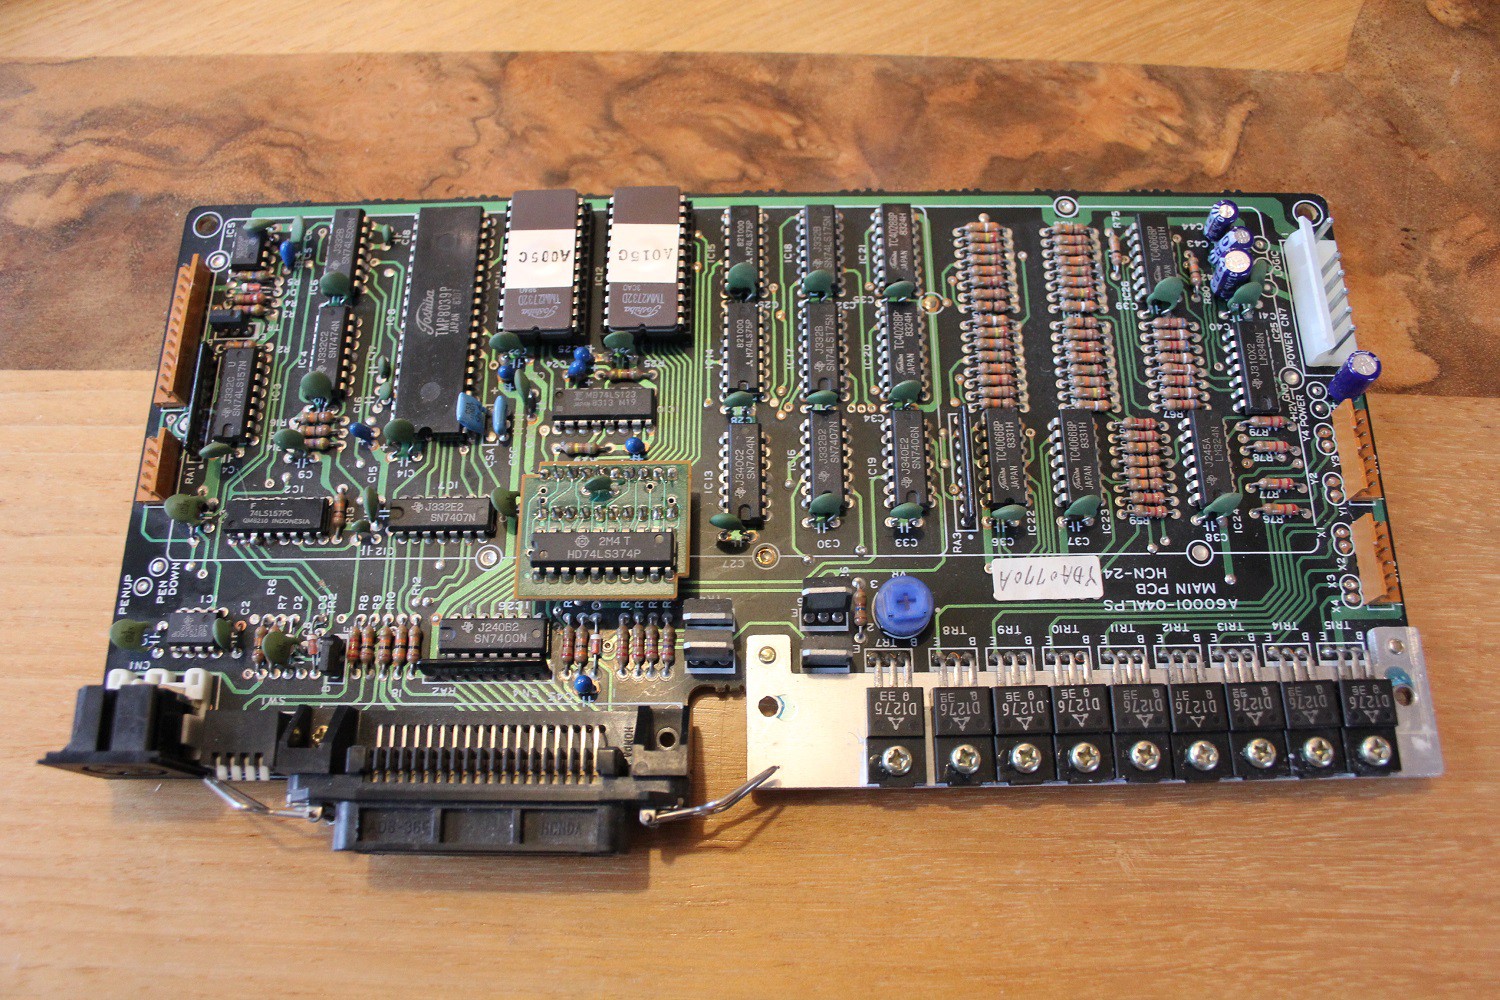
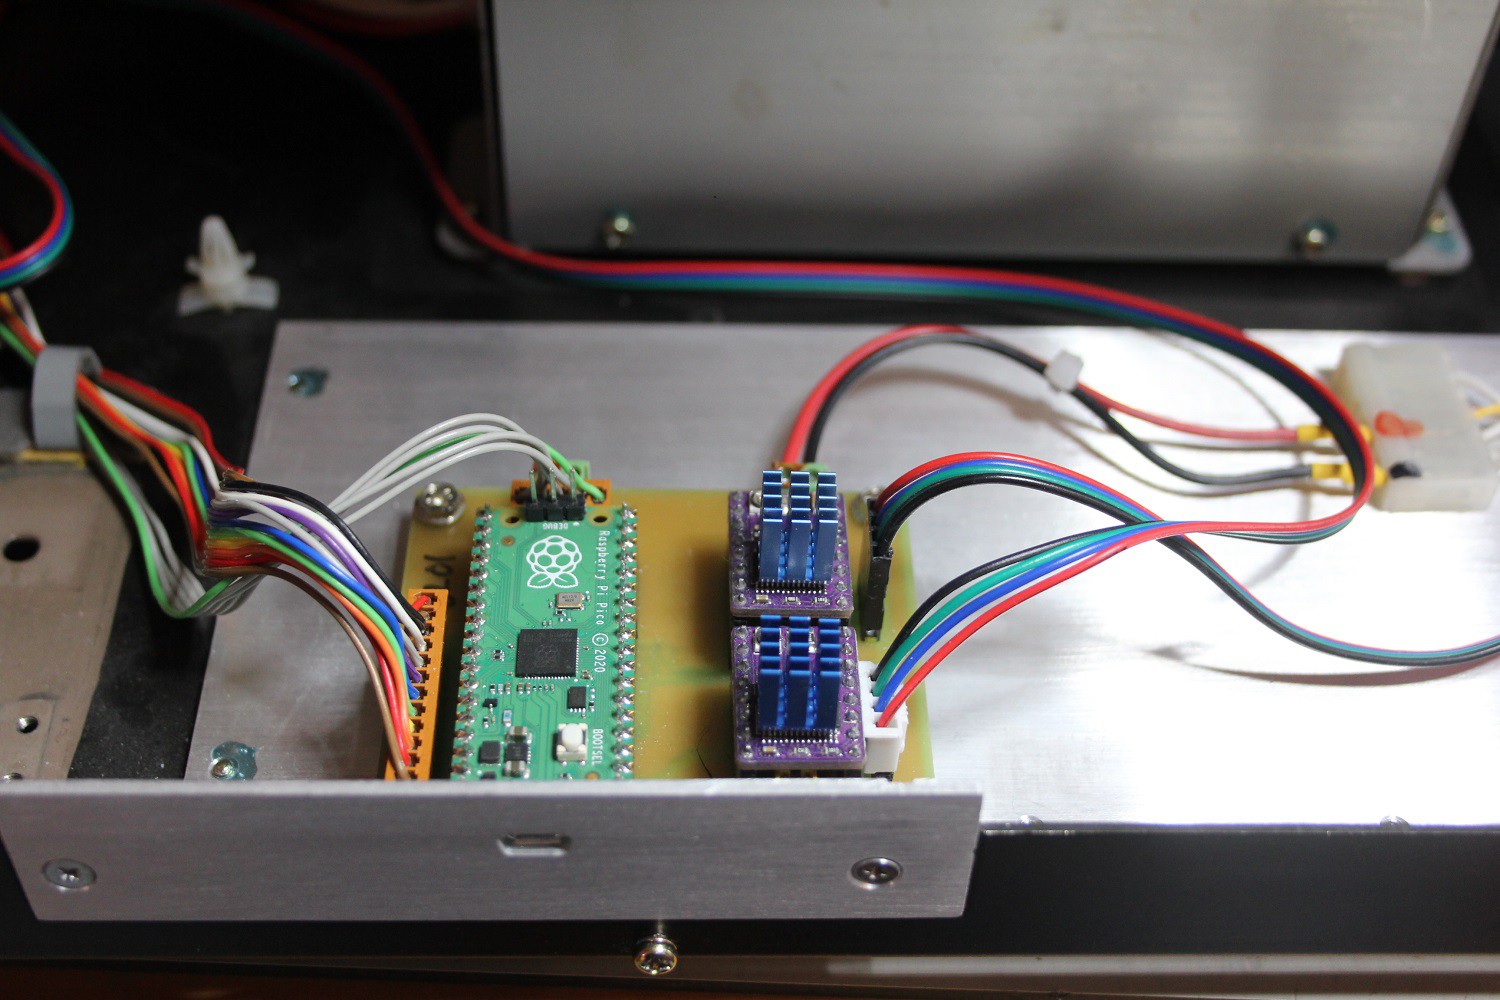
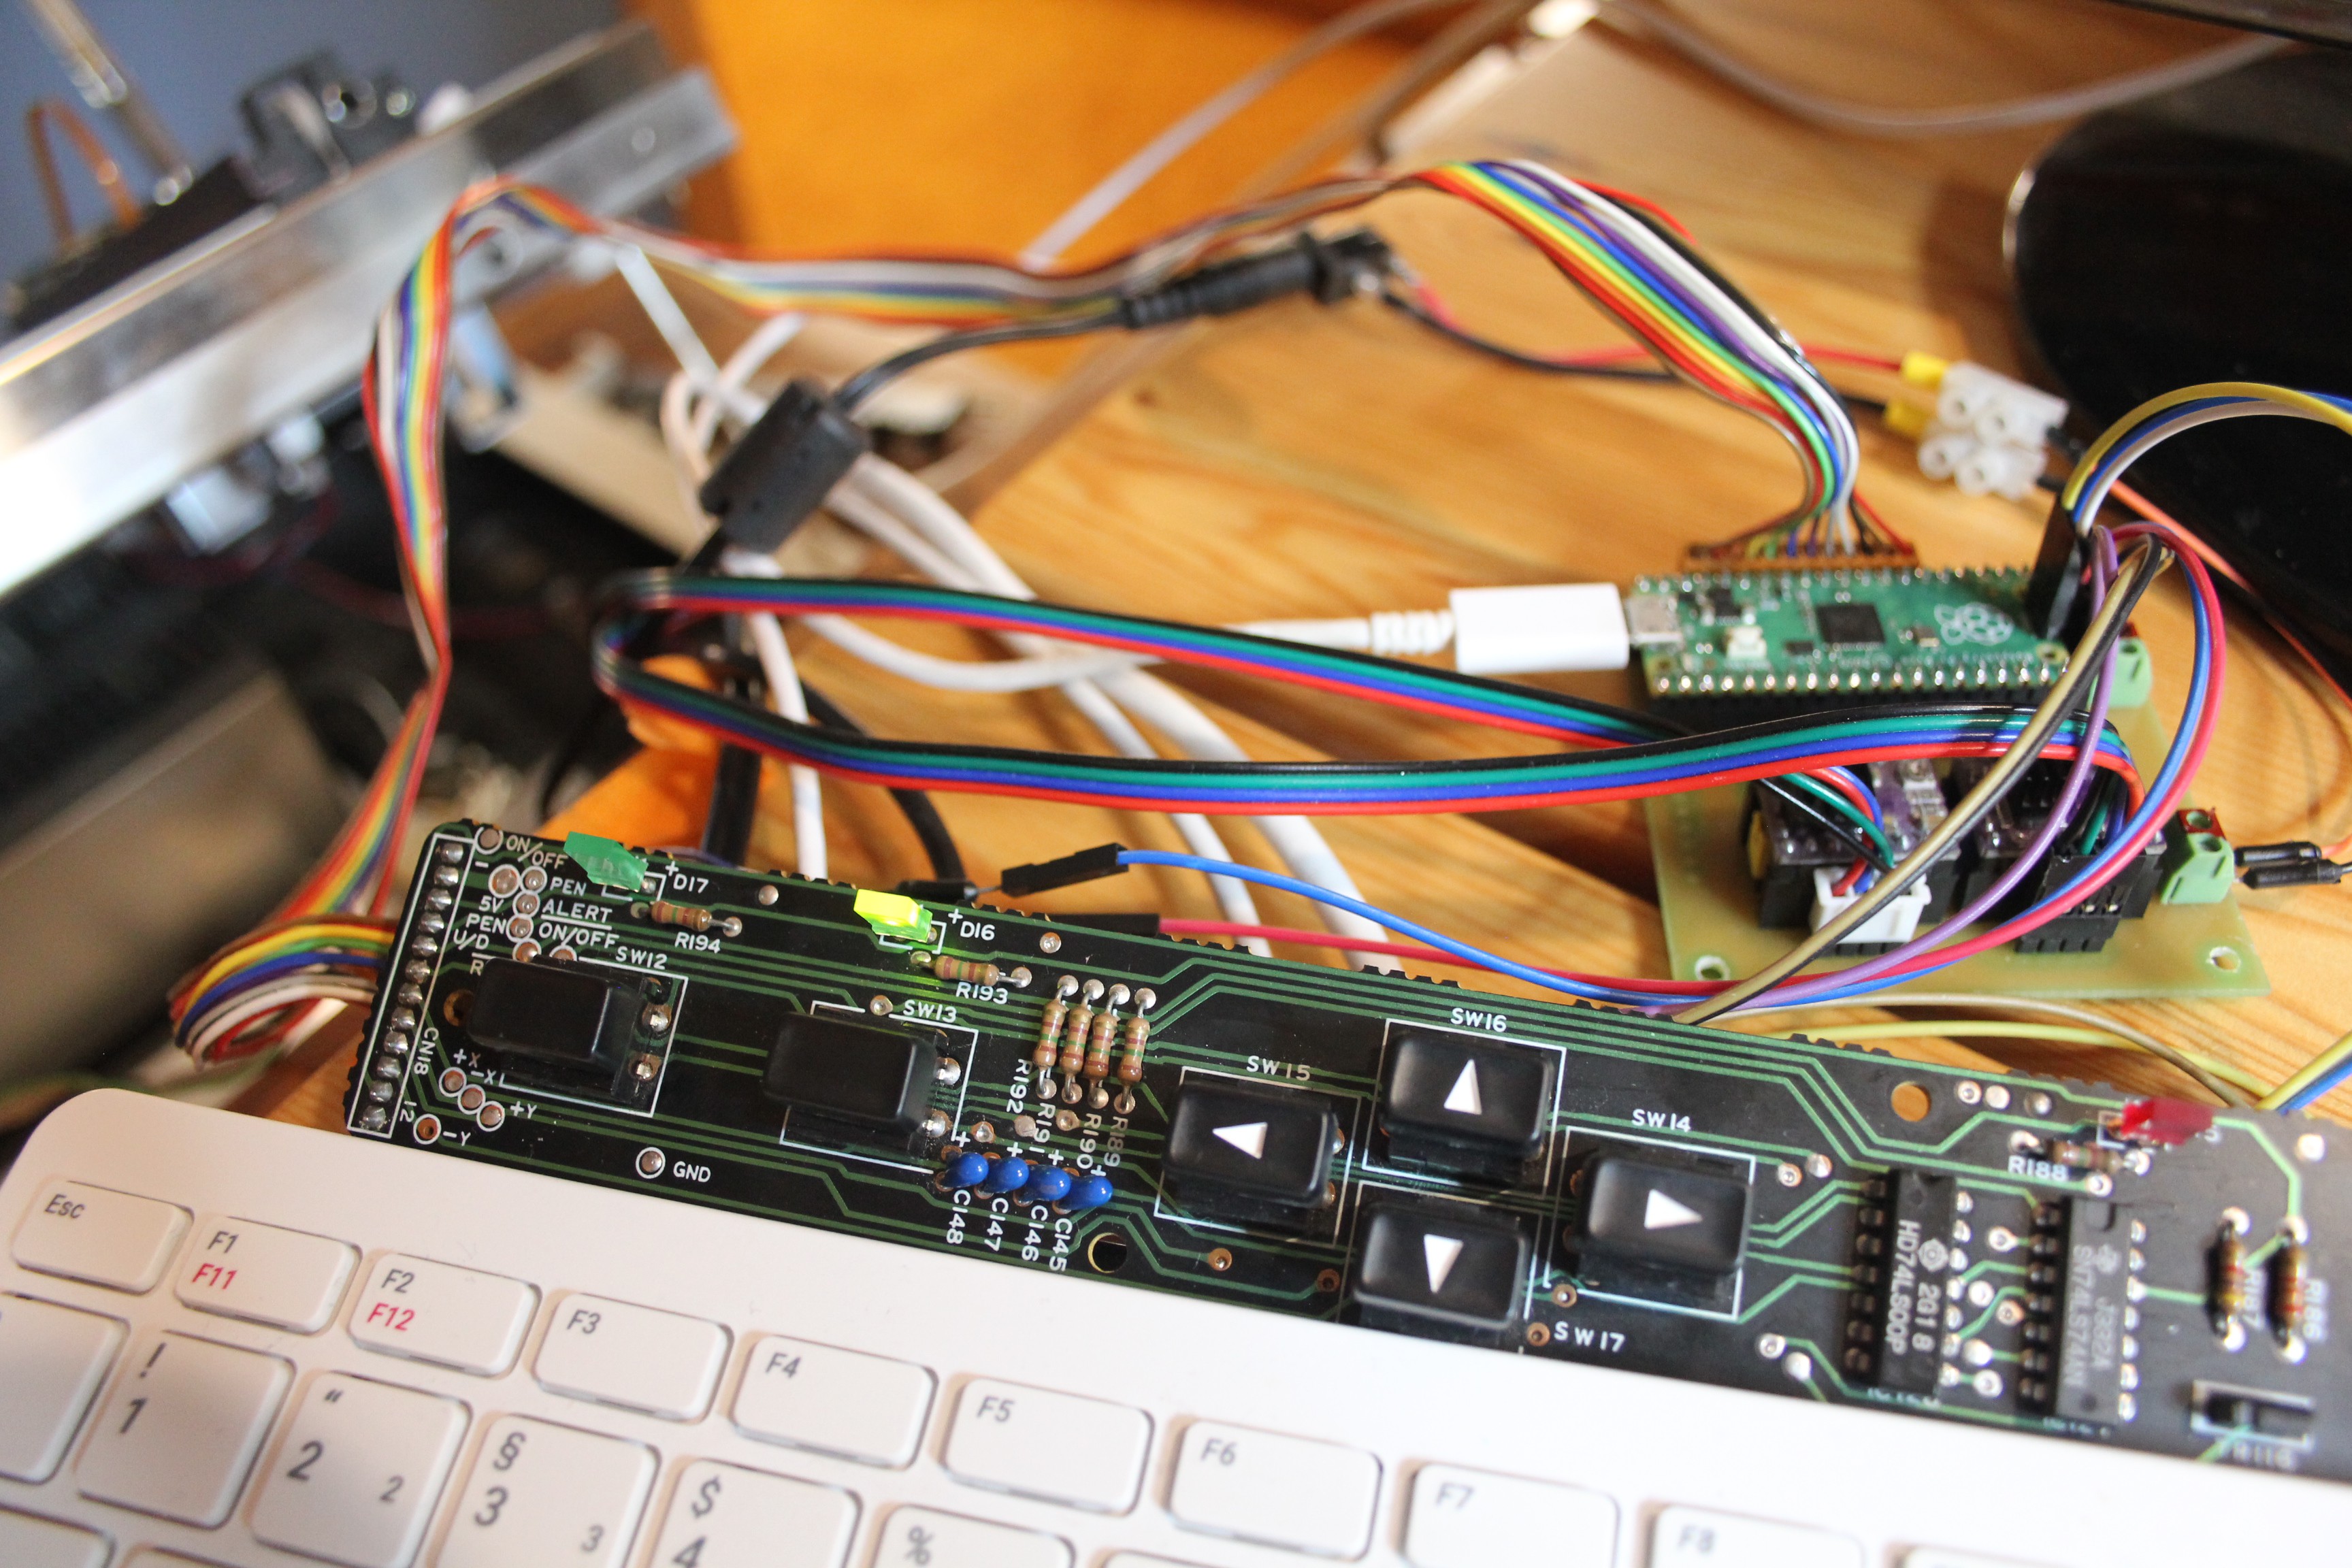
After adding support for further HPGL commands and replacing the reed relay endstop sensors with real switches due to insane hysteresis it is now time to create a custom PCB and switch to a Pi Pico (RP2040) based grblHAL controller. This will bring the original front panel back to life enabling jogging, pen up/down etc...
0%
0%
C.ITOH CX-6000 plotter upgrade
New motors, grblHAL controller + Motöri the Plotter
Become a Hackaday.io member
Already have an account? Log in.
Just one more thing
To make the experience fit your profile, pick a username and tell us what interests you.
Pick an awesome username
hackaday.io/
Your profile's URL: hackaday.io/username. Max 25 alphanumeric characters.
Pick a few interests
Projects that share your interests
People that share your interests

 danjovic
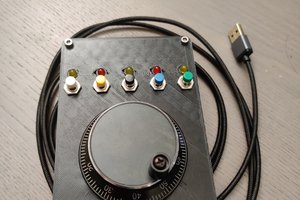

 alireza safdari